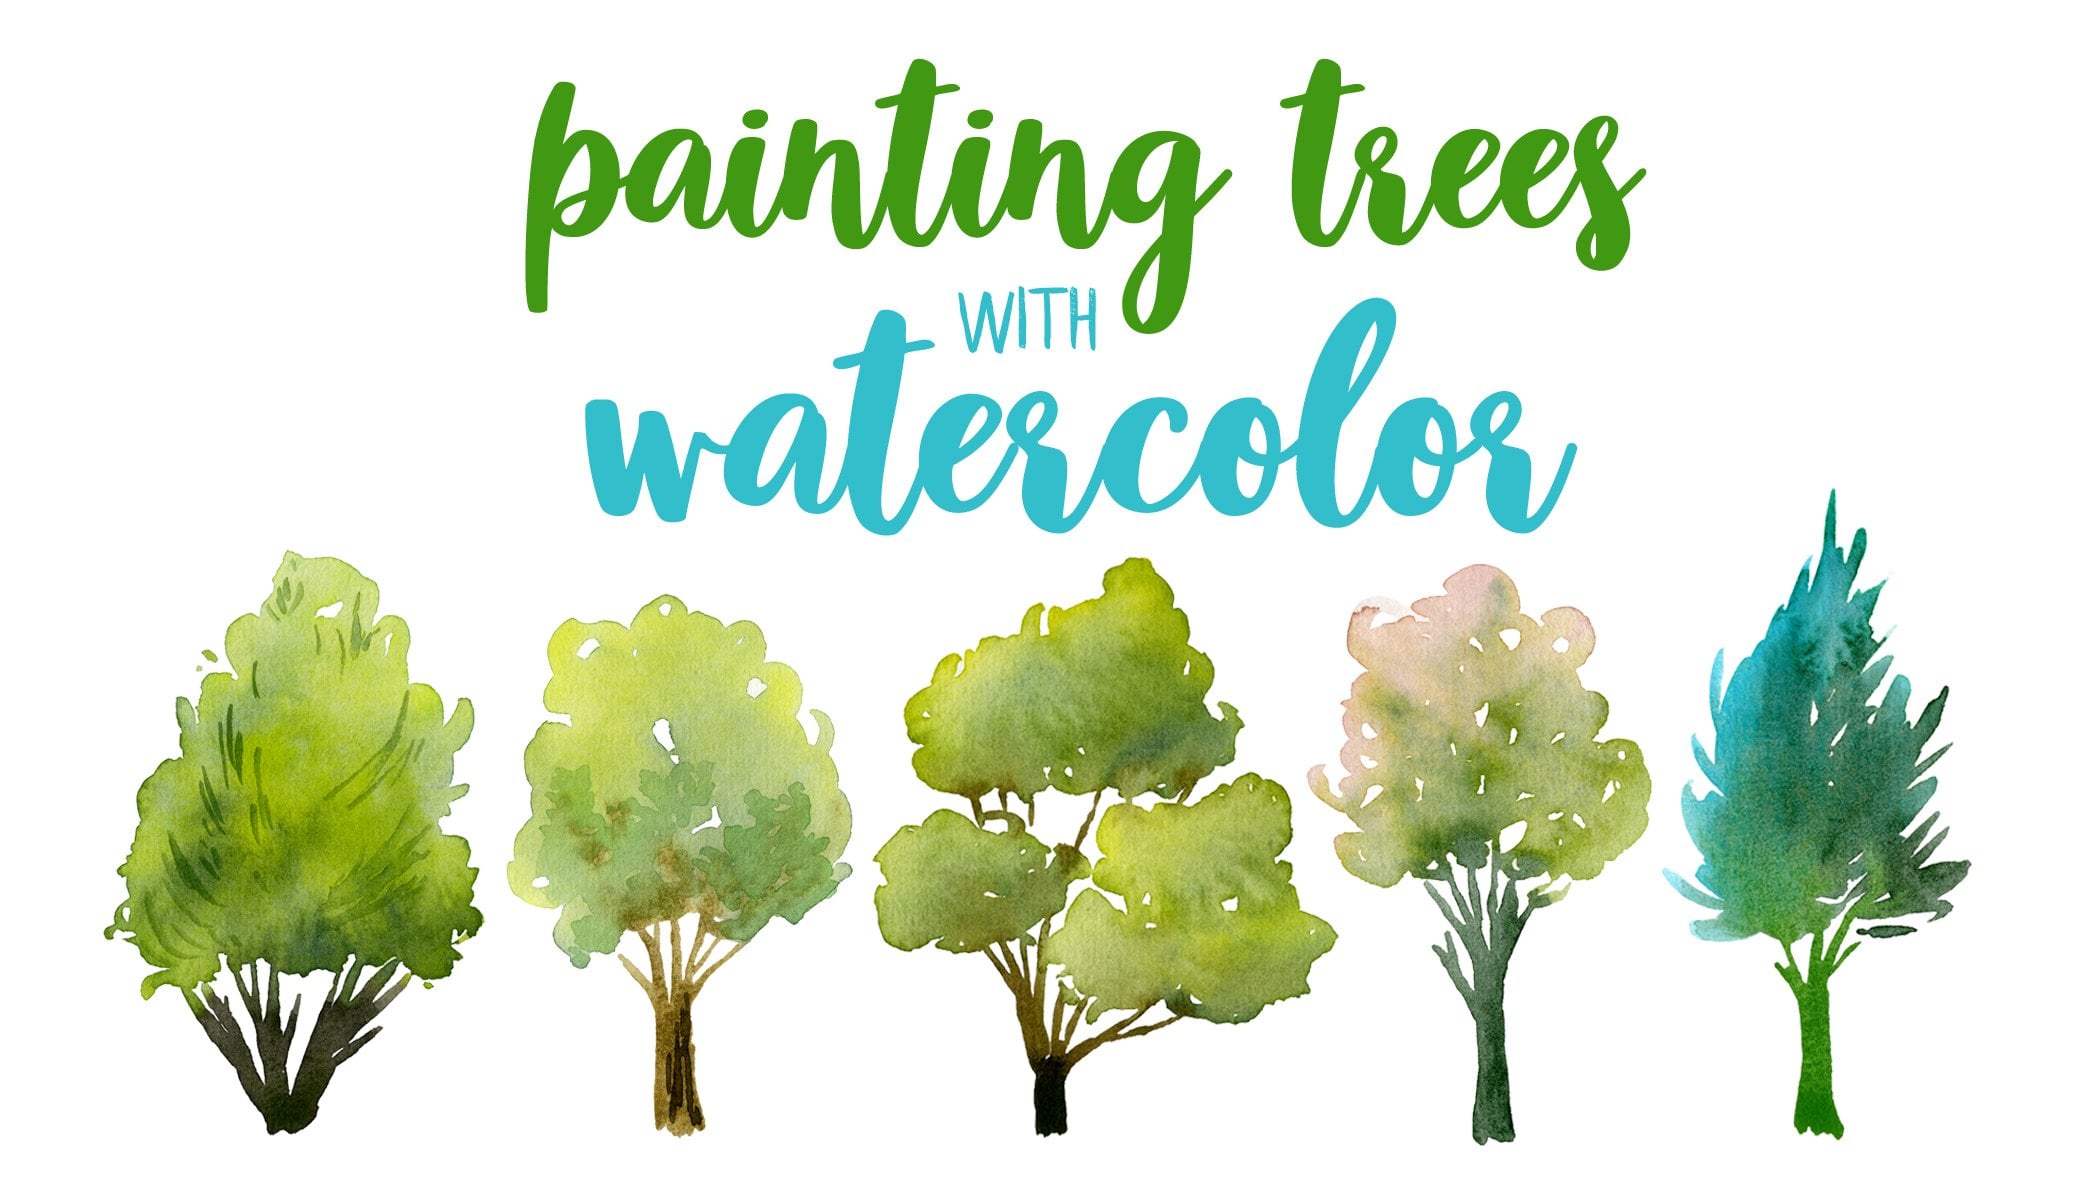
Transcripts
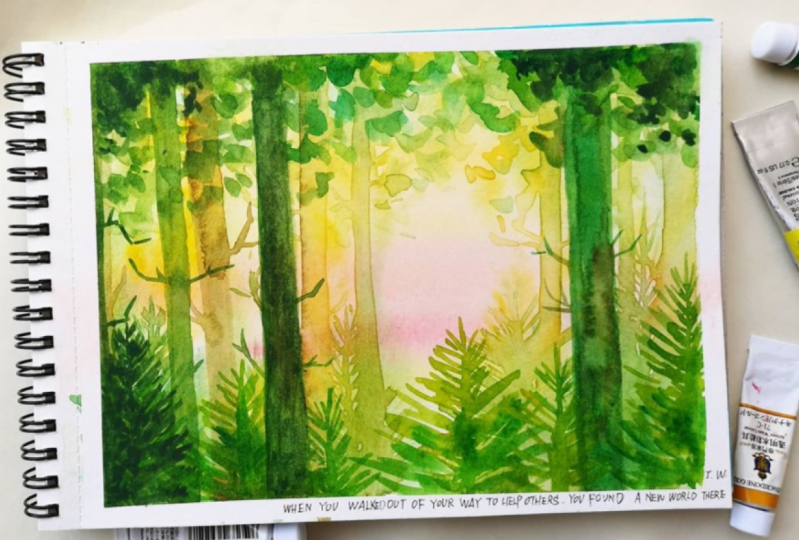
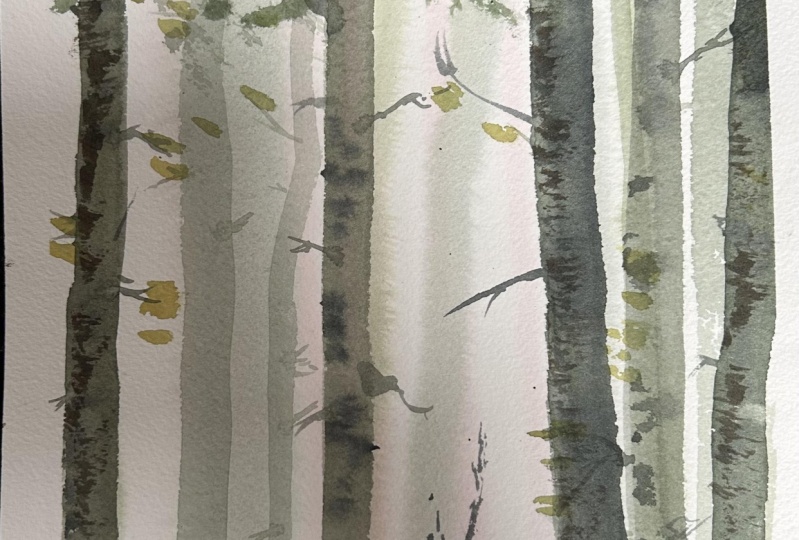
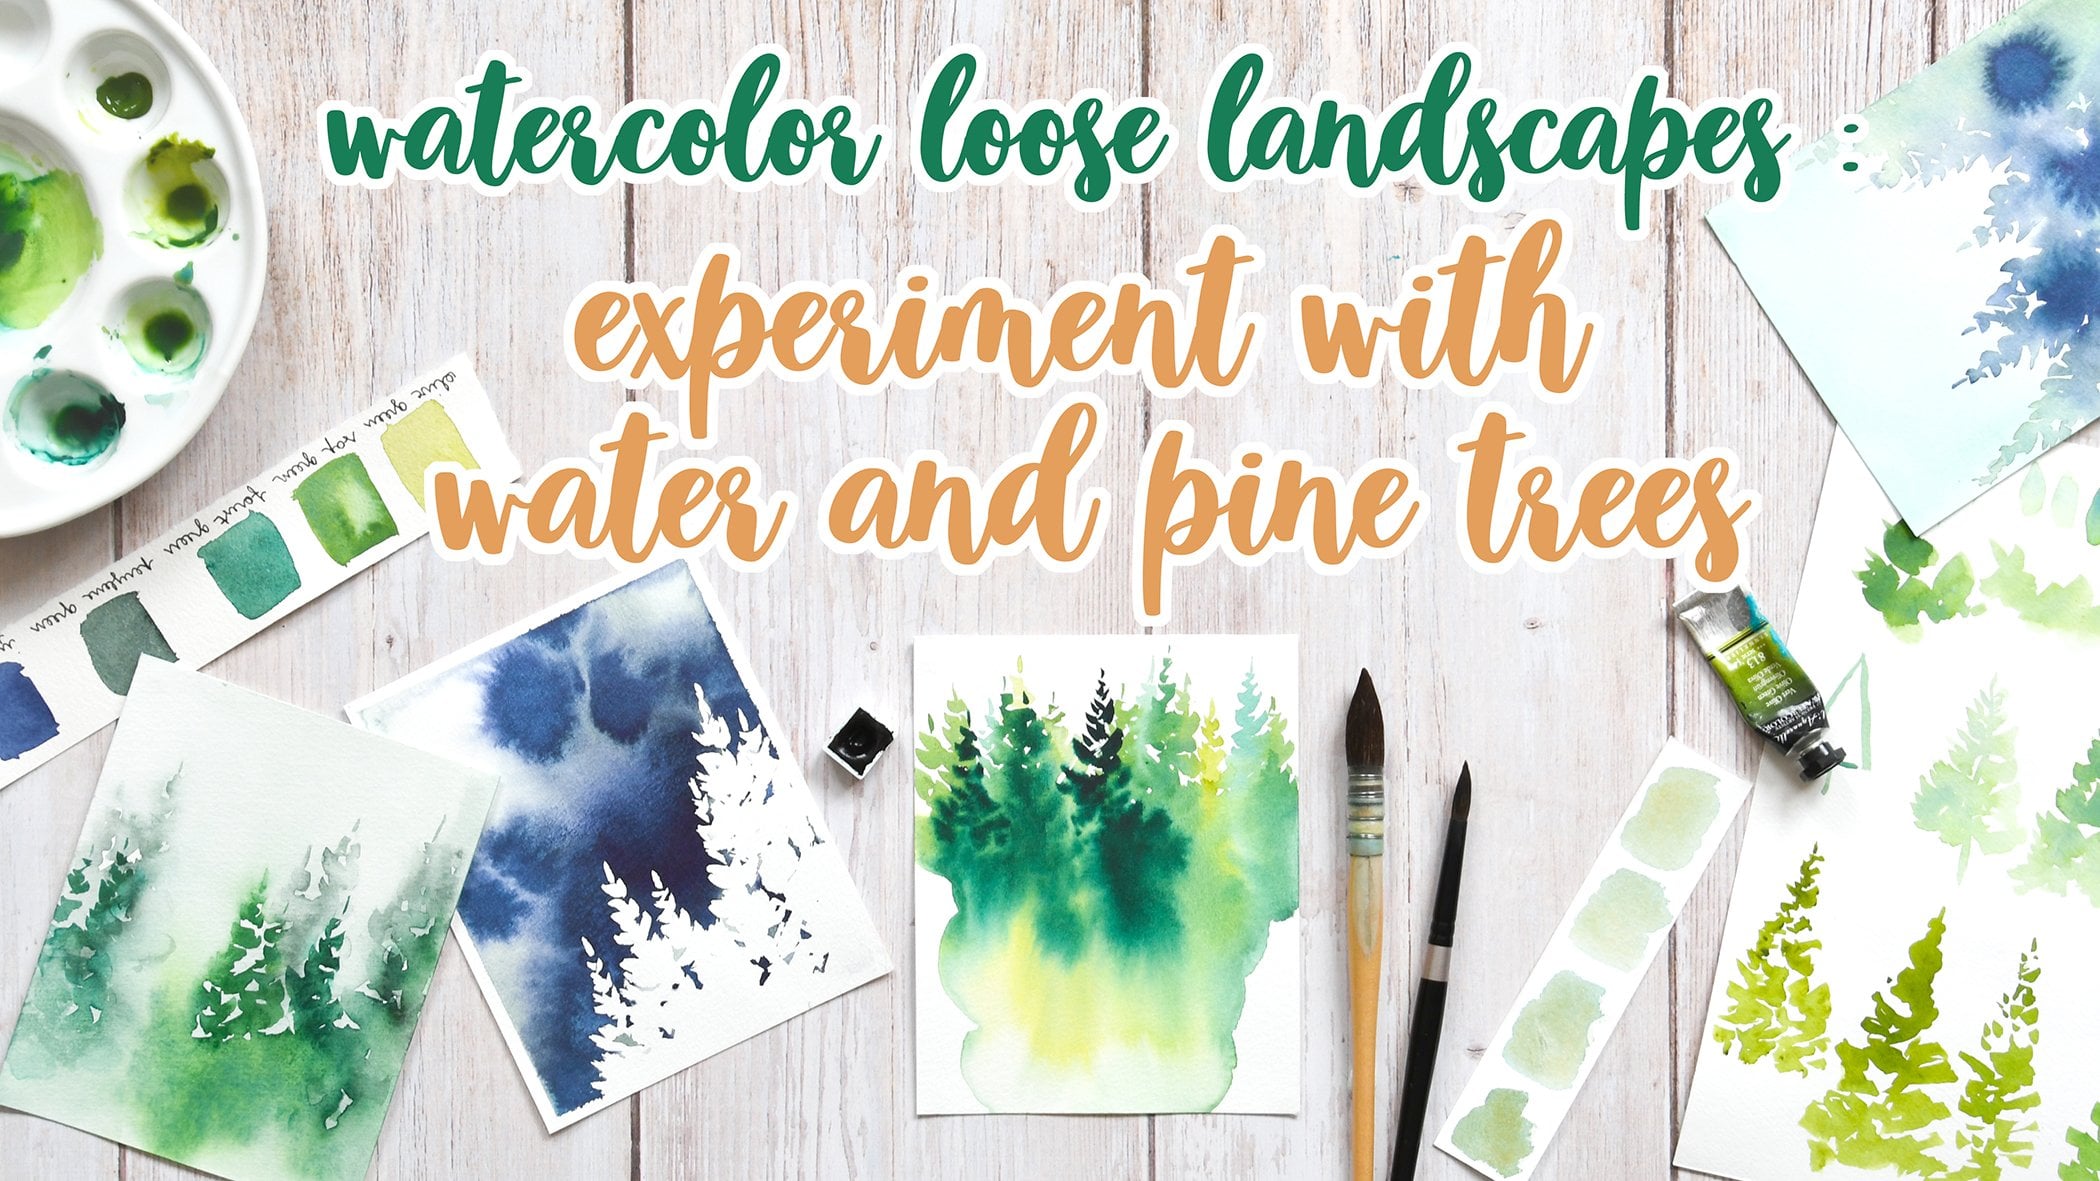
1. Intro: Hello everyone and welcome to this class. My name is Sarah and anonymous get baptised living in the French countryside it, today I am going to show you how to bend pine trees with watercolor. This is the sub-parts of a series of classes about bending the forest. And each one covers a different object. I already showed you out to paint beech trees and trees, scenes from De Lu. So today we are going to paint a different atmosphere. Picture yourself in the middle of a forest surrounded by palm trees. As far as you can see. In this class, we are going to recreate the beauty of the scene with what occurred or pen to gazers, it's not escaped from start to finish. You will only need three controls. So feel free to use what you already Avenue watercolor operates. The goal is to focus on the atmosphere, more than 30 deaths. You will learn how to paint an abstract background, reserve wet on wet technique, how to Benzer trees, and how to create them. Each video is in real time so you will be able to observe dialogue, process, and pendulum. So let's get started.
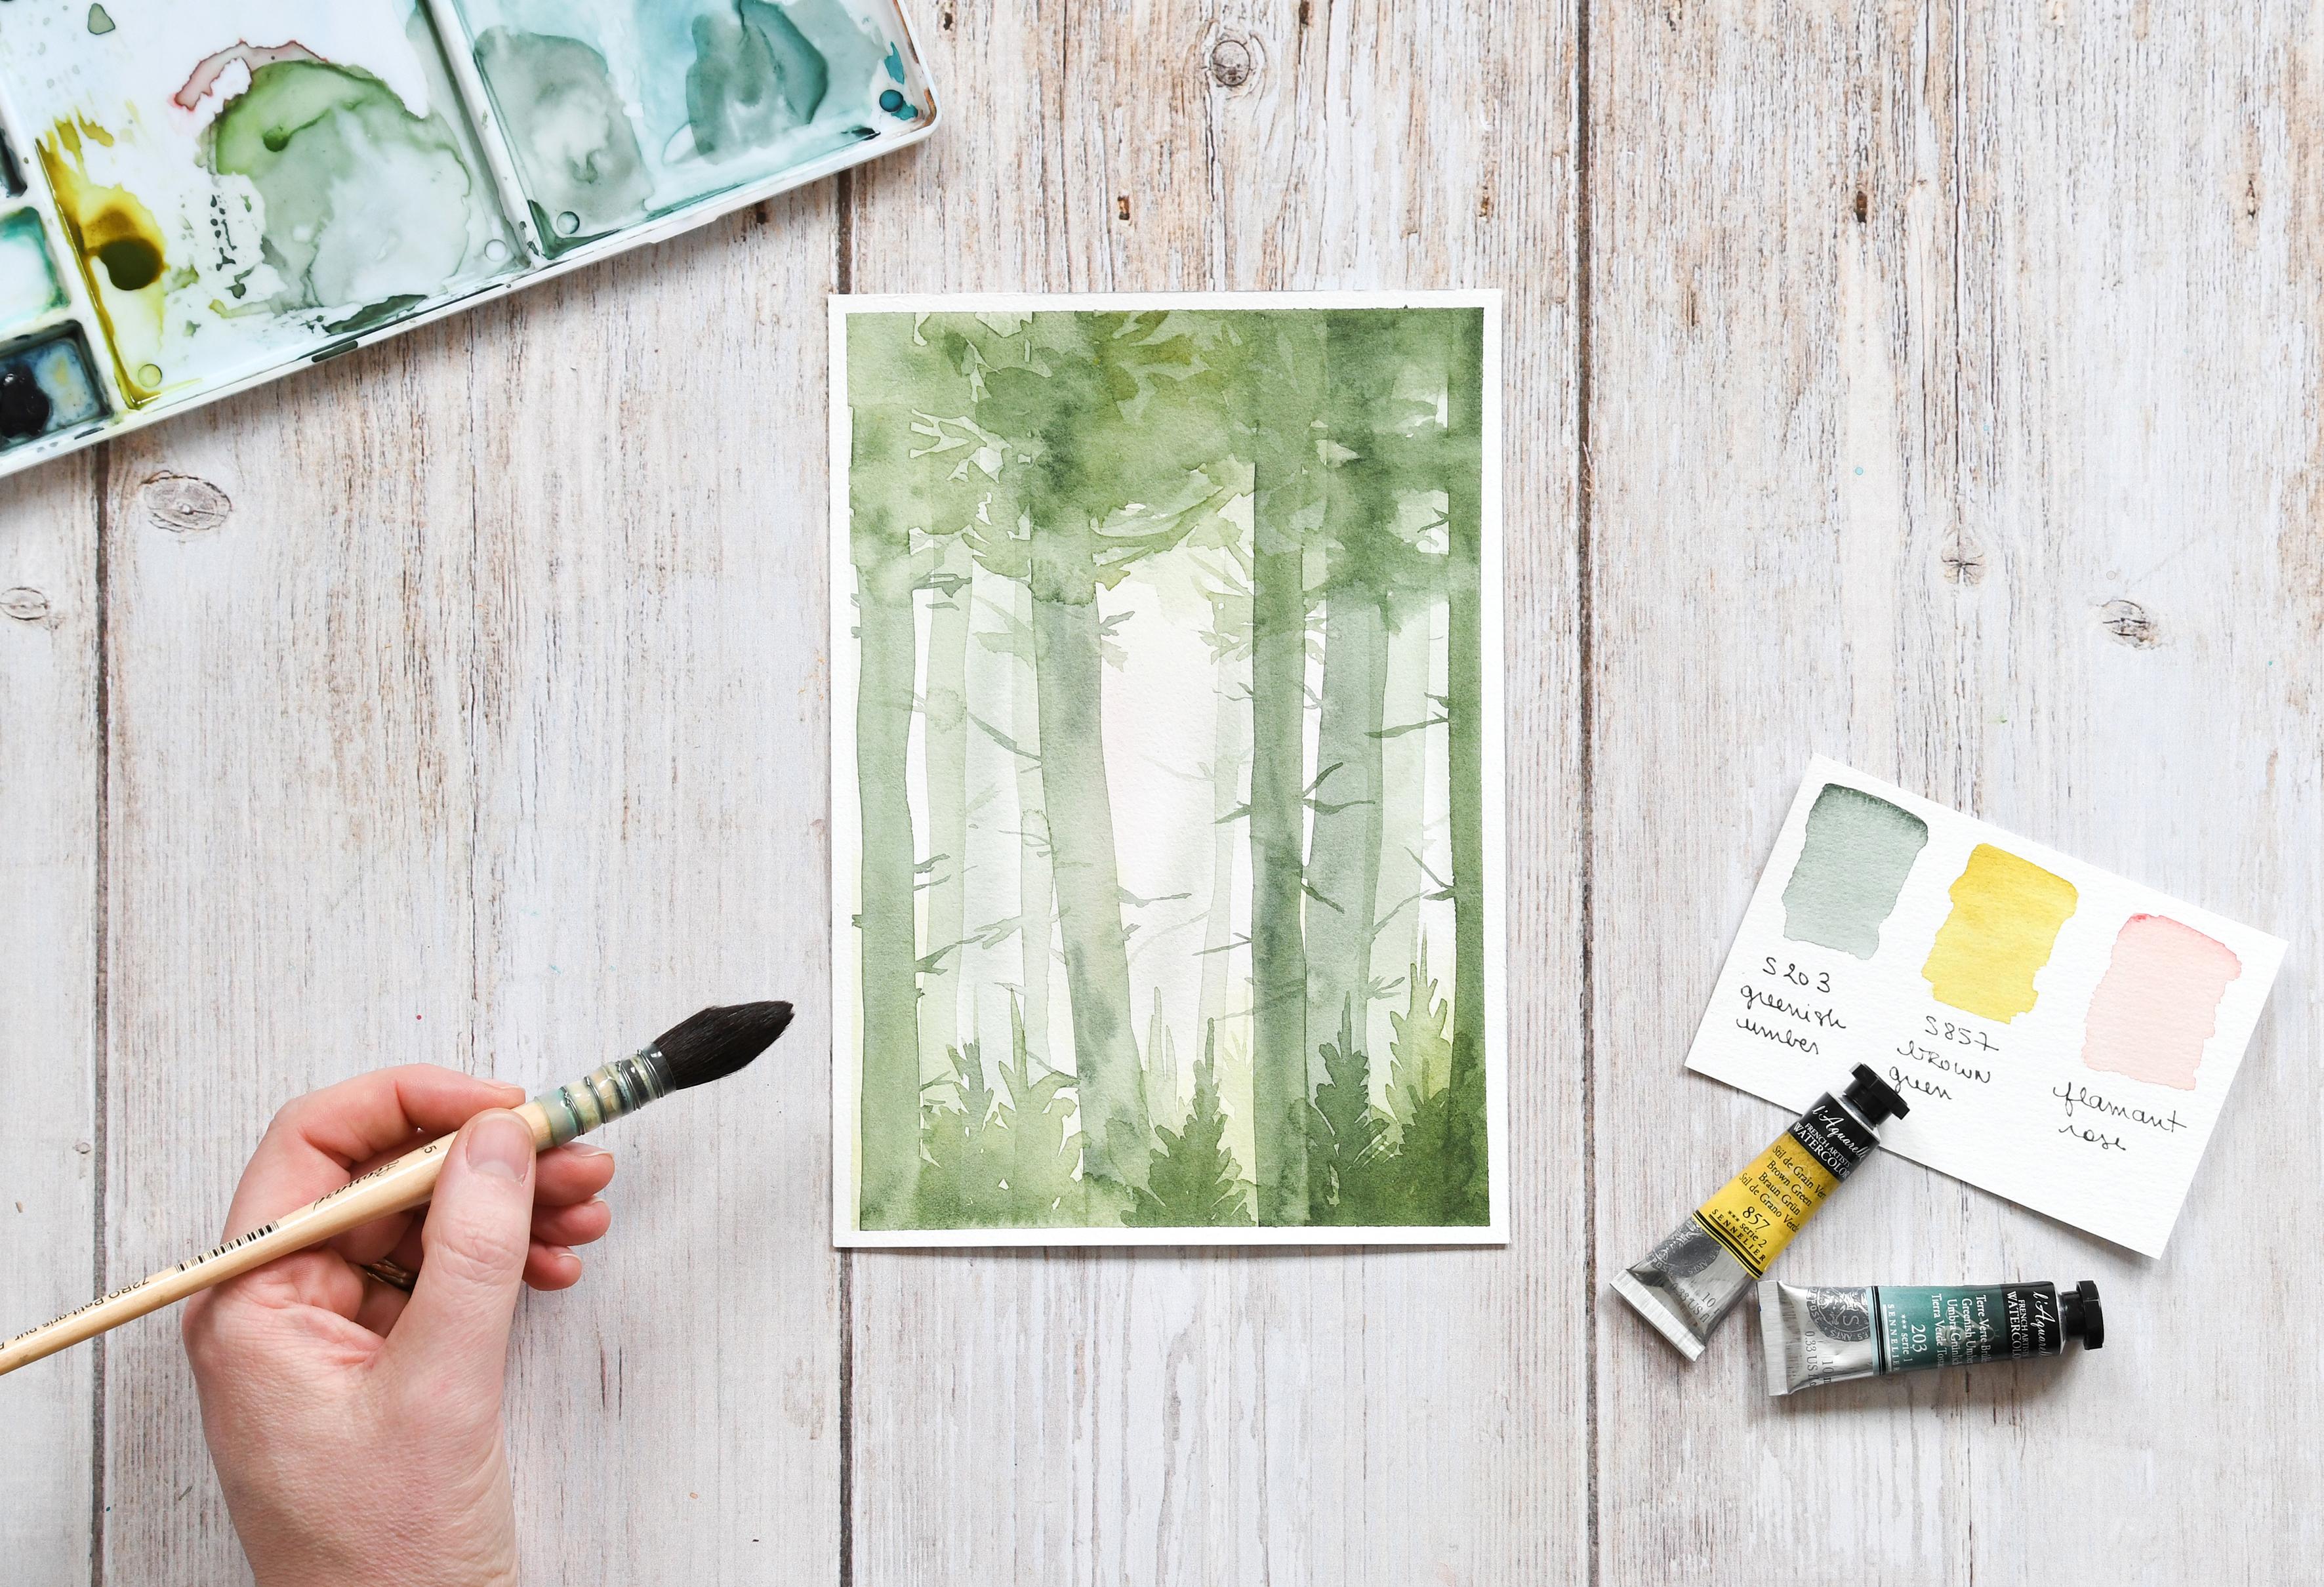
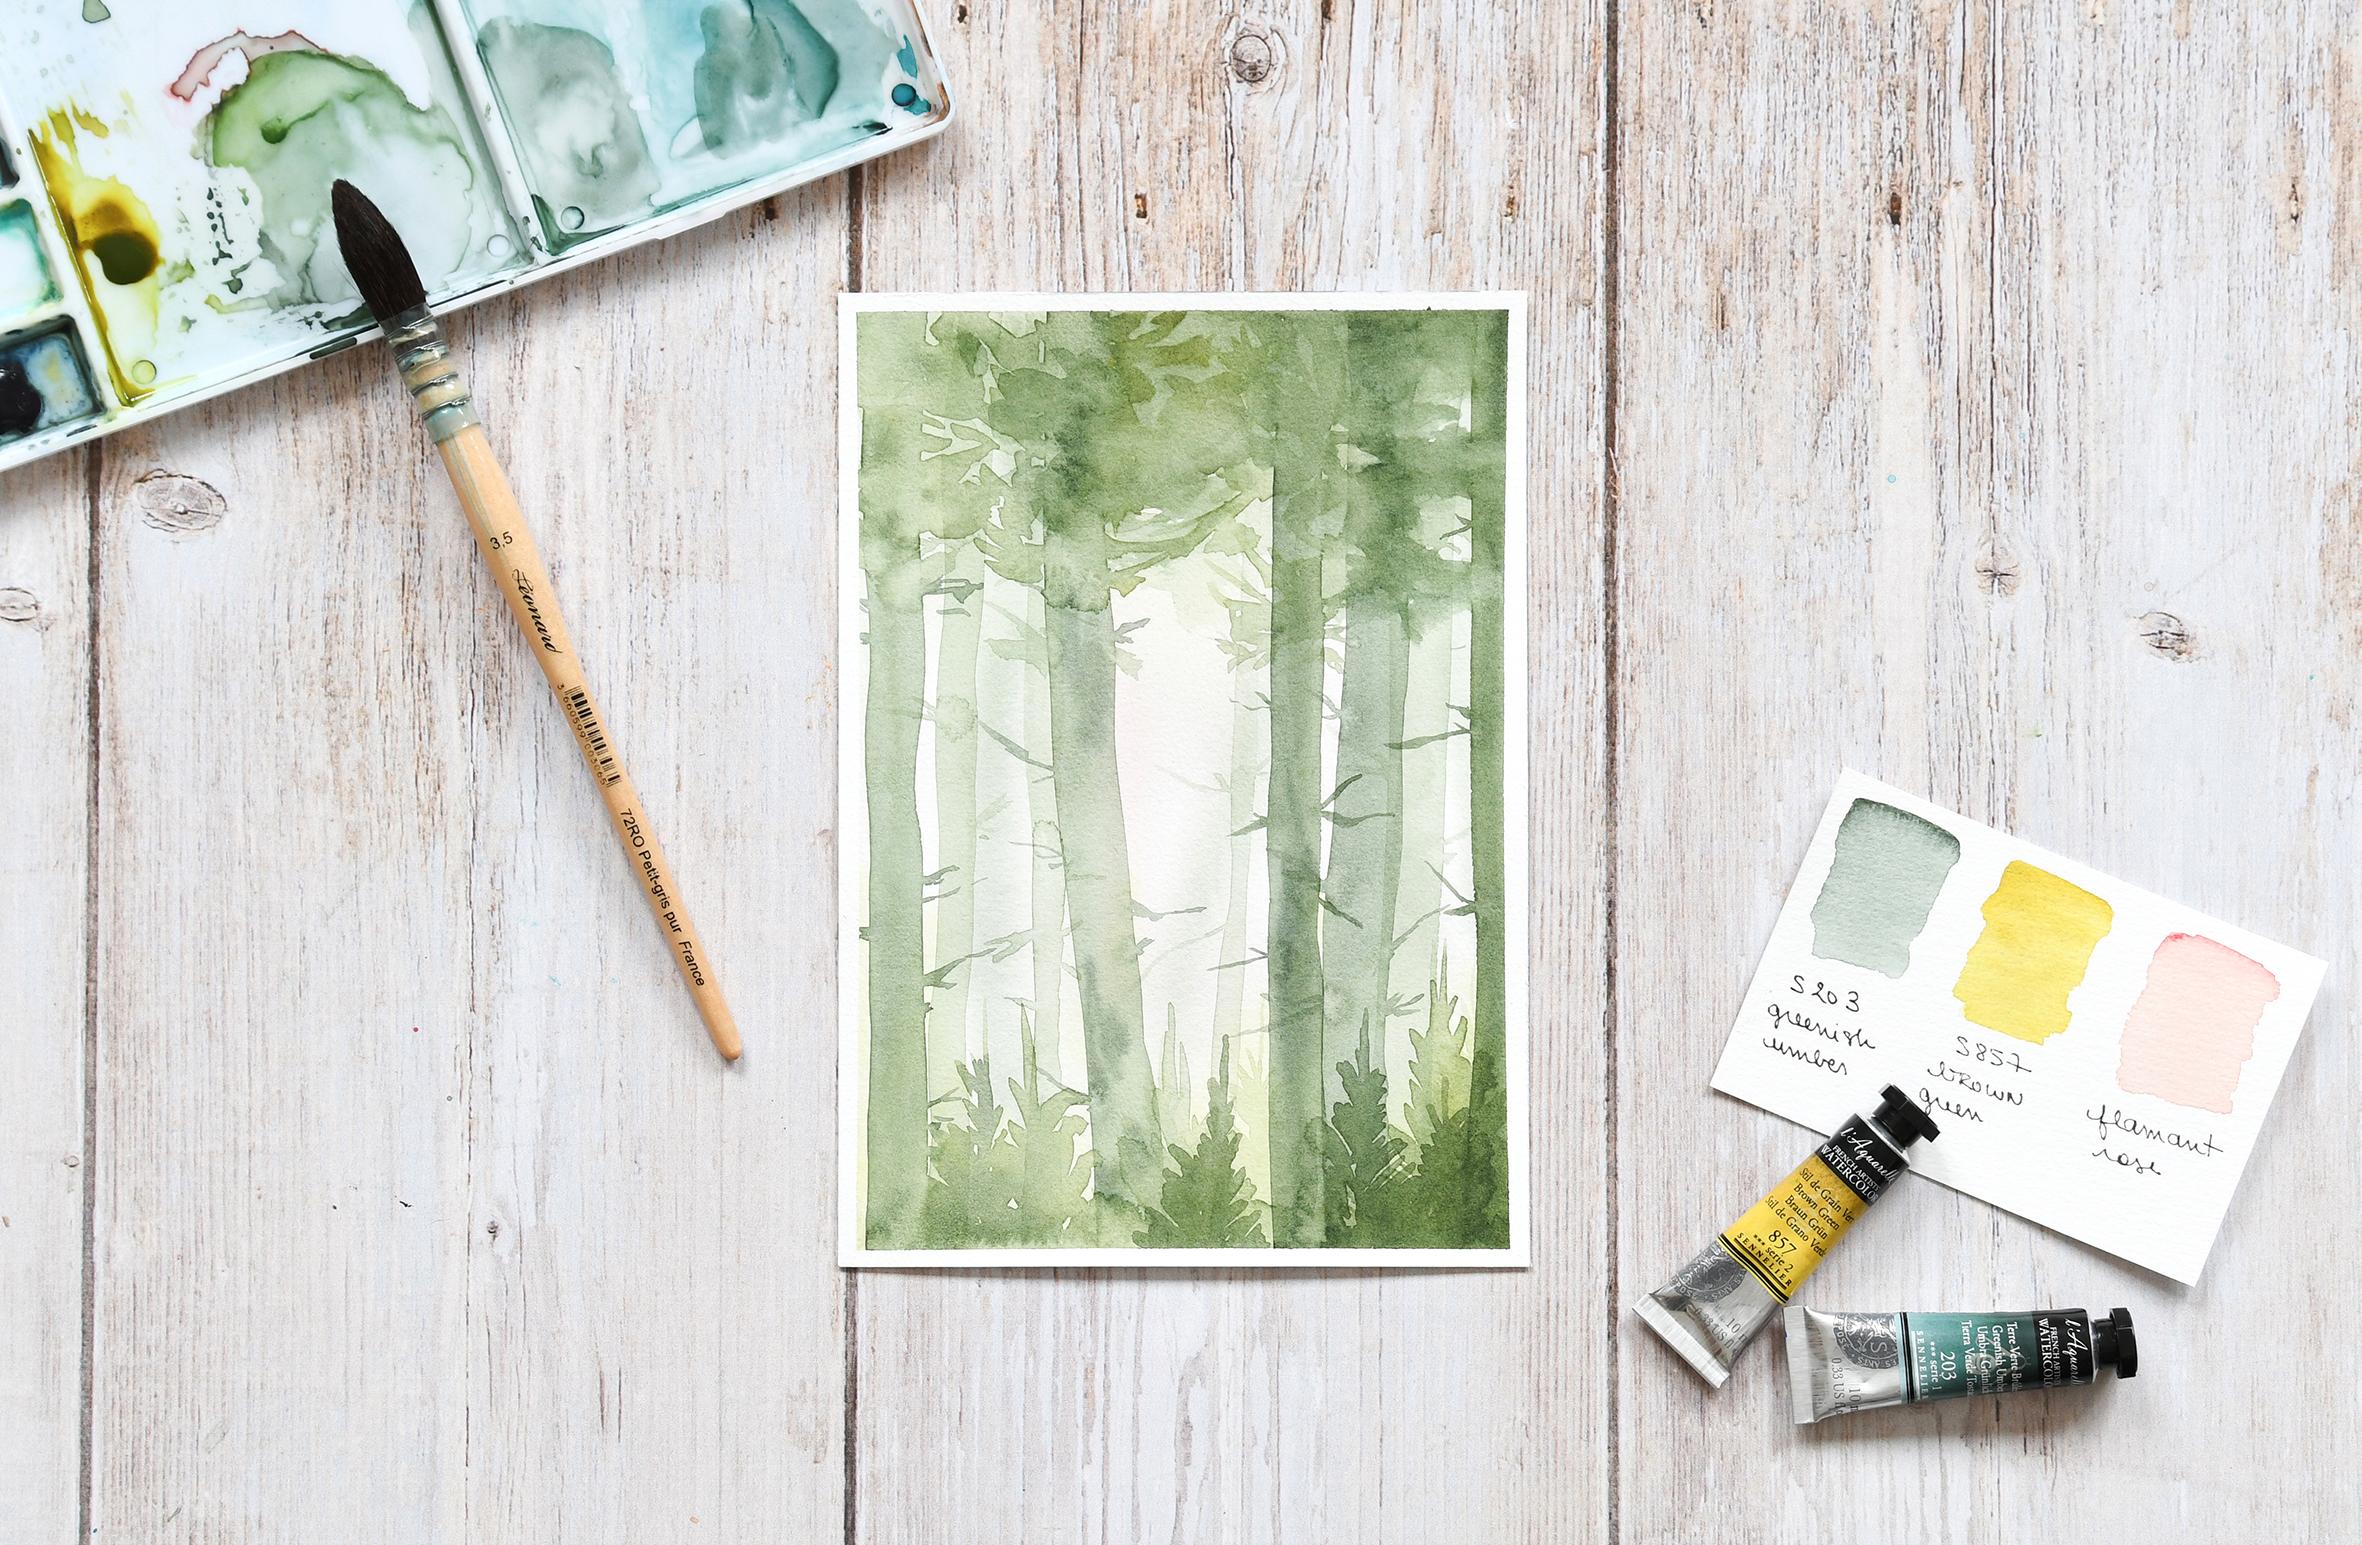
2. Supplies: So first, I'm going to show you quickly what supplies I'm going to use for this project. You will need, of course, some watercolor paper, some very thick paper. So three engine grandpa, square meter is perfect. And it's also better is the paper is 100% codeine because you are going to use a lot of water. If you are using your loose sheets, like me, it's better to take the paper on a cardboard or support. For this project, you will only need three Kerberos, a greenish, amber, some brown, green, and a flammable rules. It's this pink. You will need a few brushes of various sizes. Some big one and some medium ones. A pallet to mix your kudos, to jugs of water, one to clean your brush, and one with clean water. And finally, some pivotal Well, all right. And that's it.
3. Layer 1: So for the first layer we are going to use the wet on wet technique. So I'm going to use a big brush and some perfectly clean water to wet my paper. So make sure to add somewhat on oh, you paper. But try to luxuriate any puddle. And let's see. So I'm going to use a bit of my flamingos pink to begin ways, and I'm going to add it in the middle of my paper. You can see that I am venting. So straight lines. And I'm mostly adding that pink in the middle of my paper. Lexus. Now I'm cleaning my brush. And I'm going to add some of my greenish amber to my PEDOT under so a bit of brown green, 96. And then we add a bit of that brown green to migrate. And I'm going to bend some straight lines again, a front up to that. So the appends is printing a bit. That's exactly what we want. Because we want to append the background. So some trees, silhouettes, but not some perfect ones. And we'll spend a few more trees. So I need to add a bit more gray too. I bet it. This time I'm going to use the tip of my brush to penned some smaller lines when the n1 axis. Now I'm going to use my brown green almost. And I will add it to bend. Some pine trees silhouettes at the very bottom of my landscapes. So I'm just painting a straight lines and then I'm creating the Fourier edge. So remember that this is only the first layer. So the goal is not to create something amazingly beautiful. Goal is just to start and create some dips. I will add a bit more of my green, oversee this, and clean my brush. And with my gray NMAC green. I will add a few drops and setup in just a bit Rondonia again. And that's it for the first layer. Now are we led to dry completely and then we will add more trees.
4. Layer 2: For this one. Now we are going to add more and more trunks. So we use the medium brush and a mix of greenish, amber or brown green. So just a bit of green in migraine and some water because we are going to bend trees that are still far, far away. So I'm just going to bend a few lines starting at the bottom and going to the top. So try to make some tracks that are almost the same width. I will add a smaller one here. So I need to add a bit more bent. A little bit more bends at the bottom again. Let's spend another one. Let's see. Here. Again, the goal is not to bend perfect trees, but if the shape is a bit weird, is totally okay. One more. I need to unmute bends at the top and the term. And this time I weighed bends, a bigger one on the right. So I'm pressing a bit more on my brush. And just a exempts. Now I will add a xihuan. She's still using my same brush, but I will use mostly the tip. And I'm just going to spend a few lines coming from the trunk to 0 outside a shoe on this one. So you can see that's my rent. She's arguing in many direction. I'm adding a shoe on that tree. Some smaller ones. And then pale trunk here. Be it more. Let's say one here. And doing the same thing for this one. So my bigger trunk. And I will also add but bits of foliage at the top. So seal with a mix of brown, green, and greenish, amber. I'm just going to print the N-bits of Fourier edge. Too dark at the very top. Again, the goal is not to pen something to perfect. Because trees never matches. To add a bit of depth to our painting. We are, because we are going to pend two more layers after that. One, K, I will just add some tiny drops of water to create texture at the top. And at Zuber term we are going to do as we did earlier. We are going to bend the silhouette of buying trees. So I'm starting with the line engine and just painting the Fourier edge using lines that are going from the outside to the inside. I'm still using a very light bends. And I'm adding another tree here. And then we'll add one more on the right cell seeing I'm starting with the trunk and then I'm paintings of Fourier edge. I don't want my tree to be, to be too neat because it's a tree that is in the background again, legacies. And now I will let this layer dry.
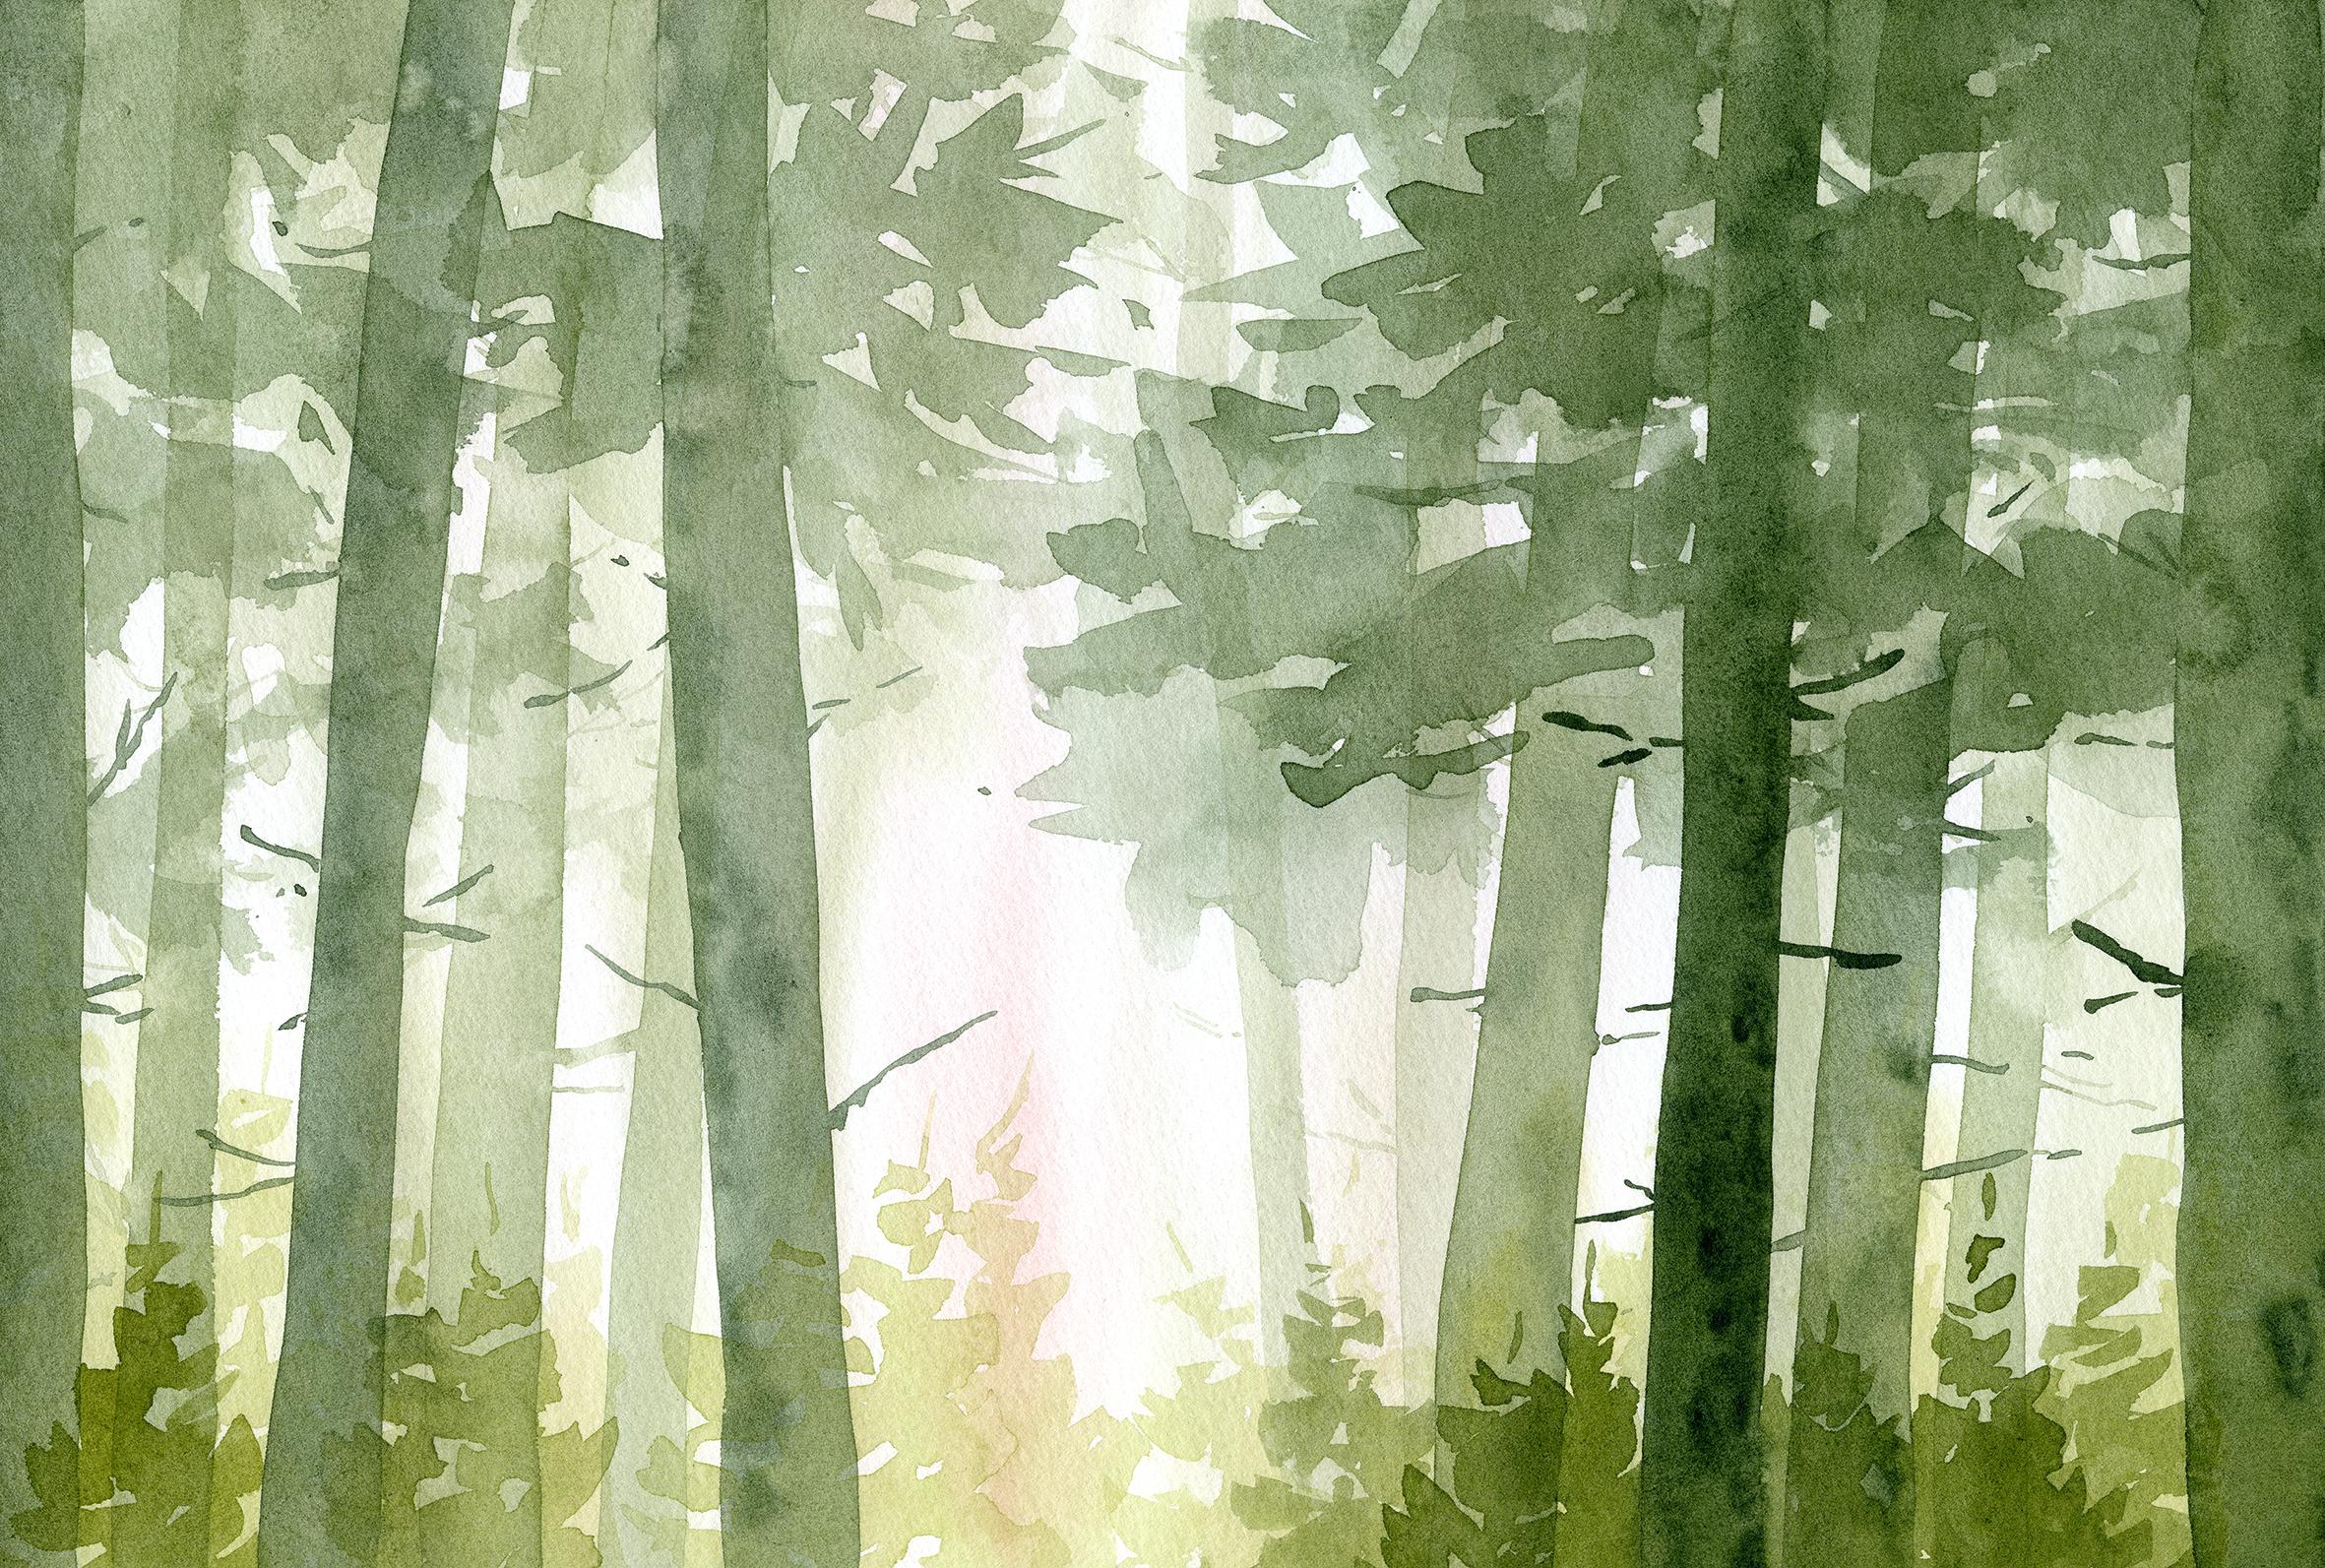
5. Layer 3: Okay, so MapReduce failure is dry n I'm going to add a few more tricks. This time I'm using a big brush. And we'll add a bit of brown, green twosies. Greg. I will add also a bit more grabbed psychosis. Really pay. Now will bend few more trends. I will start on the left. And I'm inventing a trunk starting at the bottom. And then getting a sink. And we'll add a bit mercury again. Because it's a bit too pale. I am adding a few drops to create some texture from the trunk. And I will append another one over here. So the goal is to bend larger trends. Because we're painting trees that are at the foreground. Sensing as earlier, I will add a few drops of grid to add some texture to the tree. And now I will bent when lasts, let's say over here. So again, I'm inventing a big line for the silhouette of the trunk and then them seeing a bit of texture. Now, I will add a few branches using the tip of my work. If you don't feel comfortable using the tip of a big brush, you can ofcourse tech a smoother brush with Sharon, she's here. Now. I'm going to add on that tree. If Schumer here. So take your time. Lags this. As I did early Yale, I'm going to bend some Fourier edge at the top. And after that we will add a few more bile trees at the bottom. I'm still going to use my big brush. And I'm going to add a bit more gray and some green. And then just going to paint some paint trees, needles here and there. And so again, don't try to append something perfect that immerse yourself in the process. And lets you brush, wander on the page. Planting trees in not sorbet is not so much about the technique, but it's also about letting go and lost yourself in the process. A bit more on the side, and I'm going to add those. So some Fourier edge on the top right corner is bit more. Fourier. Also lists left side T2. It more. And now I will add a few more about pine trees serif at the bottom. So as a year 19 fossa trunk. And then an painting, we add one more just here. So when landfills and shrunk in, then I'm benzenes, the Fourier edge. And I will add up to one, lay here, one line for the trunk. And using the tip of my brush and paintings of Fourier edge. Maybe something a bit more crazy. Here. I think I'm going to add a bit more gray in just a few drops on the pine trees to create some texture. And that's it for this layer.
6. Layer 4: Let's spend our final layer. I will add some more grey, so my greenish amber to my palette. Of course, I'm going to mix it with a bit of brown, green. And I'm going to bend. May 1 more silhouette, maybe to, to add again a bit more depth. So with my brush and we'll pence per tree. Here, just on the right side of my painting, I will add a bit more gray tree is a bit too pale. And then we'll also add maybe one more tree. Here. Makes this again, I will add a bit more gray to bend under could trunk. So now I will add just as we did earlier, a few branches. So I'm using only the tip of my brush to paint some thin lines. And we'll add also a Sharon. She's on that tree here. You funeral. Just like that. Now, I will use a bigger brush and still with my green in-migration. And we'll add a bit of foliage at the top again. And try to bend them seeing not to perfect. It will add some character to yew tree. It's exactly as we did on the previous layer. The goal is to add a bit more depth to our printing. Some more fully edge on the side, a bit more so. And the top. And our schools, we will add a few more bind trees, absolute terms. So I need to add some gray again on my palate. As earlier. I'm starting by painting a line for the trunk, and then I'm printing the Fourier edge. So these three need to be darker than the previous one. Since it's at the foregrounds. Maybe. I will add another tree here, but a smaller one. I bent in the trunk sooner, I'm adding the 4H and I will add another tree here. So first inventing the trunk and no ageing. So 4H and I sink, this painting is fully done. Lady dry, completely before removing the masking, Dave. And that's it.
7. Project time: And that's it for this class. I hope you enjoyed paintings in Spain, trees and nothing more. Confidence to Penzu, old fluorescing. Please upload your project in the project X Windows, this glass, I would love to see what you create. If you're interested in learning more about Benton landscapes, you can check my also classes about authentic arrests, pine trees next guys and law. And if you want to be notified when I publish a new class, please click the follow button. Abuses in there. And I will see you soon.
 Sarah Van Der Linden, watercolor artist & nature enthusiast