Transcripts
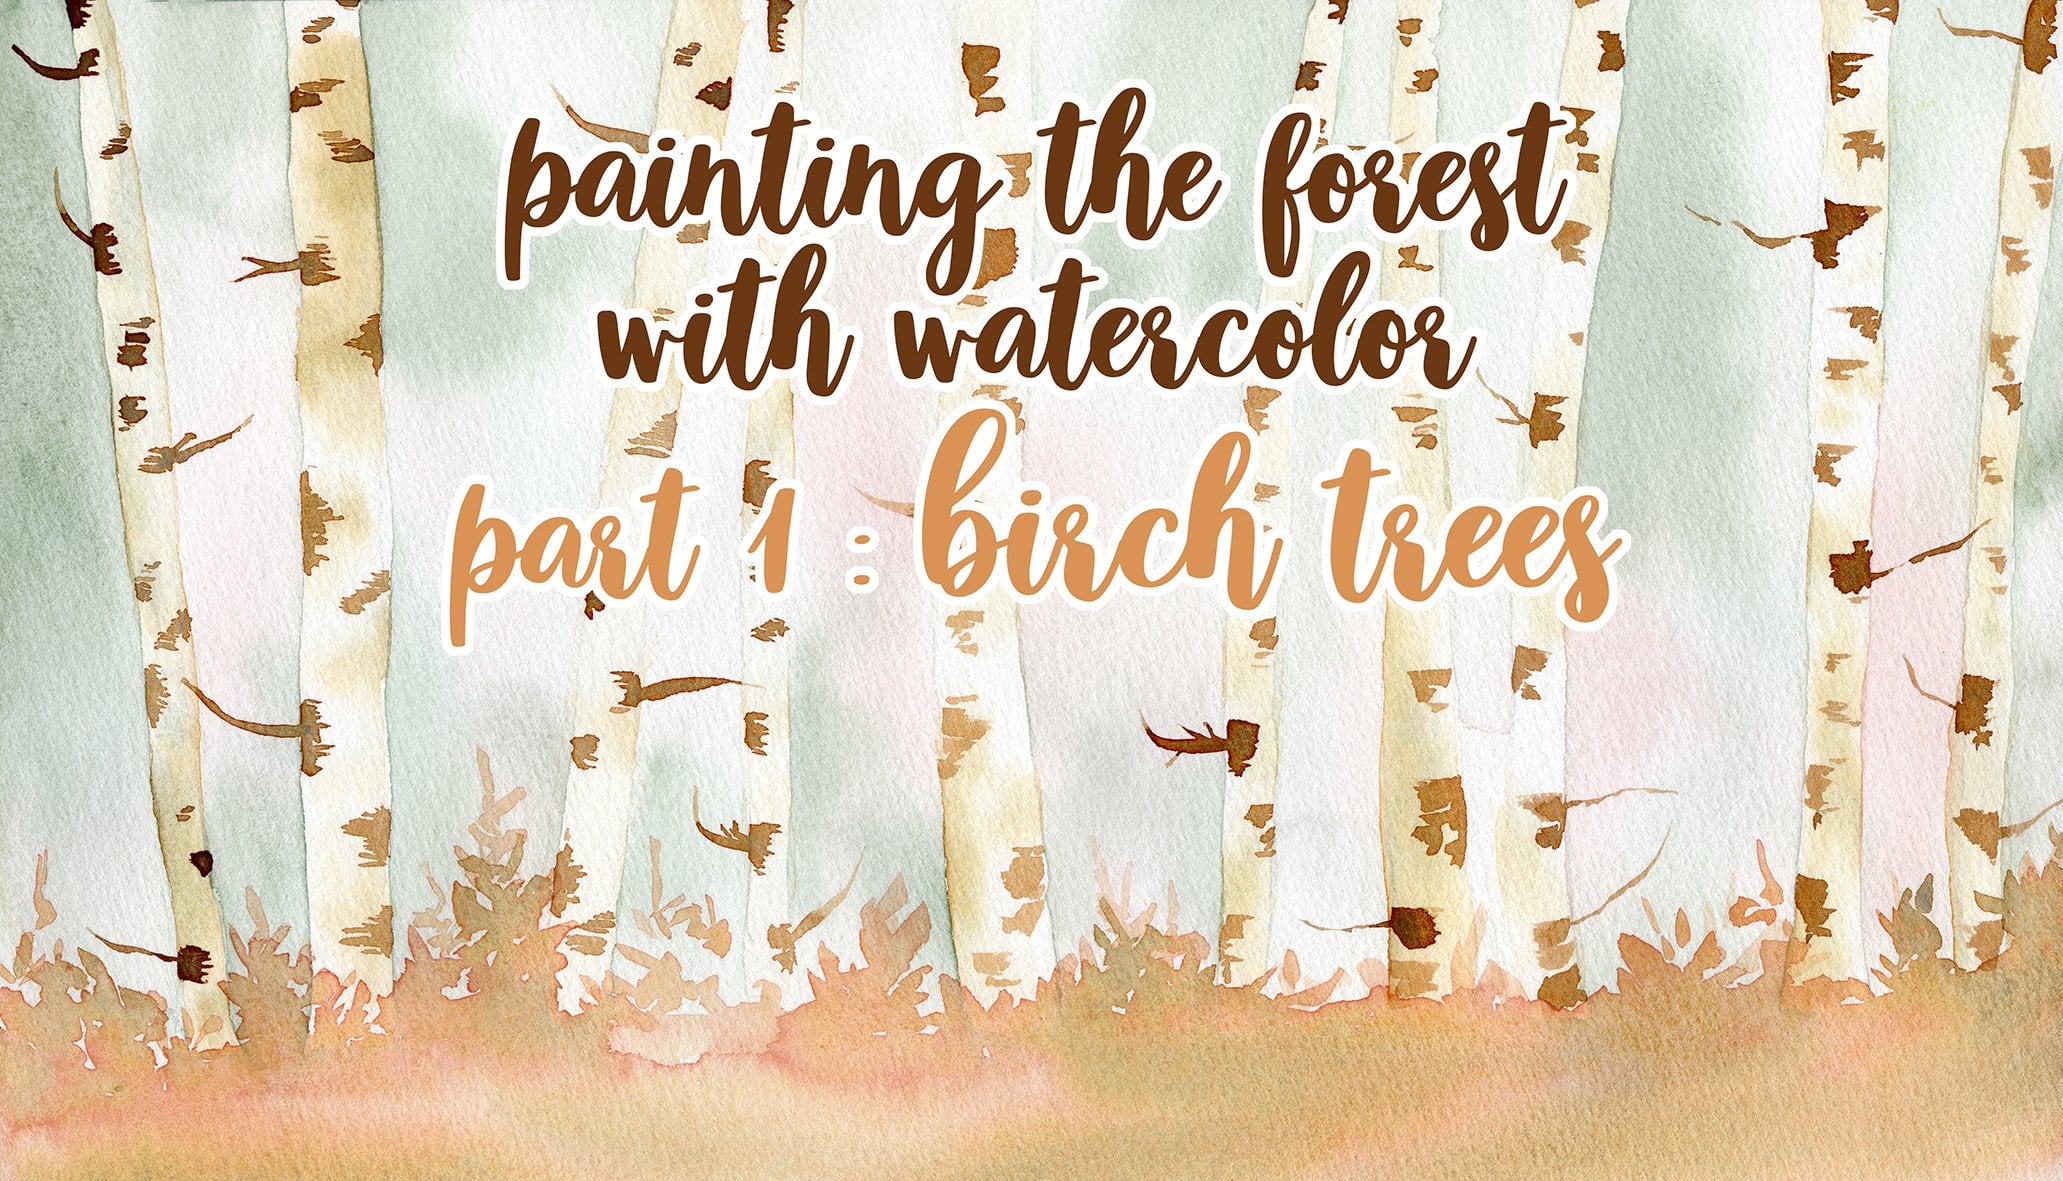
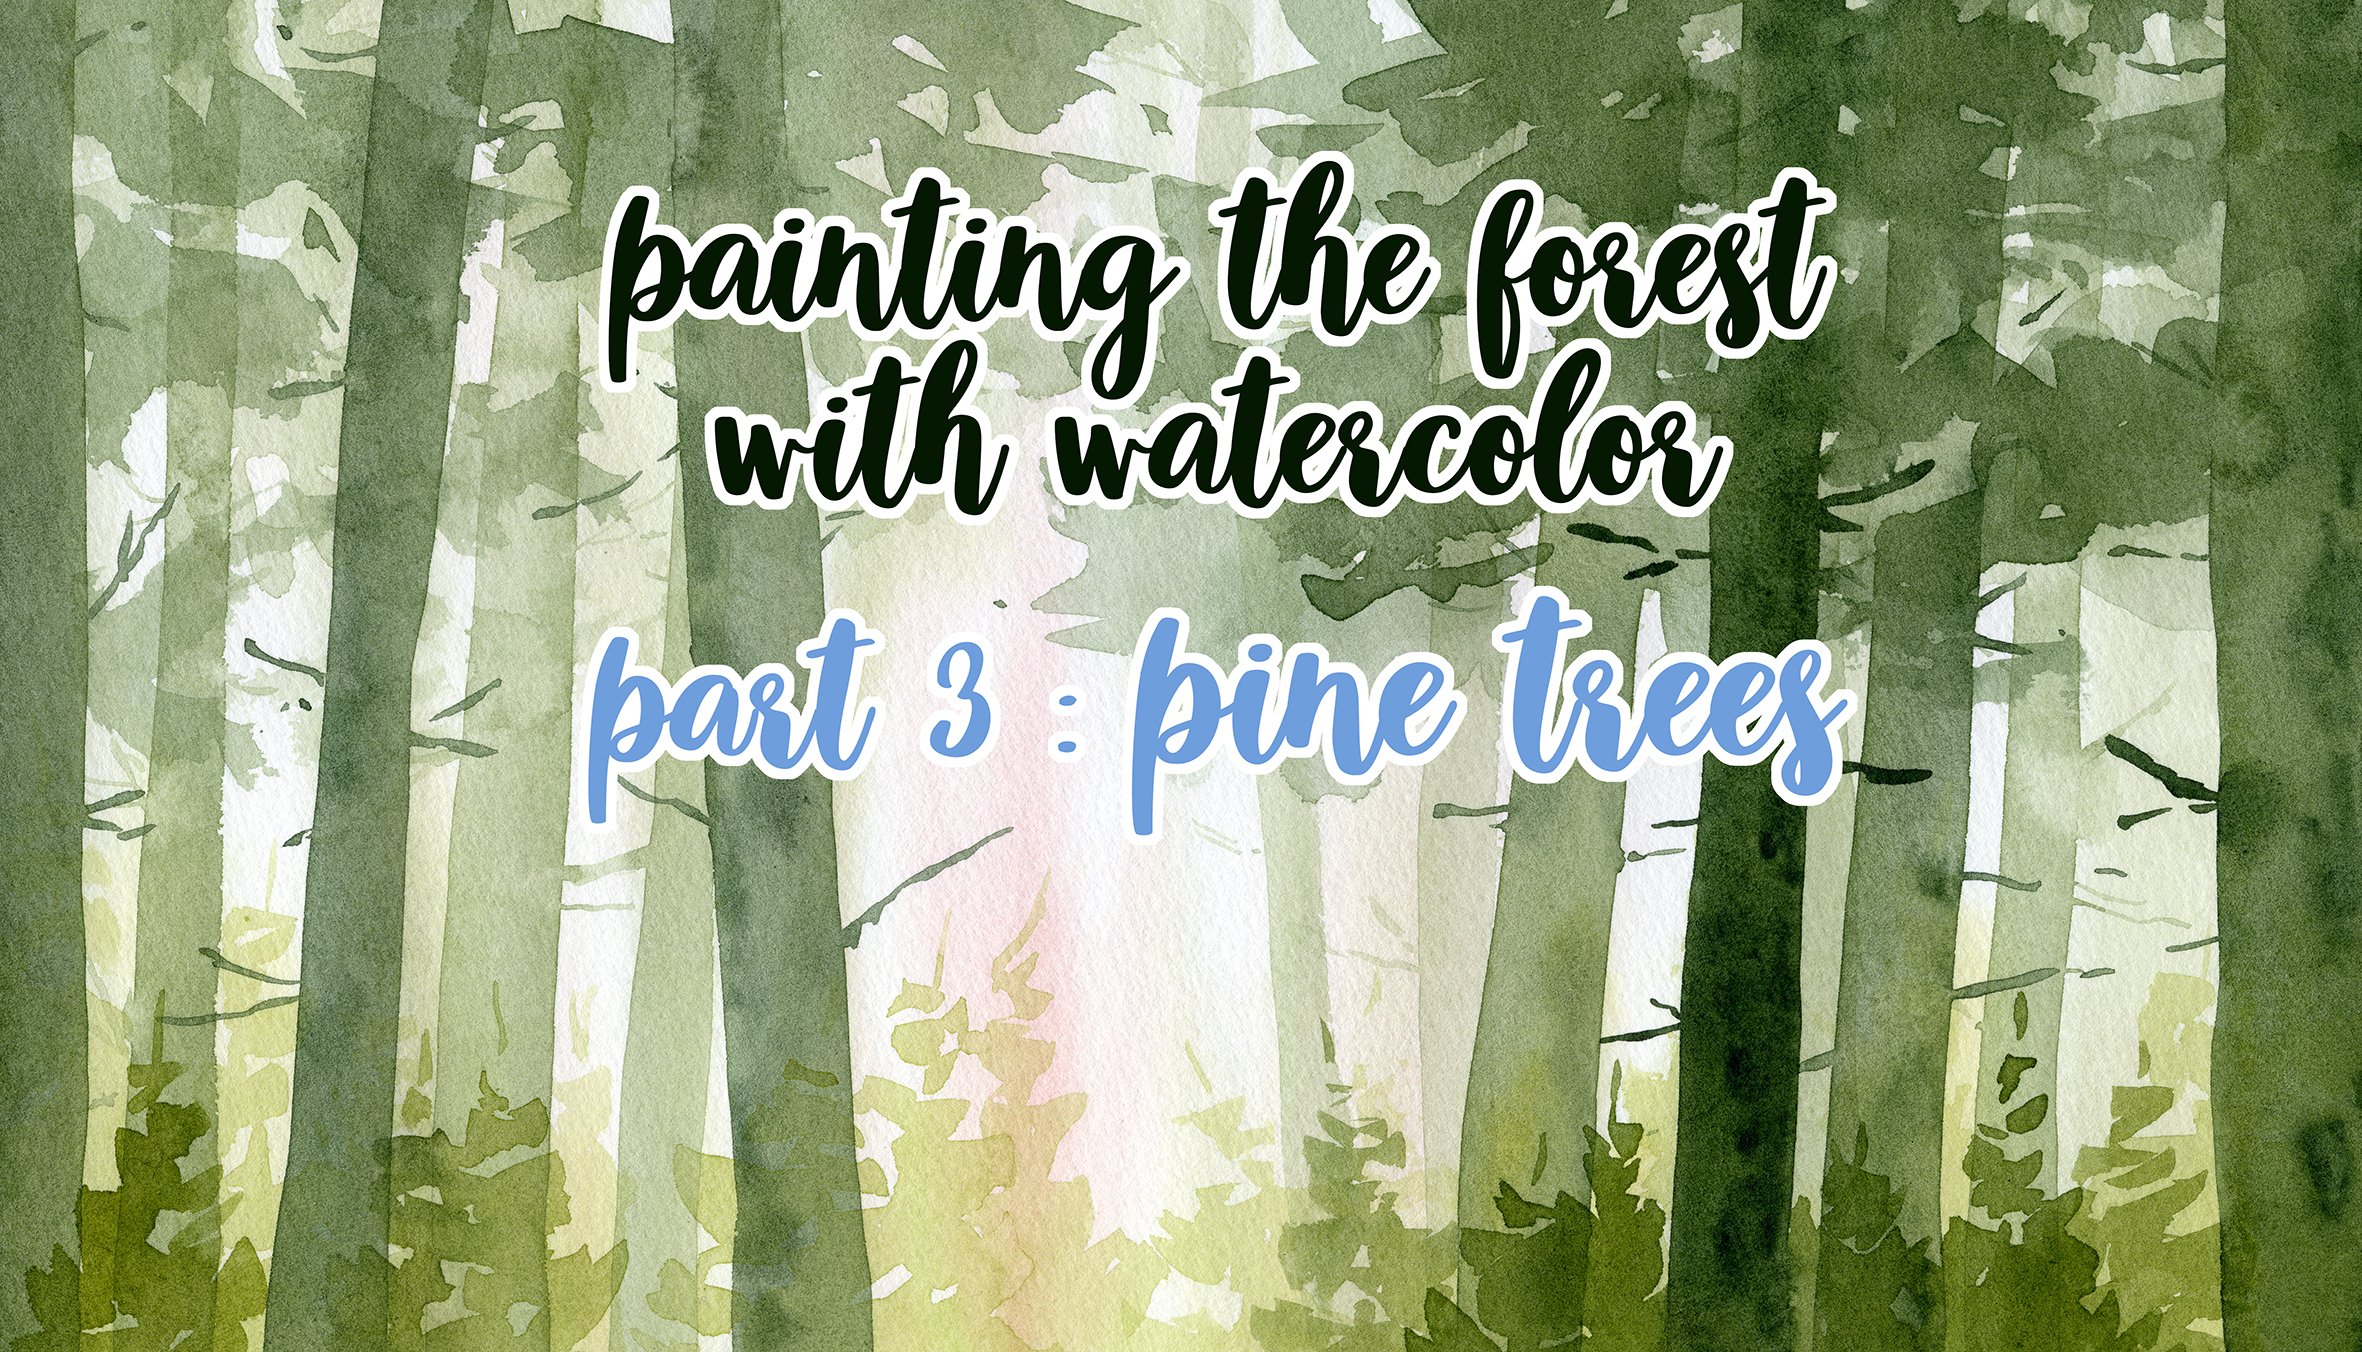
1. Intro: Hello, everyone. And welcome to this class. My name is Sarah in a landscape artist living in the French countryside. Today I'm going to show you our top entries thing from below with water cooler. This is the circum paths off the series of classes about paintings of arrest and each one will cover different footage. Last time I should you out to bend the trees, create the silhouettes and at some texture on the trends. So today we are going to change the viewing points. Picture yourself in Zehr Ferres to lying on the ground and looking at two exams for legend trees with the branches and tricks in discuss, we are going to retrain the duty of Cygnus Wetter Carlo MPEG two years I was slow escape from start to finish. You will only need to corals. So, Fif, free to use what you're always have a water color palettes. The goal is to focus on the atmosphere more than 30 days. You will learn our depend on sort by wrong is a weight on my dick. Niche out depends the trees and out to create this. Each video is in real time, so you will be able to bend along and observe Z on the process. So let's get started
2. Supplies: first, I'm going to show you quickly what supplies you will need for this project. You will need some watercolor paper. The brown does not matter, but it needs to be a good thick paper. 300 gram bust perimeter and it's better is the paper is 100% button. You will need us to something for your paper. We will use to close this palace in inter Kwai eyes and these greenish member. If you don't have the exact gurus, it's fine use what you have our own is This is aggress. It is a bit green. Anadarko's you will need er so a few brushes of value sizes, some big ones and a small one. But what they call opened it to Charles off water. One took in your brush and one with clean water and some paper to run. Oh, Anil drug and that's it.
3. Layer 1: but depend on trees were going to use the wet on wet technique for the first layer to create something a bit abstract and not to needs. And we we add the ties after that. So the first thing I'm going to do is to wet my paper, all my paper, a song going to use a big brush and some clean water. And I will quit my people. So be careful and add water everywhere. So I'm venting in those aside to make sure that I did what's oh, my paper. And now I'm removing the excess water to make sure that they're owns any better like this for the first layer, I'm going to use some very diluted Carlos. I'm going toe at them on my bed. It's This is my turquoise and I will do the same thing is my grid. I will gadgets here, and I'm going to mix a bit of Greg with the bits after toys. So we is a big brush because we don't want to spend. Some seem to precise. I wish starts by creating some random shapes like there. Where is the foliage of the trees? So I'm using a mix of greenish number and turquoise and I'm adding my trees. I won't add anything in the middle. The goal is to leave the white area. So be careful and add the these little blobs more sleep on the site. Okay, Every time I was there, nice is I'm going to clean my brush and this time I will take some great and I will do the same thing. So is great. If the to close over up it will add some lips a bit more over there and that's it's no before it dries. I'm going to use very fine brush and bits of my great again in the event of shoe lines. And this lines are going to be their trunks and branches off my trees. So I'm starting at the top. I'm inventing a line towards the bottom. I will also add a few small branches. So something I'm venting. Just shoot lines. Tous and I'm going toe ad this finds everywhere don't shoes some corals that that true such rigid Because we are going to add more Carlos, we go along and we don't want this first layer to be towed back so pretty under me. I'm just adding some lines and I tried to keep. This area is a middle Blunk. He's We do the sentencing and it's called maybe a bit motorcars to change. Why here? And if you think it would be easier for you to what your paper feel free to do So I'm trying to keep May People magazine so that you can see better read more. Okay? No, the So let things this layer dry. I will do the same thing, but with more saturated pence. But I won't do this everywhere. Just in a few areas. That's it. Axes. Yeah, yeah, I'm going toe ad if you burn cheese and it's great is the overlap obits? He's That's a bit more. He was a side, and I will add a few groups. Opposes doctor strokes. Yeah, so again, just one line ends there. So remember, this is on me the first layer. The first layer is not made to be pretty. We are just placing America rose. Um, it would get better as we add more and more years. So now let's this dry. And then we will add more and more trees
4. Layer 2: forces. Second later. I want to use the wet on wet technique again. So you need to be sure that the first layer is perfectly dry. I would use my big brush again and some clean water. Anna will wits. Oh, my paper Exactly as we did earlier. I'm making sure that series what? Everywhere but nuts. Too much water. So I'm moving. He exists. I would use a big brush again A mix of great and turquoise, but a very light cool off. So we're more water than pigments and I will bend Some secures avoiding Z area in diameter The goal is to create the picture in this guy. So just some secular movements with your end and ever Jing Zi area in the middle we'll get more on the corners, just leg sets. No, we grab final rush and that we use this time some more saturated spent. So I think I need to add a bit more great to my credits with off course a bit of what? So I will use my friend Rush and that great mix is a bit after courses and I will depends some tricks again. Starting on the middle, ongoing That's a bit, um, I'm adding some fine breath branches. Let's say one more over here. Who is? If you're wrong, she's Nexus, and I will also add a few Mel's from that corner so the fence is spreading your bids. But Secretary, Okay, because we will add some more defined trunks. Also, the year after this one, it's add one more over here. What? It's my paper. Maxi's So remember that since we are using the weapon with technique for the background, zip ENTs is going to spread. And that's perfectly fine. That's exactly what we're looking for. We will add more details. After that, I will add one last more over here. So same saying one line Onda few branches and that's it for this one. I will it to dry
5. Layer 3: So let's keep adding more and more trees this time. I'm going to use imagine brush and still a mix off greenish amber. And, of course, and I will bends more salutes. Starting as it up, I would, uh, more Bryn. She's It's okay if you lying are bits weird and this continued, it will add more character to your trees. Just one more branches for this tree. Legacies. I'm going to Penton as a one just here, this time a big lighter, and I will not at my paper because it's going to be more comfortable. So my line is fine at the top and obits wider. Other bottom and no, I would add some run. She's so again, I'm trying to pen some lines that always different to add interest. No, I will that my paper again and I will add a tree here, but this time I will spend a pine tree. So I'm starting who is a line and then I'm venting the village again. Don't add too many details, but just a fun creating your trees. I will add one more countries here, So this time I didn't include my brush with spends, but instead I dipped it only in water. I'm going to recut my paper again. And I will add one tree here through this time, not upper entry. He sees I'm fencing more and more brown. She's as I go along. Yeah, um, finally I will bends been in their countries. So first I'm venting a line for the trunk and then country ratings of foliage. I'm adding a bit more water and I will add one last tree here finally. And I didn't load mice brush we spent. But I'm just using some water and that sits for this layer. I will dry. Anna will add again a few more trees.
6. Layer 4: So let's add our final layer to this painting. This time I'm going to use some docker pants, so I will add a bit more great tonight. Let's and they're so a bit more turquoise. I'm going to start with my friend brush and my makes of great and brew. And first I will bend some very sin trunks. It's, uh, if you want. She's try to use really the tip of your brush to bend. So really sin lines. I'm adding more on she's to the twin on that side more here, and that's it. No, I would add, when the Syria it yeah, this time a smooth one. And I'm going to What did my painting and keep adding more and more trees as I go something . So on that corner. So first I painted the trunks, and no, I'm adding some, uh, run. She's That's a bottom to no, I will add Go on a tree from that side. So I'm still using my fund rush. If you Morgan she's here, I'm going to take my imagine brush again, and I will add a bit more gray again toe mix, and I will spend a few more trees. This time I will add up in treat here. So I'm starting. Great. I'm start seeing who is my trunk and then I'm painting footage. So now you need to use some really saturated bans on doc pens because we're printing is the trees that are the four fronts. And there needs to be Dr I would add in those tree just here. So I'm gonna take my trunk and them is there for yet He's I was right. That's my paper again and we add a few more trees. I'm starting with the country again. So first my trunk and then there for yes, next sets One low tree again I will add again. No, great. In first I'm going to plant my trunk and then using that off my brush, I'm venting their footage. The goal is not to pent the perfect tree, but something a bit wild with imperfections will be better. He's maybe a smaller treat. Here's off the trunk first, and then I'm venting is good for the edge and axes. You think so? Any to protect my paper again. I want to have a few more silhouettes on that side. So still using my magic brush, I would bends. It's a tranq. And then, if you know branches, try to pen some sing lines and some speaker lines between add some of contrast to your trees. Sometimes the address part is to know when to stop. So I'm going to look at my painting obits and what did the paper? Two seats from different and girls and I think I'm going to stop and there's no escape is now fully finished. It's always better to let the painting dry before removing the tape.
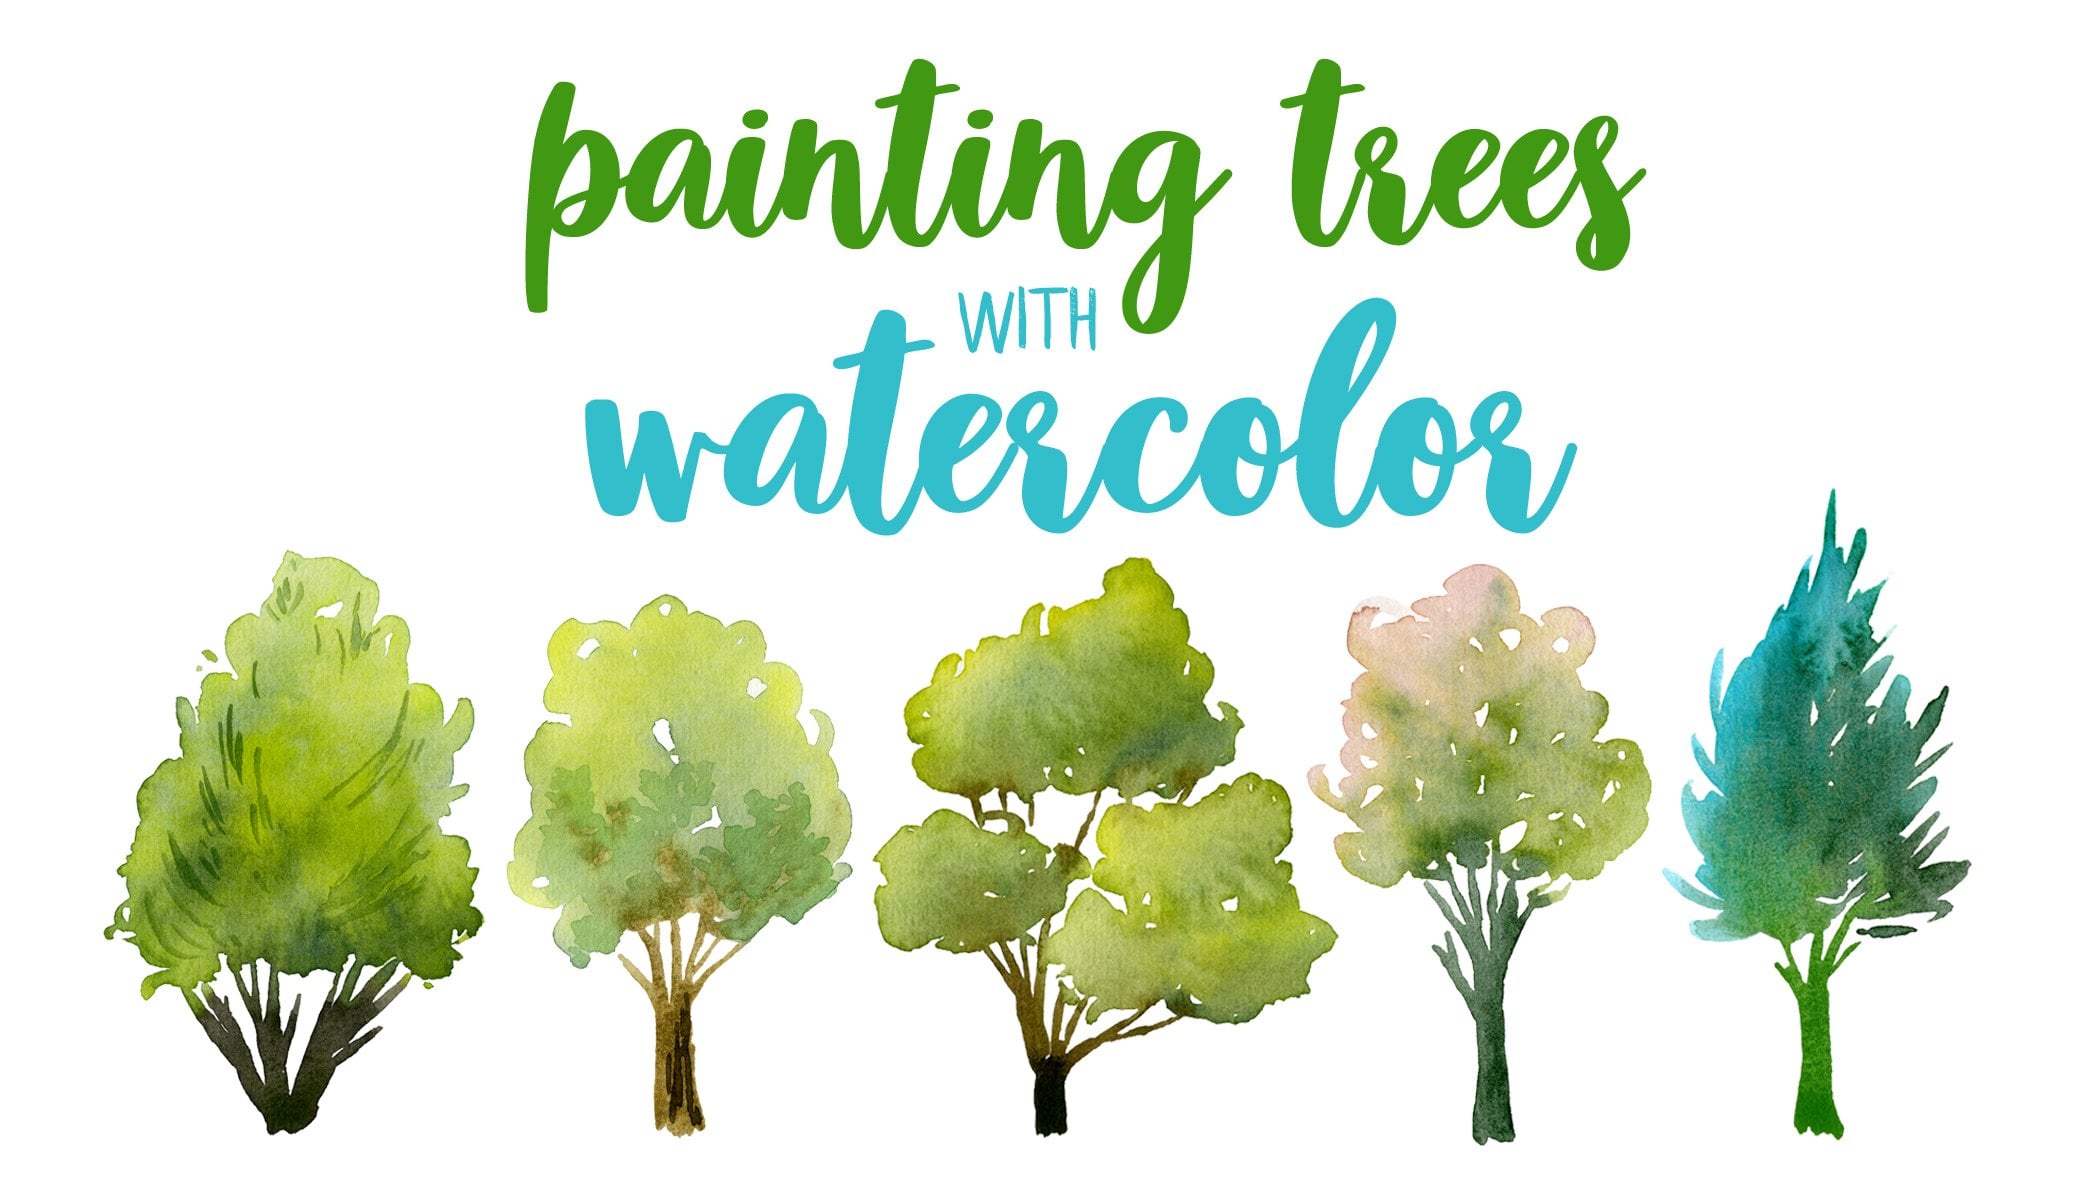
7. Project time: but and that's it for discuss. I hope you enjoyed when things this forest in and feel more confident to create your home. Fif. Free to shadow painting in the project section of Discuss. I would love to see what you creates. If you're interested in learning more about venting landscapes, you can check my also place ease about benches of arrest by trees, night skies. And and she wanted me notified. When I publish your new class, please click The follow button videos is you and I will see you soon.
 Sarah Van Der Linden, watercolor artist & nature enthusiast