Transcripts
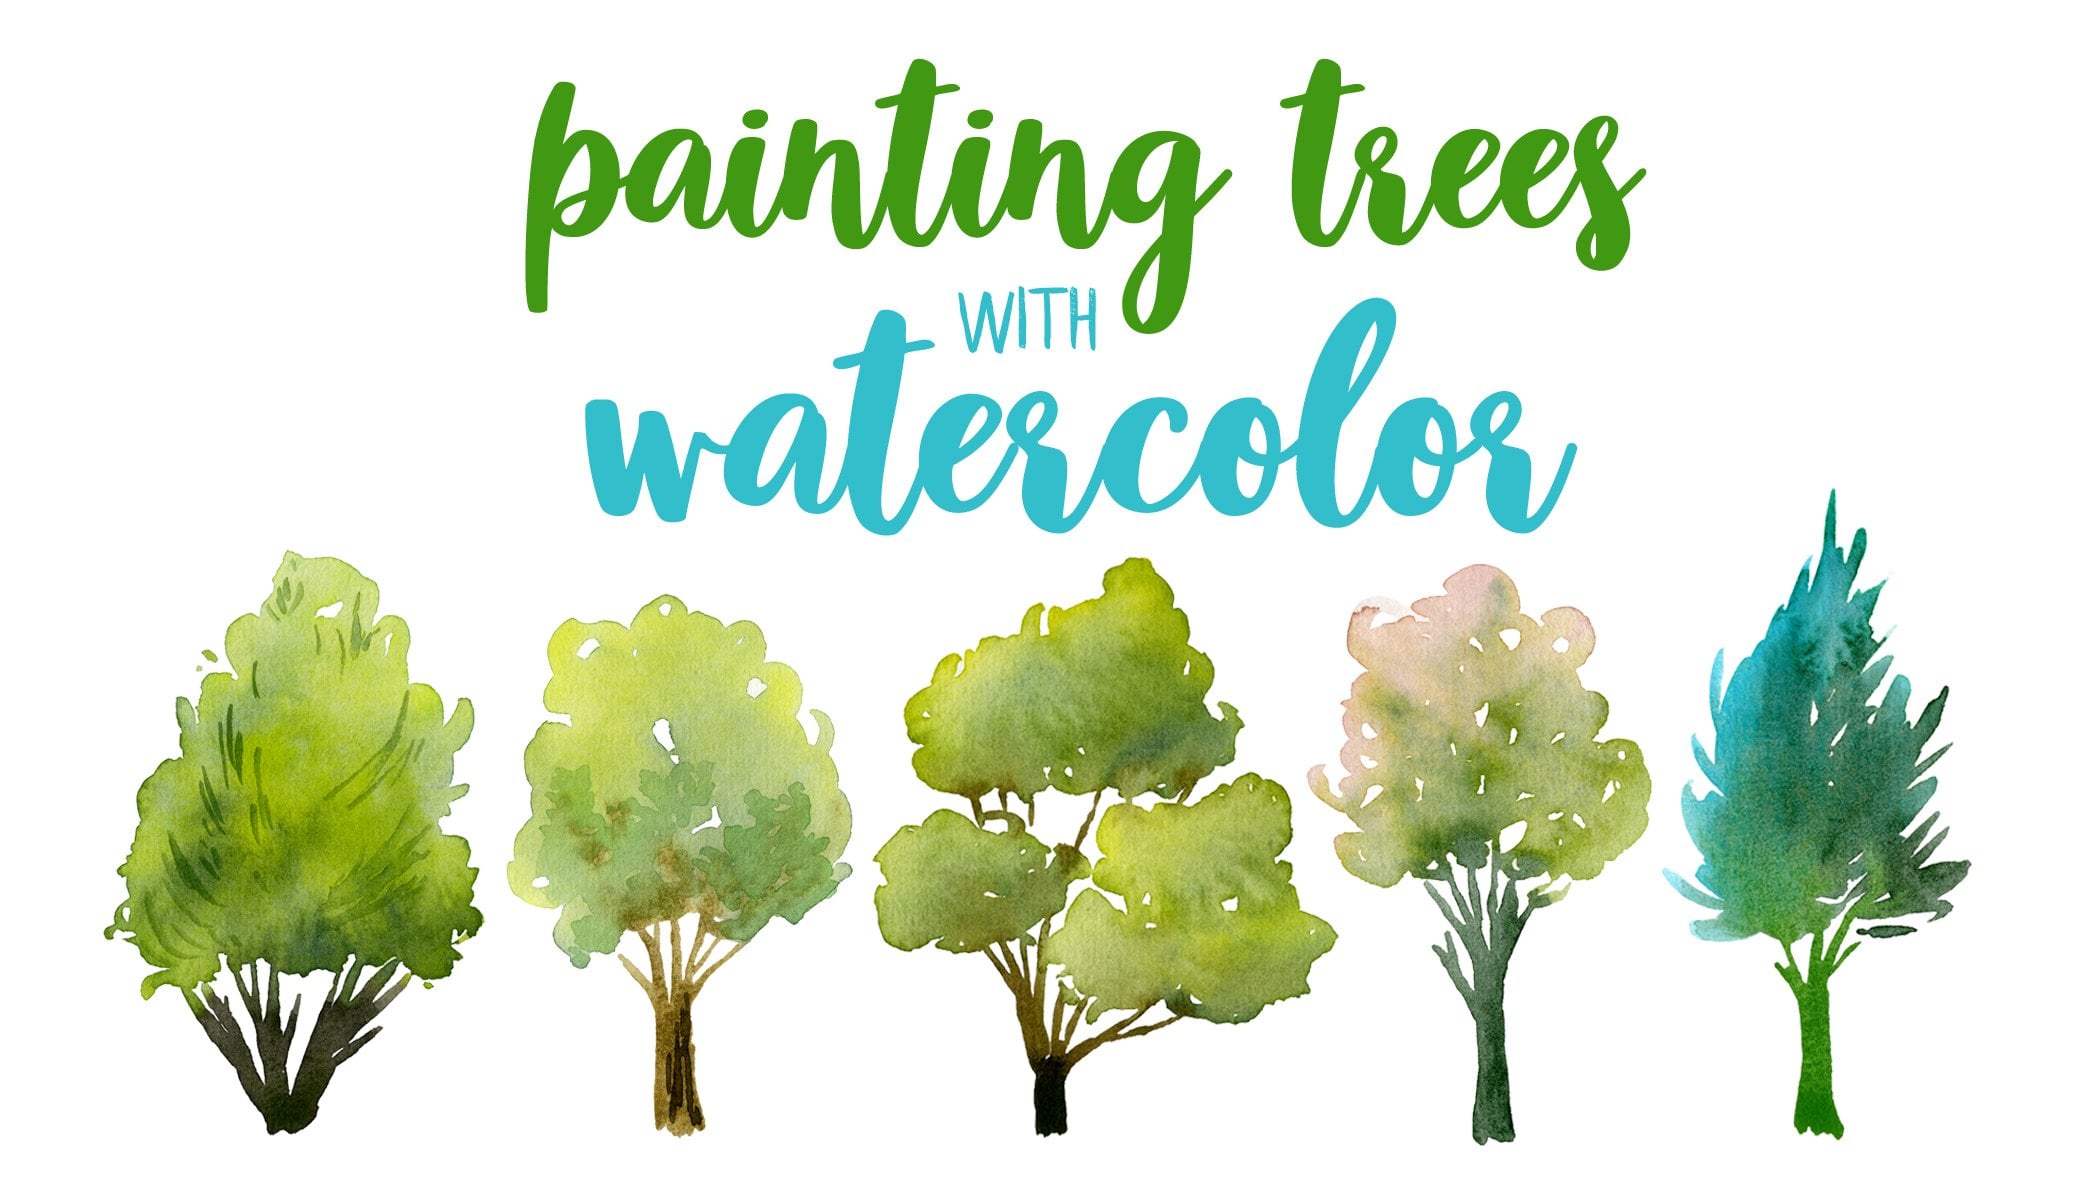
1. Intro: Water color. It's such an interesting medium because it allows you to capture an atmosphere with just a few brushstrokes. And they're so to play with wetter. Hello everyone and welcome to this class. My name is Sarah and other watercolor artist living in the French countryside. Today, I'm going to show you how to paint lose landscapes with water control and experiment with whether I will be using pine trees as an example. Because it's a really interesting tree, two beds there, different entrees to use wetter. And it's really fun to experiment to see what you can create. In this class, you will learn, of course, out to paint a pine tree. But then we also show you our use wetter to my advantage, to add some looseness to my benzenes. We create together are five different landscapes from start to finish. Each one using a different technique. And I promise that had hits with different. This class is great for everyone who wants to start benzene glue spanning trees with just a few brushstrokes. Each video is in real time, so you will be though none and observes the entire process. So you ready to experiment.
2. Supplies: First, I'm going to show you what supplies we need for this class. You will need, of course, some watercolor paper. The round does not matter at all, but it's better if it's a 300 grandpa square meter paper and a 100% cut at one. We will use a lot of water, so you need to take a beeper that holds water very well. The paper I'm using is called forbidden by the brown craft on ten. And it's a Weber's at, it's not too expensive and it's great to experiments. You won't need a big bad like this. Instead, we are going to use some smaller sheets of paper so you can prepare a shoe before starting the projects. You will neither so abode to type your paper. It can be in plastic, BAD lazy swan you can use or so some cardboard or a bad any senior wants. And you of course, need some tape. You will need two different brushes. And we'll use this one. Rush. It suicides eight to paint my trees. And I will use this big one to play with water. This one is a size 3.5. human and of course, some debited well, two jars of water to clean your brush. And one with clear water. As canals we are going to use. This is for ones. When are these green? One Sap Green, one forest green, one Barilla in green. You can use tubes of bands. It doesn't matter. I'm going to use both in this class. And you'll win enough course palette to make so-called loss. I'm going also to use this liquid water cooled off. It's the ego that you can see here. If you don't have any key, whether cologne, no problem. You can also use some blue ink. And finally, you will need some drawing gum nor brush to ablate it themselves.
3. Painting a pine tree: The first thing I want to show you is our Tibet a pine tree. Because in the projects that we are going to bend, it will be more about choosing water and experimenting than paintings, the actual trees. To bet my tree is, I'm going to use this medium brush, wrong one with a financing. And I like choosing these brush because it allows me to create values brushstrokes. If I use only the tip, unable to create some thin, fine lines. And if I press more on my brush and enable to create some secure brushstrokes. And of course, our Kennesaw alternates between sin line and sigma Schrock C9 brushstrokes. And it's great to create, let's say the Fourier offer pine tree. If you are using first the tip, then you press more end user, use the body of the brush to paint a tree picture. Just very simply, the shape. A triangle. You can add a trunk if you want. But most of the time when I append a tree, I will prefer not what the trunk. Now, there are many, many ways, of course, to paint a tree. I'm going to show you a few different runs and you can choose which one you prefer. So you can start by benzene. Align finds a drunk, and then adding the Fourier edge by creating some brushstrokes. Picture the shape of the triangles. So your brushstrokes, I wider at the bottom. And now I'm going to bend the right side of my tree. And finally, the trunk at the bottom. You can do exactly the same thing. But this time you are not going to pend aligned for the trunk. You are just going to paint a line editor. Then you add the Fourier edge first on one side. Then on the other side. Who can of course, add. A few more. Brushstrokes, is the shape isn't what you want. Now you can try using a lot of water to dilute your pens and bend with big brushstrokes. So big and bold strokes that are not always connected. This could be great to bend a tree that is at the background. And you can of course, do the exact opposite. So using appends that is less diluted, more saturated in pigments, you can bend a tree with more details where the Fourier edge is really dense. Paintings of Fourier Jaffa tree is like dancing with your brush on the paper. There is no right way or wrong way of doing it. You just have to enjoy the process. Now I want to show you another technique. You can paint a tree without raising your brush at all. So start at the top and then just spend the Fourier edge as incomes without raising your brush, you can, of course, leaves on whitespace. But the goal is to create a dense trees. And of course, you can do the exact opposite. So using your pen to gain penta tree and raise your brush regularly to leave a lot of whitespace. And your tree will be less dense. This way. I suggest that you practice your bits, this technique to find a way of venting a tree that makes you happy because in the next lesson, we are going to focus on the water. So I'm not going to talk a lot about the trees. So feel free to experiments and bent a few trees until you feel at ease to bend quickly. Wellness, These are so, so many ways to penned a tree so you can do it wrong. The most important bats is that you have fun in the process.
4. Landscape 1 : painting in one layer: Let's start with the first landscape. We are going to paints a monochrome scene using just this barreling green. I'm going to start with a very, very light color. So I'm adding a bit of migraine to my palate with some water to dilute it. And I will stop inventing some trees in the background, so very simply of the trunk. And then I'm paintings or Fourier edge. We use some loose brush strokes. And we'll add a bit more water. I will bent. In other tree. Sre took bends a bit quickly because we are going to add water just after it. And I don't want my trees to start Drain. Let's add another bell tree here. So again, I'm doing a backend first movements to pencil Fourier edge less. Add one last very bad tree here. So first the top of the tree and then inventing 4H now will use my brush and some clean water. And then again to wet the bottom parts of my paper, just z Bhutan. But the goal is that the pen spread in the water and then the trees fade at the button. I don't want some seem to need less and more tree, but this time some Dhaka tree. So I'm going to add a bit more burying wind to my pellets. And I'm going to spend a few more trees. Let's start on the left side. So we some backend forced movement again and paintings of Fourier edge. And you can notice that the bench is preaching when you are adding it on top of the water. Let's add Motley is some movements. One more here. It's a very, very simple process. Now I will add epithermal green again. And we'll add a few more trees again. Oops, it's not that dark. So I'm going to add more Periander green. In this time. I would bends the trees, the tree on the right side. And of course I'm going to bend a bit on top of the water, true? So a few more trees here try to vary. Whereas the top of the trees are because you don't want to ask something very straight. It's better. It fits a bit Kurdish. Now I am going to use some more saturated when again, and this time I'm going to pins it up. And I'm adding now Z for the age. Now you can add a bit more detail to your trees issue on, because the darker ones are the trees that are ADSR fonts. Let's add another tree, let's say Ear. So first the top and then I'm printing. So Fourier edge, I will add some more saturated pens because my paper is wet. And I want my pen to spread a bit, but not too much. Oneness three on that side. Bends is a bit too dry basis. So try to append some trees that are different every time. Nothing to perfect. Just a few members strokes to create the 4H. And we'll add a bit more pens at the bottom here. One more tree. I think it misses something on that side, so I will add one more tree very close to that one. So again, some saturated pens, straight phones upon a bit more detail. And that's it for this first painting. You can see that the bend is creating a beautiful effect at the bottom. And it's not too neat. And it's a bit flus. I love how it looks.
5. Landscape 2 : using gravity: This next contain is going to be a fun one. And I'm going to use three different greens. Olive green, Sap Green with green. This time, we are going to wet the paper first at the bottom. So I'm using my clean water and maybe brush. And I'm going to wet my paper. But not everywhere. I'm painting you line En Zen, MIG, newer term. Zoom in their part of the paper. You don't need to do something to perfect. Now, I will take my other brush and some olive greens, a light green to begin. And I will present a tree at the top. So first the top of the trunk and then I'm printing, so Fourier edge. I'm going to call my paper this way. So that's appends spread. Let's add another tree, a darker one this time. You can still all DO paper. Then when the appends is meeting the water, it's bridging. You can also LP serpents spread. By inlining your paper. I'm going to add a bit more sap green to mimics. And I will add some more trees. So you need to use the appends, that is wets NG route sheets. Because with spread, better. Let's add a tree on that side before I trace this. Now, I will use my fluoresce green. I'm going to use a light fluoresce green to begin. And then we'd bent a tree on the right side. Again. When I reach the bottom, I'm adding more water to make sure that the bench is spreading. Let's add some overlapping trees. So still for now with the last light, fluoresce green nm helping to spread. Still with my fluoresce green axis. Now, I will use a mix of sap, green, olive green, better Dhaka one this time. And I'm going to bend a few more trees with the Scala. So again, when And which a baton as a tree. I add more water in helping the pen to straight. Let's keep adding some trees is Time. On that side. Will show a one on that side, T2. Now I will use some forest green, so I'm adding it to my mix because I want to obtain a darker shade. And I will spend a few more trees. Axis, let's say one more tree. On that side. I will add a bit more water at the bottom to spread. And to finish how we'll use a more saturated bends. So I will use propensities diluted just a tiny bit because I want to add some darker trees. And I don't want to bend to spread as much as from Z puzzle trees. So I'm painting a very simple Fourier edge. Lysis. Let's say a tree just in front of the swan. And you can see that my benches not spreading as much. So I'm going to add more water further button paths because it really furnish it spread a bit. And I will add one more tree. So that tree, again. Nice. Now to let dry your venting, it's better if you put some seeing underneath at the top. And let say, I will use my jar of water. I am going to place it at the top and let my pen drives this way. You can notice that there is like you're better at the bottom of my paper. So I will use my big rush. And I'm going to impede just next hats. And now you can let your Ben dry like this. And you will see that the append is going to keep dripping at the bottom and it will create a beautiful effects.
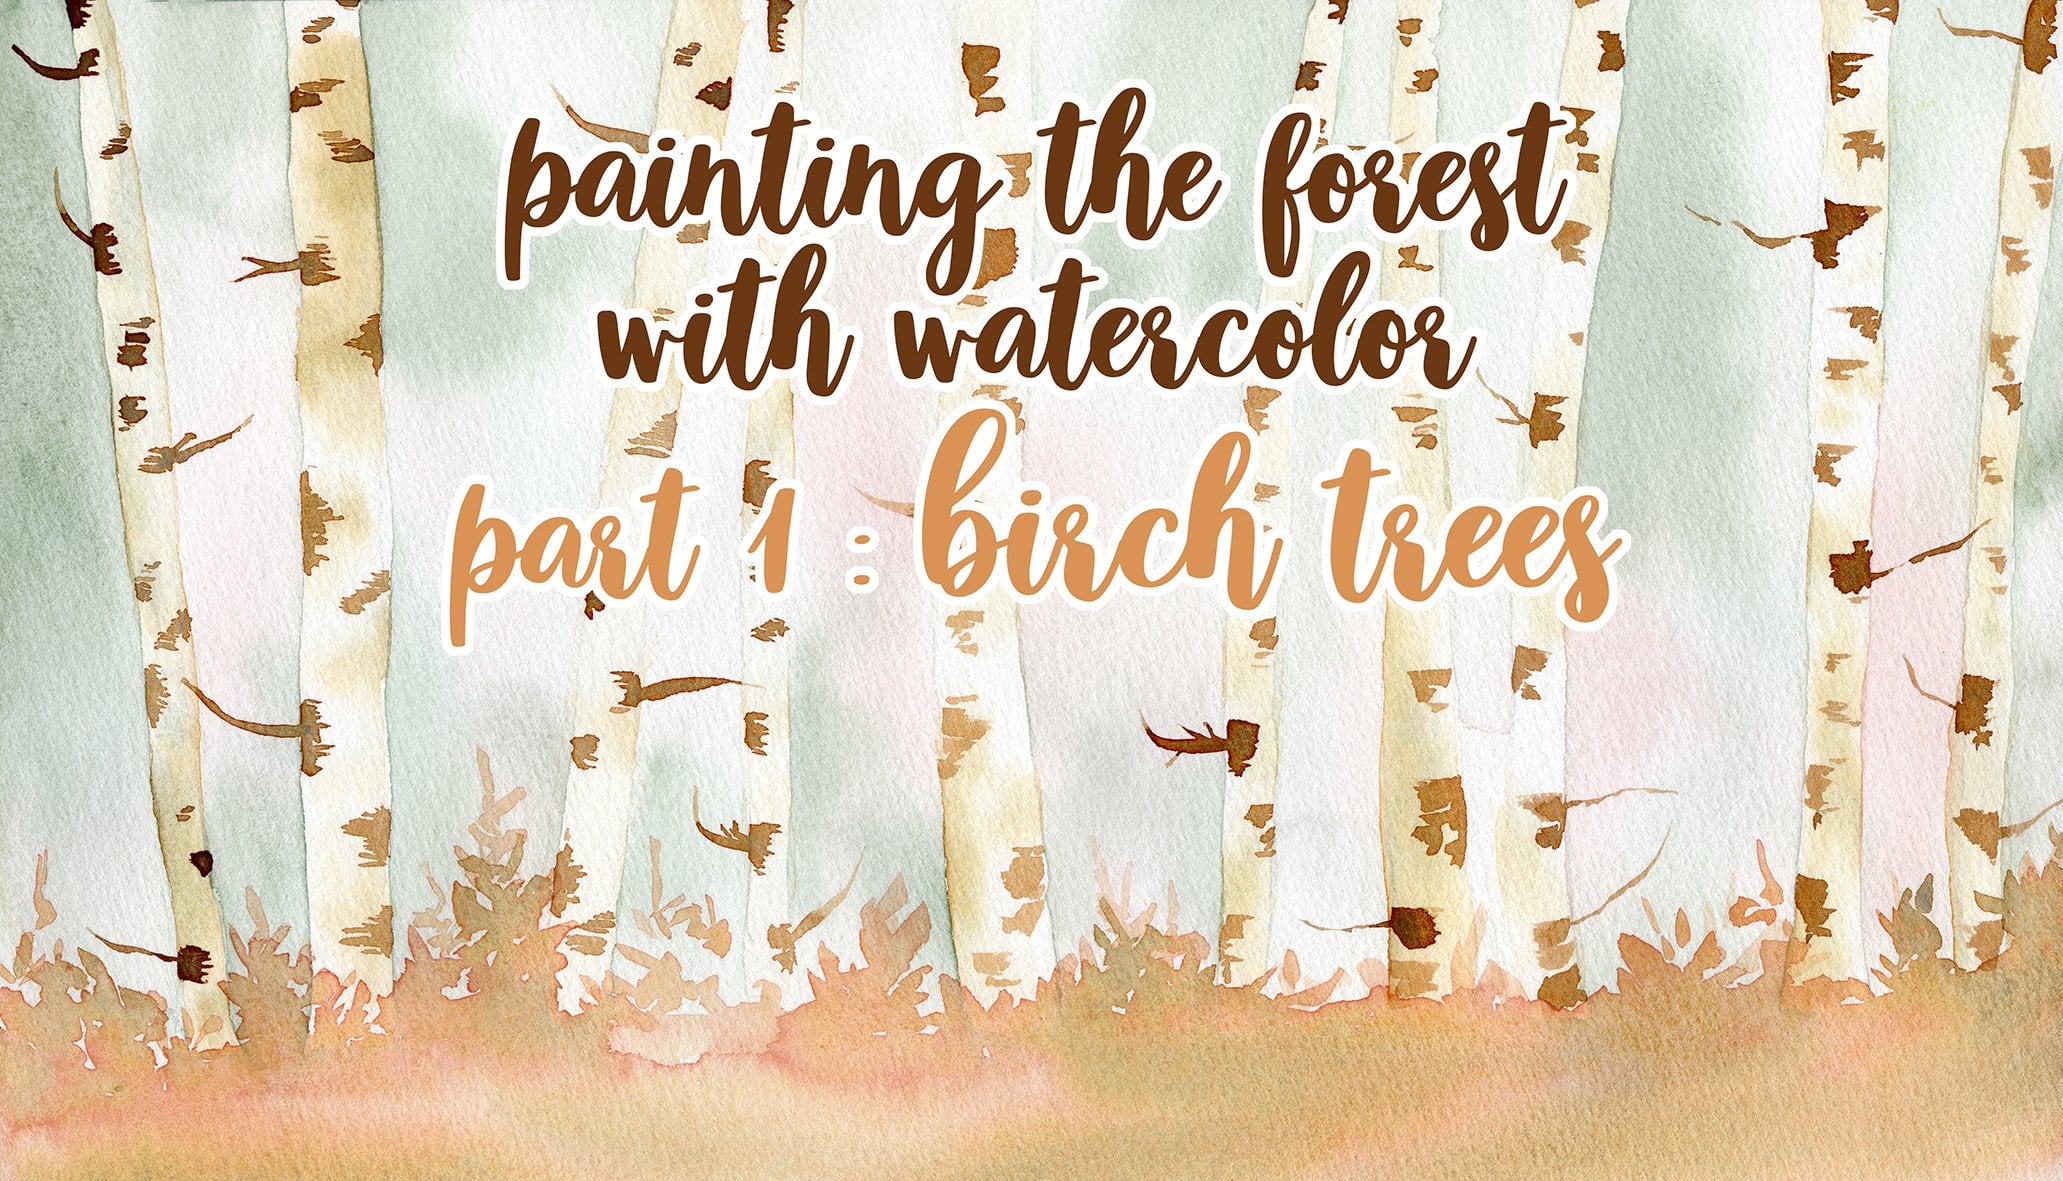
6. Landscape 3 : wet on wet: For this next landscape, we are going to use some masking fluid and a lot of water, some green to tape my paper first on a board. So I'm using some masking tape quickly. Quickly as SRE. You don't have to use a plastic board like me. You can ofcourse shoes, some cardboard. You can also use a bad. The important thing is that your paper stain place one more piece of tape on that side. And we are good to go. First. We are going to use some drawing gun to bend that silhouettes of our trees and brush. You can see that mine is really damage at the tip. Please don't choose a good brush with masking fluid because it will ring it. So very simply, I'm going to bend the silhouette of the bank tree using my masking fluid. So you can see that I'm using a very small brush. It's not the most convenient thing, but This brush is great for majoring GMS. So that's why I'm using it. You bend the tree exactly the same way as you planted the trees in the previous lessons. But please leave a tiny bit of white space in your trees. Don't bet none. Bentham seeing such is too crowded or to field because it's whitespace. We'll create a lovely effects. So take your time to paint the silhouette of your trees. I'm going to add a bigger one this time. So first, oops, I'm painting the top ends in an ageing. So Fourier age. So again, leave some whitespace. Iran z. I'm going to add one more tree. Concert side. And I'm adding some more masculine fluids towards a button. Let's see. Let's add one more and that side, tiny ones is time. Just very quickly. Very simple tree. Oops. Semi silhouette is a between going to the top again. Better. And I think it's perfect. Now I am going to let this layer dry and we will append the sky just after that. Now that my masking fluid is dry, we are going to Benzer's K and R will use only two colors, mapper relent green and my indigo. So first, I'm going to wet my paper, then it needs to be really, really width. So first I'm going to weight the paper using some horizontal brush strokes. And then I'm going to do the same thing with vertical brushstrokes to make sure that it's perfectly width. Please wetter so the space between your trees, because we are going to add some penned over there too. So first I'm going to add some viridian green to my palette. So I'm going to add a small amount and also a bit of water. Today. I'm going to turn my pen teen. Then all did exist, so it's not too flat and I'm going to add some bends around my trees. Just now is that you can also add some bends on your trees to cover the whitespace. And we'll add a bit more bends. Very, very simple. If you can see some water puddle forming at the bottom, you can use a rush to move the water array legs. That's now I'm going to put my paper on metabolic again. And I'm going to use my liquid water cooled off how we've done it. So you can see better. Remember that you can also use some blue ink if you don't have some Nikki wetter codec. So using And we'll add some drops starting around my trees. Because they want their silhouette to stand out. When he will be dry. There is no right or wrong way of doing that. The goal is just to have fun. And let's see, ink bleed your sky. You can also add, of course, Sony chilled water color on your trees, like sets. And we'll add a few more drops. Let's say. More often. It's always a beautiful process to see the ink or the liquid watercolour spread and creates some texture. I seem can pretty API who is a result. So I will let it dry. And then I will show you how to remove the masking fluids. So now that my painting is dry, I'm going to remove these Max's King fluid, but I'm not going to use just my finger. I'm just I'm going to use some microwave plastic wrap. Just the tiny piece. You don't need. The peace groups. And I'm going to wrap it around my finger. It will prevent the bands from stacking the root black pens. And I cuz I don't want to see too much MAY paper. Now. And that it's starting to come. I'm going to take advantage of it and periods with my finger. And we remove the baton back to I love when it's so easy to remove the masking. Just like set. I'm going to use my test see corrupt again. Then I will finish after my tree. If you see that it's starting to get that Z to just move it a tiny bit. The goal is to protect your finger. I think its okay. So you can see that the silhouette of the trees are standing notes because the sky is really, really dark.
7. Landscape 4 : moving the paper: This time we will use some indigo, blue green and forest green for this next landscape waggling first two pens, a very light sky. So using my big brush and some clean water and going to wet my paper. We are not going to pencil very detailed schedule, something very simple. It recreates lights, hemispheres. So my paper is fully width, especially at the top. So I'm going to use my ozone rush and a very light forest green energy steadying some pens. Seeing very, very simple. You can also grab shoe paper, UPenn spreadsheets to beat him up. And at the top. I'm also going to add a veto fluoresce green button. Sink. It's enough. Now I will let this layer dry and just assume that we are going to bend our trees. So my first layer is dry, so we are going to pend the trees. This time. I'm going to use first some clean water, but not my brush, my medium one because we are going to dance the trees with water. So don't worry about the tuples or trees or no, it's not easy to bend them with wetter because we can see anything but focus on the bottom, but your paper needs to be wet until the very, very bottom. So I'm painting centuries. Again. Let's say one more. And now we'll add some other underwrite side. I'm just whetting Zookeeper. In a shape of a binary. I'm sorry, if you can see, well, but it will be better with some pins. So now that it's fully wet. And I'm going to use so refers the noise. I'm going to use some sap green with errata of water to have a very deep rooted bands. And I am going to adjuncts my wetter in Renzi. So you can see that the band is printing a tiny bit. And I'm going to in just a few minutes. So now that I added some pens and I'm going to move my paper to L. This is appends. Move. Just Lego sets, our dry my brush and using the tip, I'm going to remove the excess at the bottom. Now, I will use my liquid water color again. And I'm going to add some drops. Urine there on my trees. You can of course, shows some ink. Instead. Honestly liquid watercolour. It's you. Cool. So now I will use my medium brush again. And may we bent the top of my trees. So sensing the previous trees we painted a year. I'm starting at the top and then I'm petting zoo 4h. You can see that I'm using 30 quid watercolor that is on my paper and you're switching the green. The goal at this stage is just to refine the silhouette of your trees. You can also add a few more C. So I'm going to use my excess, that is Eraser Button to add. So one law trees, right? Again, I'm using the excess air and going to another tree here. Basically you do that until you are happy with the results. And I think it's pretty great is this way. So I'm going to let it dry. If you want to get, of course, add a bit more pens while we're being more weight kid wetter cooler, OK. Just have fun in the process.
8. Landscape 5 : adding water at the end: For this last landscape, we are going to add wetter or at the very end, I will use the three Kerberos, spirit and green Sap Green and forest green. So first, I'm going to present some pine trees using my viridian green. And we then some trees that are adsorbed backgrounds so islands them to be light, not to Dark. Series a cat hairs. So using my green, I'm painting is a cigarettes. May trees. And we'll add, of course, a few trees on the other side. So a very simple pine trees like that shown on the right side of my paper. When asked. Okay, just $0.90. Now I'm using my big rush in some clean water and keeping my brush into wetter. And I'm removing z-axis before using it. And we start by wishing the bottom part of my paper to make sure that there is an Xji reasons a clear demarcation had done. And then I'm going to wet first the top area between my trees. And then we'll add water around my tree. And you see that when the water is touching the appends, append is printing a bit ends at exactly what we want. Either. The goal is to add some looseness and some blurriness to the tree so that their silhouette isn't too needs. You can of course, add water on top of the piece to. This is just the first layer. So we don't want something that is too dark, too nuts. Okay, just laid it at. Now I'm going to let this layer dry and then we will add a few more choices. So my first layer is dry, and now I'm going to add a few more buying trees using the same technique. So with my imagined brush, some forest green, and we'll spend a few more trees. Tsmc, I'm starting at the top and then I'm venting. So Fourier edge, no seem to perfect. As always. I will add another tree just on that side. I'm going to mix a bit of Sap Green with my fluoresce green to a different shared. And then we'll spend some more trees again. Simply suppose the goal is to bend each tree a bit different than the previous one, to add some contrasts to my painting, now will use my Fourier screen again. Some seeing and paintings at top of the tree. Then the Fourier edge, let's say another one. And when nice, with my sap green up the side. Just as I did earlier, I'm using now mapped big brush and my clean water and air which starts by waiting. So bottom parts of my painting to make sub-n spread. Now except I'm going to clean my brush again. And I will wet the top of my paper. Then Z area between my trees. Xhat will whet the trees. Satellite just spin cheat. Now that my brushes green, I'm going to clean it and use some more clean water to width Piedmont trees. X21 towns is say two. And we're seeing a bit more here. So now we've seen Mandy brush in use some clean water again to make sure that there is enough water. Especially as it to finish, I will just add a few drops of bent and the bottom. At the very bottom. Sorry, you can see the mix of Sap Green and f2 is green again, I'm just going to add a few drops, urine xj, and that seats up to stop, isnt it? So now I will let it dry.
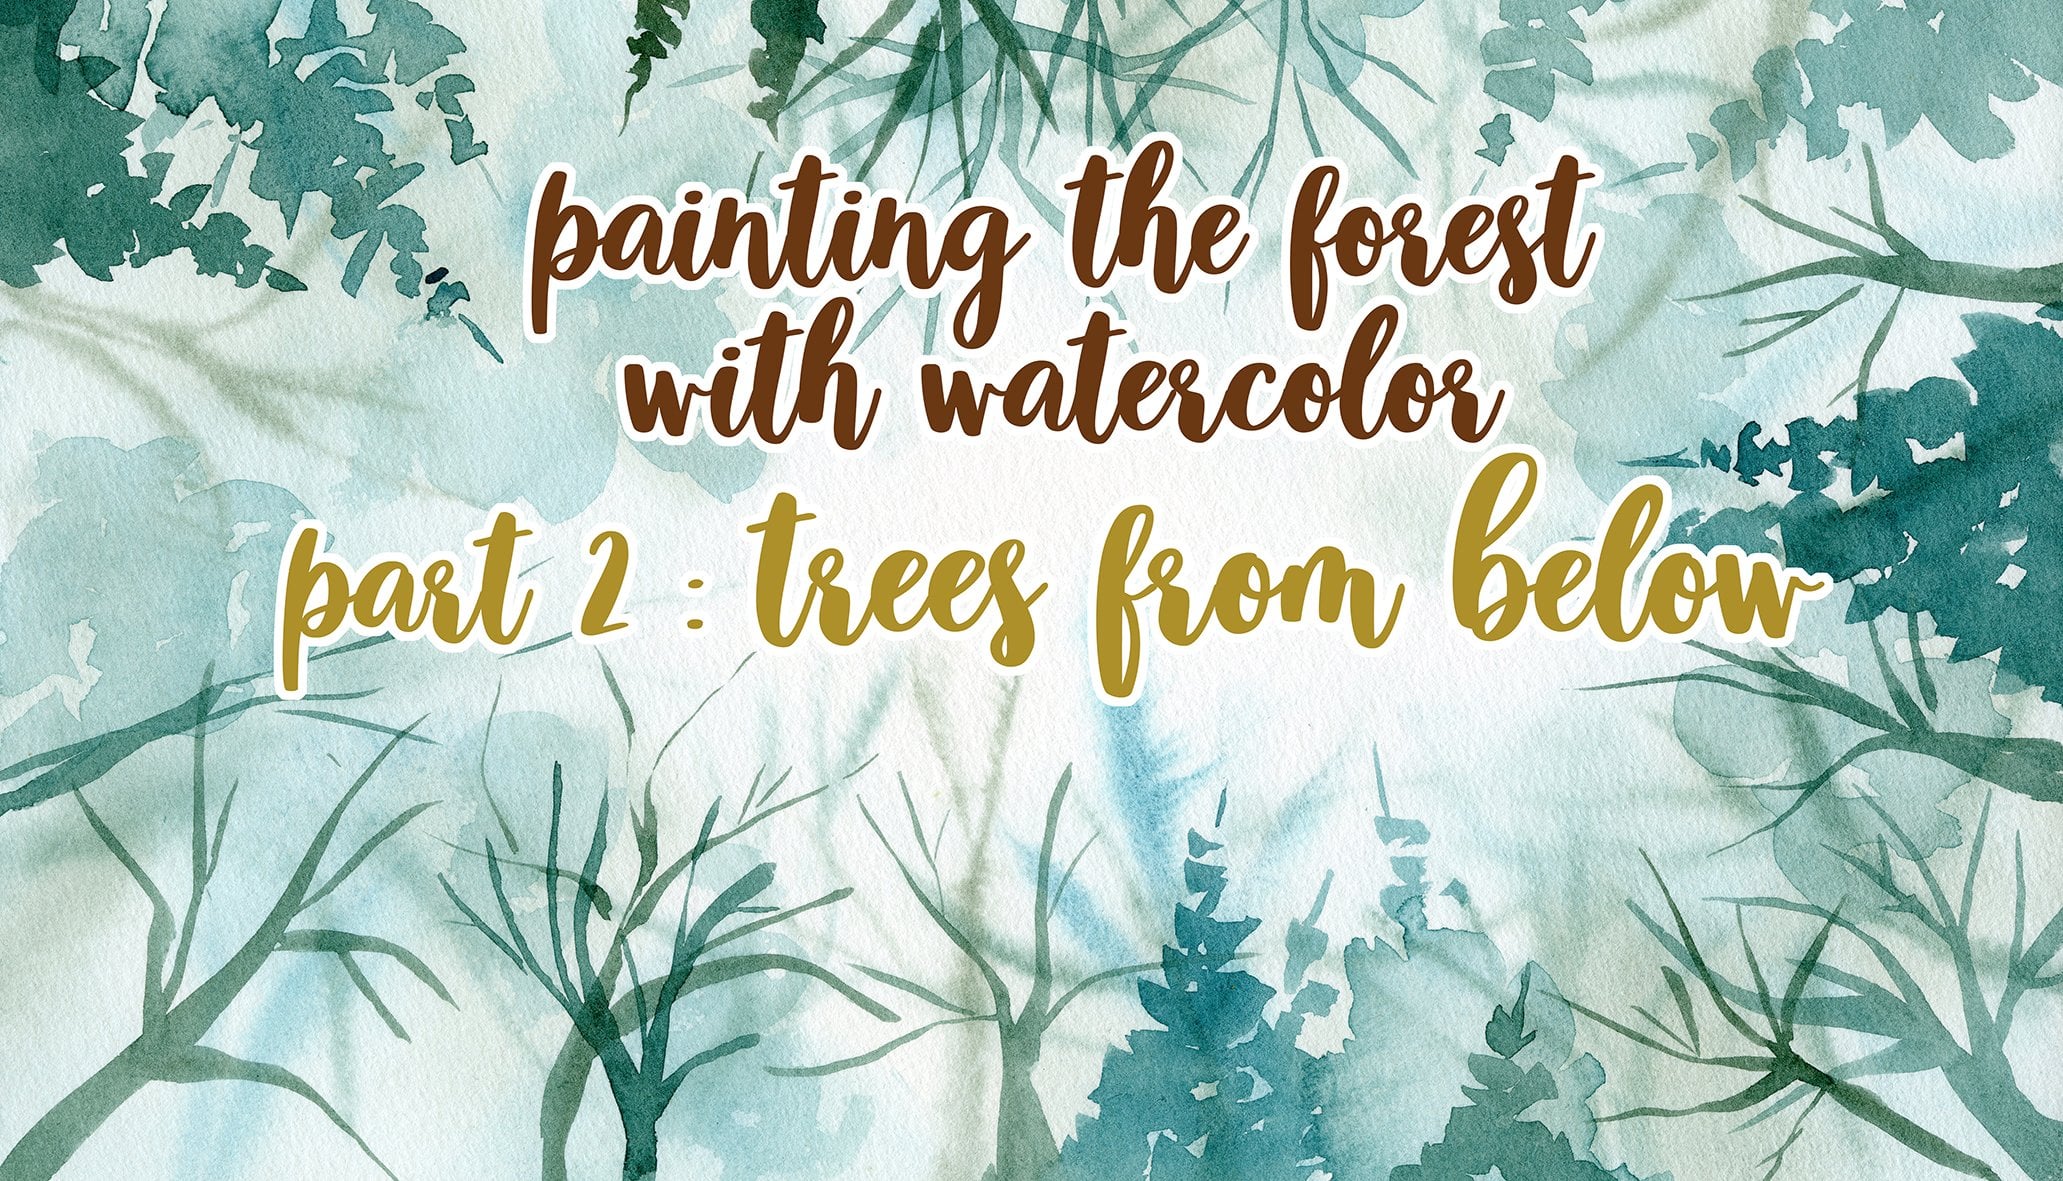
9. Project time: And that's it for this class. I hope you enjoy paintings is slew spanning trees and not feel the urge to play with wetter. There is no right or wrong way of doing it. The goal is only to experiment and see what you can create. Feel free to share your projects in the project section of this class, I would love to see what your creates. If you're interested in learning more about painting landscapes, you can check my also places about petting zoo for arrests, trees and that Sky's anymore. And if you want to be notified when I publish a new class, please click the follow button below this video, and I will see you soon.
 Sarah Van Der Linden, watercolor artist & nature enthusiast