Transcripts
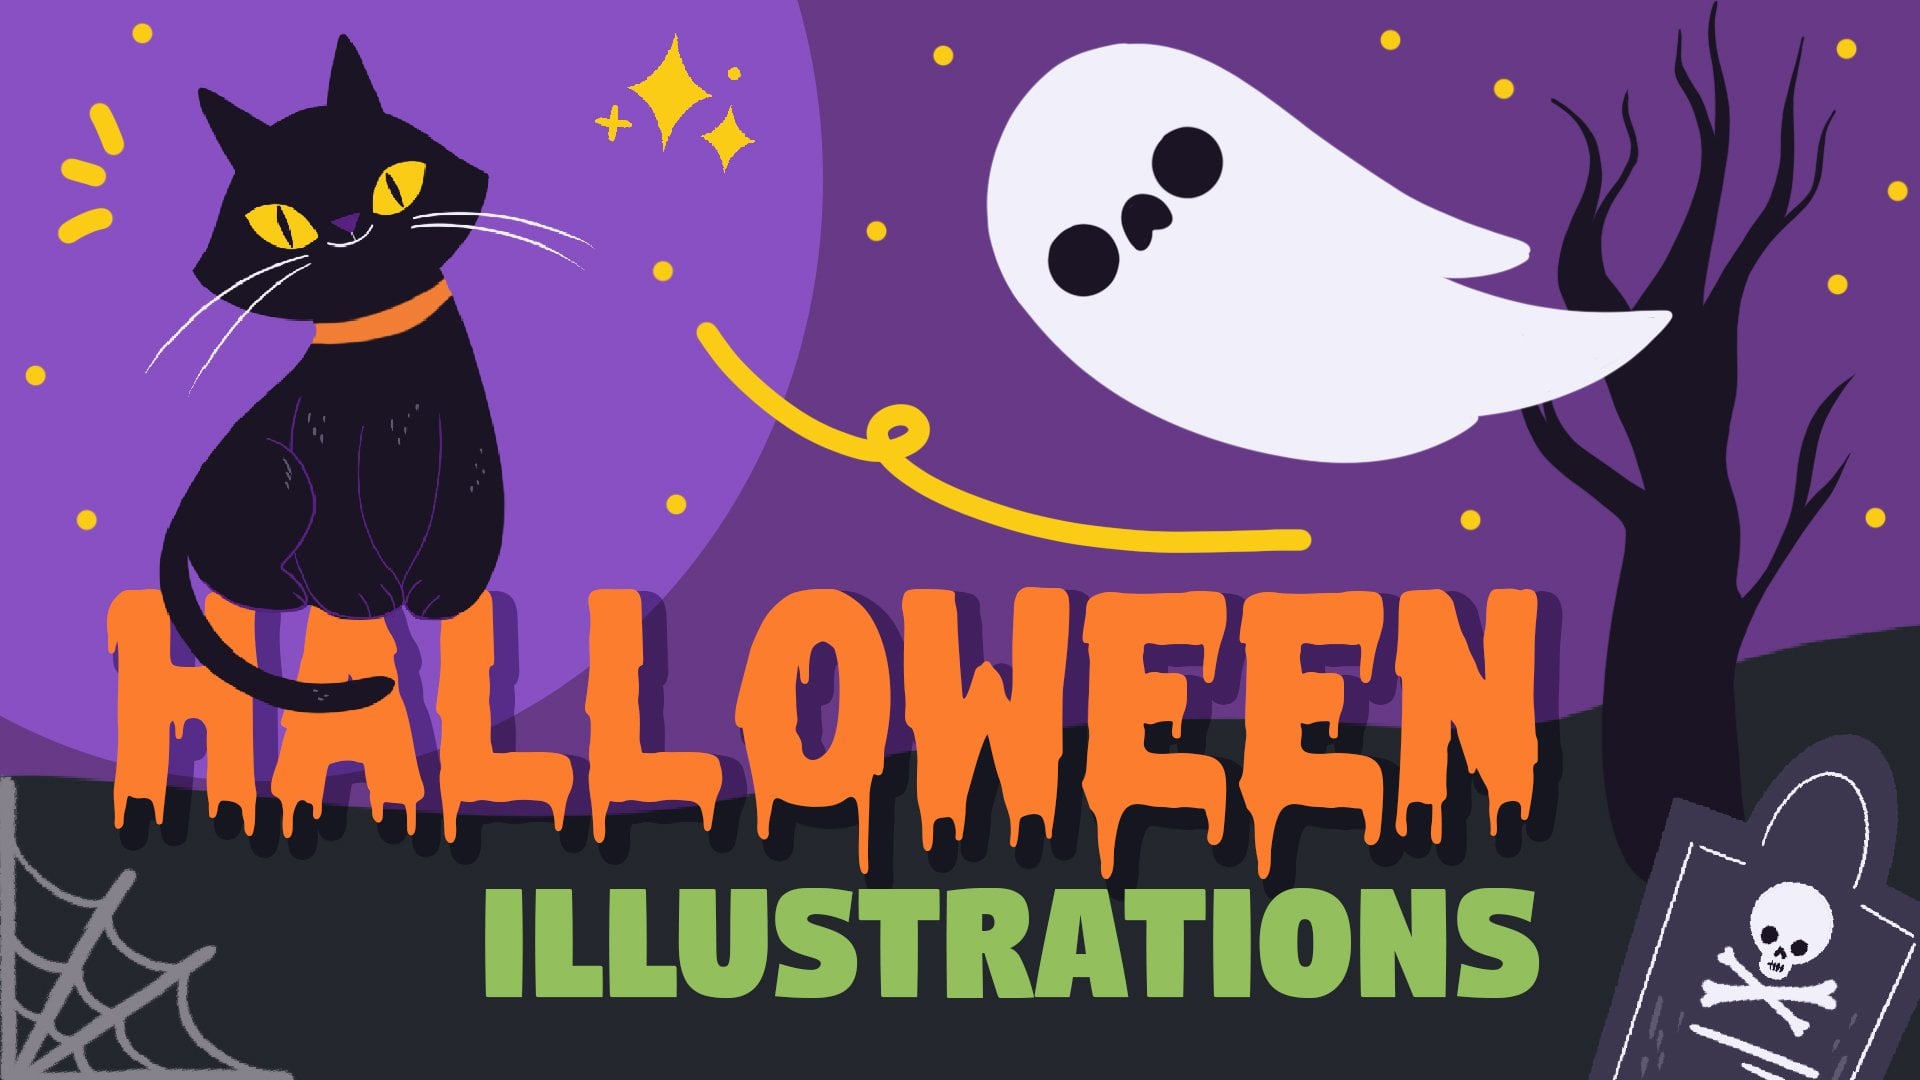
1. Moons Intro: Hello everyone. My name is Sonya and I am an illustrator and graphic designer. Today we'll create a simple enqueued sticker pack with months into this class, we're not going to be creating needed this gauge nor the green lines. We will be working with a simple shapes and colors. As a result, you'll have five full colored illustrations. You can use the final pictures as single stickers or Sticker Pack, put them on the postcard, make a pattern from them, turn them into some digital products and use them in whatever way you want. These class is for everyone. So don't worry if you have no prior experience, all the drawings are made in Procreate, but it doesn't mean that you cannot use any other graphics software or even traditional materials. So with that said, if you're ready to launch your software and let's begin.
2. Creating the First Shape: Today we'll create a very simple sticker pack with moons. It will be queued, it will be a little bit Kawakami. And we're not going to work in much with the lines. We are not going to be creating this sketch. And we will be working just with a simple shapes and with colors. So let's just go to our procreate. Or if you're using any other graphic software, let's just jump right on it. So today we are not going to be working on the white layer. We will go to the layers and we will tap on the background color. You can see that we have a pallets with a few colors. And if it's happened one of them, that background color will be recovered. So I will go with a dark blue when you recolor it your backgrounds, let just start creating our objects. So we will go to the layer that we already have right here, and we will choose different color. I will go with this yellow color. You can choose the brush that you like. I'm going to be using the technical pen. If you want to use any other brush, you are welcome to do it. And when you have everything that you need, Let's just jump onto our canvas and let's start creating this circle. So we can go manually and create something that's some kind of remind circle. But at the end of the line, we will hold down our Apple Pencil and we will create the perfect shape from the shape that we were created. So now at the top you see a little message that is called aged shape. And if it's opponents will have a few options of what we can do with this shape that we created. If we tap on the circle, will have the perfect circle, the same circle that we need for our illustration. So let's just tap on the blank space on the canvas and deselect everything that we have right here. And we will need to color the inside part of the circle just by going to the colors and just by color dropping it to the inner part. So now we have a little moon. Let's go to the Transform tool and move it a little bit to the side. You can adjust its size or you can adjust its placement. It's up to you. For now. We will need just one picture with the moon, but to not make these sheep few more times because we are not creating just one sticker. We are going to be making five of them. We will go and we will create one more copy of this little shape right here. So let's go to the layers and we will swipe from right to left and choose Duplicate. Now we're not going to be overwhelming ourselves with creating lots of layers. We will just go with two and we will stack one of them just for the future. So let's hide one of them. And we're going to be working with the first ellipse that we created. So we can go with the full moon right now, or we can play littleBits, ends create the crescent. So let's start by creating a crescent. What we will need to do to create a cat, we will need to create one more layer, and we will need to create one more circle to create the cut right here. So again, we can go manually or we can create one more copy of this layer recolored for our convenience and re-adjusted and resize it. So let just firstly start by creating a menu. I will grab another color again just for the convenience. And I will create the circle near our sheet. Again, I will go to Edit Shape and I will choose circle. Now let's color drop the color to the inner part. We will go to the Transform tool and we will adjust these new shape to create the crescent. You can make it smaller, you can make it bigger. You can go with any shape that you would like for your crescent. And when you are satisfied with the placement of this little moon, we will go and tap on the transform tool to deselect. Everything will go to the layers and we will tap onto this layer with additional moon. So the blue one, we will tap on it and we will choose, Select. You can see that this shape changed its color. And if you go to the previous layer, so the one that we were using for our moon ends, if we go to the Canvas, ends with three fingers, swipe down and choose cuts, you will see that we have the new shape right here. So if we hide the blue moon, we will have the perfect shape of the cross. And now you can stack these sheets as well to work with them a little bit later. And for now we will just go to this crescent that we just created. It ends at the shadows and the highlights ends adds some beautification for it.
3. Adding Shadows & Details for the First Moon: So firstly, let's go and create one more layer and put it above this layer with a crescent. We will tap on it and we will choose clipping mask. When you are selecting the clipping mask, you are working just with the content that you have on the layer underneath it. So let's just select another color. I just will go with the next yellow one. And if we get back to the layer that we just created, and if we tap on the icon and on the right, we will see that we have a few options that we can choose from. And they are called blending modes. So for the shadows that we are now going to be creating, we will choose the multiply blending mode. So just tap on it and get back to your Canvas. Now grip your brush and blend. Just checkout. It's streamline. We don't really need the high value right here. So if you have something like 80 plus percent lead, just swipe a little bit to the left and choose something like 15% or even 0. If you like it, you can check out how it works here and if you're satisfied with it, Let's just hit Done. Let's adjust the size of the brush and let's create the shadow on the WhatsApp. So just go along the shape and creates the shadow like that. You can, again hold down your Apple pencil at the end of the line so it creates a nice arc ends. When you're satisfied with it, you can just recolor the rest, the shape manually. If you have some happy accidents, let just grab an eraser and fix these places. So when we have the shadow, Let's go and grab the darker color. So for example, go with this bright yellow, we will create some craters and we will create some beautification for the shape. So let just go and creates the craters first. You can pick another brush, for example, the round one and creates the round craters like that. Adjust the shape, go little bit bigger, vary the size of the craters, put them along, the sheep, go little bit beyond the frames. You can see that when we are working with a clipping mask, we are not going beyond the frames of the color that we already have. So edit few craters and when you are satisfied with it, Let's work a little bit more on the face features and maybe add in some highlights and stuff. So when you are satisfied with your notifications and with the shadow, let's create one more layer and we will use it for the highlights. So creating one more Lear against seconded as a clipping mask and go and again to the blending modes. This time we will need to choose screen. So again, we are going to the colors ends. We can peek some bright color, bright yellow, very bright yellow, or we can even take that white color. So let's just check out how the yellow will work. And if we don't like it, we will just switch to the white. So for the highlights, we will go for the sub-parts and we will create something like that. So you are going along the shape. You can create a few highlights if you want. Just don't create the highlights where you have the shadows. Now, if you're satisfied with what you have right here, Let's just create one more layer. And here we are going to be agents, some fees, features, and maybe some other beautification.
4. Adding Face Features & More Details for the First Moon: So creating one more layer against seconded as a clipping mask. Now let's go to the brushes and we will select another brush. I will use the technical pen. So let's go and creates the face. Well, you have a few options. What's color for the face you're going to be using. You can go with this dark brown or you can use the same color that we used for the background. It's up to you. I will go with that dark brown, get them brush, and let's just create the fees. So firstly, we will go with some simple face is going to be two dots for the eyes and a little mouth, just the half of the circle. So let's just find some place you can go with any place you like. I will go to the center of the shape and just creates a few dots like that. And I will create the mouth. So for the mouth, you can go with the shape of the circle or you can go with any shape that you like. I will create something funny right here. So I will go with a circle. I will recolor everything that we have Insights and I will add a little time. So I will go to the colors and choose this pink color right here. Let's get back to our mouth ends. I will add a little town right here, something like that, as well as still have this being color. I will add a little cheeks underneath ice and both sides. So this our first moon, almost ready. Let's add a few beautification to the craters and maybe a few modifications for the whole body. So let's go and grab the darker color for them, craters. So for example, these orange ends, we will create a little shadows on one side. So we will go along every crater that we have right here. And on one side, we will create a little shadow like that as we are on a different layer from one that we have for the craters, for the mean craters, sheeps. We can erase the parts right here and we can work very easily with this crater shadows. So go Elon every crater and creates the shadow like that. Try to peak one sides and go with this side on every crater that you have. When you're satisfied with this stage, Let's grab that brighter color and add the opposites of the shadows, the highlights. So we will go to the opposite sides and we will create the highlights on it. For the shadow parts, it's not really necessary to add the highlights here, but if you like how they look, you can add them right here as well. But I will suggest you to peek not that bright color for these highlights on the shadows. So let's just try out and if we don't like it, we will erase them. I think it looks pretty nice so we can leave it as it is right now. And let's just add a few more beautification for our illustration. So for example, I will grab this orange color and I will add some details like that. If you don't want to add some details, you can just keep this part. And when we are done with it, Let's just create the outer stroke. Going along the shape.
5. Adding the Outline/die-cut: So we will create just the outline and this method that I will show you right here, you can use to create this dicot or the key Scott for creating them stickers. But for now we are not going to be using it for the stickers. We will add just the additional outline for our illustration. So let's go to the layer. They're very bottom layer that we used for the whole sheep. So we will tap on it and we will duplicate it. We will go to the layer on the bottom, and we will choose the different color for these crescent right here. So I will go with these orange color that I used for creating some details. So just go ends color drop to this area. You don't see anything happening right here. But if you go to the layers, you will see that this new shape is recolored. Now, let's go to the adjustments and let's choose Gaussian blur. We will choose the option layer. And if we slide our finger to the right or Apple pencil, we will create a little blurry outline right here. So you can see that it's starting to glow, but it's not exactly what we need. So for now let's just stop with 9% or around this number. And we will do the following. We will go to the selection tool ends by using this automatic selection, we will SAP on it. You can see that we can adjust that threshold's of this selection. So find what works best for you. And we will need to fill this area with the color so you can go to this color feel. And she will see that we have a nice bold outline right here. So probably I went a little bit too much with this outline and I will do it one more time to create the smaller outline. So let's just go to this layer with the orange moon. We will go again and select that Gaussian blur into the adjustments. And here we will just create the smaller Lord. So for example, let's try out 6%, now go into the selection. So automatic selection, selecting ends, as we still have this color fill selected, we already have the outline right here. So this outline works better. So the last thing that I will do with this outline, I will go along the shape and I will smooth and a little beads the agents because when you are using this automatic method is not working that great. But if you like it, if you like how sharpen it is, it's up to you. You can leave it as it is, but I don't really like it. So I will go along the shape and I will smoothen it a little bit. And when you did it, when you smoothen the outline, our first cross N is ready.
6. Drawing the Second Moon: So let's move on and create a few more of them. It's going to be five different moons. And we already know that algorithm. We already know what steps we need to take, and we already have the prepare its moon for our next illustrations. So let's just unhide bold these layers. We will select them both ends, we will move them to the side. So let just stack one more moon. We will select it and we will duplicate it. And again, we will do the same thing. We will just hide it for the better types. So for now let's just create maybe the full moon. Again, we will go and create one more layer. We will set it as a clipping mask. We will choose that multiply blending mode and we will go to the different color and create the shadow on the both sides. So I will go with the same yellow that I used for the previous crescent and I will create the shadow, go in on the WhatsApp. You can change the appearance. You can make like a big shadow or smaller shadow. All you need just to create a shadow ends to fill this area with a different color when you're satisfied, Let's grab another color for the craters. So I'm using these yellow. I'm picking the round brush and I will go along the shape and create a few different creators. I will go and vary the size. Don't add too much of them, maybe just a few ends. When you are done with this, let's just create one more layer and create the highlights. So go into the layers, tapping on the plus icon, choosing the screen for these blending mode, and don't forget to set it as a clipping mask. So grab a different color. Again, try out the yellow one or if you are not satisfied, be the white one, big the brush and add the highlights, go and along this shape when the enzyme with this, let's create one more layer and we will add the face features. Don't forget to set it as a clipping mask. Use the same color for the face features as a used on the previous one or choose the different color. It's up to you. I will go with a dark brown as well. I will choose the different brush is going to be the technical pen right here. And we can play little bit with the facial expressions. So we can go and put our facial features on some sites. So for example, this moon is looking on the different side, or it's like laughing or any expression that you can imagine. So for example, I will go with the eyes like that. So I will create two arcs like that by using the quick shape tool ends, I will add a little mouth. So if you want to create a cuter face, puts your mouth on the mid line of the eyes. I will add at some here as well, recolor it ends, I will add a little cheeks underneath the ice. Maybe I will go to the layer where we were creating this craters and I will move this crater a little bit below. So go into this Lear, go into the selection. So choosing the free hands method, selecting this crater, go into the transform tool and it's moving it to the bottom. Now let's get back to the same layer where we were, aids in our face features. And we will add the shadows for the craters and the highlights for the craters and maybe some details. So the same way as we did for the previous mode. When you're done with that shadows, Let's create the highlights the same way as we did before. Choose the different color, go with a different side and creates these highlights. If you didn't add the highlights to the shadow parts on the previous illustration, don't add it here as well. Or if you add it, it just go select another color and add them here too. When you're done with this task, let's go to our Lear with the main shape and we will create, copy and make the outline the same way as we did before. So going to the layers, go into the shape, swipe in from right to left, choosing replicates, go into the bottom layer, selecting the different color. It is going to be the same orange that we used on the previous illustration. We will call it droplets. You can see on the layers that it is recolored. We will go to the adjustments and we will choose Gaussian blur. So with the previous illustration, we went something like five points, 9% or 6%. We need to repeat it right here to achieve the same outline that we had before. So when you did it, Let's go to the selection. We will go to the automatic selection and we will tap on to our sheep. And by moving our pencil to the right or to the left, we will adjust the size of the outline. So when you're satisfied, let just tap on the Selection button on the top, deselect everything. And again we will go and we will smooth then the outline right here, the same way as we did before. I will grab the brush and I will go along the sheep and creates a little smoother outline right here. When you're done with this step, let's create the next illustration.
7. Drawing the Third Moon: So again, we will go to our stack shade that we have on the top and we will unhide it. Let's move it by using the transform. So and again, let's make one more copy for that next illustration. So we will swipe from right to left and choose duplicate, and we will hide this illustration. So with that new shape, Let's just create maybe one more Crescent. But this time we will work with the less cuts. So let's get back to our blue moon that we used for creating the cuts. We will move it to the top, we will unhide it. Let's find where it is. Let's select it with the transform. So, and we will move it to the side. So for example, this time I will go with a different direction and I will make the smaller cuts. So when you're satisfied with the placement, Let's deselect it. Let's go to our layers. We will tap on the layer with a blue moon and we will choose, select. Now don't forget to get rid of the color feel. You will see that now we don't recolor anything. And we have the selection right here on the blue moon. When they have this selection, let's go to the layer with our shape underneath it. We will select it. We will swipe with three fingers down and we will choose cuts. You can see that the shape changed ends here. We can work with it. So again, we are creating then new layer. We are setting it as a clipping mask. We are selecting the multiply blending mode. We are choosing the different color. So this one, we are taking the brush and we are creating the shadow. When we added the shadow, Let's grab another color and let's create the creators. I will choose the round brush and I will go along the shape, varying the size of this craters and just creating some modifications. So when you're satisfied with the craters, let's go and create one more layer and we're going to be using it for the highlights. So creating one more layer, setting it as a clipping mask, selected the screen as a blending modes. We can another brush or using the same brush, begin another color and agent the highlights on the top. When you're done with this, let's create one more layer and we're going to be agent the face features. Don't forget to set it as a clipping mask. Now grab another brush. I'm going to be using the technical pen as always, and I will choose the different color for the fees features. So let's go to the middle of our illustration and let's add the ice. So for example, we can go with the same eyes that we use for the first illustration. So just the dots. And for the mouth, we can use the different sheet. So for example, you can go with something like that. So you can go with something like that, add some teeth. You can go with a different shape. So for example, you can go with the cat's mouth or you can go just with some dots like that. So just experimentalist will be its ends and the mouth that you would like. So for that T that I will create, I will use the white color underneath or the wider color underneath. So I will go, for example, to the layer with their highlights and I will just add the color here. Now, I will get back to the layer with the face features. I will choose the pink color ends. I will add little cheeks. Now let's add the highlights and the shadows for the craters. So again, we will go and grab another color. We will go along the shapes and we will add, firstly the shadows and the highlights. I will add some details right here. And I notice that I forgot to add the details on this one. So I will get back to the layer with the face features right here, and I will add details here as well. Also to organize your layers, we can do the following. We can select all the layers that belong to one illustration and weekend group them. For example, this is our last illustration ends. Let's do the same for the previous ones. So just select them and group them. And now I will get back to this illustration and add some details, and the same for the last one. Now let's add the outline for this illustration. So we will go to the layer that we have below and we will make a copy of it. So swipe from right to left and choose duplicate, select the layer below, select the color for the outline. So again, it's going to be these orange color, drop it, go to the adjustments, choose Gaussian blur, select the amount of blur. So I will go with the same amount as I used for the previous illustration, so it's about 6%. Now when he made the Gaussian blur, Let's go to the selection. We will choose automatic, and we will choose the color field. So you can see how it looks. Again, I will deselect everything ends. I will add their parts that are missing right here. So for example, here on the corners and I will go L and the shape and I will make it a little bit more smoother. When you're done with smoothen the outline, let's create a few more illustrations. And to not make this class too long, I will just copy two of the previous illustrations and I will make the different phases.
8. Making Two more Moons: So let's just go to our groups. So for example, I will make the copy of this round one. I will just swipe from right to left and I will choose duplicate. So then you group is here. We will select it. We will go to the Transform tool and we will move it to the side. You can rotate it if you want. You can just adjusted in accordance with your vision and 20 are satisfied, just deselect it and I will go to the layer with the face features ends. I will change the face. So just getting the eraser to a reason the face features, not arrays and everything that we have for the craters, just erase the face. I will grab another brush or as I am using the technical pen, I will leave it. I will grab that dark brown and I will work onto the face. So this time let's go with these type of the eyes. I will make this same eye on the other side. Probably I will select the free hands methods and smooth one of them to the site without not forget into sets of the color feel. So with the transform to move it to the sides, deselect everything and continue agent the mouth. So now I will select the first group and I will duplicate it. So let's go for it, and let's select Duplicate right here. Go to the transform to move it to the sides. Probably here, I can flip it horizontally and I will rotate it a little bit too, For example, like that. Let's go to the layer with the face features. We will erase them here and we will add another phase. I will grab another color, and here I will go with the sleepy face. So creating the ice like that. Agents, some little mouth here, grab in that bin, color agent, the chicks. And if we don't like it, we will go to the selection tool and we will move it a little bit, maybe make it smaller or bigger. Just tried to select it very accurately without selecting other feature is that we already have onto this layer. So let's just move it. Let's try out the different placements. Maybe we will make it a little bit bigger, red seated and so on. And when you are satisfied with their face features, the last thing that we will do here is maybe plane in little bits and adding some additional elements.
9. Beautification & Additional Elements: So for example, we can add a little sleepy hats for these sleeping mood. So let's just go above all the layers that we have, all the groups that we have and create one more layer. Onto this layer, we will go and select the different color and we will add a little head right here. So for example, let's go with this one ends. We will create the hat like that. So we are repeating the shape of the moon ends. We will color drop the color right here. So let's just work a little bit more onto the whole shape of the hat, make it believable that it's not just the shape of the crescent, but it is recolored. Make a little bit of volume right here in, let's add the PO, POME. So for example, I will grab this color and I will create a little, something like a flower right here. We can go with that white outline on the bottom right here, or you can leave it as it is. I will probably go for it. Just create the outline also if you already have the sheep and you don't want to go beyond the frames that you already have. You can go to the layers and you can send this layer as an Alpha Lock. It works pretty the same as the clipping mask, but you are working on the same layer. So let just recolor it and you can see that you are not going beyond their freeze. You can add some beautification here. So for example, maybe some stripes like that. So when we have the first element, Let's just set off our Alpha Lock and we will add a few more additional elements to our illustrations. And then we will make the outline as we had our moons as well for these objects. So let's just go along the shapes. Maybe add some stars, maybe add some clouds, maybe at some beautiful things right here, some sparkles or something like that. Don't go far away from the borders. It still needs to be just one Solids sticker. So for example, let's go and add some clouds for one of the moons right here. So for example, for this one, Let's go and grab the white color, and let's create the sheep's for the clouds. So for the clouds, we will need to create 3.5 circles, connect them together and merge them by creating the line on the borsa. When you have this shape, just color, drop the color. If you want to adjust it, just selects it, move it, rotates it, and find the placement that you want for these elements. Let's add one more or maybe two more clouds by using the same methods. Let's go to the first elements and we will add the little star hanging own little rope right here. So we will grab the same color that we had for our illustration. We will create the rope like that ends under this rope. We will just create Little Star. So just create the outline of the star, color, the inner parts. If you want, you can make it even cuter by cutting the ages and making them like a little bit more rounder. When you're done with this one, maybe we will go and edit the bigger star here. Or if you want to add some sparkles, maybe add some sparkles. Again, you can experiment a little bit right here and make it unique. So just work on so your elements right here. If you want, you can create one more layer ends and the shadows and highlights for this little elements as well. Let's just go and do it. We will create one more layer. We will set it as a clipping mask. We will choose the multiply blending mode. We will select the different color and we will add a little shadows to our elements. Now when your exam agent the shadows, you can go again and create the highlights, but I won't do it right here. We will go to this layer and we will need to add the same outline that we had for our moons. So let's go and select the layer with this additional elements, we will swipe from right to left and we will choose duplicates. Select the layer underneath. And we will need to select the color that we used for these outlines. So it is this orange. We'll color drop it for our elements. Probably we will need to do it for each element separately. We can check out by hygiene the previous layer and see what we need to recolor still. So when everything looks fine, Let's get our layer with the additional elements back. We will go with this selected layer to the adjustments and we will choose Gaussian Blur. Again. We will slide our finger to the right and we will find this same amount of percent that we used for our illustrations before. So it's 5.9 or 6%, something like that. Let's go to the selection. So, and with the automatic selection, we will need to also select the color fill. And we will need to go for each elements one by one and adds these outlines right here. The last thing that I will do is deselect and these elements and going through all of them and smoothing them a little bit. So with that brush or with the eraser tool, I will go along them ends. I will smoothen the edges. When you smooth and all your lines. We are at the end of our class. If you want to add the white outlines, that key Scott or a dicot, or just this white outlines for the stickers. You are welcome to do it. Just use the same method as we used for these orange outlines. I hope you found this class helpful and if you liked it, please check out the other classes, give a follow and leave your review, and thanks for watching.
 Xenia Sorokina, Illustrator & Graphic designer