Transcripts
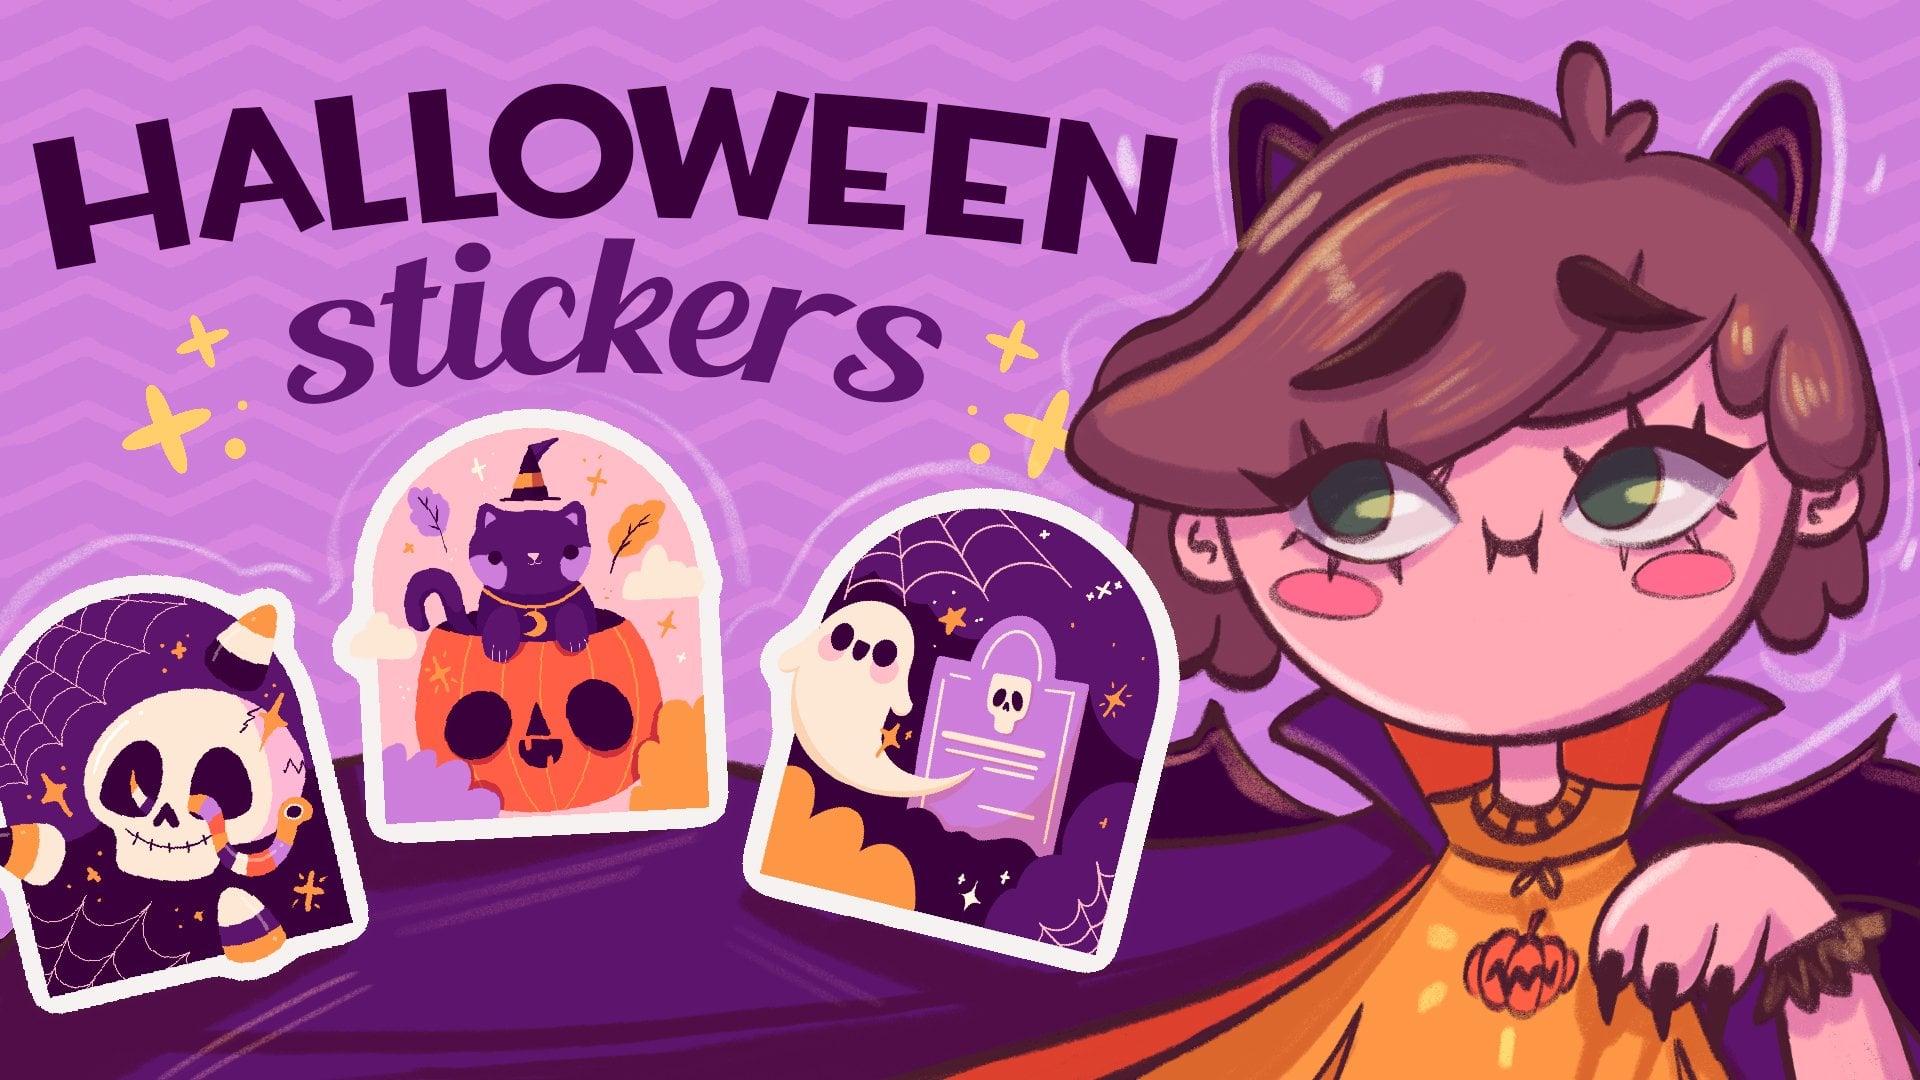
1. Sweets Intro: Hello everyone. My name is Christina and m and illustrator and graphic designer. Today we'll create a sticker pack with sweets. We're going to make the pictures from scratch, starting from the sketches. And as a result, you have a bunch of fooled colored illustrations. You can use the final pictures as single stickers or Sticker Pack, put them on the postcards, make a pattern from them, turned them into some digital products and to use them in whatever way you want. These class is for everyone. So don't worry if you have no prior experience, all the drawings are made in Procreate, but it doesn't mean that you cannot use any other graphic software or traditional materials. So with that said, if you're ready to launch your software and let's begin.
2. Sketching & Arranging the objects: Today we are going to be creating a little sticker pack with the sweets. So let's just jump into our procreate or any other graphic software that you're using insulin, just start making our illustrations. So firstly, we will start by creating the sketch for the sketch and banana using that sexual brush and technical pencil or Procreate pencil or any other texture brush that you can find inside this library, you can use any brush that you like. Let's start by sketching our elements. Let's arrange them on the canvas and let's just work with what we are going to be creating right here. So I will start by creating a sketch of the leaker is suites for the liquorice sticks, we will need to create two parallel lines like that, maybe a little bit thinner for this stage, it doesn't really matter if everything looks fine. We are just mapping out what we are going to be created. So we will need to make the round cuts on the bottom and we will need to make an open cuts on the top. So just create something like that. Create the inner part. Maybe adjust it a little bit. Let's create one more licorice stick again by using the same principle, we will create the stick like that when we're done with the licorice sticks. So let's move on and create another candidate ends, maybe the sand, we will create the candy cane. So for the candy cane, again, we will need to create the lines like that ends. We will need to create the HUC, tried to make griffin nicely looking, tried to make a refund rounded. All the cuts are going to be rounded as well. And for the candy cane, we will need to create the stripes like that. Go along the shape and create the equal stripes like that. If you don't like how your illustration looks right now, you can select it by going to the selection tool and you can just adjust it by using a veterans form so you can distort it, you can wrap it. I will probably go with a little bit over distortion. Maybe read re-tweeted, place it somewhere on the different plays when you are satisfied. Let's move on and continue another suite. So this time let's just go with something simple with the rounds. Let's go with a circle. Probably it's not going to be the circle. It's also a bit elongated ellipse. And here we will create the steam like that in the middle. So it's going to be some kind of a lollipop. And it's going to be on this tick. So finds the center of its ends just creates the line going down, two ions actually going down. If you again don't like it selects its, go to the Transform tool, I will make it a little bit smaller on the top, smaller in general. Please sit somewhere and let's move on to create another one. So for another one, lead, just go and create the mellow twist. For the mellow twist, we will need to create the rectangle like that. Doesn't matter if it's not accurate, it's just an outline of the rectangle. Let's rights away creates a Destic. So finding the center and creating this stick and S for the top part, we will need to create these twists. And to create this twist, we will need to go to this shape and we will need to go along the shape and create the lines like that. When you create the lines like that, we need to make them a little bit more rounded and to make the whole picture look a little bit more puffy. So we need to go and we need to just adjust the shape, go a little bit beyond the frames and create the lines like that's on the sides. When you're satisfied with its loop, we again can go and transform it or move it. Just find what looks better for your illustration. Place it somewhere, and when you're done, Let's move on and create another sweet. Maybe this time we will go with the heart, Candace, we will create two different hard candies. The first one is going to be some kind of a mint. So let's go with the circle. We will create one more circle inside ends. We will need to find the center of it. Go alone the shape with these curves like that. When it's done, let's create another hard candy. And again, we will create the circle. We will create one more circle, insight, not go and so far from the edges. And we will create one more circle insights. And the last circle that we will create here is going to be right in the middle. And with that shape, we will create. The lemon. So I will make it nicer. Again, I am repeating myself. We don't really need the outlines to be very nice, very clean and so on because we are going to be creating the clean lines a little bit later on. And we will fix everything that needs to be fixed. So when they have these, let's just move on. Let's create one more candy. And again, I'm going with the circle. I will create this stick. And it's going to be from the center, go in like a little lollipop like that. We can please all the objects little bit later. It's not necessarily right now. We need just to create some objects ends like fill the gaps here. So probably the last candy that I'm going to be making is going to be just a simple Kinsey like that. So creating the rounded rectangle and agent, the wrapper ends, ends creating some stripes right here. So let's just take a look at what we have here. And let's just go to the selection tool and transform tool. And we will just arrange everything onto the layer. So go into the selection tool, selecting the objects, rats eat and move in, doing a refund like that onto the stage. It's always good to do this onto the stage with the sketch. Because every time you are transforming or rotating or moving your elements, the quality of the lines are getting a little bit worse. So let's just spend some time making arrangements, making adjustments, transforming, and translation. Are objects alone the canvas. If you want, you can create some copies of the elements. So for example, I will create a copy of this candy on the bottom. So I will go and select it. When it's selected with three fingers, I will slide down across the canvas and into the copy and paste menu. I will choose Copy. Then again with three fingers, I will swipe down and I will choose Paste. You will see that we have an option to move the copied elements where you want to move it. And when you have this option, when you have the new elements, we need to go to the layers and you will see that we have a new layer with the inserted image. We don't really need a few layers for the sketch part. So let's just go and merge these two layers together. We will tap on the layer with inserted image and we will choose Merge Down. Now everything is on one layer. Let's continue arranging our elements. When you're satisfied with position of your elements. Let's go to the layers and do the following. We will go to this layer with the sketch and we will tap on the icon. Here. On the layer, you will see the apache Slider and we need to move it a little bit too worried the left, because we still need to see what's going on on our layer, but we don't really need to bother us. So when you are satisfied with the capacity level, Let's do one more thing. And it's going to be swiping from right to left and choose lock into that layer. It will prevent us from working on the wrong layer.
3. Creating the clean lines: Now let's create one more layer and it's going to be used for the clean lines. So for the clean lines, we will use the different brush. I prefer to use the technical pen and I prefer to set the value of the stream line around 75, 80 percent. You can check out how it will work. You can adjust this value in accordance with your vision, in accordance with what you need to get. If you don't want to have very smooth line, you can just decrease this value or just set it as 0 ands your lens will be as natural as they can be. So after you are satisfied with the streamline value, ledges, heat done, and let's start making our clean lines. So the main goal here is to create the closed lines because closed lines will help us to use the color drop later on when we are going to be coloring our objects. So nothing special is going to be going here. We're going to be recreating what we have on our sketch. It doesn't really matter if we are going to be recreating it with a 100 percent of similarity, you can change things, you can arrange something differently. Just remember that you need to create the closed lines. Also here, you can use the quick shape tool. And if you don't know what is the quick shape tool, you can hold down your Apple pencil if you're working in procreate, of course, and it will create the proper shape that you need. So for example, let's try it out onto these liquorice so parts. So I'm creating an ellipse and I'm holding it down at the end of the line, you will see a little message here on the top. It says ellipse created. Now you can imagine the shape. You can see that you have a few options here. You can just arrange your ellipse the way you want. So for example, you can move it, you can receive it, you can just make it smaller or bigger. It's up to you. So when you're satisfied, just tap on the screen and you are good to go create an, another chips so you can use it to ease your life. When you have everything outlines, Let's go to the layers and hide the layer with the sketch. Now let's check out whether all of our lines are closed and if they're not, let just fix this. I didn't forget to make the lines inside the king. I just want to show you another way of coloring a bit later.
4. Coloring: So when we have everything that we need, Let's go and create a layer for the color and we will put it under the layer with the lines. So create one more layer and move it down. You can rename the layers or leave them as they are, as we are going to be creating the colors on the different layer from the layer with our lines, we will need to do one more thing. Let's get back to the layer with the lines and we will tap on it and we will choose reference. When we are choosing reference, it means that we can work with the same lines that we have onto this layer, but use them on the different one. So let's just check out what I mean. With that. We will get back to the layer with the colorant and we will go and start recoloring our objects. So that color scheme that you see right now is the same color scheme that you can find in a project and resurrect some. You can use it or you can use your own colors. It's all up to you. So let's just grab some colors. So for example, I will go with this dark pink and I will just color drop it to the liquorice stick. And you can see that it works perfectly. If we didn't have the Lear set as a reference, it will be just like that. So by using this method, let's just go and recolor every object that we have on our Canvas. If you have some objects that are white now and if you want to remain them wise, you will still need to recolor these areas because right now these areas are transparent and if you change the color of the background, they will be recolored as well. So for example, let's go with this stick. We will grab another color that is similar to white ends. We will just color drop it. How can you make sure that you recolored everything that you need and it's not working bat with the background. You can go to the layers and you can just uncheck the box for the background. And you can see that everything that you need is recolored right now, get back to the background color and continue recoloring your objects. As for the cane, let's do the following. We will go to the layers and we will send this layer that we are using for our coloring as an alpha lock. So tap on it and choose Alpha Lock. When he chooses Alpha lock, you can work only with that areas that you already have on to this layer. So for example, if we now go to the colors and select another color, I will increase the size of the brush. And if I go and starts creating the stretch right here, you will see that I'm not going beyond the frames that I have for this coloring. So let just recolor it in that way. Just go along and creates your stripes. When you're done with recoloring, let's again go to the layers and set off the alpha lock on this layer and select Alpha Lock one more time and continue to recolor and your objects the same way that we used before. Just color drop to the places that you need to be recolored. If you miss some places, you can always get back to the layer with the lines or with the layer with the color and in fix them there. When you recolor, let's go and add some shadows.
5. Adding Shadows & Highlights: So we will go to the layer that we already have for our coloring and we will create one more layer above it. This layer we will set as a clipping mask. So let's tap on it and we will choose clipping mask into this little drop-down menu. Now to create the shadows, we are going to be using the blending modes. The blending modes are here under the letter n. So for the shadows, we will need to use the multiply blend modes. Just find it there and we can decrease the capacity rights away, or we can just try out our colors and decrease it a little bit later. It's up to you. I will decrease it to 70 percent. For now. To create the shadows, you can pick one color and create the shadows with this one color for all the objects. Or you can select the colors for each object separately. So for example, if you go to the licorice stick, I can pick this red color that we used for the main color. And I can just go and create the shadow here, but I can see that it's not enough value right here. So I can go a little bit darker by using the disk and just create a shadow in that way. So pick sides and create the shadow on one side. Also, you can create the shadow a little bit underneath the objects and create something like that. If you think it's not enough, you can go a little bit more with the darker color and create one more shadow right here. So just go to the site and create the shadow with a darker line. Here, it will standing up a little bit more. And by using this method, we can go and recolor every object that we have here. Just thinking where you can put these shadows on. You can just pick any size you like and make the shadow here, S4, the objects like this lollipop, we can create the shadow in that way. We will go along the shape and we will separate that round part from the part that we have in the middle. And with that shadow, we are going to be separating these parts from one another. So just do it in that way. You can use the darker color to pop it up a little bit more. So just continue agent the shadows in this way. When you add in the shadows, Let's move on to the highlights. We will need to create one more layer. So tap on this plus icon. And again, we will need to set it as a clipping mask. So tap on it and choose clipping mask. Now let's go to the blending modes. And here we will change the blending mode to screen. Now, if you go to our objects and if we select the different color, that lighter one, for example, Let's again take a look at our liquorice sick, I will go with some red color and we will go to the opposite side from the shadow. And we are going to be using the same technique, but now we are creating the highlights, so just creates the line on the other side. Let's go through all the objects. Ends, creates these type of lights. Again here you can select different colors for all the objects, or you can just pick one color and work with it. Just experiments a little bit with this technique. As for the shapes like the lollipop here, we can just go along the sheep and create the highlights like that. When you're done with this part, Let's just make one more thing with the highlights. And we will add just very bright, very white highlights on some places. So we will just be a white-collar ends again, we will go with the same layer and we will create a few highlights like that. Ends when the Asiana with this part, the last thing that we will do is recolor in the lines.
6. Recoloring the lines & Fixes : So let's go to the layer with airlines and we will create one more layer. Again. We will set it as a clipping mask. Now we already know how the clipping mask work. So let's select another brush. I will be using the round brush or you can use any brush that you like. And we will go along the shapes and we will pick the color that is near to the h that we need to recover. We will go along this line and we will just recolor it. I'm using the different colors for each bar that we have here. You can use just one color or you can leave the lines as they are, or change the color for every line that you want. I will just want to make some kind of a line list illustration. It will be needs, it will be nice and it will look pretty. So. Let's just jump Insights. And I will go and recolor the lights. When you recolor every fan, Let's just take a look at everything that we have here and find some mistakes like that. Create one more layer and fix them. So above all the layers, we will create one more. We will grab some color that we need to replace. And we will go along, displaces and recolor them. And that's our final illustration. Let's check out the background color and Fletcher cartel ever fin loops on the dark backgrounds. If everything looks fine, That's the end of the class. If you need to fix something, just go quickly and fix all your places and you are ready to go with this sticker pack. I hope you found this class helpful and if you liked it, please check out the other classes. Gilead, follow and leave your review. And thanks for watching.
 Xenia Sorokina, Illustrator & Graphic designer