Transcripts
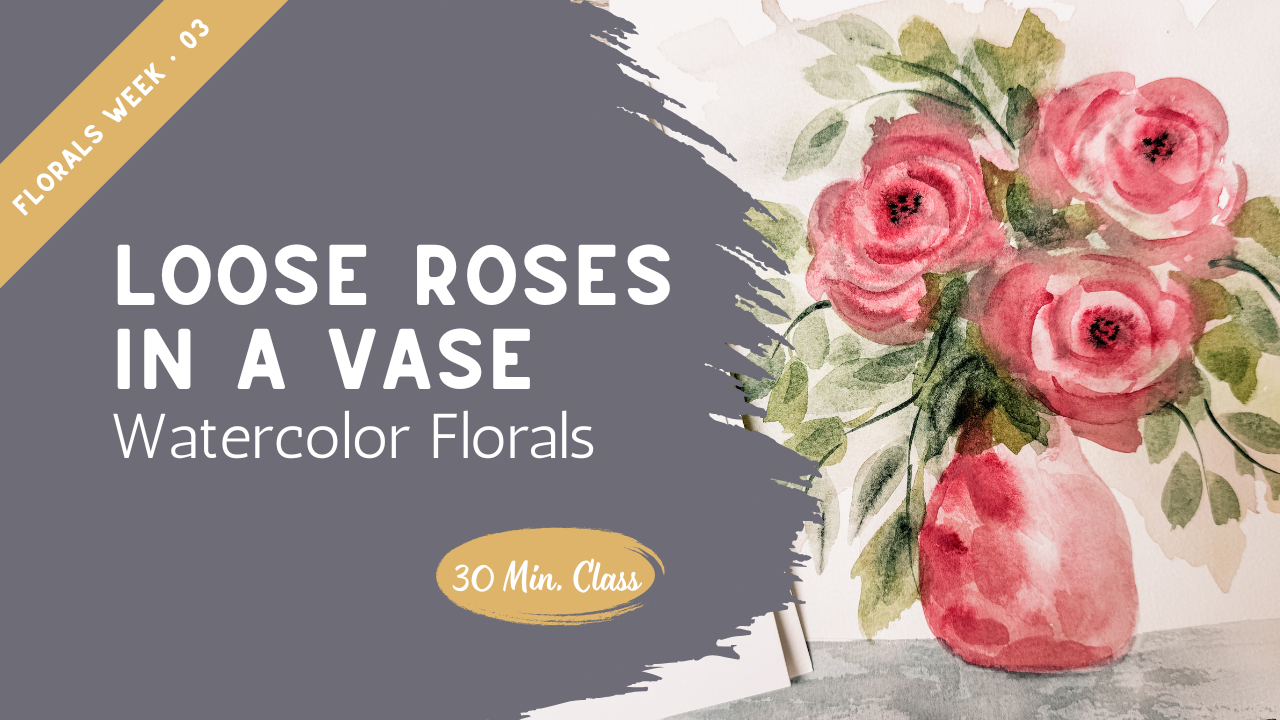
1. Welcome: Painting Loose Watercolor Roses in a Vase: Welcome back. In today's class, we're going to be painting
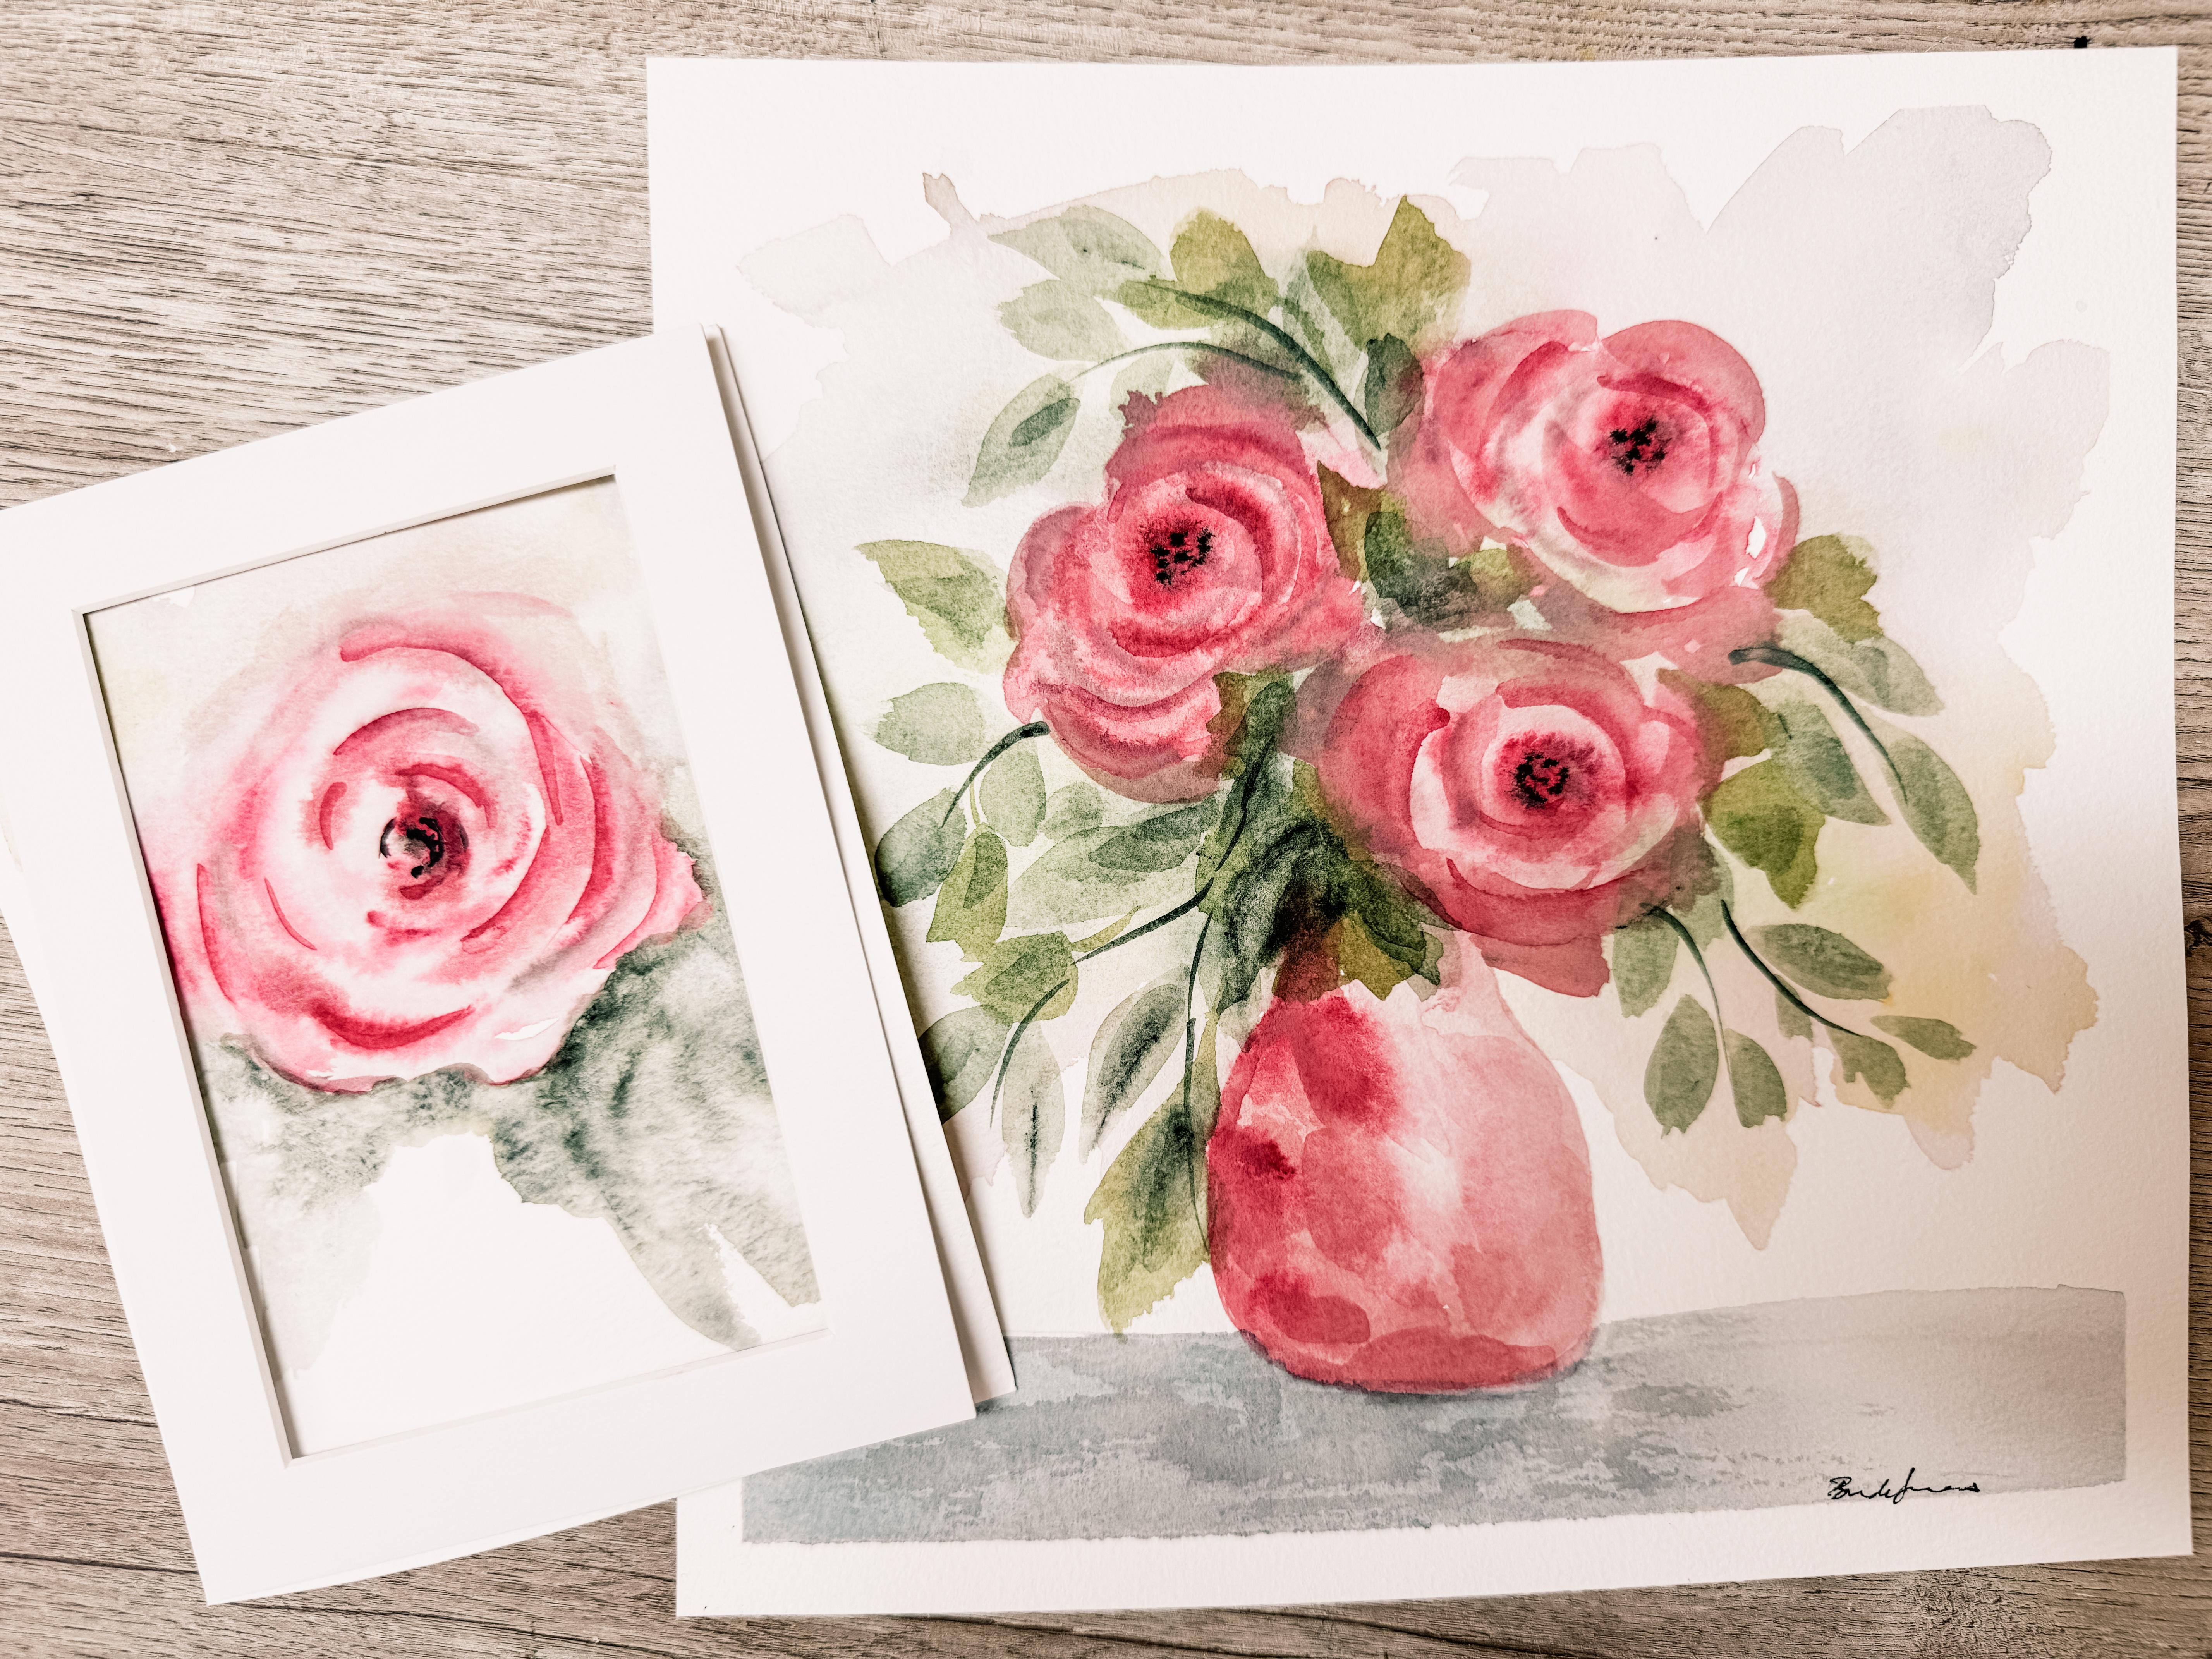
a loose watercolor bouquet of roses arranged in
a simple glass vase. This painting brings
together several of the techniques that we've been practicing throughout
this series, including painting
without sketching, using a larger
paintbrush and allowing the paint to move more
naturally on the paper. This is a helpful warm up that
will give you the feel for the brush movement and the soft spiral shapes that create the
center of the flower. Once you see how
the rose is formed, we'll move on to the
full class project. For the main painting,
we'll start by establishing a vase and a table so the
composition feels grounded. Then we're going to
build up the bouquet by building three
expressive flowers followed by loose greenery and a soft background wash that
helps the flowers stand out. The goal of this class
is not perfection, but instead to focus on keeping your brush
strokes relaxed and allowing some of the edges to say soft and unfinished. Those small variations
are what's going to give your loose water
color its natural beauty. When you're ready,
gather your supplies, and let's begin with
a practice rose.
2. Practice Exercise: How to Paint a Loose Watercolor Rose: This class, we're
going to be painting a vase with a couple of flowers, trying to keep our watercolor
nice and fluid and loose. This is Daniel Smith's
buff titanium and it's such a great color
because it's just this soft creamy color. I'm going to use
this little plate. It's just a little flat plate
that I have for my kitchen. I'm just going to
put a little bit of it down here. I
don't need much. I'm just going to
put a little bit in just to get started. I can always mix up more later. Then I'm going to add
some water to it. Then I want to just show
you it's just so creamy you can see here that it's just
this beautiful creamy color. Today I'm going to be
mixing that with my pink specifically so that I can
create a really soft pink. There I just put
pink right into it. My red. Do you see how
beautiful that is? If I dive, let me just use my other brush and dive
right into that same paint. This is the same paint
that I put in here. You can see how different it is. Then I'm going to make my
first little flower here. It's just a little sample. If you missed that last class, you can practice it right here, you can go back
to the other one. I'm going to be creating
a circle here with lots of water and it's jagged. Maybe it's opening up in different spots
little jaggedness over here and over there. So on this paint brush, I just have some of the paint straight
out of the palette. And I'll just start to put in a little circle there,
little semicircle, C shape for the center of the rows and then maybe a couple more around
the outside edges. You know, just kind
of like kind of random You can always
just play around with it. If you want to make
them a little softer, you can come back in with a
bigger brush and soften them. I really kind of want a
little darker center, so I'm going to use
this darker brown. Just add a little bit of darker paint in
here to the middle. Maybe even add just some
shadows out here. Not many. Just a couple. Again, using
an almost dry paintbrush, you can move this around. Soften them. Remember
that they're going to dry lighter than
when they're wet. When they're wet, they are the darkest that
they're going to be, and then they
always dry lighter. Red tones, but instead of
being really, really pink, I'm just choosing
a little darker red to add another
layer of interest, some little green
around the base. This is another wash. If I wanted to, I
could also just pull up some of that
color that's in there and just push it out push
that pink out in there, just to create a wash effect. Drop some greens in.
I'm not going to get real detailed here because
you can go back and watch that other class
where we talked about this. I do want to get onto
the whole lesson, remembering to keep your
darkest edges right along the edge of the flower because that's almost like
show your back shadow. Think about where your
son is coming from. If my son is coming
this direction, down here is going to be the darkest over here would
be the very darkest. I can even just add water.
Just pull that out. Add in some more dark shadow. Okay, I think you're getting the hint as to what we're doing. You can go ahead and practice this creating one single flower. Adding some greens around
it in this variation, maybe keeping one area
lighter and one area darker. It's okay for it to
get a nice little wash across it because we're
making it a really, really soft loose
atmospheric style.
3. Painting the Vase and Table Foundation: So for this class, I'm
going to be using my ten by ten Academy
watercolor paper pad. This has the glue that anchors
the piece of paper down. This is 100% cotton. I'm going to be using that
and painting within here. We're going to go ahead and
paint a vase sitting on a small little table and some greenery and three
roses inside of this vase. But we're going to do that.
Without sketching anything, we're going to leave our pencils put away in the drawer.
We don't need them. So I am going to be creating the vase and I
would like to have the vase about if I think of this as
being a halfway point, I want it to start a little
bit below halfway point. My point of my vase is going to the top of
my vase is going to be here and I'm going to come
down and around like that. I think I can create this by just saying it's going to come down and then I'm
going to make it bobble out just slightly,
something like that. Then I'm going to
have it come straight across for the base. I'm just going to
put a little bit of more water onto my brush. I didn't rinse it
out completely. I just dipped it in the water. Now I'm going to do it
the opposite direction. I have my vase branching
out that direction, coming across and then
I'm going to start here again coming down to
about the same point. I'm just going to
push it out that way. See how it's not anywhere near
perfect, and that's okay. It doesn't have to be perfect. Rinsing out my paint brush, I'm just going to bring in just a touch of the paint that's already in here and filling in the middle
here a little bit. I'm calling that done for now. I might come back in here
and add a little bit more of this paint at some point when that dries a
little bit more. But for right now, that's
all I'm going to do. I'm also going to create
a table platform down here in maybe like
a gray blue color, but I need to wait for
this to dry first. So I'm going to wait for
this to dry a little bit, and then I'm going
to add some details, and then we're going
to get started up there on those flowers. This is dried enough. It's not completely dry, but it's dried enough that I can just come in here and add just a little details of little touches around
the outside edge. I'm going to be showing
that my light source is actually coming
up and so this is going to be in my
lightest and then my darker area is going to be over here for
this particular one. I'm darkening these areas. I think I'll even add in a
little bit of that pink from the palette just to add in some extra little fun details
right along the edge. Show that it's the darkest spot. Notice that I'm using this
great big size ten brush because I want this to be really loose and not feeling like I'm
trying to make it exact. Now I'm going to create
the little table. I'm just going to come
up and just touch that pink and come
all the way across, maybe fade it out a little bit. Over there. Again,
we're not drawing. We're just making a line
that is about straight, but it's not going to
be completely straight. Using lots of water on my brush. I put my paint brush
into the paint, and then I even dipped it into my paint water over here so
that it's not real pigmented. I'm just going to put
some of that right down into my wet area. Drag that across. Because this is
my lightest side, my light sources coming up here, I'll just fade
over to that side. You'll still be able
to see that it's blue, but it's very faded. Because this is the
base of my vase, I will probably put
it in a little bit extra underneath it
to create a shadow. Okay, so that's dry enough and there's enough
shadow going on here. I might come back to this
later. I'm not sure. I'm going to move on and
start working on the roses. Come back to the next part of this class project and we're going to start working
on those roses.
4. Building the Bouquet: Painting the Roses: Welcome back. We're going to start working on those roses, but I want to highlight
something here. I want to show you
that I did not finish off the top of this vase. I didn't give it a lip.
I didn't finish it. The reason I didn't
finish it is because I'm going to have
leaves coming in here. When I make a vase
or a container, a basket or something, I like to have the top
of the vase actually covered with either a flower
or leaves or something else, a ribbon instead of showing the vase top and then having all the stems
coming up from there. Because I left that open, that's going to give
me an opportunity to actually put in some leaves
and a little bit of a flower. So I'm going to have my first flower just
using plain water. I'm going to actually have my first flower all
the way down here at the bottom of this vase. I'm going to create a circle. I'm going to make it jagged because all of our flowers are very jagged around
the outside edges. Making it loose, it's
not a perfect circle. And then I'm going to
create a second one because I'm going to create all three bases at the exact same time. I'm going to create
another one up here and this one is going to be almost oval shape
because it's maybe looking up the tip of it's the center of
it's going to be up here. I'm just going to
make it jag it around the outside edge and make
it more of an oval shape. Just plain water, no pigment
at this time, no paint. Okay if my two circles touch. If you find that your two
circles are touching, that's going to be okay because everything they can
bleed together. Then I'm going to put a
third one up in here. Again, I'm going to
make it a circle, but maybe more oval shaped
and just tucked in here. This is going to be
my background flower. Again, I'm going to make it jag it around the outside edge. And that one's looking that direction and so the tip of it is going to
be all the way up in here. Now, I know that's hard to
see because of the camera. I'm going to see if
I can pull it up closer to you so that you
can take a look at it. Okay, here's my vase and
you can see that I put in this bottom flower here and it's all jagged and it's
touching into the vase base, and then over here is my oval, and that one is up in here, but oval shape, and again, jagged and there's my third one. Hopefully that comes
through on the camera. But the buff titanium
with lots of water, and I'm just going to
drop that right on in. It's the same color as my vase. I did that on purpose because
I really want to be able to have this very
nicely coordinated. I'm just going to
put in that color, this is still wet so I
can add it in over here. I'm not painting it in
it's a coloring page. I'm just dropping
in some paint where it's still wet and
letting it bleed out. If they touch, it's okay. If I put my paint and it goes outside of where it's
wet, that's also okay. Remember, no rules. We're just experimenting
and just having fun. I want to get that center going, so I'm going to pick up some of the pigment right
from my palette. I'm going to be putting
in the center of this flower up higher to
indicate that it is looking up. This one is going to
go over that way. And that. That's how we're going to get
these flowers to look like they're going in
different directions. Using just the tip
of this brush, even though this is a size ten, I'm just using the tip of the brush to add
in some C shapes, even along the outside edge. I hope you're
painting along with me and having a good
time exploring. I'm going to pick up
some of that brown mix it in with some of the pink. Then in areas that I want
to have it a little darker. I can tap that in there. Keep remembering where
your focus is on the sun. M or my light source
is coming up. This must be up on a higher
shelf the window coming in. Most important is that
you are having fun. Fun experimenting. Fun figuring out how
much paint you need or how much water you need or
which colors combination. Just adding in some really
dark brown here into the centers. Let that bleed out. Before these dry completely, I'm going to come in
with my larger brush. I'm using this quill
brush and I'm going to get some of these areas wet because we're going to be adding in our background now. I'm going to be actually
touching into the pink and spreading that pink
around and bringing it out because we're going to be creating a really loose back.
5. Adding Greenery and the Background Wash: And I'm okay with touching it
and letting that all bleed. I know that it
feels unusual to do that because you feel like you just ruined your
painting that you did. I'm not trying to finish. I'm not trying to take away from what you've accomplished. But this style, this
atmospheric style really allows for some fun movement
and experimentation. Now I'm going to be
starting to put in some greens and some yellows. I know I'm going to want
some greens in here. I'll put a little green
background in there. Now I want some green here
and some green in the middle. I am going to be working quickly because I don't
want this to dry. I want to keep working
while this is very wet. Maybe we want to have
some greens that come up. You know, maybe we'll add
on a little bit of blue. I do like a little bit
of blue in here too. That same blue color
that I had down here. I just some pulling that up
here too. Dropping that in. This is where it just becomes very intuitive and you have to just kind of go with what
makes you feel right. Okay, maybe I think
I need some yellow. What do you think? Little yellow always makes everything happy. So I think we'll add
in a little yellow, but my light source
is down here, so I don't want to put
too much yellow up there. Put more down in here. I do want to be careful
of putting my yellow next to my blue because yellow
and blue makes green, and sometimes you can put in green where you
didn't really want it. So just be careful.
Just be aware of it. It's fun. Nice background. Remember it's going to dry lighter than it's showing here. Leaving lots of white space. You know, the white space
all the way around. I'm gonna leave all that there. I'm going to come in
and add in a little bit more green and create a little green bringing it down in here. Up in the middle. Right now, it's not
leaves in particular. They're just shapes of color, swashes of color
where I'm going to be adding leaf shapes on
top of this in a minute. Even some darker green this is nice and dark
here in the center. Okay. What I'm going
to do is wait for this to dry or go ahead
and use my Okay. Now this is mostly dry, I'm very happy with
the background. We're going to have to
come back and put in a few more details
into the roses, but I also want to add in
some real looking leaves. I'm going to branch
off and bring out some small branches
that's going to help me remember where I want some of my flowers to go and my leaves. I'm going to branch
out like that. I think I'm also
going to come up here and have something
coming out that direction. Okay. That's going to help me with a little bit of my guidelines. Using my size ten, using a nice soft
green, natural green. I am going to create some
leaves by pushing down and pulling off like that. Just right on top. Can even create some
right on top of that. All that is is just laying my paintbrush down
and pushing off, laying my paintbrush
down and pulling. Letting this big
paintbrush do the work. Okay. So let that go for a
second and then come back over and grab this pink again and create some more big petals right on top of what
we've already done. Because this is
very diluted paint, it's just going to
glide right on top. Okay. Let that dry. Coming back over
to my paint brush, I'm going to grab
a lighter green. Mm. Got another
one down in here. Well, I think I'm
going to add in a little bit more detail into the flour now
that that's dried. We're just adding it back in. Not a lot because this is a
very loose watercolor feel. Soften those edges if you want. Or texture down in here. I'm using that paint
brush with a little blue and a little brown and
almost with a dry brush. Going to create just a
little dry brush effect. Really lightly laying
it on its side, just very lightly
touching that edge. Want you to take
notice of the top of the vase because I didn't
finish that top of that vase and I
left a lot of space there that allowed
me to anchor in my rose here at the
top and also to cover some green leaves
right on top of that. It really finishes off the piece so that it
doesn't feel disconnected. This really makes it feel like the arrangement is
part of the vase. I also want you to take note of how my vase is not perfect. This side is a little
bit more rounder, this side is a little
bit straighter. I'm okay with it because it's the style of painting that
I was trying to achieve, which is a very loose style. What was more important to me was that I had my
light source correct, that I had my lighter things on this side and it shows that
my darker things are on here. This is the shadowy spot, and this is where the
light source is coming in. There's a window over
here looking at it. And I really like the
way my table worked out, and I think the
background is cool. I hope that you go
ahead and do this. I'm going to go
ahead and put this into a frame so that
you can see it. Come back to the next
lesson so you can see this framed and
talk about next steps.
6. Framing Your Painting and What to Paint Next: Once your painting is dry, take a moment and step back and take a look at your
work from a distance. Loose watercolor often
looks best once it has had time to settle and the
colors have fully dried. The soft edges, light washes and small variation
in brushstroke all come together to create a natural and expressive
floral arrangement. One of the things I love
about this style of painting is that every version
turns out different. Even if you follow the exact same steps your roses, leaves, and background washes will develop into their
own unique way. That individuality is part of what makes watercolor
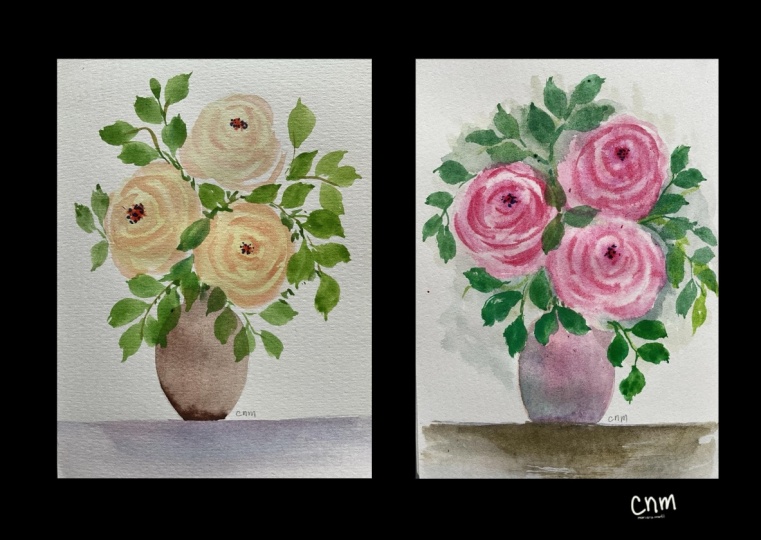
so enjoyable. If you like, you can also try painting
this bouquet again, using different colors or a slightly different
arrangement. Repeating the same subject
in a different wonderful way will build confidence and develop more relaxed
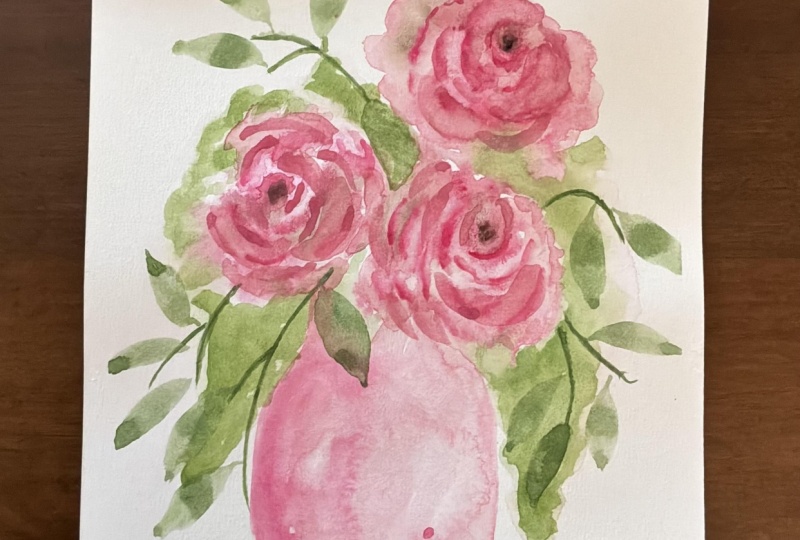
brushstrokes. I would love to see
your finished painting, please upload your project
into the class gallery. Seeing all the different
interpretations of the same lesson is always so inspiring for both me and the other
students in the class. If you enjoyed this lesson, be sure to follow me here
on Skillshare so that you'll be notified when the
new classes are released. I sure hope you took
all the other classes that are in this series.
 Brenda Jones, Watercolor Artist & Teacher