Transcripts
1. Welcome: Why We Are Not Sketching First: Today's class, we're
going to do something that can feel a little
uncomfortable at first. We're going to be painting without sketching
anything beforehand. No pencil, no
outline, no fixing. Instead, we're going
to practice making simple circles and flower shapes using just one brushstroke. The goal here is not perfection. The goal is getting comfortable letting your brush
make the decision. We'll start with a few
quick practice marks where you'll be painting loose circle
shapes and small flowers, using one single brushstroke. These exercises help train
your hand to move more confidently and help you stop
overworking your paintings. Once we've warmed up, we'll
move on to the class project, where you will paint three
simple flowers facing different directions and adding a few loose leaves to
bring the piece together. While this is a short class, it is also an important one. Learning to paint without
sketching helps you loosen up and trust your brush a little more each
time you paint. So grab your brush, some paint, and your paper, and let's begin.
2. Loosening Up: Painting Circles With Your Whole Arm: In this class, we're
really going to be diving into the importance of
not over sketching. So many times we want to make sure that
it's exactly right. We don't want to waste our
paper or paint or supplies, and so we make sure that we actually sketch it onto a
piece of paper and say, I'm going to put a flower here and then the flowers
going to look like that there and
this flowers going to be facing that
direction over there. And that's fine. There is nothing wrong
with sketching at all. It just isn't necessary when you're painting
in a loose style. When you are painting
loose and you're trying to keep all your
brush strokes really, really fluid and loose, sketching sometimes can actually cause our paintings to go
the opposite direction and to get more refined
and to get more precise instead of that loose
look that we're going for. So when I am teaching, what I often will do
and what I'm suggesting to you is sometimes
we just put dots. Sometimes if I was going
to be painting one of these flower arrangements that we did in the last
couple of weeks, I would probably say I want
to reproduce this one, and so on here, I would say, I'm going
to have a flower here and I'm just going to
put a little light circle. I want to have another one just slightly off shape,
so off balance. So one down here, one
a little bit higher. Then I'm going to put
these taller ones up here with maybe a little bud. Maybe I make a bud shape. And then I remember that
I want to put a flower here and maybe one
taller and one in here. I'm just creating a general look of where I'm going to be
putting those flowers. That's one way of doing it. Another thing that you can
do is instead of drawing exactly or putting dots or circles on your paper
is just to envision it, just to say, I really like this. Maybe you have a picture from your garden or
something you've found online or a painting you've done before and you
want to reproduce it, you can say, Yeah,
I really like this. It has these five
little flowers. So are tilting this way, some are tilting that way and
I've got some buds in here, and then you can just
picture and you can go, I want to make a triangle, instead of using
your paintbrush, you're using your finger
and your memory and saying, I want to create something in the middle and then one here
and one a little bit lower. Then once I have those in place, then I will create where
these little buds go. They're just going
to get naturally imported in here and
I'm going to naturally put them in in my painting wherever the painting calls
for or the flow is available. Because when you have gone
and you've drawn in and you sketched in with your pencil exactly where things
are going to go, you really lose that
freedom of flow of going, Well, I actually made
that painting or that flower a little bit
larger than I was expecting. Now what? Because
I'm supposed to put another flower
here. Now what? So if you haven't
already sketched, it gives you that option
to just go with the flow. Say, painting on this
particular painting, that flower is a little bit
bigger than I wanted it. So instead of putting
that flower here, I'm going to actually
just drop it down a little bit
and I'll put it into this space because we haven't already drawn where
our flowers are going to go. In today's class, we're
going to be practicing that. We're going to be
practicing making our petals without
having any lining, node lines on our paper. Going to be practicing
where we're going to put those flowers and practicing what our brush strokes are like, how we are going to use
our whole wrist and our arm and how my arm is going to be
moving and my wrist, and I'm going to be
holding my paint brush up high to allow for
freedom and flowing. Come join me in the next
lesson and we're going to dive right into making sure
that we get our paints, really fluid and loose and
creating a painting that is loose instead of tight because we have to
paint within a space.
3. Practice Flowers: Let the Brush Lead: The very first thing
that we're going to do is on here on our paper, we're going to create
circles, circles free hand. Different sizes of circles, letting some of
them flow together, some of them stand
out by themselves. I'm going to use
this paintbrush, this is a size ten, so it's nice and big. I'm also going to be holding my paint brush on
the second half. I'm going to find about the
midpoint and just about that spot or taller up higher
on the paint brush handle. I want to hold it really up high so that I have
actually less control. When you hold your paint
brush all the way down here, it's almost like drawing with a pencil or a marker because
you have a lot of control. Because today is
all about losing that control and painting
without sketching, we're going to lose
control by holding our paintbrush at
least at the midpoint. I'm going to dive right
into this paint here I think this one is called
Monglow by Daniel Smith. I put a piece of tape
down the center here, so I'm going to be making
my circles on this side, and I'm going to just
make a general circle. Let's see. I'm just going
to create a circle. Just like that. Did
you see how I used my whole hand? I'm
going to do it again. I'm going to tip my paintbrush
up a little bit for this one and just make a circle. It's okay if it goes out of the lines and it's
not a perfect circle. It will not matter
at all because we are creating a loose feel. It's also okay if you left some white spaces and not everything got
filled in because again, that is creating a loose look
and feel for your painting. Another circle. Well maybe I'll fill that
one in a little bit. I'm going to just make a
bunch of circles here. I might even let some of
them start to overlap. So what happens if I
rinse that one off and I dive into this more of this magenta color
I really like. I think that one shows up well, and I paint a circle here and I let them touch
into the other ones. Let's see. We're going to
just touch it in to the other this moon glow color. We're going to let them
just blend a little bit. Could even put one
here in the middle. Make a circle. Just fill
your page up with circles. It's okay for them to touch. Move your whole arm,
use your wrist. This is great exercise for you to experiment with
making circles and seeing how your paint
brush can really flow around put another
one down in here. I want you to fill up your
page, make a big one. Make small ones. Just put another smaller one in here and see
how that one goes. Really is a great exercise in allowing you to
get some freedom. After you've made a
bunch of circles, whether you do a whole sheet or half a sheet or whatever
it is that you want to do, now we're going to
move on and make some actual petals by making
just one stroke petals. If I just go like this
and that's one petal, I make another one there. Maybe I put another one here. See how I'm just making quick little petals for this flower? One, two. No drawing, no sketching, playing around with
some petals that we can draw in here with our paintbrush without
getting real tight. If I come back in here, I could even add in some
little wispies if I wanted to. And then create the same
thing by making some leaves. I can do here, I
can put in a leaf. Again, just look how
loose that is because it's just little dots. Our little circles that we've
been practicing come really into handy because we're just adding those in here as leaves. One, two, I can switch over
to a smaller paint brush. This one's a size eight. I'm going to put little centers in here just because I can. Grab some of my sepia. Just a brown color. Really pretty. I
like this one a lot. I can just put little dots little dots in there,
little circle. There we go. Go ahead
and practice that. Make yourself a
bunch of circles, let them overlap and flow. Don't get too concerned if your circle is in
a perfect circle. Nothing in nature is. Allow that freedom of
looseness to happen. Once you've created
a bunch of circles, go ahead and make a
whole bunch of flowers. Using just one stroke
without sketching anything. Put your pencil
down for this one. Just go ahead and put
some little flowers down. Maybe they don't even end up looking like flowers at first because you're just starting and you don't really know how to
hold that paintbrush yet. Keep going. Keep practicing. Get your notebook out
and practice this over and over again
and see what happens. See what happens when you use
more water or more paint. See how the paint
and water flow. Have a great time doing this and then come on back
to the next lesson. I can't wait to see you there.
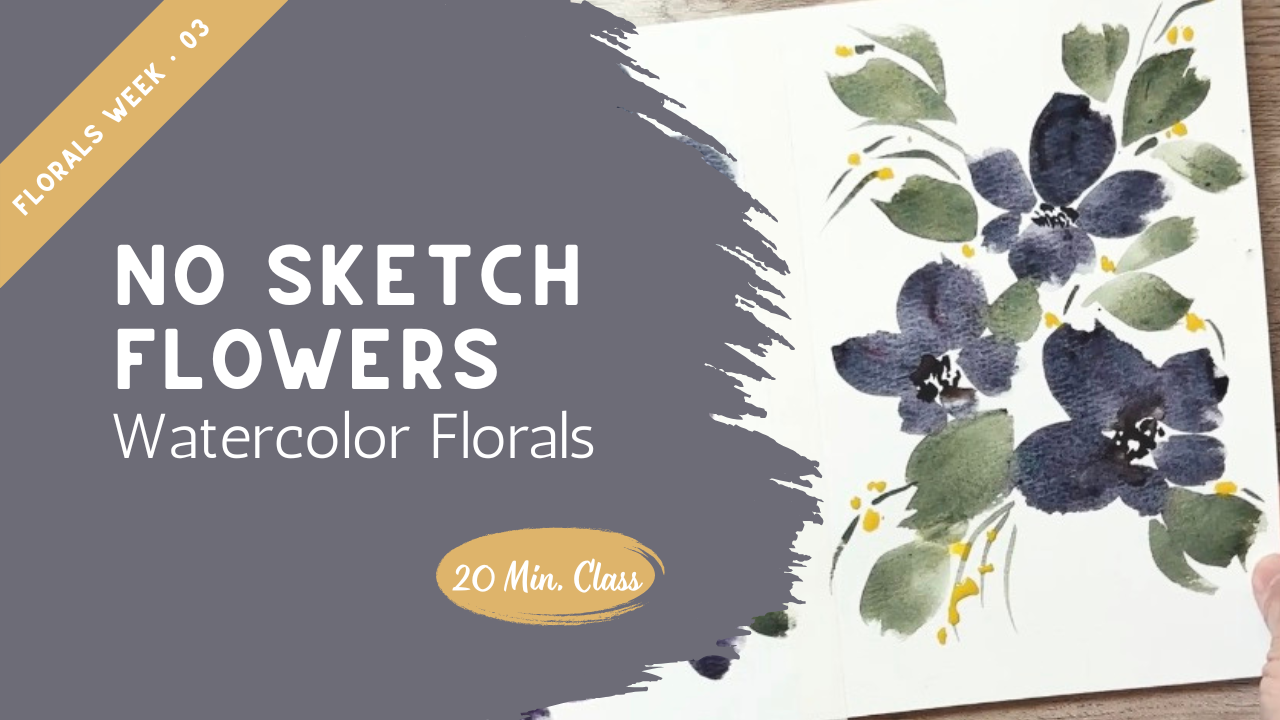
4. Class Project: Three Flowers Facing Different Directions: Come back to the class project. In this project, what we're
going to use is the size ten, another really nice big brush, probably just grab the
biggest brush you have. If you don't have a size ten, you have a size 12.
That's also great. I'm just hoping that
you can find something larger than this.
This is a size eight. I'm trying to get you
to use a larger brush. If you had something
like this one, that would also be great. In fact, I would love for you
to use an even larger one. Find a nice size brush. And get started, get that wet, wet down your paint. Again, I'm going to use the
same color here that I used. I think it's going to show
up really nicely on camera. I have sprayed down my paint. I'm just going to add a little
bit more water in there, so I have plenty of paint ready. I also get my greens going because I'm
going to need those. Get my palette ready. I don't know, you never know
what color I'm going to have to add in when I'm in
the middle of painting. I wet down everything. It just dries naturally and
then it's ready to go. No wasting just
because I wet it down. So what I'm doing is I have
this 8.5 by 11 page paper, and it's not my high hoops. It's not my high quality paper, but it's going to work just fine for what I need
it to work for. If something like that
happens, you can lift it. You can incorporate
it into your design. You can try to remove
it completely by using a clean water and a paper towel and just kind
of lift that up a little bit. We don't get too
upset or worked up if we have a little mistake
like something like that. While we're waiting
for this to dry, let's talk about what
we're going to do here for our class project because
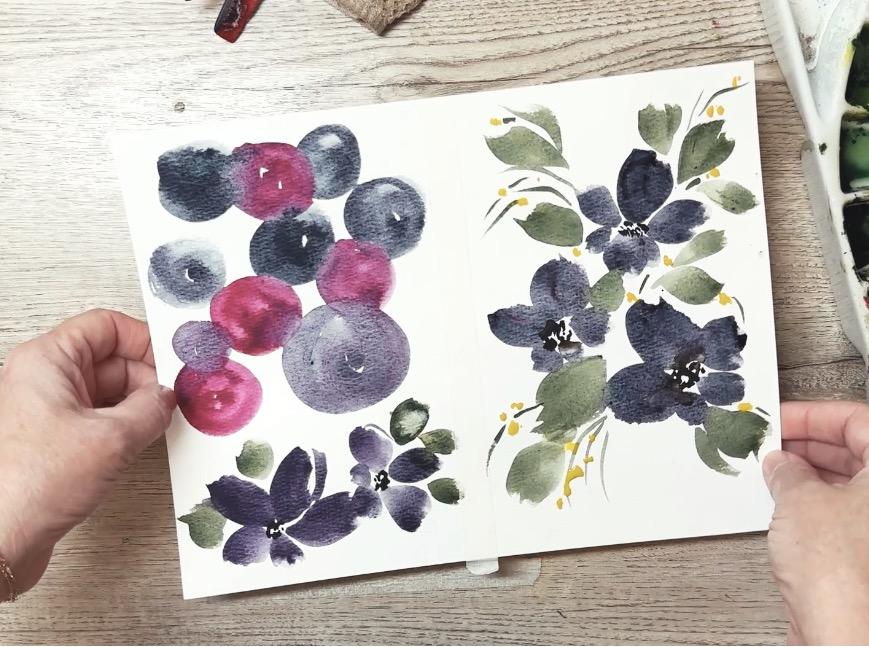
I'm using this whole sheet. I did put some artist's tape
down the middle just to separate my lessons of what we worked on in
the last two lessons. Then I left this space over here for me to
create my project. After you've created
your project, if you really
enjoyed this lesson, go ahead and move over
to your better paper, your cotton paper and try it again and see if it's something
that you can improve on. Just because you
practiced it once doesn't mean you shouldn't practice
it over and over again. What I often do is use my less expensive
paper for practice, and I play around with composition and figuring out
where I like the blooms. And how I'm going to make it
and maybe even the colors, and then I move over onto a better paper where I
put it all together. Then maybe that one is
something that I hang up in a powder room or in my
laundry room or wherever. I have a lot of different
frames all over my house where I can just put in some pretty little pictures
that I have painted, and then I rotate them through. That way I'm never like, oh, I'm not sure if this is wall worthy because they're
all wallworthy. I just go ahead and upload one the next week when I've
painted a new painting, I replace it and I put
a new one in there. It's not like I'm trying
to have one painting that sits in my powder room
for years and years. It's constantly changing and I personally really like that. What we're going to do here for my class project
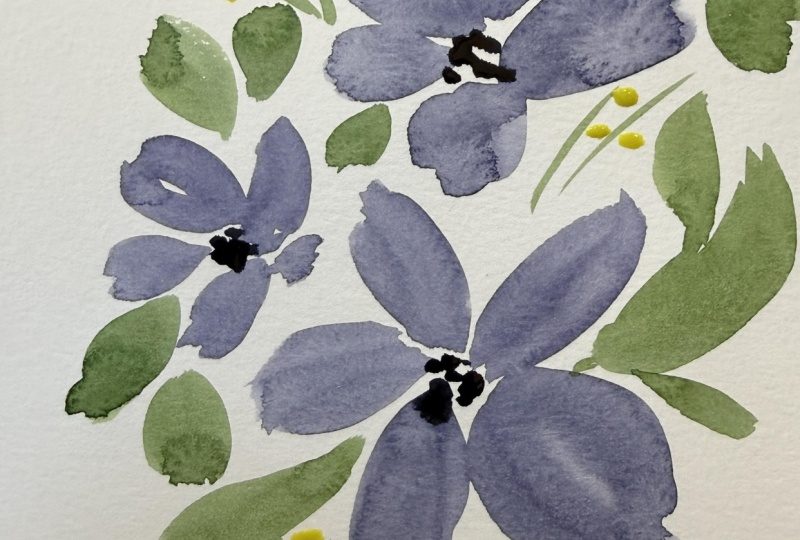
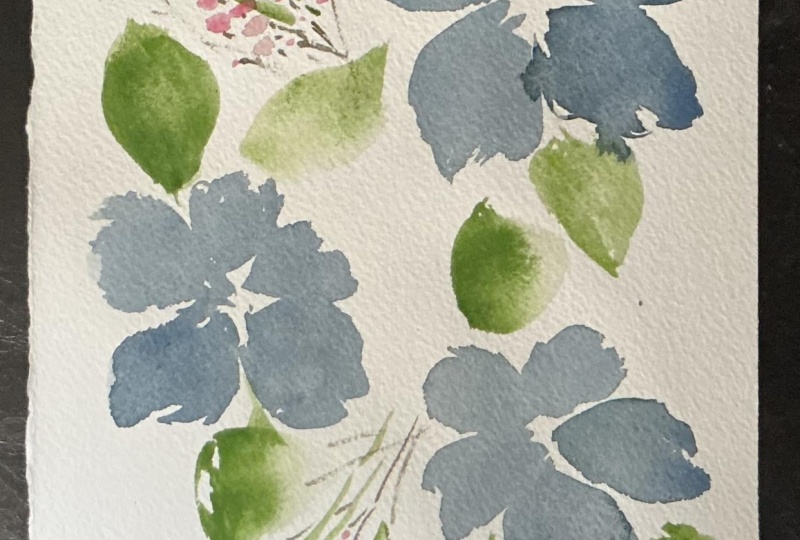
is we are going to create three flowers
along with some greens, but we're not going
to use that pencil. We are not going to
put circles or draw out what those
flowers are going to be and then paint
inside of them. We're going to
continue to paint in this very loose style and so what I'm going
to do is I'm going to envision and imagination, go back to your childhood
and use that imagination. It's so good for you. I'm going to imagine that
there's a flower here. And that there's a flower here and maybe there's
another flower over here and create a triangle
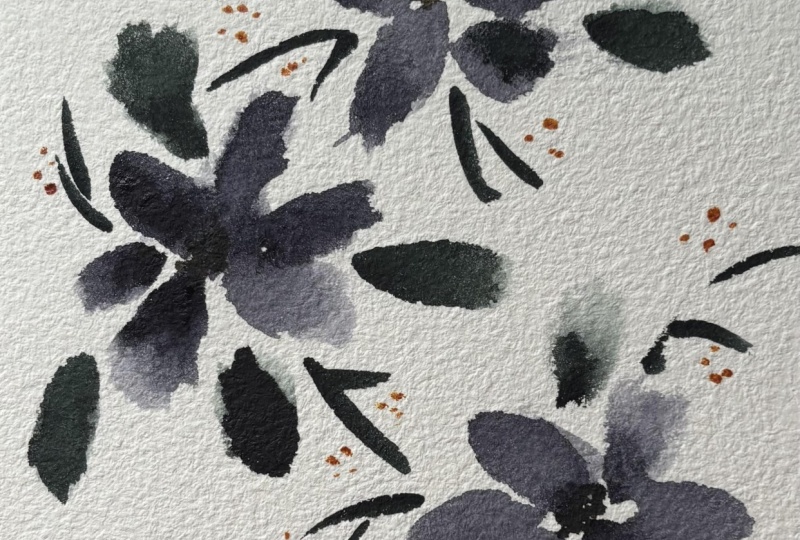
this direction, three flowers. Some of those flowers might be facing different directions, just like you can see here that these flowers are facing
different directions. If you need help with this, I do have some other
classes where we talk about directions of facing
the flower heads. Make sure that your flower heads are facing different directions. I'm going to make
three of them and then we're going to fill
in with some greens. The idea for this class
project is to work quickly. I don't want you
spending a whole lot of time getting in
all the details, putting in all the layers, reworking it once it's dry. I want you to just put down three flowers facing
different directions, add in some leaves, and be content with it. If you need to go
onto another piece of paper and try it
again, that's fine. We're actually looking
for speed over detail. I know that seems a little different than
what we're used to. We usually like
to make sure that everything is just right
the first time around. In this class, we're
trying to loosen up our watercolor and
so we're going to go with speed over detail. The other thing
we're wanting to do is leave a lot of white space. In our samples over here
where we practice them, I left a lot of white space. I left white space in
between each petal. I left white space in
between each leaf. I left white space
in the centers. I didn't completely
fill in that center. When I put in that brown color, I left a lot of white space. I left white space
between the flowers. We're going to allow for
all that white space so that our flowers can
really take center stage. When you're finished
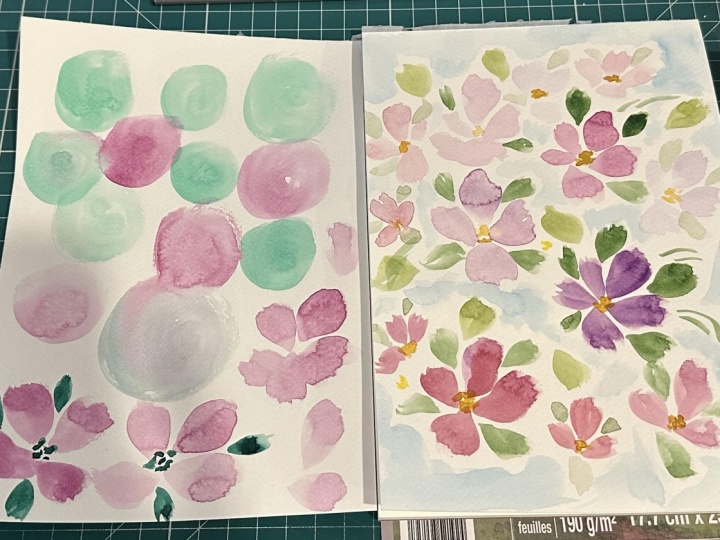
painting this, if you've done it
like I've done it here with your piece of
tape down the middle, go ahead and upload
this whole sheet so that we can all
enjoy your circles, what colors you chose to mix, how you allowed them
to flow together. We're going to be
able to see if you've held your paint brush
really up high, and then we're going
to be able to enjoy a couple of your little
practice blooms. I'm going to go ahead
and get started in painting some of these blooms here and see how loose and
quickly I can paint them. So I remember I'm going
to be painting one here, another one here, and then
a third one down here. I'm going to start
with this one up here. Holding my paint brush at least halfway up just to
keep everything really loose and allowing my whole arm and my whole wrist to
move as I need to. I'm going to go ahead
and just create a petal, another petal.
Another petal here. I think I'm going to
make it maybe have five, but this petal over here I'm
going to make smaller so that the petals look like they're facing
different directions. The flowers look like they're
facing different ways. This one's looking up. This is the bottom of the flower and it's
looking upwards. Okay, we're going to do
another one real fast here. So another petal,
another petal there. Not really taking a lot of
time to analyze as I paint, just throwing them
down in there. And maybe one more and
big amount of paint. Oh, that's a lot of paint. Let's see what are we going
to do here. There we go. I'm going to allow that to dry. And while that's drying, I'm going to move right
on over into my greens. This around so you can see
I'm using this screen here. I'm just going to put a flower, some leaves real quick. I like three. We're
going to put that there. We're going to put some
leaves there real fast. Again, look how high I'm
holding that paint brush. Just putting some
leaves down here, even allowing that paint to
touch in with that purple. Let's see. Maybe
we're going to create a little lines to create some
movement and some shape. Pull one more down here and
pull another one up there. See how we do that.
We're just going to throw some leaves
down in here. Moving over to my
smaller paint brush, I'm going to dip back
into that brown, that sepia color and just drop some little
centers in here. Put a couple more in here, get that wetter.
Put some over here. So now that this is dry, what I can do is I can come back in with a
little bit of yellow. I'm just going to grab a
little bit of this warm yellow just add little dots here
and there as maybe some added little flowers
that are peeking in here and there and it's just so pretty to add in a second color. Maybe they're coming
out up on that stem, maybe on the stem too. You can just really create some really pretty
little details just by plopping on some yellow. But I can come back in
here and for example, this one doesn't have any stems. So I can just add some
little, you know, just a little imagination
or small details of maybe there's a stem here that is leading
out towards those. They don't all need
it. Something just adds a little bit of touch. It is sometimes nice to just
add something in there, even just allow them
to come out past it. There we go, made
it really quick. Which is what I'm
looking for you to do. Time yourself even. Go ahead and set
a timer and say, how quickly can I paint this final piece for
the class project? Because we're not
looking for details. You can see I didn't
add in a whole bunch of layers and I didn't put
in veins for my leaves. I wasn't really the point
for this practice piece. For this class project, it is really about speed over detail and seeing
how loose we can get without being tight and feeling like we're almost
coloring in the lines. Once you are finished, go ahead and upload this. If you want to make a second
one and upload a second one, I would love to
see both of them. Sometimes we can really see the progress when you've painted one and then maybe the next
day you upload a second one. It's really fun for everybody in the class to be able to see how much progress you have
made. Thanks for joining me. Come on back to the next lesson and we're going to pull all this together and also look forward to what we're
going to be learning next, which is going to be really fun and a great big
challenge for you.
5. Final Thoughts and What Comes Next: I hope you had fun
painting with me today. I hope you learned about holding your paint brush up higher and that getting loose with your watercolors is so much fun. That pencil away if you're
trying to paint loose. If you have to put a dot where you're going
to put your flowers, a dot is all you really need just to help you remember
where things are going to go. But beyond that, let's just put that pencil away and
not be sketching and go ahead and just have as much
fun as you can possibly have in painting in
a loose style and a big paint brush and see how much fun you can have and how loose you can get
those paintings to be. At the next class,
we are going to be working on this very, very different from what
we have been working on. The reason we've been working on these things is loosening up our style because where
we're heading for our next class is
going to be a very, very loose style where you do not see any detail
where you are using a very large
paintbrush and letting lots of water flow and
there's no sketching in here. We are not going to be
bringing out our pencils at we're going to be painting
something similar to this, and I can't wait to show you and let you
experiment with this, and you're going to be
amazed at what you create. So make sure you're
following me so that you get to know when this next
class gets published. It should only be a couple
days until you see this class uploaded into my
account because I am uploading multiple classes a month so that you can really have somebody that
you can follow along and get all
of the lessons. Last week we talked about
green and how to create our green so that
they are more of a natural color instead
of that bright. The week before that
was all about yellow. There's so much to learn
and I cannot wait to see what you can do with all of these different lessons
that we're creating. Thanks so much for joining me. Make sure you upload this, follow along with me, and please give me a review of the class because any
reviews you give really help the next student
know if this is a class that is going to
be beneficial for them. I'll see you in a couple of days when we start to
paint this flower.
 Brenda Jones, Watercolor Artist & Teacher