Transcripts
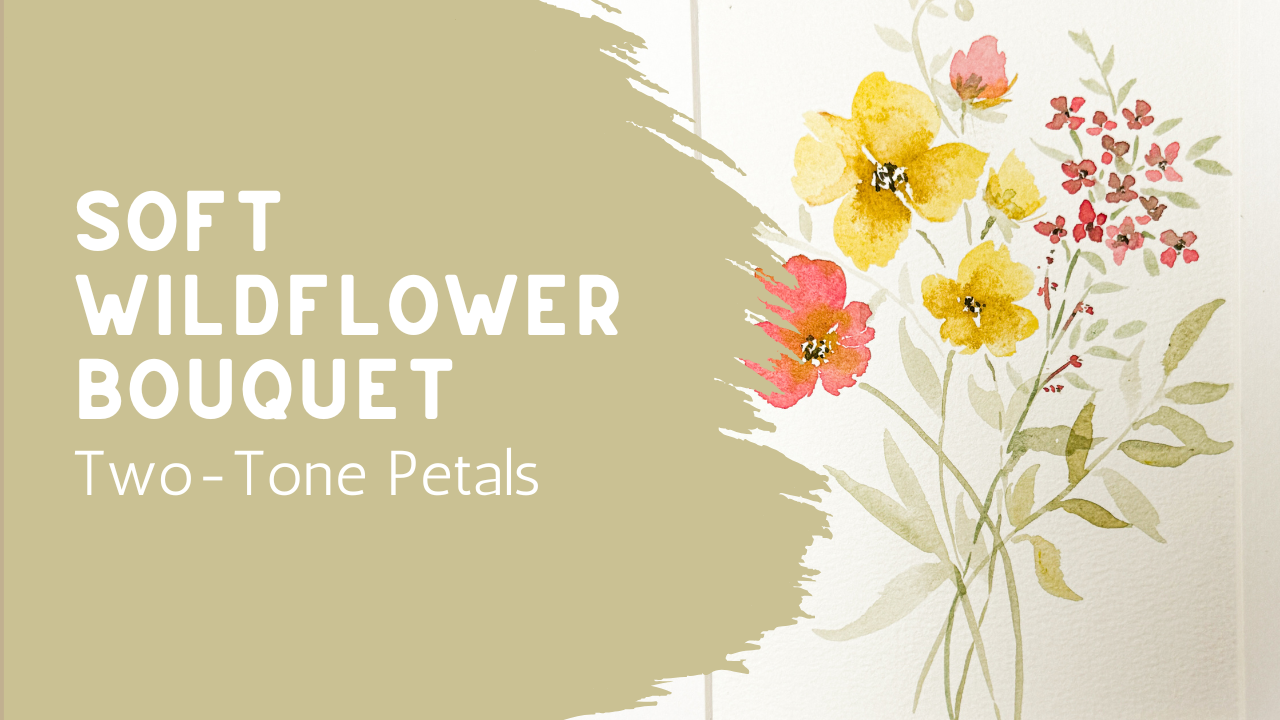
1. Welcome to Class: Welcome to class. Today
we're going to be painting this soft wildflower bouquet using loose watercolor
techniques that are simple, relaxing, and beginner friendly. We'll be combining a
few expressive flowers with delicate branches and airy foliage to create a composition that feels balanced and full
of gentle movement. One of my favorite things
about this style is that it doesn't rely
on perfect details. Instead, we're going to let the watercolor do
some of the work, allowing soft edges and natural variations to bring
the painting to life. Whether you're new to watercolor or you've been painting
with me for a while, I'll guide you through
the project one step at a time and by
the end of the class, you'll have a finished
floral bouquet that's perfect for framing, gifting, or simply enjoying as part of your
watercolor journey. Gather up your supplies. Let's settle in and
start painting. I can't wait to see how yours
is different from mine.
2. Supplies, Colors & Getting Started: Today, we're going
to be painting a cute little cluster
of flowers with some soft little gentle leaves next to it with
just a few stems. Some will be buds, some
will be big full flowers, and some will be a
little cluster of flowers or even you could make
them into a little berry. It's going to have a
lot of movement and flow and I can't
wait to get started. Let's just jump right on in. I'm going to be using my
watercolor paper that's 100% cotton is from this company that I often
use. It comes on a board. I really like it
this way because then as much water as I use, it will dry, nice and flat. But I do need to make sure that the size is appropriate
for any frame. This is going to be
the mat that I'm going to be using,
which is a 557. I'm just going to lay
that on top of here. And make it square and
then just using a pencil, any kind of pencil will work. I'm using a mechanical pencil
and I am just going to make little tiny dots in the corners that I'm going
to be able to erase later. But that helps me understand
where my boundaries are so that I don't paint
real far outside of this. It would be fine if some of
it went outside of my lines. But for this
particular painting, I want most of the painting, if not all of it to
be contained within. So another way of doing that would just
be to measure your five by seven and then use some tape and to tape
off the boundary, um that would also
work perfectly fine. For this particular case, I wanted to have a little
bit extra edge on the sides here and allow myself some freedom in case something
decides to go that way. So of course, I
also have my water, and then I have all my
different paint brushes. Probably will not
use near this many. My largest is a size 12
and my smallest is 0.3, so it's really tiny for
doing little tiny detail. Most likely will not
use all of those. I see I have two size eight, so I'll stick one of those away. But I'll keep them
here just in case. Now, for my watercolor, this is all Daniel Smith
watercolor that comes in a tube and I have squeezed all the different
colors into here, and then I just let this dry. Then when I'm ready
to paint again, I just refresh it with some water from my spray
bottle, just like that. I just wet the whole thing down, and then I let it just
sit and activate and get ready to go while I am setting up the rest
of my station here. I think now I'm ready to go and we are going to jump right in with planning out what we're going to
be painting today. I want to talk this through
a little bit first. I'm going to be creating three medium size flower heads
over on this one side, and then I'm going
to be nestling in a little pocket of flowers. They might be a
little tiny buds, maybe they're going
to be berries, maybe they're just a
different shape flower, but a little cluster of them. Maybe I'll put a little maybe
some buds here or there, just to have a little
bit of variation. My colors are going to be
very soft, very muted colors. I am going to use
either some white or possibly some other creamy
colors just to mix things in, just to make this particular
painting very, very muted. Then when I add in my
stems and my leaves, I'm going to be
very careful not to add too many stems and leaves. Sometimes we can get
overwhelmed with how many stems and leaves
get added to a painting. We feel that every single
flower needs to have a stem and every
single stem needs to have three leaves that can just sometimes overwhelm
the whole painting and bog down the look
of your painting and the leaves and the
stems can sometimes take over and become the primary part where you really wanted the
flowers to be the primary. As we get to those parts of
the leaves and the stems, we're going to be
discussing that a little bit more
and we're going to be very strategic with where
we're going to place them. When we are placing our
leaves and our stems, we're also going
to create motion. As we paint a stem, the stem might have an S curve or it might have an arch to it. We very rarely make
a stem that goes straight up and down like
a lollipop or a popsicle. That does not usually
grow that way in nature, and so we like to add a
little bit of motion, a little bit of movement. We might even decide to
add a little curly cue at the top of something just to show a little bit of motion. So I just wanted to give you a heads up of what
we're going towards, and then we're going to dive
right in and get started. I'm going to be positioning my three main flowers
first so that I know that I have room for
them and that I can then fill in the rest
of the piece as I go. Talking about my colors, I think the first color I'm
going to be using is going to be a yellowy golden color. I'm just going to
start with this kind of um just a warm color, and I'm going to add in some
of my yellow to it just to brighten it up just a little
bit, something like that. I always like to have
some form of a tablet or, um, some scrap paper next to me so that I
can test out my colors. I can look at that
and I say, Yeah, that's what I'm going for
something really, really soft. I have some of that
going on here. Then I think I also want to have a little bit
of a pink color. But with my pink, I might mix a couple
of different colors in here just to make that if
I look at this over here, see how bold and bright that is, which is perfectly fine. Nothing wrong with that color. But I want to mix in
just another color in here just to soften it and look how much
softer that color is. I think that's more the
direction that I want to go. And then when I'm painting, if I decide I need to add in just a little bit more accent, maybe for the center
of something, I can always add in, go right back into the
heart of it and add some of that color in just right
out of the pan over here. I think we're going to go
with something like that, and I can always mix up more, but at least I have
something going on. Then I'll do the same
thing with my greens, which I'm going to tone down. So this is right out of the pan. This green, beautiful,
absolutely stunning. Love that. But I might add in
just a hint of brown. Just to make it a
little bit more muted. Now, maybe I added
a little bit too much brown, so
let's take a look. Well, actually, that might be exactly what I have in mind. We're going to play
around with that and see what I can come up with. Sometimes I like just a
little puddle of stuff so that I can add in
different colors. But we're going to get this
beautiful puddle of colors. Yeah, that's what
I have in mind. See how that's working really well with
these other colors. Might even want to soften
that yellow a little bit. I've got a lot
going on over here, so I am going to lock
in these colors and then we're going to get jump started right into our project. I think what I'm going to grab a little bit of a paper towel. I have just a
little bit too much green going on here. To
pick up some of that.
3. Paint a Soft Botanical Wildflower Bouquet: All right. So for
my yellow flowers, staying within, I have a
line here and a line here. I'm just for your benefit,
just so you can see it. I'm going to go if you can see, there's a dot here
and a dot here, I'm going to go above
it just to make a bigger line just so that you can see where I'm
going to stay within. It's really dark and bold, I probably wouldn't
recommend you do that, but I want you to be able
to see that on the camera. I'm going to start
with having a flower up here near the top
and for this flower, I'm going to make Oh, yeah, I like that
color much better. Kind of like this oval shape. You see how it's jag
it up at the top. I'm totally fine with that.
That's my first petal. I'm going to leave a center.in the middle where I'm not
going to paint anything, and I'm just going to bring
another one down here. I'm just going to add
another petal down here. I'm going to be coming around
this imaginary center, which I'm going to
leave open for now. I'm just going to add
another one over here. I think we're just
going to have four petals on this flower, and then I'm going to
add one more over here. So there's flower number one. Now I'm going to
add another one, and I'm going to put that one
more in towards the center, maybe make it a
little bit smaller, maybe make it face a
different direction. I'm just going to be
making one petal, two petal, making them
almost touch or touch. Then I'm going to make
these petals on this side, just a little bit smaller so that it looks like it's
facing the other direction, so they're not all
facing straight up. And then I'm going
to maybe let's see. Maybe I want to add in one
little bud right in here. Just a little one that's
just like you're looking at it from the side and the stem will be coming
down from in here. We're just going to put
that little guy in there. Now I want to mix over
and come into my pink. Maybe I'll put one here. Again, I'm okay with it going outside the line if it
needs to. That's fine. I just don't need it to go
completely outside the line, so I'm being careful,
keeping that center. Now I'm going to just make
this side a little bit on the smaller side so that those petals the flower looks like it's coming from
the other direction. We'll be adding in a center
in a minute. All right. I think maybe I need
just a little bud, a little pink bud
coming up here too. See how I'm just pushing
that up there, like that. Just very simple. Okay. So before these dry completely, I do want to come back in
and add in a little bit of another color just
to make sure that I get a color into the center
of these a little darker. Something like that. Often people ask me,
what color did you make? Well, I made my own color. I don't always use colors
that are right out of the tubes because I like
to add in my own colors. So I recommend that
you do the same thing. Mix learn how to
mix your colors, learn how to make
your own color. And see how that's bleeding
because those are still wet. I'm going to do it again
down here and let that bleed right out up
into my petals. And then if I feel like
they bled too much, I can always clean off my brush, and then I can come in
here and I can lift some of that I can just
push some of it back. You don't have to, depends
on how wet yours was, depending on how much
you want it to look. You can push it back or you can just leave it the way it is. I just want to push
it back a little bit. Control it just a little bit. I like the two tone. I just didn't want it to blend
quite as much as it did. So we remember that
these are not accidents. That's part of watercolor. That's just the way
watercolor works. So now that I have that, that's going to
create a really nice to tonee effect
for these flowers. I'm going to lean into that and even draw out
some of those colors, maybe even add some into the
little bud down in here. Put a little bit down in here, put a little bit down in here, just so that they all
have that same feel. You can even add some up
into the tip of that flower. You can bring it down
in, play around with it. Now these are starting to dry, so I have to be
careful not to make any harsh lines because I'm
not looking for harsh lines. But I also don't
mind just putting in some little extra details there. Okay. It's good to soften
that a little bit. Alright, that's pretty.
I'm liking that. Remember, if you're not
loving yours right now, every painting goes
through its phase. Maybe you will love
it when it's done, maybe you won't love it, and you're going to
want to try it again. That's totally fine. I don't always love every
painting that I do. Sometimes I like a
certain part of it, and other times I
like the whole thing. That's just part of watercolor. Watercolor is
unpredictable, and so we just go with the flow and
see what's going to happen. Now, I'm not going
to put any stems in. The stems and the
leaves are going to be the last thing that I add. I'm going to go ahead and add this little cluster of flowers. I'm going to use that same pink because I really want it to
feel like it's cohesive. I did switch over and I'm
using my size six brush now so I'm just going to take that a little bit of paint was a little bit too much
on the top of that. I'm just going to create a little tiny cluster of flowers. With that, all that means is
I'm going to make basically the same thing that I
just made, but tiny. There's a four petal
flower right there, we're just going to make
a little cluster of adding in these
little four petals. Sometimes you might only get three petals
and that's fine. Maybe the fourth one is flatter because it's going
the other direction. And figuring out where
my edges are going to be so that I make sure that I get the right shape
that I'm going for. I want it to be organic
and natural over here. I'm just going to put in
a couple here or there. Not all the flowers need
to have four petals. Put one here in the middle. Maybe some of them are bigger,
some of them are smaller. So it's not a perfect circle. It's just maybe I'll
put one up in here. Such a fun little way
of creating a cluster of flowers. Let's see. Maybe I'm going to
just bring one over here like a lone guy. Now I want to add in some
of that darker color. I'm going to go with this
darker color right here. This is called sepia. I'm going to find the centers very carefully
touch into the centers. It's fine if they touch into
the pink petal centers, petals, but that's okay. If it doesn't, whatever happens. Again, if you feel
like you got too much, you can always come in
with a smaller brush and just lift up some of that. You could have waited for
it to dry a little bit. It's up to you. I like it. I like it when it blends into the petals because I
feel like it really adds a lot of extra layers and details very naturally
with watercolor. So I'm not usually
mad about that. Again, I'm not going to
be adding in stems yet. I'm just adding in
the little flowers. I think that brush needs to
get rinsed off. All right. I might need to do another, but maybe I want to leave
this space open for leaves. Maybe I'll put in one, two, three, four, five, feel like that's really
nicely balanced. Maybe I'll leave in some spots for leaves and stems
at this point. Using my six brush, I'm going to come
into this brown that I made, this brown green. I'm just going to
bring in some of these stems trying not to
touch into the flower heads. You see how it has an arch? Do you also see how I made these little dotted
lines along the way? That's because I was trying
to use just the tip of the brush and it didn't
connect it all the way. I'm not going to go back and fix that because possibly that's where this other stem is going to come down
through. That's fine. Maybe this is where a
leaf is going to go. We don't go back in and
try to make it perfect. Watercolor is very
rarely perfect, at least when you're doing a
loose style like eye paint. So we're going to just
bring that stem down. I'm going to start
another one up here. But I'm not going to bring
that all the way down. I'm just going to leave
these three stems. Maybe pick up a little bit more green just so I have just a
slightly different color. Bring that down in here. Now I have four stems at the bottom. Now, up in here,
I do want to make these little clusters feel
like they're connected. I'm going to add in
just a few little connecting stems,
something like that. Maybe it even gets maybe the flowers were
going to continue. Maybe we're going to have
some little buds up in there. Maybe I'm going to add a little leaf at the
top, just to finish it. Put a little leaf up in here, maybe put some leaves
over on the sides just to feel like that's finished. We don't have to add
a lot of leaves, but just a little bit of
leaves goes a long way. You can even add in a couple
leaves into the center. Maybe this one needs just some
extra little lines, stems. Possibly. I'm just going to
leave that green on that one. Possibly, this is where little buds would
have started to come out to make more flowers. Draws that color down in. But we're just
making little dots. Let's add a couple more
little leaves in here. So when I'm adding those
leaves, if you didn't notice, what I was doing is I'm just laying my paintbrush.
Let me start over here. Filling it up with paint,
completely filling it. I'm not just dipping my
paintbrush into it for the tip. I'm laying my paintbrush in and painting fully
filling my paintbrush up with paint and water. I can always dab it
off over here on my cloth if you have a paper
towel or just an old rag. Then when I go to lay down my paint brush to create
that leaf, it's very simple. It's almost like stamping. I'm just laying down the
paint brush and lifting up. That's it. Just laying it
down and lifting it up. I feel like that's a really
nice piece over there, and I want to add
in some more leaves over here and maybe
some more motion. But I'm going to come back
over to this color green, greeny brown that I made because I'm really
trying to make this really, really soft. I'm going to bring in a a leaf. Maybe this is a full leaf.
This is really pretty. When you're adding
in these leaves, you can even have them going in different directions
so you can bring them up and then push them back down so that they create
different angles. So I'm pushing them back down. Don't feel like you have to fill the whole thing with leaves. Might even grab some of this
brown that we were using. Mix that in a little bit, just to make it a
little bit browner. Add little bits where it's still wet just to add in
another color here. Just to mirror this how this got the yellow and the brown and this got the
pink and the brown, now on my green got the
green and the brown, which will just really make a very nice cohesive
feel for that. Moving on, let's keep going. I need to create some
leaves over here. I'm just going to push
my little stem up, see that little tiny stem. And turn my paper. Don't be afraid to
turn your paper, make yourself
comfortable, and then I'm just going to drag it out
and come up to a point. Maybe I'll put another
one but face it downward, something like that. Maybe he gets another one. Don't add too many. Be cautious. So easy to add too many. It's so easy to feel like, Oh, just one more,
maybe just one more. So I'm going to switch over
to my smaller paintbrush. This one is a size three because I want to start adding in
some little squiggles. I think what I'm going to do is put one that comes up here. Gonna come up, and I'm
just going to make a little loop.
Something like that. Might add some little stems, little leaves off
of that as well. Makes it look like
a little vine. Maybe add another one over
here coming over here. And then down and around. See how soft my paint
color is, though. It's not real bold. That's very intentional. I'm trying to make
it so that it is not a really bold painting. This is a very,
very soft painting. I also see that I'm kind of off. So when I go, let me just
grab that here real quick. Um when I go and take
my picture frame, my mat, I can see where I'm at. I might even rearrange
this and just move it over here a little
bit, totally fine. Look how beautiful that
is turning out to be. As I look at it like this, sometimes it really
helps when you take away all the distraction
and you narrow it down to this and you can
take a look at this and say, now, what do I feel
like it really needs? What I feel like it needs is just a little bit more darkness in the centers of some
of these bigger flowers. I'm just going to add
just a little bit little tiny dots of this darker paint into the centers of most of
these little flowers. Because this is now dry and so now when I can put
this in, it won't bleed. But it adds such a
nice little detail to it. Put some down in here. Okay. I feel like
that's coming along. Even just add just a little little green for my bud. We don't want to forget about this bud here in the middle. We'll do the same
thing. Something like that. Give it a base. Do you remember
that your buds have this base and it usually has some petals that are
coming up over around it? That's what we're
mimicking there. I'm going to add more or
less, whatever works for you. Okay. I think I'm just
going to add one or two more leaves
here in the middle, just to fill out that center. I felt like it was missing
something here in the center. I like the fact that
I only have the four or 55 different
stems down here, instead of having a stem and having eight different
stems down in here, that would just make
it really busy. I'd really try to limit how many stems come
down into the middle. I think I'm going
to call this done. Come back to the next
lesson and I'm going to remove all of this and get
it ready to be framed.
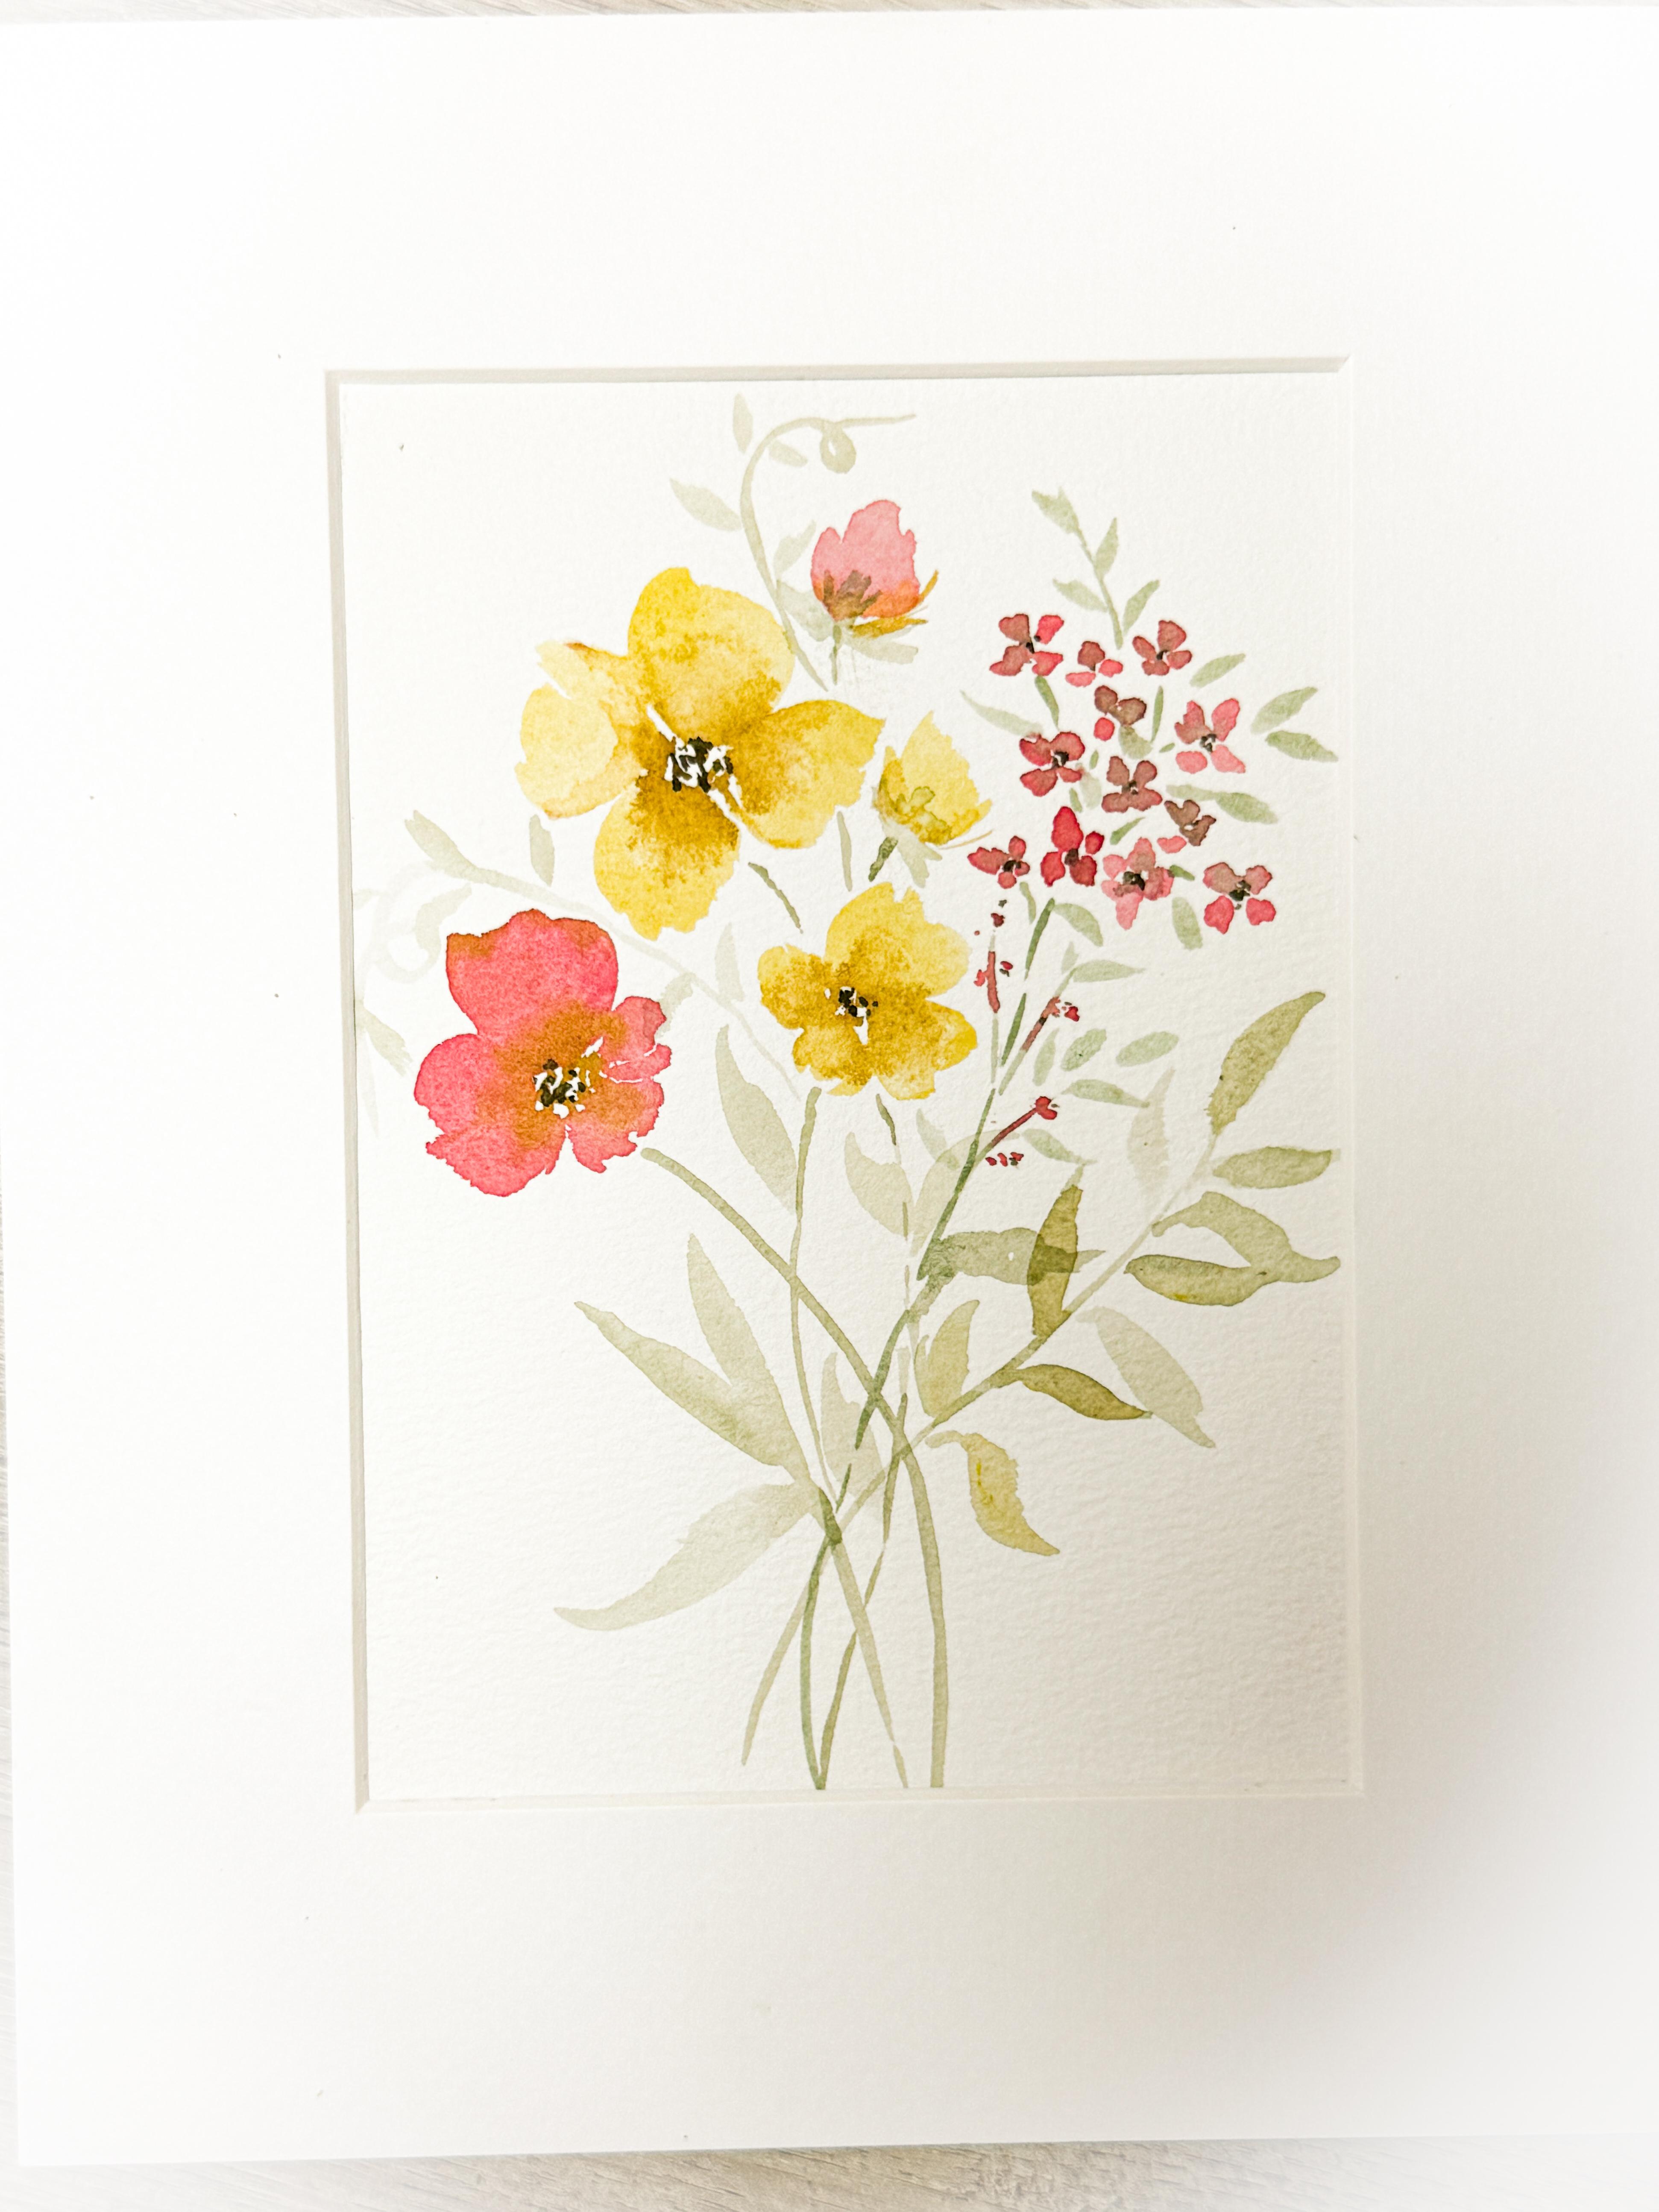
4. Final Thoughts & Class Project: Congratulations on finishing your soft
wildflower bouquet. I hope this project
showed you that creating a beautiful watercolor painting doesn't have to be complicated. Sometimes you just
need a simple flower, soft greenery, and
a relaxed approach. You've just created
something really fresh, elegant, and full of life. One of the things that
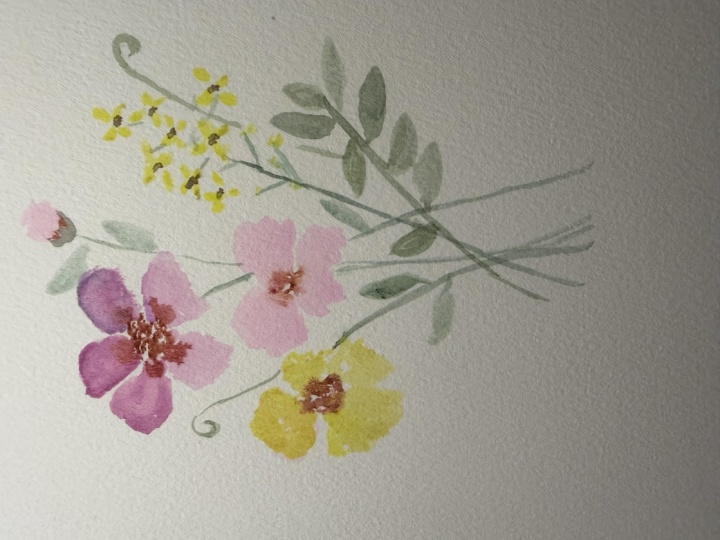
I will encourage you to do is to take a
moment to compare your finished painting to the one that you imagined
when you first sat down. Chances are, you've learned
more than you realize. Every brushstroke teaches
you something about water, color, timing, and confidence. Those small lessons build
over time and before long, you'll find yourself
painting with much more freedom and
trusting your own instincts. I would absolutely love to
see what you've just created. Please take a moment to upload your finished project
into the project gallery. It doesn't have to be perfect. In fact, I think we
often learn just as much from the paintings that aren't exactly as we expected. Sharing your work is a wonderful way to
celebrate your progress, inspire other students and become part of our growing
watercolor community. I personally enjoy looking
through every project and leaving encouragement
and feedback whenever I can. If you enjoyed painting
with me today, I'd really appreciate it if you left a review
for the class. Your feedback helps other students discover
these lessons, and it also helps me to
continue creating classes that inspire and encourage beginning watercolor
artists like yourself. If you're ready for another
painting adventure, I have many more loose watercolor classes
waiting for you. Each one explores a
different flower, technique or style while keeping the same relaxed,
beginner friendly approach. I hope that you join me again
in another class very soon. Take time to get your
paintings framed. By some simple frames or mats, you will be amazed
at how beautiful your paintings become as
soon as you put a mat on it. Sometimes I'll take a look at my painting and think, Well, I guess I could have done that better or I could have
changed this thing. But then when I trim it and
I put it inside of a mat, all of a sudden, I
am delighted with it and it is worthy of
hanging on my wall. I highly encourage
you to do the same. You will be amazed at how
it changes your painting. See you in the next class.
 Brenda Jones, Watercolor Artist & Teacher