Transcripts
1. Welcome to Class: Hello, and welcome.
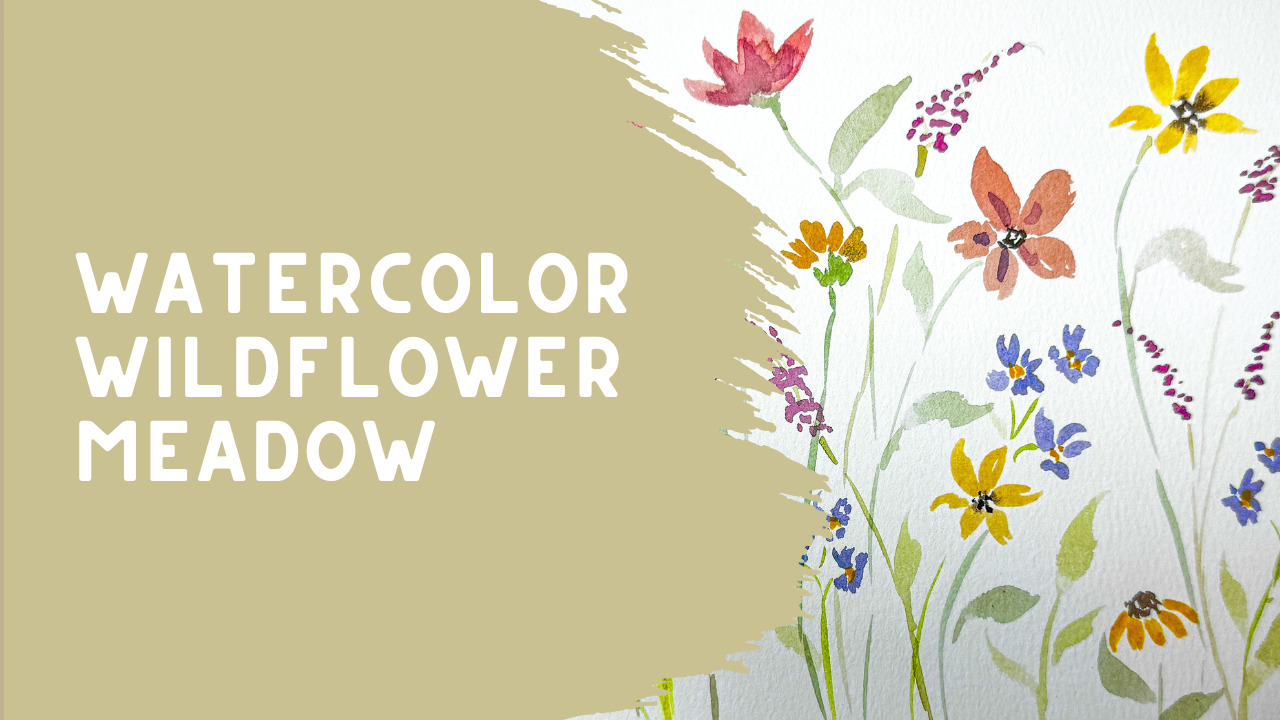
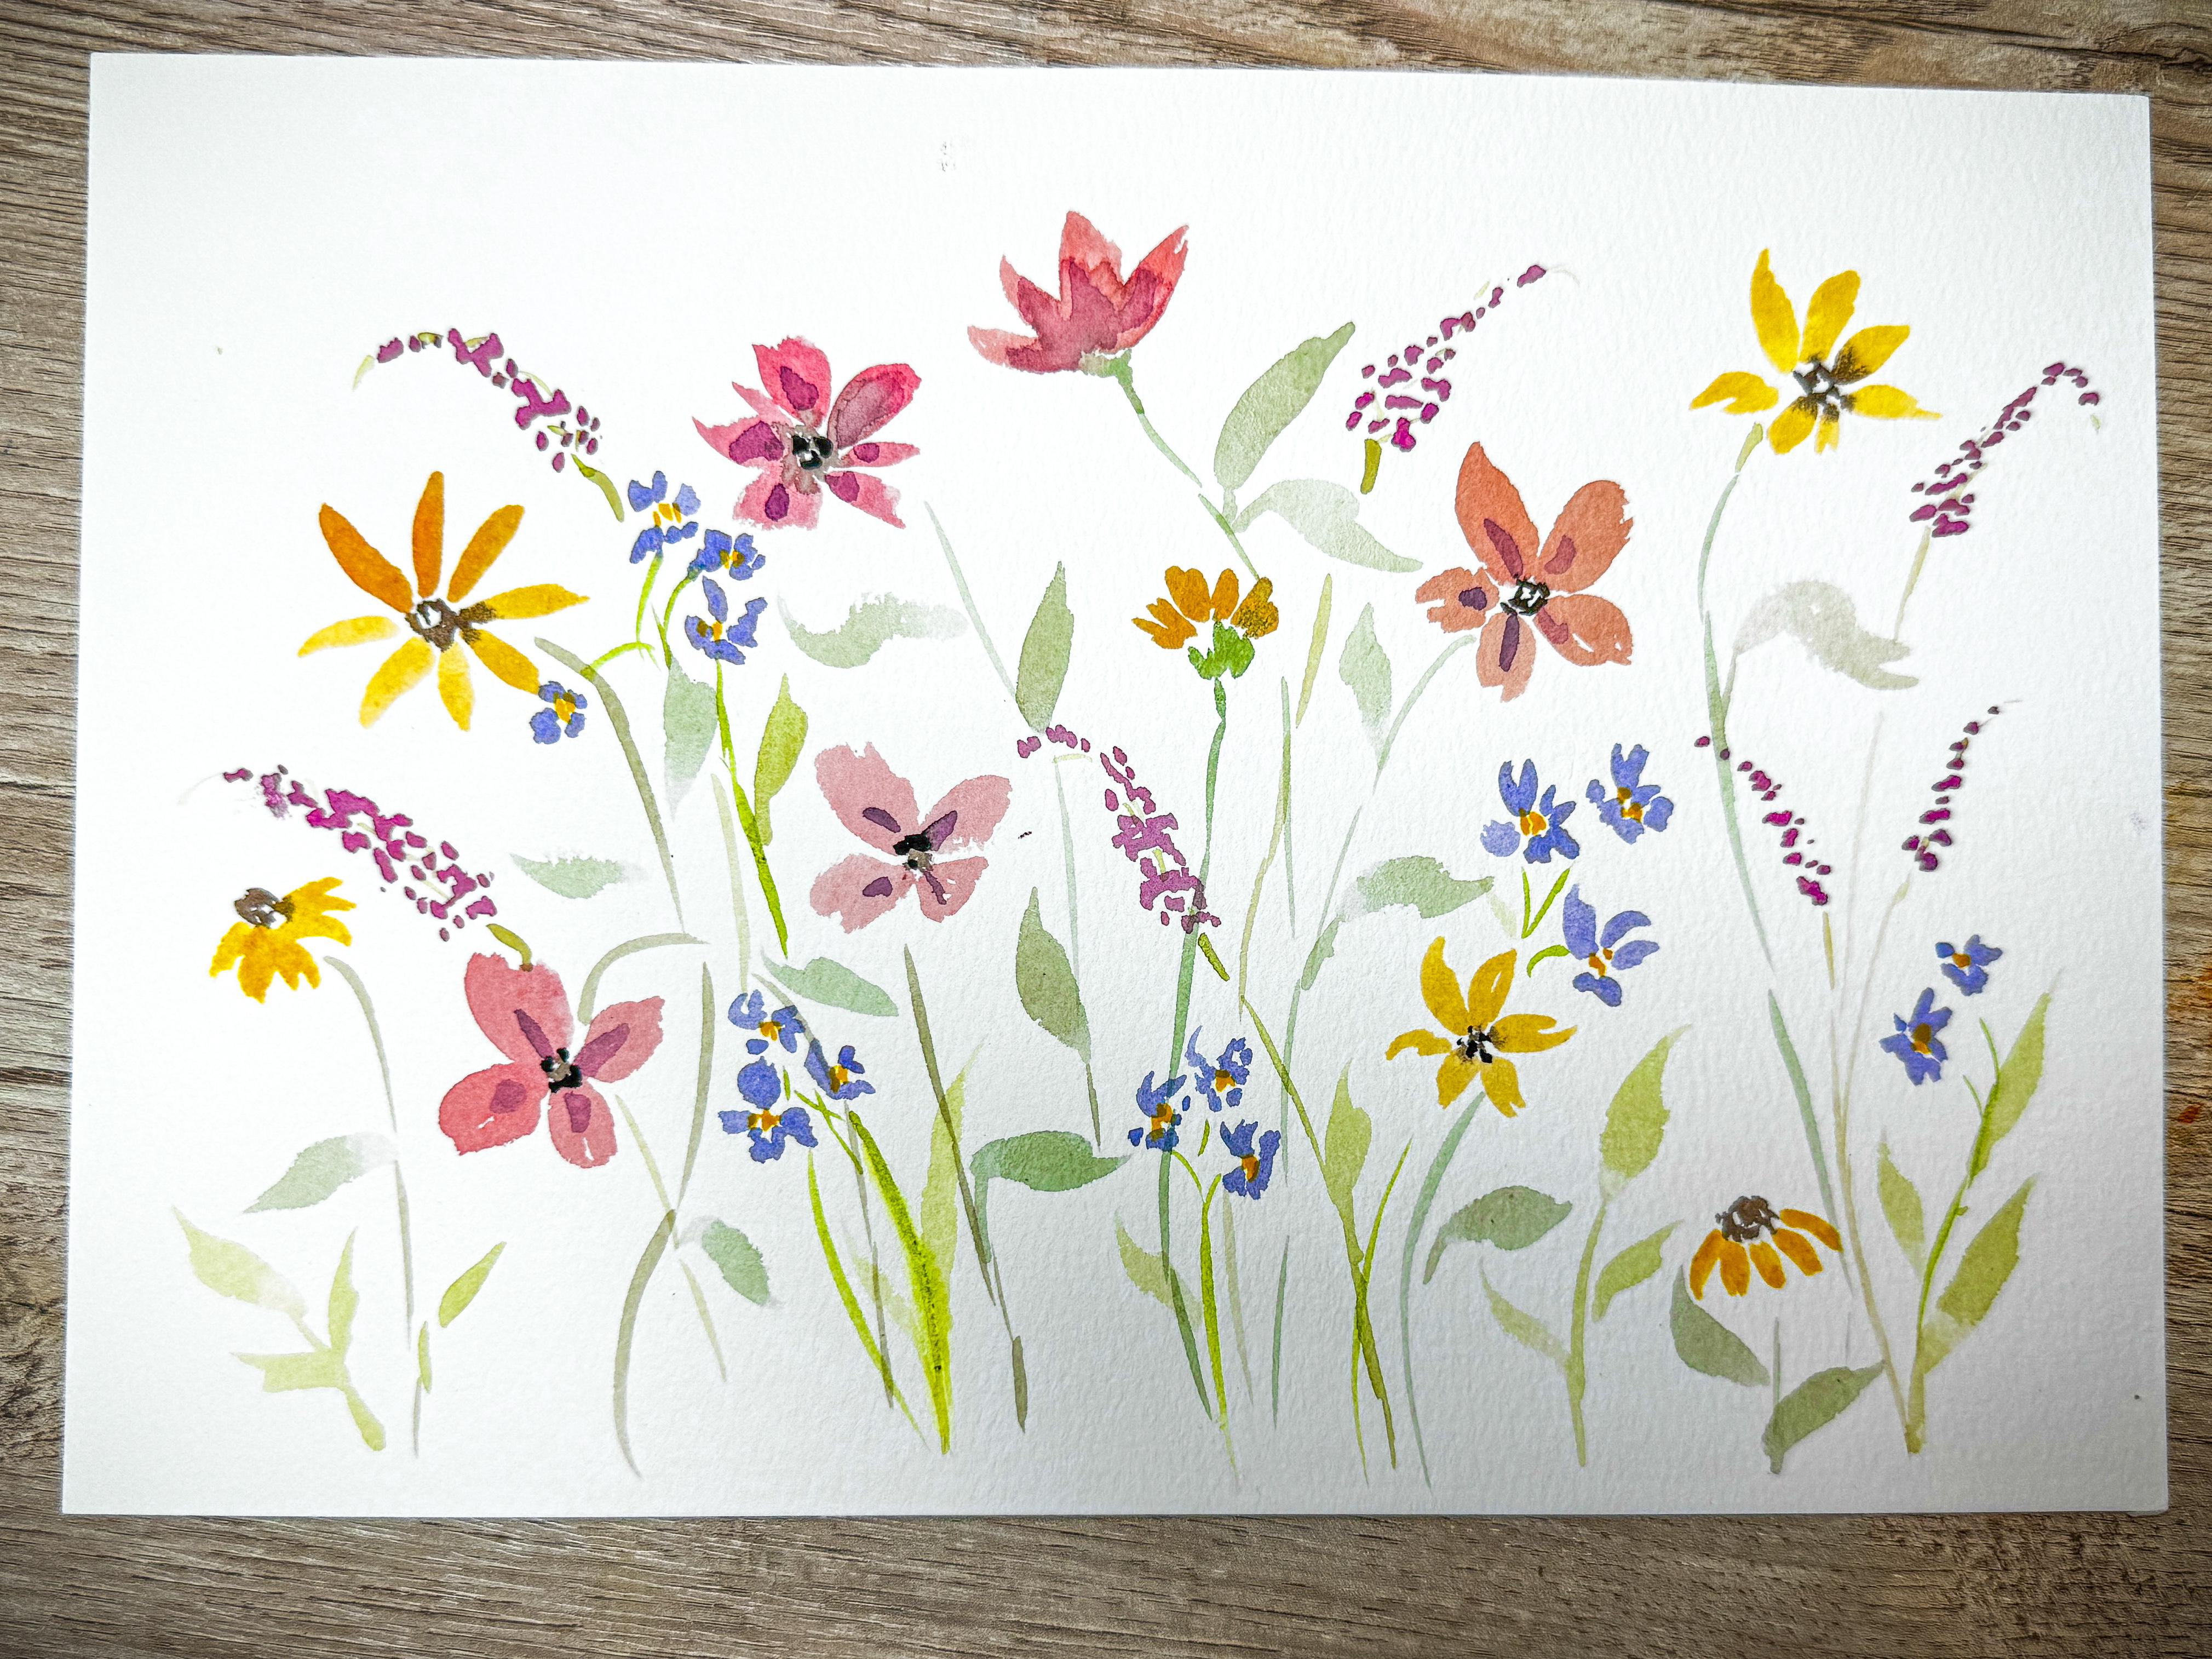
In this class, we're going to be painting a loose watercolor
wildflower meadow filled with cheerful blooms, soft greenery, and lots
of gentle movement. Instead of focusing on
just one specific flower, we're going to create a feeling
of a meadow by combining several simple flower shapes into one colorful
airy composition. One thing I love about
painting wildflowers is that they don't have to be perfectly placed or perfectly shaped. Nature is wonderfully
imperfect and that's exactly what makes
a meadow feel so alive. We'll embrace those little
variations as we paint, allowing each flower to have its own personality while still working together as a
beautiful collection. As we move through this project, I'll show you how to
build the painting one flower at a time and
will vary the heights, colors, shapes, and the
directions of the flowers to create depth and movement without making the
process feel complicated. You'll see how a few simple
brush strokes can create many different flowers while still keeping the painting
loose and expressive. Whether this is your first
time in a watercolor class, or you've painted with
me many times before, I'm so glad you're here. My goal is to help you relax, enjoy the process, and leave with a painting that
you're excited to share. So gather your supplies,
get comfortable, and let's paint a beautiful
wildflower meadow together.
2. Paint a Loose Watercolor Wildflower Meadow: Today, we're just
going to make a really fun little flower garden. We're right here in the
heart of summer and it is just so fun to look at
all the different flowers. I was driving by a
beautiful, beautiful, maintained flower
garden and it just inspired me to create
a little wild garden, little wildflower
bed right here. So very simple. It's all the different
flowers that we've been practicing so simple that this is going to be something that even a beginner can do because
we're just going to be creating some stems
and some flower heads and then some
little flowers down below just to create that feel of having flowers
from top to bottom, a full bed of
beautiful wildflowers. Different colors,
bold and bright, so happy and cheery. There's no right,
no wrong, no rules. Just have fun with this. I'll be using my
paint brushes here, probably saying
with a size three, a size eight, and size
three, six and eight. I think that's the sizes
that I'm going to be using. But here's what
we're going to do. We are going to create some of the main flower heads first. And then we're going
to add in some stems. After we've added in the stems, then we're going to
go back in and add in some leaves and some
smaller flowers and maybe even a couple buds. Let's just jump right on in. I already have some paint mixed up from another project
that I was working on, so I'm just going to go
ahead and use some of that. If I need to wet it down, I can wet it down with either
my spray bottle or just add some extra water from my
water buckets that are here. I'm going to start with some
of the taller ones first. I'm going to just use this
whole page front to back, left to right, the whole thing. I'm going to create
my first little bud and to need a little extra
room to create that, I'm going to lay my paintbrush down and push up
and then pull away. And that creates my first
little petal for my flower. Here comes another one. I'm going to create an
imaginary center where my next little the center of
the flowers are going to go, which will probably
be a little darker. Here I can just create a smaller one and then maybe larger one. See how they're all
different and that is beautiful because that
is the way nature is. Everything is different. There's no perfect little
flower heads anywhere. So we're going to go with it. I'm going to take
some darker paint, and while that is
still slightly wet, I'm going to go in
here and just add in some little centers to
these little flowers. If it touches into the
pink and it bleeds, that is perfectly fine. That's going to just add
extra color and texture. If I felt like
that was too much, I can always come in with
a clean pink brush and just pull back on some
of that darker color. But boy, that adds in
some beautiful color. I love it. There's our
first little flower. We just dive right in. We're not worried
about this. We're not trying to make it perfect. We're just going
to dive right in. Now I'm going to add
maybe a little bud that's going straight up, something like this one, two, three, we're just going to make some
little flowers like that. Then I think I'm going to
add just a little bit of green at the base to create
and while this is still wet, I want to just add in just
a little bit of that base. You know how that flower
head always has that center that's right at the base of your flower that's a
little bit bigger. So we're going to add that
and then I'm going to go ahead and touch
into that pink and allow that to just
bled all the way up into the base of my flower. Again, if I feel like
that was too much, I can always come through with a clean brush and pull
it back a little bit. You don't want to overwork it, but you can pull
it back a little bit if you feel like
it got overdone. Or if you want to
add in more pink, you could just add more pink in on top of it, however
you want to do that. I feel like that's
really pretty. Now I've got two.
Well, let's see. Maybe what we'll do is
just create some more. I'm just going to dive
into my paint again. I'm going to put one down here. Petal, another petal. Maybe we'll just make this
one a four petal flower. Using that, maybe we'll
put one over here. Another four petal flower. Maybe this one just has a little short petals to make it look like it's
going the other direction. Maybe add in some of
this brown so that I get a different color
you can really mix all the colors in your on your palette so that you get little adjustments of color. We're going to just make
another one, one, two, maybe we'll do
five, three, four, and maybe just a little smaller one over on this side, again, create that look of being having some motion in different shape, maybe it's facing
a different way. Now I want to grab some of this yellow that I
have on my palette. Maybe I'll make one or
it's right here and I'll just again make
it going upright. Something like that. Add in
a little bit more yellow. Yeah, you can just
use up whatever paint is on your palette. Maybe over here,
I'll just create a beautiful little daisy. Lines coming straight
out from the center. Again, I haven't
created that center. I'll add it. I'll add it later. Something like that. See how I'm doing I'm in
different heights. Maybe I'll put one down in here, but it's much smaller. That's the fun about
this concept of creating a flower bed
filled with wildflowers. There's no right
way to create this. It's just however you
want to create it. Yours is going to look
different than mine. It's going to look different
than the next creator, whoever is uploading pictures, they're all going
to look different, and that is perfectly fine. Maybe I'll even create
a little tiny one down in here facing downwards. I'm just adding them going down. Maybe I'll put another
one over here. So fun. Just so freeing and relaxing. I'm going to come
back through with my smaller paint brush. I'm going to grab some
of that darker paint and maybe add some
centers again. Add a little center here, add a little center there. This one can be a
little daisy that's on its end. Another one here. We are just about ready
to add in some leaves, guys, some leaves and petals. Just want to add in a
couple little details. Now we're going to add
in a couple leaves, a couple stems, a couple bases. I go to pick up the greens
that I have going in here. I'm just going to create
this little base to that flower and then I'm going to just
bring it down here. Do you see how I didn't
make it straight? I made it with a soft
little gentle bend to it. G do the same thing
with this one. I'm just going to bring it just bring it down here like this. It can even be missing
pieces, totally fine. We're just going to bring
this one over here. See how they have
little bends to them. This one doesn't even come all the way down. It doesn't matter. Maybe it's connected
with this one, maybe we just can't
see the stem. They don't have to connect in. You don't have to get it to
be right up on in there. You can just have it close by. Then we're going to
have a little stem there, Credle different color. See how it creates just a
little bit of a movement, when you add in just a
little shape to them. So fun. Maybe this one's
actually bending over. Okay, so now we have
a couple stems, which I feel is good. Now I'm going to add
in a couple leaves. I'm just going to
bring my little stem up and then we're just going
to make a little soft leaf. A little bit more water. I'm not going to add too many. Don't want to add
too many leaves. It can get very
distracting with too many. Let's go over how I'm
making those leaves. I'm making a little tiny line and then I'm laying
my paintbrush down and I'm pulling it away, and I'm gently picking up and making it
come out to a point. If I wanted to
make it come down, I go down like this. So I'm just laying it
down and picking it up. Now I'm making it
into a faster motion just to make it have a little
bit more whimsy to it. Again, not every
stem has leaves, not every stem has three leaves. It's just random here and there. I do want to add in some more
details into some of these. So some of these
that we did first, I just want to add
in a little darker spots, something like that. Okay. Fun. All right. So now what I want to do is add in a completely
different style. I've got my daisies, I got my
four or five petal flowers. I've got yellows,
I've got pinks, I've got a more of
an earthy color. I'm not really sure what
color to call that kind of like a soft pink. So now we're going to add
in a little bit of purple. G to grab a little
bit of purple. Kind of like a fuchsia there. A lot going on. Maybe I'll
soften it a little bit. Okay. I think maybe I need to have
some little maybe there, um, oh, I don't know. I'm not going to try to say what kind of flowers they are. They're just little spiky
things, something like that. Maybe another spiky one over
here and see how I'm putting little dots and then they
come up to a little point. Maybe we'll put
another one up here. They're wider at the base, little dot, dot,
dot, dot, dot, dot. Random little dots. See how it's like a triangle, wider at the base, much
skinnier at the top. You can even give it a little curl at the
top if you wanted to. Now, they're going to get stems, but I'm going to let
them dry a little bit. Go to bring them over here. I'm going to add another one. Maybe up here. Dot, dot. Try to
get my hand out of the way so you can
see it. Little curve. There's all different kinds of pink flowers and purple
flowers that do this, so I don't want to name
it, but you get the point. You know what I'm talking
about. Little wildflowers, wider at the base,
skinnier at the top. See, I feel like I need
one in here in the middle. It doesn't matter
if you start at the top or you
start at the base. Just make them wider at the
base, skinnier at the top. They're all going to
get little stems. You'll have one facing
this direction up here. There's a little f fuzzy. Oh, little dots and then
skinnier as it goes up. Fun. Okay. Oh, maybe we're going to get some this
blue going on here, too. Purple almost like a
lavenders blue color. Mix in some of this.
Make it true lavender. Maybe make some little
little clusters of flowers. Little clusters. This is where you
just get to have fun because you get to make
them be whatever you want. Nobody is going to require you to name the flowers.
It doesn't matter. You can make them be whatever
you want them to be. If you want them to
be exact flowers, then go ahead and
do that. I do not. I want to just make them be flowers and not name
them specifically. Mm hm. So maybe these
are little thistles. You know, I don't know.
It doesn't matter to me. They're just pretty,
pretty color combinations, pretty
little groupings. See, I'm doing it right
on top of the stems, but I'm just going to make
these little clusters. I'm going to go one,
two, three, four, I just want to have one more and maybe a
little bit higher. So I'm going to bring
that up in here. Put a little cluster
of them here. Maybe another one up here,
something like that. Will be pretty. So now I think I'm going to bring
in some stems. I'm going to come back
over to my green. I'm going to mix in some brown and some yellow into my green. Here I just mix all my colors, which is why I don't talk about color name of the color
because I don't know. I mix my colors. So I'm using a size three
so that it's nice and tiny. I'm just starting at the base of these purple things and
bringing them down in. I made all three of those
kind of connected to this one stem so that I didn't get too
many stems down in here. Bring another one over here. That I just had it jump
over so it was behind. I'm not even going to bother
bringing it all the way down. Something like that. I need to make it
a little happier, brighter pink, brighter green
for these little cuties. These are such sweet
little clusters. Bring them together.
Bring that down. See, I'm just bringing
those stems together. The little clusters,
bring that one over and down. I can bring this down. Bring this stem
all the way down. Again. Nothing like that? This is just turning
out so cute. Love it. I feel
like I want to add in a little purple on top of some of these just
to bring the color across. By bringing the color across, I mean that I have the
pink or the purply color here and I wanted to
add it in another spot. I just tucked it in on top of those ones that
were already dry. Now I want to these little
lavender color ones, I'm going to add in
some bright yellow. I'm not going to mix this
yellow with anything else. I'm just going to grab
some bright yellow. I'm just going to
make some little dots right here into the center. I can't wait to see what your
flower garden looks like. Depending on where you live, maybe you have different
flowers than what I have. You just go ahead and paint something out
of your imagination. There's no right or wrong. There's no rules. You
just have fun with this. I'm going to mix some more of my green up and I'm
just going to add a little bit of
leaves here or there. Maybe this leaf is going
to come up like this. I don't want to have
too many leaves. There's enough going on here. Just thought that
some of these spots could use a little
bit of something, maybe even just a
leaf at the base. Not even attached to anything. Little leaves. Fun,
fun, fun. I love it. The tricky part is
knowing when to stop. I found a little purple one doesn't have any kind of a base, so I'm going to bring that down. Give that a little bit. Now, if I wanted to, I think what I'm going to do is these little purple things, I feel like they
need some greens up inside of the little dots, but those are still really wet. I'm going to quick
dry this off with my heat tool so that I can add some little
green details right back. Okay. This is mostly dry. Again, I'm just going to
use my little detail brush. This is a size three. I'm just going to bring in just little tiny bits
of this green up into this area just to connect
some of those little dots, just to give the
illusion that there's little stems that connect
all those little spots. You know, just here and there. A little bit here, a little bit there, even out of the tip. I do like to add it
out of the tip of that just because it does
make it feel like it's, like, continuing to grow. Maybe new buds are going
to be forming there. So something along those lines. All right. What do
you guys think? Am I missing anything? Feel like it needs something? I feel like it's pretty
good. I like it a lot. I think this is
just a really fun, beautiful way to practice all your different
styles of leaves, practice your different
styles of flowers, adding in different colors, but keeping it really cohesive, really thinking about making
it a cohesive color palette. So really a fun little
experiment here. I hope you had fun making this. Meet me back in the next lesson. But
3. Final Thoughts & Class Project: Congratulations.
You just created your own loose watercolor
wildflower meadow. I hope that this class
encouraged you to let go of the idea that every
flower has to be perfect. When you step back and take a look at your
painting as a whole, you'll notice how all those
simple shapes, soft colors, and flowing stems
come together to create a lively, natural scene. That's one of my favorite things about painting loose florals. It often is the collection of simple brushstrokes that create something
really beautiful. As you continue painting, don't be afraid to experiment. Try changing the colors, adding a few more flowers, leaving out maybe some others, or creating a meadow that's
completely your own. Every painting is
another opportunity to build your confidence and
discover your own personality. Your style is truly yours. So make these watercolor flower arrangements exactly
the way you want them. I'd love to see the meadow that you've decided
to create today. Please upload your
finished project into the project gallery. It's always such
a joy to see how each student interprets
the same lesson but in a unique way I truly enjoy visiting with each project and leaving encouragement
and feedback. If you found this class helpful, I'd really appreciate it
if you left a review. Your feedback helps other
students discover my classes, and it also helps me continue creating classes and lessons
that are encouraging, approachable and
absolutely fun to paint. If you're ready to dive into
another watercolor project, I have so many more
classes waiting for you. Each one explores a different floral
arrangement, composition, or watercolor technique, so you can continue
building your skills, one painting at a time. Don't forget to find a mat
for your watercolor painting. Maybe it is perfect
with a rectangle, but give that
square shape a try. You'll be amazed
at how that looks. Thank you so much for
painting with me today. I hope to see you again in another class until
then, happy painting.
 Brenda Jones, Watercolor Artist & Teacher