Transcripts
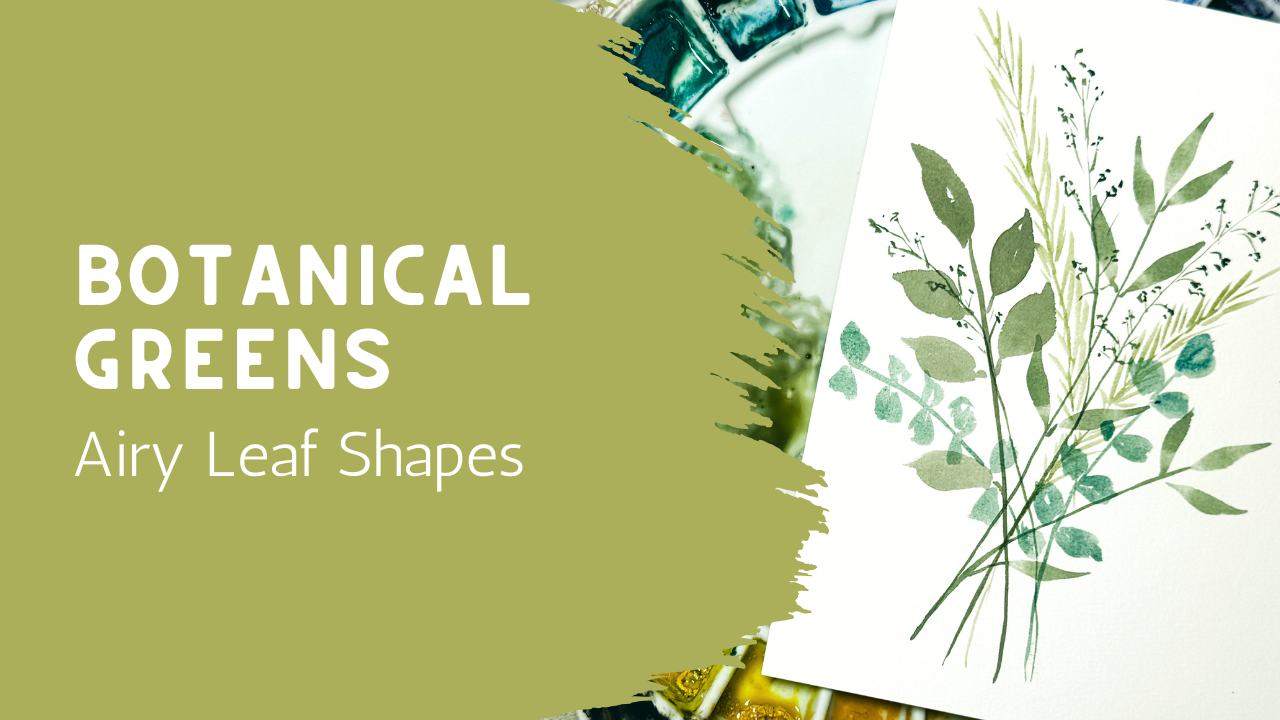
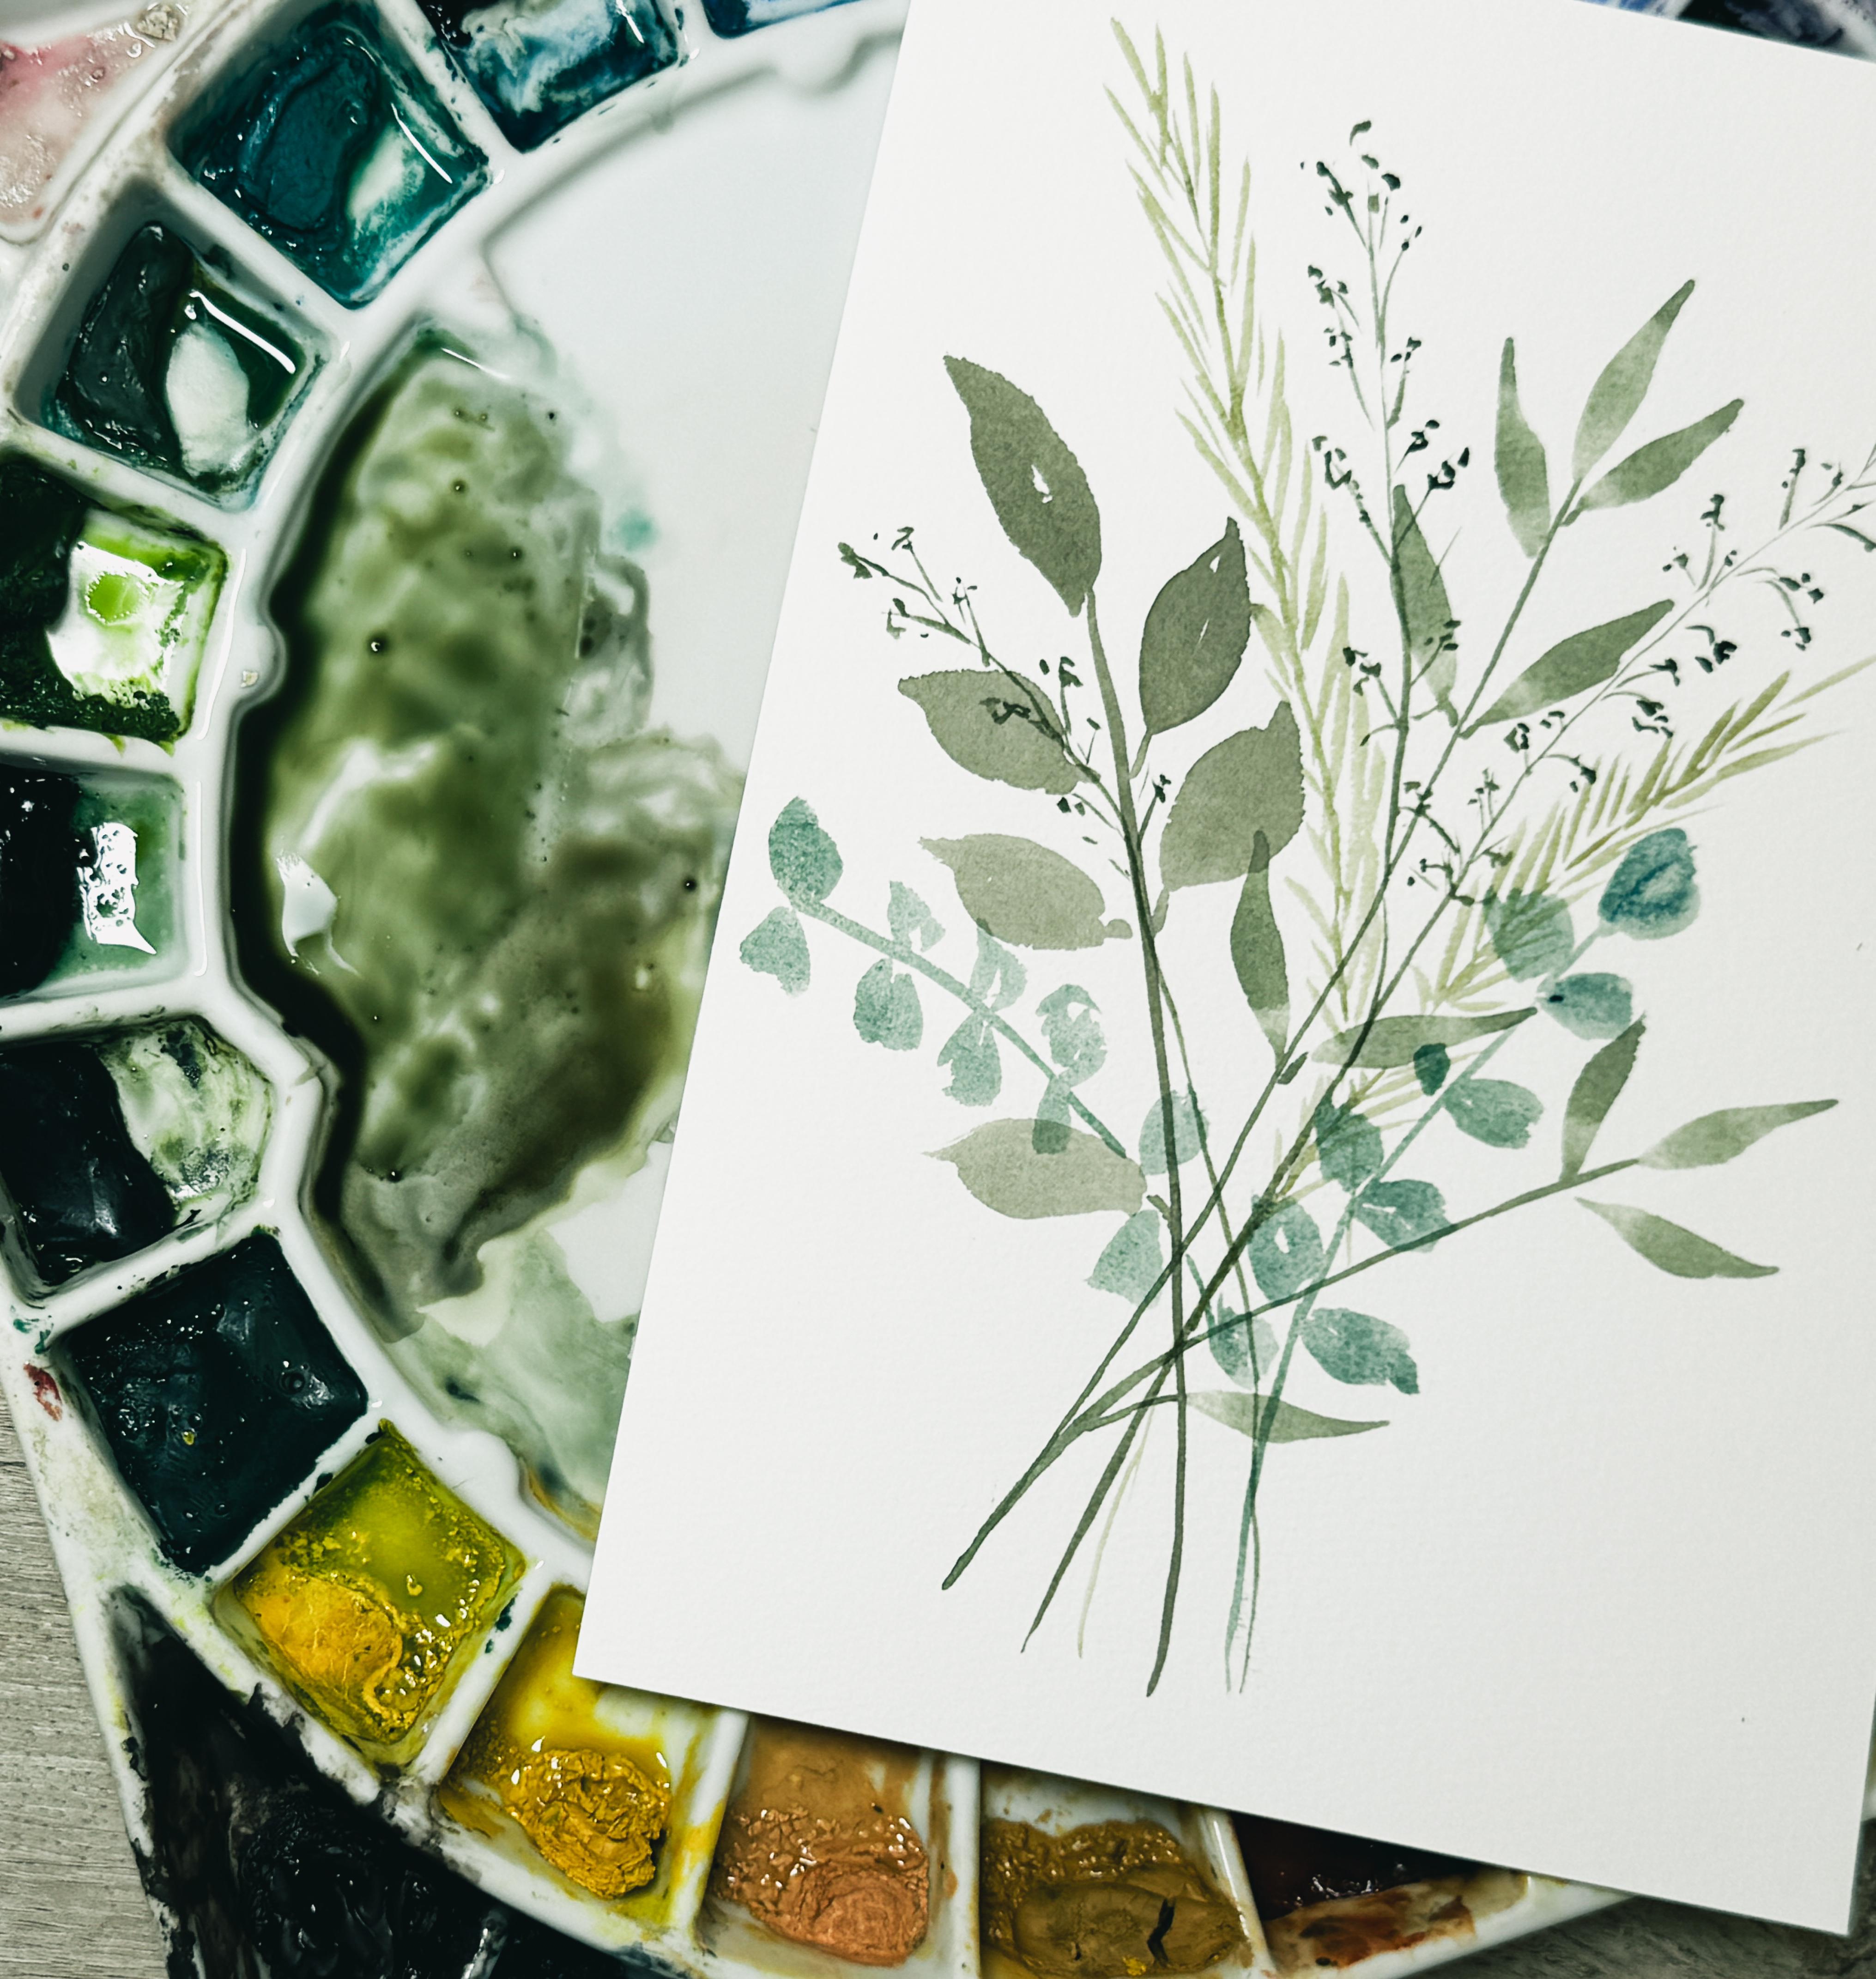
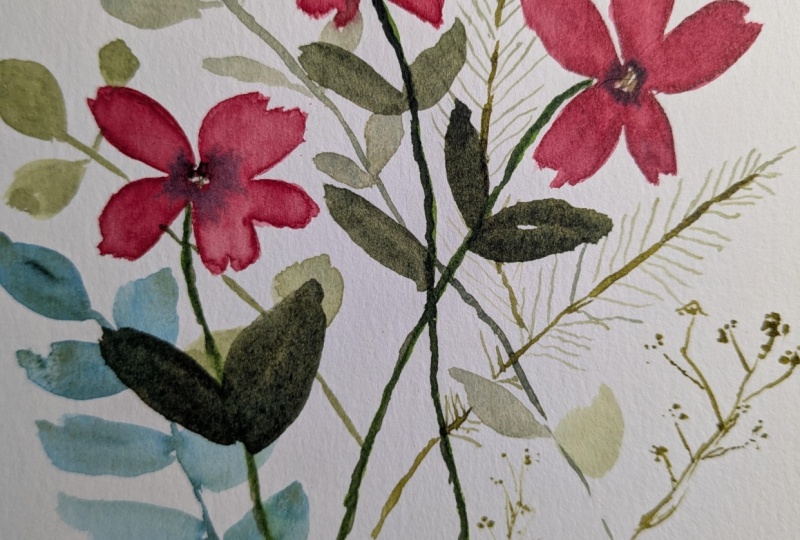
1. Welcome to Class: Welcome to today's class. We'll be creating this soft, airy watercolor greenery study
using a variety of leaves, delicate stems, and
relaxed botanical style. This is a simple project, and it's one that beginners can absolutely
enjoy and complete. Sometimes the flowers
get all the attention, but greenery can be
just as beautiful. In fact, some of my
favorite paintings are built around simple leaves
and natural movement. There is something so
calming about working with a limited palette and allowing the shapes themselves
to become the focus. In this class, we'll be exploring several
different types of foliage and combining them into one light and
graceful composition. We'll paint a mixture of soft sage greens, muted
eucalyptus tones, and a few fine wispy stems that bring movement and
variety to the piece. You don't need to
worry about making every leaf identical
or perfectly placed. Nature isn't perfectly
symmetrical, and that's part of what gives these botanical
studies their charm. A little variety and
a few imperfections actually helps make the
painting feel more natural. We'll be keeping plenty of
white space and focus on creating something elegant without adding
unnecessary detail. I'll guide you through
each section step by step so you can always pause the video and paint
at your own pace. So gather your supplies, relax, and let's spend some time together painting
something beautiful.
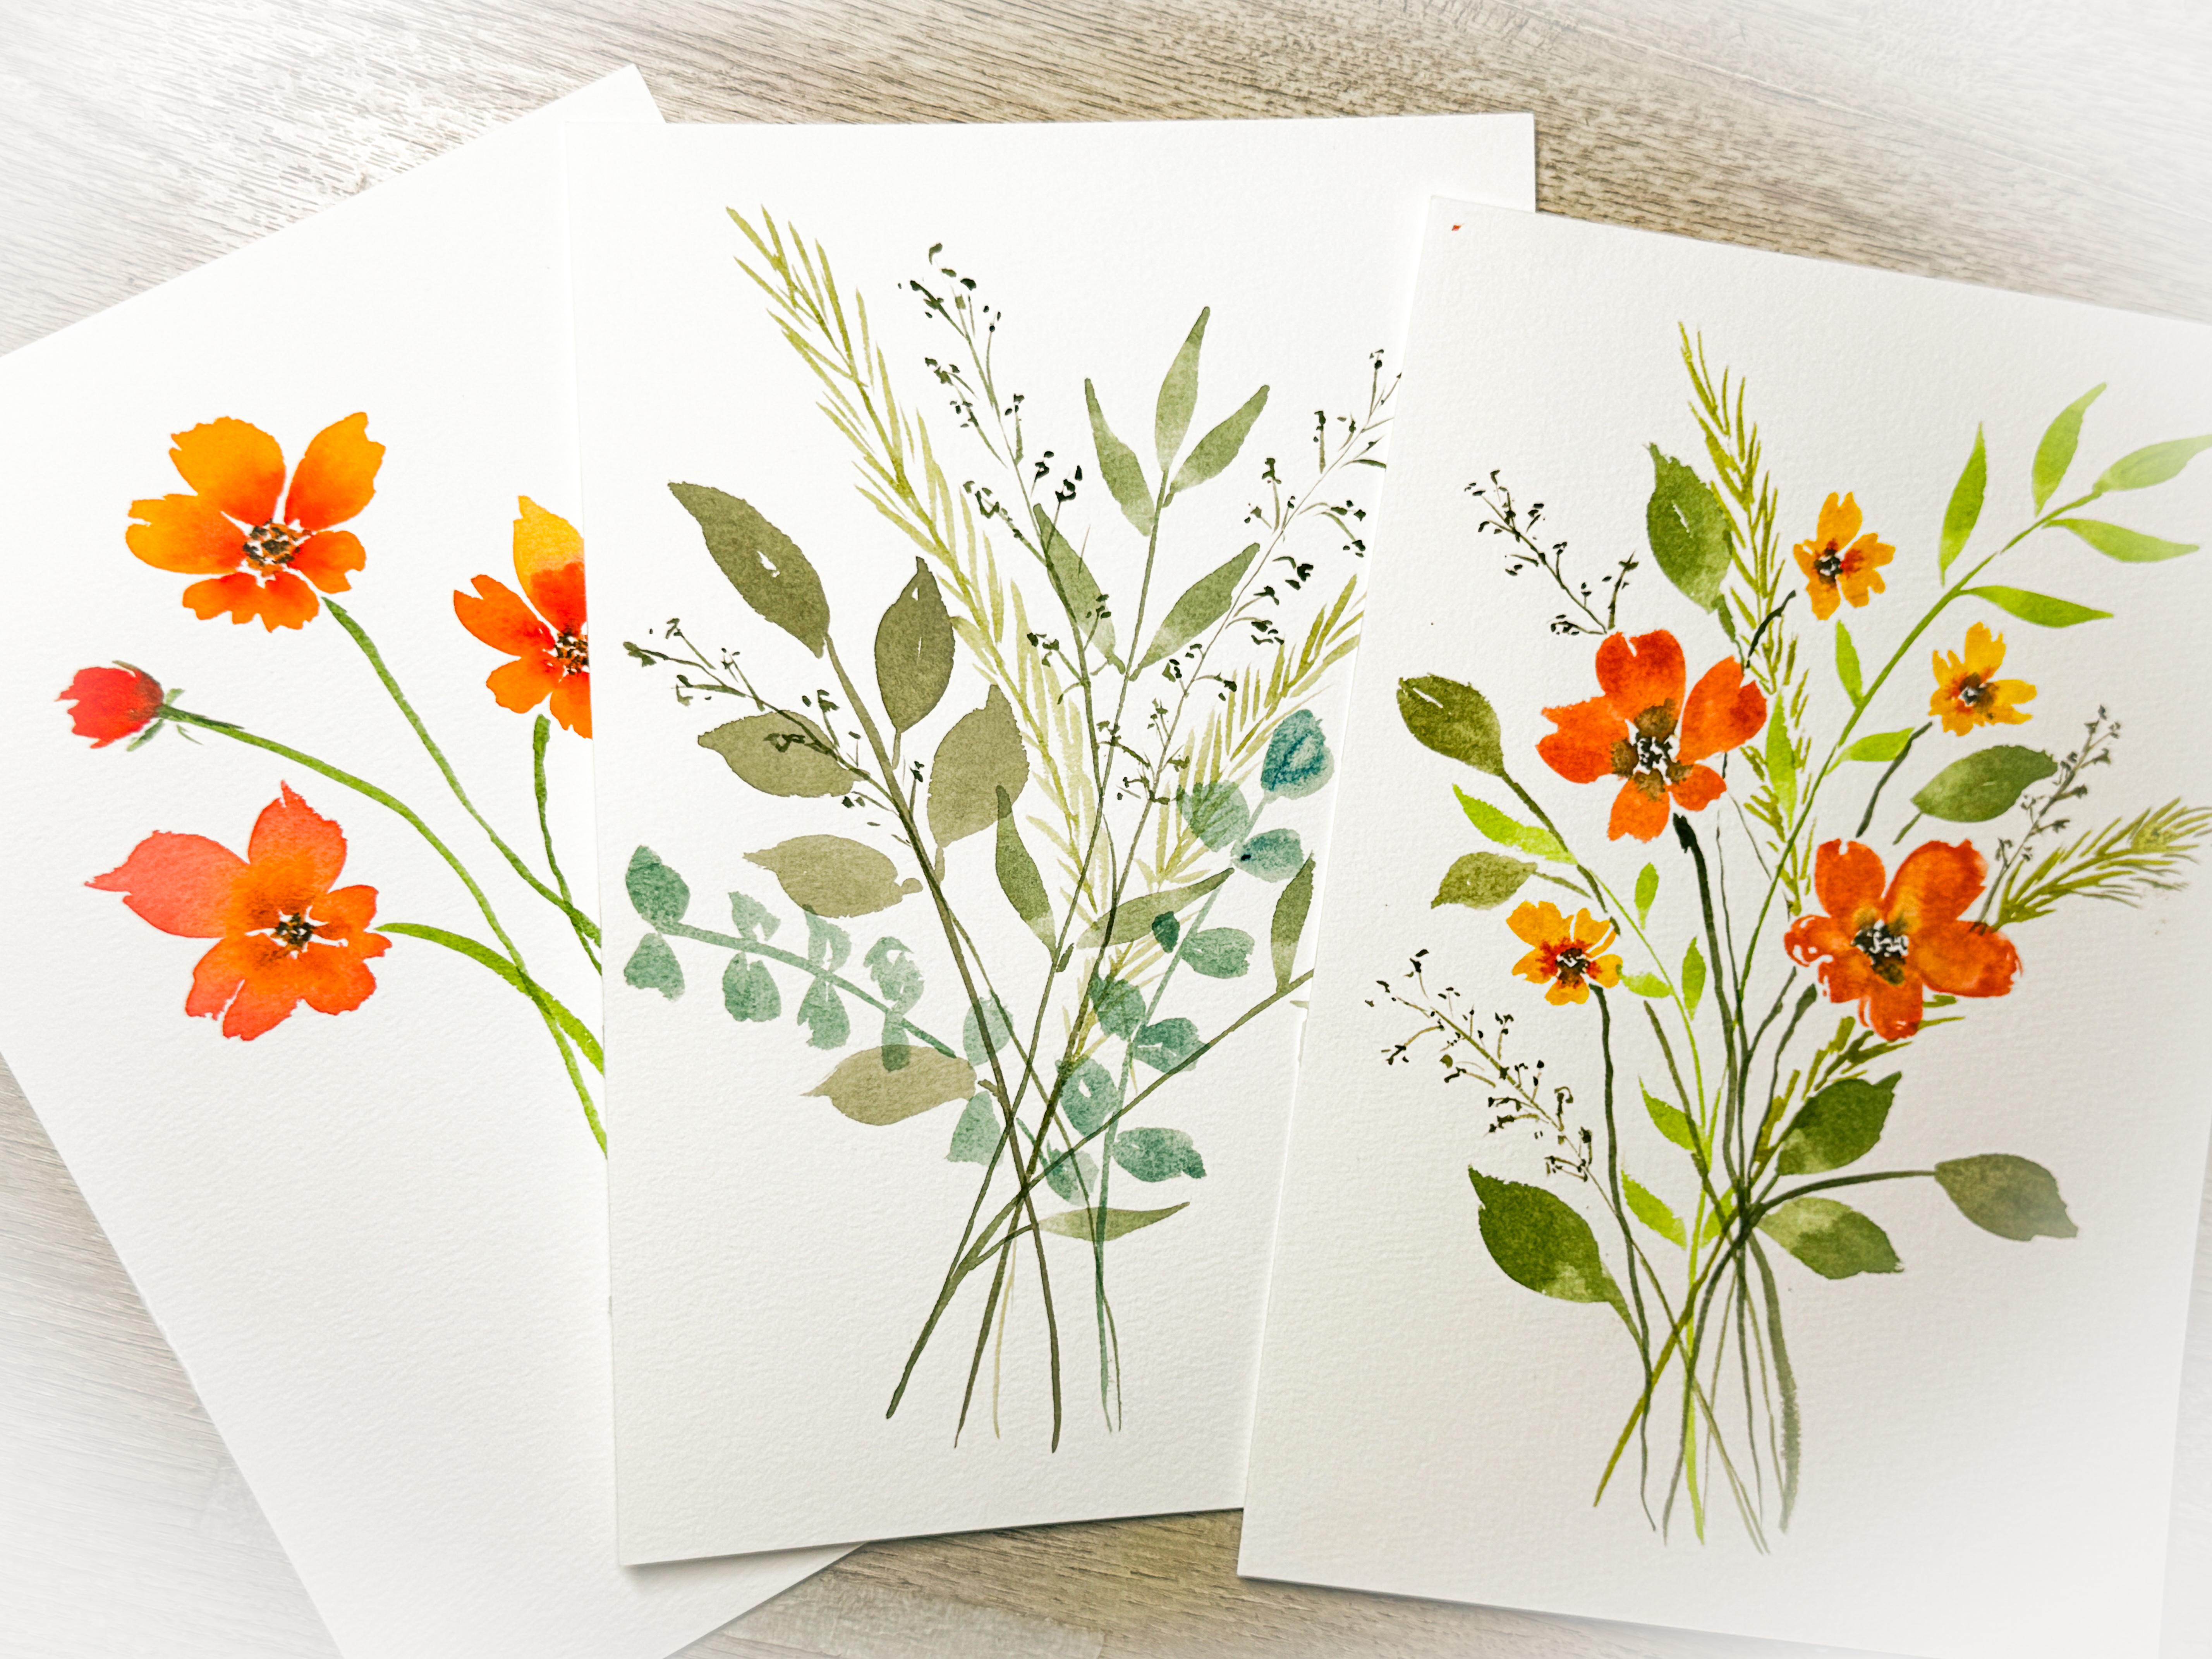
2. Exploring Green Colors and Practicing Leaf Shapes: In our last class, we made this cute little
flower arrangement, but we didn't put any leaves in. We said we were going to
keep it really simple by just making flower
heads and some stems. We made our stems
nice and wobbly and organic with lots
of curves and movement. Now we're going to go
and make 100% just greens on this one without
any flowers because I think that people really
struggle with making greens and leaves and things that look like grasses
or something that is more natural look
where you might have a little bit easier time
with making flower heads. We're going to work with
greens only on today's class. When I work with greens, I always put in at least three
different shades of green. The reason I do that
is when you are looking at any kind of greenery, you are going to see that they have several different
shades of greens. Maybe there's a blue green or a yellow green or this
color is really pale green. Sometimes the greens are really, really bright green like this. So when you are
looking at nature, you are going to notice that
they are different shapes, but they are also
different colors. And so to make it more natural, you add in different shades of greens into your arrangement. So every time I make an
arrangement, of course, unless it's just a
monochromatic color, I am adding in different shades. I might even add in greens that are more
on the brown tones. I have all my greens here, and I sometimes like to
actually mix my greens up. I might have a green, and
then I can add some yellow to it and I can just mix it and it just changes it
to more of a yellow tone. Let's just use a scrap piece of paper here and talk about
our different greenery. So here is a really
nice dark green. If I can make a little
line and I can make it be almost like a grass.
It's like a dark green. You can make it
wider by making it a double stroke, one and then two. These stems could be long. Maybe you decide that that's not quite what
you're looking for and you want to bring a
second stem off of there. You could add a second one, or you could add a third. Okay. So that's one color
and maybe one shape. Then you could use this one, which is a brighter green. This is a really pretty green. I believe this one
is I think it's called gold green
from Daniel Smith. And maybe this one, you come up, but it makes it into
a much wider leaf. You could leave a
center with it white, or you could completely
cover it in. See how much wider it is. It has more of a longer look. A wider look like that. Okay. And then we could make one and we
could come in here. Let's check this one out.
This is a dark mossy color. And maybe this one comes up. I'm just going to make a stem, and maybe it is uh let's see. We could make this one
a little bit more of a organic, just a squiggle. See how I'm just pushing my paint brush and then I'm
getting smaller and smaller. I'm lifting up my paint
brush till it gets to a tip. One and then another
one little squeggle. You can make them
offset like this. You could make them go
across from each other, but it's just a little squeggle. That would be a leaf
that you could make. I could add in a little
bit of brown to one of these just to create a little bit browner
look and I could make it with a long stem
that comes up, and then you could
make little branches. Just gonna make it
a little browner. You could put little
dots at the end. Something like that, and then you can make it
branch off again. Even browner. Almost makes
it look like it's a grass, you know? Little dots. It's very simple, but look how interesting that is compared
to the other things. They're just little grasses.
You could make something. I'm going to just get
a smaller paint brush. I'm going to go and
get a much browner. And I could make it long, and then I could
make it more like a grass where it's just wispy. See how it looks like almost
like a sea grass or a grass. See how beautiful that is. It creates such a
beautiful look. You could make your grasses or your greenery look
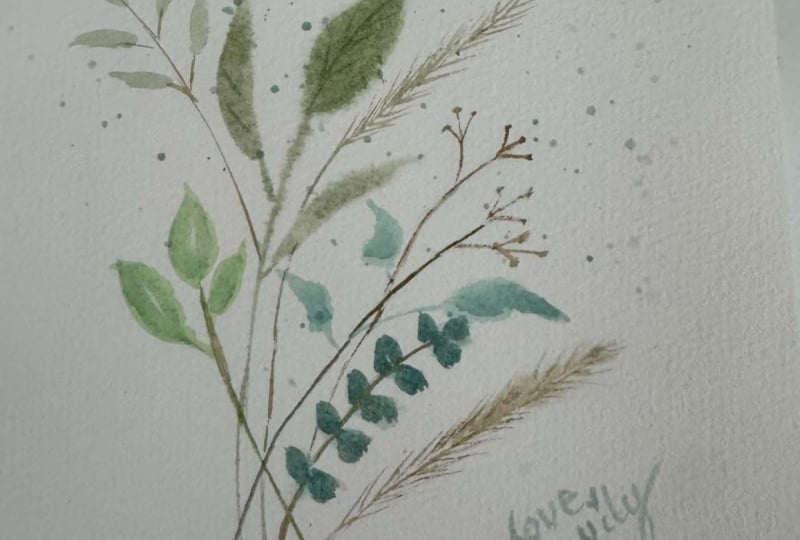
more like a eucalyptus. So like this where you have
a round on both sides, maybe it's a little bit
more on the blue side. So let's just make one
up here at the top. It's a long line. And then at the top,
it's just a circle. Then over here, there's
another circle another circle. Maybe even comes
into the middle. That would be something
more like this. So there are your different
kinds of grasses or greens, maybe make up your own. There's nothing wrong with
however you want to do it. Those are just a little
something to play around with, get your scrap piece of paper that you've
used for something else and make a whole bunch of different kinds of
greens just to practice, and then you can come over
and start a new piece of paper and create your
final class project. I'll see you in class in the next lesson
where we put this all together and create a really beautiful display that you're going to be able to
3. Painting the Botanical Greenery Project: When you go to make
your final project, what I want you to do is consider the direction that
you want your flowers, your leaves to be going, and what your main ones
are going to be. You want to put
your main flowers or your main greenery in first. Just like we worked on
this one where this is just a sample and we
just put them haphazard. Which ones did you like the most that you want to be the primary? Because then we can
always fill in with our smaller ones like this if you wanted these to
be your secondaries, then you can always
fill those in and around your primary ones. So if I wanted this to be my primary or I wanted
this one to be my primary, I would put those down first. So I'm going to set that aside, and I am going to
come in here with my paint create my
color that I want, fill my paint brush up 100%. I want my whole paint
brush, not just the tip. I want the whole thing
filled with paint. I'm going to make my first line, and I'm going to just
draw it up here like this kind of on an angle
and kind of wobbly. Then I'm going to
lay my paintbrush down and make my first leaf, maybe add a little bit more
paint and add another leaf, maybe add another leaf. I come down the stem a little
bit, add another leaf. See, I'm just putting
my paintbrush down, laying it all the way down, and drawing it back up until
it kind of creates a point. Oh, maybe I'll come down here a little bit further and add another one. Over here. It doesn't have to be
consistently all the way down, just going like that
because maybe there's going to be another stem
that comes across here. I want to leave
some open spaces. But maybe I want to have
this one branch off. I might come up and have
it branch over here just to create some movement and
do another couple here. Yours is going to be
different from mine, and you're going to decide
to put your stems and your branches in different
ways, and that's great. I want you to do yours the
way you want to do yours. You do not need to mimic
mine and do it the same way. I'm going to just add
in a little bit of that brown so that I get
a little second color, and I'm going to come in
and add in another branch. I want to be able to
have my second branch, and I'm going to
bring it up here. I'm going to go right on top and just bring it up like that. Now I'm going to add
right at the top, more of our little rounded
top, a little bit more water. Just a little more rounded. It's okay if you
leave white spaces. It's good to add white spaces. This does not need to be
perfect in anyway, look, I don't even have
that leaf connected to the stem. Totally fine. Not worried about
that at all. I might even come right up on
top of that other leaf. And maybe I'll come down here and add another one down here. And maybe I'm just going
to skip the rest of that not add in anything else. So now I have a line going this direction and a
stem going up that way, and they're kind of
my two primaries. So now I think I want to add one that has just a little
bit more yellow to it. So I'm just going to add
a little bit of yellow to the same mix. I'm
not changing it. I'm using the same colors
that I was already using, just adding a little bit of yellow just to get another
little sense of color. And I'm going to be adding
in something that maybe looks a little bit more
like these little grasses. But I don't have to
have my stem that starts down here and comes
all the way up into it. I could actually start
it up in here and we can pretend that the
stems are down in here. We can always add
those in later. I'm just going to start
with my little stem. I'm going to come up,
bring it up here. I'm going to jump over
that leaf and bring it up. I want to make it shorter. I'm just going to add in
these little wispy lines. Make it look like maybe it's
a um maybe it's a grass. Maybe it is, um, like wheat. Not really sure. It's just going to be
something that has that little and it's the same colors. I just added yellow. So it's in the same hue, it's in the same family. It's just added with a
little bit of yellow. I think I want to
add another one, but it's going to
start all the way up in here and I'm going to draw my line this direction
and bring it down. I'm not going to worry about
where it's continuing on to. We're going to worry
about that later. I'm just going to
add in some more of these little wispy edges just because I like
that one a lot. It's just such a nice
texture to your arrangement. What's really great
about this practice in this class is
that it gives you a chance to practice all the different kinds
of leaves and greens. I'm just going to go ahead
and bring that stem down. Not going to worry
about where that stem is going right now. I'm going to add in a
little bit of this blue. I'm going to bring
that blue across a little bit more blue into
it, so I have another color. But I see how I'm mixing it in with the greens that
are already there. That way it brings the same family across so
it all feels cohesive. I'm gonna bring this stem up. I just got to add
blue got really bold. Oh, round little round leaves on either side. That's pretty. Maybe I want another one
coming over this way. Again, don't have to
really worry about where all the stems
are coming down here. You don't have to have
the same amount of stems at the bottom that
you have at the top. You can just let the
imagination figure that out. Just make some
little round leaves. See how they're not perfect. They're just kind of there. That's the fun part
about watercolor is you can let your imagination
fill in the gaps. Okay. Let's see. What
else do I think I need? Maybe I want to switch over
to a smaller paint brush. Maybe I want to add in
a little bit more of a brown Ali bit
more green to it. You see how it's still all
mixed into the same color. Check that color out.
I think that's okay. Got a lot of blue on that. Just add a little bit more blue. Keep your scrap pieces of paper around so that you
can really play with that. Play around with your colors. Just kind of add a
little yellow to it. Then I think I'm
going to add in. This one is going to come up here because I'm using a
much smaller paint brush, I can really add in those
little wispy lines, but they're just
a little bit more intentional than when I was
making this kind of a grass. Just little small
intentional lines. I'm going to add
little dots to them. Makes them look like grasses. There maybe gone to seed. But isn't it fun to add in all these different styles
of grasses and greenery. Once you have mastered a couple
of different greeneries, when you go to make
your bouquets, you're going to
be able to add in any of these little grasses, any of these little
wispy greeneries. You're like, Oh, yeah.
Remember when I made that? That was really fun. Let's
see if I can add that again. In another class later on, I'll be making this and then I'll be adding in some flowers, which will be really fun to do. Here I'm going to add in another one that's going
to come up here. Add in some more
little wispy lines. I can't wait to see yours. See what you did with yours. Maybe you made yours
out of all grasses. Maybe you wanted it to look like it was on the
seashore and you had just picked a whole
bunch of green grasses that were growing along
the edge of the shore. Would you like to
add two or three of the same kind of grass just so that it brings
that texture across. I think I'm going
to add in one more. Maybe that has it
coming over here. Just so that I get that
same texture brought across in a couple
of different spots, especially since this is
so light and whimsical. It's good to add it. I don't
mind going right up on top of those leaves. There. Good. Do you see now
why it doesn't matter? I only have one, two,
three, four, five, six different stems coming down, but I have one, two,
three, four, five, six, seven, eight, nine, ten, ten stems of leaves up here, but only six stems that
I can see down here. But once you get
it all finished, you can't really tell
which ones are missing. I just keeps this area lighter
so that you don't have that same it doesn't get so cluttered and
busy down in here. So go ahead and make
your project up using at least three
different styles of color and styles of leaves, whether they're
grasses or leaves or eucalyptus or long leaves, whatever you want to add, make sure you add in three
different colors and three different styles of leaves and put in a bunch of different stems and see
what yours looks like.
4. Final Thoughts and Encouragement: Congratulations on finishing your botanical greenery study. I hope that this class helped
you see that sometimes the simplest subjects can create the most
elegant paintings. One of the things I love about greenery is how versatile it is. These leaves and stems are
beautiful all by themselves, but they also become
wonderful building blocks for larger floral
arrangements and bouquets. Learning to paint foliage
with confidence can add so much movement and
softness to your work. I also hope that this
class encouraged you to embrace white space and
let your painting breathe. We don't always need to fill
every corner of the paper. Sometimes leaving
room for the eye to rest creates a piece
that feels calm, balanced, and
beautifully understated. Remember that your version doesn't have to look
exactly like mine. Different colors,
different leaf shapes, and even unexpected
brushstrokes all contribute to making your
painting uniquely yours. I'd love to see
what you created, please consider sharing your finished project
in the class gallery. Whether you followed
along closely or added your own
personal touches, I'd love to celebrate your
work and cheer you on. If you would like to
continue practicing, I have more classes that
explore different flowers, foliage, and loose
watercolor techniques. Each painting builds
confidence and over time, you'll discover your own
style and favorite subjects. Thank you so much for
painting with me today. I hope you're following
me so that you're first to know when I've
uploaded a new class. If this class brought you
a little bit of peace, please give it a review so
others can also find my class. Until next time, happy painting.
 Brenda Jones, Watercolor Artist & Teacher