Transcripts
1. Welcome to Class: Welcome back to
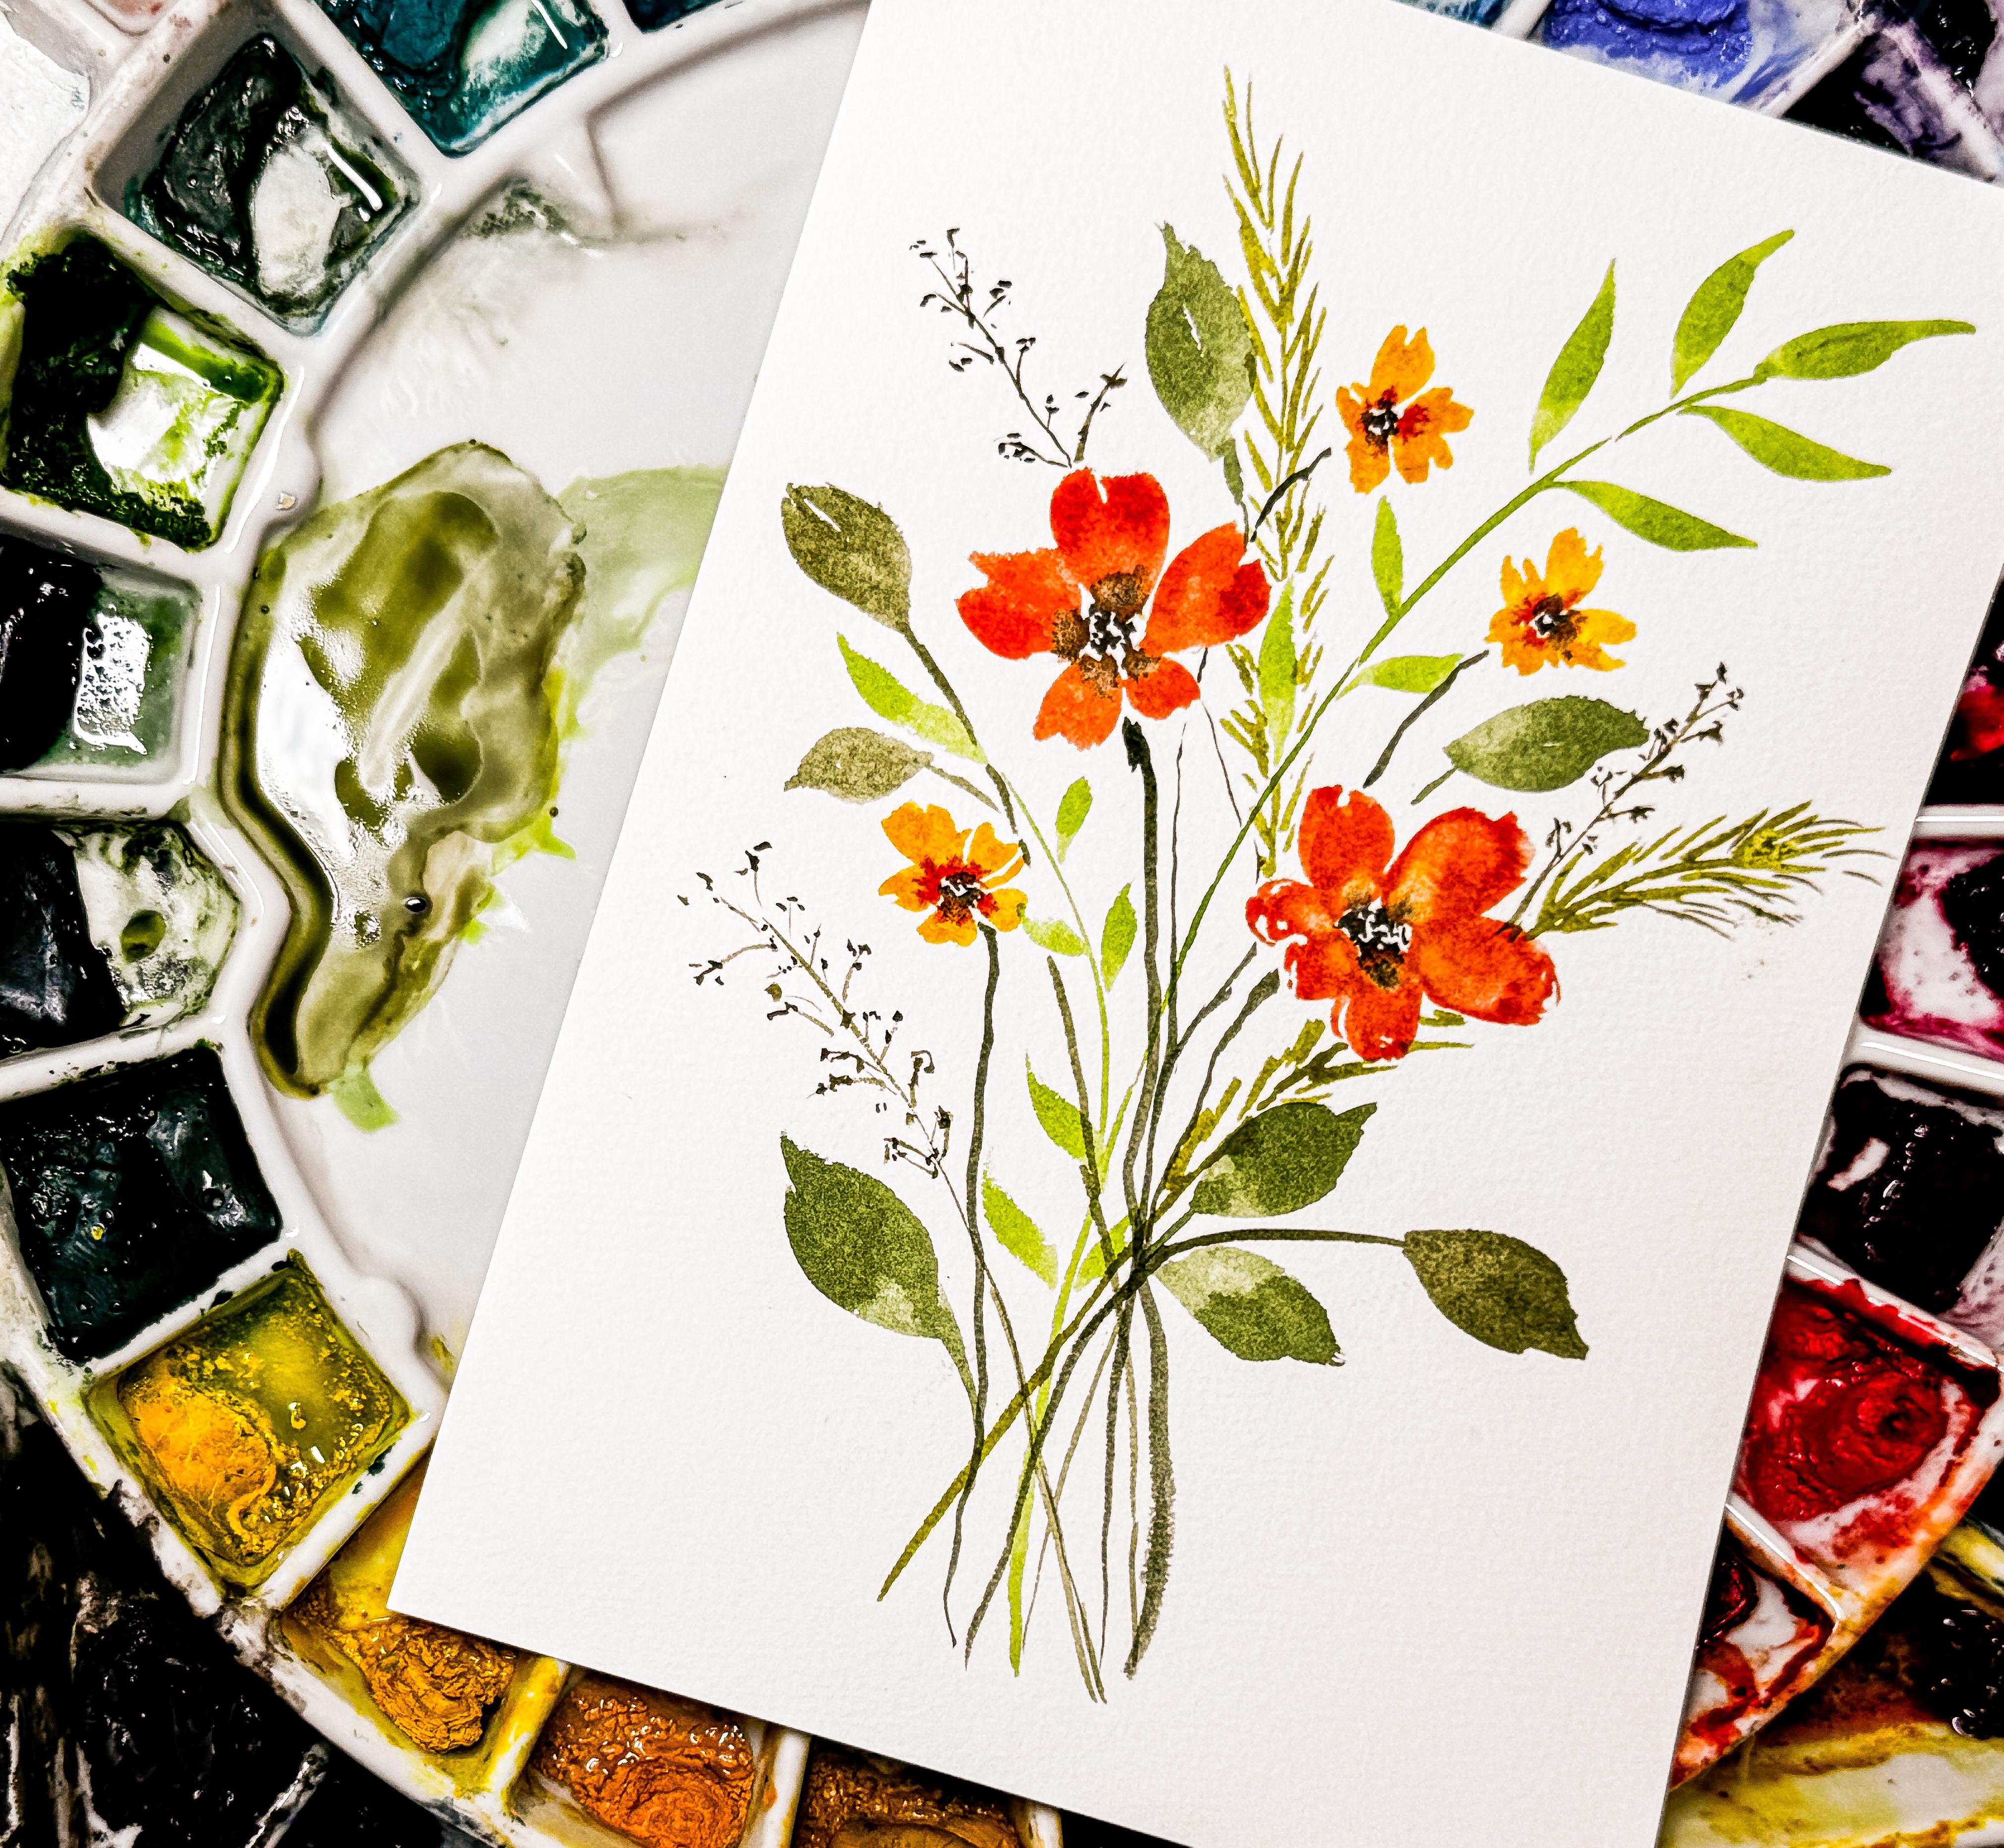
class. Today we'll be bringing everything
together to create a loose watercolor
bouquet filled with cheerful cosmo flowers and
soft botanical greenery. And the best part is that this project is
absolutely approachable, even if you're still building
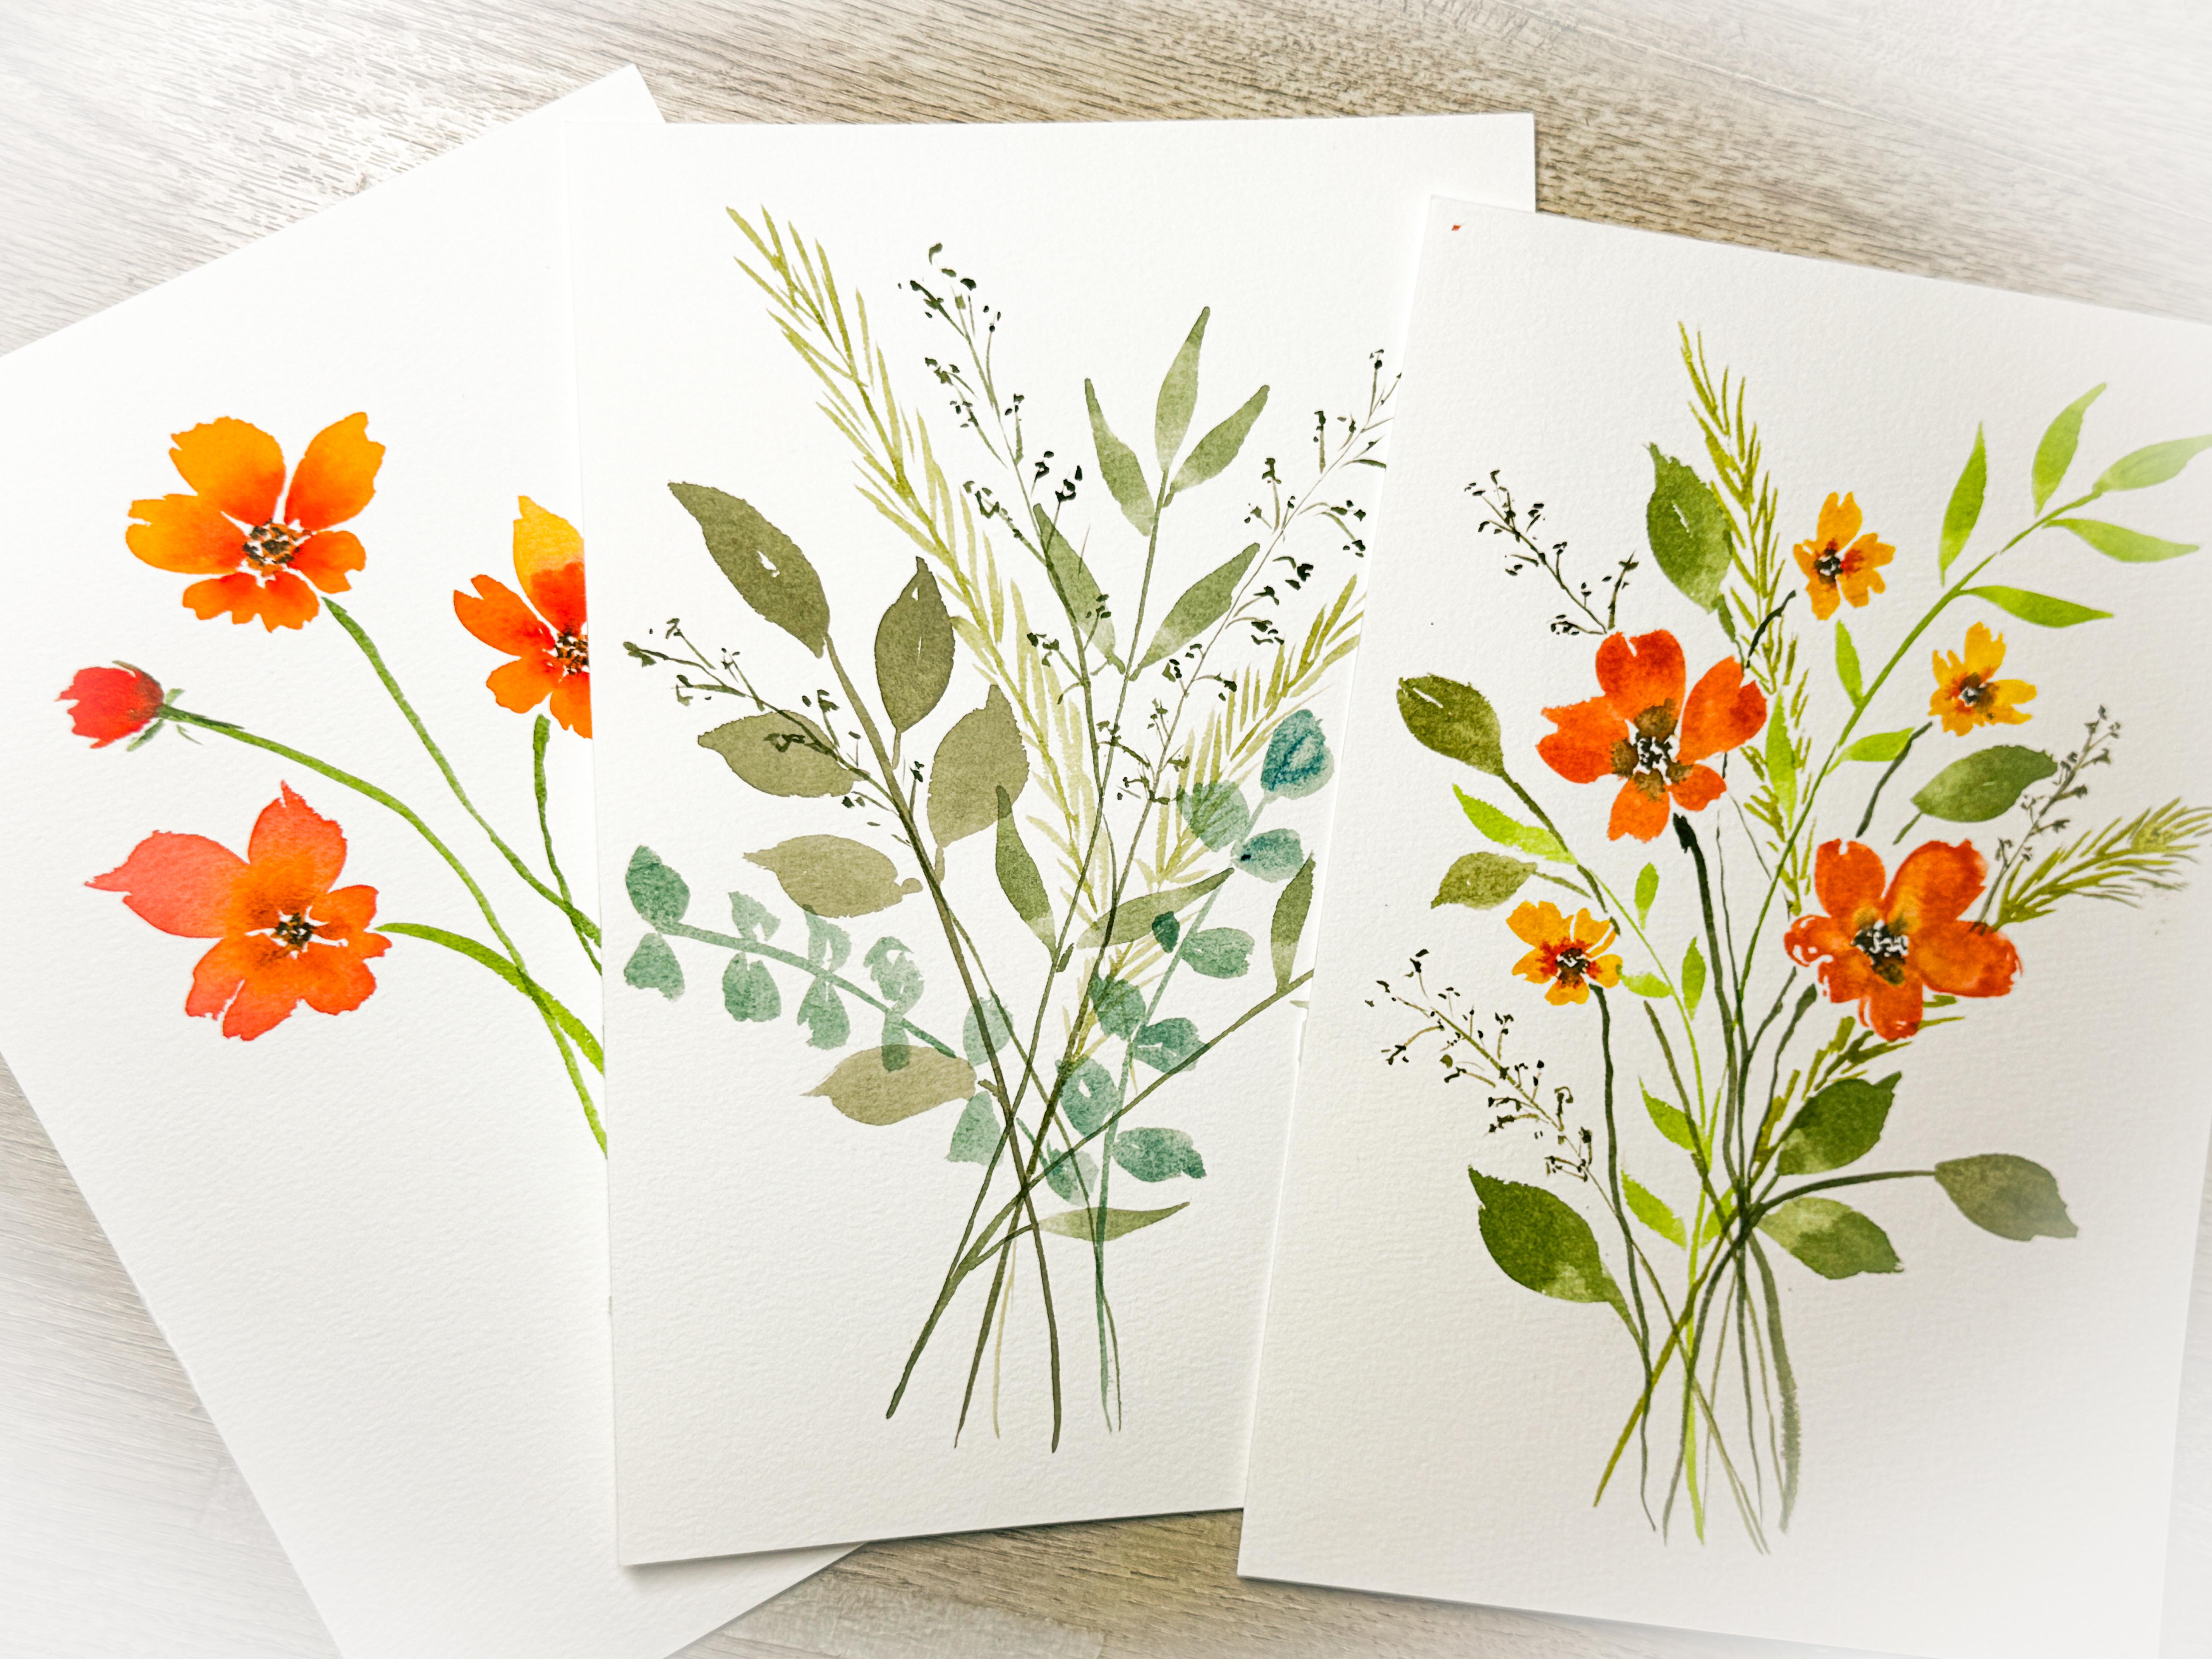
confidence with watercolor. Over the last two studies, we've explored simple flower
shapes and airy greenery. And now we get to combine those elements into one
balanced composition. I think this is where watercolor becomes especially
fun because we get to start layering simple
pieces together and create something that
feels much more complete. One of the things I love
most about bouquets like this is that they don't
require perfect planning. In fact, a little looseness and some natural
variation help create movement and keep the painting
feeling fresh and relaxed. We aren't aiming for perfect
symmetry or tiny details. Instead, we're focusing on flow, balance, and enjoying
the process. Throughout this
class, I'll guide you step by step as we
arrange your flowers, add greenery, and build a composition that
feels light and airy. We'll leave plenty of
white space and allow the individual elements to shine without
overwhelming the page. And remember, watercolor has a wonderful way of doing
some of the work for us. You don't have to control
every brushstroke. Sometimes the beauty
comes from lighting, the paint naturally move and accepting those happy
surprises along the way. Feel free to pause your
videos at any point, rewatch them if you
want to and try again. Working at your own pace will really help you
feel successful. So gather your
supplies, settle in, and let's enjoy creating a fresh and cheery
bouquet together.
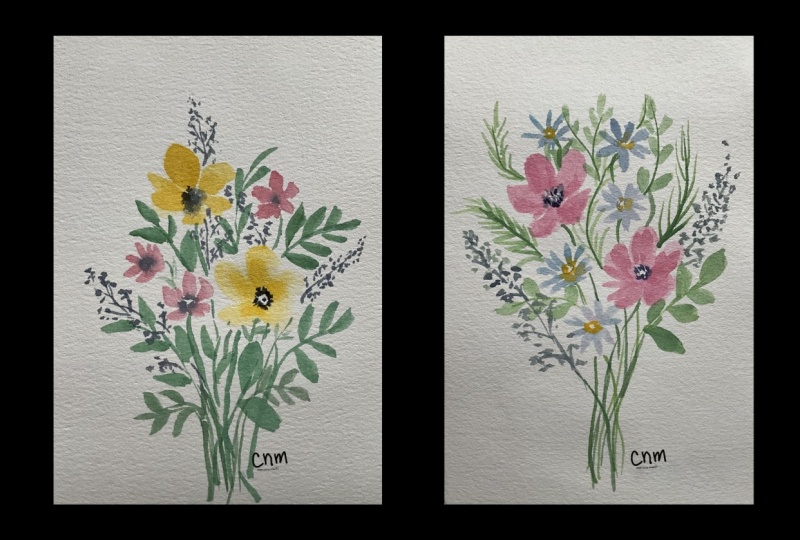
2. Painting the Complete Cosmos Bouquet: Welcome to class. I
hope that you are here to have a great time and to play around
with watercolor. The last two classes
were regarding making some flowers and having the heads face in
different directions. Then we also worked on greenery. In today's class, we're going to be combining those two concepts into one painting where we add some greenery
and some grasses, and then we also add in our flower heads and maybe
put all the stems together, possibly with a tie. Not sure yet, haven't
gotten that far. We're going to see
how that all goes. But the first thing
we want to do is plan out our arrangement. That's what we're going
to get started with. Is planning out what this
is going to look like. What I think I'm going to
do is grab my pencil just so that I have a little
concept of my direction. I want to add in
three flower heads, I'm not going to draw flowers. I'm just going to be making some very light sketch circles. Maybe a flower head there, maybe another one over here, and you may not even
be able to see this because they are so
faint and that's fine. Maybe I'll add another one
over here and maybe I'll add another one up in
here and maybe I'll add a fifth one up in that area. Two larger ones and then
three smaller ones. Now, I made these very, very light because I'm going to want to erase them
at some point, and they're just circles,
they're placement keepers. So that I know about where
I'm going to be putting them. When I make flower
arrangements that are going to have the flowers
and the greenery, I like to place my flowers first and then fill
in with the greens. If you start with the greens like this and you have
something like this, then you're very limited to where you could add
in those flowers. You're going to have
to put one here and you're going to have to
put one up here because there's saved space down inside. But if you have started
with your flowers first, you can then decide where
you're going to be adding those greeneries and the greens can go and jump
behind these flowers. We're going to start
with our flowers first and then come in
and add our greens. I have all my different paint
brushes here from a very, very small detail
brush up to a size 12. I think I'll probably be using my size eight most of the time. But you use whatever
size brushes you have available to you. Then when I look at my colors, I think for this one,
this one was really fun. I was using these
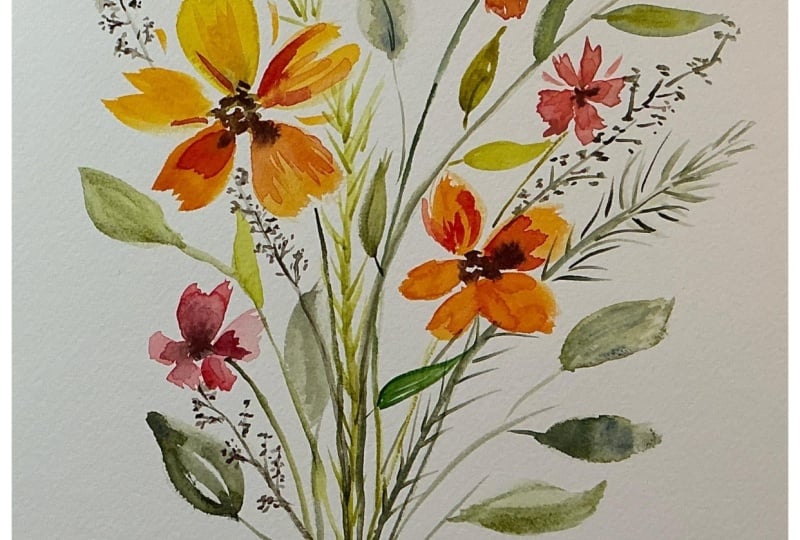
sunshine colors. I think for this next one, I'm just going to mute
that down a little bit and go with a
little softer color. I will start mixing
up some colors. I think I'll still stay
in that same family, but I think I'm just
going to add in just a hint of a nice lighter
color just to soften it, maybe even add a little yellow. I'm not sure. I'm just
going to play around here until I come up
with the right color. Yeah. This is looking a little bit more like what
I had in mind. I have lightened
those little spots so that I know where they are, but you probably can't
see them, which is fine. I'm going to start
with making a flower over here and I'm going to start with my larger flower
petals, that direction. Then I'm going slowly
starting to make my flower petals a
little bit smaller as I work my way around
so that I can show some direction
to my flower petals. My flowers are facing
the other direction. If you need more help with that, please go and take
that other lesson where you can get some
more training on making your flower petals and everything facing a
different direction. So I'm going to start with that. You just add in. It's okay. Add in those
white spaces. I like that. And then I'm going to grab a smaller paint brush and I'm going to grab
some of this yellow. I'm going to add that into the middle onto these
petals so that those can start bleeding and blending right away
before that dries. Then I have another one up here. I'm going to be
putting another one, but I'm going to make this
one my larger petals. Over that way. And then slowly making them smaller
over on this side. And then I'm going
to add in my yellow again so that they
can bleed out. I get that two tone feel. Those are going to be
my larger flowers. I'm going to go and make
a different color flower. I'm going to get my yellow
first. Much smaller. Put another one down here. See how simple it is. They don't even have to
necessarily connect. They can just be little petals. Before either of those dry, I'm going to come in with my pink and add just a little bit of
pink into the middle. It's a pink orange color. Here's the third
one. Almost lost it. Couldn't even see
where it had gotten to. I'll put one here. And then we're going
to add a little bit of that orNgy pink color
into the center. Now that I have my
five flowers made, I'm going to come back
in and do the centers, but I'm going to let
these dry a little bit more before I go and
add in my centers. But I do want to start
adding in some of the green stems for these flowers just so that I make sure
I have room for them. I'm going to use my smaller
paintbrush, is a size three. I'm going to start up in here. I'm not going to connect
it to my flowers. They're not going
to actually touch. I'm going to start with a little heavier top,
a little bit wider. And then I'm just going
to bring it down here and it's okay if it
gets a little wobbly. You can make them bend,
you can make it get thicker at the bottom,
whatever you want to do, just to make it feel
like it's really, really organic and it's really growing right out of the bottom of
your paper here. But now there, you can see how I really added in some bends. You start up here,
to bring that down. I'm going to jump
over that petal. I'm just going to bring
it down to there. I'm not going to worry about bringing it
all the way in here. There's going to be enough other stems
Bring it over here. Maybe it comes down
this direction, comes down in here. Same with this one.
Just bring it on down. Something along that line. Now that I have those done, I can start bringing
in my other greenery. I'm just going to
check the insides. I think I can actually
add in the centers. So I'm going to make some brown, maybe mix it in with
my green a little bit. Nice and liquidy. Add in little dots. It's okay if it
blends really pretty. Put it over here. Let that all flow because it's still wet. Yours may not be wet
and that's okay. If it doesn't blend
out like that, that's right. Yours
doesn't have to. Or if you don't
like it doing that, then make sure that you
wait for yours to dry more. I'm going to actually come
in with this size six. This is a wet paintbrush, but it's almost dry. I'm just going to do
some back cleanup, pushing it back so that it
doesn't blend out too far. Just kind of softens
the edges a little bit. Okay. Maybe just lifting some of the brown
that I put in that I didn't want it to go
too far into the petals. Yeah. Okay. So back to my size
eight paint brush, I'm going to start adding
in some of our greens. So in this class, we learned about making
the different greens, adding in three
different colors, at least three different
colors of greens. Um More is also nice. I also really like
to make my greens very cohesive by
starting with one green and then
adding a color and then adding another color and
then adding another color, it keeps them really
connected and cohesive instead of having a
yellow green and red, king all the different
colors very, very separate. I like to make them all
connected and cohesive. But I also like to add in
different styles of leaves, some with pointy ends, some with more of a round
some with more like grasses. So that's what we're
going to be adding in at this point is adding in all the different
things that are going to make this really
feel cohesive. But what I want to do is clean
up my greens on my palate here so I can start over and show you
what I mean by that. I just wet down my palette and
I'm just going to clean up those greens and the reds because I don't need
that right now. I always like to have
a paper towel around. I can do that. I'm going to start with
my lightest color, which is this really
pretty green. It's almost like a
spring green or a gold green from that, I'm going to add in some greens, planning it out as to
where I want it to go. I think I'm going to
have one come up. I'm not even going to start my stem all the way down here. I'm going to start it from here. I might come down further later, but I want to make sure that I get this shaped in
the right direction. I want it branching
up over here, and then I want to have my
greens going like this. So they're just
loose little stems, leaves that are
coming off the edge, something along that line. Now that I have the top done, I can come down in here and figure out where
the rest of that goes. Stems don't always have
to come to the bottom, but this particular one I did
want to have that happen. I also want to have one of these branching off
this direction. I'm just going to have it
come over here and just have a small one branching off over here just to bring the
same color across my page. Okay. Now I'm going to add in
another color to this. I'm going to come in and grab a little bit of this darker
color and I'm going to mix it right into on
top of the first color. This is what I mean by making sure that my greens
are all cohesive, is that I get a
chance to bring them in and make them a similar color because I'm just adding
in colors on top of colors. Not enough paint. I'm
going to add that. I think maybe I'm going
another one up here. Maybe I'll put into one
more up in this area. See what I'm just choosing
a spot to add them. They don't all have
to have stems. You could just be
hanging out up there. Now I'm going to add
in a little bit of yellow to the same color. Just makes it a little bit
more of a yellow color, my green, and I can
always test it. I can always come over to my sample page and I
could look at it and decide if that's the color I want or I could mix
it and change it. And in this one, I'm trying to create
a lot of flow. I want to have
some of these more of this wispy, this grass look. I'm going to add
some of that in. I think I want to have that
coming from right about here. I'm just going to decide
on the top half first, and then I follow my path
down I continue it down here. I'll bring it all the way down. And then up in here, I'm just going to make
that wispy lines. I just add that in. But I like to have that
same thing somewhere else just so that it's in
there at least two times. I think I want to have
that one coming up out of this area like this. I always like to figure
out my tops first, and then I figure out where
the stems are going to go. Then I'm not going to
worry about the rest of the stem coming
all the way down, but I might want to add in
some of that texture right in here to fill in that space. I'm going to go right around
that leaf that's there. Something like that,
make it look like it's coming from
behind that leaf. Okay, now that I have that one, I'm going to add just a touch of brown right into
that same puddle. And this time, add
a little bit more. Test it over here on my paper. Maybe I can make something. I'm going to move over and
use my smaller paint brush. Using my size three. I'm going to put that one in over here. A little thin little line. Again, I don't have to worry about where that stems going, but I'm just going
to put in these little wispy lines here. Not quite like this one. The last one, just smaller,
less little lines. Then off of that, I'm
going to put little dots. It makes it almost
look like grasses with little seedlings up here where the seeds haven't
quite dropped yet. Makes it nice and airy.
Maybe I want another one. Put one over here. Bring
that stem all the way down. Because I have this little
tiny little paintbrush, I can make little wispy lines. I'm going to add
in my little dots. Right on the ends of
all those little lines. Little seeds, even put some in the middle little dots so it feels like it's
three dimensional. M how much texture and
movement that creates? Maybe I want one more over in this area over here
somewhere, maybe not as tall. Put it here. I see
how I don't care. I'm not bringing the
stem all the way down. This is not one that
I need that stem. Sometimes too many stems is just too many stems and
you just don't need them. There we go. Like that. Now what stem are we missing? What Where's my balance at? What am I missing here? I look at this and I say, this side looks
really nice and full. Possibly I'm missing
something here, possibly I'm missing
something in this area. I'm going to go
back to my paint. Add a little bit more
of that green so I can go back
towards green color. Maybe I add another one
coming out here just to add a little bit more and I feel like
there's something missing over here, some weight. I'm going to add
another one over here. I'm just putting in one for now. I'm not going to overdo it. Just add in one and then look at the balance again and feel, where's my eye feeling like
there's something missing? What's really easy is
to add in too many, too many leaves, too many
flower heads, too many stems. Be really careful with adding in more because more just
sometimes makes it cluttery. I'm actually feeling like
that's really pretty good. Sometimes I like
to put it upright, walk away from it, come back and see if
something is missing. I don't feel like it's really possibly I need
something in here. I see I put my hand in
the paint over here, so I'm just going to
fill that in with some more little lines. It's okay. Little happy
accident. Not a problem. I think I'm just
going to add in one more over on this side. Doesn't have to be big. Helps it feel a little bit more balanced. Okay. I think I'm going to
call that finished. I can always come in and add more stems in if I feel
like I needed another stem. I could just add a stem in. But if you take a look at
this, let's just take a look. I have one, two,
three, four, five, six, seven, eight, nine, nine stems down
here at the bottom. But up at the top,
I have one, two, three, four, five, six,
seven, eight, nine, ten, 11, 12, flower leaf groupings plus
one, two, three, four, five, of my flowers, and so I have way
more things going on up here than I have stems. But even as you
look at this here, this is almost more stems at the bottom
than is necessary. I probably could have
gotten away with only seven stems down
here at the bottom, just so that it didn't look so heavy and busy down the bottom. I would recommend that you really limit
how many stems come down here versus how many
stems there actually are. So I'm going to
call this finished. I'm going to let this
dry and come back to the next class lesson and talk a little bit more about this and
about next steps.
3. Final Thoughts and Encouragement: Congratulations on finishing
your watercolor bouquet. I hope you're taking a moment to appreciate what you've
just created because bringing flowers together
with greenery and movement into one piece is
something to celebrate. One of the things
I love most about loose watercolor is that beautiful results don't
come from perfection. They come from practice, confidence, and learning
to trust the process. Every painting
teaches us something, and every brushstroke helps us become a little bit more
confident and relaxed. I hope this bouquet
showed you that a larger composition doesn't
have to feel intimidating. By breaking things down into simple shapes and building
them one step at a time, we can create pieces
that feel elegant and full without
becoming complicated. And remember, your painting doesn't need to look
exactly like mine. Use different colors,
different placement, and a little
unexpected movement. They're all part of
developing your own style. Those personal touches
are what makes your artwork uniquely yours,
and I'm proud of that. I would really love to see
your finished project. So I hope you'll share your
project in the class gallery. Seeing everyone's
different interpretations is one of my favorite
parts of being a teacher. I'll love to be stopping by and cheer you on and
celebrate your work. If you'd like to keep
going, I do have more classes that build on
this with different flowers, techniques, and ways to
approach your brush. You can pick anyone
that feels interesting to you and just
keep on practicing. That's where the
magic comes from. Thank you so much for spending this creative time with me. I hope these classes
have encouraged you to slow down, enjoy the process, and discover how
much beauty can come from simple loose brush strokes. Make sure you're following
me so that you can be the first to find out when
I've uploaded a new class. If this class brought you Droi, please give me a little review. It will help other
students find my class. Until next time, happy
painting. I'll see you soon.
 Brenda Jones, Watercolor Artist & Teacher