Transcripts
1. Intro: Hello and welcome. I'm so glad you joined me
for this class. Today we're going to
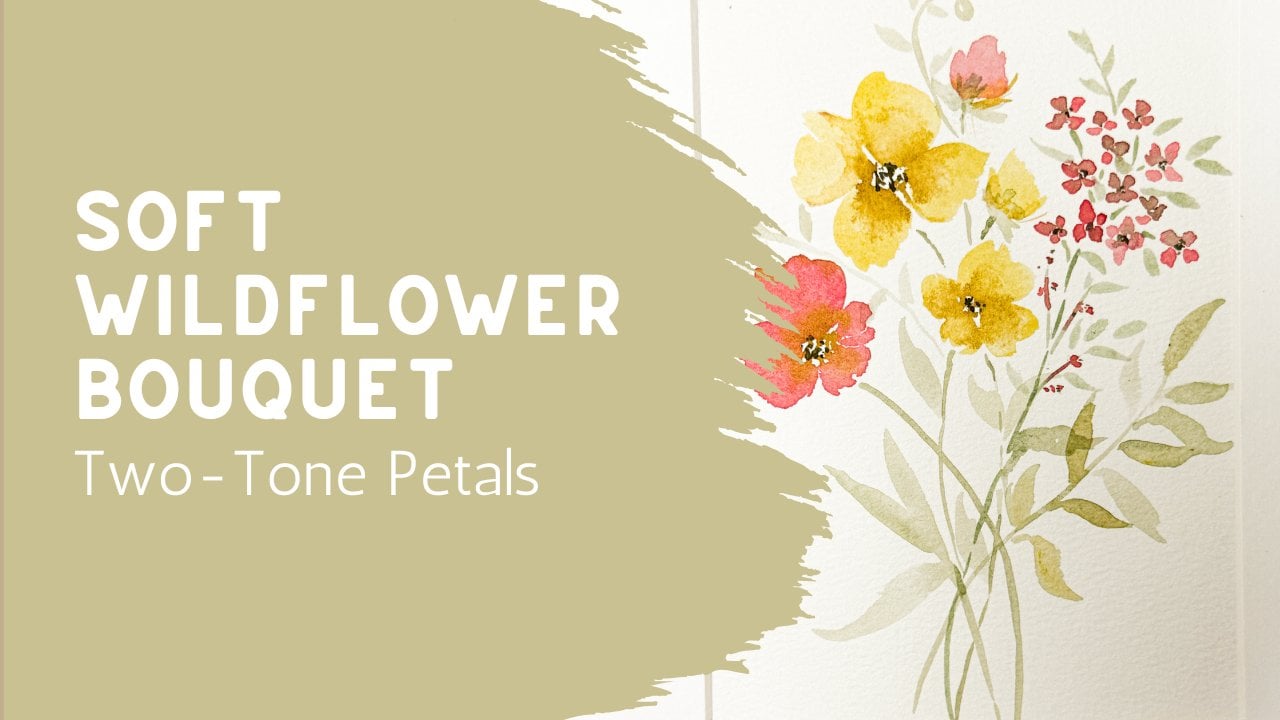
be painting a soft, airy floral arrangement using loose watercolor techniques
that celebrate movement, simplicity, and the
beauty of negative space. Instead of filling
every inch of the page, we're going to allow our
flowers room to breathe, creating a painting
that feels flight, fresh and elegant
and full of life. One of the things I love most about this style
is that it reminds us that we don't need a lot of details to create
something beautiful. A few expressive
flowers, gentle stems, soft foliage, and a touch of watercolor texture is really all it takes to tell a story. As we paint together today, I'll show you how to
build the composition gradually while keeping
everything loose and relaxed. You'll learn how to
balance your flowers, vary the heights of your stems, and use open space to help
every bloom stand out. Whether you're brand
new to flowers and watercolor or you've been
painting with me before, I hope this class gives you
permission to slow down, enjoy the process, and simply let the watercolor do
what it does best. Gather your supplies and get
comfortable because today we're going to create a beautiful floral
arrangement together.
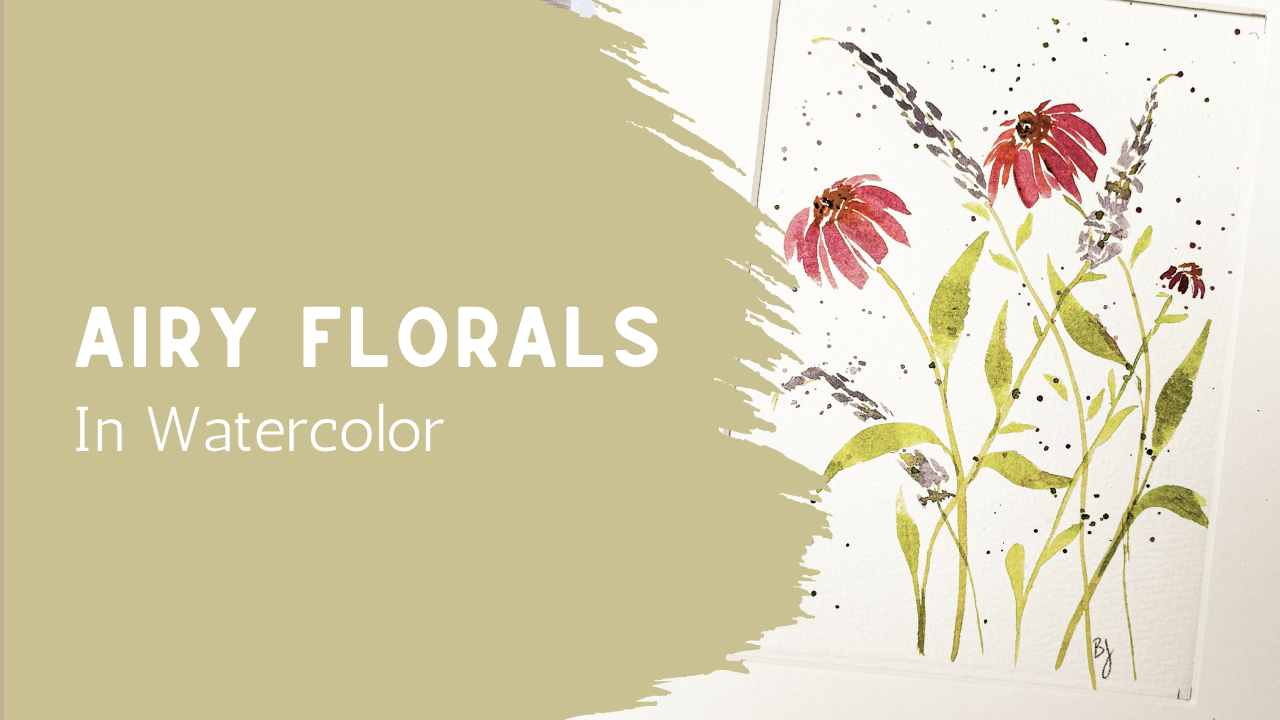
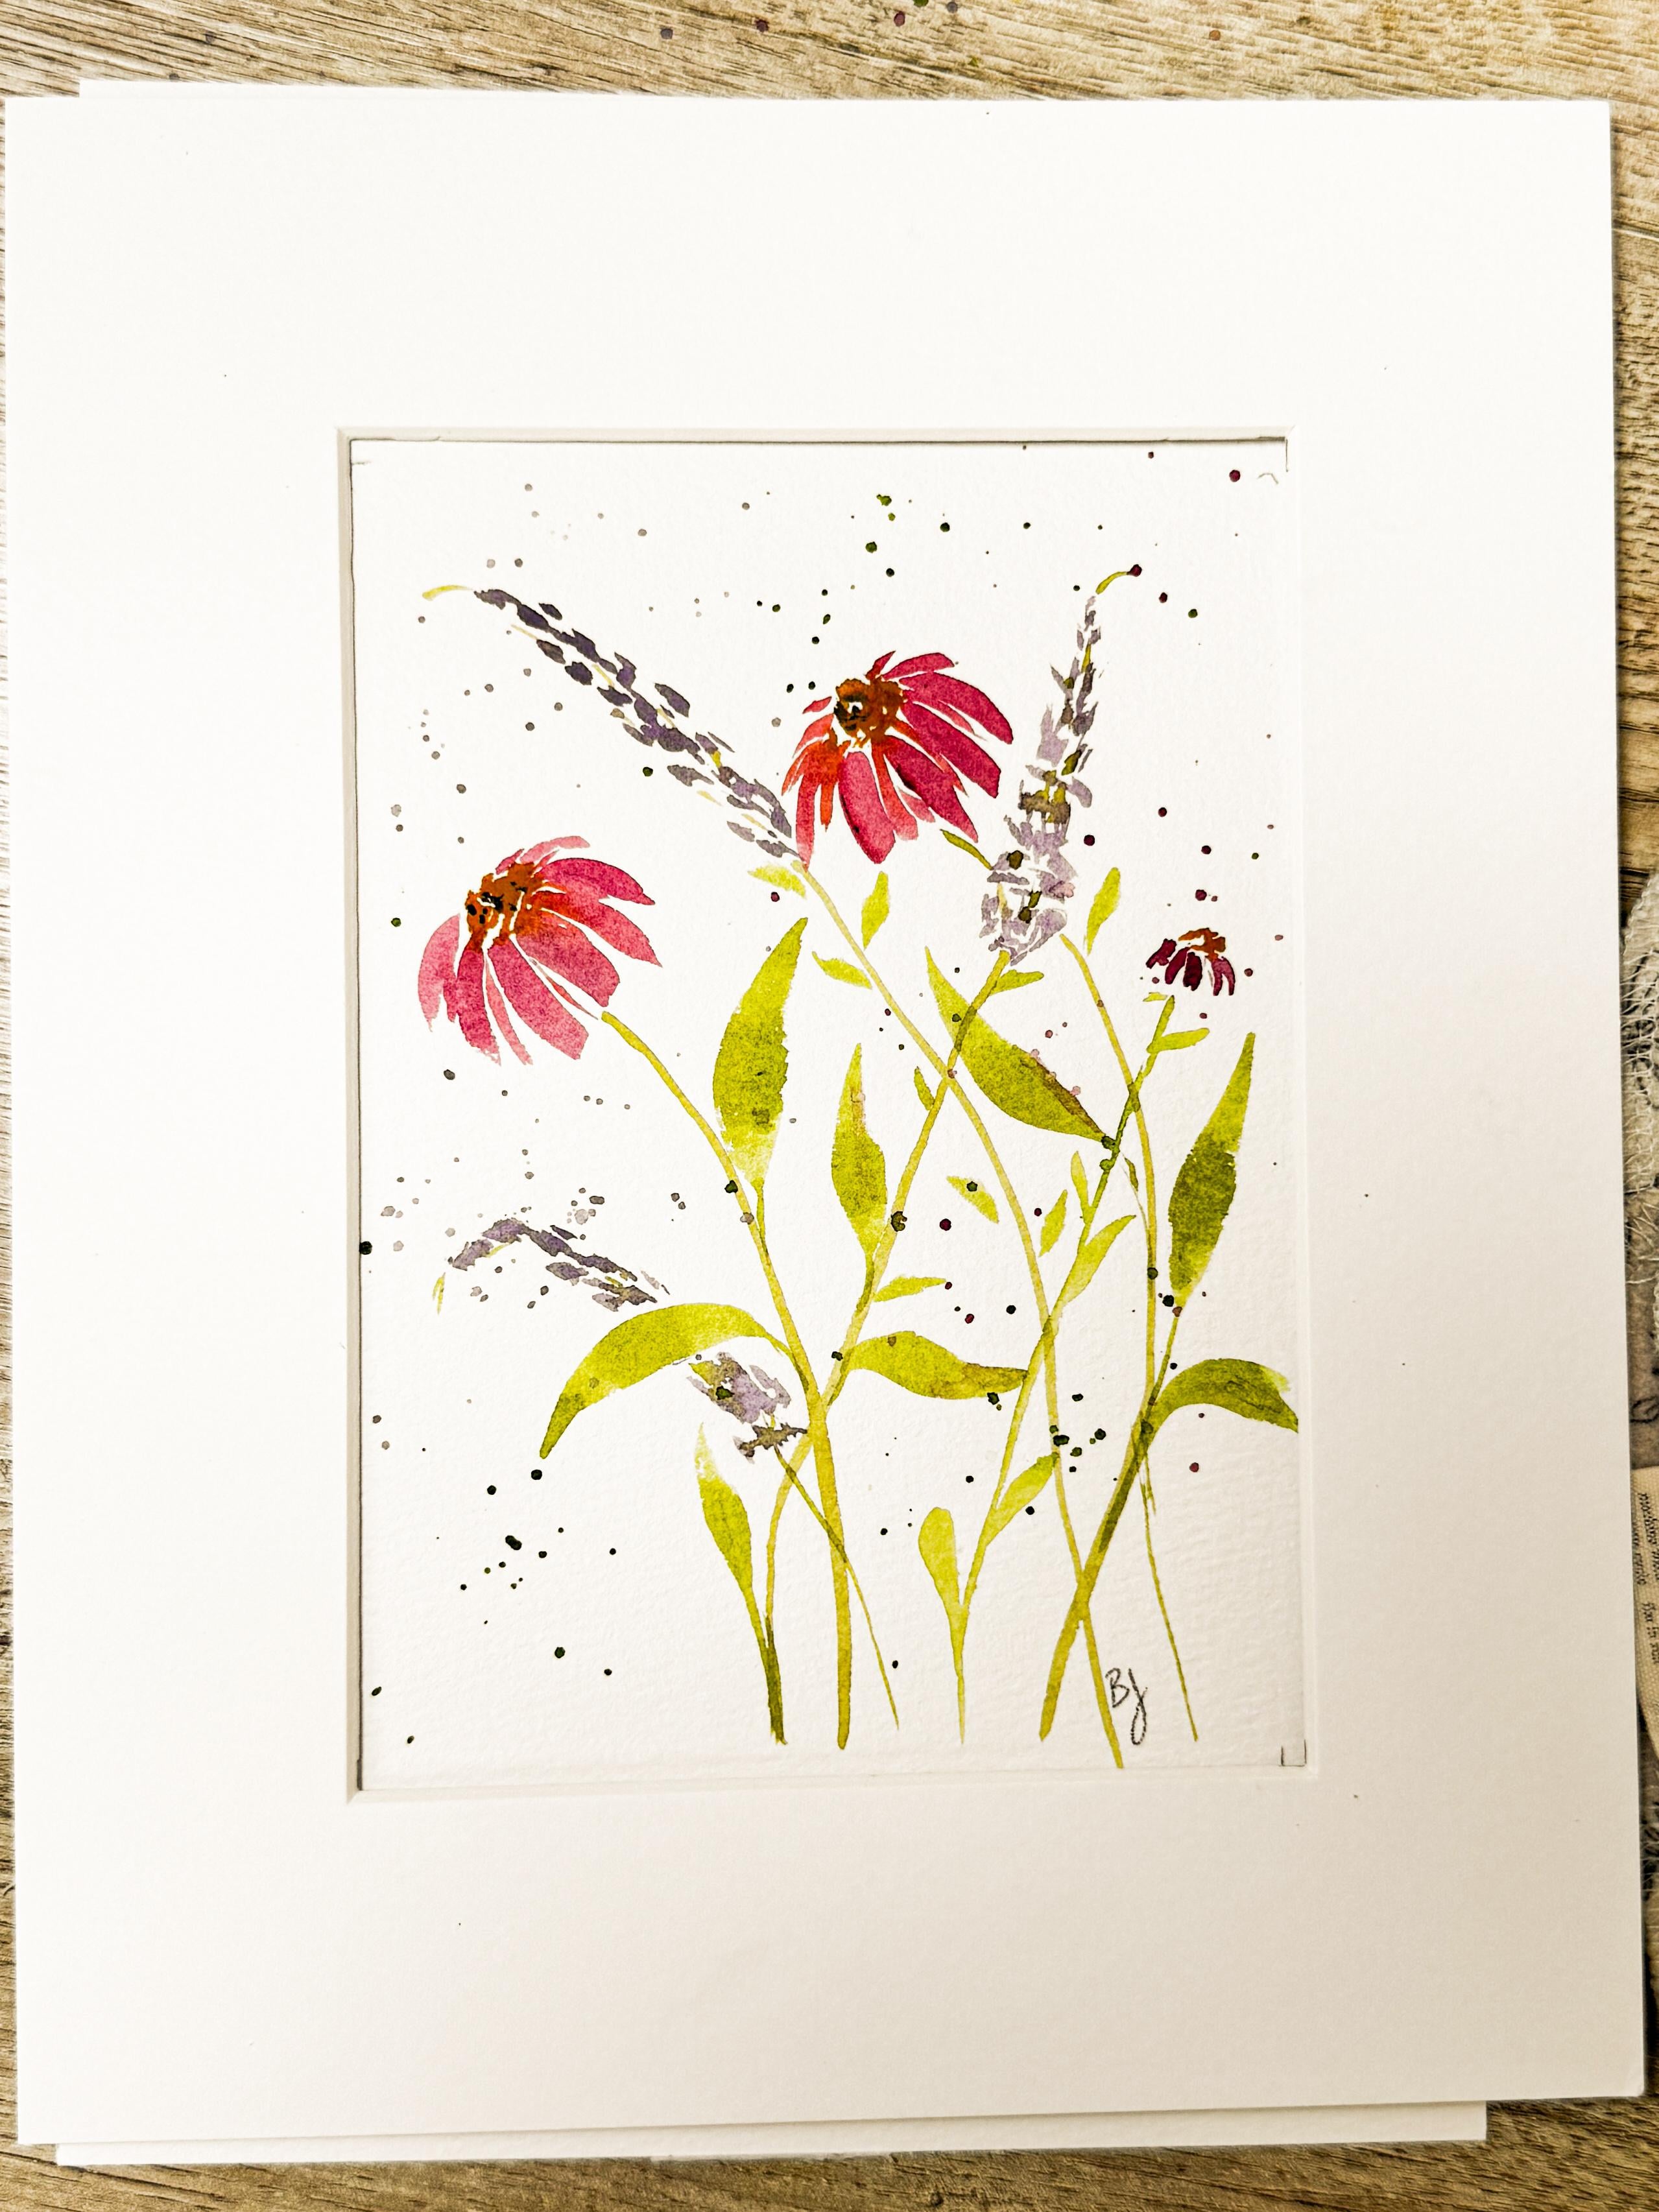
2. Paint a Soft Airy Floral Arrangement: Today, we're just going to make two little simple daisies,
little pink daisies, along with maybe a couple of lavender sprays with some
greens and some stems. I did also bring out
my filber brushes, and I just want to talk
a little bit about the difference between a filber
brush and a round brush. Here's our round brush, this red one, and
this is a size six, and this white one
is a filber brush, and that is also a size six. I just want you to see the
difference in the brush heads. So my round one is round
all the way around. It also comes to a
tip comes to a point, it tapers off to a
point at the end. My filber brush is
nice and wide and that the end is a soft
edge. It's not a tip. When you turn your filber
brush on its side, it almost becomes
just this very fine, thin little line here. You have a fat side, and then you have
a very thin side. When you're using
a filber brush, if you fill it up
with paint brush, you can do this several
different ways. You can use the
side of the brush. We're on the angle,
we're on the edge. You can use that to create
some nice little thin lines. You can even use
that and then press down and you can create
a nice wide line, and then you can
slowly pick it back up to create a thin line. You can lay it
down on its belly, the wide side goes
down and you can draw it out. You
can lay it down. You can make it wider, you can pick it back up and
make it smaller. But you're never going to
get a nice little point because it's much wider. Again, you can lay it down and then you can just pick
it up and it's going to create this almost
an oval shape. So another thing you
can do is twist it. You can start on your edge. You can twist it back
down to make it wide, and then you can twist
it to come back up. So if you have a filber brush, you have lots of
different choices. You can do all kinds of
different shapes with it. If this was green,
that could have been a leaf. You could bring it up. You can lay it down, and then you can twist
it to come back up. So if you have a filber brush, I would say that it's
maybe a little bit, well, it's more challenging
to me because it's not something that
I use on the regular. I usually use a round brush. You can also come at it from a different direction
and it come down. So when we are practicing that, if you would like to
use a filber brush, you go right ahead
or a round brush, whatever works best for you. You can also use it to just
create little clusters. When we go to make our lavender, it has this nice little edge to it so that you can make your lavender um, flour that way. And if you're using it
to make your daisy, like I'm going to be doing, you can bring it in from the top and then bring
it towards the base. Like that? No, those
are the little petals. Okay. So I'm not saying you
need to have a filber brush. If a round brush is easier for you the go ahead and
use the round brushes. If you happen to have
the filber brushes and you'd like to practice them, then this is one that
you can practice. I want to be able
to put this into a 557 frame when I'm finished. I have already laid
down my mat and I have marked off with a pencil
where my corners are, you can see that here where
I have my four corners so that I know that I need to
paint within those spaces. So I'm going to get started, and what we're going
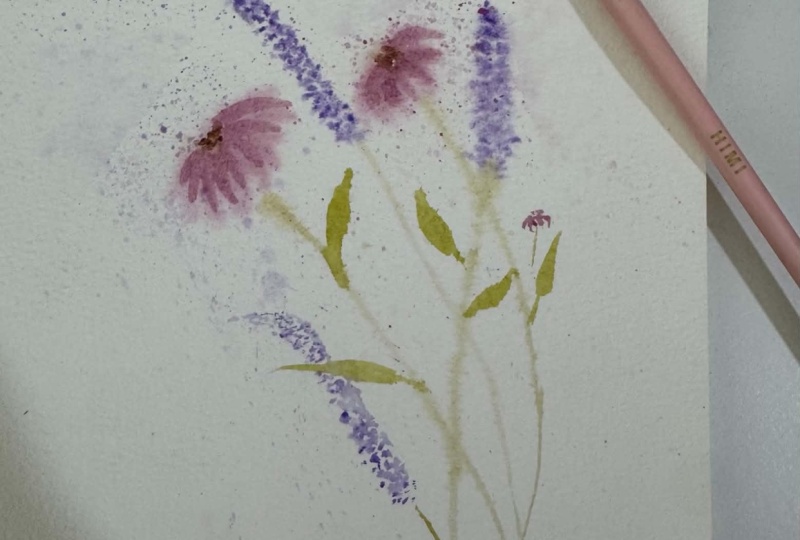
to do is create two pink kind of pinky
purple daisies and then a couple sprigs
of some lavender just to make it into a
little tiny bouquet. I'm going to add a beautiful
little center first. And so for my little daisies, I'm going to have one that
starts up here at the top, and it's just going
to have that's going to be the center. And do you see how it is I
had left some white spaces. I made a little bit
flatter on the bottom. And then I'm going to
put another one over here at the same angle. Just a little a
little cluster of little dots like that in this
pretty little golden color. Rinse off my paint
brush real well, and I'm going to go and get
into this purple that I have. Maybe I'm going to add a
little bit of a pink color. And you know what I think I want a little soften a
little bit. Okay. So now, my filer brush
is completely full. I am going to allow my
paint brush to actually touch into that golden
color that's there, and that is going to allow that golden color to come
down into each of my petals, which will create a
little sunset effect. So I just let it come
down in pull this up. And they're going to be arching. I might even make some little smaller ones over
here on the side, allow this to come down. We get another one over here, little smaller ones just to show that they kind of
come over from the back. You add another one in there. Some shorter ones
because you know how they daisies have all
the different branches of their little petals. So many different layers. I'm do another one over here. Coming around some smaller. And now maybe I'll
come back in with the little shorter
ones in between. So you all, they don't
have to be as wide. You can be smaller. There's
some little daisy heads. Now I want to add in a
little bit of my lavenders. I'm just gonna mix
those colors together, a little blue, a little pink, creates a little lavender. And I'm going to create a
little tiny lavender flower. It's just a little
shape like that, wider at the bottom,
skinnier at the top. That stem is going
to go over there. Then maybe I have
another one over here. These little dots that are going to go
on either side of that stem sometimes
in the middle. Rotating my brush a little bit so it goes
at different angles. Something like
that. Gonna switch over to my round brush
to grab some green. Wet this down a little bit. I'm going to pull in some of that pink just to muddy
my brown up a little bit, make that a little bit
more of a natural color. I'm going to bring a stem down here and see how I'm going to start it all
the way down here. I'm not trying to force my
stem to come up in there. I'm just going to start
it there and just going to branch this over
this direction. Nice little curvature
to my stem. Same thing with
this one. I'm just going to bring it over here. I'm going to jump over my purple because the stem is coming from behind and just
arch it over here. And then my lavender
is gonna come down and cross over that stem
and come down like that. And this one is gonna come
down and come over like this. I like to have my greens
come up into my lavender, so I'm just going to
add little tiny lines up through my lavender
and even out the top. Something like that. I'm going to add just a little bit more of a darker brown to the centers of these flower heads just to add
another little color. Just a little darker brown. Like dots. Not much,
just a little bit. I'm going to move over to
a little bit larger brush. I think I'm going to actually
move over to my size eight, pick up more of this green. Fill my whole paint brush
up with this green. And then I'm going to be adding some little stems,
some little petals. Oh, leaves, excuse me. It's hard for me to paint
and talk at the same time. You will notice that I stumble
over my words quite a bit because I have a hard time
talking and painting. I'm gonna have some
of those leaves going up and some down. I'm not going to add too many. It's very easy to
add too many leaves. Maybe some are smaller.
So are bigger. So smaller ones branching off of the um Off of the lavender, could have had
some smaller ones. So something along those lines. That's kind of fun. I just wanted to add another stem in there so I could have five different
stems down in the base. Now if I wanted
to, I could expand this and I could add
in more flowers. Now that I look at it, I go, Oh, it feels like it
needs something else. I could always add
in another one. Maybe I feel like I need
another lavender over here. I'm going to just add in
here's the top, bring it down. Just just going to
arch over to the side. Something like that.
Grab my green. Bring a stem down, put some little greens
through it out the top. I like that better.
Aving the three. And then maybe I need to have
a little bud that's kind of coming up one of these little
daisies, add a third one. I don't always
like to add all of my flower heads at first
because I like to see where the rest it be how
it is being made. Sometimes you feel like, Oh, everything's listing
to the left, so now I need to bring
something over here or maybe you feel like
you need to put a little bud up in here. But I don't like to put in
all of the flower heads at first so that I
have some freedom to move and add in
something later. I feel like what I need to do is add something
here to the center. Which maybe is a
stem and coming up here and adding in
a little tiny bud. So I think what I'm
going to do is grab some of this and just kind of create like maybe it's
just a start of a daisy. Like that. And add
in just the start. You know how they're really
tight when they first start being before they bloom. And then I'm going to add in a stem that comes
down like that. There you go. Kind of fun. So yours is going to be different because
depending on how you went about arranging yours, you're going to have
different flowers in different locations, some taller, some shorter, but I feel like that's
nicely balanced. So I think what I want to add is just a little bit of a
splatter to this whole thing. I think that'll add a
really fun feel to it. So I'm going to pick up this
lavender color with lots of water filling my
entire paint brush up, and then using my I could tap it against
another paint brush. I could just tap it
against my hand, and I'm just going to add in a little bit of
splatter here and there. Just splatter the paint, a little bit of lavender. Then I also want to pick
up some of this pink and splatter in a little bit
of pink over on that side. I think I want to add just a
little bit of green as well. Just down at the base here. Maybe a little up
here at the top. Okay. Fun. Got a little
green here in the middle, so I'm just going
to pick that up. Okay. We're going to dry this. I'm going to take it
out of its block, and I'm going to show
you what that looks like inside that's mat. I
can't wait to show you.
3. Outro: Congratulations on
finishing your painting. I hope this project help
you discover that sometimes the most beautiful
watercolor paintings are the ones where we choose to
leave a little white space. Those open areas allow
the flowers to breathe, give the eye a place to rest and create a feeling that's
light, calm, and inviting. One of the most
wonderful things about watercolor is that it encourages us to let
go of perfection. The soft edges, flowing colors, and a little surprises
that happen along the way, are all part of what makes
each painting unique. Rather than trying to
control every brushstroke, we learn to work with the watercolor and let
that magic really begin. As you continue painting, I encourage you to experiment with different
flower placements, color combinations, and even the amount of negative space that you
leave in your composition. You'll be surprised at how
small changes can completely transform the feeling
of the painting while still using the
same simple techniques. I'd love to see your
finished artwork, so please uplad it into
the project gallery. It's always such a
joy for me to see how every student brings
their own creativity to the same project, and I truly enjoy stopping by to leave encouragement
and feedback. If you enjoyed this class, I'd really appreciate it
if you left a review. Your feedback helps other
students discover my classes, and it also helps me continue creating watercolor
lessons that are relaxing, encouraging and approachable for artists of every skill level. Thank you so much for
painting with me today. I hope that you'll
continue exploring loose watercolors and join me
in another class very soon. Check out my gallery if you're looking for something
else that will inspire you to be creative and to find
your own unique style. Until next time, happy painting, and I'll see you again soon.
 Brenda Jones, Watercolor Artist & Teacher