Transcripts
1. Welcome To Class: Hello and welcome. I'm so glad you've been able to
join me for this class. Today we're going to be
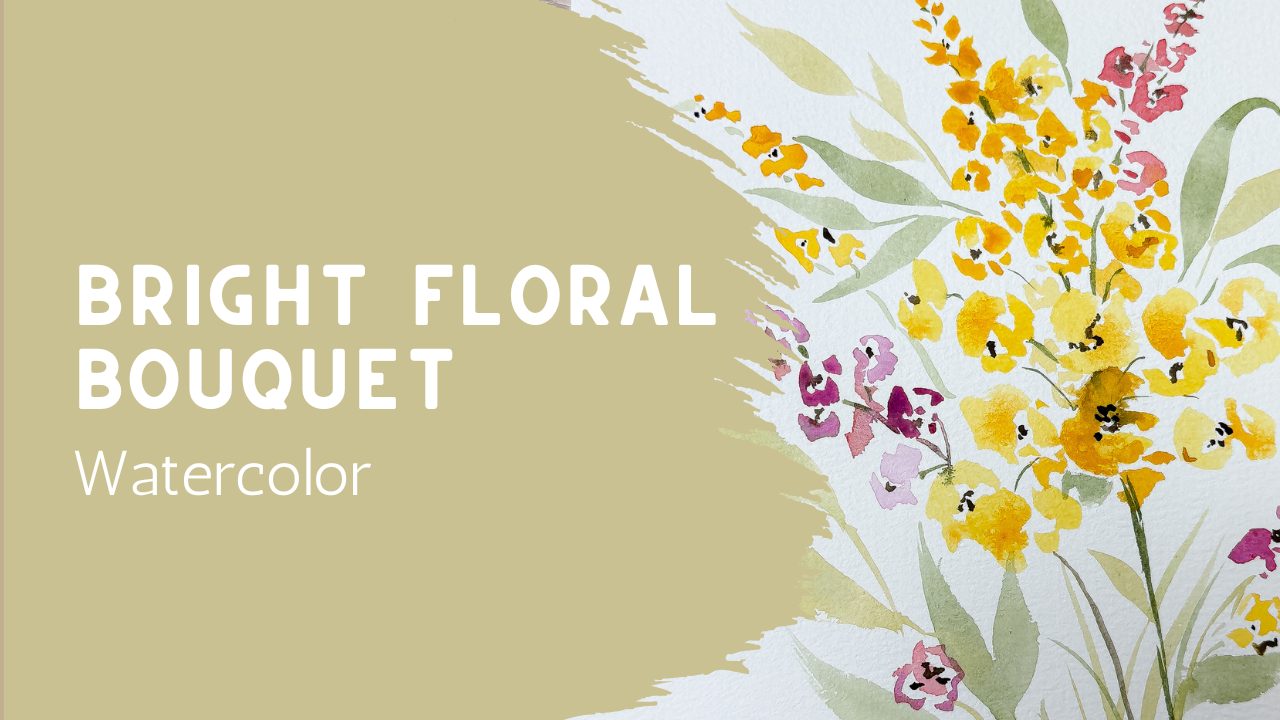
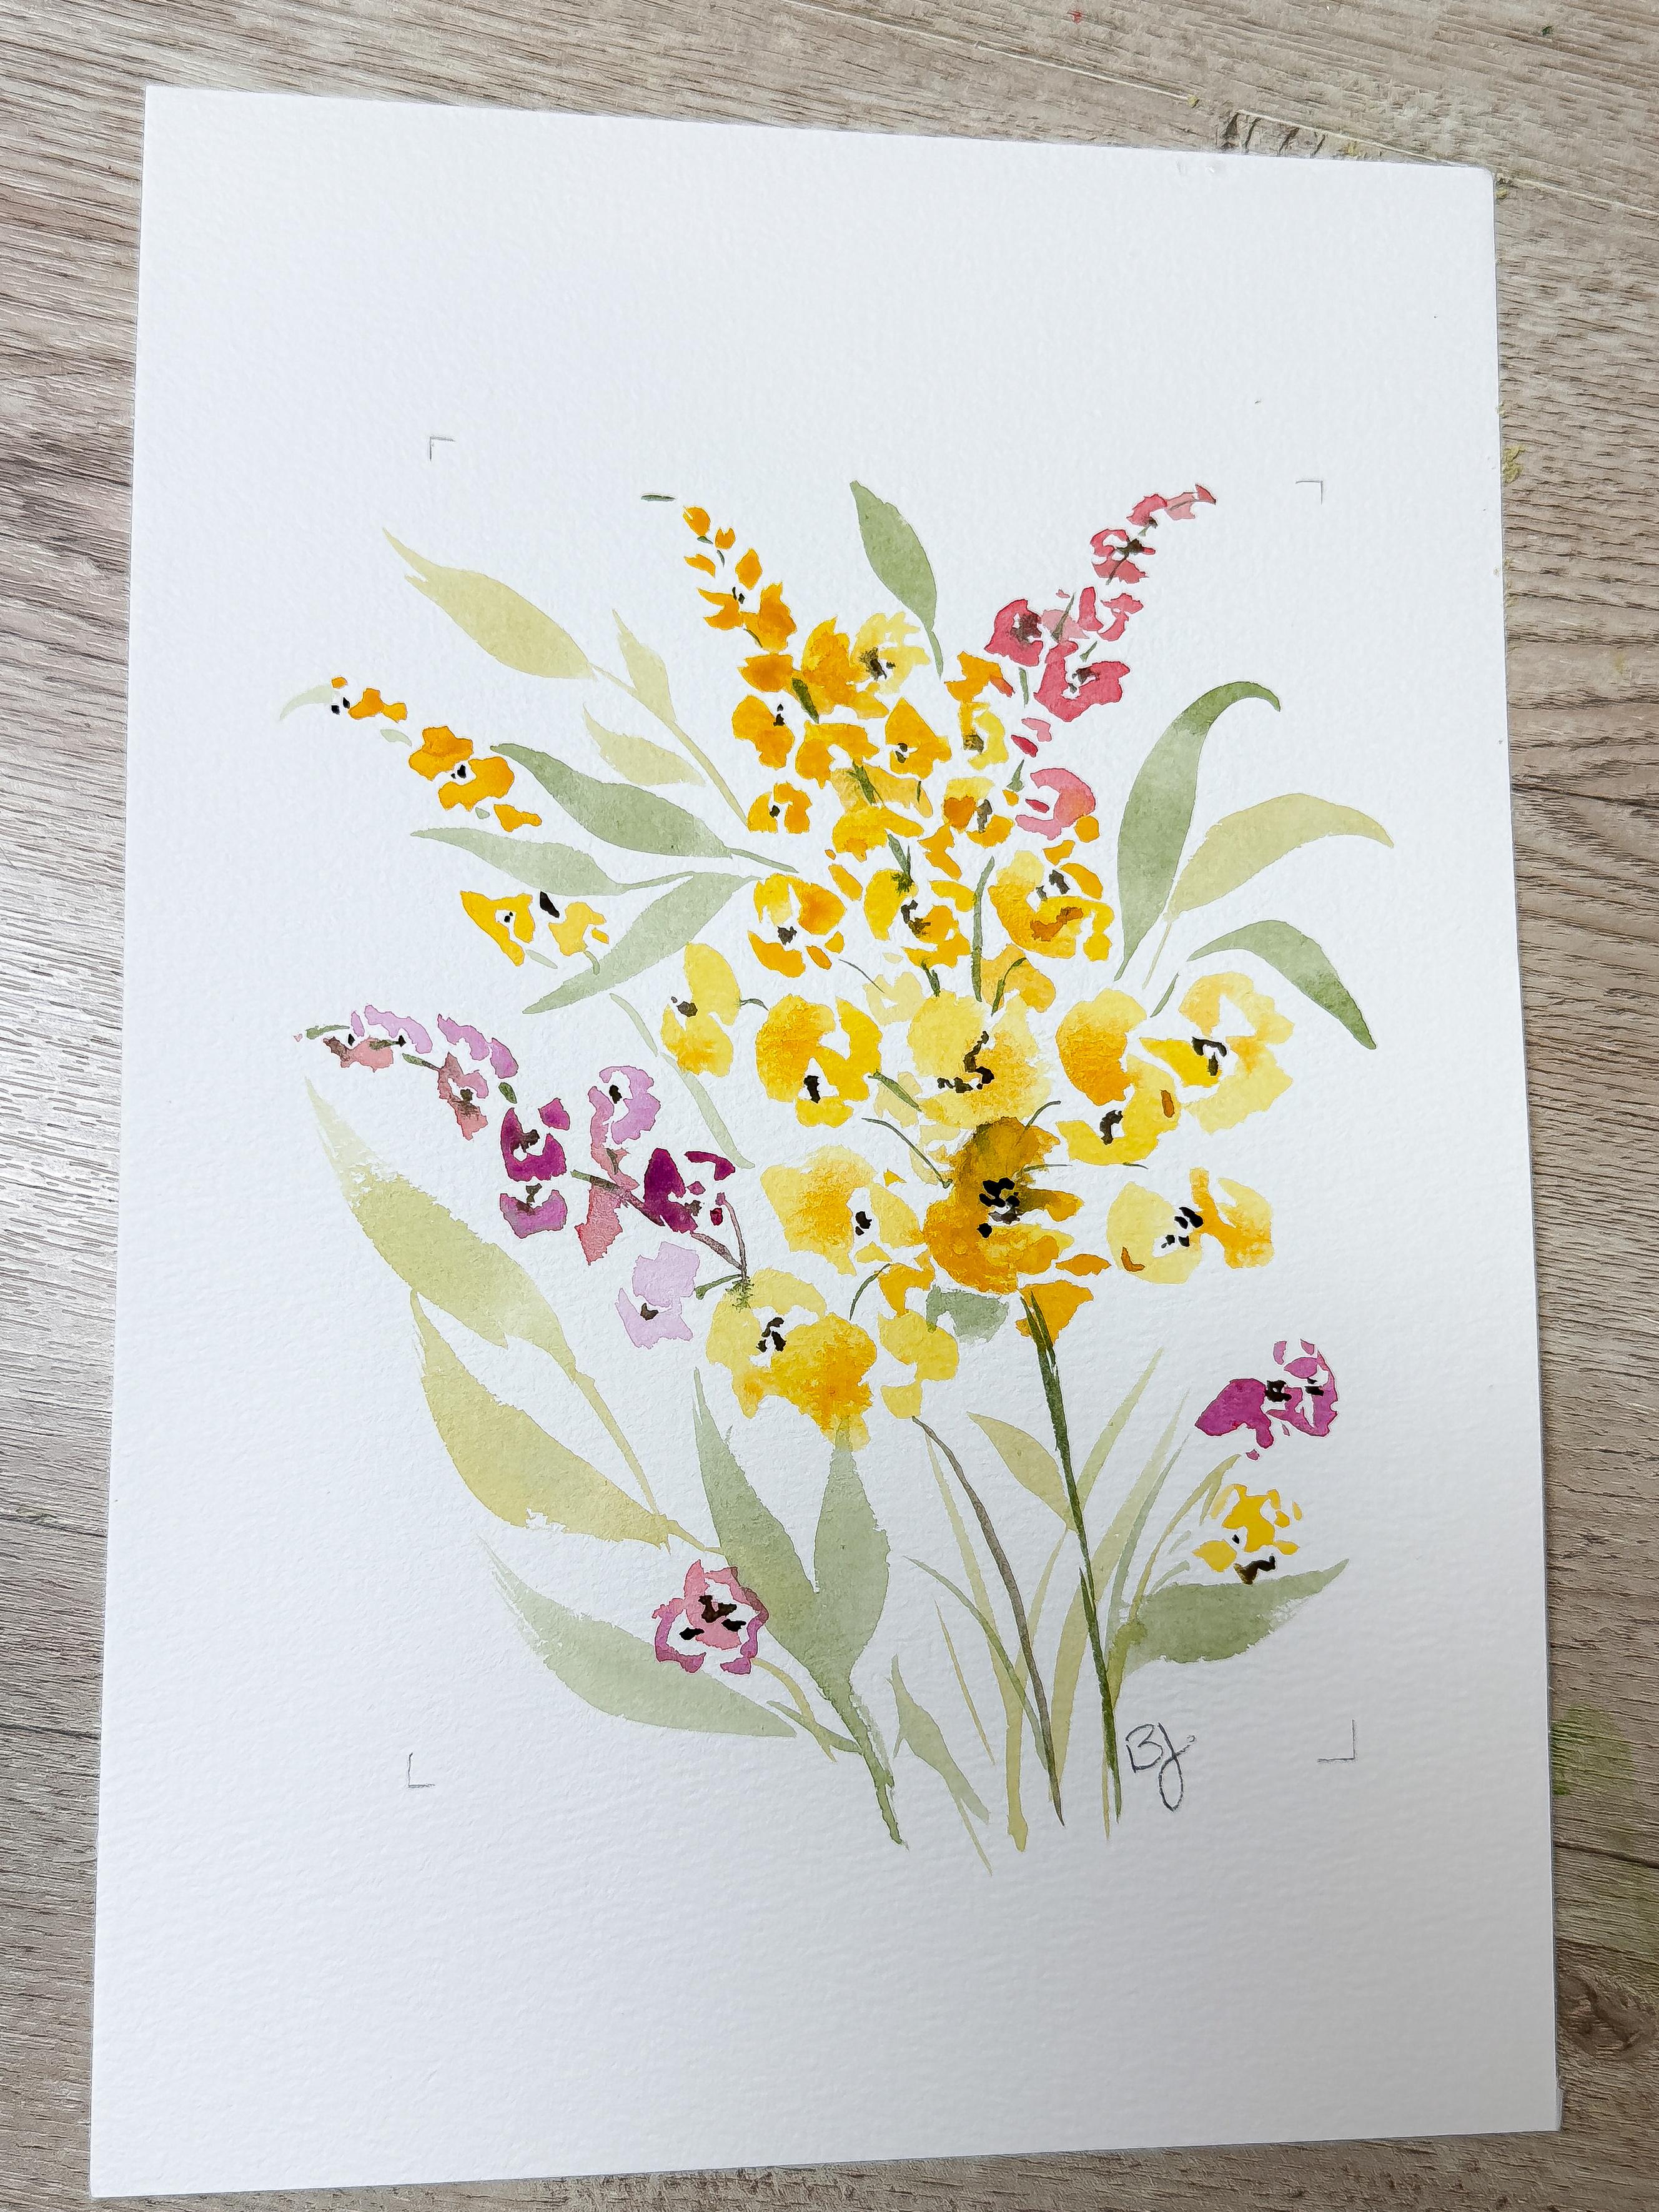
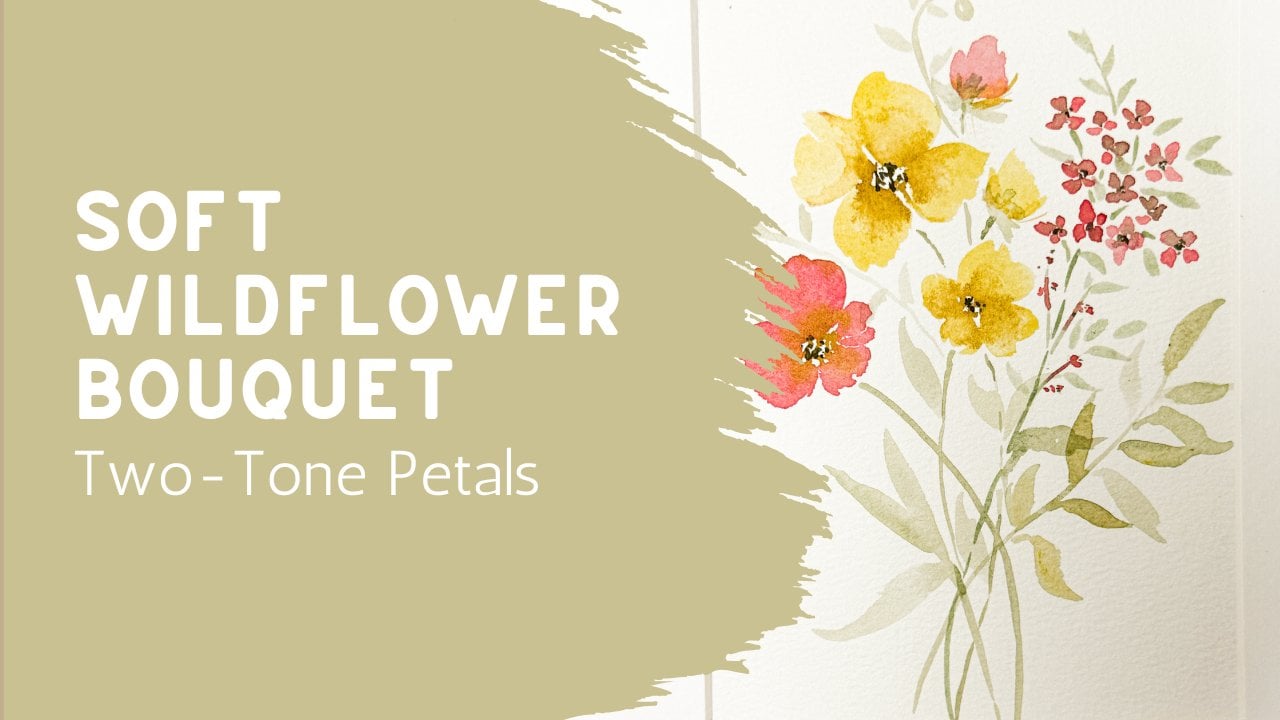
painting this bright, beautiful loose
watercolor floral bouquet using simple flowers, soft botanical leaves,
and flowing stems to create painting that is full of color, movement, and light. One of my favorite things about this project is that we're going to be building it gradually
one section at a time. We don't need to paint
every flower perfectly. Instead, we're going to
be layering simple shapes together and allowing that
watercolor to blend naturally, creating a bouquet that feels fresh, relaxed, and expressive. As we paint, I'll be sharing some techniques I use to keep my flowers loose while still creating a
balanced composition. You'll see how adding flowers of different sizes and shapes
and a few soft leaves and gentle changes in
the color can make an entire painting feel more interesting without
making it more difficult. Whether you're picking
up watercolor for one of the first times or you've
been painting with me before. I hope this class
encourages you to relax, enjoy the process, and trust the beautiful things that
watercolor can bring us. Gather your supplies, settle in, and let's paint this beautiful, bright botanical
bouquet together.
2. Paint a Bright Botanical Bouquet: Okay. Today we're
going to be painting something very different from what we've painted in the past. We're going to branch out
and try a different flower. Hopefully you have practiced some of the other
classes that I've done. I'm going to first of
all, I have this frame. This is just a mat that I'm
going to put into my frame. But I want to know about
where my boundaries are so that I make sure
that I paint mostly within. I'm just going to create little edges here with my pencil. This is just a
mechanical pencil, but if you have a straight standard number two
pencil, that also works. You can see that I
have my edges shown. I'll be able to erase those later if I don't
paint on top of them. That's just to help me
remember where my edges are. Um, so this is going to
be a little flower that stands more upright,
more, um, open. It could be foxglove, it could be a cow lie, it could be any kind of
flour that stands like that. I'm going to create a
little bit of yellow. I'm going to just mix
in just a little bit of this soft tan color just to soften that
yellow a little bit. I don't want it
to be too bright. I can always dip into
my yellow over here if I want more of that
really bright yellow. Clean up this yellow. It looks like I got
some green in it. Which happens. Okay. So I'm going to start with that. I'm going to start with
a number eight brush. My pink brush is
the number eight. This is a Princeton
round heritage. We're going to consider this is the top and this is going to
take up most of this area. Remember, this is the bottom, so this is going to
have a little bit of area for some stems and leaves. It's going to get
wider at the bottom and taller and
skinnier at the top. I'm going to start
at the top with just some little tiny buds
just here at the very top. Maybe it's just a little
cluster of three, and then as I get a
little bit bigger, see I'm going, there's an imaginary stem that's going to be running
down the center, and I am putting these
little buds off to the sides of that
imaginary little stem. We're going to add
in that stem later, so I don't want to
add it in first. I always like to add it in later Because sometimes you add
in a bud just like this that's right onto
the center where that stem is going to be and I don't really
want to paint on top of it. So I'm going to start getting
a little bit smaller. I mean, sorry, a
little bit wider here. And these buds are just
going to be getting a little bit bigger because these are the buds that have been blooming and getting
bigger and bigger. I can make them kind of this
little upside down U shape. I can bring them more over here. Do you see how I'm going to create this little opening here? Here is the center of
a flower right there, it's facing towards me. I can create another one. Maybe this one's just
looking down upside down a little tent, a triangle. I can come out a
little bit wider. Maybe this one's open again and I can see
into the center. See how this is
the center of it. I'm just going to keep coming. I'm also coming on an angle. I'm not going
straight up and down. My whole flour is coming
over to the side. Just add a little bit more water just to make it a little bit easier for me. A little
bit bigger there. Another one here. Do you see how each
time I go down a row, I'm getting bigger
and bigger and I'm allowing these flower
heads to just get bigger. But I'm also not
creating something that has a very distinct shape. It's not like our
four petal flower. It's just this little
cluster of movement. I can even make it just
this random little shape. That's what I want you to
do is just start creating these little clusters
of flower heads, using a little bit of your
yellow or whatever color you decide to do it in. I'm feeling like I'm getting
close to the bottom here. This is getting
pretty nice and wide. It doesn't have to
be perfect there, just something
along those lines. Maybe I'm going to
come back in and use that same darker
color that I used. Just add in just a touch of it into some of these areas
that are still wet, just to create that
two tone effect. Come even up into the top here. I'm not really just putting a little dot and
letting it just blend. Now, I can't come in and
add my green yet because this is still very, very wet. But what I am noticing is that
it is very, very triangle. It's not very organic, so I do need to bring
out a little bit. Maybe there's a flower
head over there. Maybe there's a little
flower head over here. Maybe this one is a
little bit wider over here because I don't want
it to feel like a cone. I got a little bit too talking and not really making it the shape that I
wanted it to make it. I wanted to make it
feel a little bit more organic so that it wasn't
perfectly cone shaped. I'm just going to
drop in some of that darker color again into some of those
new ones that I made. Do you see that much how that added to this by keeping it
a little bit more organic. Now I'm going to add
in just a little bit of a different color. I want to bring in some of
this more of a Bucha color. I'm going to add a little
bit of pink as well. We're just going to add
in as if maybe there was a second kind that's kind of
just poking itself through. See, it's just kind
of like this circle, but very, very jagged. I'm not trying to
make it perfect. I'm just going to add
that up like that. So maybe there's another one that's coming out
from behind there. And then I'm going to pick
some of this pink up, and I'm going to
bring it up in here. Again, just really
jagged circle, just like these I'm just going to make it be like it's coming up that direction, maybe tuck one down in here. I'm having a stem
coming this way, a stem coming this way, and a stem coming down this way. I might even add in some
more little down here just to be maybe there's little
buds. I'm not sure. See how they're circles but not. Hope that makes sense. I think the point is is that you can just make them be whatever shape you
want to make them. They don't have to
be an exact shape. You can just make them
however you want to. Now, my yellow is
getting fairly dry, so I'm going to come
in with my green. I mix up a pretty green here. Maybe even pick up some of that yellow and drop that
over there into it. Maybe even grab just
a touch of brown. Could even grab some of
that pink that's there just to make it a little bit
more of my color green. I'm going to use a size
three because I want to make it a little
thinner, a little smaller. I'm just going to be
connecting some of these little tiny
individual flower heads and see how we can just
connect them a little bit. I can even make it
come out of the top. I can bring this one over.
I can bring that one over. It's like a flower has all these little tiny
flowers on either side of the stem because
now we're going to connect all of that and create
a thicker stem down here. Have that come down. Maybe even have it a little
bit thicker here in the base, little thicker here,
a little thicker. We can always fill in with
more yellow if we want to. I'm going to do the
same thing with this. I'm just going to create
little tiny stems inside of it that connect these other little This one is
coming over here. Connections. Fun. Now these little ones
they kind of get mixed in with my greens as I
go to do my greenery. Okay, now that I have that done, I'm going to come
back in with my yellow and just kind of add in some it a little
bit more to make it feel like it's not too empty. This is pretty much
just like dots, little smushes of paint
right on top of the green. I can add more of my pink, do the same thing. All right. So now I'm going
to come back into my green and I'm
going to be adding in some stems, some leaves. So I'm going to bring
a leaf in here. I'm gonna lay my
paintbrush down, draw it out, maybe even put a little twist
to the end of it. Put another one here
and bend it down. Maybe I want to have
one coming up in here. Bring another leaf
over this direction. Maybe another one
that comes down. Maybe another one that's
coming over here. Now they're coming
right out of it. Then we can bring
in some over here. This is where it just
gets fun where you get to just put them
in wherever you want to wherever you feel
like it's really needing some color,
foundation color. It's a little bit more water. Paintbrush got a
little too dry here. Add in a little yellow. I just add some wispy stems. I love adding different
colours of green. So a little bit yellower, a little bit browner, a little bit brighter green. Okay. I think that's
looking pretty nice. I do want to put some
centers in here, I'm going to go with my brown, mix it in with some of my green. I'm just going to add in just a couple little dots into the centers of some
of my flowers. They don't all need it. 'cause they're not
all facing you. But where you think
it's appropriate, add a little bit of center. It adds so much to your painting when you add a
little bit of extra detail. There we go. Beautiful. Really fun. I feel like I'm
just going to add a little bit of this
yellow over here. Almost as if it's another
branch that's coming down also another one
up here to make it feel like there's maybe
a new one coming up. I hope you're just
having fun playing, moving around with your paints, allowing them to just create
and be little stems again. Just being careful
because this is very wet, so I'm just kind of avoiding
the flower centers. I'm gonna just grab a little
bit of that dark color. A it here into the centers. Very carefully trying not to touch Okay. I'm going to dry this off. Take it out, and
we're going to get it ready for matting and
see what we think of it. Come on back to the next lesson.
3. What a Fun Class, Let's chat about it: Congratulations on finishing your beautiful
floral bouquet. Take a minute and step back and really look at what
you've just created. What started as a simple
flower has grown into a full, colorful arrangement
with depth movement and lots of personality. That's one of the
things I love most about these loose
watercolor paintings. We don't have to paint
every tiny detail to create something that
feels alive and inviting. I hope that this project
also helped you see that building a bouquet doesn't
have to feel overwhelming. By working on one flower at a time and allowing each
layer to support the next, even a more detailed painting becomes approachable
and enjoyable. As you continue practicing, don't be afraid to
experiment with different color combinations or rearrange your flowers into a composition that's
uniquely yours. Every painting, every bouquet that you paint will teach you something new and each one will help you become more
comfortable with the brush, your color, and the
creative style. I'd love to see your
finished painting, please upload it into
the project gallery. It's always so
inspiring to see how each student brings their own personality
to the same project. I truly enjoy stopping by to just leave a comment and
a little bit of feedback. If you enjoyed this class, I'd really appreciate it
if you left a review. Your feedback helps other
students discover my classes, and it helps me
continue creating watercolor lessons
that are encouraging, relaxing, and easy to follow. If you're looking for
another project to paint, I have many more loose watercolor classes
waiting for you. Each one explores a different floral arrangement
or technique or maybe a composition
while helping you build confidence one
painting at a time. Thank you so much for
painting with me today. I hope to see you again in the next class until
then, happy painting.
 Brenda Jones, Watercolor Artist & Teacher