Transcripts
1. Introduction: Hi, my name is Dan. When it comes to drawing
the human figure, there's probably no other
part of the body of the draws greater attention
and struggle than the head. We've all tried to create
a likeness and realism and a face during at some point
now artistic journey. When we are our
own worst critic, despite our best efforts, it's hard to see if
we'll ever reach a level of perfection.
We can be happy with it. But I have a solution for you. In this quick guide, I'm
going to present to you a simple method that
allows you to not only draw the head in
proportion each time, but will also enable you to draw character faces with or without reference,
time and time again. And with consistent
use of this one tool, you're going to increase
your head drawing skills in a rapid
amount of time. If you're a beginner into
character design comics, or just like to make portraits. Then I think you will learn
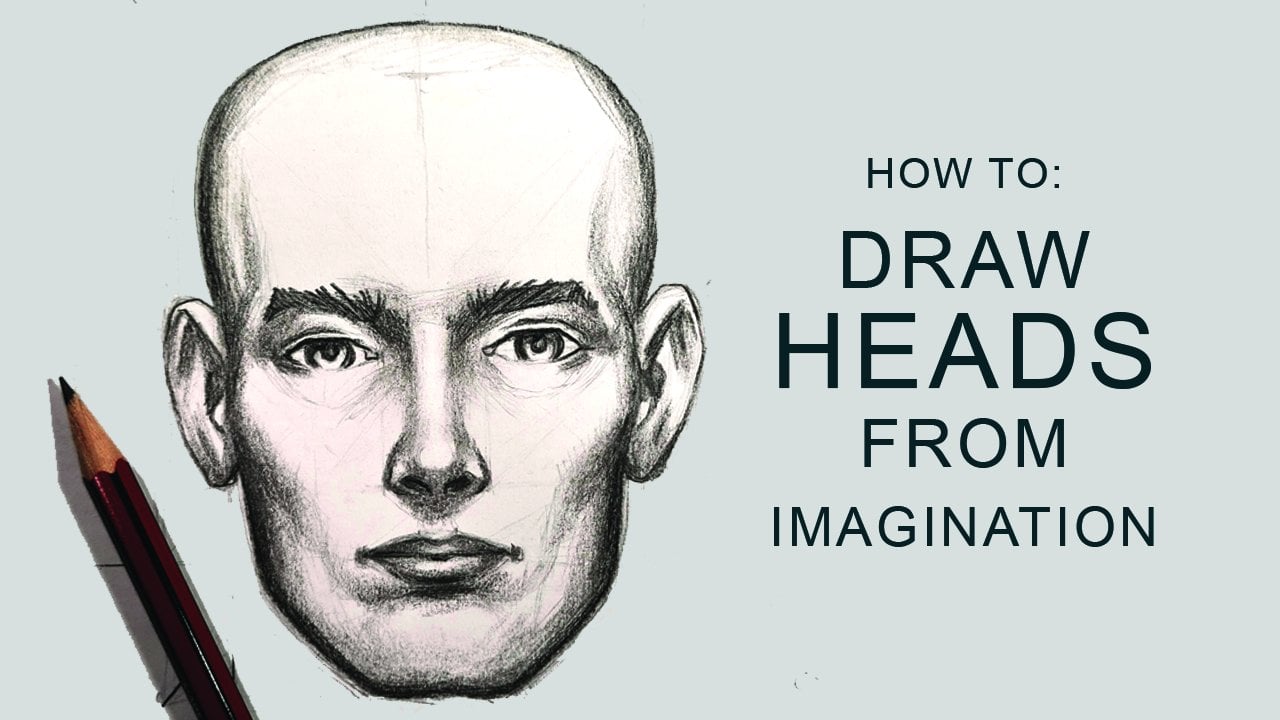
a lot from this process in the next 20 minutes using the method that I use
for my head drawings, I'll demonstrate how to construct well
proportioned faces, placement of the main
features of the face, and how to shade your
head drawing to give it a life-like,
three-dimensional quality. I've created an easy to use
template for you to print out or download from the resources section
below this video. I recommend you do that
now so you can follow along in the class and at
the end of the lesson, upload a picture of
your finished head drawing to the project section. Let's not delay anymore
and get started.
2. Tools: For this class, or
you will need is a pencil and eraser and
a sheet of white paper. But if you'd prefer to
work in the medium you are most comfortable
with, please do so. I'll be using a mechanical
pencil with a to H lead. I prefer a hard lead
and would recommend anything from the
range to H to HB. As these will smudge
less and create a line that is easier to
erase when you use lightly. The final tool necessary for
this class is the template. Since I've started using the template system for
my character designs, I've seen a huge improvement in my understanding of facial
proportions and structure. It has helped me when working from imagination and reference. And I believe it
will assist you to. For this class, I recommend you download the template
and print it out. You can work directly onto
the printout as the lines and design light enough for it not to cause too
much distraction. Or you can work as I do. That is to place
another sheet of blank paper over the top and type the paper down so it won't move during the process. You should be able
to save the lines just finally through the paper. Of course, you can download a version of the
template and use it digitally on an iPad or
drawing program if you prefer. Download or print the template
before we get started. I've designed it to focus on the essential
features of the face. There in time, you won't have to use the physical template, but instead draw on
your knowledge of the structure and
proportions of the head.
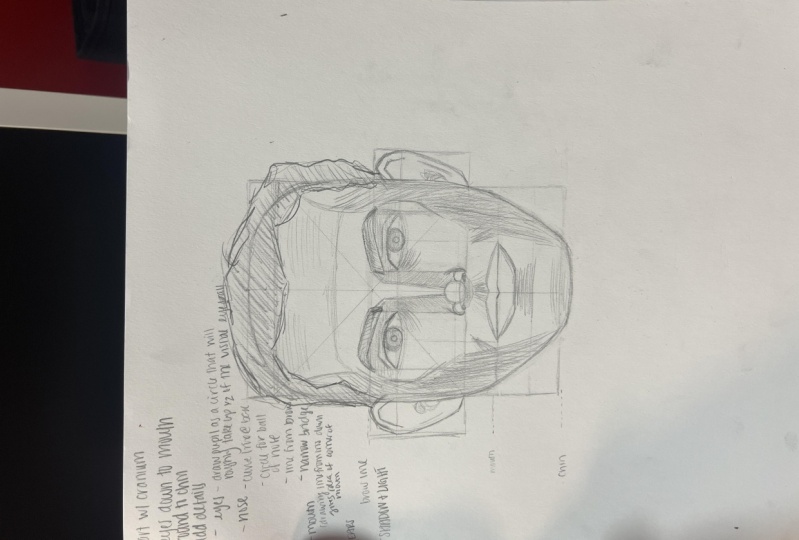
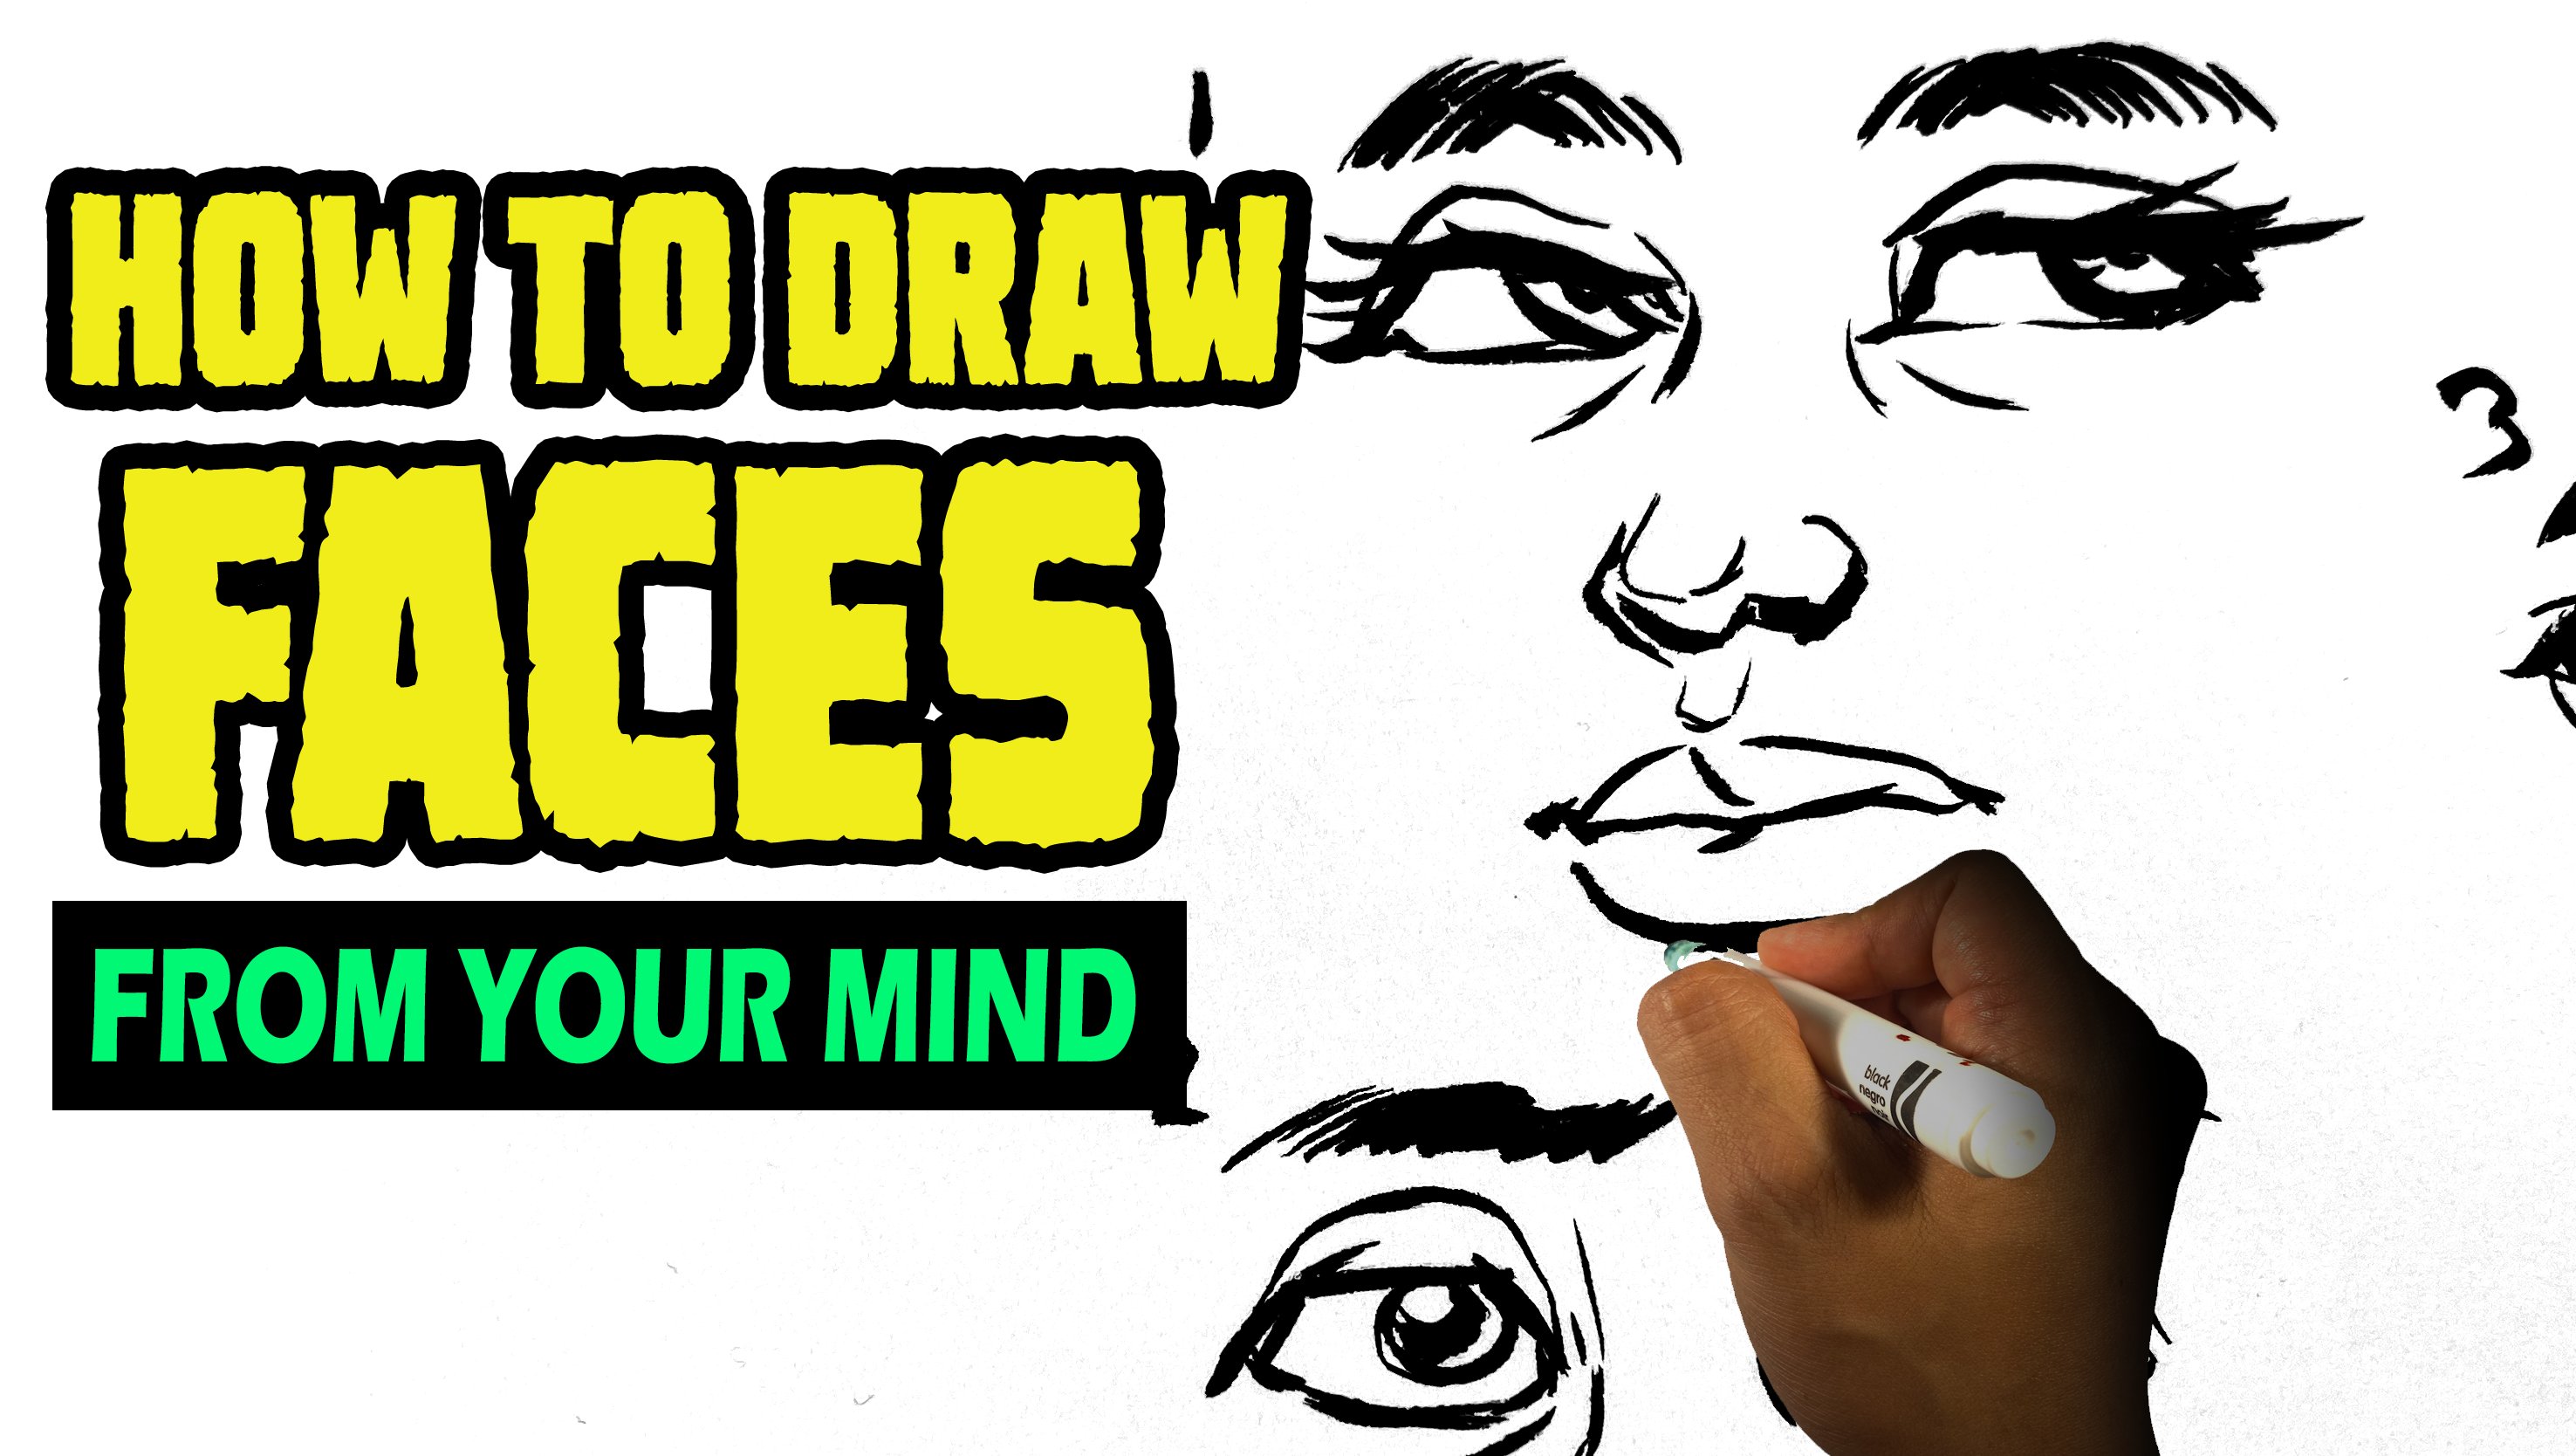
3. Drawing The Head: For this example, I'll
be drawing a mile hit. The first thing
I'm going to do is construct the overall
shape of the head, beginning with the cranium, the uppermost part of the skull. One of the benefits of using the template is that I can
easily match both sides of the skull to retain symmetry by looking at
where the curves of my lines crossed the template and then mirror those
lines on the other side. If you have trouble trying
to draw a curved line, try drawing smallest
straight lines instead of a large curved line. You might find that much easier. Next, upbringing the line downward about the
height of where the mouth movie and begin to curve it in widths
towards the chin line. Then repeat the line on the
other side before adding a slightly curved line to
represent the vice of the chin. Again, I'm using the template
as a guide and watching where one side crosses and intersects with
lines on the template. And repeating those
steps on the other side. For example, where my
chin reaches the base, I can simply look across to the other side and work out that that is about roughly the same position for the base of the chin
on the other side. Now I have this egg-shaped
representation of the head. I'm going to start
adding in the features. Very basic shapes, not a lot of detail,
just basic shapes. I find that if I add too
much detail at this point, it's haunted to correct those. So this will be just very
basic shapes to begin with.
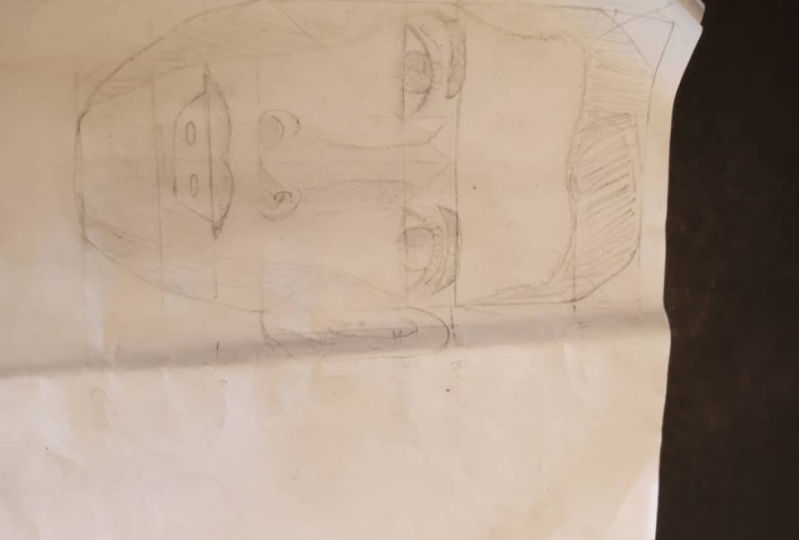
4. The Eyes: Once I have the basic
shape of the head, the first feature, I'm
going to add the eyes. At this stage, I'm
only going to use basic shapes without
too much detail. I'll start by making an elliptical shape with the outer points touching
the line inches. I'll repeat the step by
drawing the opposite eye. Nodding how the
lines of the first I drew fall within
the template shape. Then mirroring those
lines, Starbucks. I'll keep the pupils in the
center and roughly taking up about half of the space
that is showing for the bowl. I'm not going to add too
much detail at this point. And I'll keep my
lines as loose as possible so it will be easier to correct
later if I need to. And it should be noted that by adjusting the simple shapes, you can create a diverse
range of AJ Styles. For instance, I can
add the fault of the eyelids or have
no folded all. I can also adjust the
shape of the eye, making it more rounded, thinner, square, or smaller, depending on the character type.
5. The Nose: The notice can be
extremely difficult for beginners because it can consist of numerous shapes and shadows that can cause
a lot of confusion. But by following a
few basic steps, I can help you understand the
shape of the nose and how to apply them for variation
for different types of noses. Let's stop. With a base
of the nose will be, I'm going to make a curved line. Then Mike, three curved lines to represent the bowl dynodes and
the wings of the nostrils. The bridge of the nose. I draw two angled lines
inward from the brown. With I made about the height
of the top of the eyelid. I'll drop them down
towards the ball of the nose with a slight angle. I'm taping these lines light
as I might not be necessary. The final drawing and therefore
can be erased easily. Then to finish off the nose, at the base of the nose, I'll draw two curved lines
to represent the nostrils.
6. The Mouth: Thick and thin
lips, wider, small. The mouth comes in
many variations, but don't feel daunted
as a beginner. You can draw a
good-looking mouth with just a few simple lines. Then slowly as you
build your confidence, you can start to
vary those lines to create diverse
looking mouth features. To start, I'll draw
a horizontal line at the height of the mouth line
indicated on the template. I can determine the
width of the mouth by dropping a line down from
the iris of the eye. And that will give
me an indication of the corner of the mouth. To keep the math
looking natural. And we'll give it a
slight dip in the middle. Then I'll add in the
upper and lower limbs, keeping them somewhat rounded
to indicate their softness. I've kept the top
lip thinner than the bottom loop for
this character. But keep in mind, this is not always the case.
7. The Ears: The ys, we already
have a box shape that indicates the
placement of the ears. This is a good guide for making natural looking
proportioned ears. However, it is not the case that every ear will sit
perfectly within the box, but the box does make
for an excellent guide. The real trick is to create
realistic looking ears with just a few simple shapes to
enhance the overall portrait. I'll start with the
top of the ear. From a point slightly
below the brown line. The line upward and downward
towards the nose line. Then repeating the same step on the other side for
the opposite here. I'm not going to add too much
detail or over-complicate the shape of the ear because
I may change details later. And I don't want
too many details to detract from the
rest of the face. I'll draw the inner ear
with a slight curve. By darkening the inner curves. This gives the indication
of shadow and implies the folds of the ear is giving them a
three-dimensional quality.
8. Shadow and Light: It feels like the main
features are in place. I can start adding secondary
details such as eyebrows, contours and shadows. For the eyebrows. I'll keep them
lower and a little thicker than I would draw
if this were a female face. The top of the eyebrow angles
in and downward slightly, while the bottom
part of the eyebrow is raised towards the outside. Then finish just
above the eye along the contour of the upper
part of the Noise Bridge. Above the eyebrows
are mocking way the temple will create
a slight shadow on the side of the forehead
and create that come to a shadow around the
outside of the eye socket. Next block in a quick shape for the overall
structure of the hair. Where the hairline
is represented on my template is just a guide. And I've chosen to
bring the hand line down further on this character. Keep in mind, halides
can recede further, or the character might be bold. The hairline in the template actually represents
with the skull begins to curve from the forehead and back
toward the top of the head. I'll darken the hair a little
to give it some white. Then start with shadows
around the eyes and work my way down the sound
of the nose and the phase. I keep my strokes moving in a direction towards
the lighter areas. When adding in the shadows, I need to be mindful away the light source is coming from, as this will determine the strength and
placement of the shadows. The shadows are added. I can start to see the areas
which appeared large and flat now have form giving the image and more
three-dimensional quality. This is especially evident in the jaw line and the four hint. What do I tend to do when
drawing the facial features? See them as shapes
rather than features. The tip of the nose is a bowl, the chin area around blockchain. This allows me to understand
where shadows will fall and how to come to all the shape to give
a sense of realism. Okay, so I'm gonna
leave it at this point. As we all know, it's easy to get caught up in
the Tinkering of a sketch and keep adding
details on top of details. But that's not the
point of this exercise. The emphasis here is to use the template and become a way of the key
features of the face. How they cross an
intersect on the template, and how you can
develop structures and features of any type of
phase using the template. When following the
steps in this guide, don't get frustrated if you first paste isn't
perfect, that's okay. Keep practicing. You'll inevitably see
the results as I have.
9. Conclusion: Well, thank you so much
for joining this class. I've really appreciated
and I've enjoyed the opportunity to show you the methods I use for
my head drawings. I hope you've left his
class feeling inspired and confident that you can create
well proportioned heads. And you have learned
where to place the important features to
create lifeline characters. The more you use this system, you will eventually develop
the muscle memory and ability to draw heads without
having to use the template. Please take a photo or scan your finished results and upload them to the Skillshare
Projects page. As I would love to see
what you've created. Well, that's it for now. Following my Skillshare page, skillshare.com slash d on him, or find me on Instagram at D on Hamill for updates or
more classes to come on, look forward to seeing you then. Bye.
 Dion Hamill, Artist, illustrator, author