Create Stunning Long Shadow Quotes in Adobe Illustrator - A Graphic Design for Lunch™ Class
 Helen Bradley, Graphic Design for Lunch™
Watch this class and thousands more
Watch this class and thousands more
Lessons in This Class
-
-
1.
Introduction to Long Shadow Daily Quotes in Adobe Illustrator - A Graphic Design for Lunch™ Class
0:42
-
2.
Before we start: Sourcing fonts and phrases
1:27
-
3.
Pt 1: Basic Long Shadow
7:28
-
4.
Pt 2: Multi Colour Lines Of Type
4:06
-
5.
Pt 3: Finishing Touches
1:27
-
-
- --
- Beginner level
- Intermediate level
- Advanced level
- All levels
Community Generated
The level is determined by a majority opinion of students who have reviewed this class. The teacher's recommendation is shown until at least 5 student responses are collected.
38
Students
5
Projects
About This Class
Create Stunning Long Shadow Quotes in Adobe Illustrator - A Graphic Design for Lunch™ Class
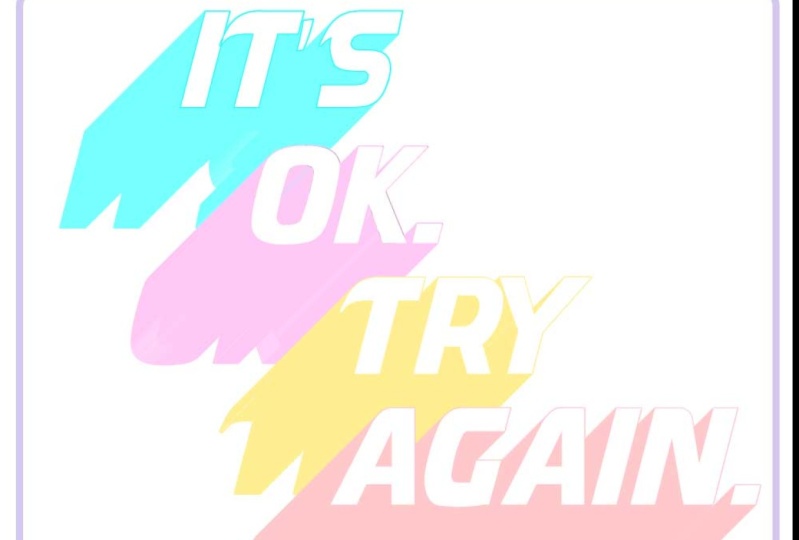
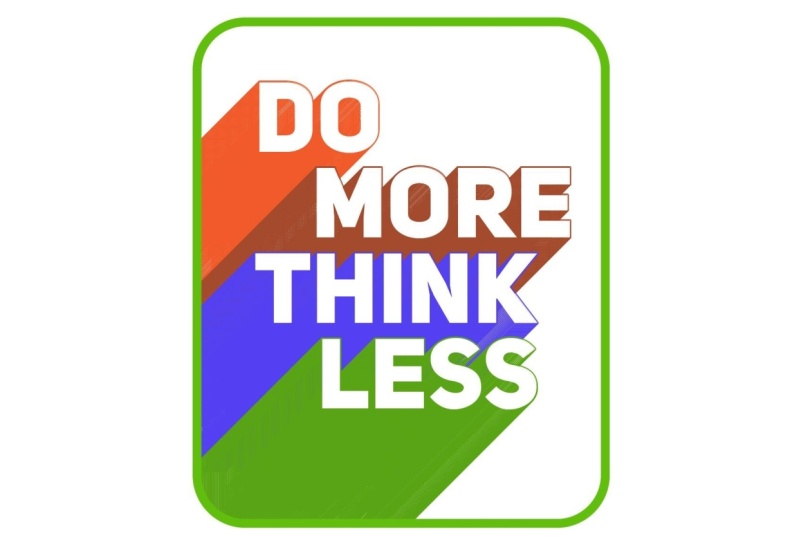
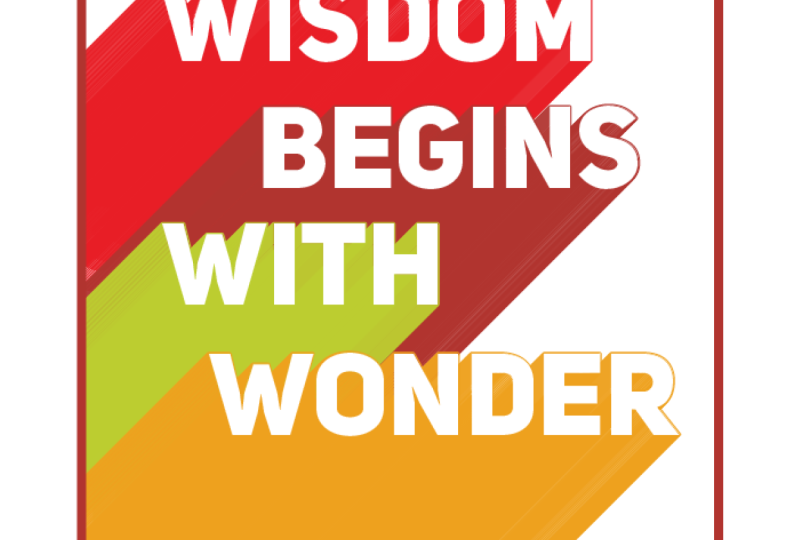
Learn how to create bold and inspiring quote graphics in Adobe Illustrator using a long shadow effect.
In this class, you’ll discover how to turn simple text into eye-catching daily quotes that look professional and modern. I’ll walk you step-by-step through choosing your text and fonts, creating a text object in Illustrator, applying color, and building dramatic long shadows that give your designs depth and style. I'll also show you how to create an interesting border effect for your text art.
This project is perfect for beginners and intermediate Illustrator users who want to explore text effects, play with typography, and create shareable designs for social media, posters, or personal inspiration. By the end of the class you’ll have your own finished long shadow quote image ready to use or post.
Whether you’re a designer, student, social media influencer, or a creative hobbyist, this class will help you build confidence with Illustrator tools while making something fun and practical.
As with all my classes you will find this class peppered with additional techniques and tips for using Illustrator that will enhance your everyday workflow.
More in this series:
10 Adobe Illustrator Layer Tips in 10 minutes - A Graphic Design for Lunch™ Class
10 Adobe Illustrator Pattern tips in 10 Minutes - A Graphic Design for Lunch™ Class
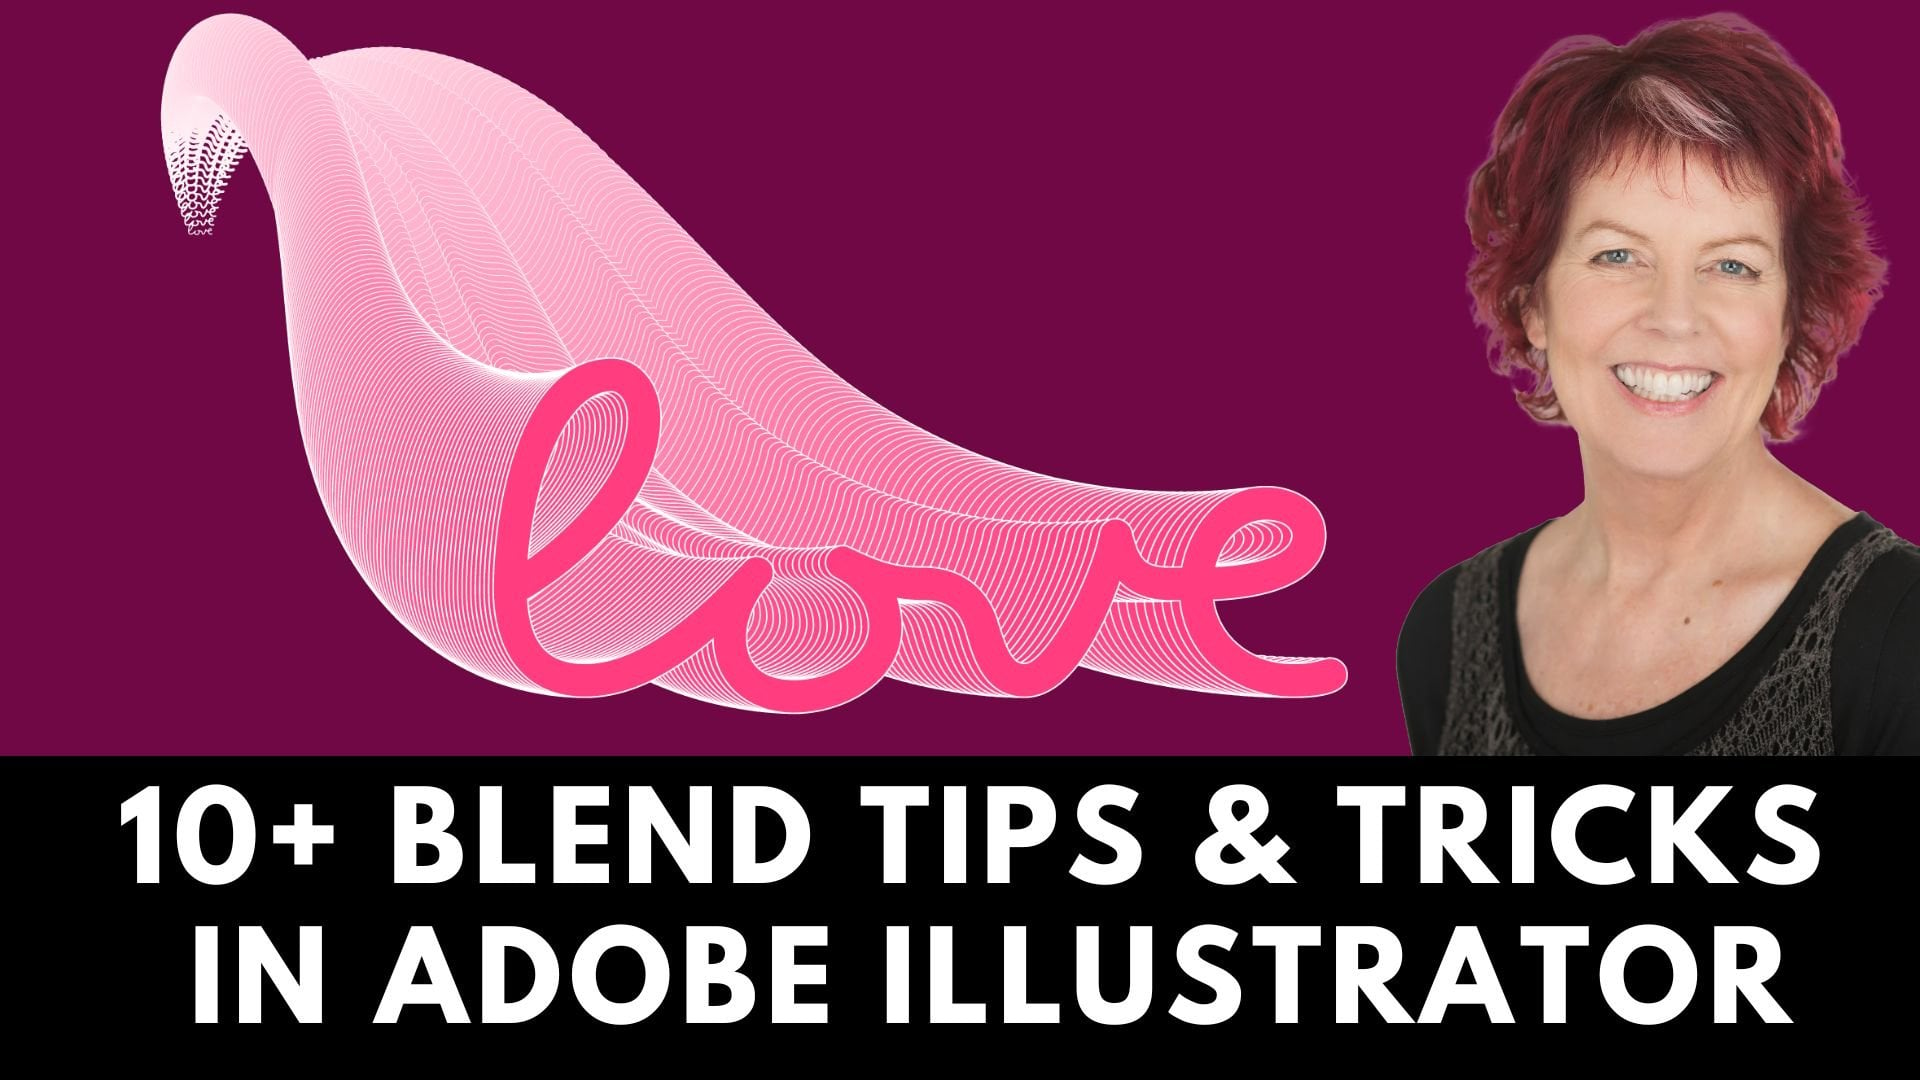
10 or More Blend Tips for Adobe Illustrator - A Graphic Design for Lunch™ Class
10 Illustrator Pen tool and Path Tips in 10 Minutes - A Graphic Design for Lunch™ Class
10 in 10 - 10 Adobe Illustrator Align tips in 10 minutes - A Graphic Design for Lunch™ Class
10 in 10 - 10 Adobe Illustrator Type Tips in 10 minutes - A Graphic Design for Lunch™ Class
10 in 10 - Ten Top Adobe Illustrator Tips in 10 Minutes - A Graphic Design for Lunch™ Class
10 Interface & Workflow tips for Adobe Illustrator - A Graphic Design for Lunch™ Class
10 Tips for Rotating Shapes in Adobe Illustrator - A Graphic Design for Lunch Class™
20 Adobe Illustrator Appearance Panel Tips in 20 mins - A Graphic Design for Lunch™ Class
20 Adobe Illustrator Color tips in 20 mins - A Graphic Design for Lunch™ Class
20 Adobe Illustrator Recolor Artwork tips in 20 mins - A Graphic Design for Lunch™ Class
20 Illustrator Gradient tips in 20 mins - A Graphic Design for Lunch™ Class
20 Illustrator Reflect and Rotate tips in 20 mins - A Graphic Design for Lunch™ Class
20 Path, Crop & Cutout tips in 20 mins - A Graphic Design for Lunch™ Class
20 Things New Illustrator Users Need to Know - A Graphic Design for Lunch™ Class
20 Tips for Using the New 3D Illustrator Tools - A Graphic Design for Lunch™ Class
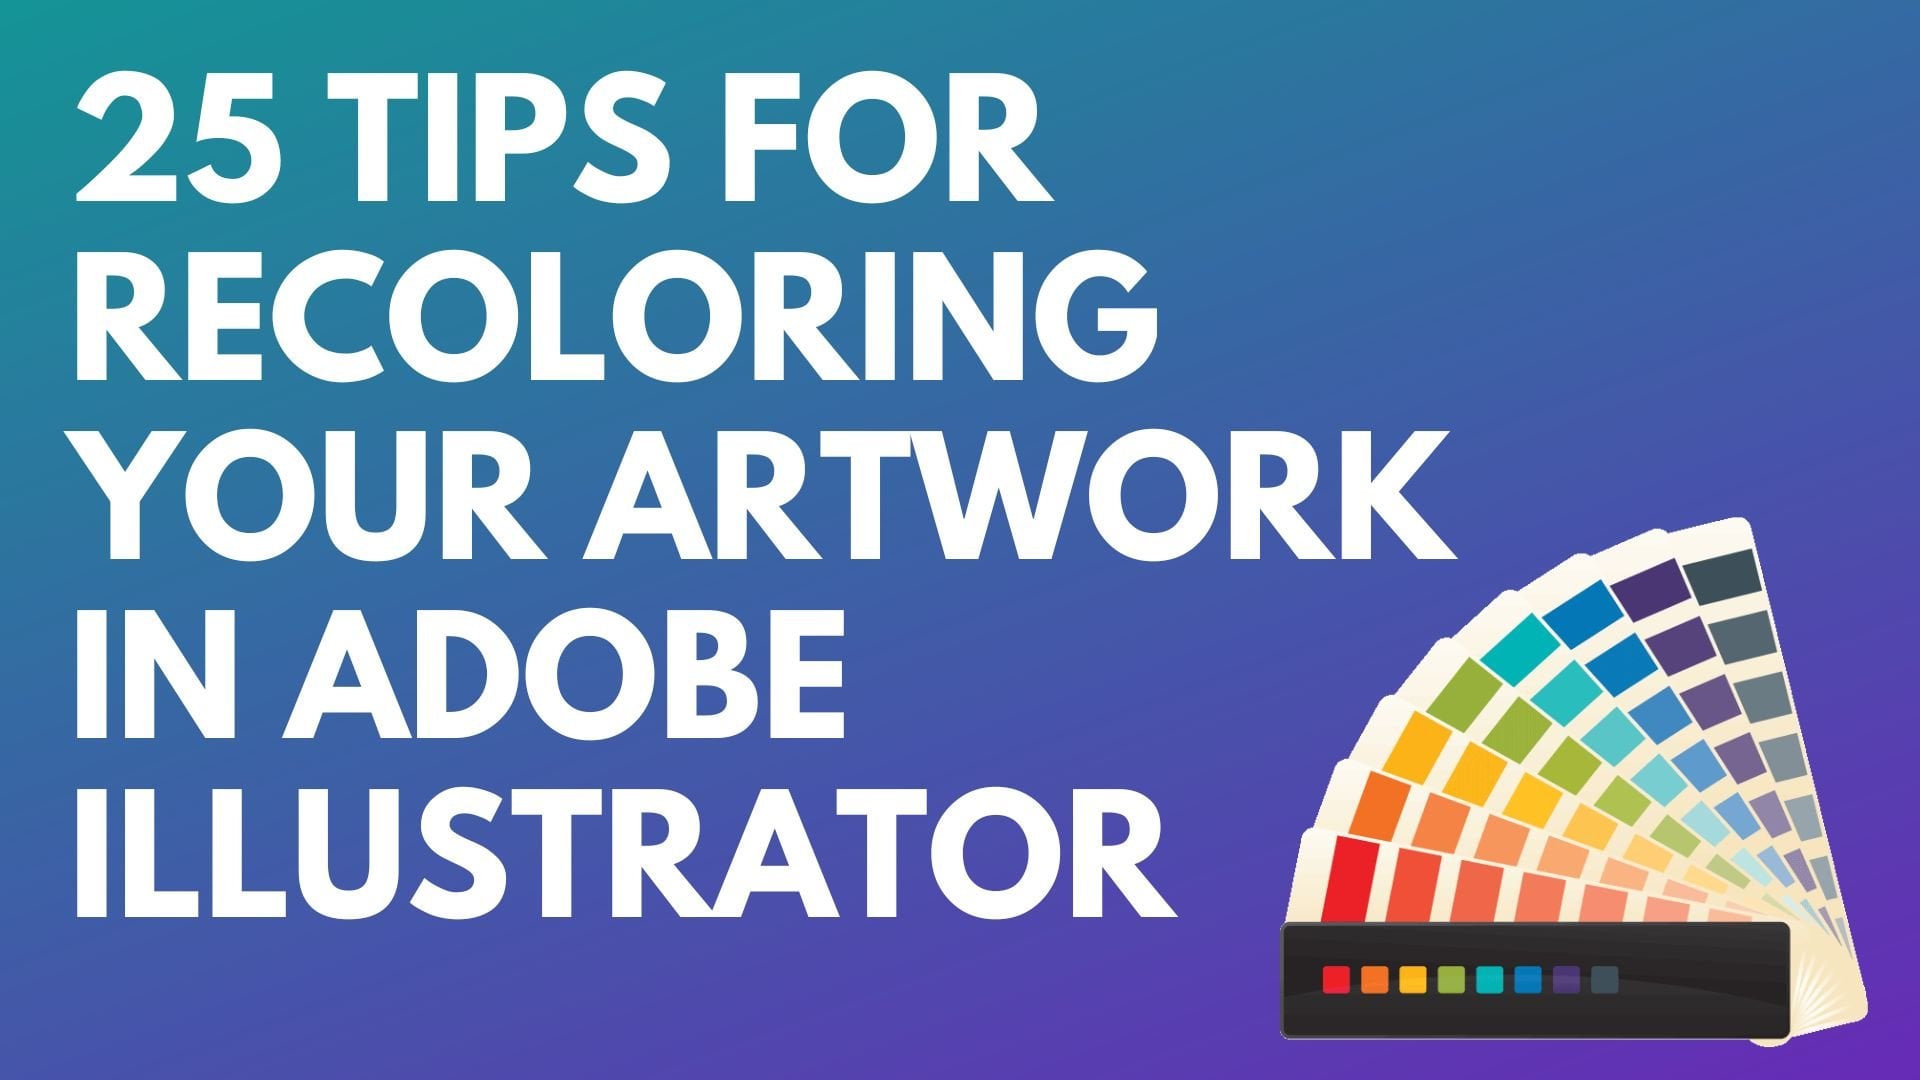
25 Tips for Recoloring Artwork in Adobe Illustrator - A Graphic Design for Lunch™ Class
2022 Calendar from Scratch in Adobe Illustrator - A Graphic Design for Lunch™ Class
3D Extrusion Effects with Text & Shapes in Adobe Illustrator - A Graphic Design for Lunch™ Class
3D Perspective designs in Adobe Illustrator - A Graphic Design for Lunch™ Class
3D Y Shape Pattern in Adobe Illustrator - A Graphic Design for Lunch™ Class
4 Exotic Patterns in Adobe Illustrator - A Graphic Design for Lunch™ Class
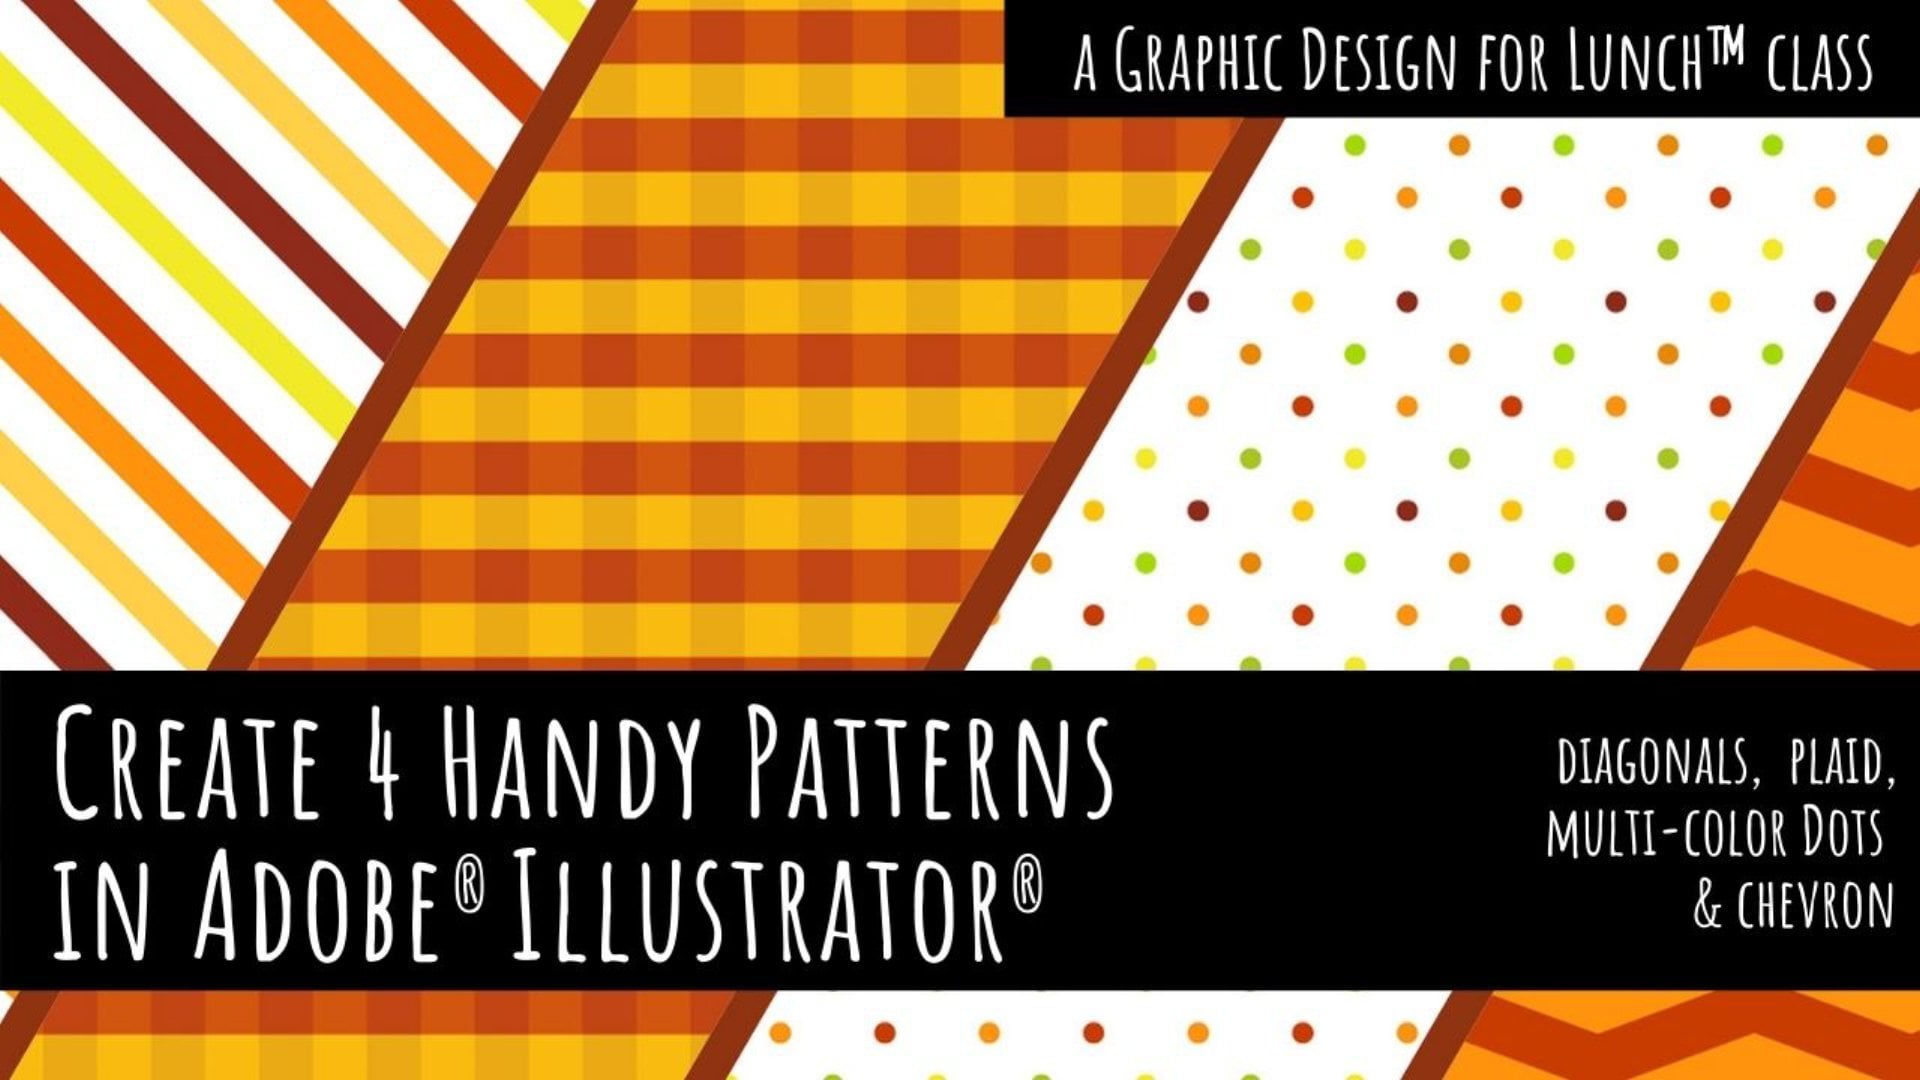
4 Handy Patterns in Adobe Illustrator - Graphic Design for Lunch™ - Diagonals, Plaid, Dots, Chevron
4 Illustrator Shading Techniques in Adobe Illustrator - A Graphic Design for Lunch™ Class
5 Cool Text Effects in Adobe Illustrator - A Graphic Design for Lunch™ Class
5 Hexagon Patterns in Adobe Illustrator - A Graphic Design for Lunch™ Class
Abstract Ombre Background in Adobe Illustrator - A Graphic Design for Lunch™ Class
Add a Background to a Pattern in Adobe Illustrator - A Graphic Design for Lunch™ Class
All you need to know about Brushes in Illustrator - A Graphic Design for Lunch™ Class
Banner and Award Badges in Adobe Illustrator - A Graphic Design for Lunch™ Class
Bends and Blends in Adobe Illustrator - A Graphic Design for Lunch™ Class
Blends and Gradients in Adobe Illustrator - A Graphic Design for Lunch™ Class
Block and Half Drop Repeats in Adobe Illustrator - A Graphic Design for Lunch™ Class
Braids, Rick Rack & More in Adobe Illustrator - A Graphic Design for Lunch™ Class
Cacti with DIY Brushes in Adobe Illustrator - A Graphic Design for Lunch™ Class
Circle Based Patterns in Adobe Illustrator - A Graphic Design for Lunch™ Class
Circles with Brushes, Blends & Transformations - A Graphic Design for Lunch™ Class
Color Schemes to Sell in Adobe Illustrator - A Graphic Design for Lunch™ Class
Complex Patterns with MadPattern templates in Adobe Illustrator - A Graphic Design for Lunch™ Class
Convert a Sketch to Vectors with Illustrator Live Paint - A Graphic Design for Lunch™ Class
Create Color Schemes and Themes in Adobe Illustrator - A Graphic Design for Lunch™ Class
Create a Plaid or Tartan Pattern in Adobe Illustrator - A Graphic Design for Lunch™ Class
Create Radiolarians in Adobe Illustrator - A Graphic Design for Lunch™ Class
Create with Blends and Brushes in Adobe Illustrator - A Graphic Design for Lunch™ Class
Creative Half tone Effects in Adobe Illustrator - A Graphic Design for Lunch™ Class
Curly Frames in Adobe Illustrator - A Graphic Design for Lunch™ Class
Custom Corners for Pattern Brushes in Adobe Illustrator - A Graphic Design for Lunch™ Class
Custom Organic Patterns in Adobe Illustrator - A Graphic Design for Lunch™ Class
Custom Project Backgrounds in Adobe Illustrator - A Graphic Design for Lunch™ Class
Curvy Line Inspired Patterns in Illustrator - A Graphic Design for Lunch™ Class
Cute Furry Creatures in Adobe Illustrator - A Graphic Design for Lunch™ Class
Cutout Text Effects in Adobe Illustrator - A Graphic Design for Lunch™ Class
Design in Black and White in Adobe Illustrator - Create Positive/negative images
Designing with Spirals in Adobe Illustrator - A Graphic Design for Lunch™ Class
Designing with Symmetry in Adobe Illustrator - A Graphic Design for Lunch™ Class
Design with Lines in Illustrator - Make Saleable Shapes & Patterns - Graphic Design for Lunch™
Diamond & Crystal Patterns in Illustrator - Graphic Design for Lunch™
Diamond, Harlequin & Argyle Patterns in Adobe Illustrator - A Graphic Design for Lunch™ Class
Dimensional Line Art in Adobe Illustrator - A Graphic Design for Lunch™ Class
Doodle Flower Design & Pattern in Illustrator - A Graphic Design for Lunch™ Class
Doodle Style Heart with DIY Brushes in Adobe Illustrator - A Graphic Design for Lunch™ Class
Dotted Line Patterns in Illustrator - A Graphic Design for Lunch™ Class
Draw a Hot Air Balloon in Adobe Illustrator - Fun with 3D!
Draw a Retro TV in Adobe Illustrator - A Graphic Design for Lunch™ Class
Draw a Vintage Birdcage in Adobe Illustrator - A Graphic Design for Lunch™ Class
Draw Safari patterns in Adobe Illustrator - A Graphic Design for Lunch™ Class
Drawing to Pattern in Adobe Illustrator - A Graphic Design for Lunch™ Class
Easy Isometric Art in Adobe Illustrator - A Graphic Design for Lunch™ course
Export File Sizes & Resolution in Adobe Illustrator - A Graphic Design for Lunch™ Class
Faux Tissue Paper Collage in Adobe Illustrator - A Graphic Design for Lunch™ Class
Flat & Dimensional drawing techniques in Adobe Illustrator - A Graphic Design for Lunch™ Class
Floral Alphabet character in Adobe Illustrator - A Graphic Design for Lunch™ Class
From One Design Make Many Variations in Adobe Illustrator - A Graphic Design for Lunch™ Class
Fun Effects with Graphic Styles in Adobe Illustrator - A Graphic Design for Lunch™ Class
Fun with Scripts in Adobe Illustrator - A Graphic Design for Lunch™ Class
Gradient Background Effects in Adobe Illustrator - A Graphic Design for Lunch™ Class
Guilloche Designs in Adobe Illustrator - A Graphic Design for Lunch™ Class
Hi-Tech HUD rings in Adobe Illustrator - A Graphic Design for Lunch™ Class
Ikat Inspired Pattern in Adobe Illustrator - A Graphic Design for Lunch™ Class
I'm Seeing Stars - Shapes in Shapes in Adobe Illustrator - A Graphic Design for Lunch™ Class
Isometric Cube Pattern in Adobe Illustrator - A Graphic Design for Lunch™ Class
Knockouts in Illustrator - Holes in Shapes - A Graphic Design for Lunch™ Class
Large Scale Repeating Patterns in Illustrator - A Graphic Design for Lunch™ Class
Layered Paper Style Collage in Adobe Illustrator - A Graphic Design for Lunch™ Class
Leaf Patterns in Illustrator - A Graphic Design for Lunch™ class - Vectorize Drawings 3 Ways
Let's Go Steampunk! Draw Gears in Adobe Illustrator - A Graphic Design for Lunch™ Class
Live Trace (Bitmap to Vector) in Adobe Illustrator - A Graphic Design for Lunch™ Class
Make a Lace Pattern Brush in Adobe Illustrator - A Graphic Design for Lunch™ Class
Make Art Brushes in Adobe Illustrator - A Graphic Design for Lunch™ Class
Make Art with Stock Images in Adobe Illustrator - A Graphic Design for Lunch™ Class
Make Complex Art in the Appearance Panel in Adobe Illustrator - A Graphic Design for Lunch™ Class
Make Ditsy Patterns in Illustrator - A Graphic Design for Lunch™ class
Make Retro Shapes in Adobe Illustrator - A Graphic Design for Lunch™ Class
Make Scrapbook Papers to Sell in Adobe Illustrator - A Graphic Design for Lunch™ Class
Make to Sell Printable Grids in Adobe Illustrator - A Graphic Design for Lunch™ Class
Master Masks in Adobe Illustrator - A Graphic Design for Lunch™ Class
Meandering Hexagon Pattern in Adobe Illustrator - A Graphic Design for Lunch™ Class
Memphis Design Inspired Pattern in Illustrator - A Graphic Design for Lunch™ Class
More fun with Scripts in Adobe Illustrator - A Graphic Design for Lunch™ Class
Multi-Color Faux Pattern in Adobe Illustrator - A Graphic Design for Lunch™ Class
Neon Effect in Adobe Illustrator - A Graphic Design for Lunch™ Class
Nighttime Cityscape in Adobe Illustrator - A Graphic Design for Lunch™ Class
One Shape - Many Patterns in Adobe Illustrator - A Graphic Design for Lunch Class™
Organic Spiral Pattern in Adobe Illustrator - A Graphic Design for Lunch™ Class
Pattern Design in Illustrator Masterclass - A - Graphic Design for Lunch™ class
Patterns for POD & Scrapbooking with Illustrator & Illustrator on iPad - Graphic Design for Lunch™
Pattern in Pattern & Irregular Patterns in Adobe Illustrator - A Graphic Design for Lunch™ Class
Pattern in Pattern in Adobe Illustrator - Doing the Impossible - A Graphic Design for Lunch™ Class
Pattern Know-how in Adobe Illustrator - A Graphic Design for Lunch™ Class
Pattern of Lines and Dots in Adobe Illustrator - A Graphic Design for Lunch™ Class
Patterns in Adobe Capture for Illustrator & Photoshop - A Graphic Design for Lunch™ Class
Perfectly Overlap Rotated Shapes in Adobe Illustrator - A Graphic Design for Lunch™ Class
Piping Effect in Adobe Illustrator - A Graphic Design for Lunch™ Class
Pixel Perfect Triangle Patterns in Illustrator - a Graphic Design for Lunch™ class
Pop Art Star Pattern in Adobe Illustrator - A Graphic Design for Lunch™ Class
Rainbow Gradient & Text Effects in Adobe Illustrator - A Graphic Design for Lunch™ Class
Real Time Mandala Design in Adobe Illustrator - A Graphic Design for Lunch™ Class
Real Time Mirror Drawing in Adobe Illustrator - A Graphic Design for Lunch™ Class
Retro Landscape Illustration in Adobe Illustrator - A Graphic Design for Lunch™ Class
Road Trip! DIY Brushes & Live Paint in Adobe Illustrator - A Graphic Design for Lunch™ Class
Roaming Square Pattern in Adobe Illustrator - A Graphic Design for Lunch™ Class
Seamless Repeating Texture Patterns in Adobe Illustrator - A Graphic Design for Lunch™ Class
Seasonal Designs - Chalkboard Wreath - in Adobe Illustrator - A Graphic Design for Lunch™ Class
Seasonal Ornaments in Adobe Illustrator - A Graphic Design for Lunch™ Class
Semi Transparent Flower Brushes in Adobe Illustrator - A Graphic Design for Lunch™ Class
Sharing and archiving files from Adobe Illustrator - A Graphic Design for Lunch™ Class
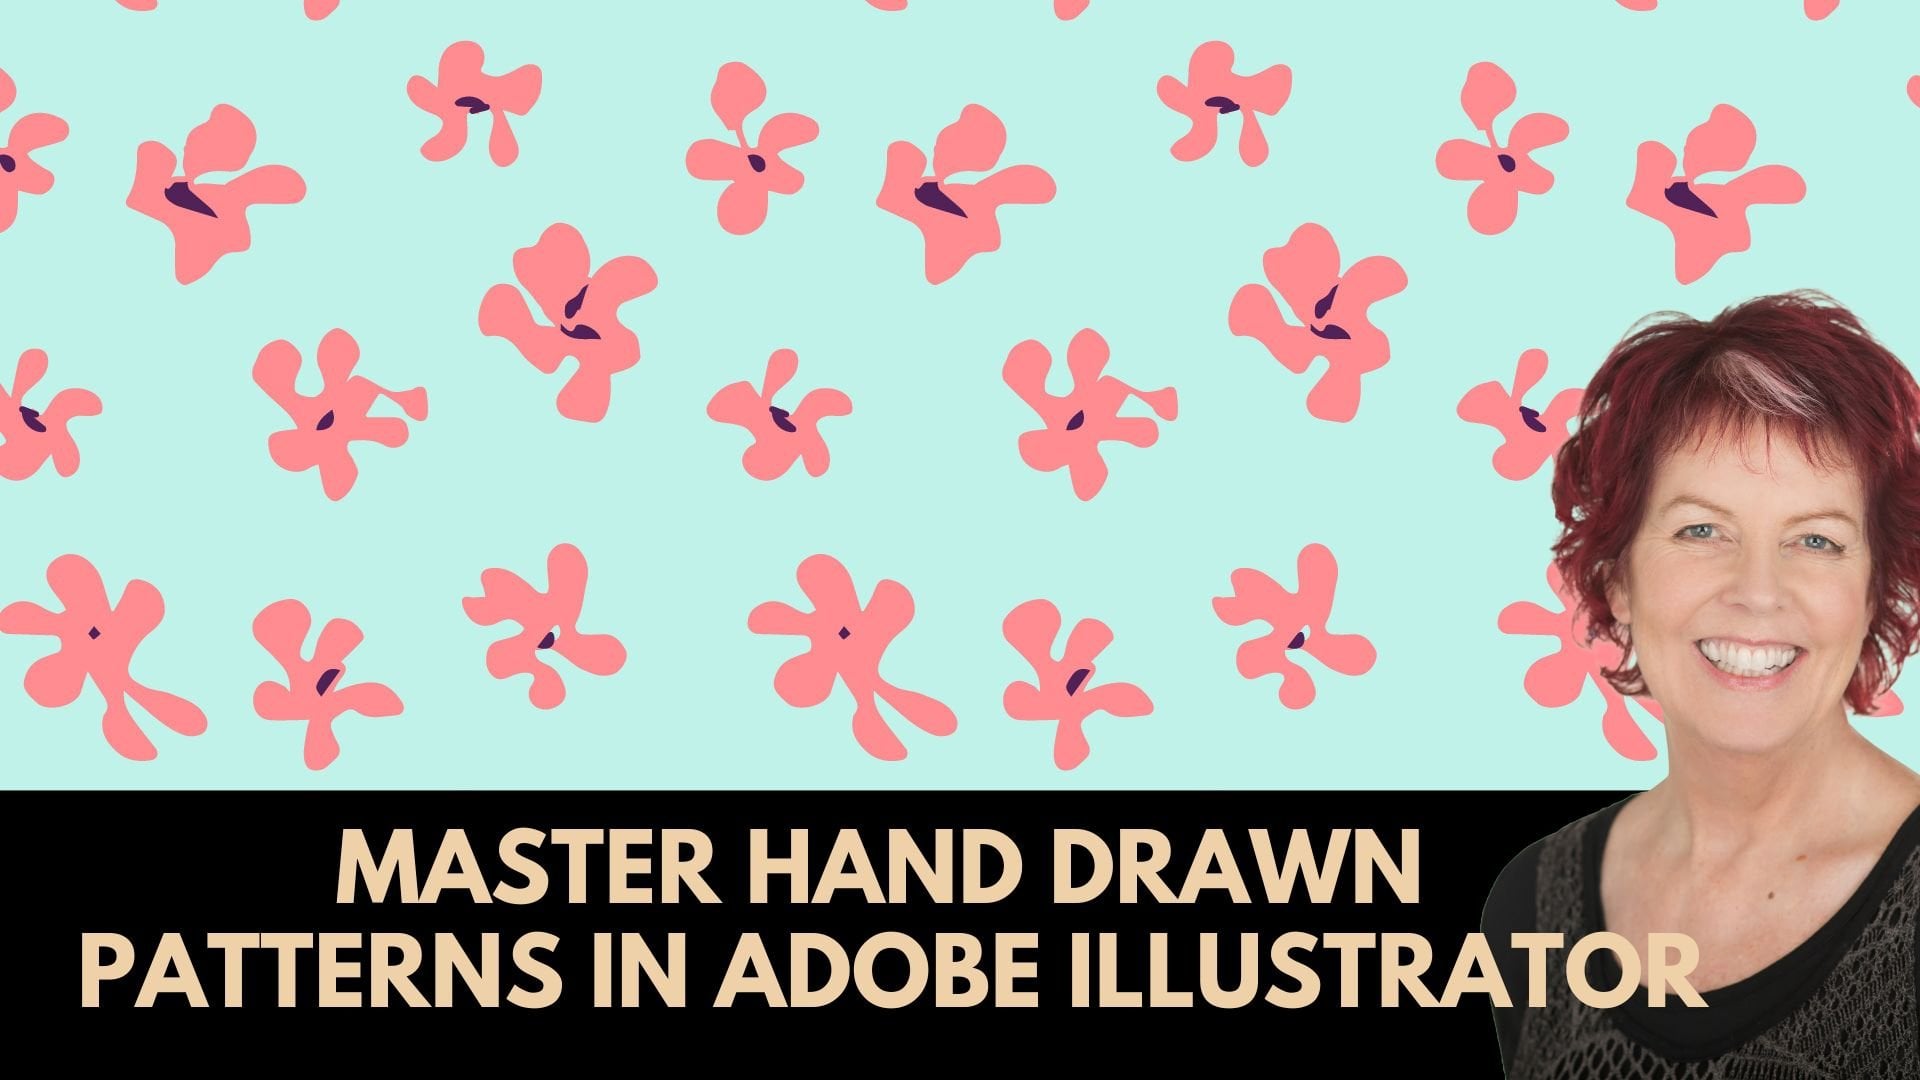
Sketch to Success: Master Hand-Drawn Patterns in Adobe Illustrator - Graphic Design for Lunch™
Sketch to Vector Art in Illustrator - Saleable Digital Assets - A Graphic Design for Lunch™ Class
Sketchy Image Effect in Adobe Illustrator - A Graphic Design for Lunch™ Class
Something's Fishy! Appearance Panel Tricks in Adobe Illustrator - A Graphic Design for Lunch™ Class
Stipple Texture Effect in Adobe Illustrator - A Graphic Design for Lunch™ Class
Stitches & Needles & Sewing Elements in Adobe Illustrator - A Graphic Design for Lunch™ Class
String Art Inspired Designs in Adobe Illustrator - A Graphic Design for Lunch™ Class
Stylish Doodles to Make & Sell in Adobe Illustrator - A Graphic Design for Lunch™ Class
Terrazzo Patterns Made Easy in Adobe Illustrator - A Graphic Design for Lunch™ Class
Text over Busy Backgrounds in Illustrator - A Graphic Design for Lunch™ Class
Textured Dot Pattern in Adobe Illustrator - A Graphic Design for Lunch™ Class
Triangle Based Patterns in Adobe Illustrator - A Graphic Design for Lunch™ Class
Type on a Path in Adobe Illustrator - A Graphic Design for Lunch™ Class
Understanding Bounding Boxes in Adobe Illustrator - A Graphic Design for Lunch™ Class
Use Photoshop Objects in Illustrator - A Graphic Design for Lunch™ Class
Vector Halftones & Houndstooth in Adobe Illustrator - A Graphic Design for Lunch™ Class
Vector Textures in Adobe Illustrator - A Graphic Design for Lunch™ Class
Warp Shapes & Text in Adobe Illustrator - A Graphic Design for Lunch™ Class
Watercolor Stripe Seamless Pattern in Adobe Illustrator - A Graphic Design for Lunch™ Class
Watercolors with Type & Brushes in Adobe Illustrator - A Graphic Design for Lunch™ Class
Wave Pattern in Adobe Illustrator - A Graphic Design for Lunch™ Class
Whimsical Designs with DIY Brushes in Adobe Illustrator - A Graphic Design for Lunch™ Class
Whimsical Diagonal Line Patterns in Adobe Illustrator - A Graphic Design for Lunch™ Class
Whimsical Scrapbook Paper Designs to Sell in Adobe Illustrator - A Graphic Design for Lunch™ Class
Whimsical Text Effects in Adobe Illustrator - A Graphic Design for Lunch™ Class
Whimsical Tree Design in Adobe Illustrator - A Graphic Design for Lunch™ Class
Wreaths & Floral Designs in Adobe Illustrator - A Graphic Design for Lunch™ Class
Zentangle® Inspired Pattern Brushes in Adobe Illustrator - A Graphic Design for Lunch™ Class
Meet Your Teacher

Helen teaches the popular Graphic Design for Lunch(TM) courses which focus on teaching Adobe(R) Photoshop(R), Adobe(R) Illustrator(R), Procreate(R), and other graphic design and photo editing applications. Each course is short enough to take over a lunch break and is packed with useful and fun techniques. Class projects reinforce what is taught so they too can be easily completed over a lunch hour or two.
See full profileHands-on Class Project
Your project for this class is to create one or more of the long shadow text effects shown in this class using a quote of your choice and to post it as your class project. I am looking forward to seeing the quotes you use and your font/colour combinations.
Find suitable fonts to use at 1001 Fonts and short, 4 word quotes at the PositivityBlog.
Class Ratings
Why Join Skillshare?
Take award-winning Skillshare Original Classes
Each class has short lessons, hands-on projects
Your membership supports Skillshare teachers
Learn From Anywhere
Take classes on the go with the Skillshare app. Stream or download to watch on the plane, the subway, or wherever you learn best.