Transcripts
1. About The Class: Hello friends. My name is Maureen is Anna, and I am an acrylic artist, bust for four-and-a-half years. I've been painting
acrylic painting, especially landscapes. And I'm also an ID and
junior and had worked for many MNCs in India
more than a decade. Now, pursuing my passion
as a profession. So as a part of my
creative journey, I talked to share my knowledge of artwork to those people. What you do. This will help the new learners to learn different media and the
whole class will be divided into steps by
steps when which I will be discussing about the
entire scenario, whether it is materials
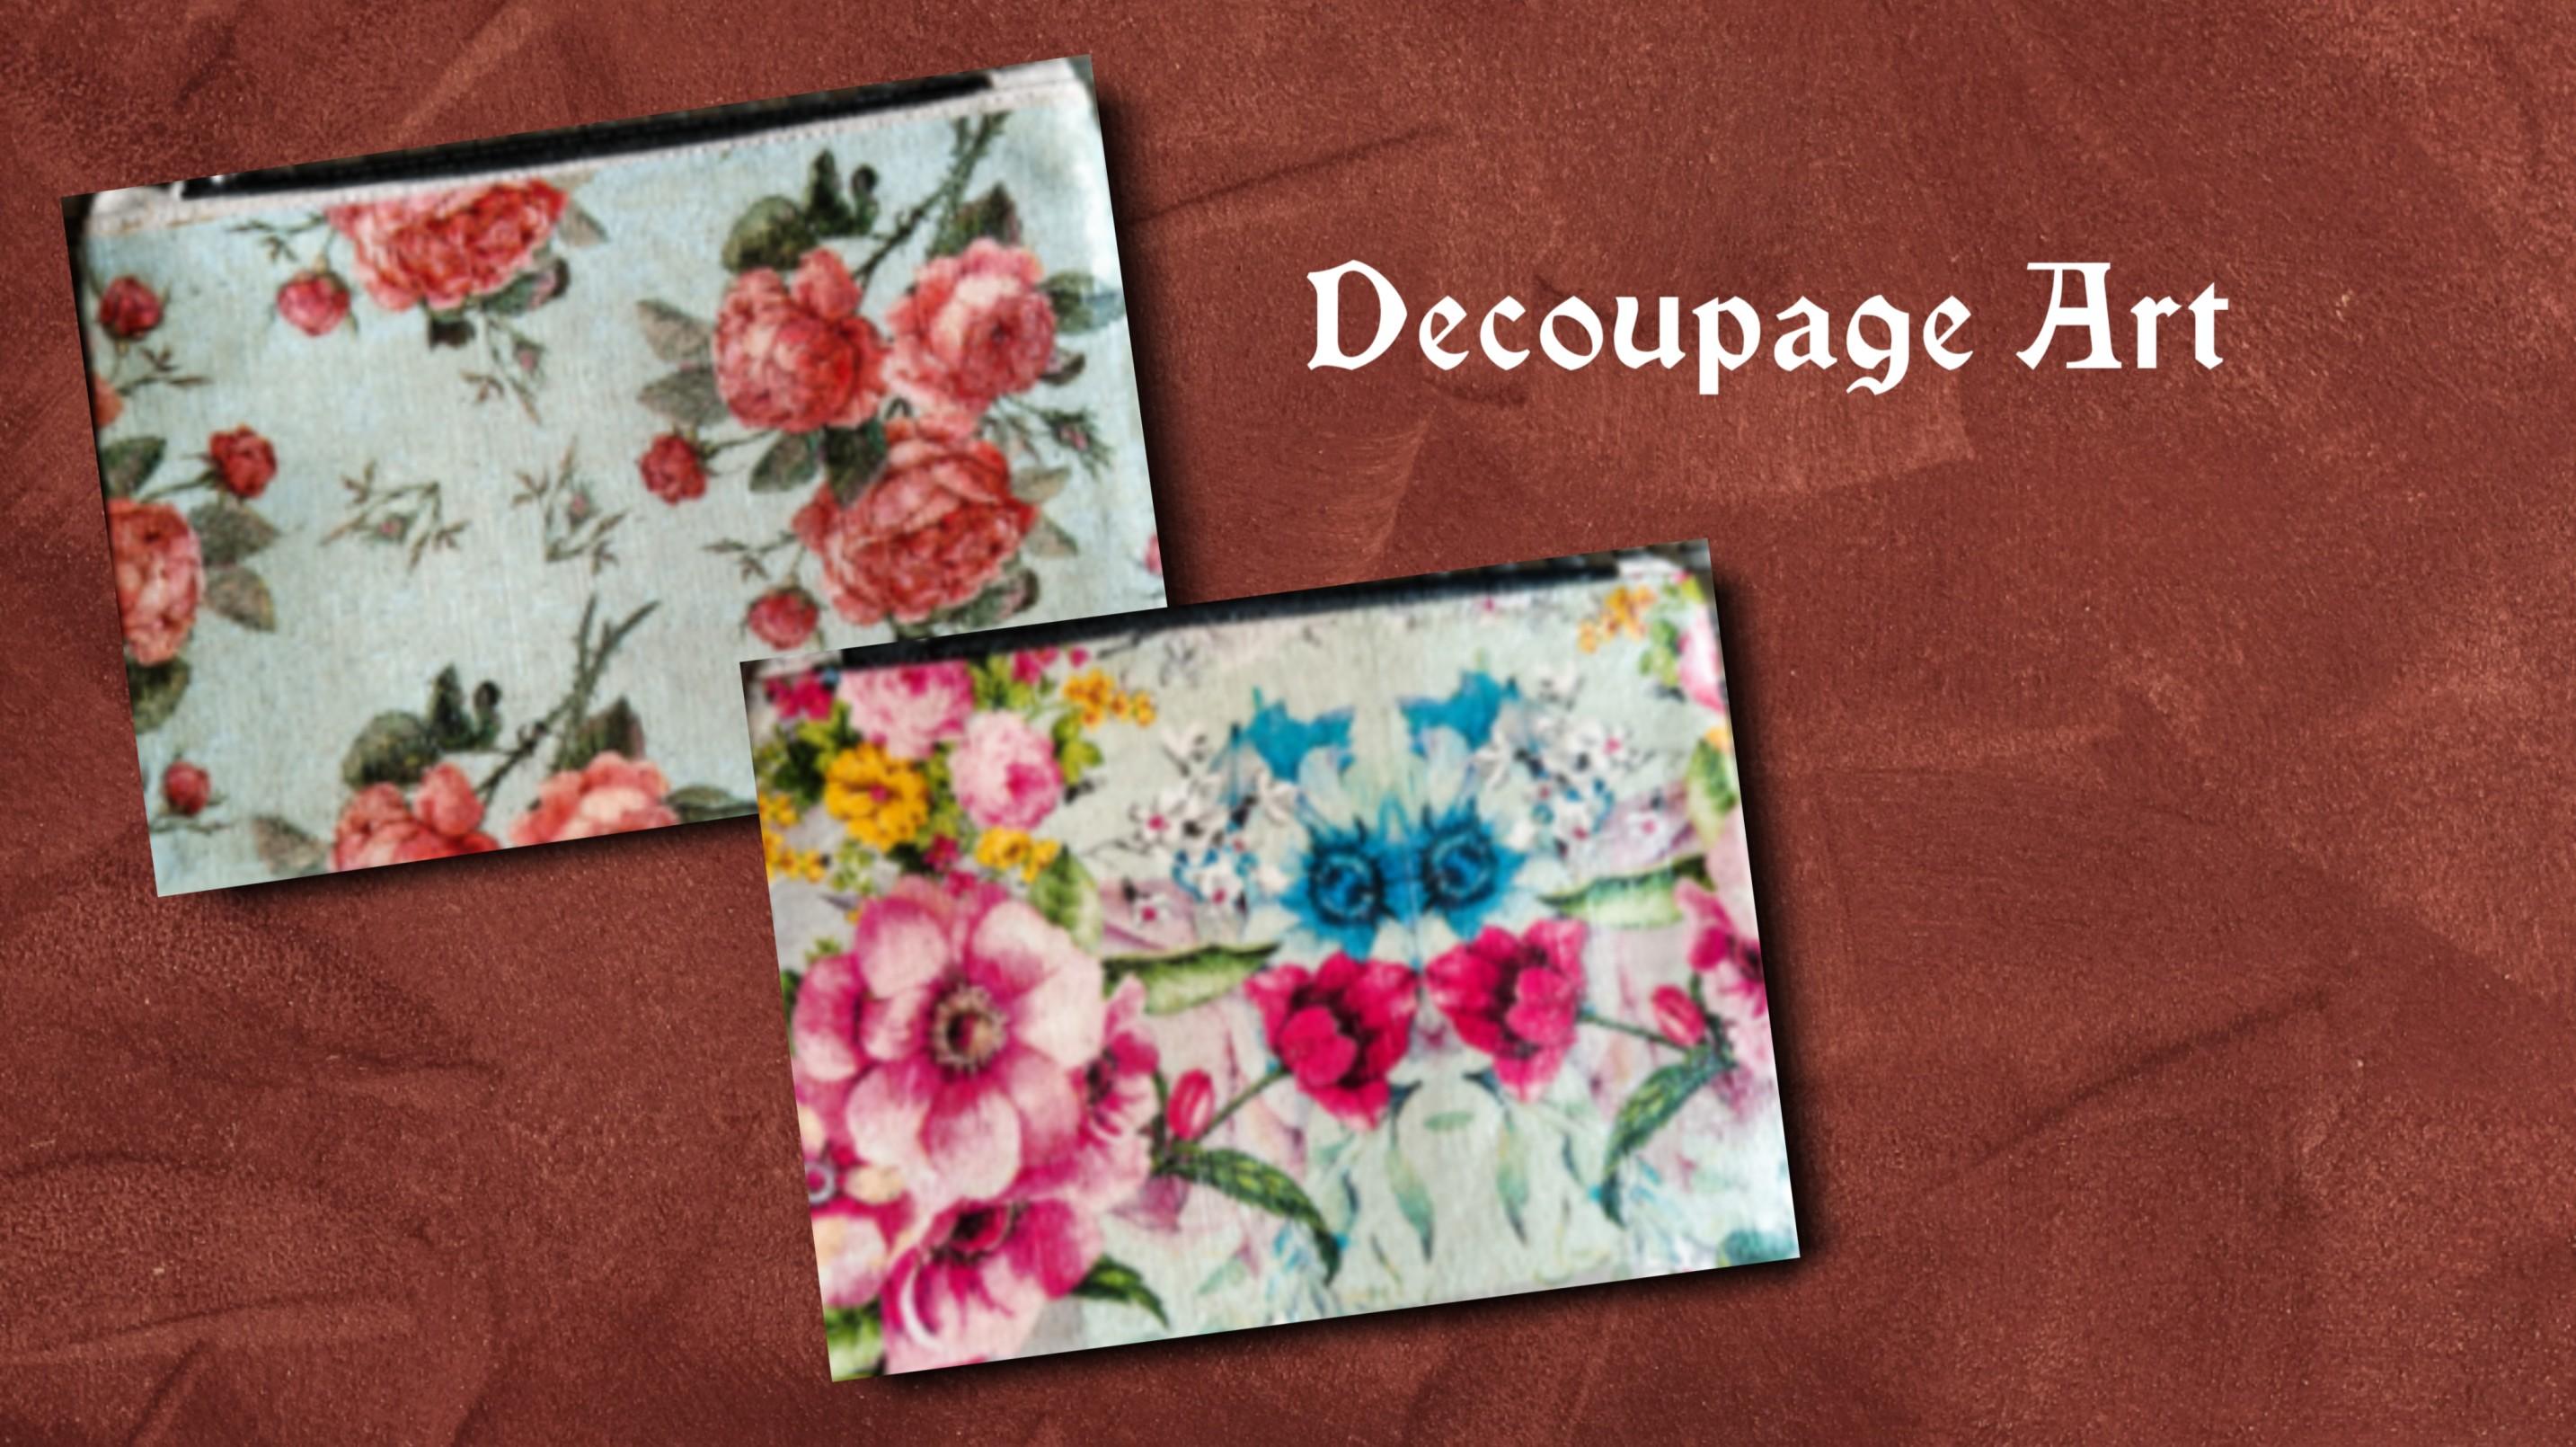
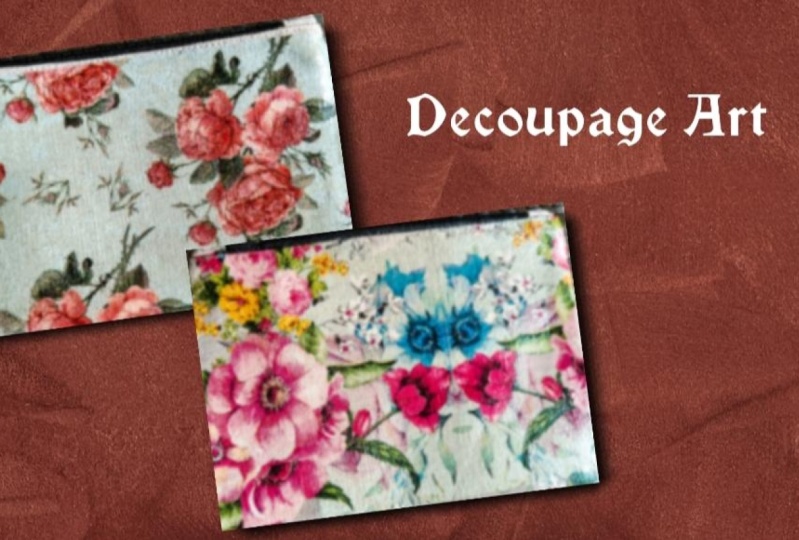
or techniques. In this class, we will be creating these
beautiful pouches. That is the teacup page art, which we'll be creating. One of them which we, I'll be showing you, that you can also use as
accessories bag or as your bags. And I am sure you
will love these. So this is the bag
which I'll be teaching. And these are some more which
I have done in the past. So I hope you will
enjoy these craft work. Looking forward to share my knowledge and
skills with you guys. You will love it. Happy learning. Thank you.
2. Materials Required: Hello friends. Now, let's discuss about the
materials which we'll be using for creating this
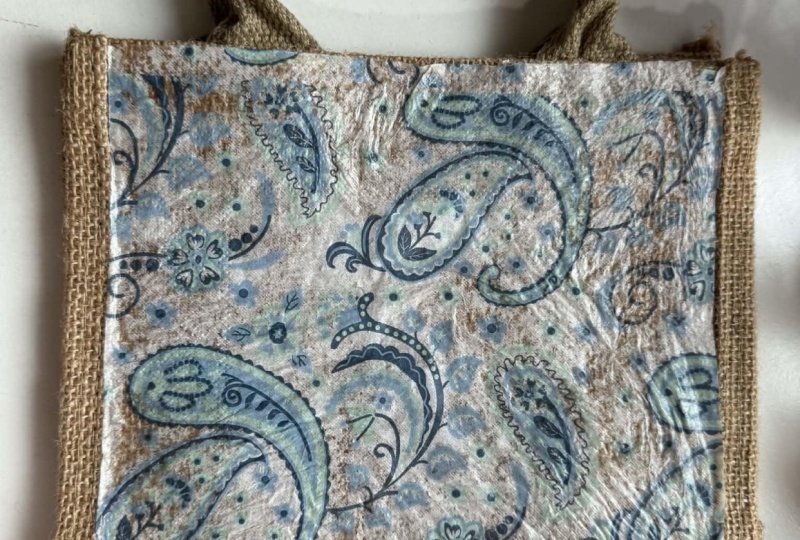
nice pouch, the coverage. So first, this is the one
which I have already done. So same we'll be doing but
with different napkin. So this is the jute
bag which I'm using. You can say the canvas
bag or switch like a canvas clot only jute bag, which I'm using here. And this is the
napkin which I'll be placing on that jute bags. That is the jute pouch, actually the scissors which
we'll be using or cutting. This is the butter paper, whichever wrapped
in the cardboard. And it has exact the same
shape as that of the bag, the pouch, so that I
can put it inside. And then I'll be doing the whole glowing parts so
that it doesn't stick to it. And then again,
the butter paper, extra butter paper, I'll be needing some amount
of water also. This glass palette.
Apart from that, we'll be needing
this one niche to apply it on the final code. Then the mod podge
for blowing and some of the brushes for
applying the mod podge. These are the entire materials that we'll be using for creating this nice beach ball and also this iron also will be using
if you have small island, you can use smaller in also, but this is the normal iron. So let's start.
3. Applying Mod Podge: Hello friends, welcome back. So now let's start
with our first part. That is, this is the cut-out
which I've already prepared. You can also do
it the same vein, and I've just wrapped it with the butter paper so
that it doesn't stick. And it's so flexible so that
I can fit it inside the bag. You have to cut
it in that shape. You can use these silicon
plates also inside. We just want that the glue doesn't stick
to the other sides. That's what we're trying to do. So you can create the
same shape of it. And you can just add just inside that bag so that when
we apply the glue, both the cloths does
not stick to it. So this is the whole scenario regarding putting
this whole thing. Now. Just try to put it
in the each corners. So now once we are
done with this, we'll be using our glass palette and mod podge for
applying the glue. And this is the brush which normal synthetic brush
which I'm using here. So just take out the mod podge, take out quite a lot
amount so that you can even apply all over
the entire area. Just taking the raw without
adding any water to it, just take the row mod
podge and just apply. And the entire area
first tried to apply on the edges
where the line of these stitches are and
apply it evenly all over this whole pouch
so that when you stick the napkin,
it becomes even. So you have to apply it evenly, not like randomly, you have to apply it in one
direction and in evenly. So similarly, we will be doing at least two coats
of this mod podge. So this is the first code. So once we are done
with this first code, we will leave it to dry. It takes around one or two dry. If you are living in
like when cold areas. But if you are living
in what areas, I think it will dry soon. So you have to leave it
or you can do it with a dryer if you want
to do it firstly, you can just try this whole
gloating, wetter drier. And once we are done
with the first code, we need to apply
the second good. But for applying
the second code, the first code has to be
dried off completely. And then only you can
apply the second code. So you can see how
nicely and evenly I'm trying to do this. And I'm applying the code
on the entire this pouch. Like we do paintings. That's what I'm doing over here. I'm just painting it
in one direction. So I have taken this jute bag and I'm just
applying this entire thing. And i 0 mod podge
over this pouch. This is, I'm doing on a bag, but you can also do it on
a cardboard or on Canvas, or on a wooden box, anything, or on a big bag or a tote bag, anything, whichever
you want to do, what you can do it is just
this is just what does this just one pouch
bag which I'm showing you how to do
the checkout page, but you can do it
on any material. Do it very patiently and gently and make sure to apply
it in all the corners. Because that is the
most important thing that the corners
are glued nicely, then only that page will, that napkin will stick to it. So tried to apply on all the corners very
nicely and evenly. You can see I'm applying
on the corners, on the, all the corners. First I've applied on the
upper part and now I'm applying on this side and on the lower part of the corner. So try to apply it very
evenly and all the corners. And finally we are done
with the first coating of it and we leave it to dry. And then after the drying, once it has dried up, we'll again apply
the second coat of the same glue that is the same mod
podge on this canvas. So you can see it's
finally done and you can see it's so even
from all the sides. So like you do painting, you have to do mod podge on it. So I leave it to dry.
4. Applying Napkin: So now in the meantime, I have left that pouch to dry. So this is not dry yet, so this is the another pod. So first I'll cut the napkin
in the size of the pouch. So this is a napkin which
I'll be using here. So let's start with the budding. I'll just take out the entire napkin and see
what size I need to cut. So I leave the part which has a napkin which as dot areas and just using the
middle part of the napkin, I'm leaving those areas. So just using this
middle part of the napkin and I'll cut it in the same size so
that my scissor, I'm just taking that size
of this pouch and I'll just market the areas
where I need to cut the napkin just
by folding it. And then I've just got
it with the scissors. You can use any design, any napkin, whatever you want. You can do it on your pouch, you can do it on your
boxes, cardboard boxes, or you have any
lake trunk which is very like snot in good shape. You can also do decor
page on that also. So this is just one
thing which I'm showing. One type of the cow page, which I'm showing
there are many types, most of them do on stones also. So there are different,
different on, also on glass bottles. You can see I've just cut
it and I'm just removing that dot portion area which all the napkins
have that side portion. So I'm just cutting that out. This side also. I'm just cutting
that portion because I don't want that portion
on my bag to reflect. Now once we are done
with the cutting part, so every napkin
has three layers. So we'll remove the two layers and the third layer
will be just putting, placing on the bag. Let's remove all the two layers. So you can see there
are three layers. First layer I'm
removing very gently. You need to remove that layer. Can see, again, there's one more layer which
I'm trying to remove. So you can see there's
one more layer which slowly removing
with my nail. You can see how
thin the paper is. Define a napkin and
that we will be placing on that pouch. So likewise, you have to remove all the three
layers from your napkin, whichever napkin you are using. And this is it. Now, let's see our bag. So now we will be applying
the second layer on it. So this is completely dried. And now we will apply the second code like
we used earlier. So that brush I'm not using
because it is still wet, so I'm using another brush. That's why I kept
to three brushes in handy so that if
one brush is wet, I can use the other one. So you can see I'm applying
the second layer onto it. So I'll try to just do it
quickly and fast-forward it because you know
how to do how to apply the mod podge
on the entire thing. And once we are done with the second layer will
leave it to dry. Once it is dry it up, then we will apply
that napkin on to it. I'm just applying
the second layer. And once this layer
has been applied, we will leave it to dry. It almost take one
or 30 min to dry, so you need to dry
it completely to not be sticky when you touch
that mod podge thing, it should not be sticky. It should be completely dried. So I'm just applying it quickly. We can see it has done. So now this is completely dried. I can touch it and there's
nothing coming onto my hand. And now we will be using
this napkin and we'll just place the napkin
on this pouch. Tried to use the straight line which is there on the napkin. Plays it exactly on that place. Then just slightly
press it nicely. And then use that butter
paper which and try to double the butter paper
and then place it on this napkin nicely. And after that we
will be applying, will be ironing on that. So try to place it very
straight and nice and smooth. Then just heated iron a
little bit, not much, and then just apply it
onto it. Very gently. Apply this so that the glue metals and that
napkin sticks to it. And you can see how
nicely it sticks to it. I'm using here the butter
paper because showed that napkin doesn't stick
to this part of paper. So you need to be
very careful to check that all the corners
are stacked properly. You have to press it nicely. Not so hard, but present nicely so that all
the corners and every each and every corner of the pouch is stacked properly. So that's what I'm checking for. It is tagged or not. So
just like we do ironing, you have to do ironing
on this bag also. Once the whole thing, whole corners have
been nicely glued. You can remove the
buttock paper. So you can see, I'm just
checking if it is glued or not. And you can see how nicely
this has come up. Very neat. And the extras we'll
remove by cutting it. So just pressing
it one more time. And finally, we are done
with this pressing bar. And then we'll remove
the extra paper, extra napkin paper, which
is all all the sides, will remove and we'll
cut out so we can see it gets tagged on that bag because that
bag had clued little bit. So you need to put
the exact exact glue all around the pouch. And the paper also
should be on that.
5. Final Touch: So now you can see this, it's perfectly glued
and perfectly fixed. Now what we need to do
is we need to remove the extras which
are on the sides. First, I will cut the
extras with the scissors, which are big and the small
ones we will try to stick. And we can also cut
the extras with water, like applying water on your brush and just
removing those. I'll show you that also. Let's just first, let's cut
this extra on all the sides. Once this is done like
that, also small, small cutouts which
are on the sides. So what you can do is you
can just take the brush, your wet brush, and just apply a
very little amount of water on your brush. And just try to
remove the corners. Because these are
very thin paper. So just putting the water, you can easily remove the
extra papers from the sides. Just by pressing it. You can see how I'm
how I'm just removing the extra papers
with my wet brush. So this is how you need to
do it with your wet brush and just try to remove the
extras from the sides. Once you are done with
the entire these, removing the extra part, we'll again apply another
coat of mod podge on this page art. So let's take the mod podge and then start
applying the layer. So just applying this again, one more normal layer
of mod podge on the entire does napkin so that it is perfectly fixed so that it is not
removed and also applying, tried to apply it on
the edge and that it is nicely glued over
the entire edge and it is fixed properly. First apply over
the entire corners and edges and then
put the mod podge, apply the mod podge on the upper area so that you can see I'm just
fixing the corners. I'm just applying
on the corners. So that does nicely glued. Because the
coordinates has to be done properly then
only the entire look. Welcome. Just with your brush. Apply the glue and press
this part to the other side. Similarly, you need to
do the other sides also. So all the three sides to
have to apply the glue and just press that napkin on
the other side of the bag. That extra part. Once this glue you have
applied on the corners, then applied evenly on
the entire upper surface. Same. We have to do like
we did the other mod, mod podge glue application. Same way we need
to do this also. And after applying this, we need to leverage, leave it. And once it is dry it off, then we'll do the next part. So every time when you are
applying the mod podge, you have to leave it to dry. And then again, you have
to do the next part. You have to wait for
the mod podge to dry. You can see I'm applying on the entire this area where
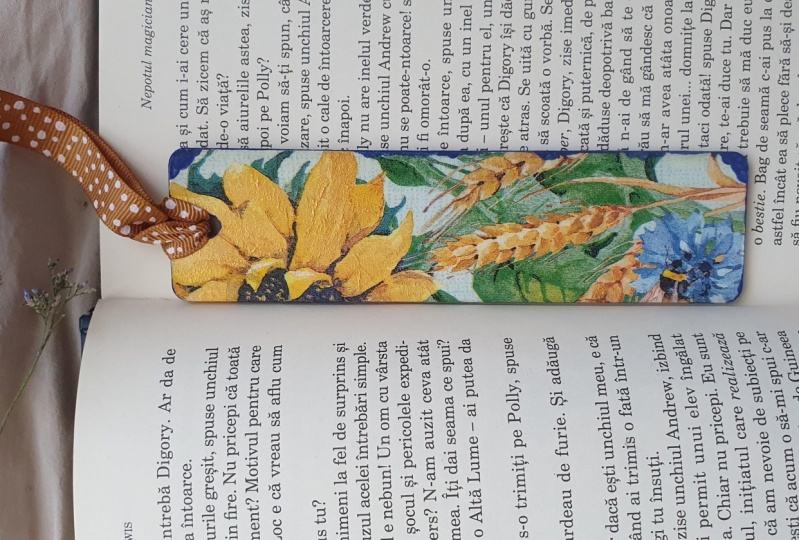
I have applied this napkin, where I've pasted this napkin. You can use this bag as jewelry
pouch or as painting bag or any accessories bag
or you can give to your loved ones is
really very well. It looks very cute and
very trendy. You can see. It looks very nice actually. And especially when
you are giving something hadn't been
to your loved ones, It's like a blessing. So just applying the
entire mod podge all over this surface area
and we leave it to dry. So finally, we're done. But this beautiful
pouch, the cabbage art. So now let's wait for it to dry and then
we'll apply the varnish. So you can see it's
dried completely. I can touch it and
I can feel it. It's not sticky. So let's apply the liquid techs, satin varnish on this so that it becomes like
shiny and protective. Also. Just applying a
little bit of varnish. This is this satin varnish from liquid x which
I'm applying over. You. Just apply it all over the entire area and
leave it to dry. And you will see, once
it is dry it off, you can see how nice
this bag looks, how nice and beautiful
this bag looks. So we leave it to dry. Just done with the varnishing. You can see how nicely
it's already looking. So finally, our pouches ready. So this is the one
which we have done. And you can see how
nice does looking. And this is one more
which I've done in black. So these are the
pouches. Thank you.
 Mohini Sinha, Acrylic and Gouache Artist- Nature Lover