

Knit Mittens that Fit, Lickety-Split
They may look complicated, but mittens are fairly easy to knit. But don’t just take our word for it. Give it a try and see for yourself!


If you’ve been knitting for a while, you’ve probably knitted scarves. Many of them. Beginner-friendly scarves are a natural place to start knitting, but mittens are a great way to further develop your skills and learn some new techniques. Plus, they go really nicely with all those scarves. Here’s a guide to learning how to knit mittens.
Mitten Knitting Supplies
If you’ve done some beginner knitting projects, you likely have most of the basic supplies you need for knitting mittens, but you’ll also need the following:
Mitten Knitting Pattern
Mittens are an intermediate-level knitting project, so you’ll want to follow a pattern. Knitting patterns list all the materials you need to knit this particular item, including what size needles you need and the thickness and length of the yarn. They also provide step-by-step instructions on how to knit the specific item.
Knitting Needles
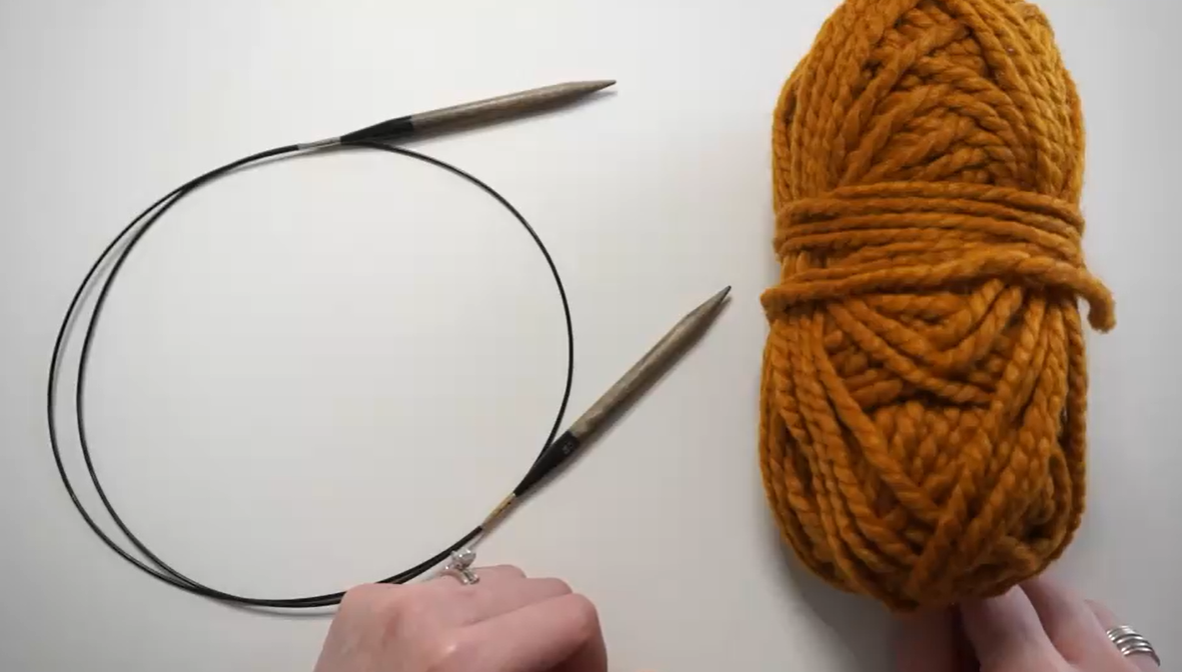
Mittens knitting patterns either call for double-pointed knitting needles or circular needles. Double-pointed needles are usually used for smaller circular areas in knitting, but you can also follow the “magic loop method” of knitting with circular needles to get the same effect. (More on this method below.)
If you’ve never used double-pointed needles or circular needles before, mittens are an OK place to start. However, you might want to start with something a bit simpler first, like a wide scarf on circular needles, so you can get the hang of working with these needles.
Yarn for Knitting Mittens

First up, check your mittens knitting pattern to see what kind of yarn it suggests. You shouldn’t use lace weight yarn to knit mittens if the pattern calls for bulky weight yarn. Doing so will mess up the sizing and the fit.
Aside from this important consideration, you’re free to choose yarn that suits your tastes. Remember that mittens are meant to keep your hands warm and they’ll be worn close to the skin. Choose something that feels good to the touch, in a color and texture you like.
Because you use your hands a lot, it’s also advisable to choose a color that won’t show dirt too easily (white probably isn’t ideal!) and a sturdy yarn. Natural fibers (such as wool) that have been mixed with acrylic or polyester tend to be more durable.
Knit a Headband to Match Your Mittens!
Knitting IV: Learn Advanced Techniques with a Trendy Headband
What Stitches to Use
Advanced knitters could knit mittens with a wide range of beautiful decorative stitches—there really are no limits. Upper beginner or low intermediate knitters will probably want to keep the stitches simple for their first mitten knitting project.
Long-Tail Cast On
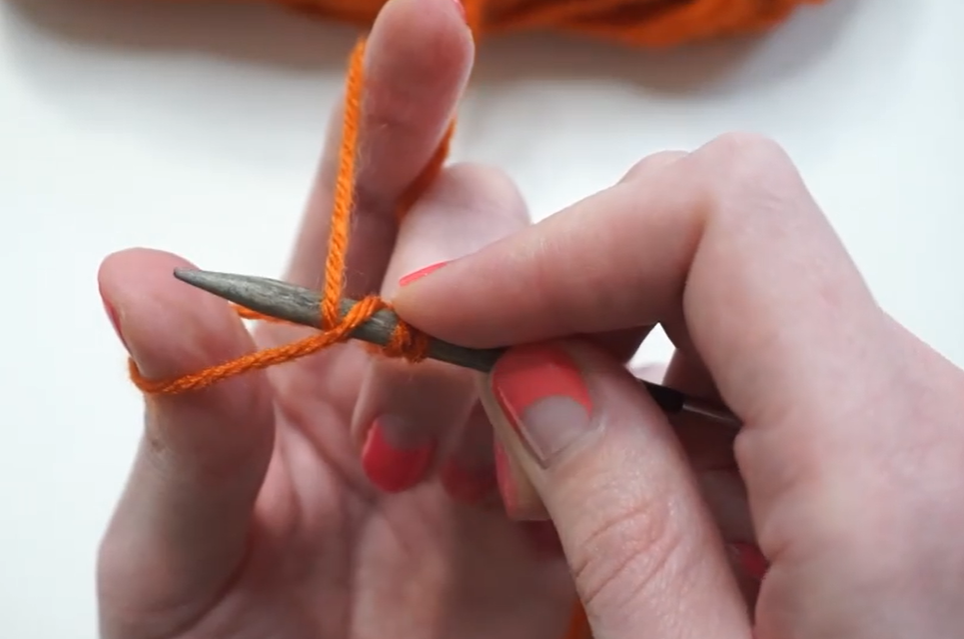
Not a stitch per se but a type of casting on (or beginning) stitch, the long-trail cast on is preferred to the regular cast on method in some mittens knitting patterns. That’s because it’s stretchier, so it’s ideal for an item of clothing that needs some give around the cuffs.
If you don’t know how to do the long-tail cast on, KnittingHouseSquare teaches a Skillshare class just on casting on.
Knit Stitch
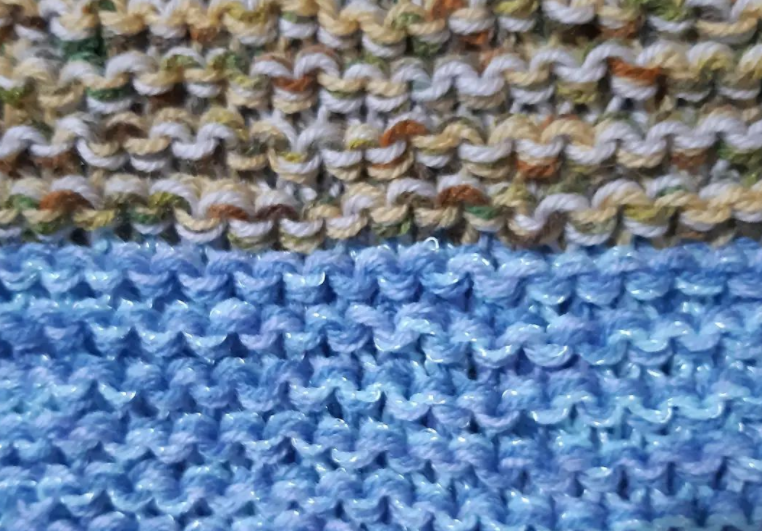
Knit stitch is the fundamental knitting stitch—you can’t knit anything without knowing it. When you knit a whole item (or a whole section of a larger item) in knit stitch, you end up with what’s called garter stitch.
Purl Stitch
Purl stitch is another fundamental knitting stitch, and it’s the opposite of the knit stitch because the right needle is inserted into the back of the stitch, rather than the front as in knit stitch. When you alternate one row of knit stitch with one row of purl stitch—a common combination—you end up with stockinette stitch. If you repeated purl stitch over and over, you’d end up with garter stitch again!
Increases and Decreases
Again, this isn’t a stitch type exactly, but it’s an important way of making your knitted fabric larger or smaller in places. Different mitten knitting patterns may call for slightly different types of increases or decreases, but they will make clear what they require. If you’ve never knit increases or decreases before, it’d be a good idea to return to a beginner class on increases before working on mittens.
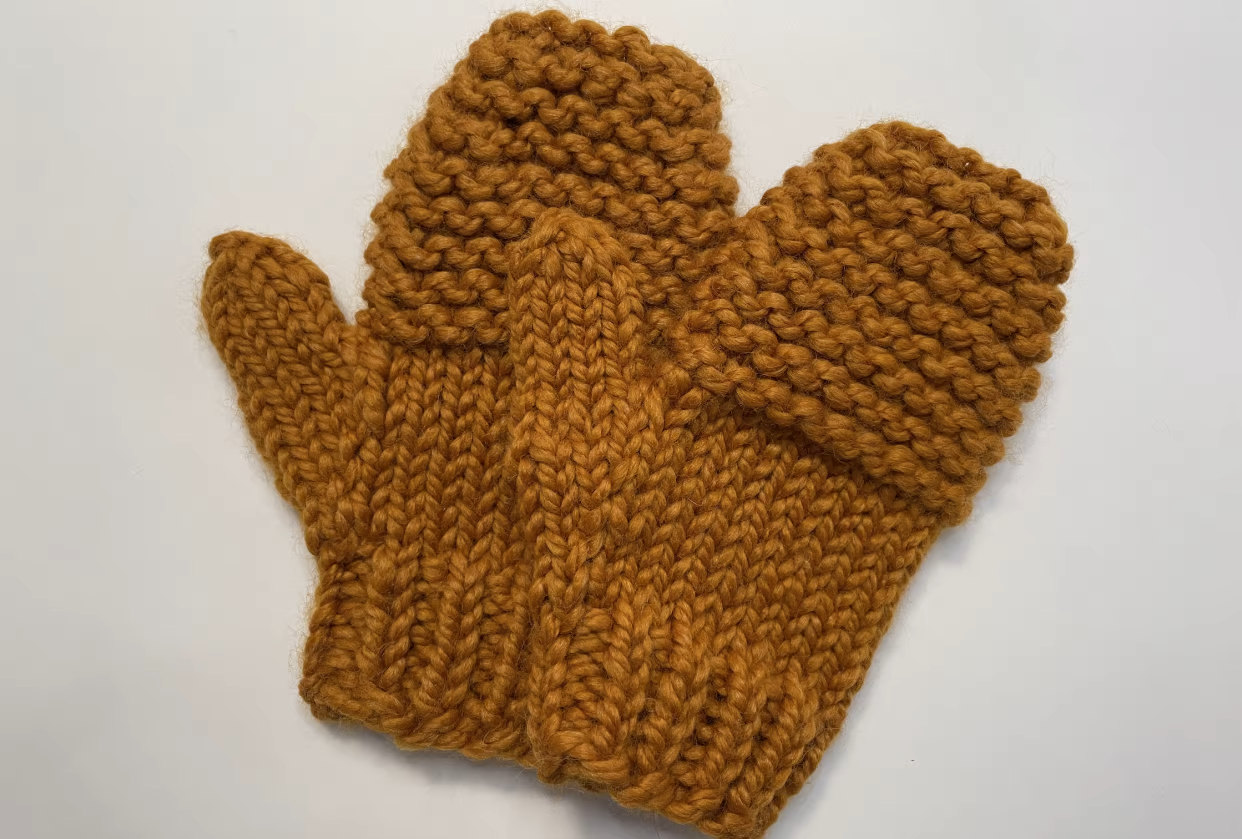
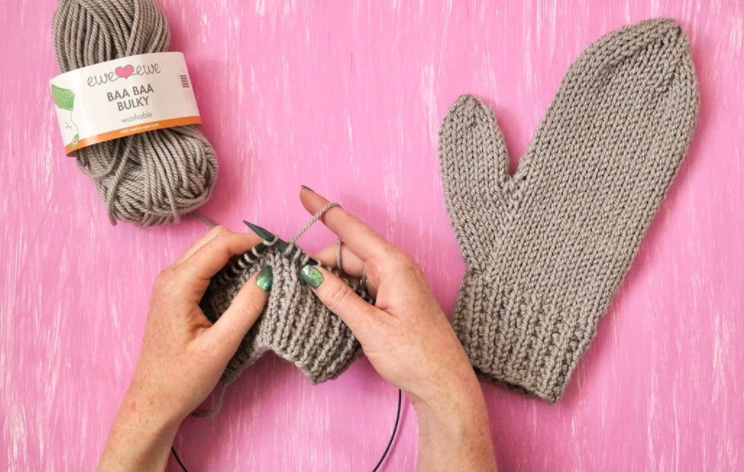
How to Knit Mittens
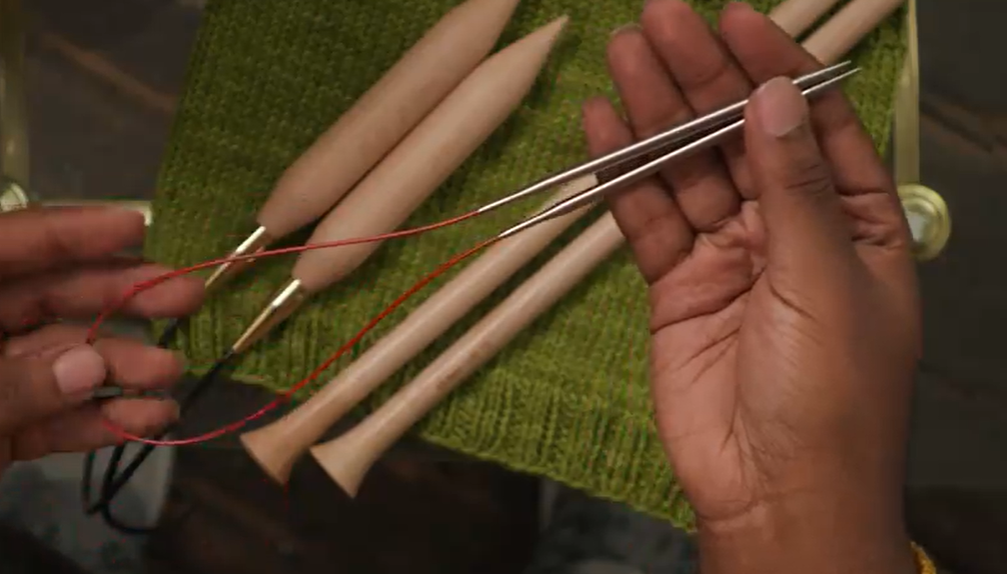
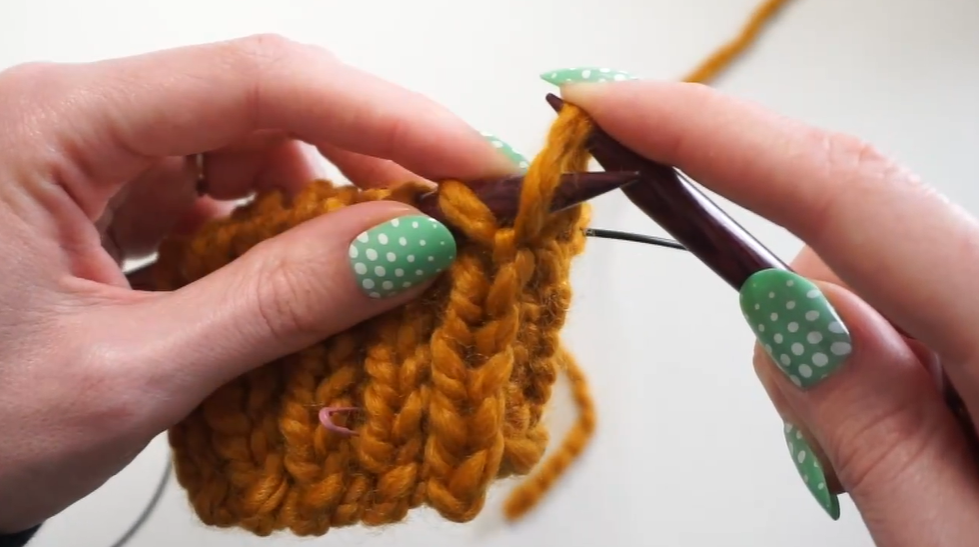
When knitting small circular items such as mittens, socks, or the fingers of gloves, it’s common to use several double-pointed needles in places where regular knitting needles are just too big. Like this:
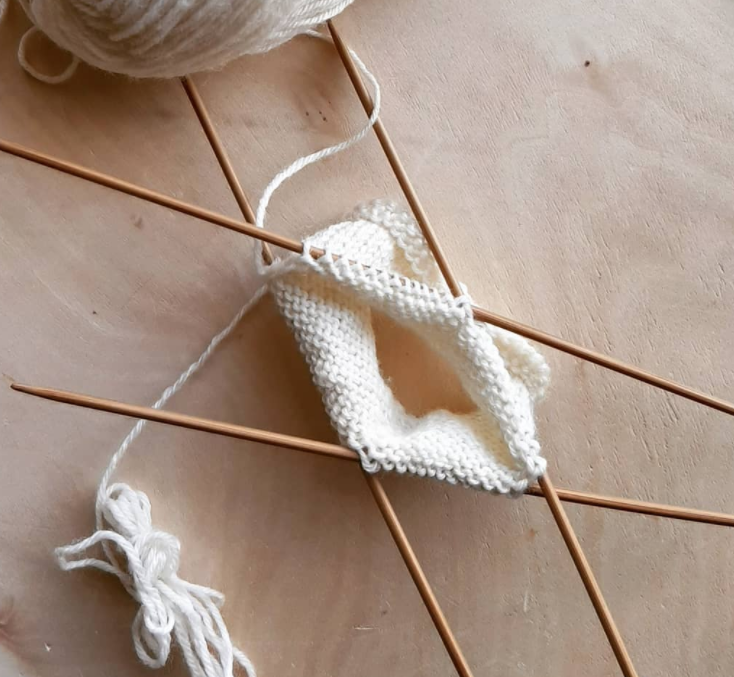
However, some people find this process tricky, so an alternative to using double-pointed needles is to use what is called the magic loop method. This requires one circular needle rather than several double-pointed ones.
The following knitting pattern for mittens uses the magic loop method. While it doesn’t require any particularly advanced knitting techniques, a general familiarity with working knitting needles and yarn is a good idea. If you’ve already knitted a few scarves or even hats, these mittens are a natural next step.
Step 1: Gather Your Materials
For this mitten knitting pattern, you’ll need the following materials:
- 8 mm circular needles
- 9 mm circular needles
- Super bulky yarn
- Tapestry needle
- Stitch marker
- Thinner scrap yarn in a contrasting shade
Consult KnittingHouseSquare’s Skillshare video tutorial, How to Knit in the Round—Magic Loop, if you’d like to visually see how to do each step of this project. The instructor frequently refers to the written pattern, too, so it’s a good idea to download it and keep it handy.
Step 2: Determine Your Gauge
The gauge for this pattern is 5 sts x 7 rows = 2” x 2” stockinette in the round.
No idea what that means? You’ll need a lesson in knitting gauge. Davina Choy provides a comprehensive and easy-to-understand description in her hat knitting class. Making a gauge swatch before you start is necessary for all intermediate-and-above knitting projects.
Everyone knits differently, with a different tension in the needles and stitches. Knitting a gauge swatch will help you judge whether your personal knitting style will produce a piece of fabric of the right size for the project. If your gauge is too small or too large, you’ll need to adjust your knitting needles or yarn to accommodate for that. Otherwise, you’ll end up with mittens that don’t fit like they’re meant to. (Sure, you could always gift them to a friend with bigger hands, but that’s not really the point!)
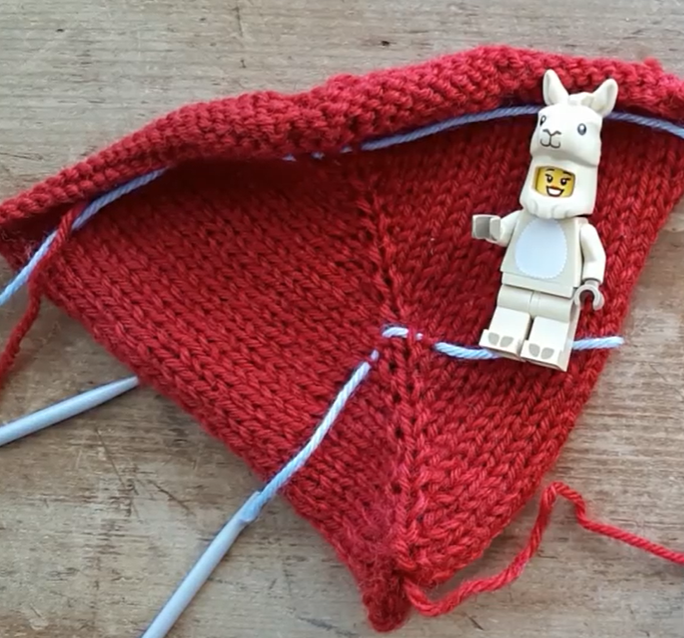
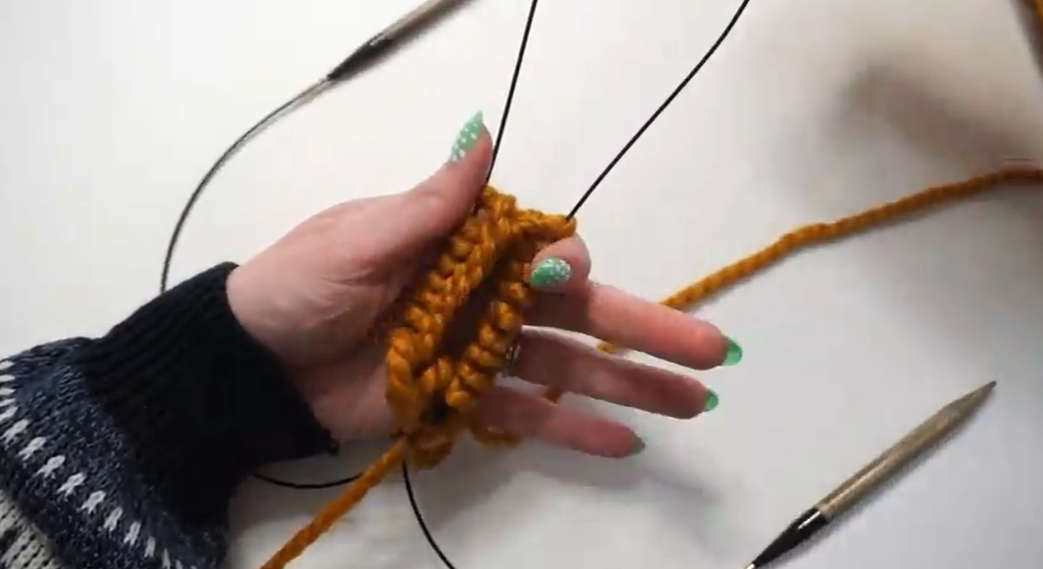
Step 3: Cast On With the Long-Tail Method

As outlined above, the long-tail cast on method is best for this pattern. Cast on 20 stitches.
Step 4: Divide the Stitches for the Magic Loop
Slide the stitches onto the cord that connects the needles. Count in to the half-way point: ten stitches. Divide the two halves, bend the cord, and pull the looped part of the cord through the stitches. Pull until both sets of stitches are on the knitting needles.
Step 5: Knit in the Round With the Magic Loop Method

After creating the magic loop, take both needles in your left hand and direct the needle points so that they’re facing right, horizontally. Make sure that the working yarn is extending from the knitting needle at the back and the cast on bumps of the stitches are facing down toward the table or floor.
Begin knitting in the round. When working with the magic loop method, knitting one row means knitting first along the stitches on the bottom needle, and then turning your work around and working along the stitches on the top needle.
This pattern calls for alternating knit and purl stitches to create a two-inch stretchy ribbed cuff.
Step 6: Switch to Larger Needles
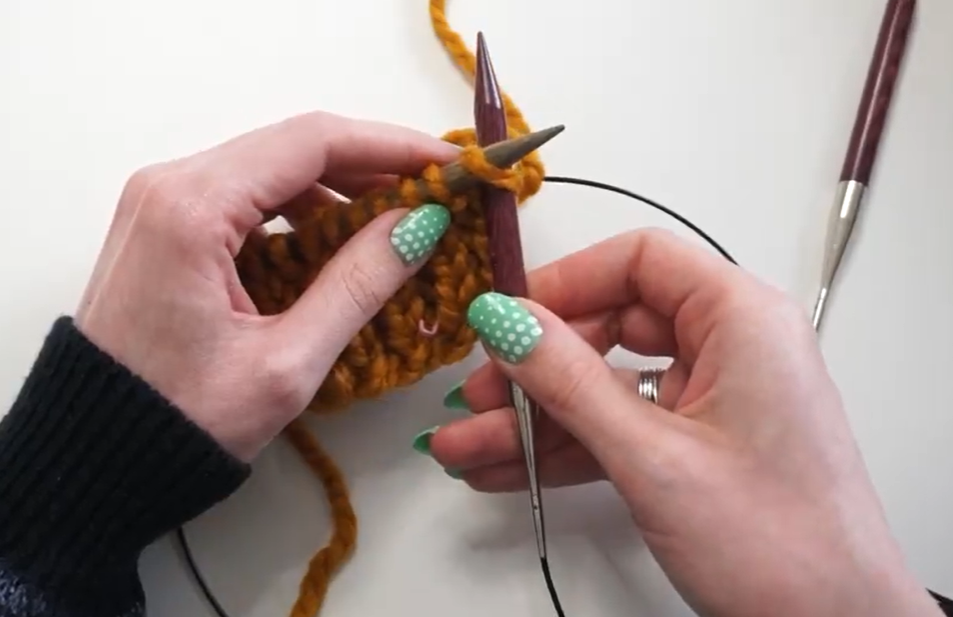
Once you’ve finished the ribbed cuff, switch to the larger needles. To do this, simply start knitting onto the larger needle, and discard the smaller needle once all stitches have been transferred.
Step 7: Increase Stitches for the Thumb
Increasing stitches when working with the magic loop method is essentially the same as when knitting the “normal” way. But because your stitches are divided up over two needles, the little bar between the stitches that you need to pick up to make the increase is between the back and the front needle. Look for it there, rather than between the stitches next to each other on one needle.
Follow the pattern’s instructions on the number of regular and increase rounds to complete to make the base of the thumb. Once you’ve done this, secure the stitches with some scrap yarn because you won’t be finishing off the thumbs just yet.
Step 8: Decrease Stitches

Mittens aren’t simply rectangular pockets, so to create some shape, you’ll need to decrease your stitches. The specific combination of stitches and number of rows you’ll need to decrease the width of these mittens is detailed in the pattern.
Step 9: Cast Off

Finish off the main finger compartment of the mittens with a tapestry needle threaded with yarn (a method called kitchener stitch). Instead of casting off with the two knitting needles, you use the tapestry needle in place of the right-hand needle to secure the stitches.
Step 10: Pick Up Stitches to Knit the Thumb

Hold up, you’re not finished yet! Mittens have separate compartments for your thumb. Earlier in the pattern, you increased stitches for the base of the thumb and secured them with scrap yarn. Reinsert the knitting needles now and follow the pattern’s instructions for the number and type of stitches to complete now. You’ll make a combination of knit/purl stitches and decrease rows.
Step 11: Repeat for the Other Hand!
You’re still not done. You have two hands, remember!? Go back and repeat everything you just did, for the other hand. Hopefully, you can learn from what you did for the first mitten, and the second will be faster to complete.
Stay Warm This Winter
Mittens are just one item in your creative arsenal that you can make to keep yourself warm this winter. Why not knit a whole wardrobe of coordinating, stylish, and totally original accessories in complementary or fashionably clashing yarns? Scarves, socks, hats, headbands, cowls, and even cardigans and sweaters are within your reach if you work up step by step. Have fun!
Ready for a Knitting Challenge?
Next-Level Knitting: Cables
Try Skillshare for free! Sign up for a 7 day free trial today!
Get Started- Unlimited access to every class
- Supportive online creative community
- Learn offline with Skillshare's app


