Transcripts
1. Welcome!: Welcome to the magical
world of Indian folk art. I invite you to join
me in painting. This coaches vibrant
and whimsical piece, which is also very easy
and simple degree. In this class, I
introduce you to go and at an art form practiced by one of the largest
stripes in India. It's a 1400 year old art pass down and evolved in
the corridors of time. At the end of this class, you will not just have this beautiful painting
as your class project, but also the knowledge of a whole new world of
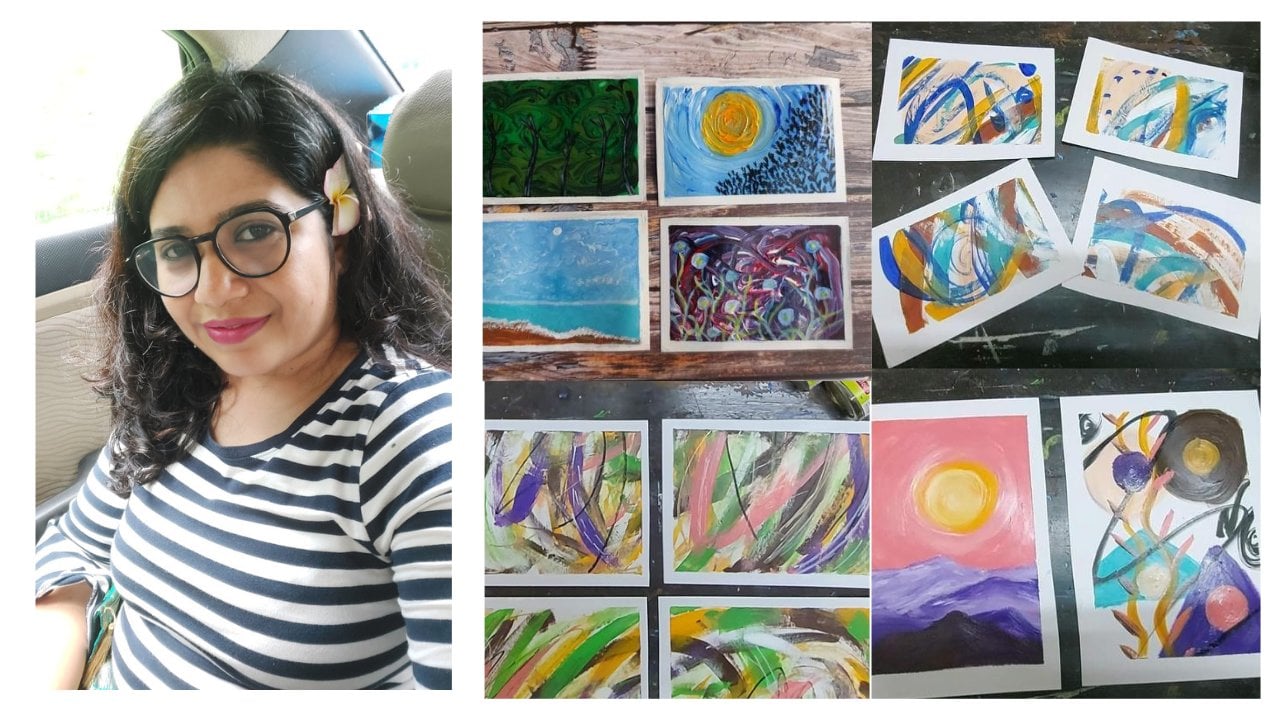
this Indian full gut. Hi, this is M and artist, an author and a mom from India. I love to paint with watercolors,
gouache, and acrylics. I'm a self-taught artist. And art is not just my hobby, but a part of my life. I'm very close to Indian art forms like
Matthew Barney and wound. And I love to create these
contemporary characters and scenes in my very own style
using these for God forms. Here's a quick outline
of this class. In this class we will
learn about the basics of this beautiful folk art form. I'll take you through
the materials we need, through the sketching and
painting of the class project. And I will also tell you the B6, the tips and techniques,
the motives, the characteristics of
those beautiful art form. By the end of this class, you will have this
beautiful forgot AND indeed all by yourself
as your class project. If this sounds interesting, I will see you in the class.
2. Materials We Need: Welcome back. Before we begin, let's see what all we
need for this class. You can use any medium of
your choice and accordingly, you will need those supplies. Here's what all I
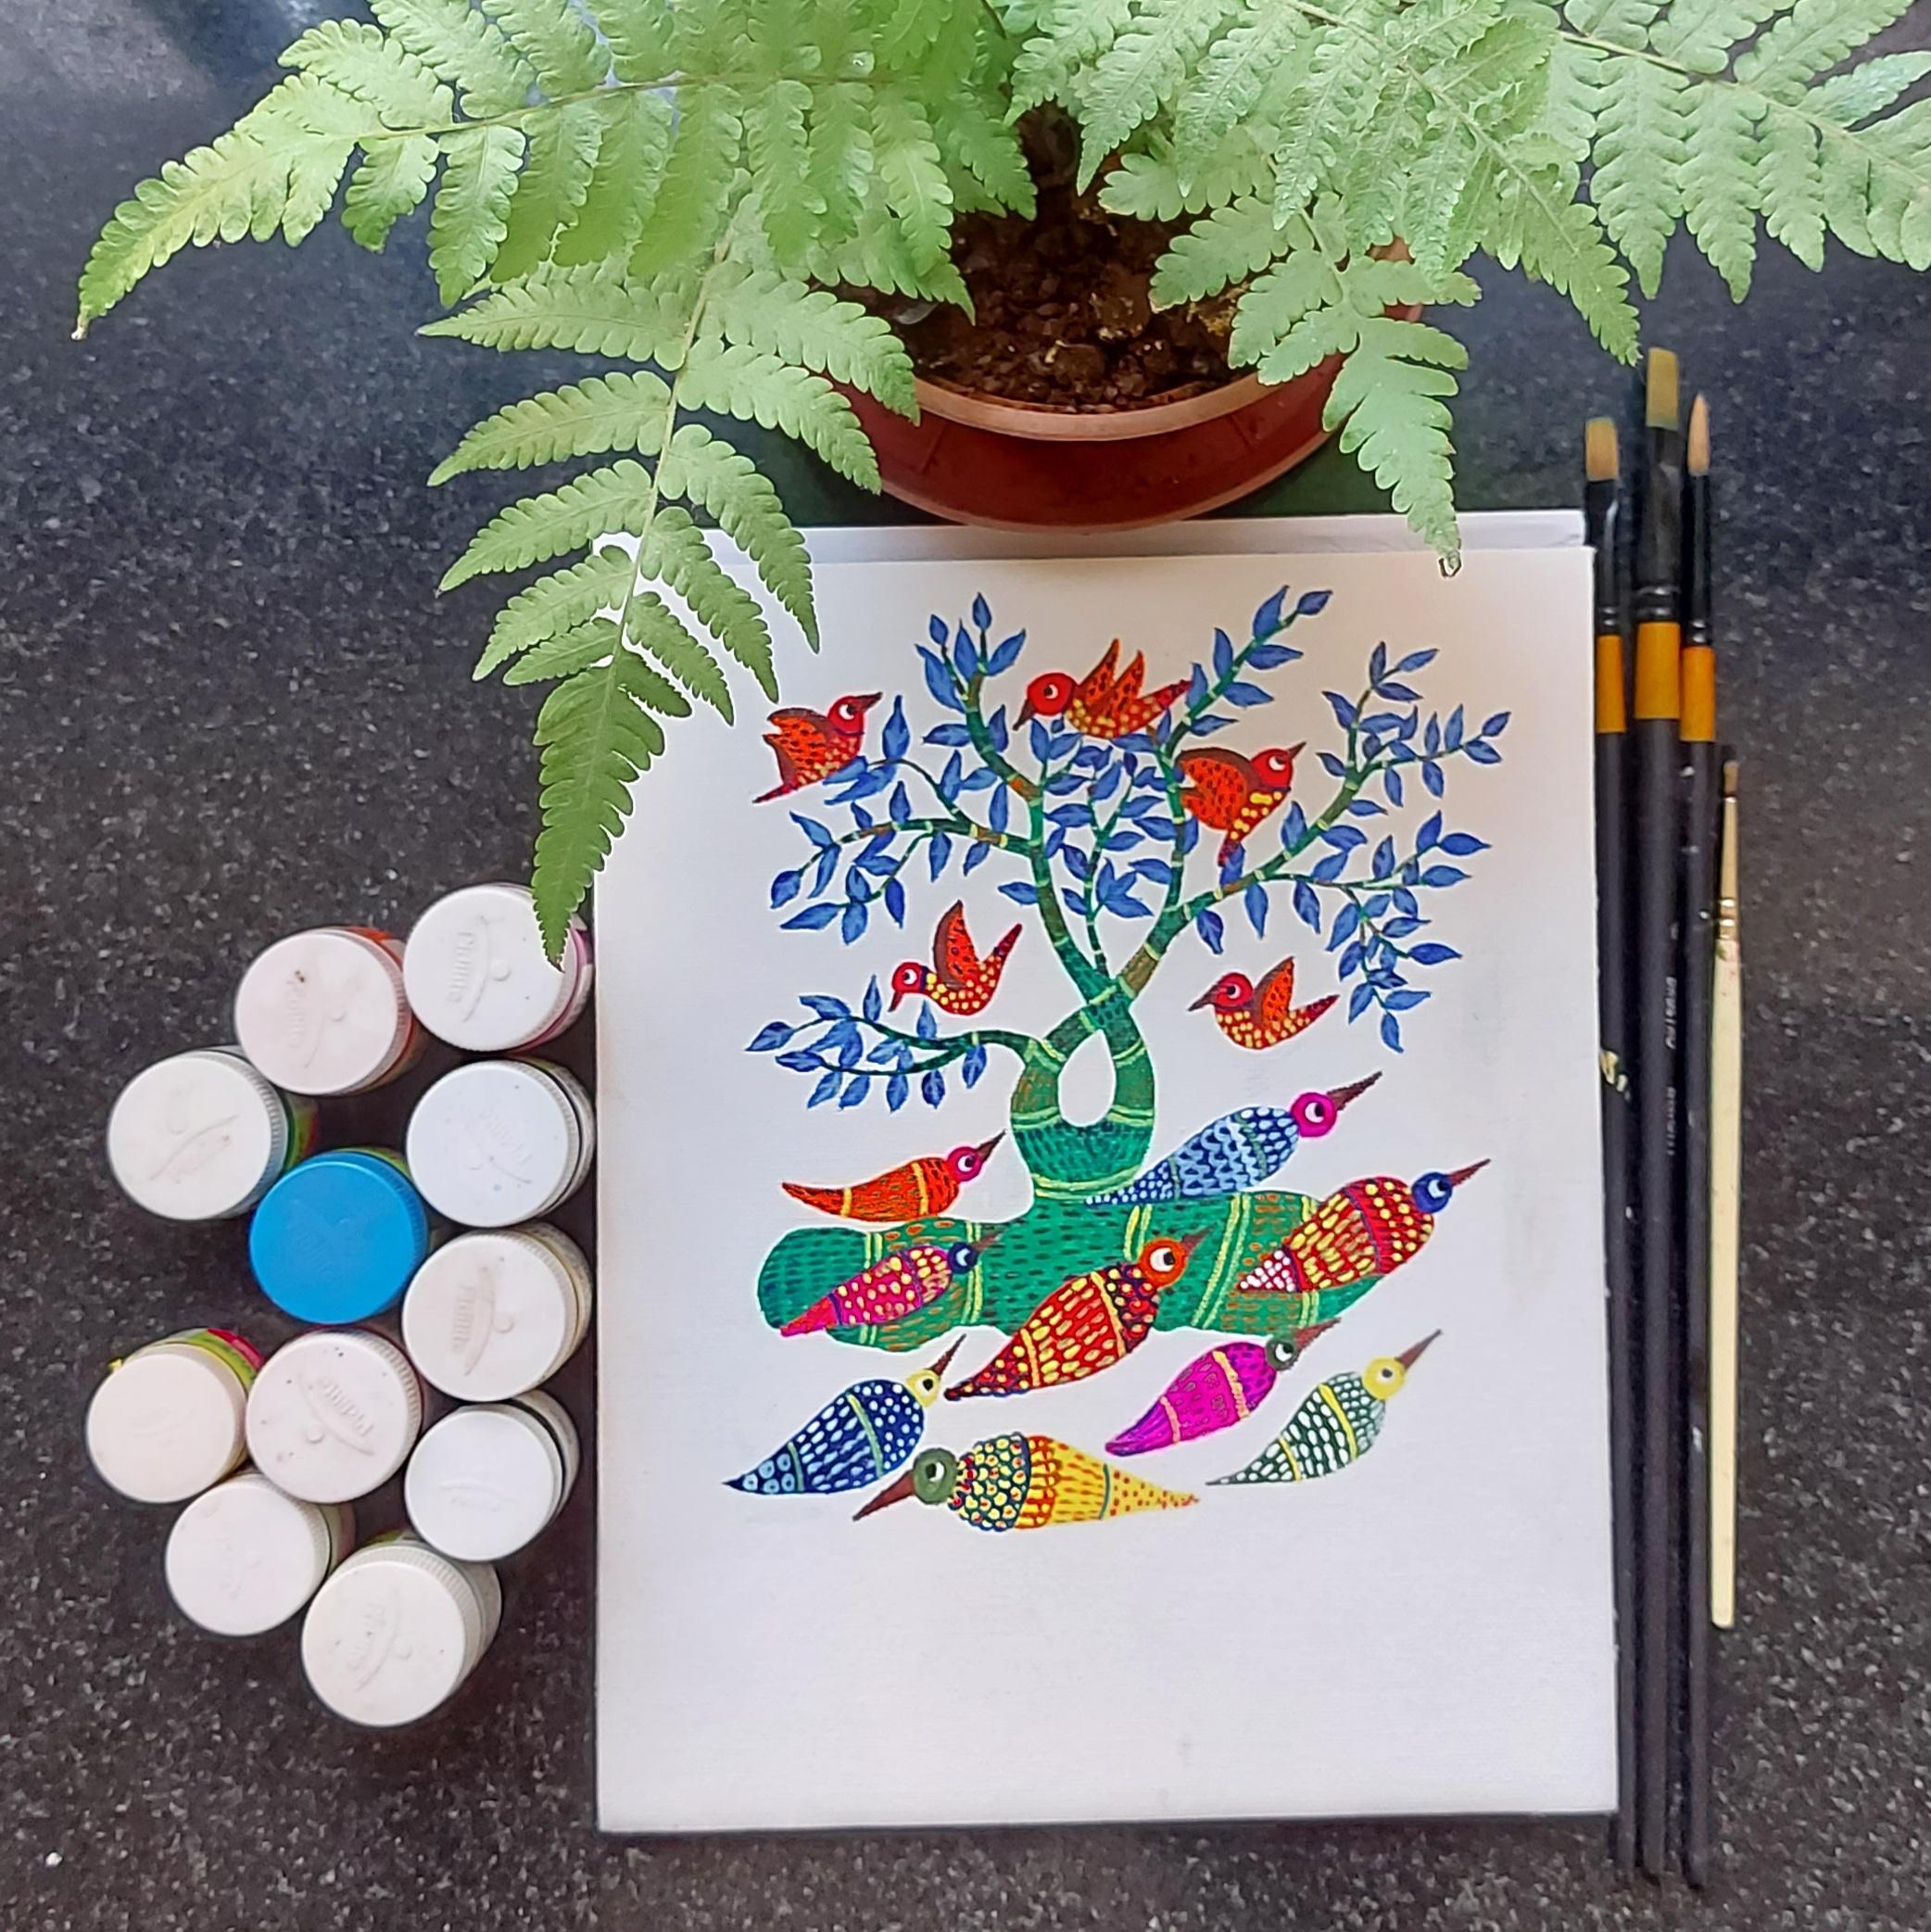
am going to use. I'll be using acrylic colors. For that. I have some
round brushes are detailing brush
and a flat brush, which I am not sure whether
I'll be using or not. But here are the brushes. I'll be using acrylic canvas, sheet, liquid acrylic colors. I'll be using a jar of
clean water to clean my brushes and rough clot. Vibe the brushes dry. You will also need a couple
of your favorite beverage. You're free to use tube, but really colors also, but I will be using the
liquid equity colors. So here's all the supplies. And as I said, you can use any medium of
your choice in this class. So we'll just grab your supplies and I'll see you in
the next lesson.
3. Basics & Practice: Let's understand the basics and the characteristics
of this art form like any other folk art, this one is also very
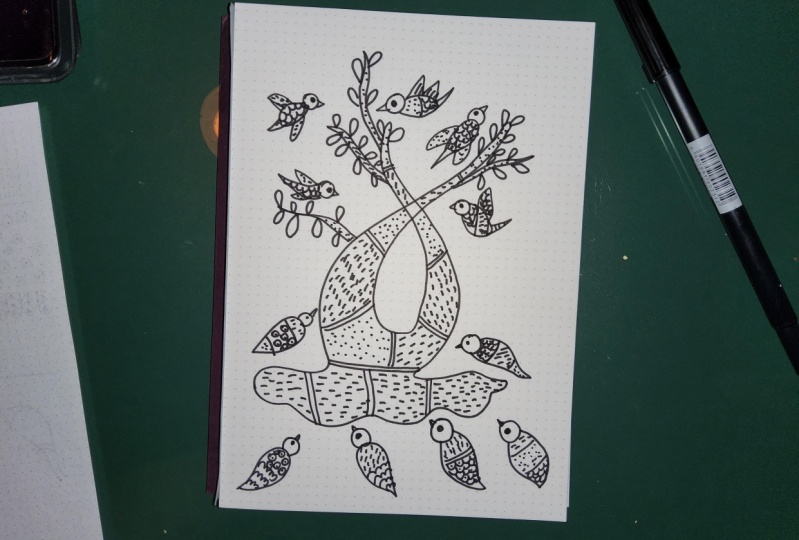
much close to the nature. The depictions are mainly about birds and animals and trees, but the depictions are highly
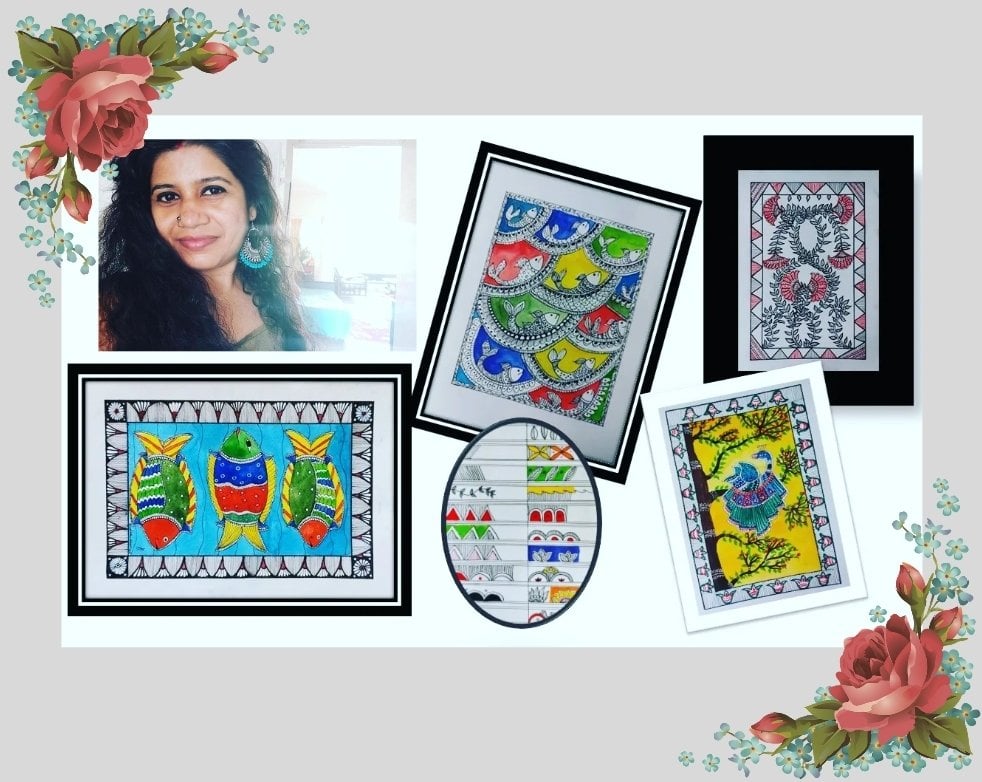
imaginative and whimsical. As you see, this fish is
not at all realistic, but the main characteristic of this art form is the
patterns and Marx which fill up the entire surface of any figure that are
drawn in this art form. As you see, these patterns
are simple but very typical. They are the main characteristics
of this art form. Either colored or inked. You can see the characteristic. The main feature of this
art form histone marks and patterns drawn all over the surface of the illustration. And all the figures
drawn in this art form are very whimsical and
unrealistic and magical. It's also abstract. Sometimes like this family
or full brought over here. Very interesting character of this art form is
that the animals and trees are always
depicted as one, so they merge into each other. We'll come back to
this part later on. First, let us see though
the SEC marks and patterns. And let's give it a try. Here. I am dividing the
paper in some parts and I'll show you the basic marks and patterns reuse in this art form. The first one is the
broken line pattern. And you can draw them
three reads vertically, horizontally and
even diagonally. Moving on to the next one. And this one is the dots. It's very much like stapling. Just that you don't have to
bother about the shading, light and dark, just gone stippling and fill
up the entire area. Next are the tiny circuits. It like bubbles. Then we have the
concentric double circle. Like so. Next one is the COVID-19 or fish scale. And in Godard, it's not
only used for fish, but also for other animals, boards and even trees. Let's have a better
look at that. Then. Next one is very
similar to this, but these are now Guan centric. The skills that
they can be a bunch of three or a bunch of four
depending on your choice. Let me show you one more time. Like that. Another variation of the
fish scales is like this, where each skill is filled
with a dot like so. Next is a bunch of
elongated curves, like so many CDs off letter
you connected to each other. And right now it depends
on you whether you want to fill it up
or leave them empty. If you want to fill them up, you can just fill each
elongated curve with a single line or you can fill it up with the complete
feather-like. Let me show you find more time. Here's a little complex one. I don't use it much, but I'm just showing
it for your reference. It's like a chain that each link is filled
with dot or a soccer. They can be endless
patterns and Marx, which you can use to
fill up your artwork. But these are the
most common ones. Now let's move on to the other things we
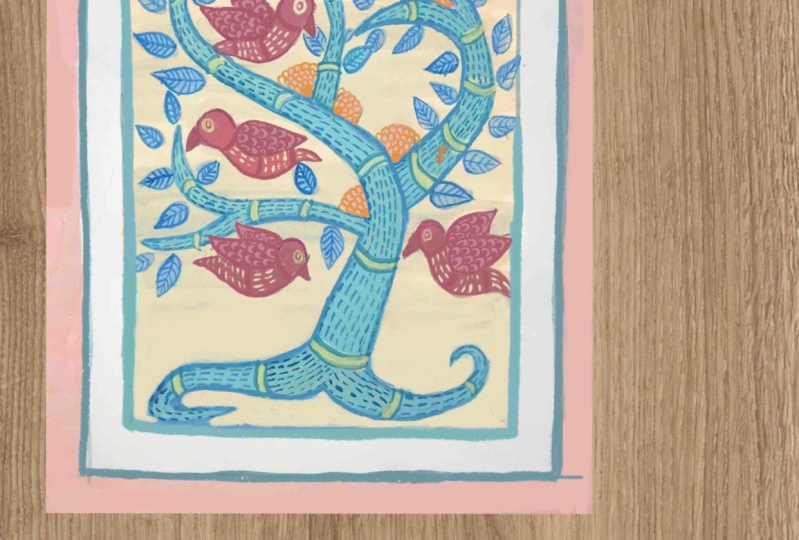
draw in this art form. Here's a branch of tree. And as I said, this
art form is very, it grew and magical. So most of the trees and branches you will see
our flowy and wispy. Here's a fruit, or
it can be a flower, whatever you think because
it's not at all realistic. Now, here's a tree. So as you see, it's very wispy and flowy to
give it a magical effect. Like so. Let's make some
leaves and fruits. I think that there are three ways of drawing
leaves in this art form. One is this pointy leaf, very basic and simple. And the other one is
this rounded tip leaf, again, very basic and simple. Then there are some long
leaves or grass blades. Here's how we draw those. Again. It's up to you how you
want to fill them up. I'm showing you a couple of
examples of doing the same. Another main characteristic
of this art form is that everything
is divided in fats. Then each bot is filled
with marks and patterns. Here's the example of a
branch or the grass blade. Now I'm taking the
example of a fish. So the shape of the face will
be very basic and simple. Then I'll divide
it in few parts. Then I will fill it up with different marks and
patterns. And that's it. Now let's go back to
the examples I have already drawn to understand
this art form in our battery. Very common figure
in gonad, the deer. And you see the parts. This is divided in parts and each part is filled
up with the patterns. And the oneness with nature is depicted in form of
the ears of the steel, which is like leaf,
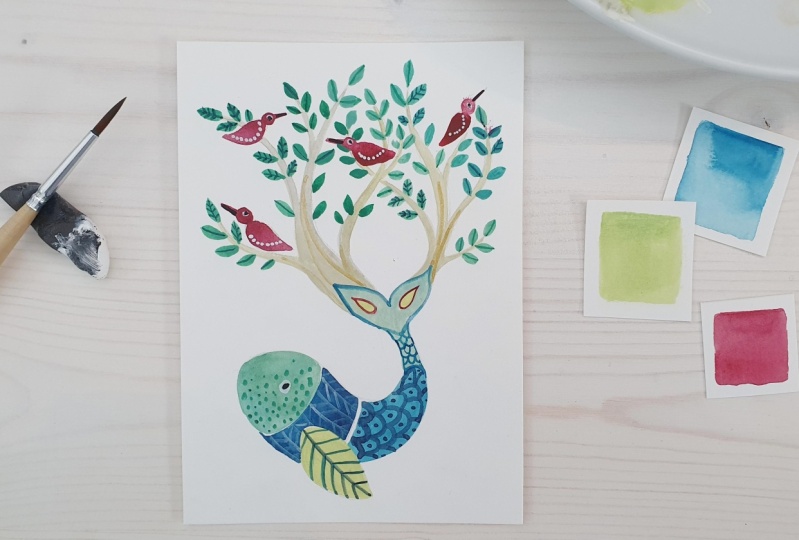
and the antlers, which are like the tree that now absorb these carefully. The tail part of the fish is like a tree and the tree
has boards for the fruits. So everything is
mortgaged in nature and the other fish has
roots for the deal. Here the cat has leafy
ears and a fish deal. And the fish has
leafy tail fence and feathered friends or
the fence. Same way. This one here. That's a snake. Now you've got
till it has snake. If you, if you don't
see the tongue. Here, the peacock
has a whole tree coming out as it's
steel feather, and the beak is in of a leaf. Now here are the three birds
under this whimsical tree. And you see the beaks out
again and form of leaves. And for three buds the
body is merged into one, and we have four legs, 43 buds, which is very imaginary and
not realistic at all. This is a board
inspired from Turkey, but you see the headgear is made of leaves
and other boards, a bunch of buds. And the big federal is
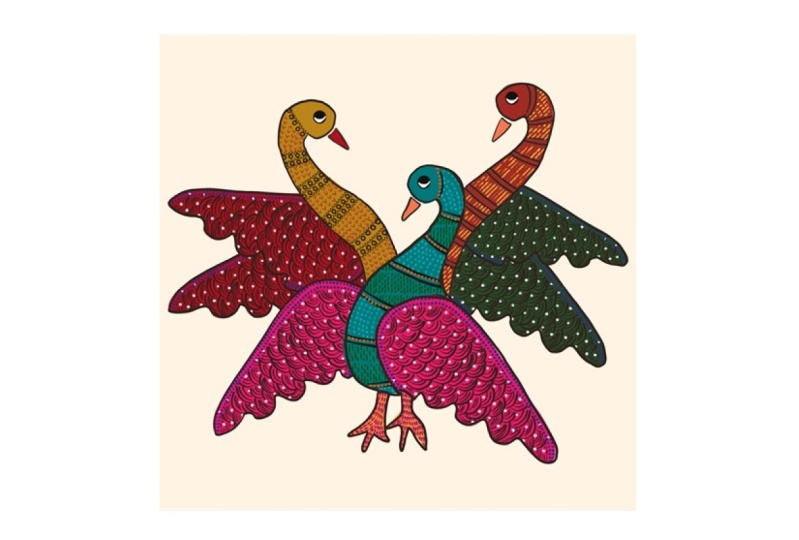
like a huge giant leaf. This one. Here's the family
of four boards. And all four of them are
merged into each other. Very abstract. And now the lion,
It's my favorite. If you see the
main, its fall off the leaves and even the
deal looks like relief. That's the beauty and
simplicity of this art form. I hope you've got better
understanding of this art form. Now, let's move on
to the next lesson and let's begin with
the class project. We will first draw
the illustration, and then we will color
them step-by-step. So grab your supplies, and I'll see you in
the next lesson.
4. Sketching: Welcome back to this lesson
where we will sketch out the motif on the
surface we are using. I am using this canvas sheet. It's ten by 12 inches
primed on one side. And I'll be using my mechanical
pencil to sketch a motif. I have put the picture of the final picture on top for your reference
to follow along. But the beauty of any folk
art is in its imperfections, so you don't have to worry about sketching a perfect
illustration. Suggest, enjoy the
process and follow along. If you wanted to change
anything in the illustration, you're very welcome to do that. I am not drawing
everything perfectly. I'm just drawing to
have an idea of what goes where more like a
placeholder for the birds, line drawing for the tree. And that's all I'm going for. Just follow along. And by the end of this lesson, we will have our sketch
ready for painting. Sorry about my voice. I'm just having a throat
infection that they need to worry about just the result
of weather change maybe. Now, as you see the drawings
here are very, very basic. That's the beauty
of any folk art. So I'm drawing simple leaves,
simple flowy branches. And for the buds, I'm using S shaped body
and teardrop shaped rings. Though you're free
to change the shapes of the leaves or the tree or the buds as per your
comfort and liking. But just make sure they're not very intricate and very complex. Basic shapes and
basic drawing is what we are looking
for in this painting. As you see, I'm
drawing really light. Acrylic is an opaque
medium still, I don't want to take a chance. His pencil marks are
showing through the paint. That's fine. I'm drawing really late. If you don't want to draw. You can also take the picture of the final painting and
trace it on your surface. You can completely do that. We are almost done. I wanted to tell you a secret. Then I lose beginning
this painting. I wanted to paint just a tree with a couple of birds
flying around it. But when I finished
sketching it, I realized that I have
sketched the motif. I'm very high on the Canvas. A lot of space is
empty down below. And that's when I decided to add lots of birds at
the base of the tree. I wasn't sure how it
was going to look. So this area here, as you see, now I'm
going to add buds here. And I'm pretty much happy
with the final results. That's how it is. Sometimes things don't go as per your plan,
but that's okay. Most important thing in
making art is to have fun and enjoy the bruises
and trust the process. So that's what I did here. You can see the result. The moral of the story
here is that don't worry about the result and
don't stress yourself. There is no wrong way to do it. Just have fun and
enjoy the process. Have I say that enough? Yes, I have. And about the boards as you see, it's a very simple
and basic shape, Just a tiny so-called
attached to a teardrop. And I am changing the
direction of the birds. Every now and then. There.
We are done with the sketch. I hope you could
sketch along with me. If you haven't, you
can pause the video and complete your sketch. And I'll see you
in the next lesson where we will start
painting the first layer.
5. First Layer: Sketches ready, Let's grab
our brushes and paints, and let's start painting the first layer of
the illustration. As you've seen in
the final result. The painting is so
colorful the UK, free to use any color
of your choice. Here I'm starting with dark
green for the tree trunk. And there I start
painting the tree. I'm carefully painting
around the other shapes, like boats. And all. It's very easy and
simple. Do it's acrylic. Even if you by mistake, go over some other figures which you are not
supposed to paint green. It's okay when the paint dries, you can paint over it. And you can exist Heidi, rusty because it's acrylic. So you don't have to worry, but try not to do that. Try to carefully paint the negative space and
leave other things, white and black blank,
non-black, blank. So it's very simple, just like filling in color in any coloring
book or something. So just go on beating the tree and enjoy this
meditative process. Now for the branches, I will be using the
tip of my brush and try to make cannot
branches as thin as possible. And especially towards
the tip of the branches, I will try to make them pinna. While as I go down
towards the base, I'll try to keep them pick up. That's the perfect
proportion I'm aiming for. But even if you feel to do that, or even if I fail to do
that, it's totally okay. It is folk art. And in this form of art, It's absolutely okay to go
out of proportion slightly. And secondly, the whole
idea of this class is to relax and have fun and
be proud of what we create. So don't worry, even if your branches are
not in proportion. Just have fun and
enjoy the process. Now the tree trunk is ready. I will move on to
the flying birds. Here. I'm taking orange
and red for these birds, but you're free to choose
any color or fewer choice. I'm using red color for
the body of the birds, for the rings, I will
choose a different color. Now for the veins,
I'm using orange. You see, I'm holding the brush very close
to the tip just to make sure that I have maximum
control over my strokes. Now after the flying birds, Let's move on to the
birds on the ground. And for them, I will follow
one color at a time approach. Birds that all done. Now let's move on to the leap. And for that, I am
using this blue. Using the tip of my brush. I am making small strokes
to make my leaves. Very simple leaf,
nothing complicated. Him. I hope you got an idea. Now this is a
repetitive process, so I'm going to
take a time-lapse and finish all my leaves. You can pause the video
and finish yours. After the leaves are done, I'm mixing some red and green
to get a reddish brown. Don't add a lot
of green at once. Cool little by little. There. You see me adding green. This is the sheet. We want. Reddish brown. The Brown has to be towards red. And with this, whether
detailing brush, I will just define the
rings of the flying birds. Again, there's no
fuss about the color. You can use any color you want. I just wanted this reddish
brown for the orange pinks. And that's why I'm
mixing this color. I'm using the same color for the beaks of these birds. Also. If you use the same round for the beaks of other
ones on the ground. The first layer is ready. Let this dry completely before we start working
on the second layer. Meet me in the next
lesson for the same.
6. Final Details: Ready for the final SAP? Great. Make sure
your first layer has dried completely before
you move on to this step. This step is very simple. We have to make some
marks and patterns to cover the entire
surface of the painting. We have already
practiced this before. As discussed in the
practice session. Our first step will be to divide the subject in few parts. For that I'm taking
lemon yellow. You can choose any color. And with a fine brush, I'm dividing the tree
trunk in different parts. You can also use Posca marker or any other marker
that goes well, but acrylic surface
for this step, for the entire mark-making. But I will be using
acrylic beans only. But you can use the mediums. I am using the double
line for the division, but you can also
stick to single line. That's absolutely fine. Don't worry about the mistakes. If you first layer
has completely dried, you can quickly ripe off or varchar of the marks
if they got on. That's the freedom that
we get with acrylics. And that's what I like about it. Him. Almost done with the tree. I will repeat the same process with the boats which
are on the ground. I did it with a time-lapse, but of course you have to pause the video and do
it for your buds. Now, let's start
making the marks. So first of all, on the tree, and then we will move on
to the other subjects. I'm AC, components
of the painting. Now this is a simple and repetitive
process we have already practiced in the
practice sessions and now I'm going to be quiet. And I leave you
with the music to enjoy the process
and follow along. Of course. Here we go. In the tree now moving on to the buds. Now embellish all the bugs
in the similar manner. I am taking white color to make the reins and ribs
on the leaves. Since the blue color is dark
and white is not very dark. And I've also taken this, white will not be
striking after drying up. It will look like sky
blue. That's what I want. Now, finally, moving on
to the flying words. Another important
feature of gonads form is that we don't always
outline the artwork. It's up to you. If you want. You can outline them. If you don't want, you
just don't outline them. I am not going to outline
this illustration. You can outline yours
if you want to. These as a final, final step now, some black
on the tip of your brush. And with that, let's make
the eyes of these birds. In this folk art tradition, we believe that bending the AI brings life
to the subject. So try to be in the eyes. The very end of the painting. They goes to final one. So we're done, we're done with this painting. Look at that. That's the beautiful
masterpiece you've created onto so proud
of yourself right now. I'm sure you are. So I just hope you liked today's class and you could
learn something today. Let's meet up in the next
lesson where we will talk about the project and
wrap up this class.
7. Thank You & Beyond!: Well, this brings us to
the end of this class. I hope you enjoyed
it as much as I did. Now, I want to share a
couple of examples with you. These are few things I made using this beautiful art form. Here's a ketal, I
decorated eight width, go and add more leaves
using a credit colors. You can see how organically
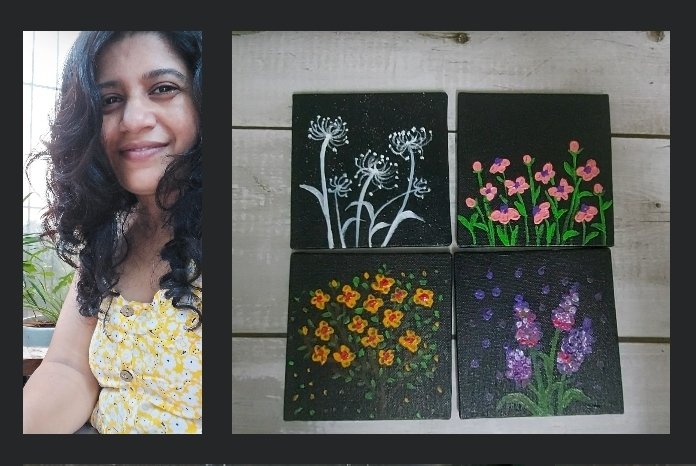
beautiful it is. And here are a few coasters that I made using the same art form. You can also do that
and decorate your house or even gift these items
to your loved ones. It can make a beautiful gift. Gonad form is full of
imagination and magic, so you can come up with
your own imagination. You can use any of the
examples we discussed in the class as your class project. I encourage you to make
this illustration and share it in the project gallery
for me and others to see. I would love to see
what you created. In this class, we discussed all the materials we need
for making this painting, and then we sketched it and painted it right
from the scratch. We also learned about the
characteristic features of gold at the patterns and marks we use in this beautiful art form. I hope you enjoyed the class. I hope it was useful. Please leave a
constructive review. It will help other
students to find my class and you can follow me here to be notified for my future classes. Bye bye.
 Manishaa Shriivastava, Artist, Art Educator, Author