Transcripts
1. Welcome To The Class: Hello, my name is Maria. I'm an artist from India
and I invite you to join me in my final class of 2022. In this class, we
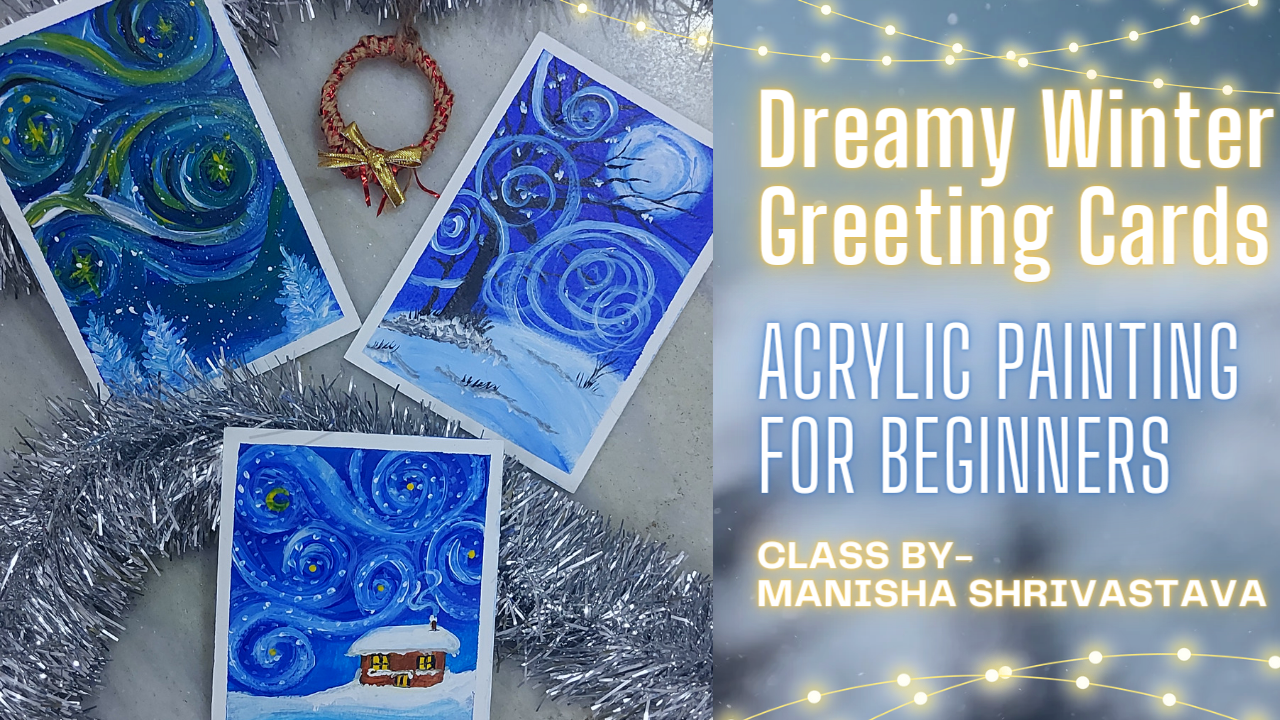
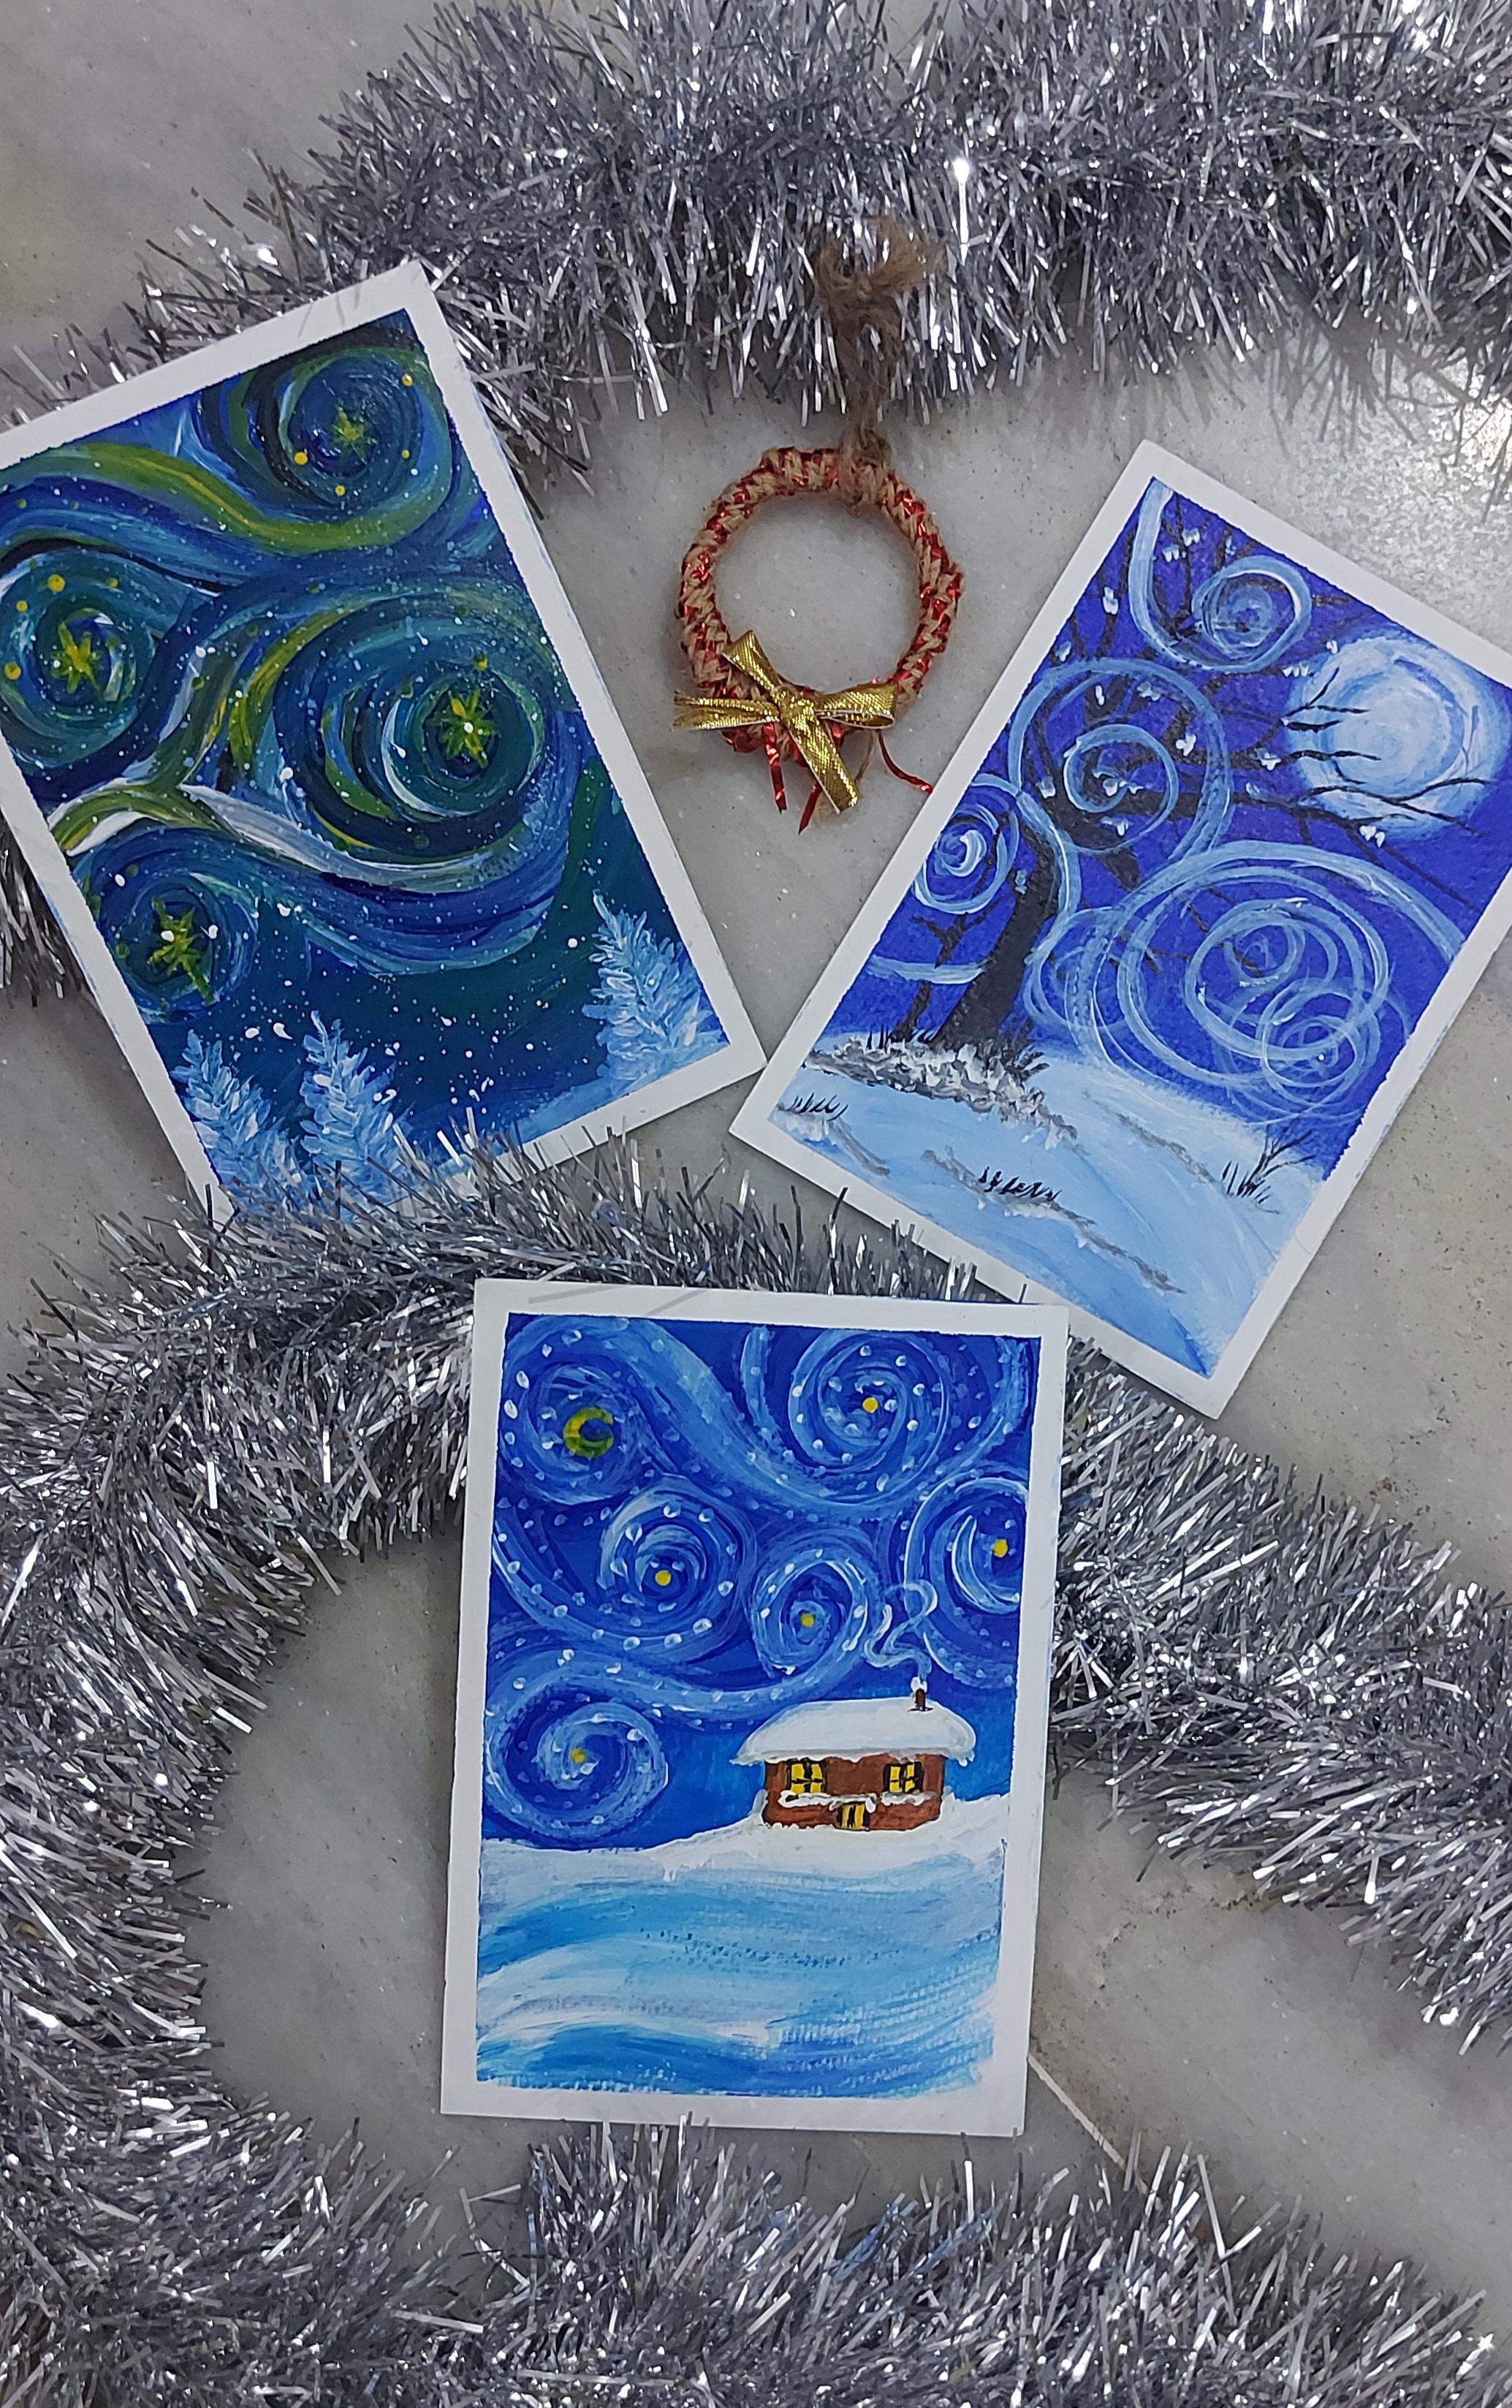
will be painting three dreamy winter themed
paintings inspired by Renoir. And these meanings can be easily done into greeting
cards for your loved ones, or you can just read
them and degrade. This class is designed
for absolute beginners. So don't worry if you don't have any dry painting experience, I will take you through the
entire step-by-step process. Hi. I'm sure that by the
end of this class, you will be able to
be beautiful meeting. If you have any ideas or questions or doubts
as detailed to me, the discussions, and I'll
be happy you are right. You are on. This class is sinful. You can join me for a
relaxed and dreamy beat. By the way. What have you been? Very few basic supplies. You can these beautiful
greeting cards for those cells and
your loved ones. How can you grab
the art supplies that I want to tell
you what they are? I'll give the join
me in the next lesson where I will tell you about the art supplies
you need for this class. And you can join
me in the class, alright, so I'm reading for you. Just join me in the next lesson.
2. Materials & Class Project: Hi, So this is what all
we need for this class. This is a watercolor postcard. And we're going to use acrylics. But because I wanted to make
greeting cards or postcards, who I choose this
as the surface. You can also use
Canvas or you can use canvas board or canvas
paper or even acrylic paper. All right, but I chose
this because it has already got this postcard printed on the back
and on this side, I can use to paint. So this is why I choose this, but you can choose
anything you have, right? So this is the surface. And then I'm going
to use some tape to tape the borders so that I get Chris framing
around the painting. Then I will need some
water to wash my brushes. Now for the brushes, we
need only two brushes, one flat brush and
a round brush. And so the colors, the first run is going
to be just blue. So this is ultramarine blue and this is black
and some white. So this is a window painting. So all we're going to
use these winter colors. And apart from that, we will also need some piece of cloth so that we
can write our brushes. All right, so grab your supplies and meet
me in the next lesson. See you there. For your class project. We will be painting the beautiful god's leading gods and underage you share at work in the project
gallery for me. And I can also give
you my feedback on your request you to leave a constructive review based on your experience
with this class. You will use will
allow me to understand my progress and the
detail whether I'm doing something right or wrong. And it helped me understand how to make more and more better
glasses for you in future. And also help others to
find my glasses so I can reach out to more and more
people with your help. So please do leave up
extracted, leave you. With all that said. Let's dive the glass.
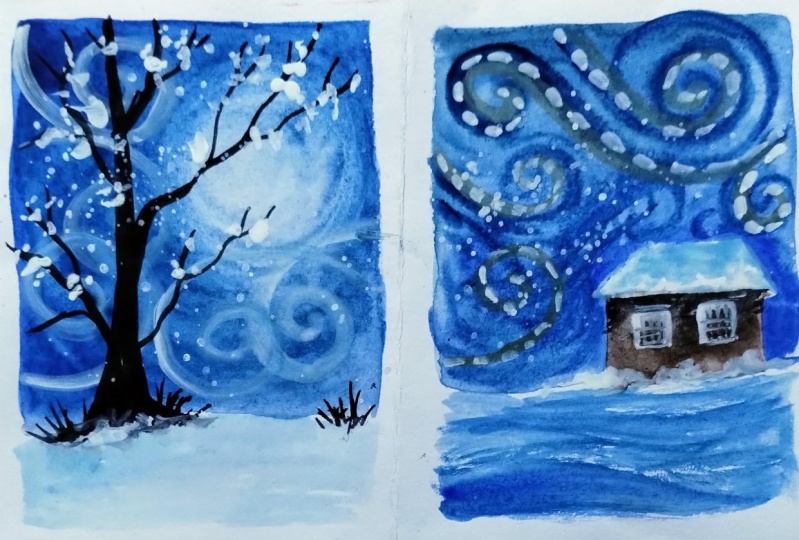
3. Winter Breeze : Welcome back. Let's begin our very
first class project by dipping the people. The steps will
ensure that you get a crisp edge around
your painting. Next step is to make
the flat brush. So just dip it in
the water and dab it on a piece of cloth so as
to remove extra water. You just want the
brush to be done. Now a dip that **** brush in the accredit color, the
French ultramarine, and the left and right movement of your
wrist color the paper blue. Keep coloring the paper
blue until you reach the very bottom of the page. The third one third of the bottom of the page
is remaining there. Just keep coloring. Make sure that you cover
the entire surface of the paper and not leave any sparks of light here and there because
we don't want that. It's a very dreamy
for being thin, yet it's very simple, easy, and design absolutely
for the beginners. Alright, so keep painting
till we reach the third, one third of the people there. As we do use this but just make a slanting line like this. As heal, we will meet
the snowy mountain. Like so. Make sure you're
not left any paper white on top if you have just go over
it and painted again. Now, wash your
brush and clean it over a rack piece of cloth. And take some white in your
brush and start painting. The bottom part of the paper
depicting Go snowy mountain. Add a tiny bit of
ultramarine blue. This bot. To depict the
shadows in the snow. Made sure not to use a
lot of blue and made sure not to blend it too
much that it becomes flat, sky blue wash or right, we just need some random
blue strokes to depict the shadows and the ups and
downs in the snowy mountain. And right. So keep adding white
and let the little bit of blue so as to achieve the desired effect and stop
the moment you like it. With very light handed strokes. I'm just adding
some blue strokes here and there, like that. And that's it. Go slow in adding the blue, no matter how much
time it takes. But don't rush this
step and don't add a lot of blue
or a lot of white. In one go. Take your time. Slowly build this layer and make your perfect
snow mountain like that. Take your round brush. The dark side of the
paper has dried. So take the round brush and
with some white color in it, make a random circle on the top right corner of the
paper depicting the moon. Now I feel though
layer of moon is very flimsy or transparent. So I will take the same
white in my finger. And with my finger
I will lay and opaque and thick layer of white so that the moon
becomes sparkly and white. Here we are not aiming
for a perfect circle. It's just a random, so in a very painterly and artistic way to depict the moon. So don't worry about
the perfection. Now in the clean, damp brush, take some black color, and let's draw the basic
structure of a tree. I'm comfortable drawing the
line away from my body. So I'm starting at the
base and going upwards. If you're comfortable
drawing a line, otherwise you can do
the opposite of that. Here, I'm drawing a basic tree just the way we used to
draw in the childhood. So it's time to relive
those childhood moments and draw this beautiful
leaflets vintage free. All you have to do is just make the shape of the
trunk and then let the branches go out in every direction here and
draw some jagged lines, some whimsical flowy
lines here and there. And make the branches of
this leaflets winter tree. Let the branches go
over the moon as well. It will look very nice. And just when you are happy with the overall form of your tree, you can start
making the branches thicker at the base and
thinner towards the tip. There is no right or
wrong in this process. Just enjoy the process. Again, we are not
aiming for perfection. It's time to fill in the
color and the tree trunk. And now let's make the base
of the tree trunk irregular, depicting the roots
going inside the snow. And there we have our
vintage tree ready, just little touches. Some fine tuning here and there. You have it. A point to remember here is don't stop within the
boundary of the pages. Let your branches go
out of the beach. It will look your tree
seem more realistic. Some more final touches at
the root. And that's it. Let's make another
unruly branch here. So once again, clean the brush, and by now the painting must
have dried quite a bit. White paint in your brush. And let's start
depicting some snow settled on different
areas of the tree. I'm starting with
a base DKA call depending on the stage
of your painting, if the colors are not tried, just let them dry completely
and then add the snow. Otherwise, they will merge and blend into a gray just the
way they are happening. They are blending in my case. So just stopped there. Meanwhile, we can add
snow to the other areas of the tree or we can
do something more, make the soil is. For this, just use the
brush as a pencil. Hold it at a 90 degree
with the paper. And using just the tip of your brush make these whimsical, so alleles like that with a rotating
movement of your wrist, just make randoms or
leaves here and there. There is no right and wrong. There is no aim for perfection. It's your painting and you
can own it in your own way. So here I'm making
these smileys. These holies, by the way, depict the winter breeze
in an artistic way. And that's the beauty
of this painting. So here we go. One more. If you feel that
the white color is becoming faded or it's
becoming sky blue. Because of the blue background. You can go over
this many times and make the white sparkly and
make it stand out like that. Now let's work out on
the snowpack again. So here I'm adding some snow
at the base of the tree. And I will add some snow deposited on the
mountain as well. Just here and there, and also add some snow at
different branches. This Norma's have settled down on the branches
here and there. This step makes the
painting really pop. As you can see. Now, let's add some snow. Mountains here and there
on the mountain like that. And with this step, I think our painting
is complete. Let's remove the
tip at an angle. Make sure you're
painting has dried completely before
removing the tape. Otherwise, you will
tear the paper. Once it's dried, let's
remove the tape at an angle and reveal
your beautiful artwork. And that's it. This is our very
first class project. If you still feel
some fine touches, our remaining, you can
add them. Even now. There. That's our very
first class project. I hope you liked painting
it as much as I did. Meet me in the next lesson, where we will paint another beautiful winter
painting. See you there.
4. Aurora Sky: Welcome back. Now for the second
class project, the colors we are going to use, our basic blue,
black, and white. And I'm adding lemon yellow, or you can use chrome yellow. Alright? So again, I have
already taped the paper, and now I'm starting again
with ultramarine blue. This is a winter theme, so mostly the background
is going to be blue. So again, it's a very
simple and easy step. With the left and
right movements. Your wrist, you have to just
paint the entire paper. Blue. Violet being this, I want to share something
personal video. So I had planned to upload a class which was about
autumn paintings. I had already shared the glimpse of the
class with you all. What it's going to be like. I had shorted halfway
through, edited it. But then something very
drastic happened in life. And the move from one location to another and so many other
things happened that I couldn't just finished that class off and
upload it on time. And it caused a seasonal
class like this one. It was about Autumns white. There was no point
uploading it after the artboards going and
ventricles already here. So what I'm trying to say is, no matter how much you plan, life happens and it's
not in your control. So that same thing goes
with your creative process. Also when you're painting,
when you're drawing, and you think you, you expect from yourself that you're going to
deliver a masterpiece. And if you, in your
point of view, if you end up messing up, don't feel bad, don't
be sad about it. Don't compare your work
with others work because, because life happens
and creativity and art, these are all elements
of life, right? Not everything is
in your control. And that's the beauty of life that you can't
control each and every thing. Embrace what you've created, and enjoy the process. That's the essence of life. Right here. As you see, I have taken my round brush and I have taken
white paint on it, and I've drawn this solely. So this painting is in Van
Gogh, Starry Night style, but not exactly the style, but you are very much
inspired by that style. So here I am drawing
different alleles at different places, just randomly. I have no plan in mind and there is no
sketch, as you know. Just going ahead and drawing difference
valleys here and there. And I encourage you
to do the same. Once we're done making
swale, is that white? We can add other colors. So here I have taken yellow. And with that, I'm going over the leaves I've
already drawn here. The trick is the background
color, which is blue, has not dried completely and right has also
not dried completely. And on top of that,
I'm painting yellow. So my aim here is to let the colors merge and
blend a little bit. Give that natural organic
magic of Aurora like green. That's what I want. So it should be yellow at some places and
greenish at some places. So that's the natural
blend of the colors. That's what I'm aiming for. From here onwards, I will
start adding different colors, like all the colors we
have already selected. So blue, white, black, yellow. I'll go over and over on these rallies
with different colors. And I encourage you to do the same and just
go with the flu. Listen to your heart. This is a very abstract painting right now at this moment. So it's a very abstract style. Actually, style is the
word I was looking for. It happens a lot with
me that I started looking for a word
which is in my head, but it just doesn't come. Just I can't say that. It happens a lot with me. So here it's a, it's an abstract style. There is no right or wrong. You just can't go wrong with it. So just listen to your heart and start adding
different colors and meet these two alleles
bigger and bolder, and make them stand
out. Alright. Now I think we've got the
correct form of these valleys. Now, let's see flat brush and abstract them down so that the flat brush
I'm taking, right? And all the other colors. And sometimes I'm turning it to an angle where I can
get a thin line with the flat brush and
sometimes I'm turning it otherwise to get a
flat line, right? So I'm just going over the same. So at least with the flat
brush turning and twisting it, according to the
broadness of the line. I need, thickness
of the line I need. And I'm just going in
a very abstract way. At this point, I think does
Wally's on top? I perfect. But I just want to bring this
guy down a little bit more. I'm just thinking if I can make some
Mussolini's down below. Let's give it a try. Let's see what
happens. Let's see how it looks. With acrylic. You can always cover up
your hook can always lead, color, dry, and
paint on top of it. So I don't think we can
ruin this painting. So let's just give it a try. Let's make some more
slow these down below. And let's see how they
look. What they look like. Yeah, not bad. Now let's take the round brush and let's paint some stars. Bit yellow, essentially at the center of the leaf and here, and they're also
basic style which we make the clause and more crisscross lines
that start enjoying. I hope you all know it. I hope you all know how to
draw this simple start. And now let's add
some dots here and there to depict the stars only. Let's add these dots here
and there with yellow. I think they look cute. It's totally up to you. You can skip this step. If you don't want these dots, these dots, you can
just skip them. But I find them very cute. And I'm going ahead
and adding them. Falling the trail of
all this Orleans. And now let's bladder
some white acrylic paint. I just dipped my brush in the water and
removed extra water. Like I did not want it to be dripping bed. But they
are a little bit. And then I dip the brush in the color and with that
watery white color, I'm splattering this paper. And if you give that
snowy study effect, and now at the very
bottom of the people, I am drawing a very
small snow mountain. It can't even be
called as a mountain. Very small space of ground
which is covered with snow. And then I draw two
small Christmas trees. Very simply like that. Just a line and then few more lines going
out of the center line. And all I have to
do is just retain the conical or pyramid shape of the Christmas tree or pine tree. As simple as that. Here we go, Let's make
another one, straight line. And then a bunch of tiny
lines coming out of it. Life forming a triangle
or a pyramid shape. There we go. We have
another Christmas tree. You can even try and paint green pine trees
instead of white. I just wanted it to be white, so I painted it white. But you can absolutely go ahead and paint
green by interests, or even colorful ones. Sort of the decorated Christmas
trees also you can meet. I think three of
them are enough for this size of paper
or the canvas. That's it. We're reaching the end
of this class project. Also. If you found a piece
of my painting fast, you can actually slow it
down in the playback. There is an option, or if you
want to increase the speed, you can do that as well. It's totally up to you. Or if you want, you can
pause the video and catch up with me where I am and then
restart it. From there. There are so many options. This online learning
is so good. Thank You. Can learn at your own pace. You can watch the lessons
over and over again. You don't have to step
out of your comfort zone. You can just stay where you
are in your comfy space and just loan so there
is no end to learning. You can keep on learning wherever you are,
whenever you want, however you want and
whatever you want. So it's great. Online learning. Pain is great. Alright, so we are almost
done with this painting. I am just letting more
and more white on top. And I'm just trying
to make the white more white because we
have a blue background. And on top of that, white is becoming transparent
and it's becoming faded. So I just want it to stand
out and that's fine. Going with multiple layers to make it more and more tight. Little bit of blue peeking through here and there is fine. It will only depict the snow and it will only look natural. So don't try to meet
the entire pine tree. A blob of white lead, some blue peeking
through here and there. And because acrylic
dries really fast, for this step, you have
to work really fast. And if you have not been able to work faster and your base
layer has already dried, you can always add a bunch
of blue on top of the white to bring your
background to the foreground. At some places you can always
do that also with acrylic. It's very forgiving medium. It's very easy for
beginners. Very rewarding. So you think that you
can do that also if your background has
completely dried. Adding some blue on the ground Also to depict the
shadow of the trees. And now we are done. Let's remove the
tip at an angle and reveal the second
postcard of this class. If your painting has dried
nicely to remove the tape, just wait for some more time. And if it's dried like mine, remove the tape at an angle so as to prevent
tearing off the beach. And they're there, we have it. Another postcard is ready. I love it, how it turned out. I hope you enjoyed painting this with me as much as I did. Meet me in the next
lesson where we will paint our last postcard. And before that, let's, or on top of this, because I realize this
movie spattered earlier has faded and moist
with the background, but now the painting
is even trial, so I think this
splatter now will work. And then it's ready. So again, meet me
in the next lesson where we will paint
our last postcard. And it's really beautiful. So meet me there.
I'll see you there.
5. Dreamy Cottege: Welcome back. This is the
final postcard of this class, and here are the colors, ultramarine blue, black, white. I've also added a lighter blue, which you can get by mixing some way to your blue,
the chrome yellow, and some brown for the cottage, you can even choose a red
or a grade for the course, is that we'll also look good. It's totally up to you. Now. I have taped
the people like before and with the flat brush. I'm painting it blue
for the base color. I have added some white in
this blue to make it lighter. I've also drawn a potted at
the right side of the paper, which you might not see right now because I've drawn
it very lightly, but it's just a basic head shape so you can draw it easily. What I have to do
is I will paint around that cottage and I
will leave that cottage on the night that I did not want the blue to show from underneath the brown because my brown is little translucent. But in case you have a very opaque color and you think blue will not show
from underneath that. You can paint the entire page, draw the voltage on top of it. Now with the flat brush only, I have taken the
ultramarine blue, which is darker than what
I've used for the base color. And with that, I'm
drawing these swirls. Does seem legendary
swirls of this class. I'm drawing those here in their dream ED in a
very whimsical manner. I'm drawing them no prior
sketch or anything for these. I'm just following my heart
and drawing these orders. So I encourage you
to do that only. You don't have to copy the
exact same picture as mine. You can just listen to
your heart and go with the flow and being the soils. Here in the other
holidays have started and kids are at home so you
might hear them talking. I just hope it doesn't
disturb so much. But you might catch
some of the black bars. So forgive me for that. Here I'm cleaning the brush and I'm digging right
in the same flat brush. Alright, I have not
changed about brush yet. I just cleaned it and I
took some white in it. And with the white,
I'm going over those ultra marine
swirls and I'm tracing them with right now. I'm using some blue to give
some accent to these tools. Like so. I love painting in this style. This is very dreamy and
whimsical and very therapeutic. I hope you like this class. I loved creating this class. This is my, so far my favorite
all-time favorite class. My birthday comes on the
next day of Christmas. That's on 26th of December. So anyways, I feel very
happy throughout this month. I love December. Only aspect of December I don't like is the freezing cold. But right now, the part
of India where I am, we don't have winters here. So yeah, there's umber
becomes all the more happy and joyous for B because we have that
festive vibe in the air. And still it's not chili. I just hope you're not annoyed
by my personal lovers. I mean, yeah, I know. I have to just give those
step-by-step instructions, but I somehow feel a deeper
connection with all of you. And I just got help sharing my personal thoughts and personal experiences
with you as well. By the time I also give you the step-by-step
instructions. Here I am painting this roof
of the cottage with white. I have kept the edges rounded to depict the snow
gathered over it. And now with the round brush, I'm going over the
walls of the cottage. And in my case, I'm painting it. Ground. As I said earlier, you can use any other color you'd like that you
think will go with blue. Again here, I'm painting around
the windows and the door. Because this is called
negative painting where you paint
around the subject. So I'm leaving the windows
and the door and painted and I'm going around
them with my brown. And now with the chrome yellow, I'm painting the
windows and the door depicting the light
which is coming from inside the caudate there. And now, let it snow. So it's time to dig
the flat brush again. And in that flat brush, Let's take some white and
make the ground snowy. Not just at the
bottom of the page, but also around the cottage. Thick layer of white and make that snowy ground
effect and nice. Some specs of blue here
and there to debit the shadows and ups and downs, uneven surface of
the snowy ground. Now add some snow on the window sill and on
the threshold also, take variable you think this node can settle
on the cottage. You can add snow
on all those pads. And here I added some
snow on the chimney also. And now I'm adding some smoke which is coming
out of the chimney. And since the sky
is full of swirls, I am making this smoke
also swirly form, right? Adding some extra lumps of snow at the base
of the cartridge. Now, let this dry. And by the time
we will take some white on the tip of
the round brush. And with that, we will make
some dots for texture. Along the walls we have made. This is a step
which is optional. But I recommend
taking that because it makes the painting look
really cute and beautiful. This step seems
like the Mandela. Have you ever tried dot Mandela? Do you want to try it? There are many classes about
dot Mandela on the platform, but if you want me to upload
classes or dot Mandela, I can do that surely do that. Just reach out to me. In the comments section, in the discussion section. And tell me if you want to
learn dot Mandela from me, I will definitely upload a
document allocate class. My son really enjoys
what Mandela. He really likes it. And
if you like it too, I can be very happy uploading
that glass for you. So here we are almost done
with dotting all the swirls. And it looks pretty already. Now, the cottage has
dried completely. Let's take some black and outline the
windows and the doors. We're done. Now, let's take
some yellow in the brush. And with that, let's paint some stars and a
cute little moon. There we go. I'm painting a yellow star
at the center of each one. And I will be painting a cute crescent
moon here. Like so. And with this moon here, our final postcard is also ready that I am very happy with the
way it has turned out. I hope you liked painting this postcard with
me as much as I did. Now it's time to reveal
the final logo. For that. I'm removing the
tape at an angle. You can also do that if you're painting is completely dry, but if it's not, I suggest you should wait for it to dry completely
and then remove. My painting has dried completely so I can
remove the tape. And this is what the final
postcard looks like. It's super cute and
beautiful dual using. So here are all three
of them beautiful. So let's meet up
in the next lesson for a little chat
and conclusion.
6. Happy Holidays: That's it. I hope you enjoyed this
class as much as I did. I can't wait to see your beautiful artwork
in the project gallery, so please do share
your projects, will be very happy. If you want to
give me a leading, got a quality, meaning God. They didn't have. I just share your work in the project gallery
for me to see it. Please leave a review.
I do. You buy? If you miss the
jaw of this class, go watch it again
and you'll know why. I immediately. But
all that said, I wish you hadn't. All right. Will see you in the next year.
 Manishaa Shriivastava, Artist, Art Educator, Author