Transcripts
1. Introduction : Hello and welcome to
my Skillshare course, where today we're
going to go back to basics for beginners
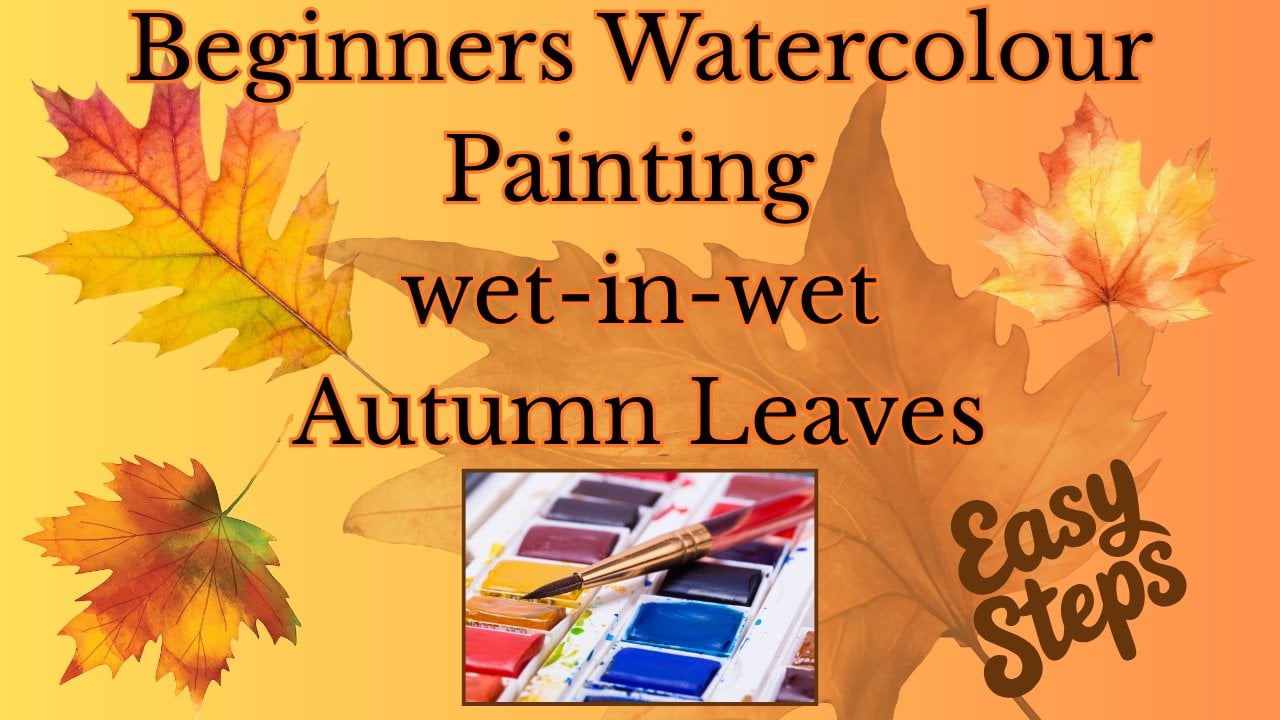
in watercolor and take a quick look at the
difference between painting wet on dry and
painting wet in wet. We're going to use a very
simple flower shape for this. You can use any flower you like. You could use a
leaf or an apple, but choose something that's
a very simple shape to draw. I'm Cali, a landscape
artist based in Cumbria, which is in the
northwest of England, where I enjoy
teaching beginners, particularly in both
acrylics and watercolor, which I do here on Skillshare. For beginners, the terminology
around watercolor painting can be quite tricky and
intimidating to begin with, if you're very new to
painting with watercolors. These are just two
very simple terms that we're going
to take a look at. In truth, as you
advance and become more confident about your
painting with watercolors, you'll probably use
these two methods in combination together. However, if you're very new
to watercolor painting, maybe this is your first lesson. What I would really
recommend is that you start by
painting wet on dry. You'll find it much easier
than painting wet and wet. That way, you will build
your confidence before you make too manytaks with
the wet and wet painting. So start with wet on dry, build your confidence, and
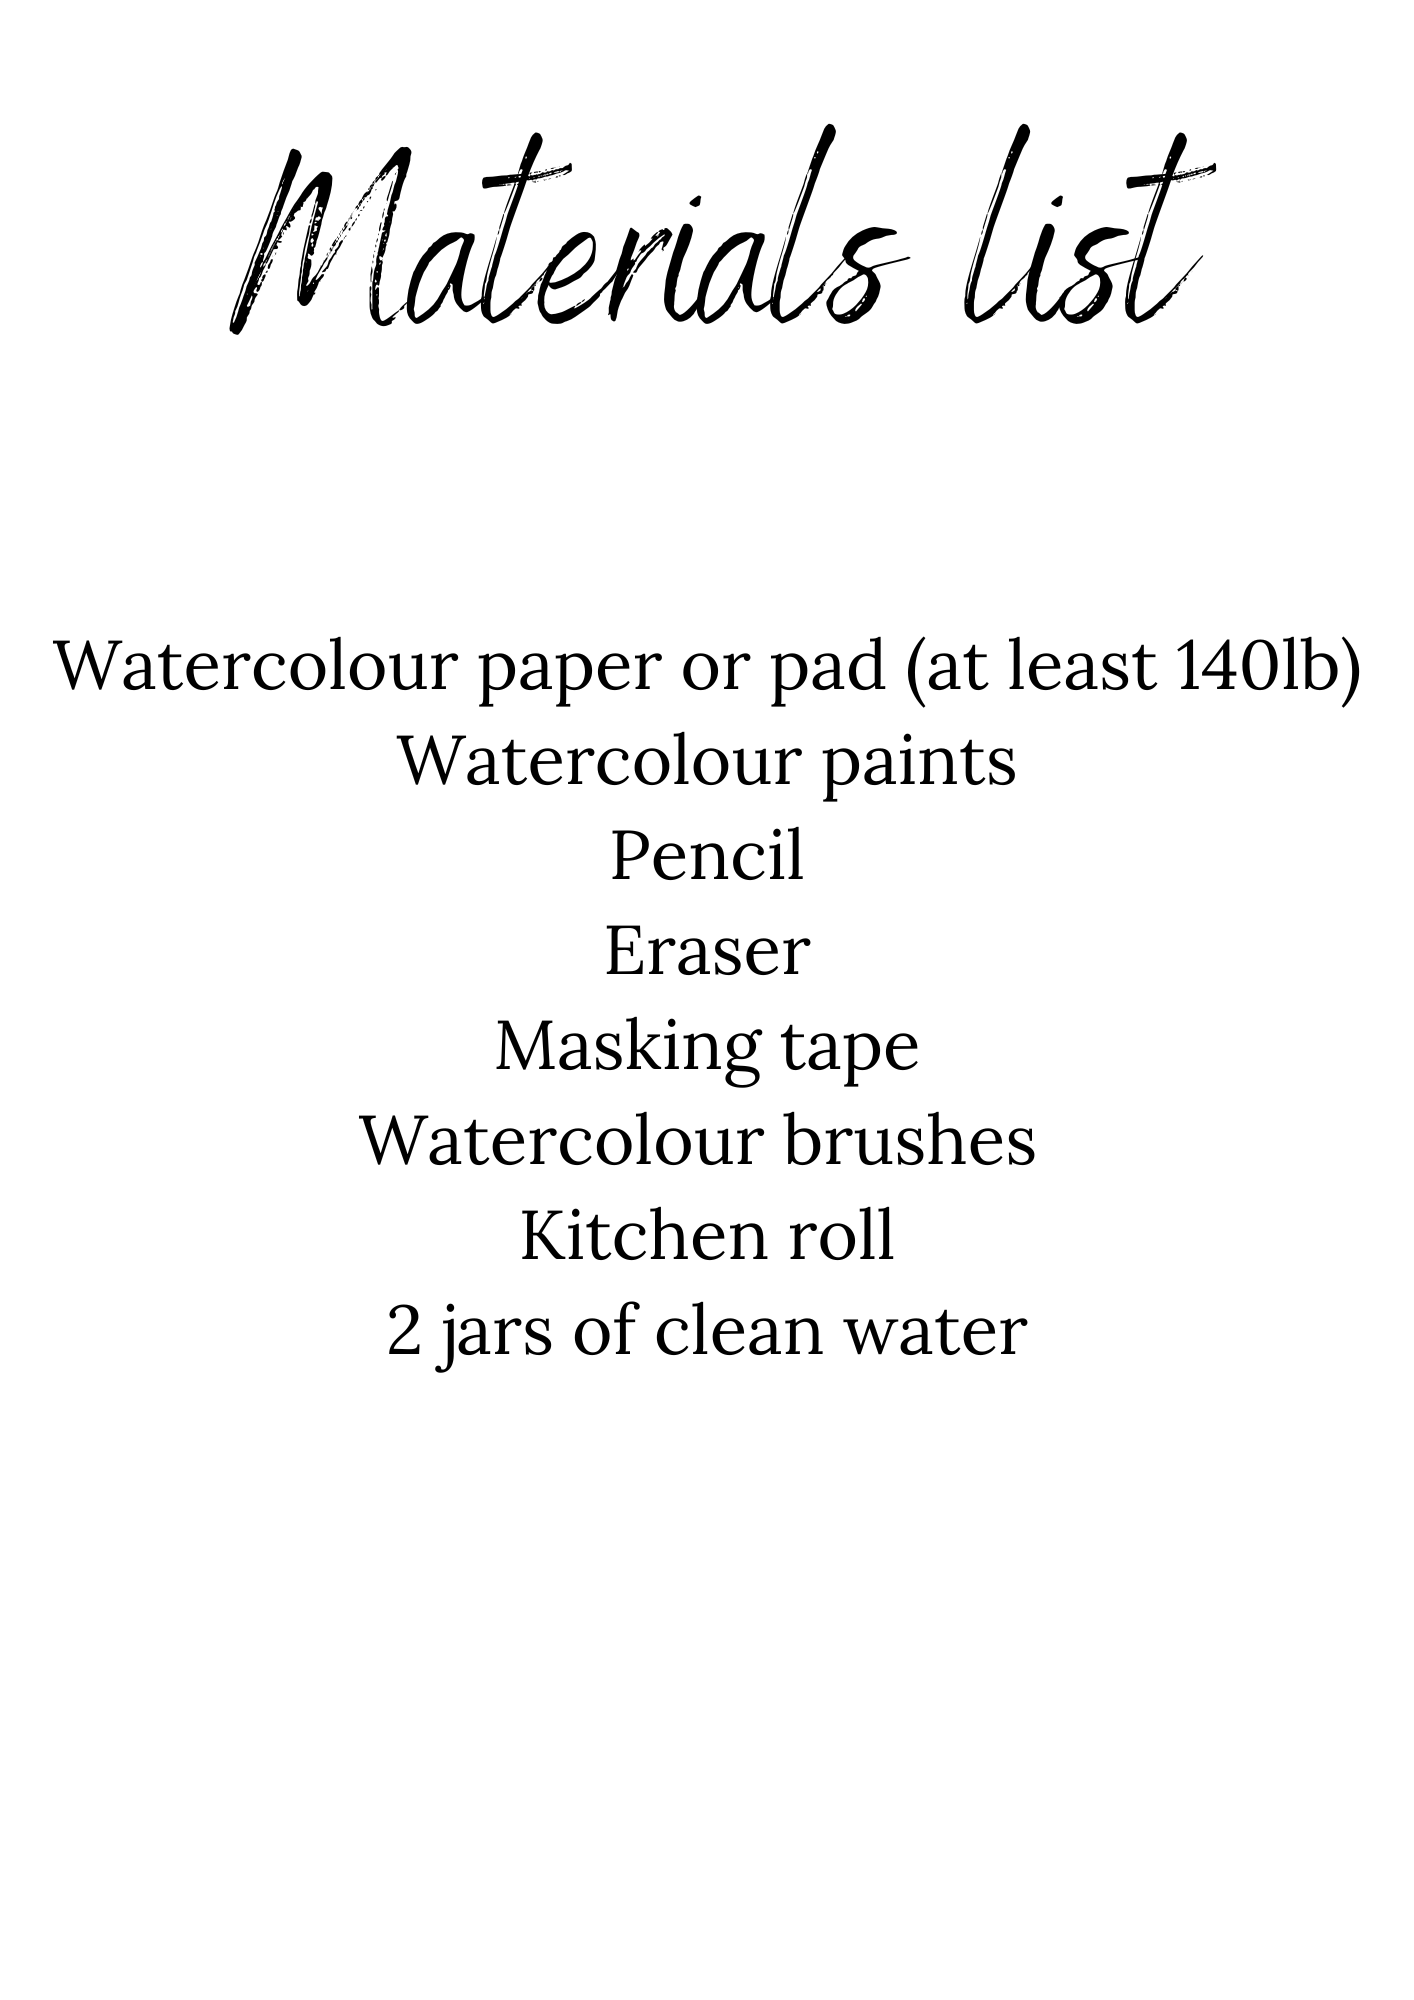
get to know your materials. So we'll go ahead now, get
your materials together. I will do you a
little materials list of the things that
you're going to need, and we'll start by taking
a look at painting wet on dry on a simple shape
with watercolor paints.
2. Wet on Dry: Using a Bockingford block, which is 140 pounds in weight. I did a very simple drawing
to begin with with my pencil, so keep a very quick and easy simple shape for
your pencil drawing. So we're not going to talk through the pencil
drawing at all. Just do something really
simple because this is about the application
of the paint. Do a nice light drawing
so that your lines aren't going to show
up too much later on. So when we're talking
about wet on dry, we are talking about painting either wet paint onto dry paper. Or wet paint onto previously dried paint
with subsequent layers. So each color, between each application
that I'm doing here, I'm allowing everything to dry. So you need a lot of patients. It's quite good perhaps to have two or three
on the go at once, and then whilst one is drying,
you can go onto the other. Or you might have
some other jobs you want to do whilst
they're drying. So be patient and allow
them to completely dry. The orange that I used
at the top was entirely dry before I started
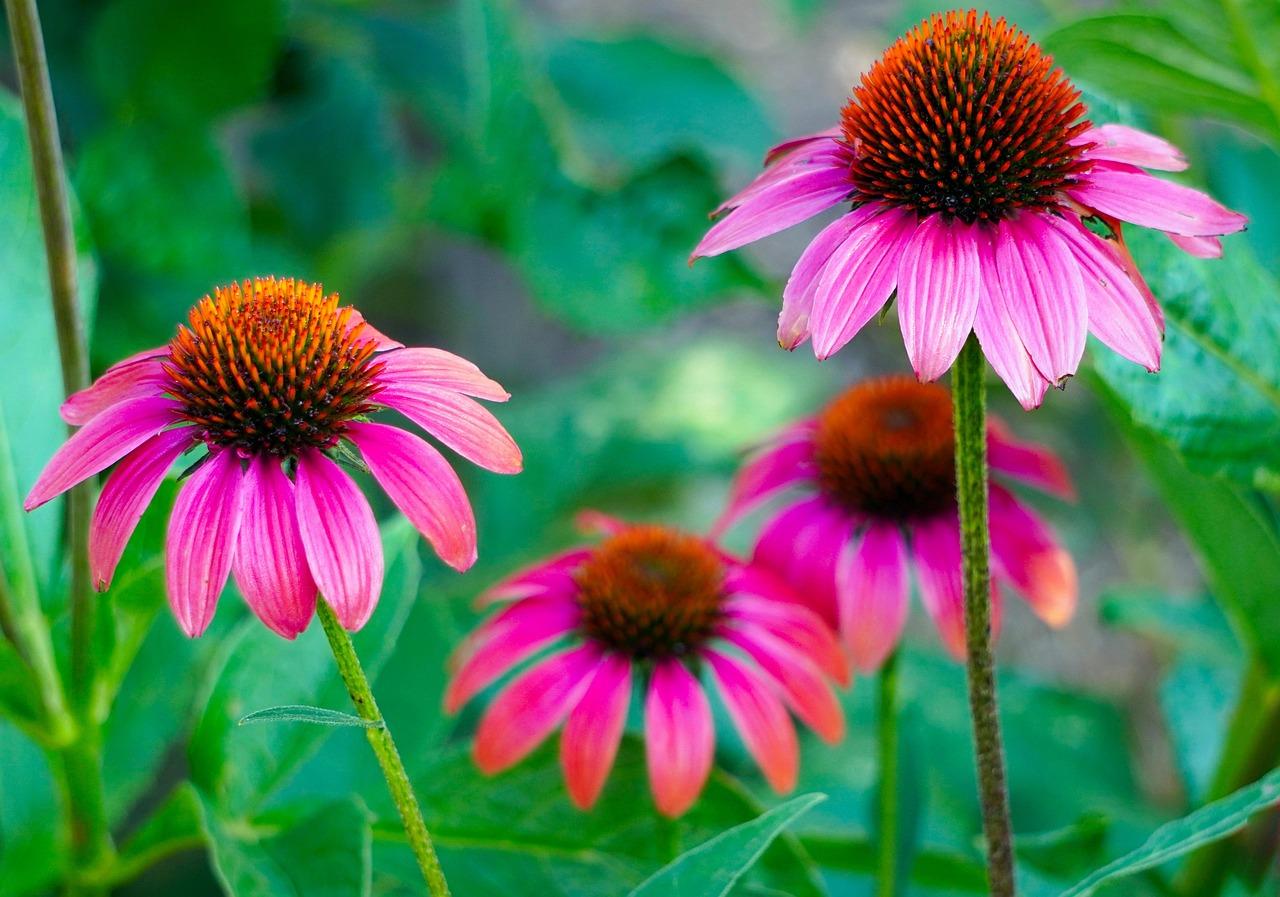
adding the pink petals. The echinacea shape is
quite a simple one to do, which is why I chose it, and then it's got
these little dots for to make the shapes
on the top there. I'm not sure what you call
that top cone shape there. So you'll see when you
paint wet onto dry, you can end up with quite a
stylized type of painting. So the techniques we use really influence the style and
how things come out. So this is quite a personal
preference, really. And as you go along,
you'll decide which suits your style and your
preference is the best. So as I just said before, if you're a complete beginner, I would start by doing several wet on dry
paintings, being very, very patient and allowing
everything to be absolutely dry before
you add your next layer. So as I go on top of that orange with
those dots in brown, that is completely dry. I'll just talk quickly through the colors that I've used here. So I use the orange
for the center. I added some yellow
for it for the top. I added some blue for
it to make the darks. The pink, I added
some violet too, so it was a rose pink
with some violet added to get that purpl
color of the echinaces. But echinaces do come in
other colors as well. And you could just do
a daisy shaped flower and completely make
your colors up, so the colors aren't important. What is important
is the fact that we're going slightly
darker in places. So don't be afraid to go
very dark where the light can't by having some dark areas, it's going to bring
everything to life and make those lighter areas
pop out as well. You might like to
put a background on. I didn't put a
background on this, but it's just a practice piece. So allow everything
to dry in between. As I've said, keep
building up those darks. I did make a few mistakes
in one or two places. There are ways we can correct. We can correct our
drawing as we go along, put extra layers over
where we've made mistakes and cover things
over if we want to. But try and get a
firm drawing to work with so that you're not making
the mistakes that I made. Just not too happy with those sort of center
right petals there. Okay, so just keep building up that quite a stylized
petal drawing there. And then perhaps leave
the whole thing to dry, leave it for a little while and come back to it and see if you want to make any
corrections or alterations. So, in essence, that is
painting wet onto dry. We set off by painting wet paint onto
completely dry paper. We allowed that paint to dry, and then we added another layer, and then we did the same again. Building up those layers, and it's knowing when to stop, that's the problem then
because you can just keep on going with lots
and lots of layers. But be careful if you
do too many layers, you end up muddying your colors. You still want the white of
the paper to show through those transparent paints
and keep it nice and fresh. So three or four
layers at the most is probably enough for
this little exercise.
3. Wet in Wet: Okay, so now we've
done the easy bit. Let's go on to the
more tricky bit, which is painting wet in wet. So we're painting wet paint onto wet paper or
onto wet paint. So we begin by putting
water onto our drawing. So be very careful going
around your lines. You need a brush that's got a nice good point to get into
the tips of those petals. So when I say point, I mean, the end of your brush wants
to come to a nice tip, and then you can draw with it towards the end
of those petals. I'm going to use exactly
the same colors. You can do the same,
you don't have to. You could use different
colors if you wanted to. So we start with lots of clear
water to cover the whole of that drawing and allow that to settle a little
bit into the paper, but do not allow it to dry. The main thing with painting wet and wet is that you
have your paints ready. So there's some
preparation there. You need to have
enough paints to complete it without having to stop and mix some more paints. First paints that you put on wants to be the
same consistency. So the orange that
I began with and the pink with the
same thickness, a similar amount of water
and pigment in each. So a creamy consistency
rather than too watery. Then each layer that
you put on after that needs to be a
little bit thicker. I'm using the same colors, some slightly darker
by adding more of the violet and the blue to
the pink and the orange, essentially the same
colors, but thicker. Thicker each time using less
water and more pigment. So I'm not allowing
it to dry out. It may dry out in places. This will very much depend
on how warm your room is and how much
water you're using. If it starts to dry out, there are things you
can do by adding just a damp brush just
to soften the edges, but that's something that
you really want to avoid. What we want to try and do
for this first attempt, if it is your first attempt
at painting wet in wet, is to work very quickly, have all your paints
ready to begin with. And to not allow
anything to dry out, keep going on with
thicker paints. So have your palette
made up with those initial colors
in a creamy texture, a slightly thicker texture for the next layers
and thicker again. And then towards the end, you might want to take
your colors directly from your box of colors or your
tubes, whichever you're using. So just neat color straight
from there without very much water at all to
get those nice dark shadows. So you end up with a
very different result to painting wet on dry. Because you're
working very quickly, you don't have time
to overthink things, so things seem to appear
more natural, more fluid, and you get those
lovely accidents of the way the colors
may be mixed together. Unexpected. And what we kind
of expect from watercolors, it's why we love
watercolors because of the way those colors
mix on the paper. So very different
from wet on dry. So just keep going,
and as it starts to dry out and you've
got those nice darks in, then leave it to
completely dry. I
4. Comparison: Once both of your
paintings are dry, you can put them side
by side and have a little comparison and think which suits
your style best, which you preferred doing, which you enjoyed the most. They both have their advantages
and the disadvantages. Like I said earlier, painting wet onto dry is really a foolproof way of not making too many accidents
with watercolor. Try not to introduce
too much extra water. Don't drip on it or
anything like that. But as long as
you're careful and you allow each one
to dry in between, you wet on dry is really
an easy way to paint. This really lends itself
to quite stylized things, but it also lends itself to
incidents where you need lots of detail and where you
want to be very precise. So if you're the type of person that has got lots
of patience and lots of time and
you want to spend a lot of time putting
lots of detail in there, then wet on dry is
probably for you. If you want to be a little
bit more expressive, the wet in wet is
probably more your style. When you're painting
wet and wet, you'll get lots of
blends of color that you don't expect and that
you can't control. So if you're somebody who needs to be in control of your paint, and you want to be
telling it what to do rather than allowing
it to do its own thing, then wet and wet is
probably not for you. If you want to be
very expressive, if you like those accidents and the way things merge
and mold on the paper, then it probably is for you. And one thing to
remember with it is, if you put your water onto
your drawing to begin with, as long as you don't
go over those lines, your paints aren't going to fly out of those lines
into your background. It's going to stop when it
gets to that wet sorry, when it hits the edge of the wet and the dry paper,
it will stop there. So you can do that very
simple line drawing and put that water on and then just pop lots of
different colors in and see what happens and be
really expressive with it. So wet and wet and wet on dry
both have their advantages, really depending on your style, depending on the
outcome that you want, whether you want it to be
loose and impressionistic, or whether you want it to
be more photorealistic. Now, as I touched on earlier, what will happen when you
get used to your own paints, your own brushes,
your own paper. This is something I have
said before in some of my other tutorials
is that we all have different materials
and your paint, sorry, your brush and
your paper will hold more water than my brush and my paper and the
somebody else's. So using them every day,
the same materials, you will get used to knowing just how much
water your brush is holding and just how much
water your papers absorbing. And once you build up that confidence and do
a little bit every day, you'll find as you go
along and as you progress, you'll end up using both
of these techniques. So you may set off with
a very loose wetting, wet painting of a flower, and then you might come back
on top of it with some wet on dry just to get those details and
crisp things up a bit. The most interesting paintings
are the ones that have got some soft edges to them and some harder edges to
them for the contrast. So think about
that. Think about, as you go along in
a few weeks' time, once you've built
that confidence up, using both of these techniques
alongside each other. You might have a wet
and wet background with a wet on dry foreground
with more detail. So there's no rules. There's no rules in any art,
as far as I'm concerned. Lots of people might
tell you there's rules, and you must do this
and you must do that. Mustn't must do what you enjoy and what gets you
the results you want. Get to know your materials, get to know what
you enjoy doing, what subjects you enjoy the most and have some fun with it. There are no rules. You know, just have a good old play. So put your two that
you've done side by side and have a good old
thing what worked well, what you enjoyed, what
you didn't enjoy, what didn't work so well, and perhaps think about
making some notes in your diary that you
can refer back to of the things that you might
want to have a go at again.
5. Project : So for your project, you
just need to do these two, one wet on dry, one wet and wet, and they don't have to
be the flowers I did. The flowers I did were
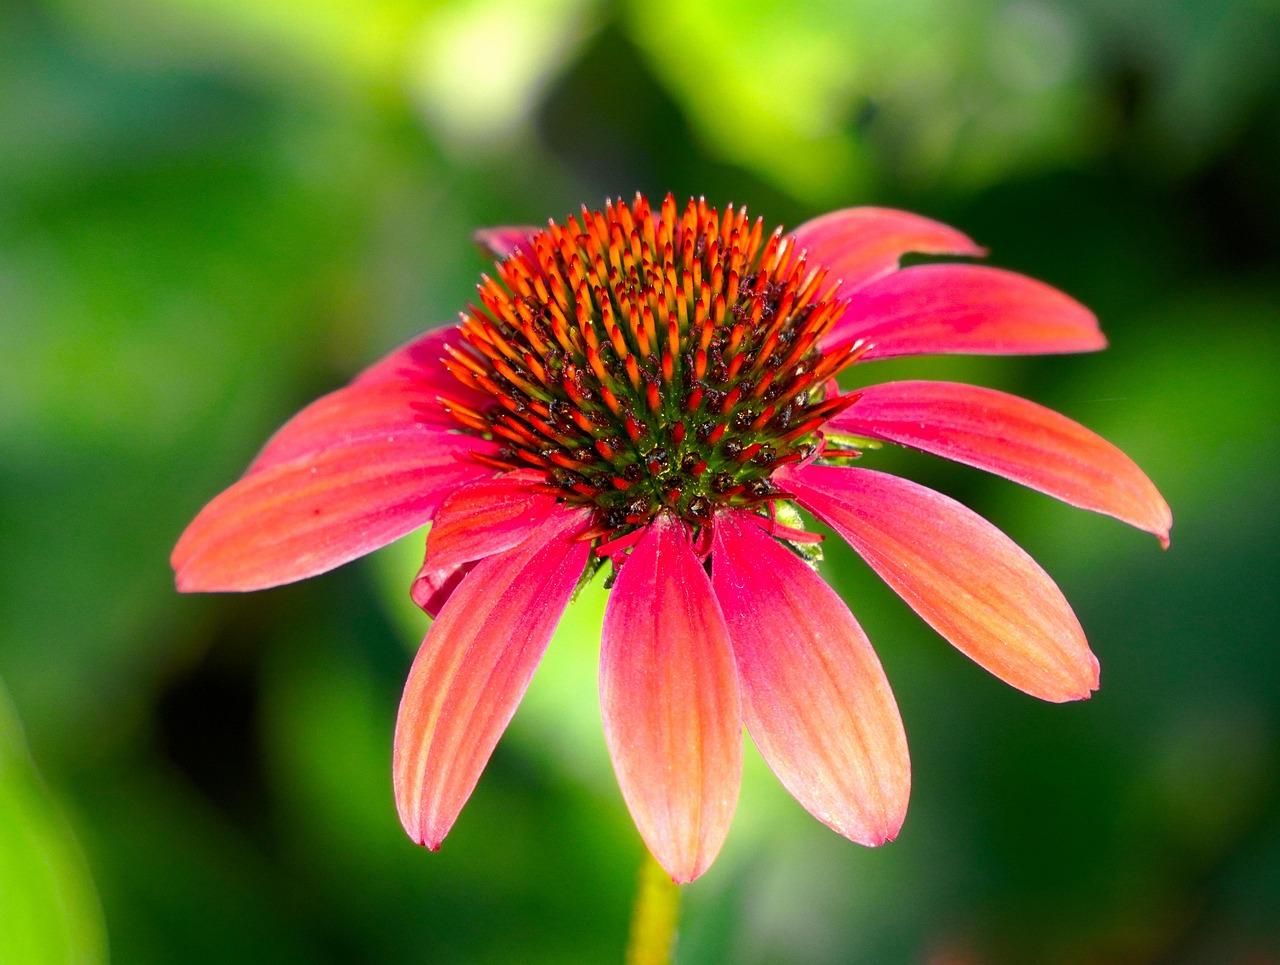
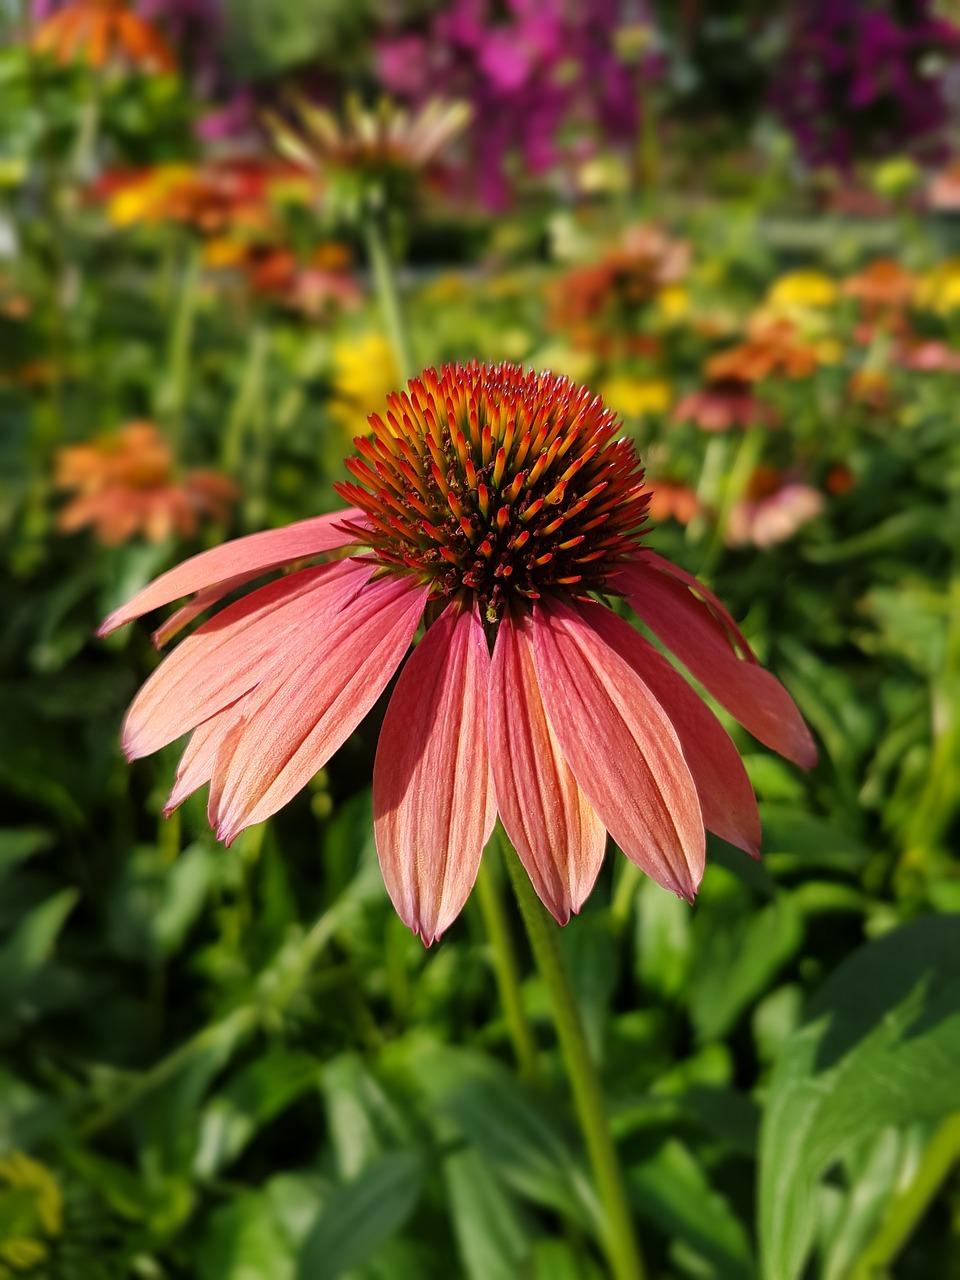
just from my imagination. I have put you some
reference photographs in, but you don't have
to do an echinacea. You could do any
daisy shaped flower, a flower from your head
or another simple shape. A leaf is a very easy
simple shape to do. And in autumn, you could do some lovely wet and wet leaves. You might want to
do a simple shape like an apple. I
mentioned that earlier. That's another easy one to do. Just use some nice
reds and greens and allow them to merge
on your apple shape. So if you're not
confident about drawing, do something very, very simple. You may even want to trace your drawing so that your
two drawings are identical. My two drawings weren't identical because they
were out of my head, and I was just, you know, trying to do something
very similar, but the second drawing wasn't just as nice as
the first drawing, to be honest, but, you know,
that doesn't really matter. It was just about this technique and learning how
to use the paints. So do two simple drawings
for your project. One wet and wet. One wet on dry, and then you might
want to upload those for us all to see and
to get some feedback. Also, if you wanted to, you could remove the
backgrounds on there or you could actually
paint a background. If you wanted to, you can expand this out and do several flowers. You might want to do a
full page of flowers. It's not a completed
painting that we're doing. It's an exercise in learning. And if you do something
small like this every day, just set yourself
aside quarter an hour, 20 minutes to do one of these, a small one in your
sketchbook every day, you will get used
to your materials and how those paints work. And that's how you progress. You progress much more quickly if you do lots of
little exercises, than if you're trying to do
a great big finished piece that you perhaps haven't got
the confidence to tackle at the moment and that you get disheartened with because it's taking so long and because of the things that you can
see you want altering. Get much more reward
from doing lots of little exercises and having a nice page full of
flowers or leaves. Okay, so that's your project. If you want to upload those, I will get some feedback
to you as soon as I can.
6. Conclusion : Before we conclude
today's course, I just wanted to give
you one or two hints and tips for your watercolor, especially if you're a beginner. So number one is
with your paper. I always recommend that you have something at least
140 pounds in weight. So 140 pounds not
pressed and have it that it's smooth enough to do a nice crisp drawing
on with your pencil. If it's too textured, you're not going to get as
nice a drawing on that. So 140 pound watercolor
paper if you can. Also, when we get
accidents with watercolor, it's usually because we've
introduced extra watercolor. So on your wet on dry, if you dripped water on
that, it would make a mess. So make sure you've not
got drips of water on your paint brushes that are going to fall onto your painting that
you've already done. With wet and wet, introducing
extra water that is more watery than your
layers you've put on before will also
cause you problems. So watercolor, the
clue is in the name. It is all about the
levels of water. So the amount of water that
your paint brush holds, the amount of water you
add to your paints, and the amount of water
that your paper absorbs. And I can't really help
you too much with that. You're only going to learn about that and get used to that by doing it by getting stuck in and having to go and
by making those mistakes. And don't be afraid
to make mistakes. It doesn't matter if you
waste a little bit of paper because you've learned from it and you'll
go on from it. Okay, so that's just
one or two tips there. I'm trying to think
of some more. If I think of them,
I'll come back to you. But really to conclude, we've got two very
different styles. So it's a very personal thing. It's what you like and what
you enjoy doing the most. So perhaps when you
upload what you've done, you might want to
tell us which you preferred and which
you enjoyed the most. And we can talk about
that in the discussion. So there are some things for you in the
reference section, those reference photographs and also a materials list,
so I do get those. So just to conclude,
I've enjoyed doing this. Personally, I couldn't
say which I enjoyed the most because it actually depends what kind
of mood I'm in. Sometimes I really
enjoy painting wet and wet and just
having a bit of fun. Other times, I really
do enjoy doing a very complex drawing and
painting wet onto dry. So yeah, and when
you're painting wet on dry and you're taking
quite a long time to do that. I think you're not
really thinking about anything else. You're
quite absorbed in it. It's a bit like when you
do those coloring books, you know, the adult coloring
books type of thing. You've done your drawing, and then you put in your paint on, and it's quite therapeutic
because you kind of get lost in just
filling in those colors. So I'm sort of waffling on a
bit now, but any questions, please do ask either as you're going along or
after you've finished, you can ask me here
on Skillshare, but you can also ask
me on Instagram. Also on Instagram, if you want to tag me in
what you've done, when you upload them,
that would be lovely, too, for everybody else
to see what you've done. Okay, so I will be back again soon with another
Skillshare course. If there's anything
in particular that you would like to learn, please also ask me that
because, you know, I'm always open to
suggestions and be interested to know what courses you would like to
see in the future. So in the meantime, you really enjoy your
painting and drawing. Have lots of fun with this, and I'll see you again
soon. Bye bye for now.
 Cally Lawson, “Paint like no one is watching"