Transcripts
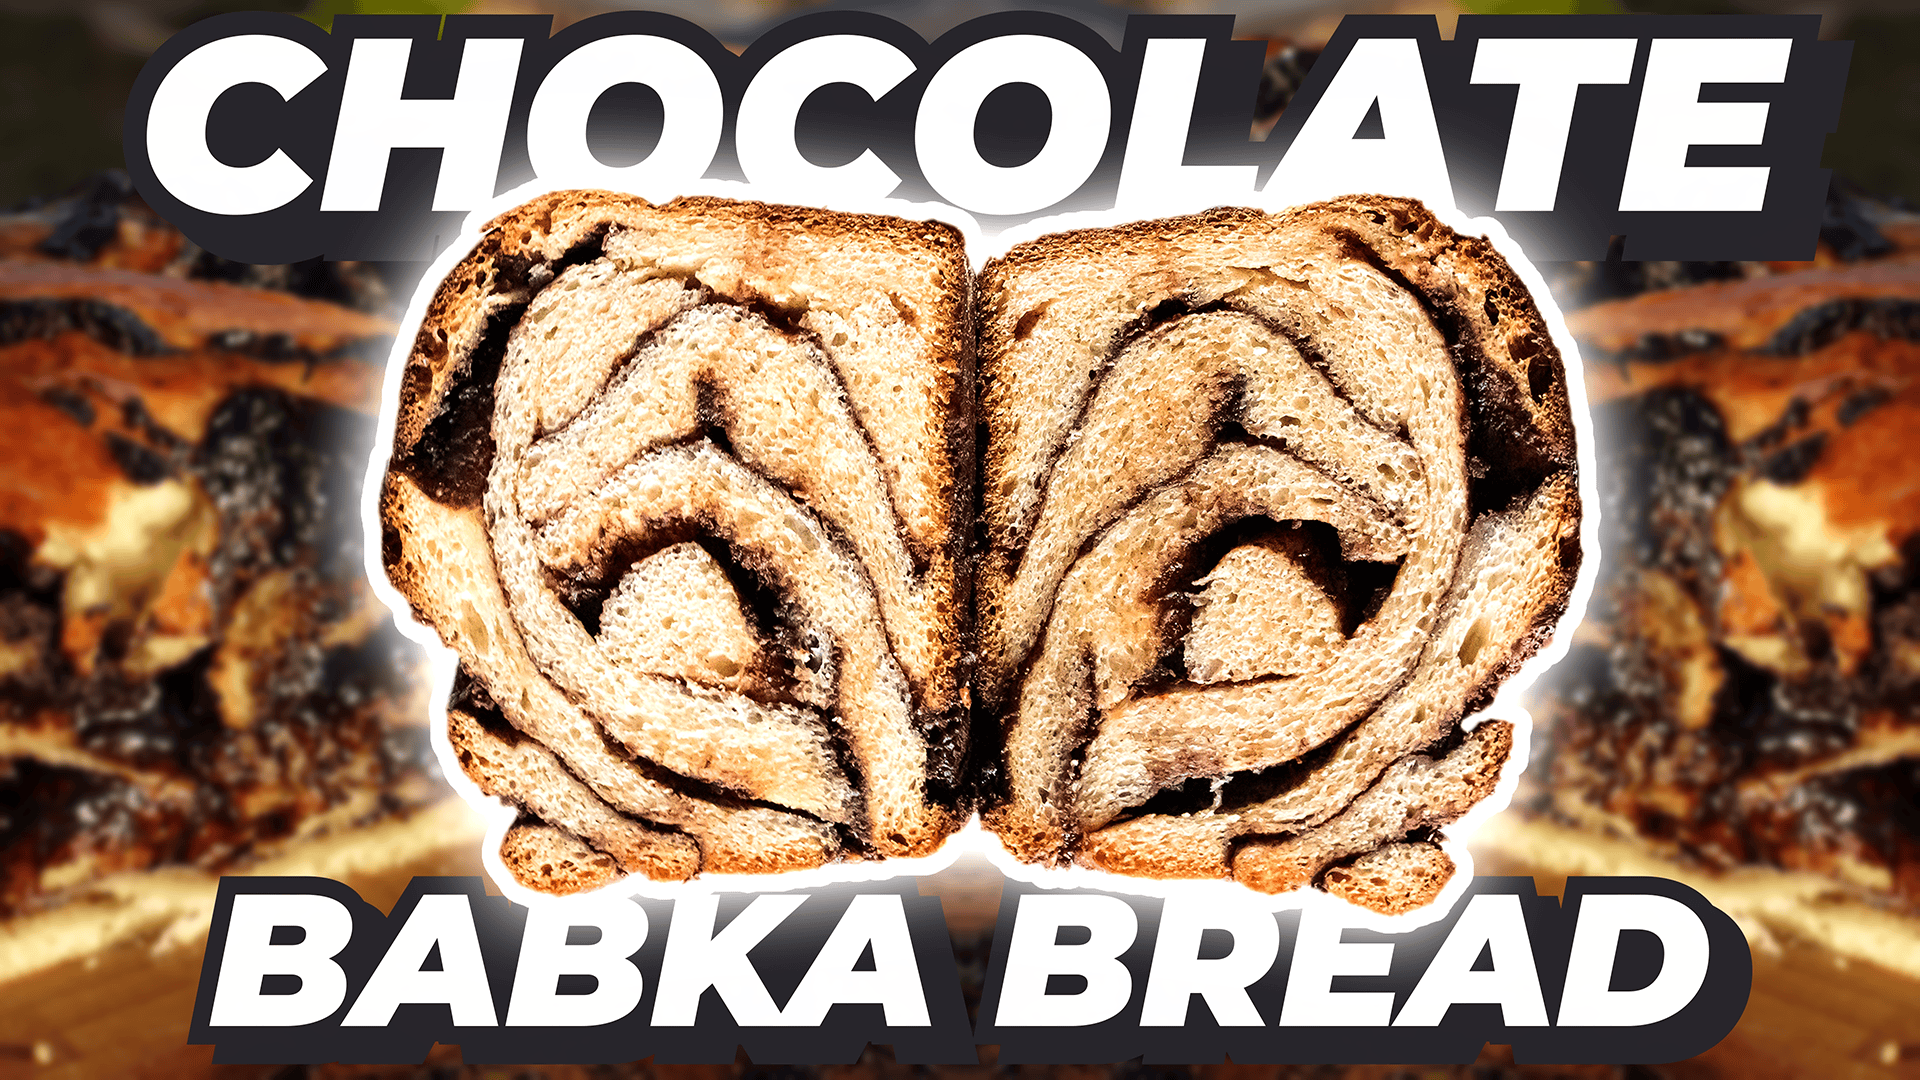
1. Welcome!: Chocolate Bubka combines two of the world's favorite things, that being delicious bread and, of course, swirling
molten chocolate. It may not be known to all, but once you begin
cutting your first slice, you'll know exactly why it needs such little
introduction. Hi there. My name is Marco Dubois, and I'm a professional
baking instructor and the owner of the Yeasti
Boys Artisan Bakery. Over the years, I've absolutely fallen in love
with this dessert. The end of this recipe, I'm
sure that you will, as well. With that in mind, I've designed this class for all
skill levels with short bite size
lessons as well as a written guide to help make your baking experience
as easy as can be. You will be able to
complete this recipe a total of two ways using either traditional
rising agents such as Instant yeast or your
very own Sud Osrter. The latter will add an incredibly unique
and delicious flavor to your dough through
fermentation. So if you want to try it out, then do take a look at my
dedicated Suosara class, which you can find on
my teacher profile or through the search tab above. This recipe serves
as a great way to expand your baking skills and is the fourth of a
six part series on making amazing desserts
with chocolate. So with that said, do be sure
to hit the follow button above to not miss out on
any upcoming recipes, such as these molten lava
cakes and chocolate eclairs. But with all that
out of the way, let's jump straight into the following lesson
where we shall be taking a look at the ingredients needed for our Bubka bread.
2. Babka Bread Introduction: In order to make one large
loaf of chocolate vodka bread, you'll need to procure
a few ingredients, starting off with arguably
the most important part of this recipe, the dough. For the flour, I recommend
using all purpose flour, as it will help achieve
a delicious, soft, spongy texture, which is exactly what we want for
this type of dessert. If you don't have any
available, though, you can still use white bread
flour as an alternative. Butter and flour, just be sure to keep a little bit
extra as you will be needing some to
coat your bread pan and work surface before baking. The last ingredient to note for the dough is your raising agent. As you can see, you may
use instant yeast or alternatively a white
flour sour oh starter. A quick reminder if you
decide to use sourdotrter, you'll need to prepare
it at least 8 hours before use and have an extra ten gram
so that you can refresh it and use it
again at a later date. For the chocolate filling,
as with all these recipes, I recommend using a high
quality 70% dark chocolate, as well as pure cocoa powder. Finally, here's what you'll
need to make a simple glaze, which will give your Bubka
bread a lovely golden sheen. Now that all the ingredients
are out of the way, let's go straight
into the next lesson.
3. Prepare the Babka Dough: To a large bowl,
zero out and then measure 650 grams of
all purpose flour. Once that is done, add 80 grams of sugar, 3 grams of salt, 85 grams of water, and 85 grams of whole
or full cream milk. You may now add your
raising agent of choice, either 100 grams of
mature sourdough starter, which I would highly
recommend for this recipe or 10 grams
of instant yeast. Give all those ingredients a quick 32nd mix until
very roughly incorporated, and then begin adding three
whole eggs one at a time, mixing for 30 seconds to a
minute in between each egg. There measure out 150
grams of unsalted butter, cut it into large cubes, and soften it out in
the microwave for 20 to 30 seconds to
make it easier to mix. Add your butter in
slowly bit by bit and mixing in between so that it can easily incorporate
into the dough. If you're finding it difficult
to mix with a spatula, use your clean hands to
thoroughly mix everything in and to start developing the gluten with some light kneading. Once your dough has formed a nice bowl with a
smoother texture, cover your bowl with a
damp cloth and let it rest at room temperature
for 15 minutes.
4. Perform Stretch & Folds: Because this dessert is
essentially a type of bread, it's important to
develop its gluten for elasticity and for a
delicious fluffy texture. To accomplish this,
we are going to be performing three sets
of stretching folds, and it's actually quite simple. Pick up one side of your dough, stretching it up as high
as possible without tearing before folding
it back over its center. From there, continue the
stretching and folding process all around the dough until
you reach one full rotation. Cover your bowl back up with
your cloth and let it rest once again for 50 minutes
before repeating this process. Just take care not to tear the dough while
you're stretching as this may break some of
those important gluten bonds. Cover it up one final
time to rest for 30 minutes and perform the third and final set
of stretching folds. At this point, your dose texture should be much more smooth, and this is a great sign
of gluten development. Now that you've completed
the stretching folds, take out another bowl
and grease it generously with some additional butter
to prevent any sticking. Transfer your dough ball over, making sure it's covered
to prevent dehydration and let it proof for 2
hours at room temperature. If you've used instant yeast
as your raising agent, you may move on to
the next step of the process once the
2 hours are done. If you opted to use
sourdough, on the other hand, move your ball from
room temperature to the fridge in order to let the dough ferment and gain some delicious flavor overnight.
5. Make the Chocolate Filling: For me, it's now
the following day, but you can also begin
making the chocolate filling about 20 minutes before your
dough has finished proofing. I recommend preparing
all the ingredients in advance before moving
over to the stove. So first, in a small bowl, measure out 70 grams of sugar, 35 grams of cocoa powder, and a 1 gram sprinkle of salt. In a separate bowl, measure and cube 100 grams of room
temperature unsalted butter, and finally, set out 150
grams of dark chocolate, also cubed so that it is
easier to melt in the pot. Now that everything
has been prepared, put a pot on the stove at low heat and add in
your cubed butter. Without letting it boil, add your whole chocolate
pieces and stir until that fully incorporates
into the butter. Now switch off the heat and
then mix in your sugar, cocoa and salt
mixture until smooth. You can then let it cool off in the fridge for an
additional 20 minutes.
6. Prepare the Babka Log: Before we get started
with my favorite part of this recipe, first, grease a 30 centimeter bread
pan with some melted butter, making sure to coat
the entire surface and especially the corners. To that, add a light dusting of flour to complete the
non stick surface. This will just make removing our loaf later on much easier, so it's a very important
step not to skip. Once that is done,
generously flour your work surface and take
your dough out of the fridge. Lightly flour the top of the dough, as well
as your rolling pin. And begin flattening it
out to 30 centimeters in width and roughly 1
centimeter in thickness. While you're rolling
the dough out, you'll want to shape it
into a rectangular form, spreading out the corners
so that they are as close to 90 degree
angles as possible. Once your chocolate
filling has sufficiently cooled off and isn't going
to melt through your dough, pour it out into the
center of the surface. Then use a spatul or spoon to evenly spread
out the chocolate while making sure to leave a dry three centimeter
border on all sides. When that is done,
begin tightly rolling the dough from the back until
it's completely sealed up. And pinch the seam so
that nothing leaks out. If your newly formed log is too wide for the
pan like mine is, simply push it in from
both sides until it fits. Move the log over, seam side
down into the bread pan, covered with a damp cloth, and let it rest in the
fridge for 15 minutes.
7. Braid the Dough: It's now time to give our
Bubka bread its iconic braids, so once your log has
cooled down in the fridge, you can take it out
of the bread pan. Then using the sharpest
knife you have, cut down the center of the
log all the way through. From there, pull
each strand gently apart and flip them
both chocolate side up. To begin the braid, pinch the back of each
strand together, and then begin carefully
folding each strand over the next in a zigzag pattern showing they cross
over each other. Once you reach the other end, pinch the braids
together to complete the braid and then push the top and bottom sides in if needed so they can fit into
your bread pan once again. Lightly flour your
bread pan once more, and then carefully transfer
in your braided dough, making sure it
doesn't spill out. Cover it with another
baking pan or a damp cloth, and then place it in your
oven with just the light on to proof for an
additional 2 hours.
8. Bake & Prepare The Glaze: Once your loaf has
finished proofing, take it out onto your counter and then preheat your oven to 190 degrees Celsius or 374 degrees Fahrenheit
for 20 minutes. Once preheated, bake your loaf at the same temperature
for 30 minutes. While you wait, it's a good
time to prepare the glaze to give our Popka bread
a nice golden sheen, and it's really quite simple. To start, place a
pot on a stove top and heat up 70 grams of
water at medium heat. Once it begins to simmer, add in 60 grams of brown sugar and stir it in until
it fully dissolves. Let that simmer for an
additional 3 minutes, stirring occasionally, and
then take it off the heat. And that's it. Your
glaze is now ready.
9. Babka Bread Conclusion: Once your Bubka bread
has finished baking, take it out of the oven using your protective mits and begin generously applying
your glaze using a brush to cover
the whole surface. It's important to apply the
glaze while the loaf is still hot so it can absorb as much
as possible into the crust. Once that's done,
let it rest for 20 minutes and then carefully
take it out of the pan. And there you have it, your beautiful chocolate
Bubka bread is now ready to serve in
deliciously thick slices. I love everything
about this recipe, the layers of chocolate, the delicious bread, and, of course, the glazed
infused crust. It helps that it's also
a lot of fun to make. And so I really look forward to seeing how your own
versions turn out. I hope you're enjoying
these classes as much as I am because
next on the list, we'll be making these
amazing chocolate declares and learning all
their tricks along the way. If you'd like this class, please do feel free to leave
a review with your thoughts. And before you leave, don't
forget to share pictures of your own chocolate creations in the project section below.
 Marceau Dauboin, Artisan Baker/Owner at The Yeastie Bois