Transcripts
1. Welcome!: Few people would disagree with the dominance of the
chocolate chip cookie. A staple of any
baker's kitchen is the mouthwatering smell of a freshly baked batch
hot out of the oven. But what if you took
the deliciousness of chocolate chip and combine it with an even better
chocolate filling? Well, in this class, I'll be showing you exactly that in the upcoming
bite size lessons, which I designed to be as simple and enjoyable
for you to follow. Together, we'll be going through the step by step
process for making these delicious
cookies from scratch by using the best
ingredients for the job. And to accompany you
through all that is a written PDF guide for you to make quick reference
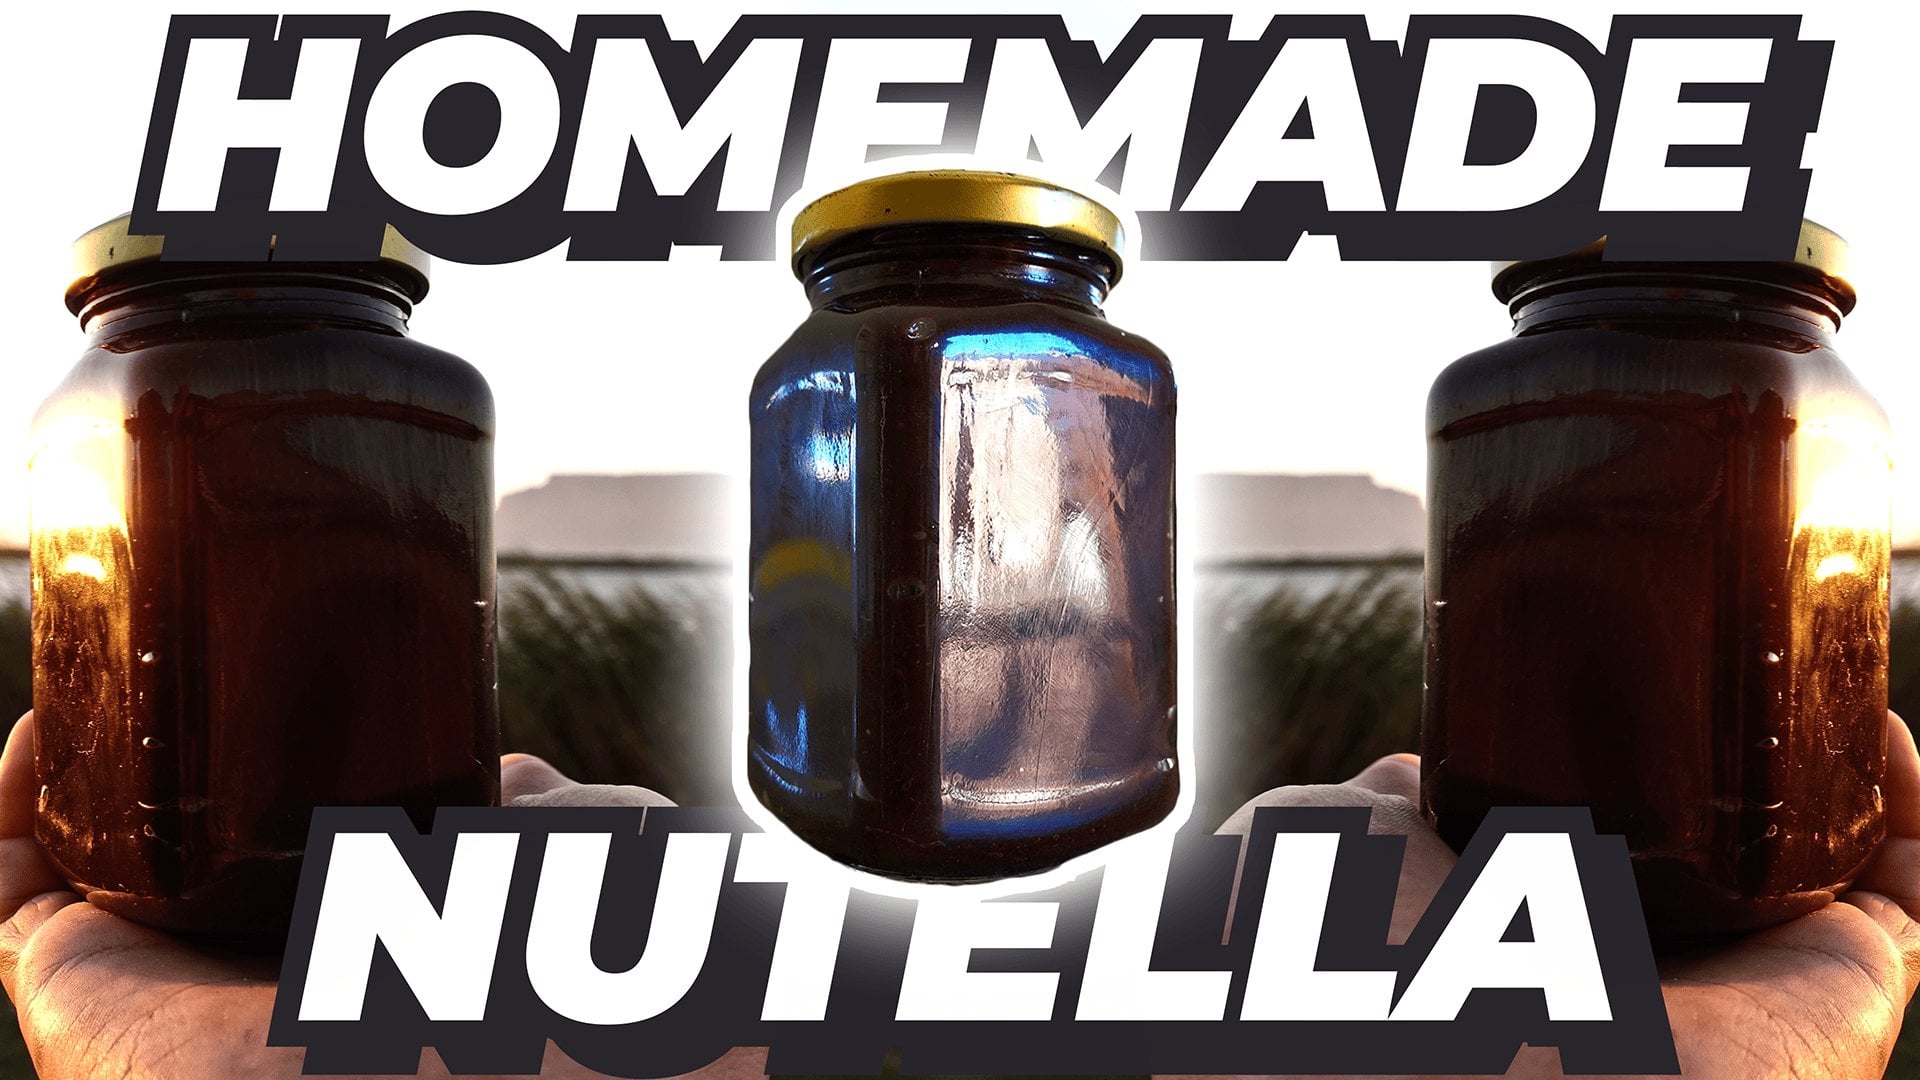
to at any time. The chocolate filling,
we'll be using our homemade hazelnut
spread recipe. So if you miss that class, do be sure to check it out on my teacher profile or by
using the search bar above. This is also the second in a six part chocolate
baking series. So do be sure to
give us a follow to not miss out on any
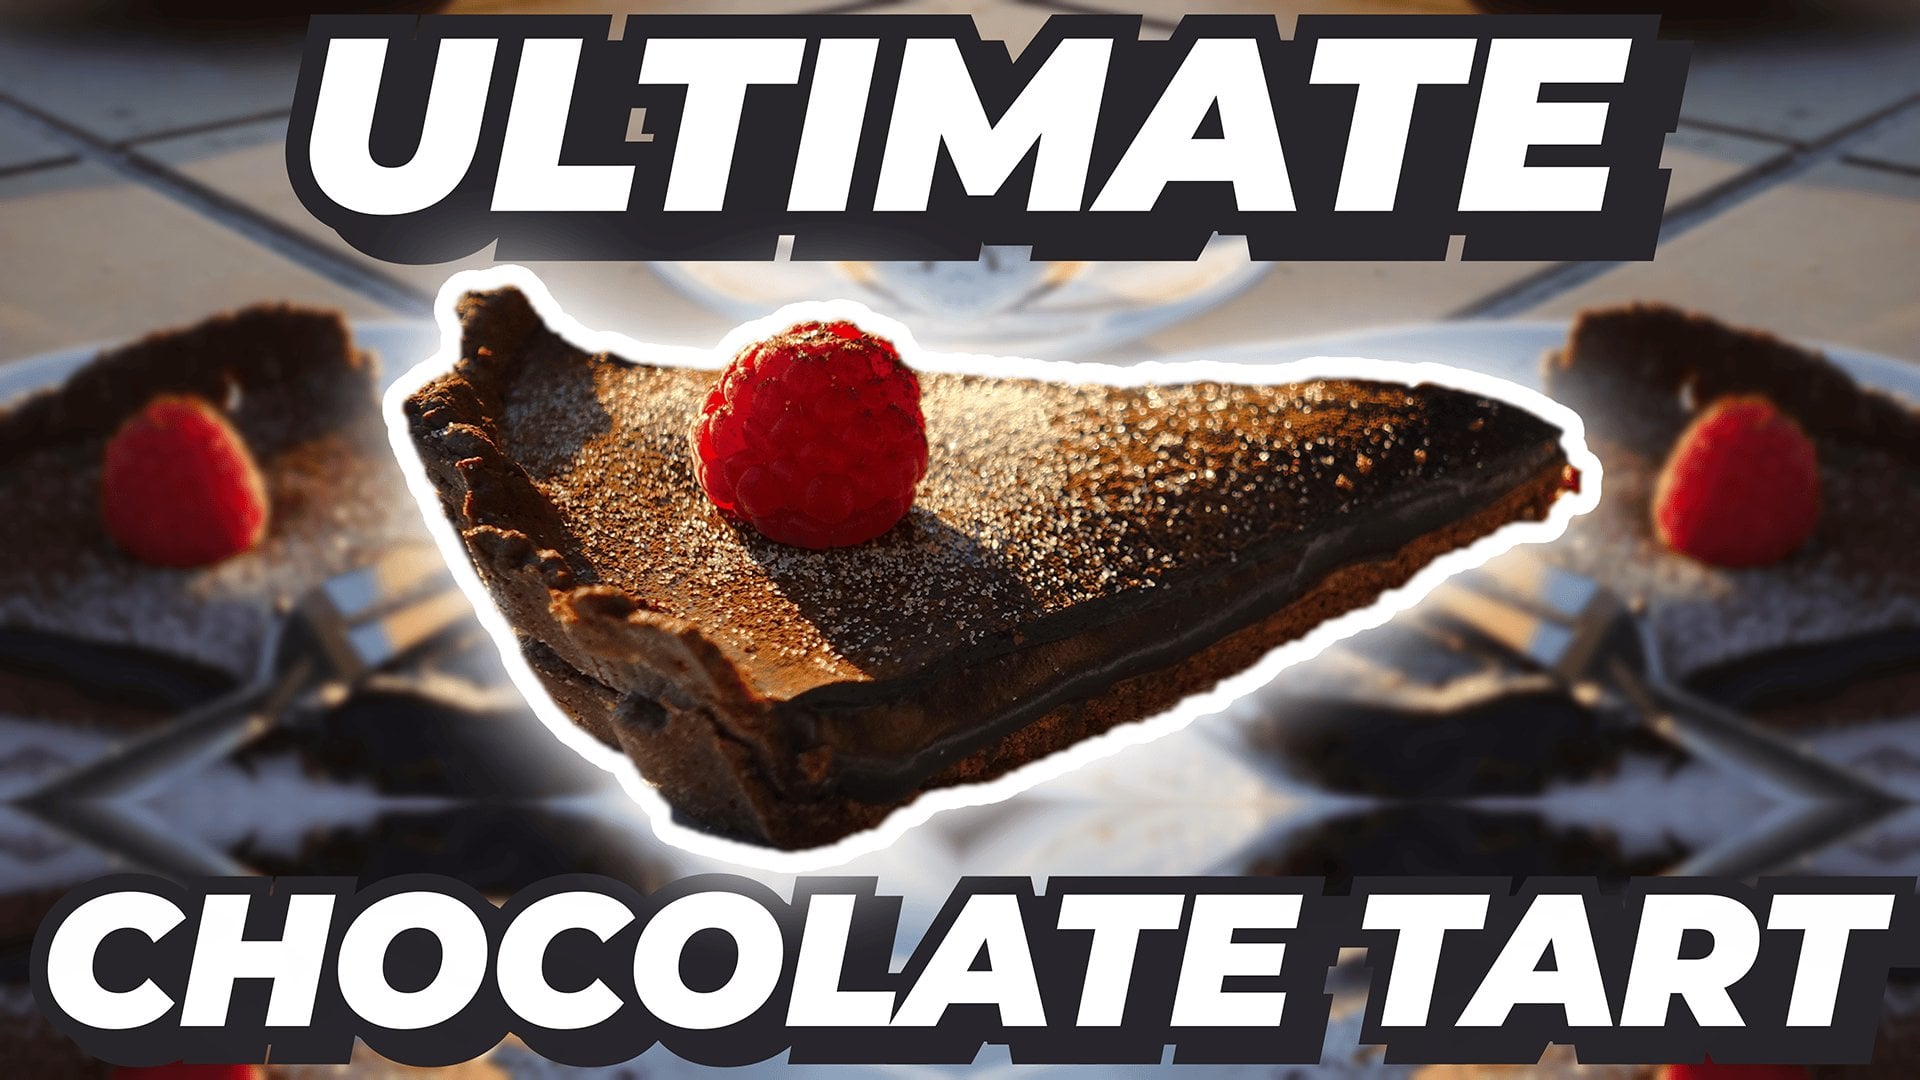
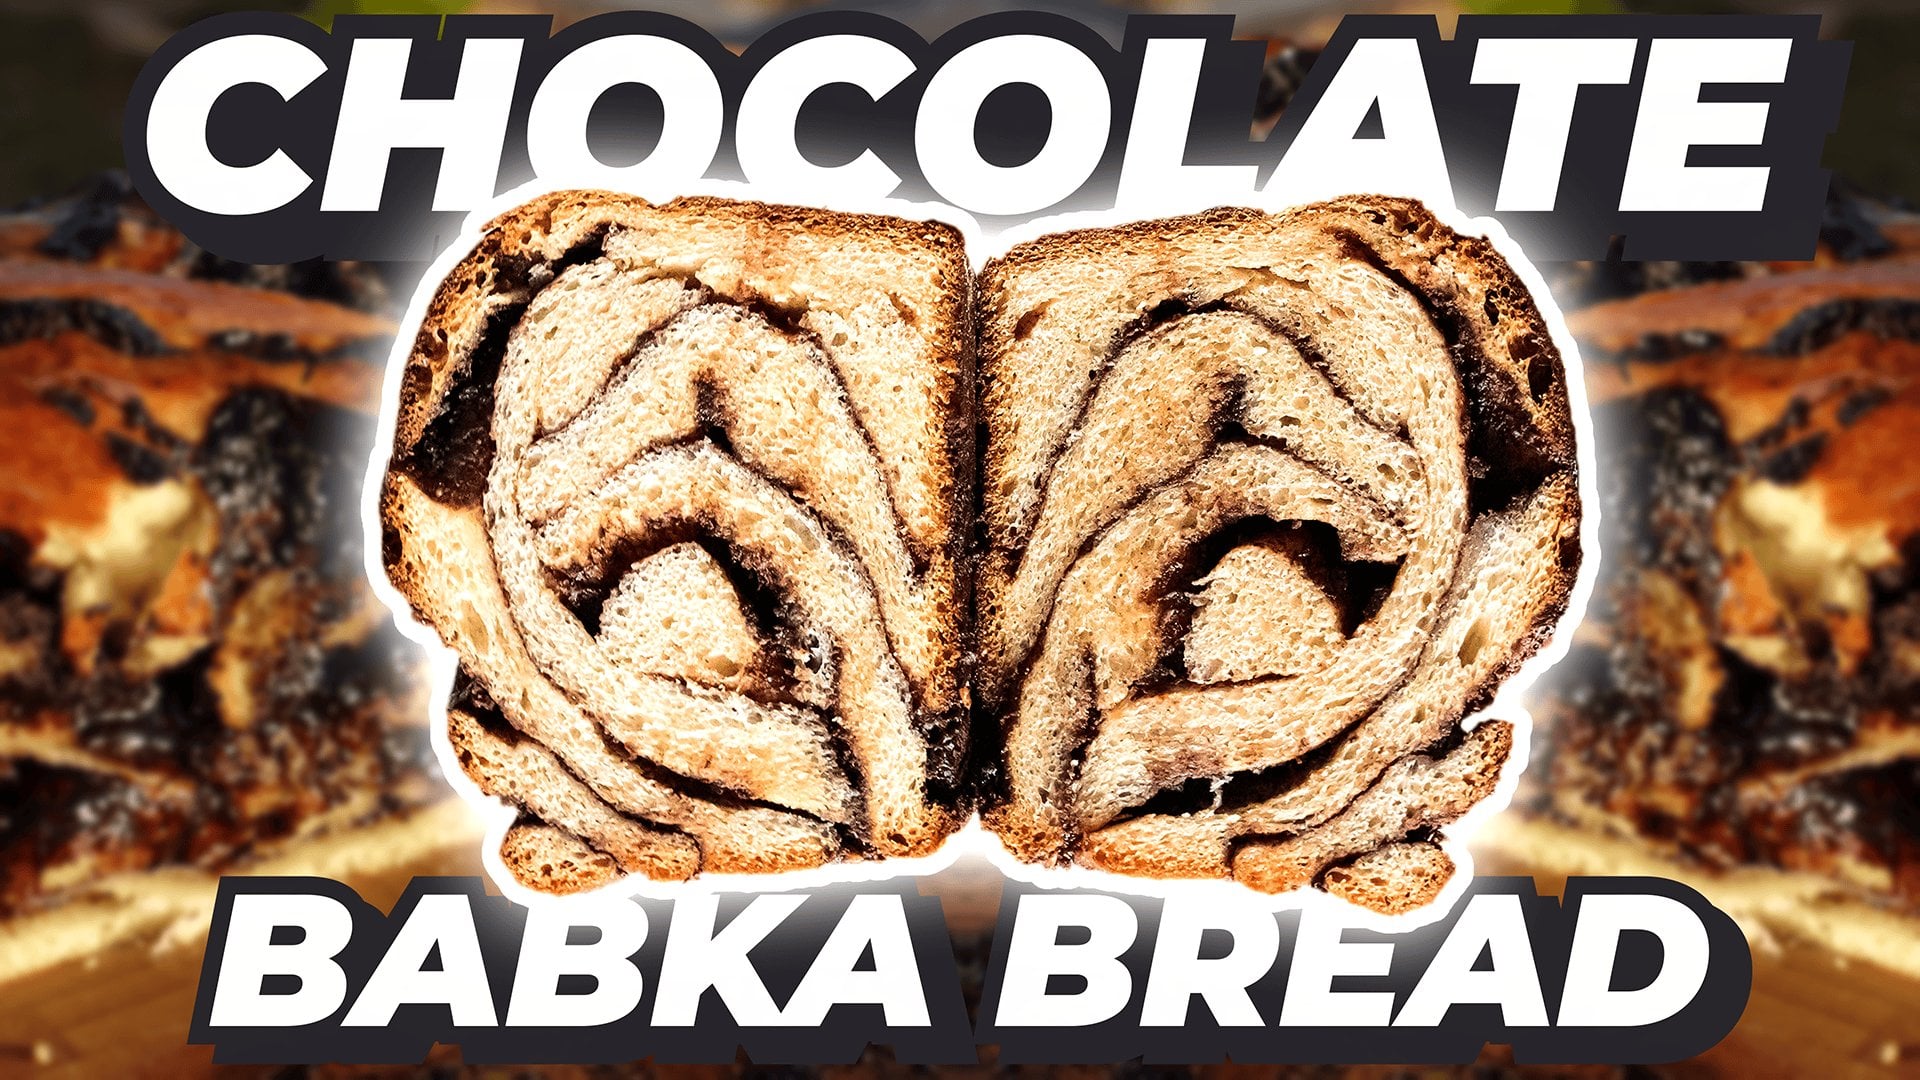
upcoming recipes, such as this amazing Bubka
bread and chocolate tart. I'm really excited for you
to try out these cookies. So with all of that
out of the way, let's go straight into
the following lesson.
2. Chocolate Chip Cookie Introduction: We're going to be
making a hot batch of six delicious chocolate chip cookies with our
special filling. Speaking of filling, I do
hope you haven't eaten all of your hazelnut spread
just yet because you'll be needing some for
these cookies as well. If you're tight on time and don't have any
available, however, then you're more
than welcome to use a store boought alternative
for this recipe. I recommend going
with brown sugar for these cookies just to give them that extra bit
of golden colour. With that said,
though, white sugar will also do in a pinch. On the topic of substitutions, the all purpose flour
can also be swapped out for cakewt if that's all
that's available to you. Moving on to the butter, unsalted is what I opt
for in order to have better control of the salt
going into these cookies. Certain brands tend to
over salt their butter, and that is something
we would like to avoid for this recipe. For the chocolate
chips, a good slab of 70% dark chocolate is my preference
for a good balance between not too sweet
and not too bitter. We'll also be roughly
chopping up our slab later on to give our
cookies a chunky texture. So that is my recommendation
over buying pre made chips. As always, the final ingredient to note is your raising agent. As you can see, you
may use baking soda, also known as bicarbonate
of soda or alternatively, a white flour sourdough starter. More details on how to do that, do check out my dedicated class. A quick reminder if you
decide to use Sudo starter, you'll need to
prepare it at least 8 hours before use and have an extra 10 grams
so that you can refresh and use it
again at a later date. I know that six measly cookies may not be enough for everyone, so do also feel free to
double these measurements.
3. Prepare the Filling: Before getting started
with our cookie dough, it is important to prepare the chocolate hazelnut
filling in advance. So with that said, take out a sufficiently large
baking tray and line the bottom with a sheet of
parchment or baking paper. This will just help prevent
any chocolate from sticking to the tray when we want
to remove it later on. Once that's nice and snug, you can measure out 50 grams or two tablespoons
of your preferred hazelnuts bread
onto the parchment. Using an additional spoon will also make the process
a lot easier. Once you got your
first filling done, be sure to repeat that
for a total of six, ensuring you leave enough
space in between each one. From there, you can simply
move your tray into the freezer without a
specific time limit. By the time you're done
preparing your cookie dough, the filling should
have sufficiently hardened and be ready to use. With that in mind, you can jump straight into
preparing your dough, which we will cover in
the following lesson.
4. Mix your Cookie Dough: For the cookie dough, you
can start off by taking it out a bowl and zering
it out on your scale. To that, you can measure
out 100 grams of unsalted butter and
then gently soften it down in the microwave for ten to 20 seconds without
turning it into a liquid. From there, add in 70
grams of brown sugar, as well as 40 grams of mature
sourdosa or alternatively, 4 grams of baking soda. Subject of baking soda, I know there is some confusion when comparing it
to baking powder. The simple version is
that baking powder is made from a mixture of both baking soda as well as an acidic agent which
essentially primes it to react. The inclusion of that one additional
ingredient results in a much faster reaction than
just baking soda on its own. It also means it reacts twice, once when added to a liquid and once again when it
is exposed to heat, like in the oven, for example. Why packaging on
baking powder will often refer to it
as double acting. With the theory out of the way, what this means practically
is that using baking powder will result in a much
lighter and airy cookie. On the other hand, baking
soda will give your cookies a much chewier texture with the added benefit of
enhancing their brown color. For this recipe, if you don't want to use
sour or starter, baking soda is definitely
the better choice. Once those three ingredients have been added to your bowl, begin whisking them together for about a minute until
well incorporated. From there, you can begin adding 195 grams of all purpose flour, slowly mixing it together
a few spoonfuls at a time in order to avoid
creating any large clumps. To that, add 3 grams of salt, as well as 5 grams
of cornstarch. Before you mix
everything thoroughly, crack in one whole egg, as well as one additional egg
yolk without the egg white. The easiest way I found to separate the two is
to break the egg into a separate bowl and gently scooping out the yolk
with a clean hand. There thoroughly mix
all those ingredients together to form your dough. For the chocolate chips,
measure out 200 grams of dark chocolate and begin roughly chopping them
up using a heavy knife. For this recipe,
we definitely want to aim for nice chunky bits, roughly the size
of your thumbnail, but just be sure not to
cut your pieces too small. Once that's done, add the chocolate pieces
to your bowl and mix one more time until
all the chips are evenly incorporated
into the dough. Cover that with a damp
cloth so it doesn't lose any moisture and
then move your dough into the fridge to let
it rest for 1 hour.
5. Assemble the Cookie Ball: Now that your dough has
rested for the hour, it's now time to assemble your cookie by adding
the frozen filling. To make my life easier, I like to first prepare a sufficiently sized baking tray lined with parchment
paper in advance. If you don't have
parchment paper, feel free to grease
your tray with a non stick spray or even
a little bit of butter. With that out of the way,
start off by measuring out roughly 110 grams of cookie
dough onto your scale, and then using the
palm of your hand, flatten it out and push into the center to form something
resembling a crater. From there, take out your
frozen filling piece and break it in half or into smaller pieces as needed so that it may fit into the
center of the dough. Close it up and then use your hands to round
out the dough into all so that it can be
placed on your baking tray. Repeat this process with all of your remaining
dough and filling. Just remember to place each
cookie on the tray with sufficient space as these will flatten and spread
out in the oven. Cover your cookies with another baking tray to prevent
them from losing any moisture and then let that rest in the fridge
for at least 2 hours. Or if you use sour dough, then you can let some flavors develop overnight for tomorrow.
6. Bake your Cookies: 20 minutes before you are
ready to start baking, be sure to preheat your
oven to 220 degrees Celsius or 428
degrees Fahrenheit. When that is done,
remove the cover to ensure they are still
safe and sound and place them in the middle
rack of your oven to bake for 30 minutes or
until golden brown. In my experience, every oven seems to heat up a
little differently, so just give your
cookies a look at the ten minute mark and adjust the timing
from there if needed.
7. Chocolate Chip Cookie Conclusion: To conclude our chocolate
chip cookie recipe, take the baking tray out of
the oven and begin moving your cookies onto a metal rack to let them cool
down for 10 minutes. Once that's done, it's time for the cross
section to reveal the warm chocolate hazelnut core of our delicious cookies. And just look how
indulgent that is. For extra indulgence,
be sure to pour yourself a glass of milk to
also dip your cookies in. What I love about these
cookies is that they add an extra layer to what is
usually a very simple recipe, and that just makes them
so much fun to make, especially when done
with your loved ones. Still plenty more delicious
chocolate recipes to try out, so I look forward to sharing
the next one with you on how to make this
spectacular chocolate tart. If you have enjoyed this class, please do feel free to leave
a review with your thoughts. And before you go, don't
forget to share pictures of your own chocolate creations in the project section below.
 Marceau Dauboin, Artisan Baker/Owner at The Yeastie Bois