Transcripts
1. Welcome!: There are few desserts
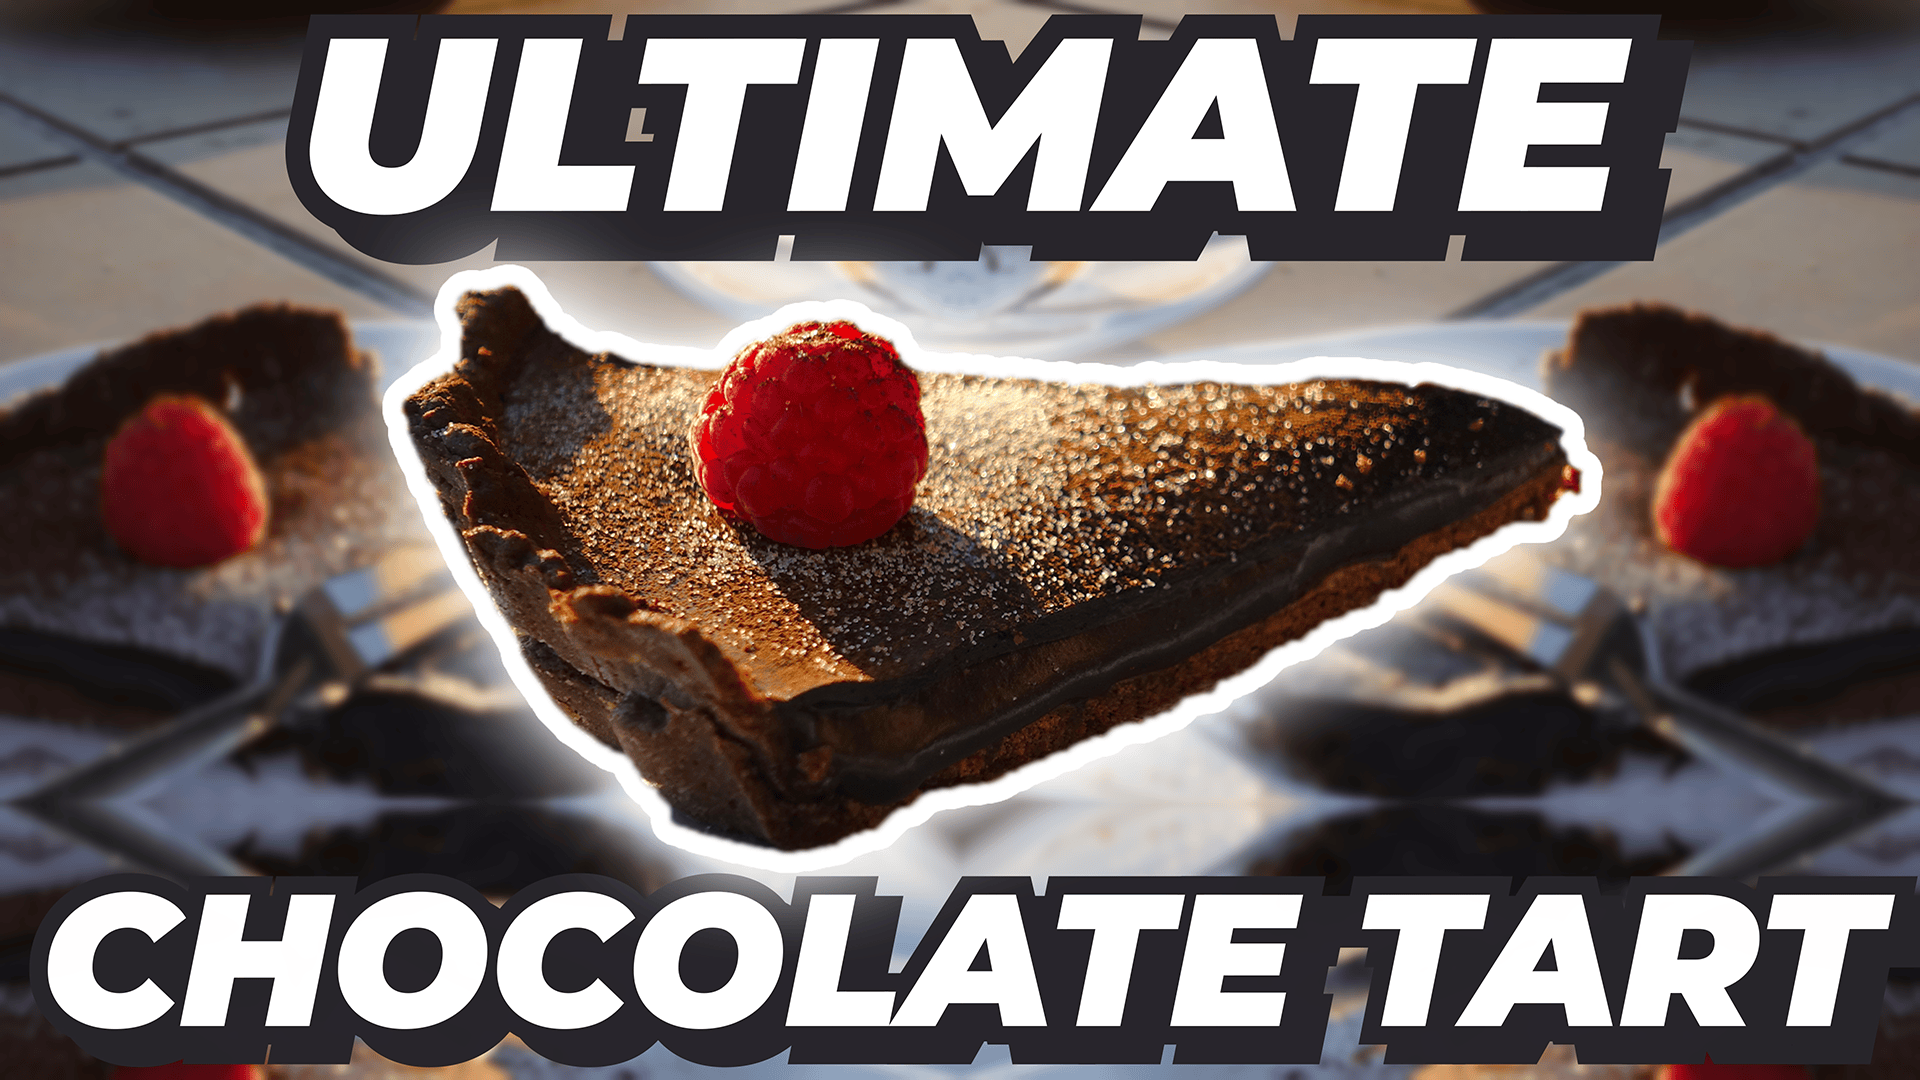
in the world that can compete with a slice
of chocolate tart, topped with a crisp raspberry, and a dusting of
pure cocoa powder. In this class, I'll be showing you everything you
need to know on how to make your very own
chocolate tart from home and how to ace it on
your very first attempt. Through these curated lessons, I will be guiding you through the entire process
of this recipe, starting with the
base of the tart before moving on to its filling, and, of course, the
silky, smooth top layer. All of these layers
will be incorporating chocolate in one
form or the other. So to keep you on track
with all your measurements, you'll also have access to this recipe's PDF guide to accompany you
throughout the lessons. This amazing recipe
is also the third of a six part series all about making some of the best
chocolate desserts. So be sure to hit
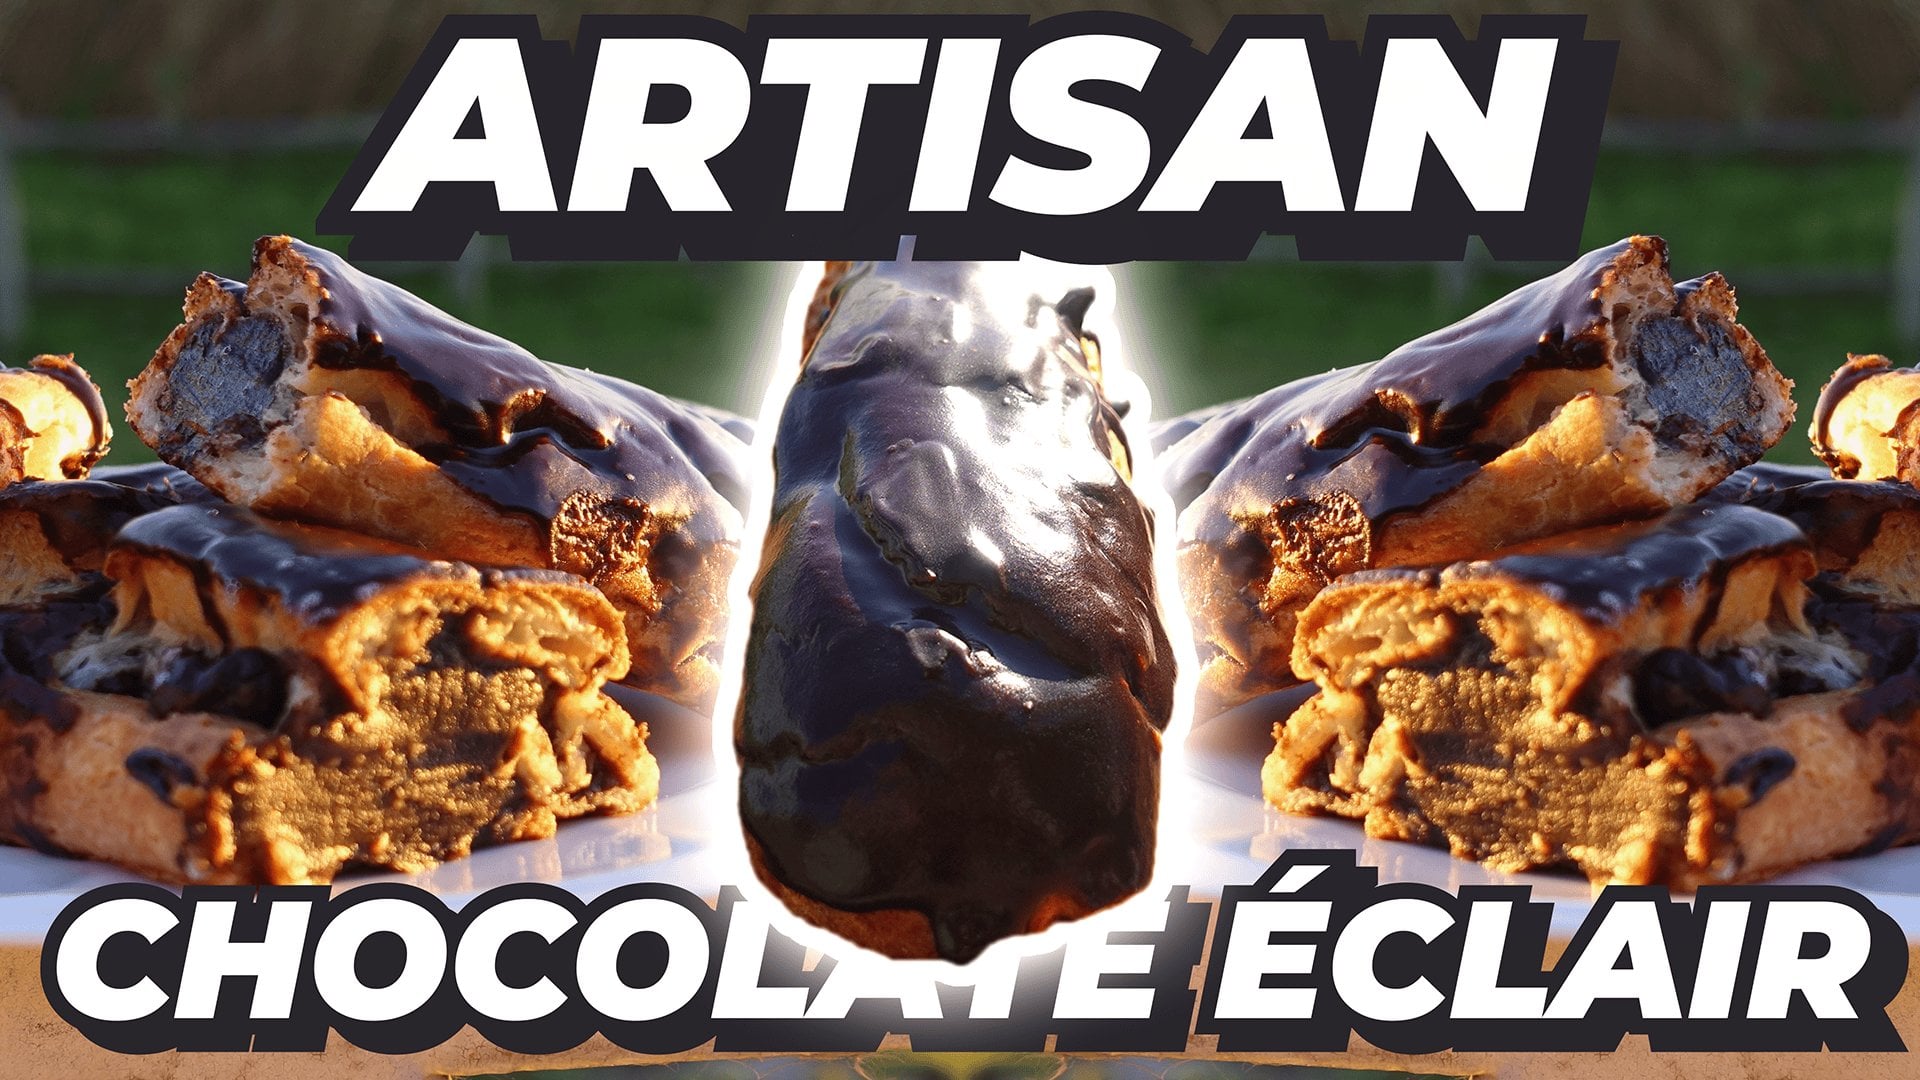
the follow button above to keep up to date on all upcoming classes such as these delicious Sclairs
and braided Bb cloves. I really can't wait to get
started on this recipe, however, so I'll be sure to see you in the upcoming lesson.
2. Chocolate Tart Introduction: For this chocolate tart recipe, we have quite a few ingredients, so I'll break it down into
its three major components, starting off with the base
for a 25 centimeter tart. Feel free to adjust
these measurements for a larger or smaller portion, depending on the size of the
pans you have available. For the ingredients, cake flour, also known as cake wheat is my recommendation for
this recipe due to its lower protein
count and therefore leading to a slightly
softer crust when baked. The tart base doesn't
require a raising agent, but for some additional flavor, you're more than
welcome to prepare a dry Sourdough starter using
the following measurements. Just be sure to prepare it at least 8 hours in advance to develop some
of those flavors. Moving on now to the filling, which is also known
as a ganache. For the chocolate,
I recommend using a good 70% dark chocolate, and for the cream,
heavy cream or double cream may be used
for a nice, silky texture. For the final layer of
our chocolate tart, the glaze, these are the ingredients you
are going to need. Feel free to pause
the video to take note of all the ingredients
you're going to use. But with that out of
the way, let's jump into the details of
the next lesson.
3. Prepare the Tart Base: Get started with the tart base, measure out and
then gently soften 100 grams of unsalted butter. You can soften it down
slightly by placing it on your stove top or in the
microwave for 20 seconds. This will just make it easier to incorporate into the
other ingredients. Gently, give it a whisk
to smoothen it out, and then optionally, you may add 30 grams of dry,
mature sourdotrter. To that, add 60 grams of
sugar, 3 grams of salt, give it a quick whisk and then add in one large egg with one additional egg yolk and continue whisking until
fully incorporated. Just a quick trick
when it comes to separating the yolk
from the egg white, crack an egg into a small bowl, being careful not
to pierce the yolk, and then using a clean hand, scoop it out and
carefully remove the egg white before moving
it into a large bowl. From there, add in 13
grams of cocoa powder and the 230 grams of cake flour one third at a time to prevent any
clumps from forming. At this point, using a whisk
is no longer advisable, so using a spatula
or a large boon, mix that together until
fully incorporated. When there are no
longer any clumps, cover your bowl
with a damp cloth and let it rest
in the fridge for a minimum of 3 hours or for best results,
leave it overnight.
4. Blind Bake the Base: When your chocolate base
has finished resting, preheat your oven to
190 degrees Celsius or 374 degrees Fahrenheit
for 20 minutes. While you're waiting
for that to warm up, you can begin
preparing your base by evenly applying 10 grams of unsalted butter to a
25 centimeter tart pan with a preferably low side wall. I found the easiest way to get into all the nooks and
cranies is to first soften the butter and then apply it evenly using
a kitchen brush, such as the silicon
one that I'm using. Be sure to get all the
side walls as this will help prevent the crust
from sticking to the pan. When that is done, flour your work surface
as well as the top of your dough and then begin rolling it out
into a large disc. Depends on the height
of your pan's walls, but when it is
roughly 4 centimeters wider than your
pan on all sides, you can gently wrap it around your rolling pin before carefully unrolling
it onto the pan. From there, push in all the
sides to ensure there is no trapped air and cut off the edges at the lip of the pan so that the borders are flush. If you're using a high wall pan, I'd recommend cutting the dough 4 centimeters from the bottom of the base all around the rim. With those extra bits, you can also patch up any small holes that might
be in your crust, but these may come
loose while baking, so it's best to try and avoid any tearing while
applying your base. You can now begin punching holes in the crust
with your fork. This technique is known as docking and helps
prevent the dough from bulging out due to trap moisture that can expand in the oven. After that, you can
apply a layer of foil, which will help
keep the walls of your crust upright
while baking like this. We are going to be
using a technique known as blind baking
for our crust, and this simply means
that it's going into the oven
without any filling. This just prevents the base
from becoming soggy or soft. So when your oven has
finished preheating, place the pan in
the middle rack and bake for 30 to 35 minutes at 190 degrees Celsius or
374 degrees Fahrenheit. That is done, use your
brush to evenly apply one egg yolk to the
center of the base and put it back in the oven at
170 degrees Celsius this time or 338 degrees Fahrenheit
for five additional minutes.
5. Make the Chocolate Filling (Ganache): For the chocolate filling, also known as a chocolate ganache, we are going to
start measuring out 160 grams of heavy cream, as well as 230 grams
of a high quality, 70% dark chocolate, which you can roughly break
apart or chop up. On low to medium heat, bring your cream to a
light simmer on the stove, and just before it starts to boil at all of your
chocolate pieces. Give that a mix using
espatul or a spoon and once incorporated at 25 grams of
softened unsalted butter, continue mixing to
prevent any burning. When that is all
finally incorporated, bring your pot over
to your baked crust and pour all of that in, making sure it spreads
evenly while leaving just a bit of space at the
top for the final glaze. When that is done,
move your tart into the fridge and let it
cool down for 3 hours.
6. Prepare the Glaze: The third and final layer
of our chocolate tart, mix 4 grams of gelatin powder with 40 grams of water
into a small bowl. Give that a quick stir until
the gelatin is dissolved. Then on your stove
top at low heat, pour in 45 grams of heavy cream. Just as it begins to simmer, switch the heat completely off and add in 45
grams of sugar, as well as 20 grams
of cocoa powder. Stir until
incorporated, and then put the heat back on until
it starts to bubble. At this point, switch
the heat off once again and add in all of
your gelatin mixture. Let that cool at room
temperature for 3 minutes, and then apply it evenly
onto your refrigerated tart. Make sure to swallow
it around so that the glaze reaches all
corners of the tart, and finally, let it rest for one additional hour in the
fridge so that it can set.
7. Chocolate Tart Conclusion: Once your chocolate
tart has fully set, you can begin slicing it up and applying the final touches. I always go for some raspberries
to give it that nice, contrasting color and freshness, as well as an extra dusting of cocoa powder or icing sugar. Besides looking
incredibly appetizing, this tart also tastes
absolutely delicious, with all three layers
contributing something different to the texture
and chocolly flavor. I genuinely hope you
enjoy making and eating this delicious tart as much as I have because it's
such a lovely recipe. That said, though, we still have a lot more amazing
desserts to try out, so I hope you'll join
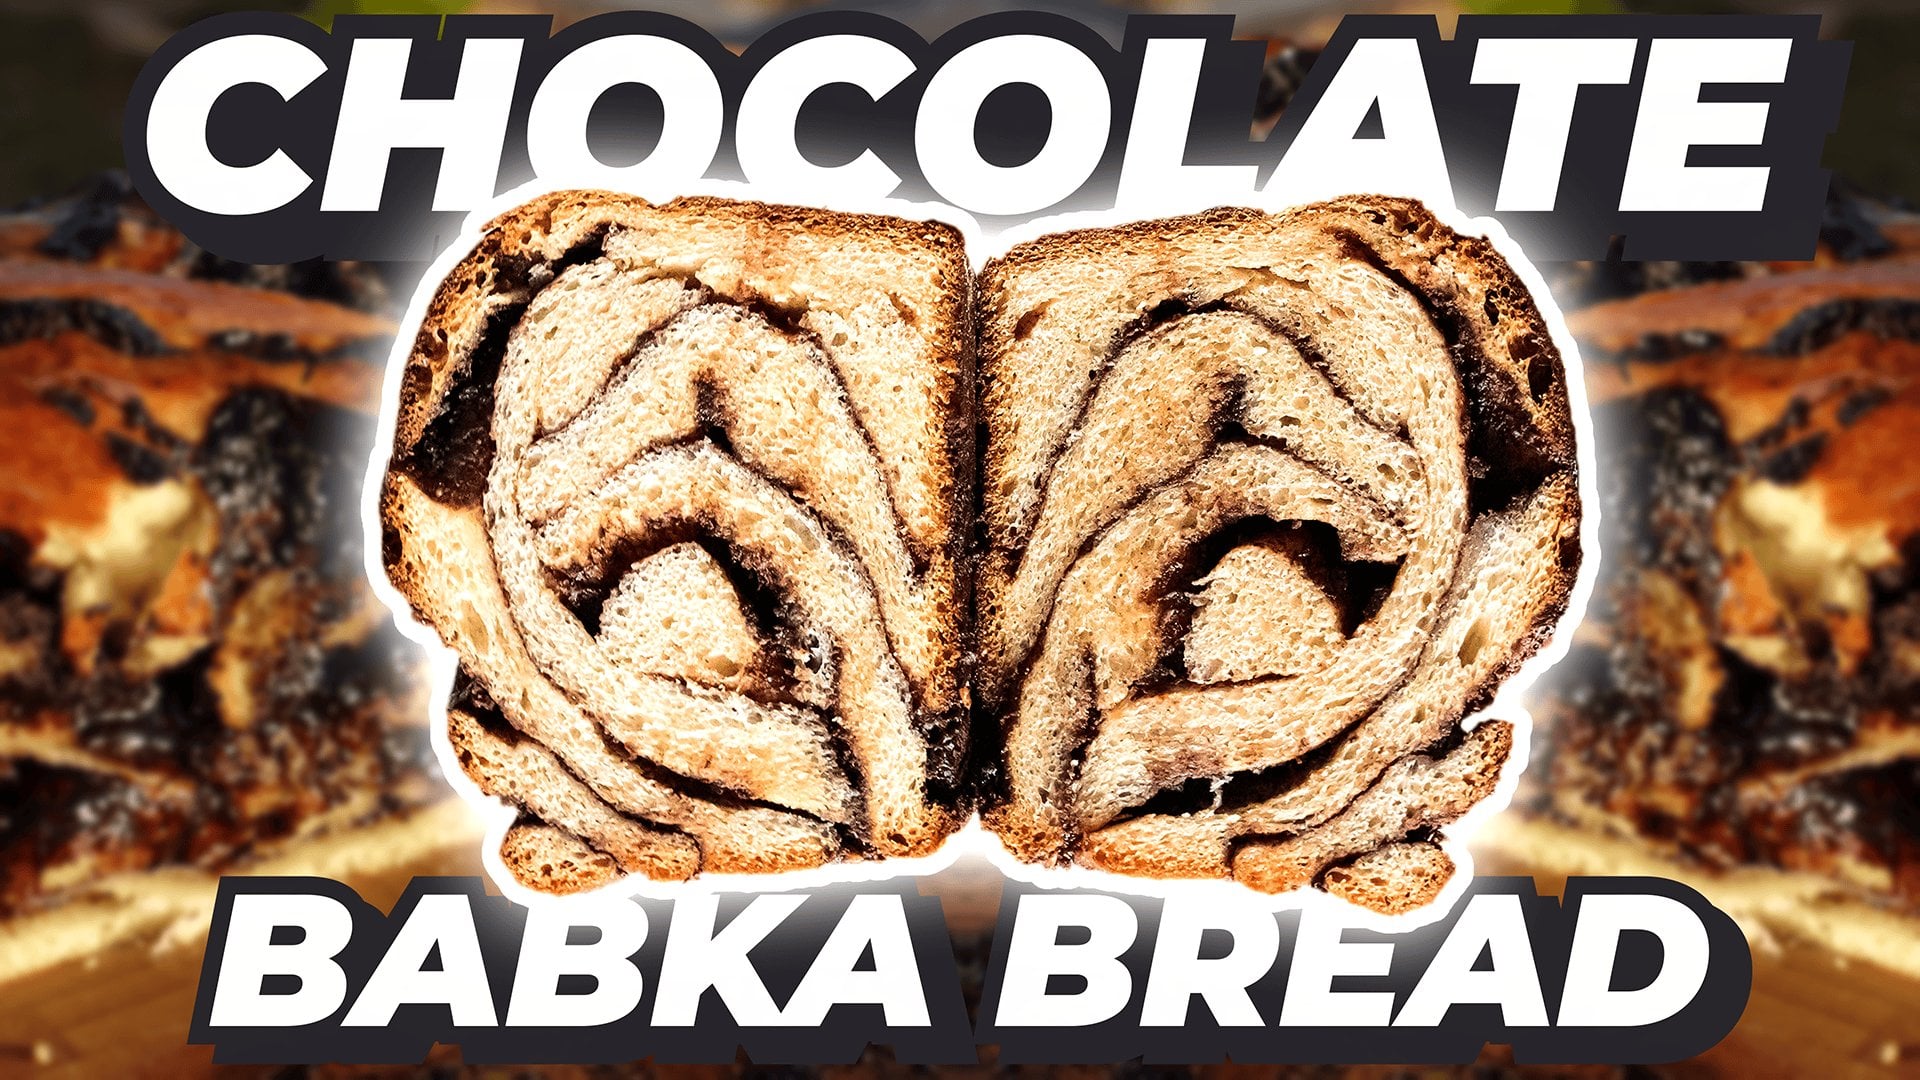
me for the next recipe, the indulgent
Chocolate Bbkabead. If you have enjoyed this class, please do feel free to leave
a review with your thoughts. And before you leave, don't
forget to share pictures of your own chocolate creations in the project section below.
 Marceau Dauboin, Artisan Baker/Owner at The Yeastie Bois