Transcripts
1. Welcome!: For decades, chocolate
nutty spreads have captured the hearts and
bellies of children and adults alike from
across the world. But what if I told you
you could make it better, crunchier, and healthier for both you and the environment? Well, in this class, I'll be showing you
how to do exactly that from the comfort of your
own kitchen. Hey, there. My name is Mosso, and I'm the owner of the Yeasti
Boys Artisan Bakery and a professional sailing
chef having worked on crossings throughout the
Atlantic and the Equator. With that said, I am so incredibly excited to
be back and bringing you a brandy recipe that is as easy to make
as it is to eat. Making it even
easier on your mind is that this bread
contains zero palm oil, twice the amount of hazelnuts, and a quarter of
the sugar content compared to most
store bought brands. And by the end of this class, not only will you
know how to make your own chocolate
hazelnut bread, but also how to use it to make delicious chocolate
stuffed flapjacks. Should you need to quickly
double check the measurements or instructions of this
class, then as always, you'll be able to do so through this course's written PDF guide, which comes included as
an additional resource. This is the first of
a six part series entirely focused on
chocolate desserts, so be sure to hit the
follow button above to no miss out on any
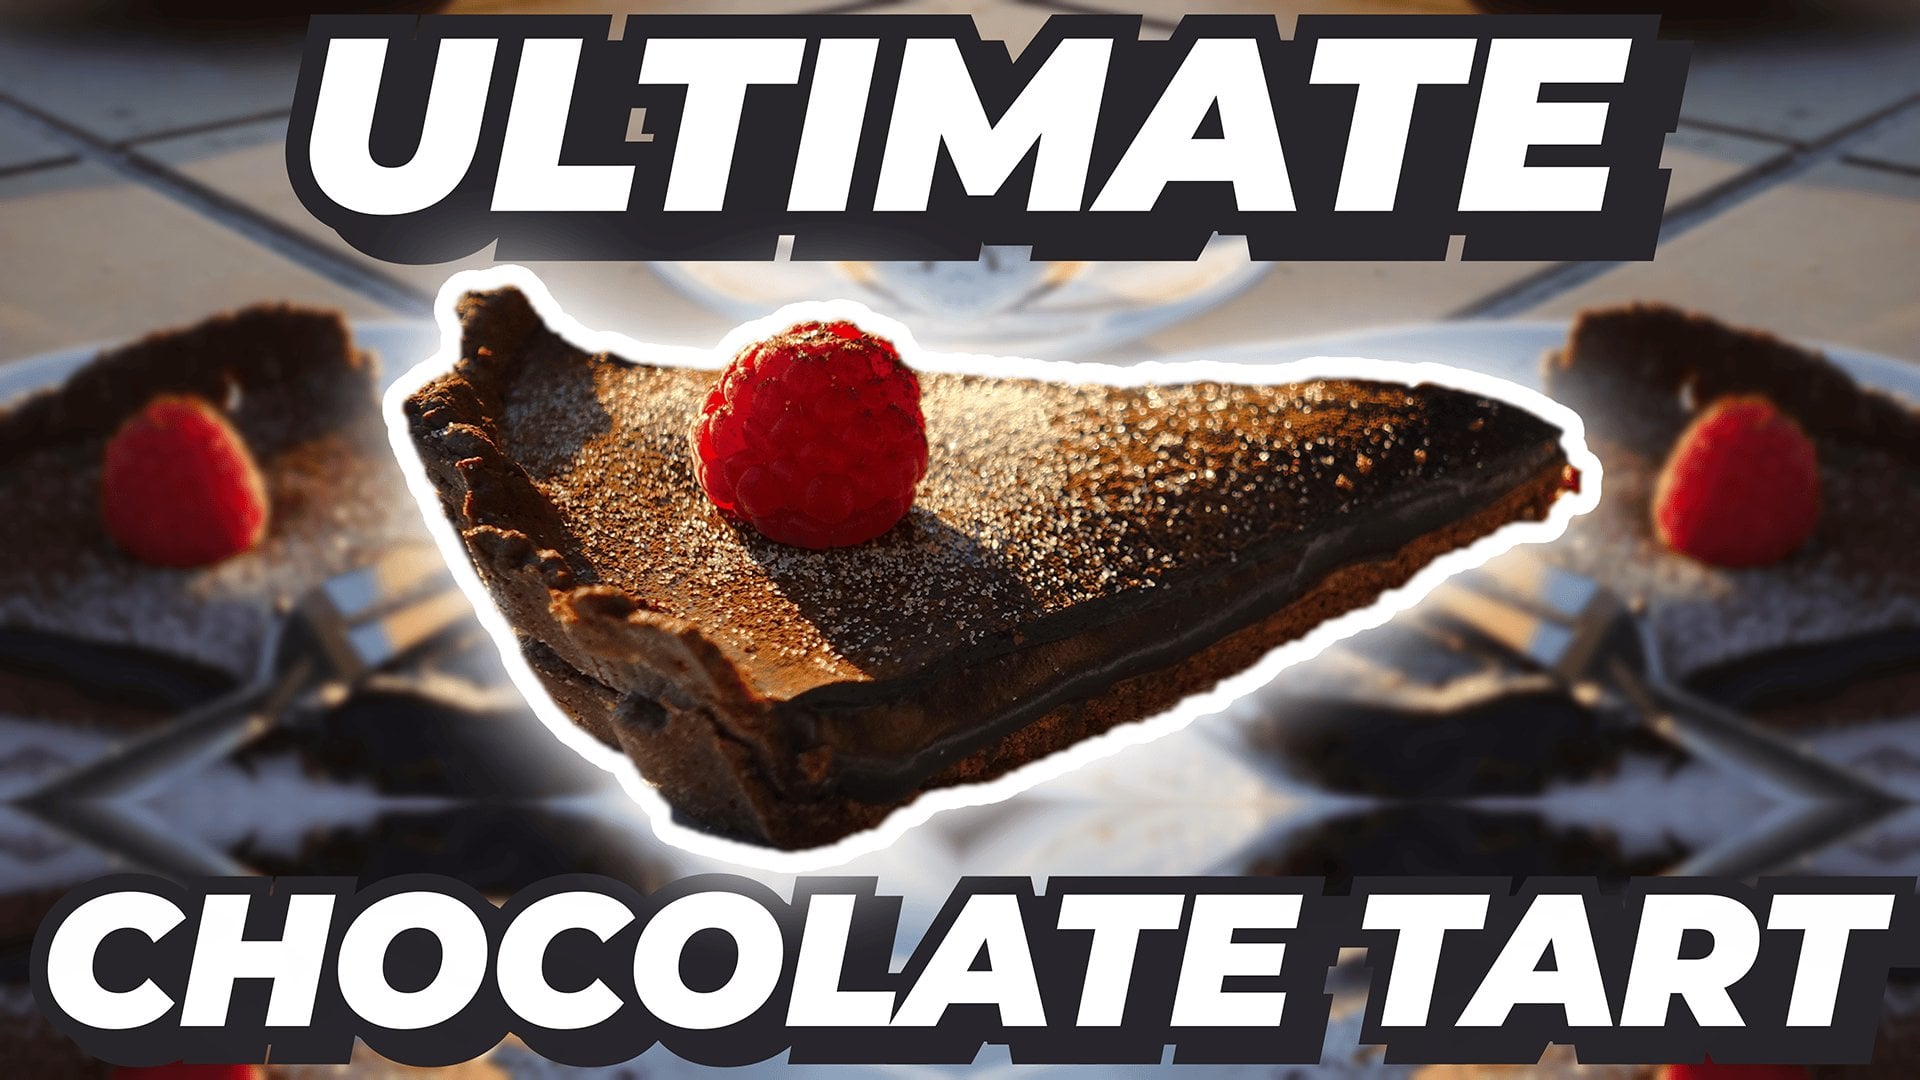
upcoming recipes, such as the stunning
chocolate tart and the ever elusive
eclair or chocola. With that, out of the way, let's dump straight
into the next lesson with our short list
of six ingredients.
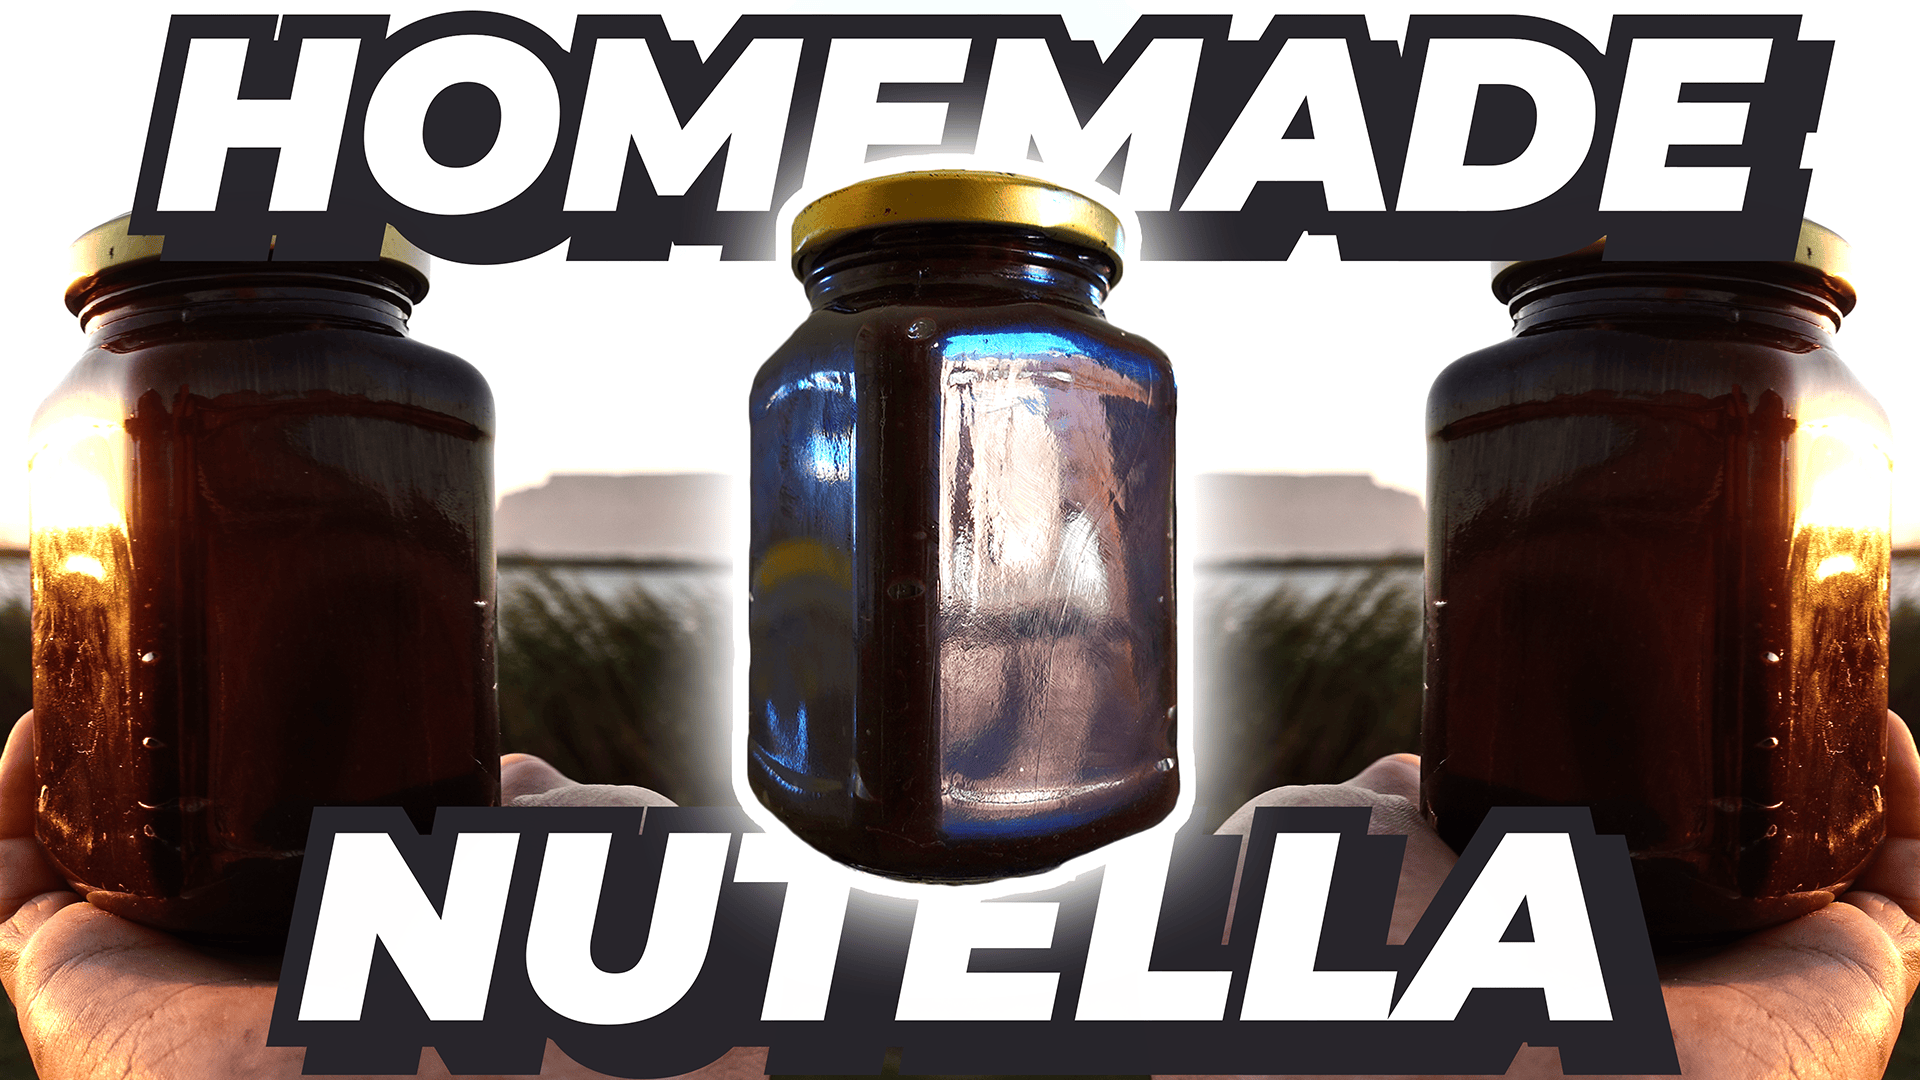
2. Homemade Nutella Introduction: So let's dive straight into the first recipe with
our ingredient list, which will allow you
to make 380 grams of chocolate hazelnut spread, which is roughly equivalent
to one medium sized jar. I found that old
glass jam jars we great as long as they still
have their sealable lid, but BPA free plastic or stainless steel containers
work just fine as substitutes, albeit without a nice,
transparent sheen. You'll notice that we will
be using blanched hazelnuts. If you don't know what that is, they are simply regular hazelnuts that have
been boiled for a few minutes to help remove
their bitter brown exterior. Most stores should offer them pre blanched, but
if not available, you can find instructions
on how to do it yourself in the additional
resource for this recipe, or you can quickly pause the video for those
details on screen. For the sweetness, powdered
white sugar is my go to for this recipe because of how easy it is to dissolve
into the mixture. But if you only have
regular granulated sugar, then you're more than
welcome to use that instead. As a final note,
we'll also be using this chocolate spread in
a few upcoming recipes. So if you want some
extra just for yourself, you're more than welcome to
double these measurements. Regardless, once you have
all those ingredients ready, I'll be seeing you in
the following lesson.
3. Make Your Hazelnut Butter: So using a small bowl, don't forget to zero out
your scale before measuring your 150 grams of
blanched hazelnuts. Just in case you're unfamiliar
with my previous classes, I always recommend using a digital food scale to get the most precise
measurements. Depending on the recipe, it's not going to be a deal breaker if you don't have one, but they're pretty
cheap and are extremely useful when it comes to the
more complicated recipes. So definitely a highly recommended tool to
have in your kitchen. From this point, you have two
options on how to proceed. The first is to blend
your hazelnuts in a food processor until
they form a paste, or you can blend for a
short amount of time if you prefer a crunchier
hazelnut spread. Is a quicker and
easier way to do it. But for this class, I'll be showing you a more DIY approach. First, carefully place
your hazelnuts into a strong plastic bag
and seal it shut. Making sure all the
nuts are flat against your work surface
without any overlapping. Then using a preferably
heavy rolling pin, you can begin crushing
your hazelnuts. Feel free to also
use a kitchen mallet if you find that any
easier on your arms. Should your plastic bag break, you can also very easily wrap it in another and continue
working from there. Your mileage may vary, but it should take you
about five to 8 minutes to get the hazelnuts to a
suitable consistency. Want it quite powdery, but don't worry if some of
the bits are slightly larger, as this will just add to the texture of your
chocolate spread. The key to look out for is a
slightly wet texture which indicates your
hazelnuts have started releasing their natural oils. Should you blend it, it will be easier to extract the oils, which will simply affect how smooth your final
product will be. Either way, however,
you're going to end with a delicious spread, so it's up to what
you have available in your kitchen and your preference
which method you use.
4. Mix Your Chocolate Spread: Once your hazel nuts have
been sufficiently crushed, transfer their powdery remains into a large bowl if
you haven't already. From there, you can
measure out and molt 30 grams of unsalted
butter by heating it in a microwave
for 20 to 30 seconds or on a low heat stove pot. While waiting for
that to finish, move your large bowl onto your scale before adding
your melted butter and gently stir that mixture
with a large spoon or spatula before your
butter gets to cool down. Following that, zero
out your scale in order to add 40 grams
of cocoa powder, 56 grams of powdered sugar, and just 3 grams of salt. I'll explain why we're adding salt in the
following lesson. But for now, just stir it all together for about 20 seconds. From this point, you may begin slowly mixing in
20 grams of water at a time until it reaches an almost honey
like consistency. That said, do keep in mind that you might need
less or more water, depending on how much of
the oil you were able to blend or smack out
of your hazelnuts. If you use the hand
crushing method, you'll need approximately
100 grams of water in total. With a food processor, on the other hand, 40 grams
might be all that's needed. That's why I recommend
adding it bit by bit, stirring in between until you reach the right consistency.
5. Homemade Nutella Conclusion: From now on, all that's needed
to do is to fill and seal your jars with your delicious homemade chocolate
hazelnut bread. While you're getting all of that done, you may be wondering, like I have in the past,
what is the point of adding salt when you're trying
to make something sweet? So there are a few reasons. If you're baking something
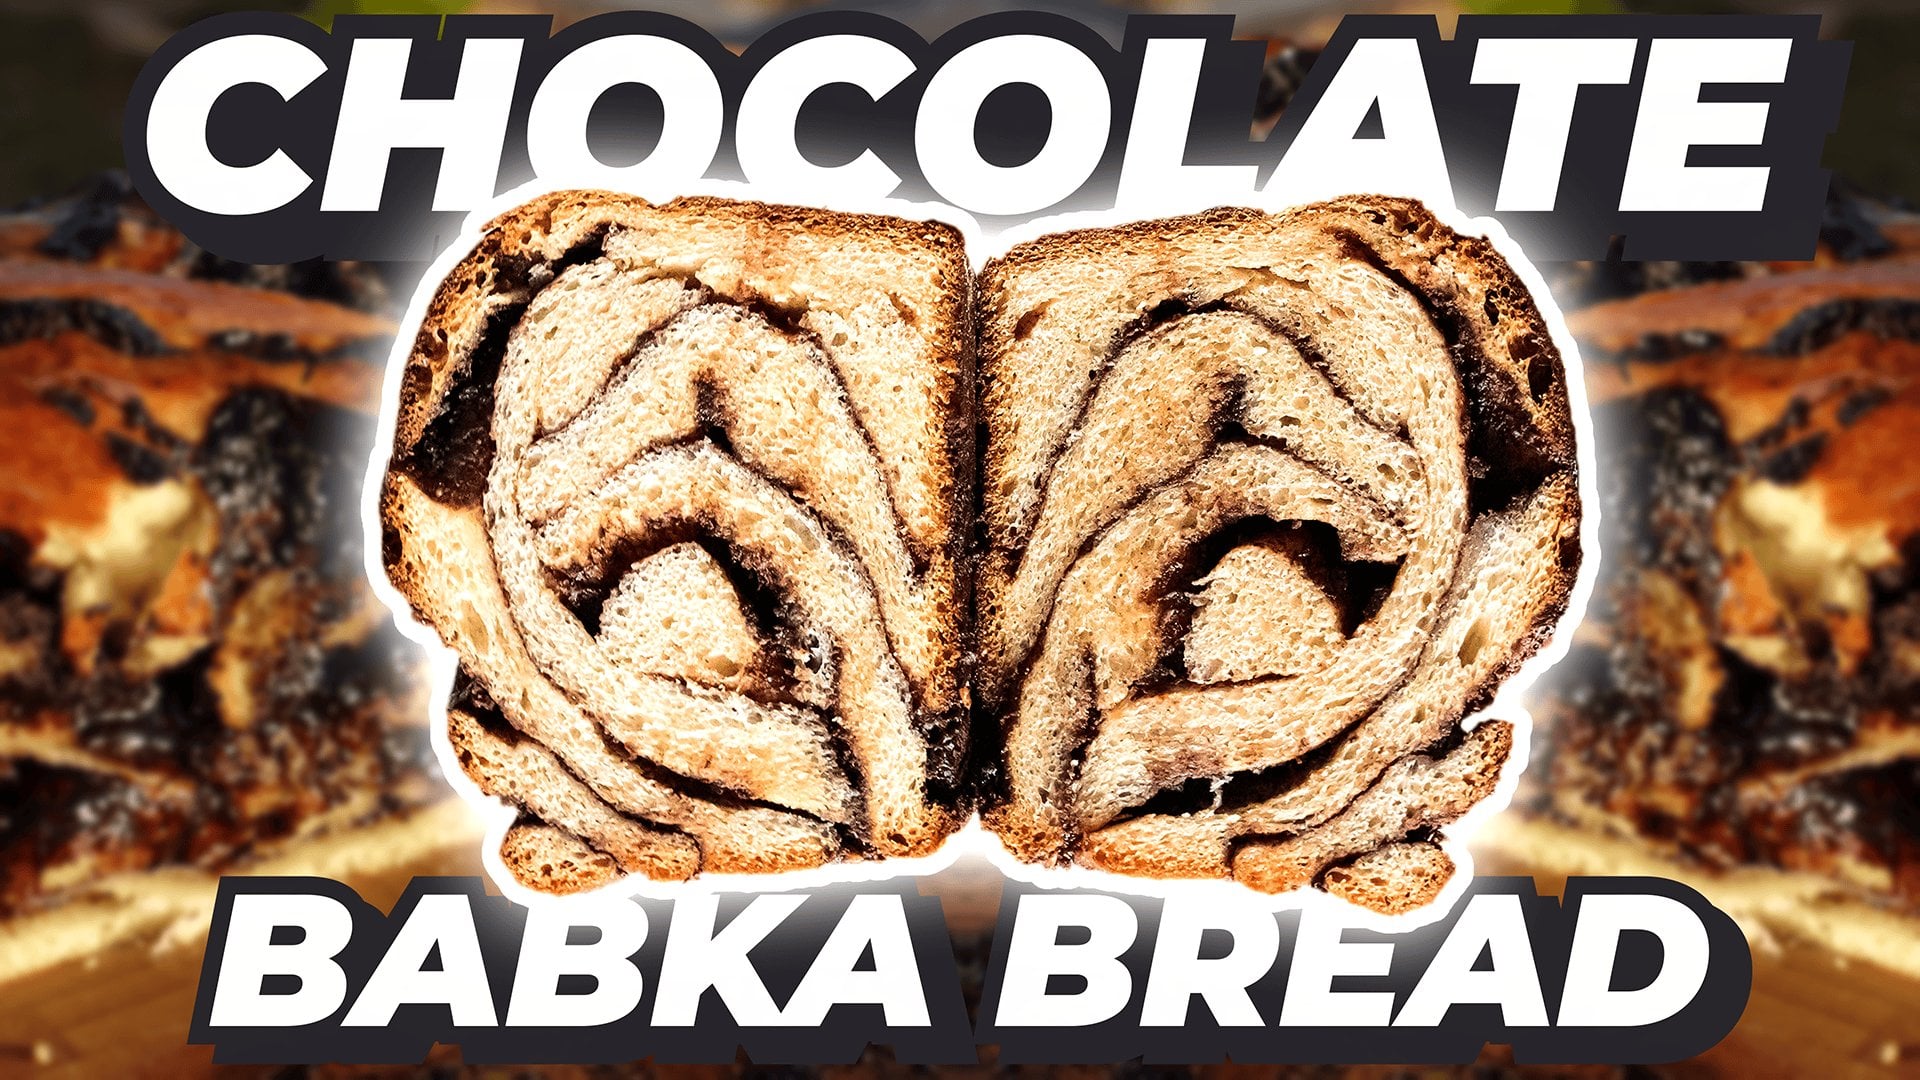
with yeast like the soon to be covered chocolate
Bubka bread, for example, then salt will actively
control the amount of rice in the bread to make sure
it doesn't overflow. This happens because
salt kills yeast, so too much salt
will be a bad thing for proper fermentation. At low amounts, it works just right for what
we needed to do. Our chocolate spread,
on the other hand, doesn't contain yeast nor needs to ferment. So what gives? In this case, we're adding a little bit of salt
because it helps enhance the flavor of everything in our mixture without actually
making it taste salty. Salt amplifies the taste
receptors on our tongue, which simply means it makes food taste better, even
when it's sweet. Circling back from that tangent, I do hope that you
have enjoyed making this really simple
but delicious recipe. It is obviously amazing as a spread and straight
out the jar. But what if I told you
you could also use it to make really delicious
chocolate stuff flapjacks? Well, that is exactly
what you'll be learning in the second
section of this class, so I look forward to
seeing you there.
6. Chocolate Stuffed Flapjacks Introduction: So for your chocolate
stuff lap jacks, these are the ingredients
you're going to need in order to make four
medium size servings. For the flour, I'd
recommend using all purpose or alternatively, cake wheat is an
equally good choice. Adding sugar in this
recipe is optional, as we'll be sweetening
our flapjacks already with the
chocolate filling, but the choice is there
if you so choose. A final ingredient to note
is your raising agent. As you can see, you
may use baking powder or alternatively a
white flour sourdoter. If you don't already
have your own, do be sure to check out my
dedicated sourdoter class, which you can find on
my teacher profile or through the search tab above. Quick reminder if you decide
to use sud or starter, you'll need to prepare
it at least 8 hours before use and have an extra 10 grams
so that you can refresh and use it
again at a later date. With that, out of the way, let's jump straight
into the recipe proper.
7. Mix Your Flapjack Batter : To get started, you're
going to want to place a large bowl
in your scale and zero it out to measure 250
grams of all purpose flour. From there, add in
5 grams of salt, as well as the optional 50
grams of sugar and give that a quick mix with your spoon to break up any clumps
in your flour. We're now going to be adding our liquids with equal
parts water and milk. For each, you may pour in 130
grams for a total of 260. And at this point, you may add your raising
agent of choice, either 12 grams of
baking powder or 120 grams of sourdos da. Then, once you've given
your mixture a quick stir, you can melt your 20 grams of unsalted butter and pour it
in before stirring again. When that's roughly
incorporated, mix in your eggs one at a time until you form
a smooth batter. If you've used sourdosrter
for your flapjacks, I'd recommend covering your bowl with a damp cloth and letting the batter rest
overnight in the fridge to develop some really
delicious flavor. Alternatively, if you
use baking powder, I strongly recommend you start cooking your
flapjacks as soon as possible as the rising action is sensitive to moisture. Baking powder is double acting, which means it reacts when heated and when
added to a liquid. So if you end up
leaving it overnight, even if cooled, you're going to miss out on some of the rice. It's not going to
ruin your pancakes, but it might just make
them slightly less fluffy, and nobody wants that. So with that in mind, I'll be seeing you
in the next lesson.
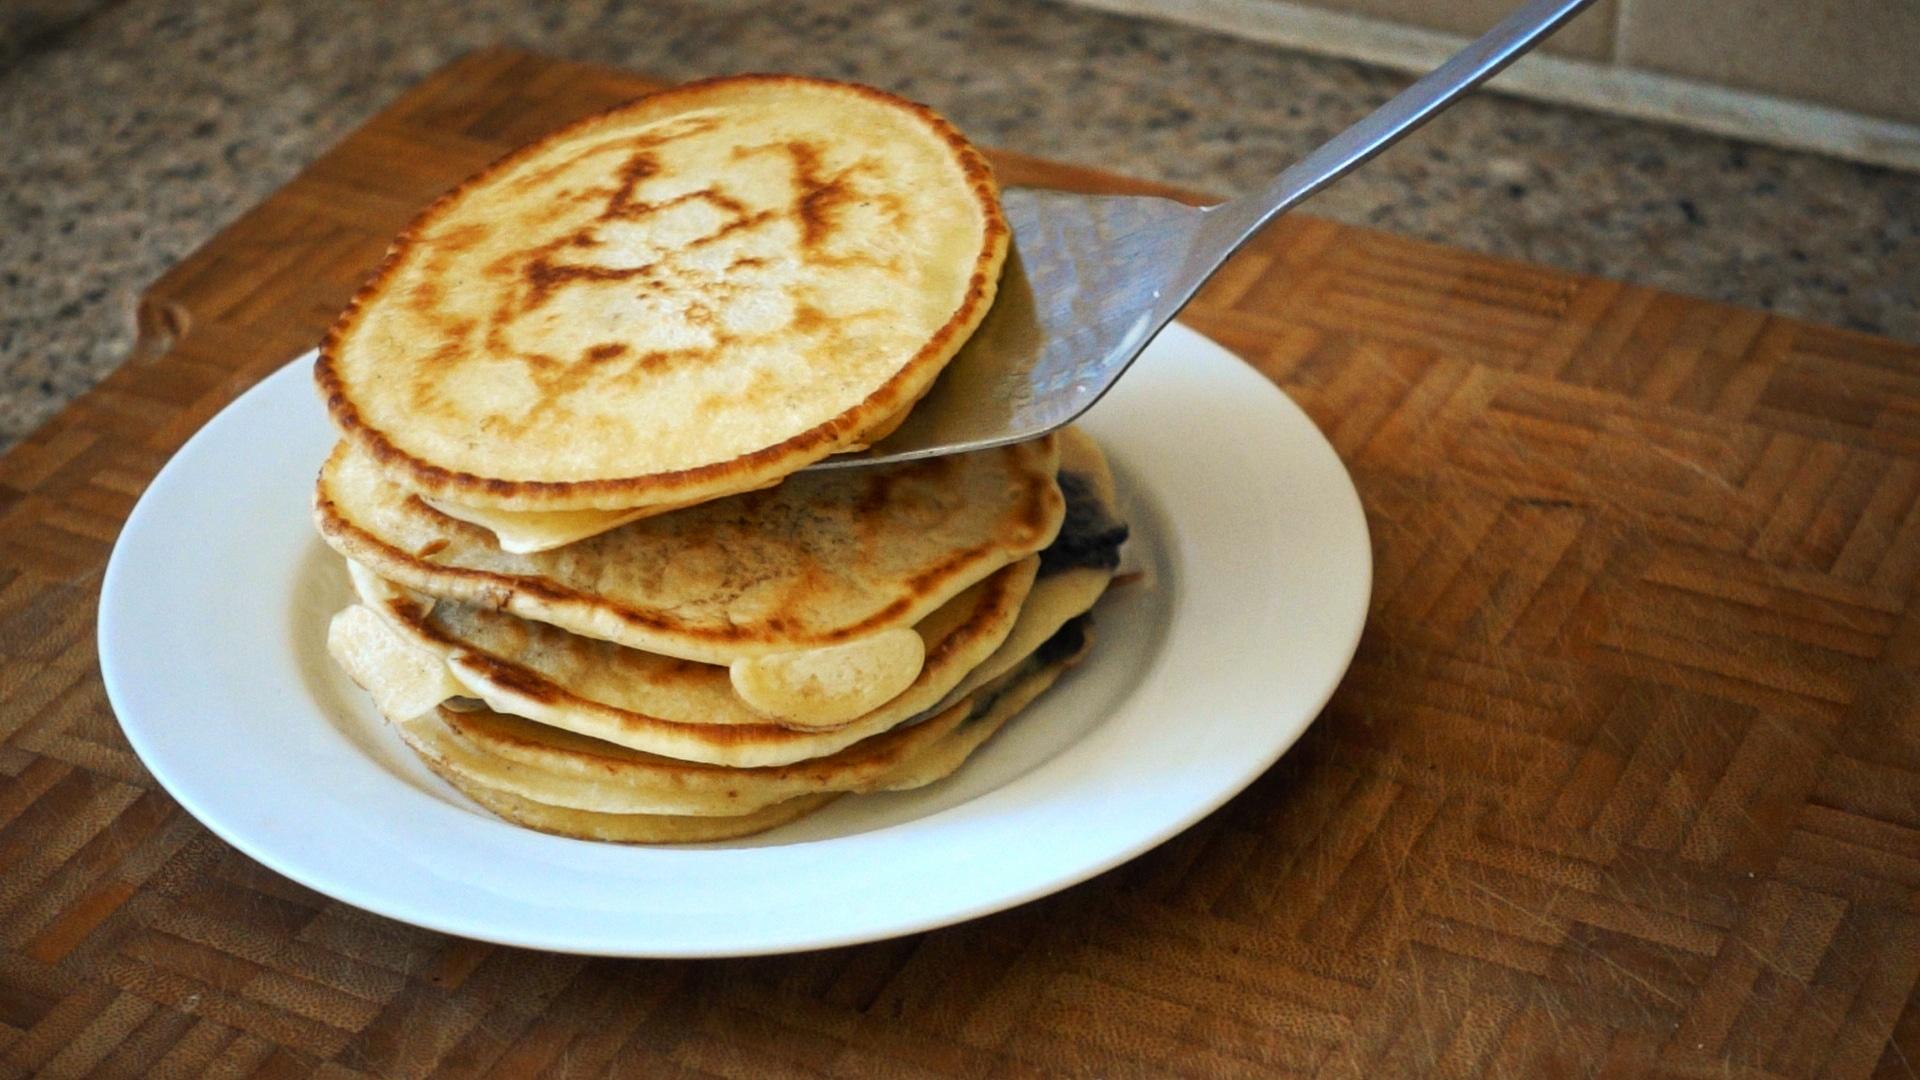
8. Cook Your Flapjacks: For me, it's now the
following day, good morning. You can now take your batter out of the fridge if you
choose to do so. And just before you start
cooking your flapjacks, be sure to have both a
single tablespoon and a half a cup measurement for your chocolate and
batter respectively. For this recipe, you
should be able to eyeball it with a
ladle and spoon, but this will just make
measuring out each ingredient as quick and easy as
possible while cooking. So let's begin with a non stick
frying pan on medium heat and evenly coating it with about 10 grams or two
teaspoons of butter. Do note that I
said teaspoons and not tablespoons
unless you want to end up deep frying
your flapjacks. Once your pan has been heated, you can use your
half cup measurement to pull out your
first flap jack, using a spoon to get as much of the batter onto the
pan as possible. Just before a minute has passed, scoop out one tablespoon of your chocolate
hazelnut spread onto the uncooked side of your flap jack and
using the spoon, flatten it out as best you can. This is going to
make the following step just a bit easier, so you can now pour
an extra quarter cup of batter over the chocolate, making sure the majority is
covered to prevent burning. Gently flip that over
and continue cooking for an extra minute or until both sides are a
nice golden brown. From there, you can repeat
those steps for all of your remaining batter and remember to grease
your pan when needed.
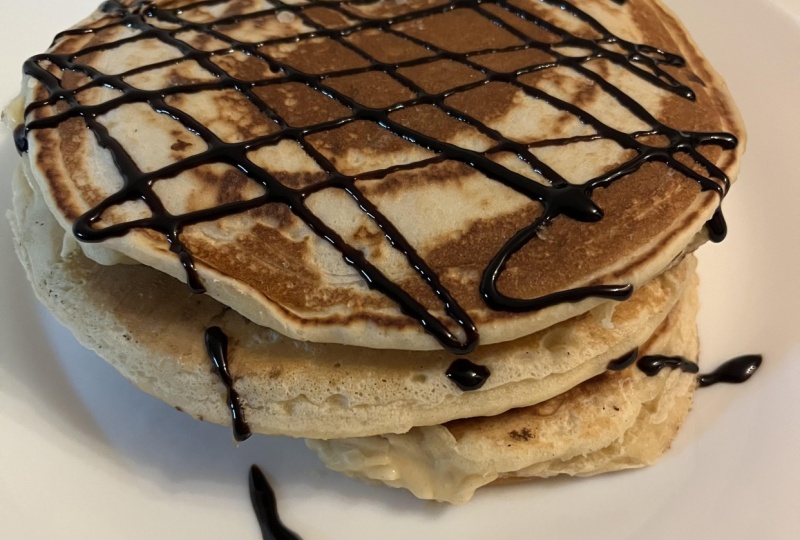
9. Chocolate Stuffed Flapjacks Conclusion: I do think it's going
to be quite hard to top these chocolate stuffed
flapjacks at any breakfast, especially when they look
and taste this good. Once you've let them
cool for a bit, you can then add all of
your favourite toppings. I already find these quite rich, so I usually opt for just
a bit of extra butter. The whipped cream
and crush walnuts are also an excellent choice. Speaking of nuts,
I hope you haven't yet finished your
chocolate spread just yet, because we'll also
be using it in the following class to make
these amazing cookies, and you definitely
don't want to miss out. You have enjoyed this class, please do feel free to leave
a review with your thoughts. And before you leave, don't
forget to share pictures of your own chocolate creations in the project section below.
 Marceau Dauboin, Artisan Baker/Owner at The Yeastie Bois