Transcripts
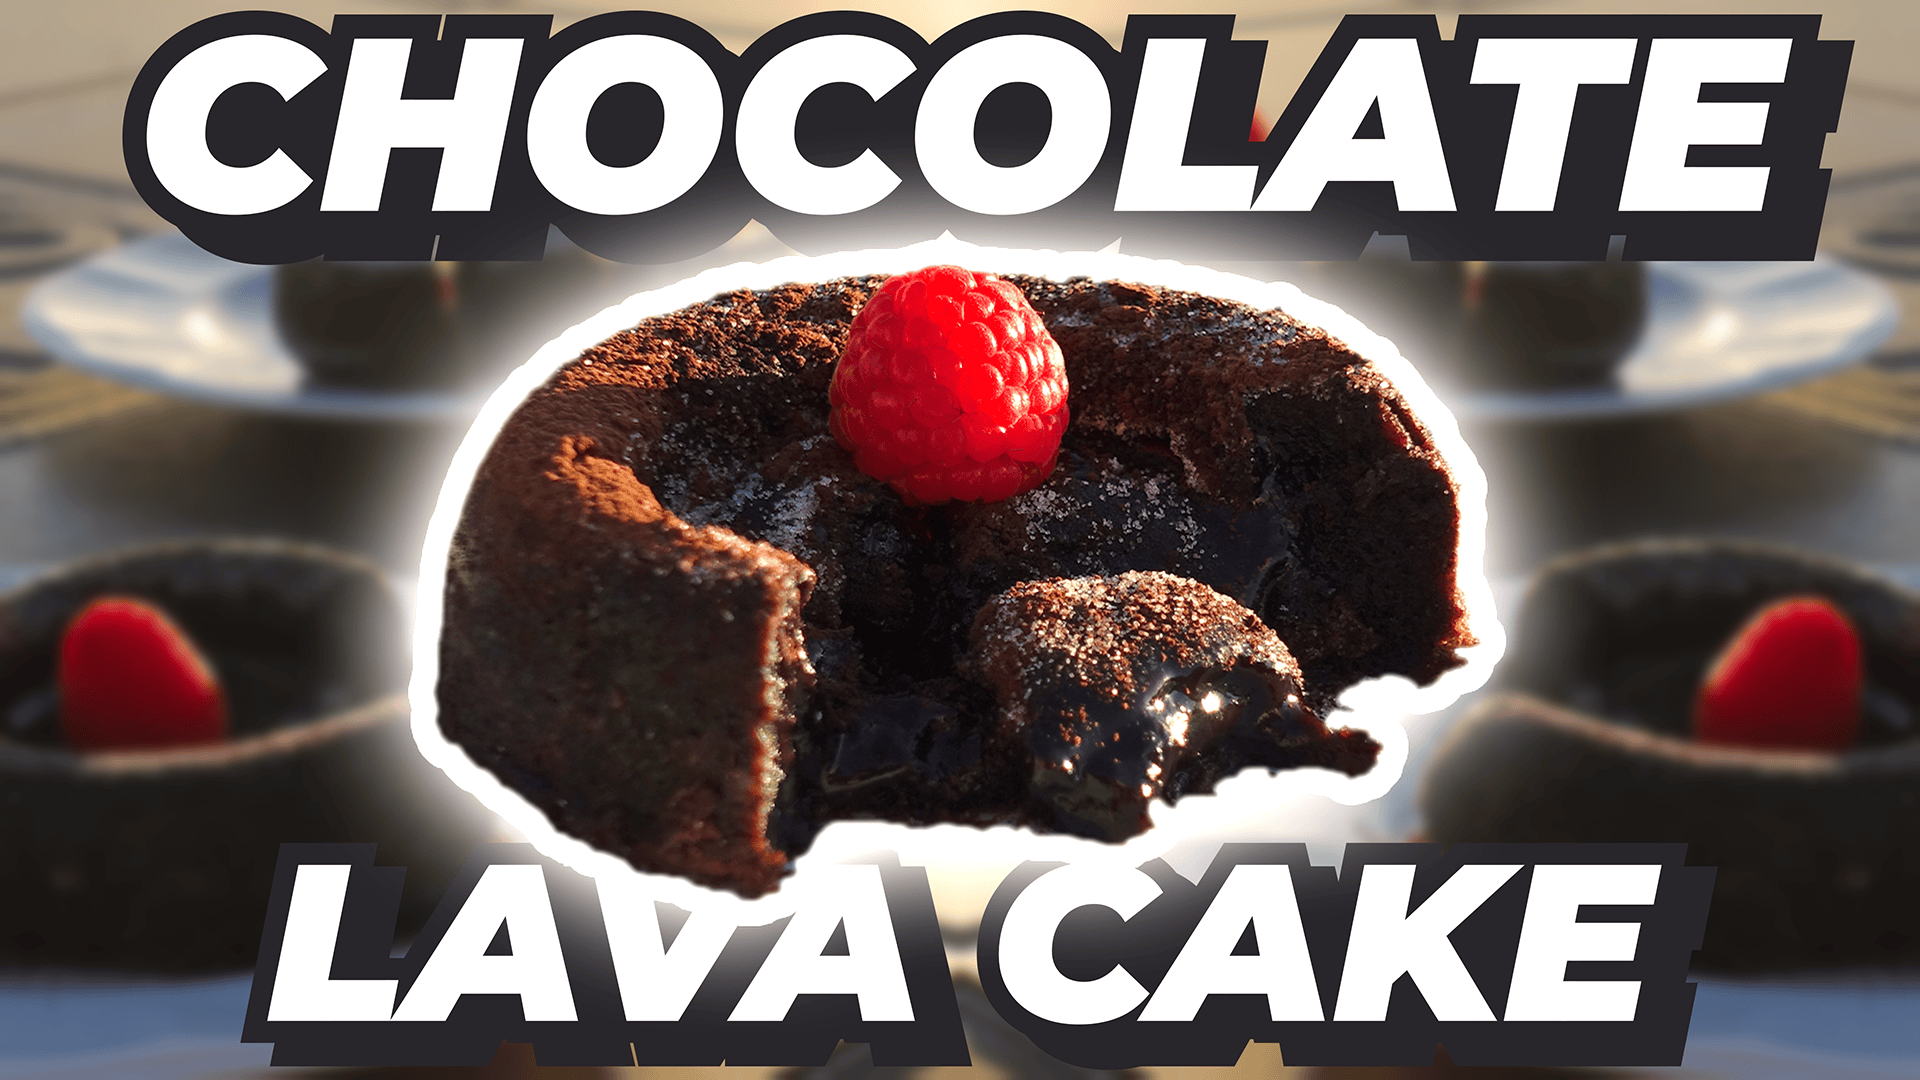
1. Welcome!: A soft exterior with a
magma like molten call. There's simply no better way
to describe the lava cake. After all, it's right
there in the name. Hi there. My name is Marceau. And together in this class, you and I will be going through
the entire process behind making these amazing molten
cakes from start to finish. To add a really unique and
delicious flavor to the cake, we'll also be using a homemade chocolate hazelnut
spread as its core. If you haven't already,
you can learn how to make your own using my dedicated
Skillshare class, which you can find on
my teacher profile or in the search tab above. By the end of this recipe, you'll be able to see
for yourself how simple these cakes are to make while remaining wonderfully indulgent. And as a quick reference tool, you'll also have access to this course's written PDF guide to accompany you
throughout your baking. This is the final class in a six part series dedicated to all things chocolate baking. So if you want to learn
more after this recipe, be sure to check out those
classes and feel free to hit the follow button
above to keep up to date with all future recipes. I can't wait for you to try them all out for yourself,
but for now, let's jump into the next
lesson of this lava cake, where we will be taking a
look at our ingredients list.
2. Lava Cake Introduction: In order to make two delicious
chocolate lava cakes, here is the complete list
of all main ingredients. This recipe is very reliant
on its chocolate for flavor, so a high quality, 70% dark
chocolate is very important. For the core of the lava cake, I'd highly recommend making your very own chocolate
hazelnut bread, as it will really help elevate this recipe with a
special homemade touch. With that said, if
you're pressed for time, you're more than welcome to use a store bought alternative. This recipe doesn't
require a rising agent, but if you do want to add
some additional flavor, then I always recommend
you use sourdosrter. And in this case, you
will just use it as a substitute for the
all purpose flour. If you do choose to use it, just be sure to prepare it
at least 8 hours in advance with an additional 10 grams that you may refresh
it at a later date. Speaking of flour, do be sure to keep a little bit
extra as well as some additional
unsalted butter to apply a nonstick coating
to your ramekins. This recipe has been
measured for two ramekins, which are 10 centimeters
or 4 " in width. If you have a few
additional ramekins lying around and
want to make more, feel free to double these
measurements for four servings. A dessert is never complete
without its toppings, though. So here are my recommendations
for that as well. With our introductions
finally out of the way, let's go straight
into the recipe.
3. Prepare the Chocolate: For the core, simply move your jar of chocolate
hazelnut spread into the freezer for 30
minutes so that it may harden slightly while you
prepare the other ingredients. This is quite a quick recipe, so you may already pre eat
your oven to 190 degrees Celsius or 374
degrees Fahrenheit. Place a small pot
onto a stovetop at low heat and add in 30
grams of unsalted butter. Let that gently melt
for a few seconds, and then add in 60 grams
of cube chocolate. Mix those two ingredients together until
fully incorporated, and then take it off the heat to cool down at room temperature. O
4. Make the Batter: Now that your chocolate
has been prepared, take out a large bowl
and zero out your scale. Crack in two large eggs and
whisk them together for two to 3 minutes until you see a large
amount of bubbling. To that, add 25 grams of
brown sugar, 2 grams of salt, and either 20 grams of mature soosra or 15 grams of
all purpose flour. Give that a quick whisk
and then add in all of your chocolate mixture and continue whisking
until incorporated. At this point, it's
now time to apply a nonstick coating to of ten centimeter or
four inch ramekins. To do this, place a small two gram cube
of unsalted butter into each ramekin and melt it down for 20 seconds
in the microwave. Then using a brush such as the silicon
one that I'm using, evenly spread the butter out to cover the inner
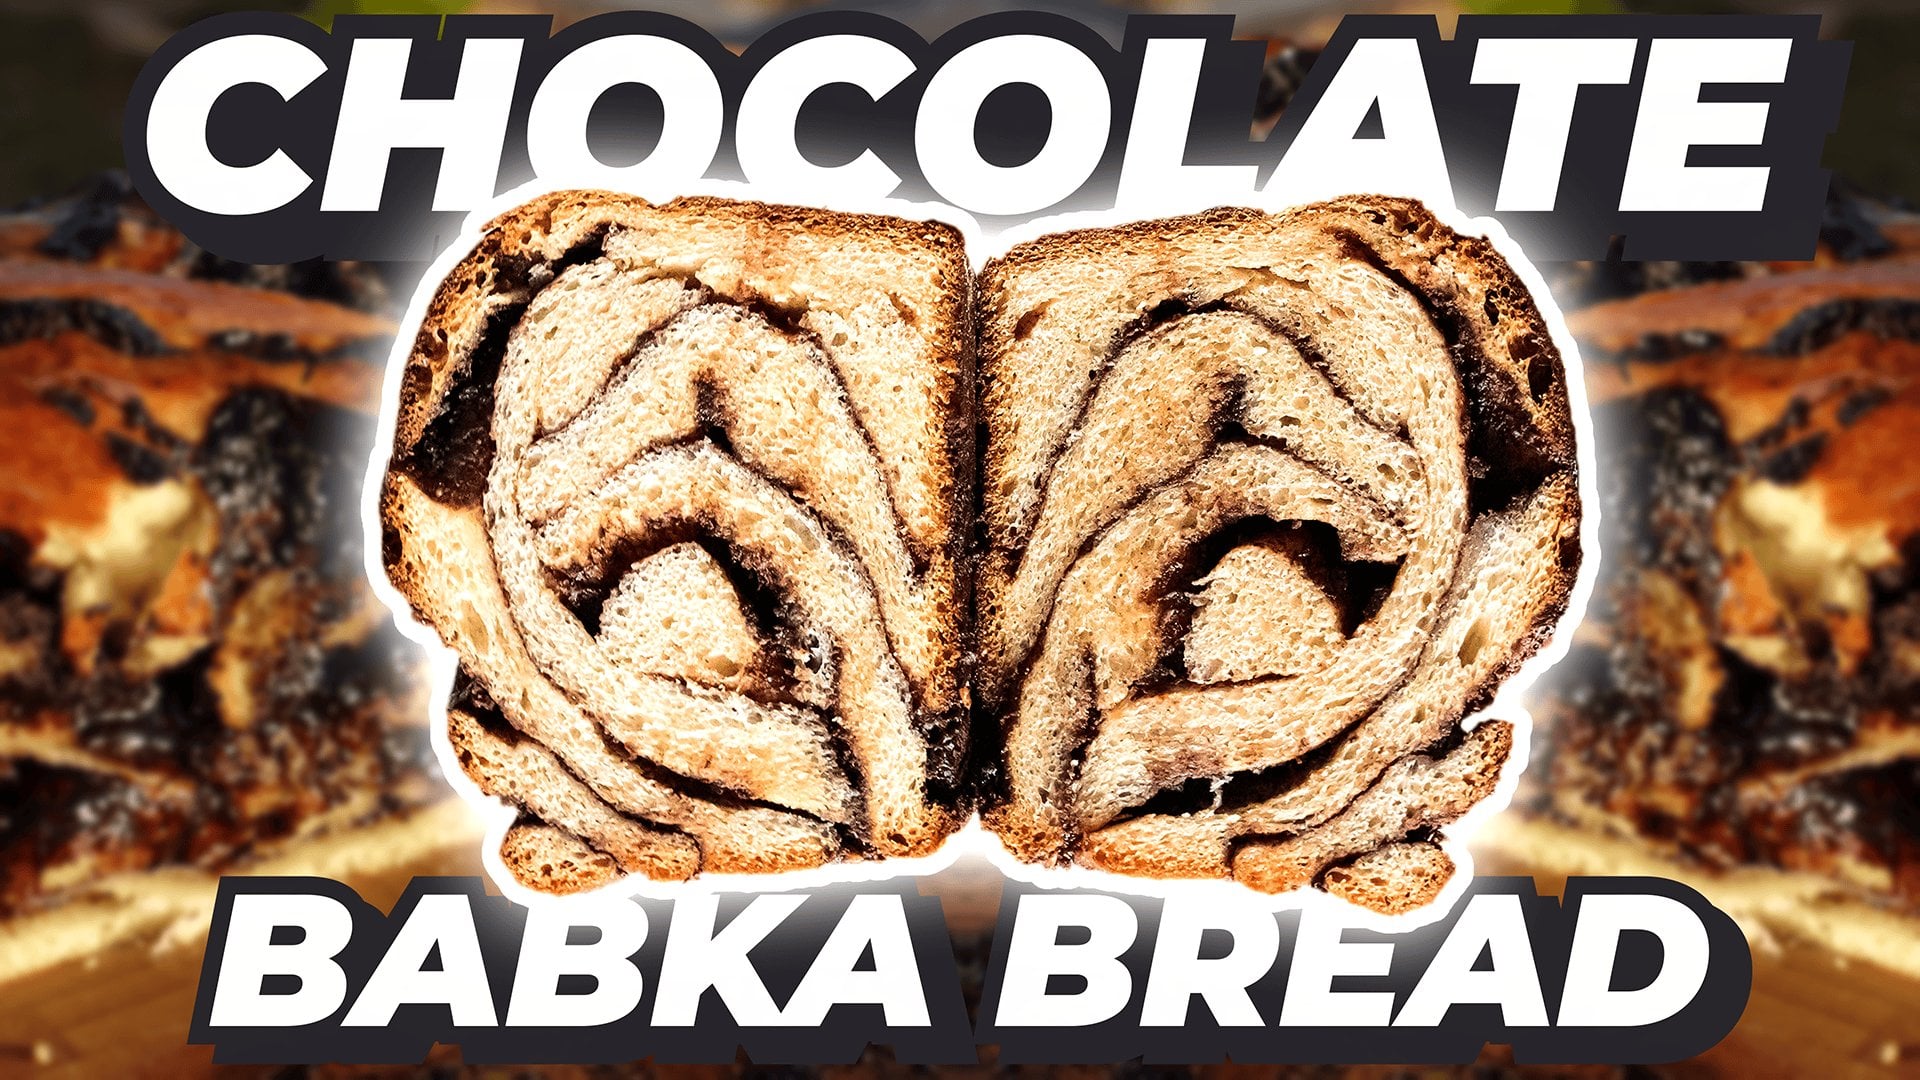
surface of the Rumkin. Similarly to our previous
chocolate Babca recipe, you may now dust the
butter layer with all purpose flour to complete
the nonstick coating. Just make sure not
to miss any spots. Once your coating is complete, pour in your butter
mix so that it fills each ramekin roughly
halfway full. Take out your chilled chocolate hazelnut spread and create a small 25 gram or one tablespoon
ball using your hands. Place it into the
center of your ramekin and repeat this process
for the remaining one. These will serve
as the molten core for these delicious cakes. So with that said, be
sure to cover them up with the remaining
batter left in your bowl.
5. Bake the Lava Cake & Conclusion: Into your preheated oven, place both your ramekins into
a middle rack to bake for 13 to 50 minutes at 190 degrees Celsius or
374 degrees Fahrenheit. Once that's done baking, carefully remove your ramekins
using your oven mits and then make use of a sharp knife to carefully unstick the edges. You're now going to invert your lava cake, and to do that, place a small plate
on the top of your cake and flip it over. Gently remove the
ramekins to reveal your molten lava dessert
that is ready to be enjoyed. I would always recommend adding some final toppings for some
extra colour and flavor. So give it a final dusting of cocoa powder and a
bit of icing sugar, a raspberry for
colour, and finally, for just a little
extra indulgence, a splash of heavy cream. Sincerely hope you enjoy this final recipe in our six part chocolate
baking series, and I thank you for making
it all the way to the end. If you've missed one, do
feel free to go back to my teacher profile where you can find all the classes
in this series, as well as all of my
previous recipes. If you have enjoyed this class, please do feel free to leave
a review with your thoughts. And before you go, don't
forget to share pictures of your own chocolate creations in the project section below. With that said, however,
do stick around for the final bonus lesson
where you can discover how to expand your baking
and cooking skills or even take your first
foray into sourdough.
6. Bonus Lesson: Welcome to the last
lesson of this course. Thank you so much for
making it all the way. If you'd like to see
more recipes from me, do feel free to check out
my three previous courses. The first one focuses on
conventional sourdough baking, where you'll learn how to
make different breads, bagels, and even
homemade croissants. Pastries and desserts
for beginners is also a lot of fun if you're more into the sweeter side of things. There, you'll learn even
more chocolate recipes, but also some beautiful
tarts, cinnamon rolls, and even handmade syrup
waffles, if that is your fancy. If you'd like to explore
with more sourdough, however, then I also have a
cooking course just for that. Teaching you pizzas, burgers, and sourdough pasta all
completely from scratch. The visuals are a bit
dated at this point, but what's important is that the recipes themselves
still hold up. If you'd like to follow
me on the socials, then here are my
handles for that where you can keep up
to date with all of my culinary projects whenever they release every four years. It took a very long time to get this course
out of the door. These recipes were actually filmed all the way back in 2021, but then life kind
of did its thing. I've always found it
true that it's a journey that counts more than the
destination in the end, and I'm thankful to everyone that has been on
that path with me. Just knowing that
someone from potentially across the world
followed my recipes and made their kitchen
smell amazing for just a few hours is such
an amazing experience. Thank you so much as always. And with that said,
this has been Massu Du Bois signing off.
 Marceau Dauboin, Artisan Baker/Owner at The Yeastie Bois