Transcripts
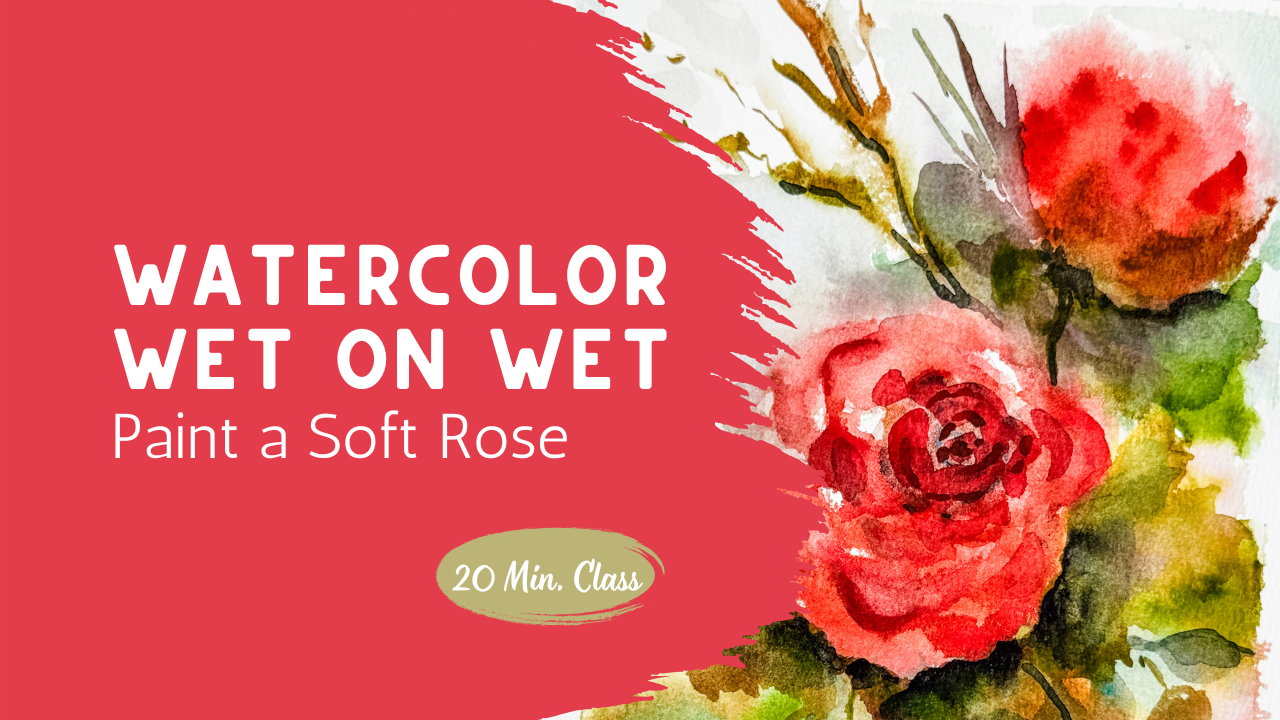
1. Welcome and What We’re Creating: Today's class, we're
going to create a loose watercolor rose using layered wet on wet technique to build depth and softness
at the same time. This is really the
natural next step if you've been exploring more fluid painting because we're still allowing
the paint to move, but we're also starting to guide it a little bit
more intentionally. We'll begin by
working wet on wet to create those soft
flowing petals, letting the color blend and
shift naturally on the paper. Then as the painting develops, we'll slowly layer
in additional color, paying attention to timing and water levels so
that we can build depth without losing
that softness. I'll also show you how to
bring the rose forward by adding a few slightly
darker areas around it, rather than outlining it, which helps create that sense of dimension in a
really gentle way. I'll be keeping everything
as simple and approachable. You can use whatever
colors you have on hand, even from a small
palette and you'll have a better understanding of how layering can
transform your paintings.
2. Class Project Part 1 Building the Base Layers: Welcome to class. I'm really looking
forward to this lesson. I'm starting out by taping
down my piece of paper. I do that so that it
doesn't move around, but also so that because we're going to be
using so much water, when it dries, it will
dry nice and flat. I highly encourage
you to make sure your paper is secured
on all four sides. My paper is currently dry, but I want it slightly damp. So I'm just going to
use my spray bottle and spray it a couple times just
to add a little moisture. With my paper being
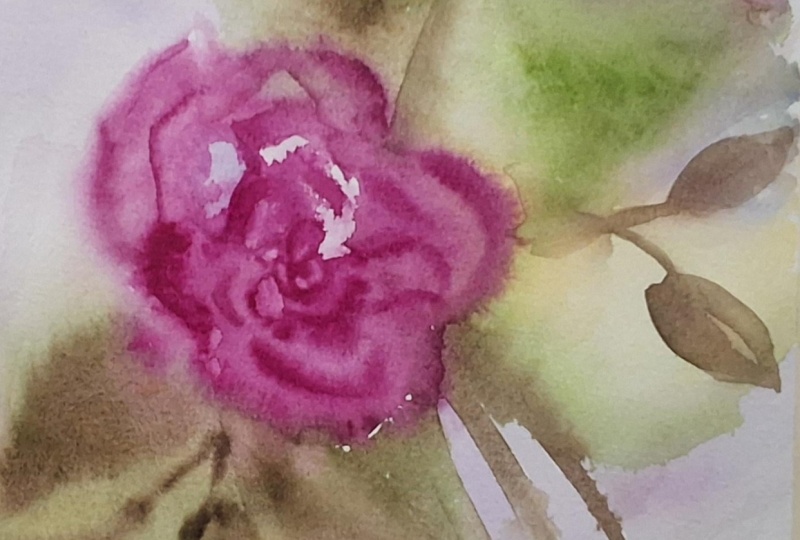
just slightly damp, I'm going to start to
create a rose tighter in the center and a little looser
towards the outside edge. Don't worry, this is just
the very first layer, go loose and light, leaving in white spaces as
you go around in a circle. Go ahead and drop in a little bit darker
color here and there, but as it dries, it
will become very light. I did design to add in a
little bud at the top, but it's from a
side facing view, so it will not have a center. This is the outside of the rose. I felt like my paper was
a little on the dry side, so I gave it another
spray with water. That's going to help the paint blend and move freely
across my paper. I mixed up a little
darker color of the red, and I'm adding it there
to the center and some of the little petals
around the outside edge. I'm not painting the whole rows, just adding in the darker
spots here and there. This is a really fun
wet on wet technique where you get to watch
that paint move and blend. Now, here's where
it gets really fun. We're not painting flowers here. We're just putting down
color onto our wet paper. We're going to be adding
layer upon layer. So for this first layer, I'm just using that
same pink color. Lots of water, just
a little bit of paint and allowing it to
flow across the page. Now I check the flower head, and I think it's just
about time to add in another layer of
paint. It's not dry. That flour is still wet, but it's dried enough that
I can add in another layer. You're going to have to time
that to your own painting. Depending on how much water
and how much paint you used, you may have needed to add
it in sooner than mine, or maybe you would have needed to have waited a little bit. This is where practice
is really important. This little bud up
here at the top, it's not going to actually
look like a rose. At least mine isn't. Mine's just going to be the impression of a
side facing rose here. I'm adding in some petals, but nothing particular,
not real detailed. Remember, we're painting in a loose abstract way where not everything
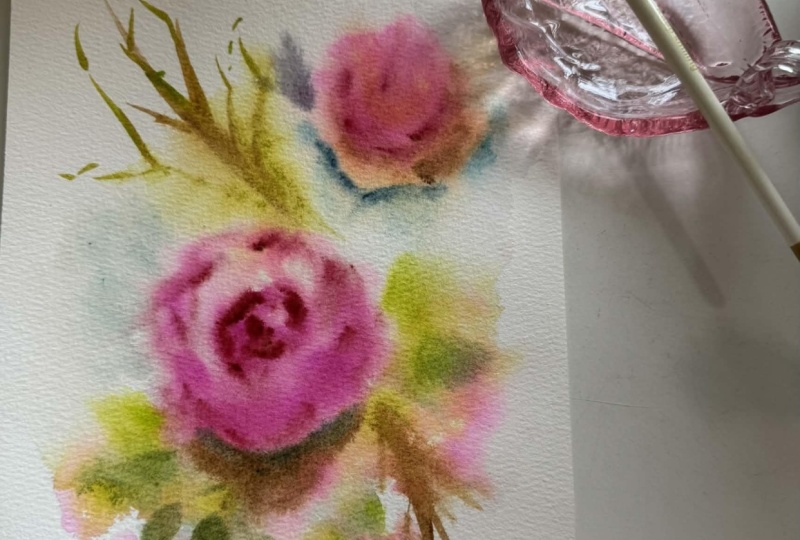
has to look finished. Now we get to play
around with color, adding in different splashes of color here and there
for the background. That pink area that
I first laid down is just begging for more
color to be added to it. That pink was still wet and so I added in a
little bit of yellow. It's so fun to add something bright and
cheery into your painting. We'll probably be putting
more paint on top of that yellow and so
it will get muted. Don't be afraid if it's a
little too bold to begin with. This is just the beginning. Grab some green, add
it in here or there. You're not painting leaves. You're just putting down paint and sections and
allowing it to flow. Remember this is
just a background. We'll be adding in
some details later. Right now, we're just adding
in a soft background effect. It's very important that you remember to leave
some lighter spaces, some unpainted spaces where
it's just your paper shining, and then some darker areas. Adding that depth of value is going to add so much
to your painting. You may even want to try a little bit of
brown here or there. It just adds a nice earthy
feel to your painting. Not everything needs to be soft. You can add some lines. Adding lines over an
area that's already painted will create
a soft muted feel. Adding lines where it's
just on paper with a wet on dry effect will
create a lovely branch. Use several different
colors, browns, greens, yellows, layer
them on top of each other. It creates such a
beautiful natural feel. Imagine you're in your
garden and you're looking at this
rose and behind it, you see beautiful branches and leaves and maybe
some sky peeking out. Maybe there are other colors in the background from
other flowers. This is your opportunity to just create what you
have in your mind. Adding in a very soft background
around the flowers is a beautiful way to add that
extra layer to your painting. I used an extremely
diluted blue. With a little bit of gray added
in to keep it very muted. It was mostly water with
just a little bit of paint. Now I'm getting a little bolder. This painting is
starting to dry, but it's still damp, and I'm able to add in
some bolder colors. If you put a color in one place, you might want to draw it
across to a second area. That's going to help the eye naturally move from
color to color. Most of today's painting
is all about timing, figuring out what area
is starting to dry and how you can wet it back
down by adding another layer. Then moving on to another area and adding in another layer. Always checking the dampness and keeping it just
at the perfect level. If something's about
to get too dry, you better get started
painting on that next layer. I recommend that you
do not have a fan in your room because that might make things
more challenging. If you've been following
me for a while, you've worked with
negative painting, and here we're getting a chance to put that into practice. We're adding in
that deeper color around that rose so
that that rose can really shine and come forward and be the main
object for this painting. I love to add in little
branches here and there, different colors,
different directions. It just adds such a beautiful
texture to your painting. This area had started
to get a little drier and I wanted to define those
branches a little bit more. I went ahead and added some more branches on
top as another layer. Mixing more pink and red. I'm going to be adding
some darker colors to that so that I can add depth
and dimension to my rose. My rose is still damp, so I'm able to come
in and just add some darker color to the center and let
it slowly bleed out. I'm looking to create
the edges of the petals. You can define those edges by making that area
a little darker. You can see that my rose has very light areas and
very dark areas. Working on that bud
again at the top, I'm not trying to define it. I'm allowing it to be
soft and undefined, but I do want to add
just a little bit of extra color so
that it's not a blob. I do want to add some
petals to the outside edge. Almost as if it's those closed up petals that are
almost leaves. Again, my whole page is damp. None of this is dry. I am working wet on wet, but my page is
certainly not running. I don't have so much water on my page that I have
puddles of water on top. If your painting is
starting to get too wet, you're going to want to adjust how much water you're
bringing over to your paper. Dry your paint brush
off a little bit more before you bring it
over to your paper to paint. Use a little less water with your paint if
that's what's needed. Having a paper
towel nearby to dab up the extra water is
also very helpful. It's about time to start
adding in the final details. Come back to the
next lesson where we continue this wet
on wet technique.
3. Class Project Part 2: Adding Depth and Focus: Your painting should
be almost done, but it is time to add
in some final details. It's completely up to you if you leave white space
around your painting. I decided to leave
a little bit of white space in a
couple of the areas. But then I also wanted to add in a very soft muted background
in some of the corners. Using lots of water and
just a little bit of paint. I did add in a little background around the areas that I
had painted previously. My paper is still damp. This is not a dried
painting yet. I'm still painting wet on wet. That's very important
for you to have a wet paper while you are painting here so that you
don't get hard edges. If your painting has dried quicker than you were expecting, you can try to spray it in certain areas or using
just clean water, wet down that area again. This all comes from practice
and knowing exactly how to keep your painting wet
while you continue to work. That's probably
the hardest thing when it comes to water color. It's controlling the water. Sometimes it's too wet, other times too dry. And really, the only way to master that is to
keep practicing. I'll be adding a
little bit more detail to both my bud and my flower, a little darker paint, a little less water. Adding just another layer of petals to both the
bud and the flower. I'm remembering
that the inside of my rose is going to
be the darkest area, slowly getting lighter and lighter as we work out
towards the edges. I'm keeping those
white spaces sacred. I am not allowing any paint
to go where there is white. That white area is giving
me the highlights. It's giving me depth, so I'm protecting them. Roses often have sharp angles
actually for each petal, where they curl back a bit. If you ever get a chance
to take a look at a rose, you'll see exactly
what I'm referring to. Here, I made some right angles, but then I'm going to soften
them with my paintbrush, allowing the outside
edge to have a hard edge and the inside to be softened
with my paintbrush. I'm defining where each
petal is going to be shown. Keeping in mind that I need lighter areas and darker
areas throughout my rows. If you feel like you've made
yours a little too angular, you can always go in and
soften the edges again. Blur out that inside
edge so that it's only sharp on the outside
edge of each petal. Take your time with
these details. You're defining the petals, and this is very
important. Slow down. Enjoy the process, choose each petal that
you're going to work with. There's no reason to rush. Enjoy this process. Adding darker and darker
paint as you go along. My paper is getting
fairly dry at this point, and so I'm going to start
adding in some final details. I want to make that flower pop, and so I'm going to add in some negative painting around the outside edges
of this flower, deepening and darkening
the shadow areas. I mixed up a brown with some green so that I could
add in that shadow. I'm making these shadows
kind of in the shape of a rose leaf and expanding it out to either side to create a complete shadow around
that one area of my rose, certainly not around
the entire rose, as some areas are
lighter than others. I'm considering
that my highlights, my sun source is
coming from the top. You'll see that my
paper is almost dry here because this shadow area that I'm painting is defined. It's no longer blending
in with the background. If you feel as if it's become
too rigid or too shaped, you can always soften it with
a clean brush and just move that paint around so that it blends in a little better
with the background. Just take a second and look at how that rose is now popping. You can see that it is
separate from your background. And that's such an exciting
thing to have happen. You now have a background, a midpoint, and then
your front roses that are the main subject
for this painting. You can start painting in some
soft leaves here or there, maybe branching
off, bending over, add some stems, go simple light. Don't overdo those leaves.
They're not needed. Just a few here or there. Don't forget that
bud at the top. That's also going to
need some shadows, some darkening around
the outside edge where the sun has
casted a shadow. That's going to keep that bud as a separate piece
from the background. It's going to draw it forward. I know you learned
about that when we talked about
negative painting, and this is your opportunity
to put it into practice. I decided that this top bud
need a little extra detail, so I'll add in some little
branches off to the side. I chose to make them
in a dark rich purple, just to emphasize that
that's a shadowy area. And now for my favorite
part, removing the tape. If at any time your
tape is sticking to your paper and you're afraid it's going
to rip your paper, slow down, get out your heat gun or hair dryer and warm up the tape adhesive. Warming that tape
is really going to help loosen everything so
that it comes up clean. I definitely recommend that
you allow your painting to dry completely before
you remove the tape, that will keep this
paper nice and flat. Don't forget to
sign your artwork. Everything you create should get your signature put on it. Be proud of what you've created. You've maybe never
done this before. You're experimenting, you're
playing, you're having fun. And isn't that what art
is really all about? Just relaxing and
seeing what happens? If you have a mat, put it
around your piece of art. It's going to immediately
elevate your work. I'm so proud of you.
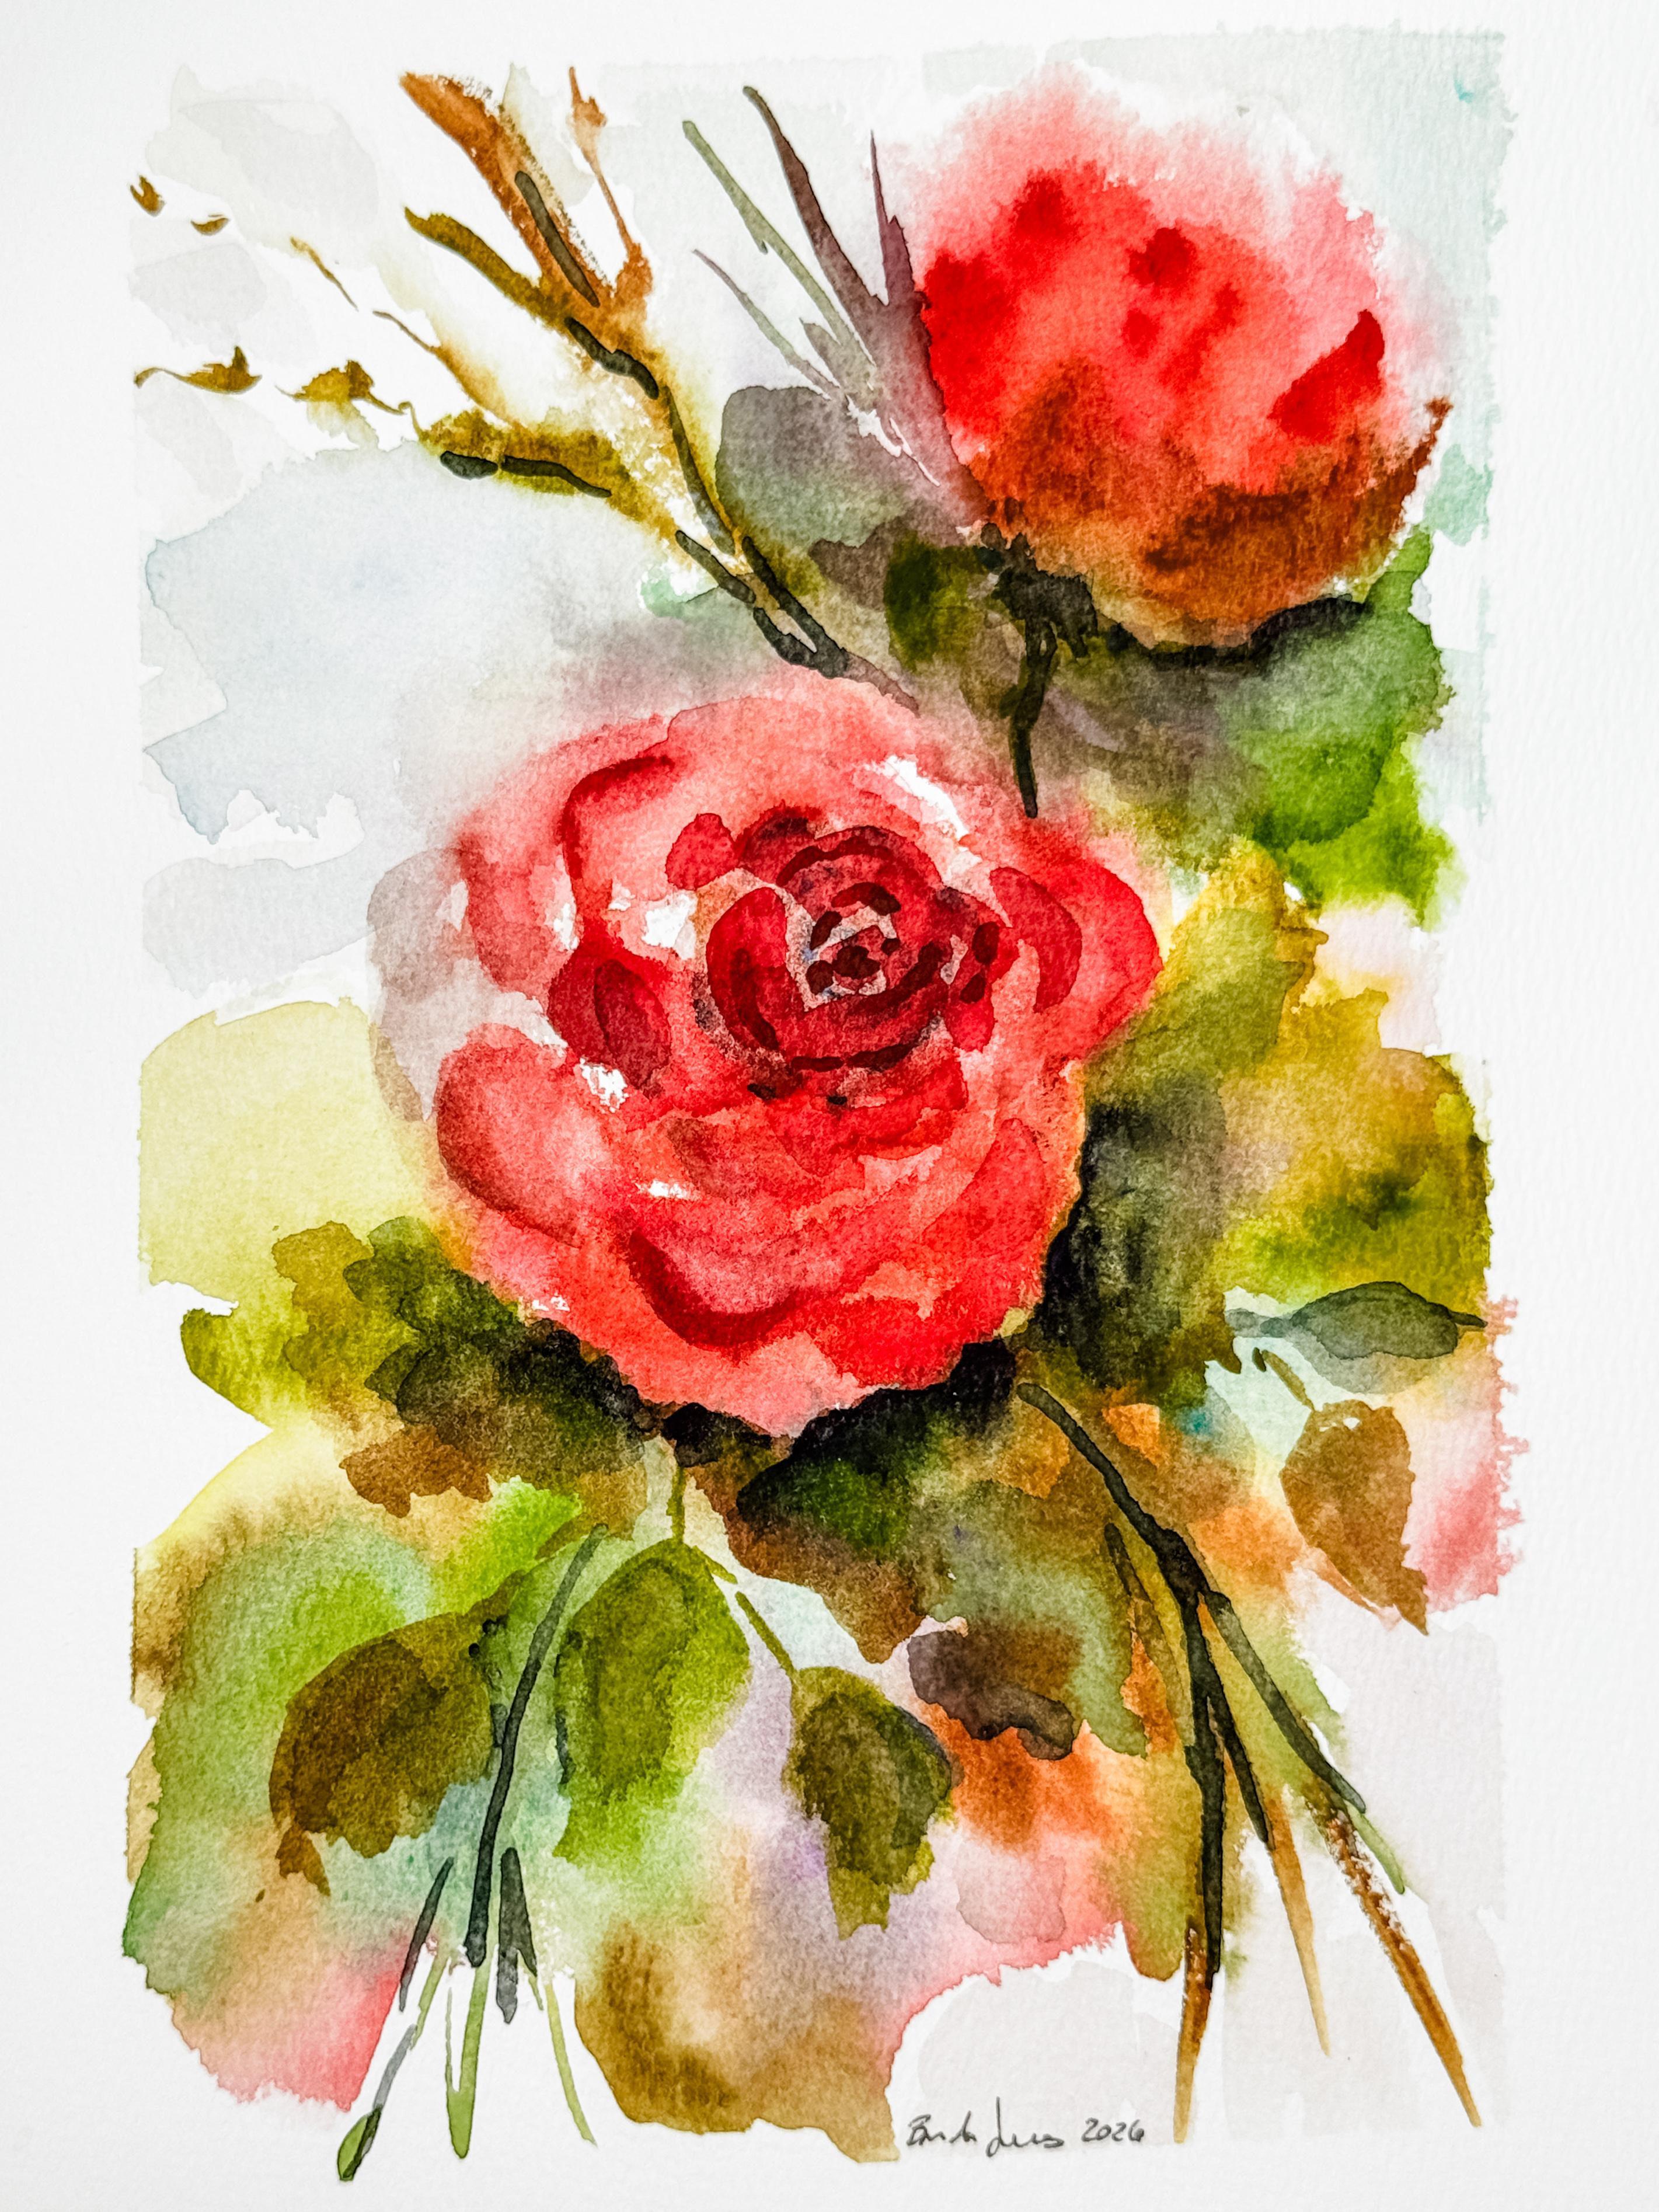
4. Final Thoughts and Next Steps: As you finish up this painting, take a moment to step back and look at what
you've just created. In this class, we layered wet on wet techniques and slowly built depth by
working in stages, allowing each layer to settle
before adding the next. That process of letting
the paint move, then guiding it just a
little more each time is what creates that sense
of softness and dimension. Every piece will turn out a little different
from this approach, and that's part of what
makes this so enjoyable. If you'd like to continue
building on this, you can always revisit the
other classes from this week. We started with a very
loose, fluid background, and then added a bit more
control in the second class, and those steps naturally led us to what we've
done here today. You can move between
these classes in whichever way feels
most helpful to you. If you struggled
in today's class, you might want to go revisit those other two classes
for foundation. Please consider uploading
your project to the gallery so that everyone can enjoy seeing
what you created. Even the simplest version
is worth sharing, and it's always so
inspiring to see how each person interprets these
techniques in their own way. If you'd like to
keep practicing, you can follow me
here on Skillshare. I'll continue building
on these ideas in a way that stays
relaxed and approachable. Thank you so much
for painting with me today and I'll see you
in the next class.
 Brenda Jones, Watercolor Artist & Teacher