Transcripts
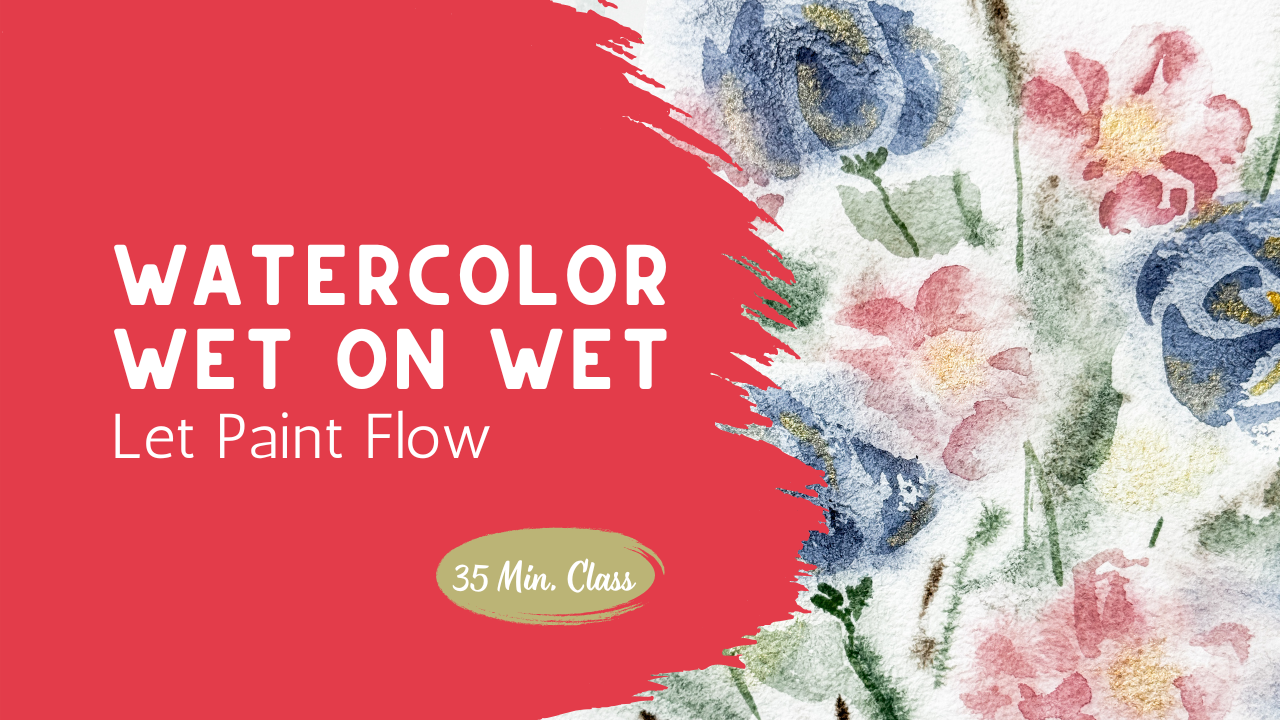
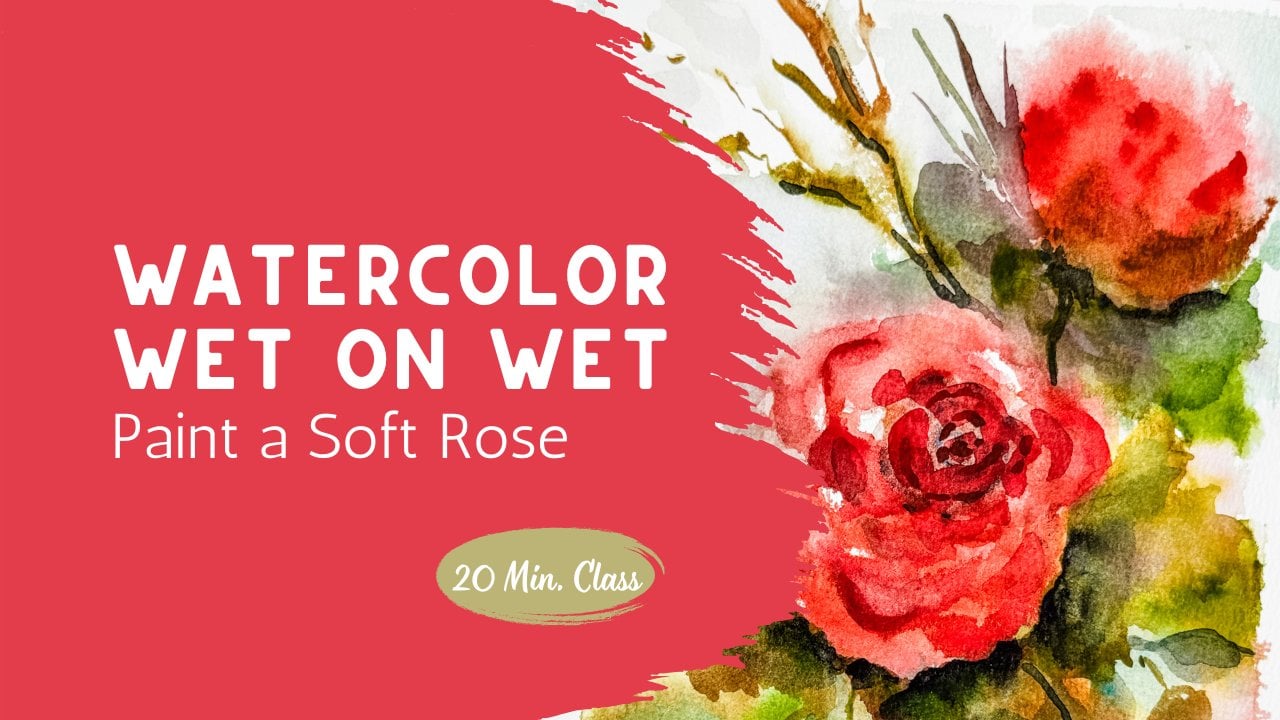
1. Welcome and What We’re Creating: In today's class, we're
going to create a soft, loose watercolor floral using a wet on wet technique
to build a gentle, blurred background with just
a hint of floral shapes. This is a really relaxed and
approachable way to paint, and it's a great place to
start if you're getting comfortable with how
watercolor moves on the page. We'll begin by working on a damp surface
using a very light, watery paint mixture so the water can spread
and blend naturally. The first layer isn't about
creating perfect flowers. It's about letting
the paint move and allowing those soft
organic shapes to develop on their own. As we go, I'll show
you how to check your paper to find out
what the right level is of dampness and how to adjust your paint so it flows
without taking over the page. You'll see how very
simple marks can begin to suggest florals without needing
to define every detail. I'm keeping everything
very simple here so you can use whatever
colors you have on hand, even leftover paint
from your palette, and just focus on the process. As we move through this class, you'll start to get a glimpse
for how we'll be building onto these techniques in the
next two lessons this week, gradually adding more
control and depth. Take your time, relax into it, and whenever you're
ready, let's get started.
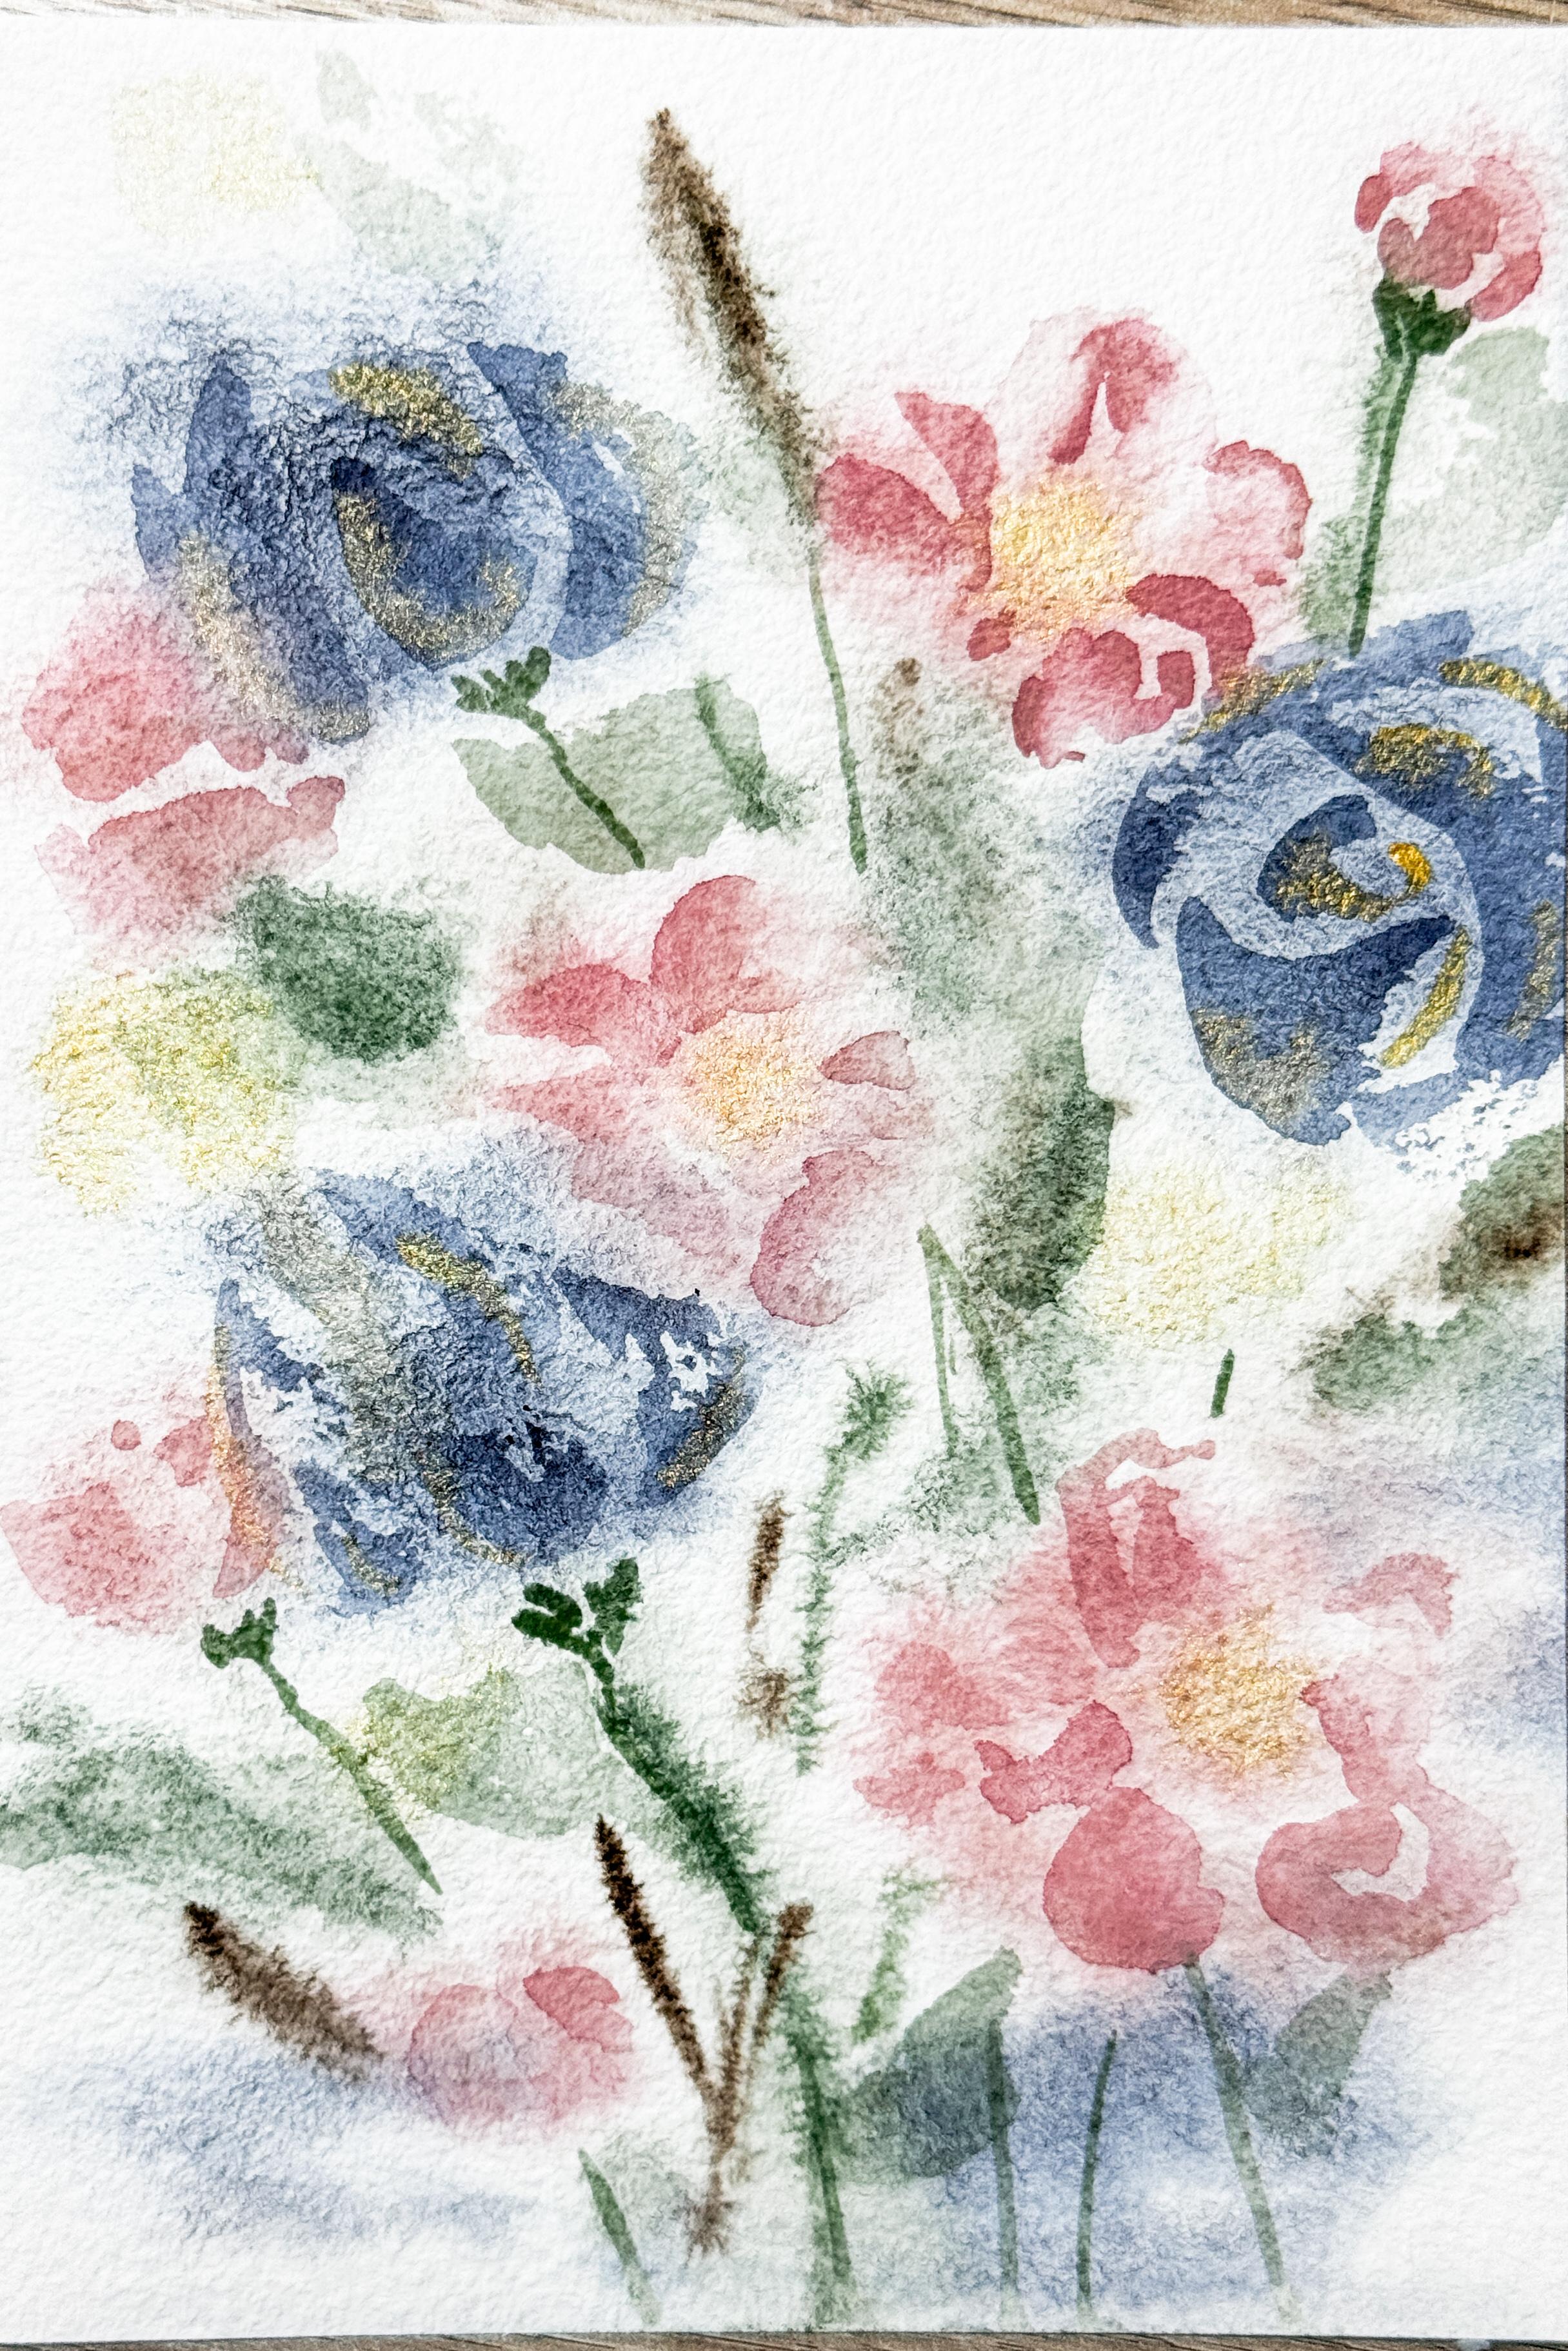
2. Understanding Wet on Wet (Practice): So when I'm planning
my class projects, I always like to do, like, a little sample just so
that I know where I'm heading and to figure out what kind of things you
might need to learn. So I'm going to let this sit
here so that you can see it. This is kind of my
example of what we're going to be working
on for the class project. Of course, when
we go to make it, it might be different
than this because, you know, art happens, and sometimes I pivot. But I just wanted you to have kind of a sense of
where we're heading. So this is a very wet
on wet technique and just this really carefree, no stress kind of a
way of painting where, yes, it's flowers, yes, there are greens in here, but you don't have to know how
to make a specific flower. You don't need to know
how to make a rose or a tulip or a daffodil or
whatever the flower is. These are just general colors
and shapes that are down here that give the
illusion and the sense of being a flower
without being rigid. That's what today's whole
class is all about, is just having fun and seeing
what the watercolor can do and playing with
what the colors are which colors you
like to combine? What I'm actually going to
be doing with today's class? I'm going to pull this around
so that you can see it. We're going to actually
be using this palette here and this little bit of indigo that I have and a
little tiny bit of pink. These are all paints
that I've had sitting on my desk for a long time that have
been dried out. So I have all these
little dishes, and sometimes I mix up
little colors in them, and then they just sit
here dry like that. And it looks like there's, like nothing in them. Like they're basically empty. But in reality, if
you spray that down, there's still all kinds of
paint that I could use. And so sometimes I like to just use up my little bits
of paint that I have. And especially when I'm
painting in this style, this carefree whatever
happens happens kind of way, because this is really
a great amount of paint to use because
it's um really liquidy. I'm able to add on
a lot of water and just get a small amount
of pigment in there. So what I sometimes
do is just pull out these little mini pallets
and use up the leftovers. I guess today's leftovers day. So we're just going
to use these colors. I have this indigo here, which came from this tube from another project
that I had worked on. I've got some green,
I've got some gold. I have a little bit of brown and then I have this
little tiny bit of pink. I might have to
add in more pink, but we'll see what happens
with what I have here. But the first thing
we need to learn is what the differences between a wet on wet wet
on damp, wet on dry. We're going to separate this into a couple of
different quadrants, and I'm just going to
use a little bit of tape just to help you
be able to visualize and see the differences between those styles between
wet and wet wet on dry and wet on damp. So I'm going to use three of
these different sections. I'm going to go
ahead and just use a little bit of tinted color of water just so that you can actually see the difference
because sometimes on camera, it's really hard for you
to see just plain water. It doesn't show up real well. I'm going to go
ahead and just use this little amount of green. When you're practicing it,
you can just use plain water. That's fine because you're
going to be able to see it. Here's my this is just
a dry piece of paper. It's actually the
back of this one, which is just a scrap paper. I had painted something
that I didn't like, so I'm just using the
backside of it for scrap, which I highly
recommend that you do. Always use your backs
as your scrap paper. I cut them up into little stacks so that I have a bunch to go. So if I'm going to be
doing a wet on wet, I'm going to be putting down probably a good amount of water. Like I said before, typically, this would be clear
water, not green tinted, but so that you can see it, I want you to be able to
see this water on here. A wet on wet it might flow a little bit and
see how that rolls, it runs. That's a nice wet on wet. That's wet paper. Now it's fairly wet. It's pretty dang wet. I take my little paint brush, I dipped it in some of
this paint that is thick. Not as liquidy as this one. This one is more like a
milk consistency where this was more like a
light tea consistency. Now this is very wet and if I just drop some paint into it, you can see how that
is going to create these little blended
out star bursty effects as it's going out
through the paint and through the
texture on the paper. I can even swatch it like this and then
it can move around. I can add in a second color. I can grab a little bit
of this pink and I could put in some pink and let
them blend together. That is wet on wet
and see how it is just rolling even where it's
the papers curling down, it's just going to
flow that direction. Here it's naturally just
flowing this right. You can watch it move.
See how it's moving. If I drop it in here, it's just going to spread out. That is truly wet on wet. Now, if I move on from wet
on wet to a wet on damp, I'm going to do the same
technique using that same green. I'm still going to wet
down the whole thing, but with maybe not as much water and we're going to just let
that dry just a little bit. Now you're going to
be able to see that I didn't use as much water. And you can already
see now that this isn't running when we
had this one up here. That one was almost
pulling off to the side. This one is still shiny. You can still see that
the whole thing is wet, but you can also
start to see around the edges where it's
getting a little duller. Now, you're going to
have to practice this and play around with it so
that you can watch that. As this starts to dry, the paper is still
going to be damp. But the surface is
not wet, soaking wet. This is just going to be damp. I'm going to give
that just another couple seconds and
then we're going to do the exact same thing dropping in the same colors to
see how that changes. Using a clean pat brush, I'm watching this and it's
starting to get just damp. I'm going to go ahead
and take my indigo and just push it in here. You can see how it's
not moving as far. We can make some little dots. Again, yes, it still
is spreading out, but we're going
to watch that and it is not going to
turn into that. Now there's anything
wrong with this. It's just that this
is wet on damp. I'm going to grab some
pink and I can put in some pink you can see that
it's not spreading as far. It's really important that you practice wet on wet
on wet on damp. More times than not, painting wet on damp
is going to give you a little bit more
control and probably what you're looking to do
so that when you paint, if your paper is damp
but not running, you're going to be probably
happier with your outcome. Now we're going to do the
exact same thing over here, but just make it a wet on dry. This paper is completely
dry, taking my indigo, making that same little swoosh, and then dropping
in some little dots and you're going to see that
those do not go anywhere. They're not moving, they're
not going to be blending. They're just going to sit still. I come in with my pink again,
I come right up to it. Now I'm going wet on wet
because my indigo is wet and my pink is wet
and when they touch, they blend here, but it's
not blending out here. Then I can make a circle just like it did down here
and like I did there. You can see that
it's not moving. Just a completely
different idea wet on dry. Now for this last
section up here, we're going to
just make an area. Maybe let's use that green
so you can see it again. Maybe it's a petal. Hey. But
this time it is soaking wet. That's a full on puddle. It's a puddle of water
up on top of that. That's beyond wet. That's a literal puddle. If I went to my indigo and I put in a little drop of
indigo right into it, you can see how that's
a puddle of water. And I can take some of the pink and make that and see how it's a puddle of water I
can move it around. Because that's just
literally water sitting on top of this dry piece of paper. I want you to play with
these four different ways of adding your wet
on wet on damp, wet on dry, and
basically wet paint on a puddle of water and play with that so that you can
see how that works. That's going to become very important when we come over here and work on
our class project.
3. Class Project Part 1 Laying the Background: Okay, we are ready to get
started on our project. I really hope you practice
the wet on wet techniques. Mine is now dry, so I wanted to show you
that up close here. As you can see this
one that I had painted wet on wet
has a really nice, faded, soft background,
very muted, not defined at all. The wet on on damp paper has a little
bit more definition. You can see some more edges, how you can see a
harder edge here, where up on here you don't
get any hard edges at all. It all fades off. So that's something to pay attention to depending on
what you're looking for. If you want to see
some of these edges, then you want to
paint wet on damp. If you don't want any, then you should be
painting wet on wet. Here, of course, we have hard
edges all the way around, except for here in the
center where we let our two different damp
colors blend together. This was wet on dry. And then of course, this one
was our wet on a puddle. So a big wet splash of area, and you get a really almost marbleized feel when you add two different
colors in there. So once that dries, you get a outline area that's
almost has a hard edge, and then the inside is soft and muted like this over here. So I hope you
practice that and get used to your different
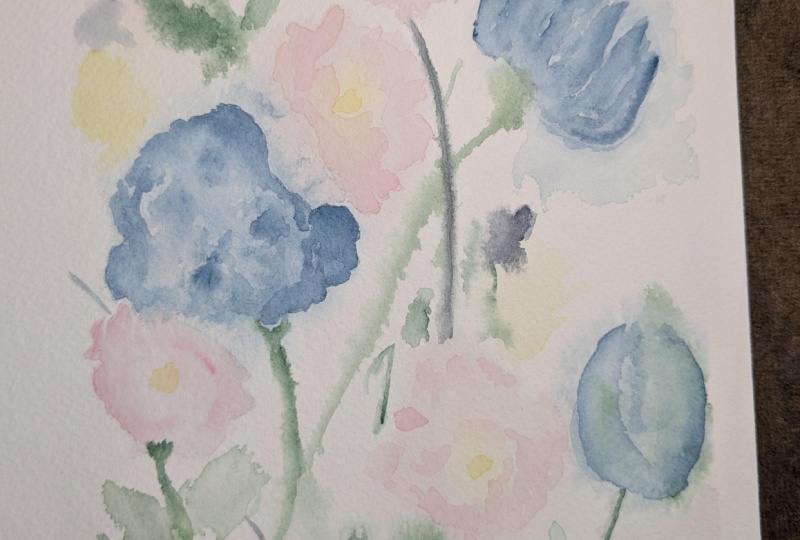
amounts of water. So for today, for
our class project, we are going to be painting
something that's a little bit more like this where you
might get some harder edges, some soft background edges, and nothing really defined. It doesn't yell, you know, a specific flower or anything. We just have a little bit of definition on top
as a second layer. And just a really
beautiful background. That's what today's
class is going to be and we're going
to be painting it. I'm going to be using
this cotton paper, using my favorite paint paper. I think what I'm going to do is put some tape down so that I use half of my page so that I can use the other half
for something else. I'm just going to use some tape and tape that off as a barrier. Pressing that nice so that
that creates a nice shift, nice edge right there, and I'll be painting in this area something
along those lines. Again, I'm just going to use this palette that I
have from my desk, my leftovers, as I
explained before. This is something that I
used in another class. It's all dry and it
looks like there's hardly anything there and that maybe I should have just washed it and
cleaned it up. But I know that if I reactivate
this with some water, so I just have a spray bottle and I'm just going
to reactivate it. With a nice amount of water because I actually
do want it to flow. I'll use that green and
I'll use this pink. And then I have this
beautiful palette again, just has a little bit of paint left in it
from another project. Because I'm just
using my leftovers, I'm just going to give
this a quick little spray. I like the fact that
it has gold here. It's like a metallic gold. So I'm going to go ahead
and spray that down. And then I have my indigo that I also want
to be able to use. So I sprayed enough water in that to make that loose
in liquidy like that. Okay. So we're going
to get started. Using a 1 " flat brush
and my clean water. I'm just going to wet
down this section, this side of my paper. I have to dip in a couple of different times to bring
enough water over. I go both directions
with my paint brush. I brush it one way, and then I brush it the other
just to make sure that all the little corners and
crevices get some water on it. But because this
is cotton paper, it's going to start soaking
in and I'm going to be getting the paper itself wet instead of just
the surface wet, which is really important. I'm not adding more water, I'm just moving it around. If I see an area
that's starting to get dry because
it's not as shiny, I can just bring some of this other water from the
middle over to the edges. As that starts to
get soaking in, it's going to start
getting a little dull. If at any point I feel
like it's getting too dry, I can always add more water. But I'm just trying
to let the paper itself soak in some
of that water. So to paint this,
I'm just going to be using my indigo
and some pink. I think I'm going to
start with an indigo. This is just a size six. I have a size eight, I have some other
size brushes here. Use whatever size you want. I'm going to be putting a
flower up in here and I want you to notice
that when I say I'm going to be putting
a flower up here, I'm not painting a flower. I'm putting in some dots
and letting that flow. Then I want to have
another one here. I'm just adding some
little dots of indigo, putting another one here. This is just the
background of the flower. Maybe I just want to have a little darkness
down in the bottom. Add a little bit of
something over here. They're not flowers, they're
just shapes at this point. Rinsing off my paintbrush and I'm going to
go find some pink. I'm going to mix up this
paint that I had over here. I'm going to just
add in some pink. Maybe put in some
more pink here, maybe even let it
touch into the blue. Again, do you see I'm
not painting a flower, I'm just making a little shape. Then I look to see, well, where do I want more color? Where do I need to
touch more color. They could be bigger,
they could be smaller. I just go over the whole thing and I
look for areas that I think maybe it's empty
or it needs a space. That's good enough. Now I'm going to come in with my green. Again, this is really liquidy. See how liquidy this paint is? This is not it's mostly water with just a
little bit of paint in it. I'm going to just create
some little lines. It could be stems, they could be grasses. It could be leaves. Pushing that paint
around a little bit. I'm gonna let that
just dry a little bit. I think I want to add in some of this gold because gold
is just so much fun. This is a gold metallic
that I had put in here. I just want to add a little
bit of gold into this, maybe into the center
of that flower. Maybe just on its own. It's a little bit of gold. This is really wet. You can see how it's flowing. I'm just going to
give it some time. I can see that it's pretty liquidy on top,
it's pretty watery. I'm just letting it dry and
do its thing and move around. The more I wait, the more I
can see them blending out. They're just pushing
the pink colour out and blending together. I'm not going to sit here and manipulate them
and push them around. I'm just letting it happen. I do want to have a little
bit stronger green, so I'm going to come in and
add just a little bit of a darker green could be just more paint and less water instead of
a different color, a higher value of
paint to water. And I also think
I want to add in some of this browner color. Again, I'm just going to get
a little bit of brown on my paint brush and add
in some little stems. See how I just did a little
zig zig little jagged edge, little jagged edge here and
a little jagged edge there. I'll just let these
things blend. Take their time to move around. If you feel like
you got too much somewhere, you can
kind of blur it out. Remember that watercolor is
always darkest when it's wet. As it dries, it's going to soften and get
a lighter shade.
4. Class Project Part 2 Building Soft Florals: This is not 100% dry. This is more like
a wet on damp now. You can see that this paper is buckling because
this is still damp. This paper is
definitely not dry, but I want to add
on the next layer. I'm going to grab my paintbrush. I want to add in
some stronger stems. Coming in here to the green, grabbing a little bit of green. I'm going to say that
this is a flower that's looking on the
edge of a flower. If I take this and I say that I'm looking at
the side of the flower, I want to create the base
to the flower and the stem. I'm going to just
start to create that little triangle base
and a nice light stem. Maybe here's another
one. It's on its side. Triangle base. Bring it down here, but this
is going to be a flower, so I'm not going
to draw over it. I'm going to skip that edge. Then this is going
to be a flower, so I'm going to skip that one and bring it down over here. I'm just creating
some little edges, just like I did here,
where I created the little triangle with a stem. They don't all
need to have that. But certain ones, if you see that that's
going to be an edge, you can draw that down. There's a hair or
fuzzy on my piece. Because this is still damp, it's going to start blending
in a little bit with the background paper because I didn't wait for it
to get completely dry. Certainly don't need to put in every single stem and if you do, you might regret that it might
get to be too many stems. I'm not adding in too many. Now that is still damp, I'm going to go ahead and add
another layer to my pink. I'm just coming in with my pink, but because this
isn't quite as wet, it's going to sit up on
top, just like this. It's going to get a
second glazed effect. I'm going to come in here, I'm going to take a
look at this one. You see how that
looks like a flower, the gold is the center. I'm just going to create
some little outlines and some little shapes for petals little centers, little draw it out.
Maybe this one too. Certainly, just like on here, it's more like little squiggles. I'm not trying to
draw a real petal. I'm just adding a little
bit of dimension, a little extra little extra
texture to these flowers. This is where the real details of making it feel like
a flower comes from. You but they're not real petals and we're just trying to find out what happens, keep it really relaxed and easy. If it doesn't work out,
consider this a practice piece. That's okay. We all have
to start somewhere. Now, if I have this one and I felt like maybe I got
a little too much. What I'm going to do is
rinse off my paint brush, dab it off a little bit, so it's still wet,
but it's clean. I'm just going to come in on the backside here and
just wet the paper and touch into my paint that I just painted and
soften that edge. See that? I'm going to do
the same thing over here. Just going to touch the paper
with my clean paint brush. So if I pick it up, you
don't see any paint. I'm just going to touch into
that edge and soften it. We can do that to any
of these other ones, touching in and
softening that edge. Touching the edge,
softening it a little bit. You might get a hard edge on the one side and then a soft
edge on the other side. It's just a fun way of painting and adding in that
little extra layer. Okay. Now we're going to
add in some of this so these blobs are going to become these
little flowers here. Right now, they don't
really look like anything. Now if this was this flower. See how this is the edge
here you can see the edge of where I had made the
base of the flower here. Now I want to make
this into this flower. I'm using again,
my indigo paint. I'm just going to
create a little base, pushing up, taking this one, pushing up, pushing up it's
the start of a flower there. That's it. I'm going to
do the same thing here. But I think this one, if
I made it more like this, you can create a pushing around, pushing around, pushing around, pushing around This one is a push it up, push it up. You're pushing up those petals. Pushing up petals. While that's drying, I'm
going to go ahead and add in some more of
my green leaves. Finding some more green. You can just use up so
much of this paint. Just using up your leftovers. I'm going to just create
a little leaf here, pushing it out, pushing it out. Then this one I feel is
maybe a little too rigid, so I'm going to get
a clean paint brush again and just touch
into that side, softening it, touching
into that side. So I'm creating leaves by just pushing my
paintbrush around. Not making it a leaf
shape like exact. Me just an idea of a leaf. I want some of this gold. Really like this one,
almost makes it look like a rose the way it's
got these curves around it. I'm just going to add
in a little bit of gold accents because why not? I don't know a
little bit here too. I really catch your eye when
you're looking at this. See how we just played?
Just having fun. Art doesn't need to be rigid. Art doesn't have to have
a whole bunch of rules. You can just have fun with it. Play around, see
what works for you. How wet should your paper be? How much paint should
be in your water? See how it's such
a little amount of paint in my water here. But yet, we did
all of this using this little tiny bit of
paint, lots of water. When your watercolor,
more water, less paint. You can always come back
in and soften an area. Soften that edge if you want to.
5. Final Details and Reflection: That it's dry, I have a mat
here that I like to use, just so I can see what this
would look like if I put it inside of a frame.
Isn't that beautiful? It's so soft and just
stunning. I just love it. It's such a beautiful painting that you can achieve
in just 10 minutes. You can be like, Wow, look
at that. I made that. That's my artwork. I would be so excited to hang something like
that into my house, put that in a frame, put
that into your bathroom or your powder room or into even a nursery or something
would be beautiful. It just has such a soft
and beautiful feel. So you can go ahead and use
whatever colors you want to. You could make these flowers. You can make one bigger one, you make a whole bunch of flowers, however
you want to do it. This is your class project. I would love for you
to finish this up, but I would really like
to have seen to make sure that you have practiced your wet on wet technique first, that you have tried wet on wet, wet on damp, which
is what we did here. We did the wet on wet
for the background, and then we did wet on damp for those mid tone sections
here and here, all the stuff that
we put on the tops. That was all wet on damp. We didn't get to
these over here. You could certainly add
in some extra details. If you wanted a more
defined centers in here, you could now add
in a wet on dry. That's not the look
I was going for. I was personally
wanting it to just have this really
soft muted look. So I'm very delighted with
mine and how that turned out. Come back to the next lesson, while we look at wrapping
this up and look forward to the next class where
we are just letting watercolor do its
thing and flow.
6. Closing and What’s Next: You finish up your painting, take a moment to step back and really look at
what you just created. This style is all about softness and letting
go of control. So every piece is going to
look a little different, and that's exactly what
makes it so beautiful. You may have noticed areas where the paint moved more than expected or places where colors blended in a
way you didn't plan. That's all part of the
process and learning to work with it instead of
against the watercolor. If your piece feels light and
loose, then it's perfect. That's exactly what we
were aiming for here. In the next class, we'll
be taking this a step further and start to add a
little bit more control, working on shaping
soft florals while still keeping that
blurred atmospheric feel. Then in the final
class this week, we'll bring everything together, adding more depth and a stronger focal point so your painting starts to feel more complete and dimensional. So if this painting
felt comfortable, I'd really encourage
you to continue on and see how those next
pieces come together. I'd love to see
what you created, even if it feels simple. Go ahead and upload your
project to the class gallery. That's where so much
growth happens, and it's always
inspiring to see how each person approaches
the same techniques. If you enjoyed this class, you can follow me here so you don't miss the next
lesson in the series. I'll be seeing you
in the next class.
 Brenda Jones, Watercolor Artist & Teacher