Transcripts
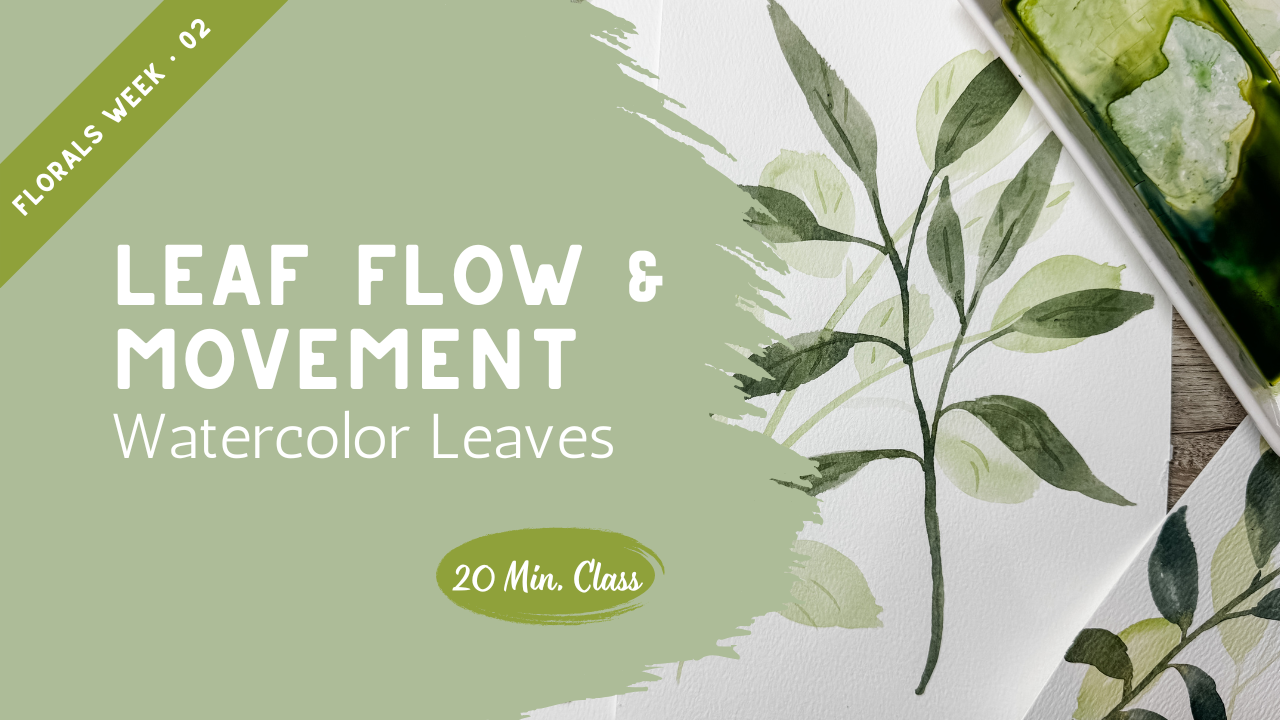
1. Creating Movement with Leaves and Stems: In our last class, we worked on mixing natural greens so they feel softer and more organic instead of overly
bright and artificial. Today we're going to build on that by focusing on movement. Leaves are often the
quiet part of painting, but they're also what
holds the motion together, the direction of your stems, the curve of a
single stroke leaf, the way one line
crosses another. All of that creates rhythm. This class is about letting
your greenery breathe. We're going to practice simple flowing leaf strokes and allow our stems to overlap naturally instead of
placing everything stiffly. Keep your mixed greens nearby. We're going to use them
with this intention. Let's begin to paint leaves
with our natural green.
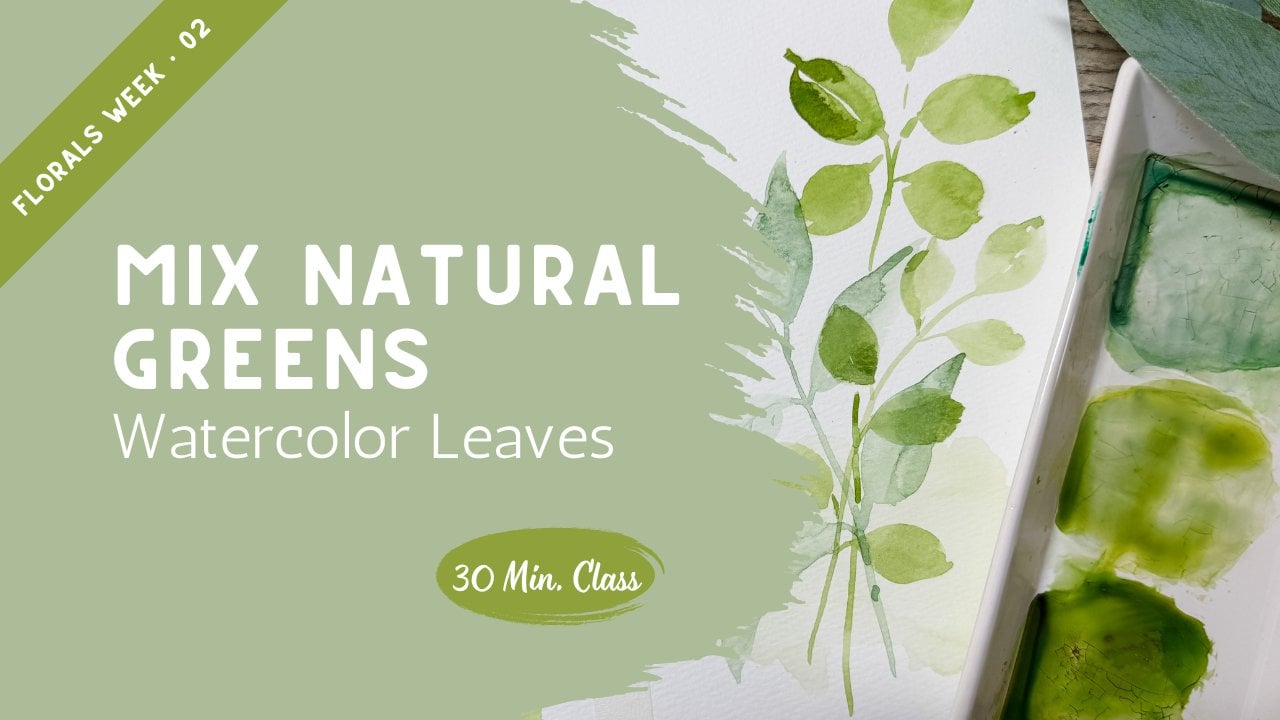
2. Painting Multiple Leaf Styles with Flow: Earlier this week
we talked about green and how to mix
green so that they have more of a
natural color instead of the bright colors that
come in your palette. Today we're going to be using some greens that I
have mixed up here. But if you miss this, you can
go watch that another time. So we're going to
start working on our leaves and
something that I found is People who are newer to watercolor and even those who have been practicing
for a long time, sometimes struggle with
leaves in general. What we're going to do is
take a little closer look at some leaves and see
how they are formed. Now, these are just fox leaves, but it's also helpful to
take a look at them here. This one has a long stem with little tiny
stems coming off of the with a wider tapering
down to a tip here. We're going to practice
this style leaf and then also take note of that. This one happens to have
the little branches, little tiny stems
here are offset. They're not necessarily always directly across from each other. This one is stepped up and
then another one here, but then there's not
one over on this side. Leaves don't always
have to be symmetric, keep that in mind while
you are painting leaves. Sometimes it is appropriate
to have them being symmetric, maybe if you're doing
a fern or something. But if it doesn't work out, it's okay to have it
be not symmetric, which would also work out. Then you can see that there's usually some a line that goes up the center with some small little lines
of angling upwards. Now, also take note
that you don't always see all of those lines
in every single leaf. When you are painting,
it might make it actually more realistic
if they don't all have a straight line up the middle and all these little branches
off to the sides. Sometimes it's better
if you just add a few of those in
here and there. Also take note that these
leaves and branches often bend. They have a curve to them, or sometimes these leaves are bending downwards like this. Take note of how that
looks and what kind of an angle those leaves
take when you angle them. So that's something that if you had some leaves in your house, go out into your garden
and take a look, that would really be
helpful to you if you took a look at how leaves
actually grow. Now, this one's a eucalyptus. It's a eucalyptus, so
it has a rounder leaf. But these are coming
off very symmetric, one here and a
matching one there, one here and a
matching one there, all the way up the stem
up to the very top. So that would be
another way of creating a stem with leaves is to create them to
being very symmetric. Not only are eucalyptus
leaves symmetric, but there are a lot
of other leaves out there that
would be that way. So, um, feel free to make
yours however you want to. They do not have
to be realistic. Whenever we are
painting in my class, my class is very
organic and go with the flow and absolutely
no judgment here. We're not trying to create
a specific leaf that looks exactly like you
know, insert leaf here. It doesn't matter. As long as you are enjoying it and
you like the look of it, that's what matters
here in our class. Here's another leaf where you can see where they are a step up out with a little
roundness, with a little tip. Sometimes they have the little tips on the ends like that. There's so many different
kinds of leaves. Here's one that's in a
little cluster along with a berry and they're more oval shaped, more
like an almond. These have little lighter tips so that the tip of the leaf is a little bit
lighter than the base. And then if I come
over here to rose, our rose has more
of a jagged edge. Leaves come in all
different shapes and sizes and it's so important
and different colors, feel free to vary your leaves. You can also take note
that some of the leaves come right off the bottom of the flower just
like on that one. Sometimes that's a nice
little way of adding a little greenery is by adding
it to the base of the bud. So we're going to get
started on that and we're going to be talking about
several different leaves. And then in our
main class project, we are going to create a little class project art piece
with just leaves, no flowers. Let's get started. To create our first leaf, I'm going to show you how we can um we start for a
very, very basic leaf. You start with a little stem
just like we looked at, and then you lay your
paintbrush all the way down and then drag it up
and slowly lift up. Now you've probably seen that in many of my different
classes over the year. As you've been following me, you'll see that I make a
lot of leaves that way. Another way to do that
is to do a double. I do a little stem, I push down, and then I do a double
so I make it thicker. Then I just add a
little tip at the end. That would be another way
of making it going one, two, a little stem, one, two, I highly recommend that you fill an entire page flower with little leaves like this
where you are having an opportunity to try different leaves out
and see how they go. Another way of doing this is
to create a little cluster. As we are creating a
little cluster of leaves, maybe we do a little
line and we put a flower we make a line and then we put in a
little leaf here at the end. But then we put
another one here and another one there and another one here and
another one there. Then we have a little
cluster of leaves. Maybe we are making it
with an arch to it, and then we put one that's
coming down and over here. We just make all these
little clusters of leaves and it shows movement
because it is arching. Maybe your leaf is going
to look like that. Make a whole page
or a section of your page trying different
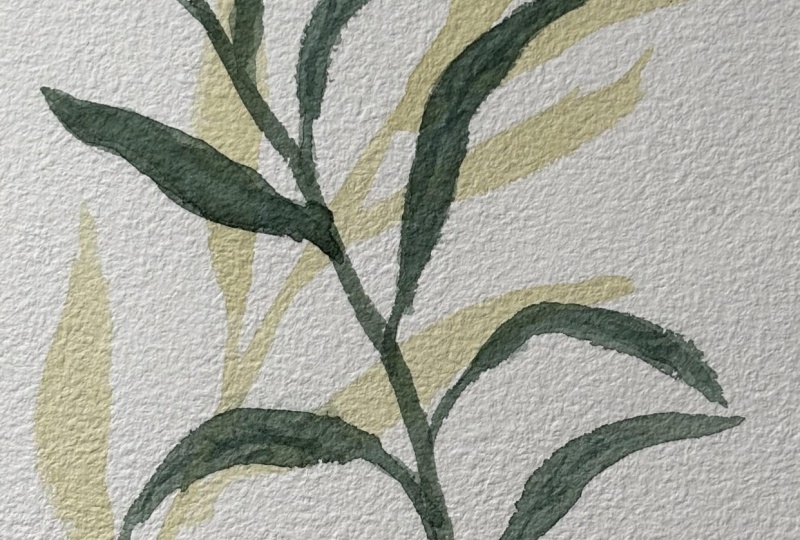
things in that way. Another way to make a leaf
is to create a long stem, maybe on a diagonal like
that to show some movement. Then off the tip, lay your
paintbrush down, drag it up, and pull it up
really far so that you have one long
continuous leaf. That's a fun way to make a leaf. Now, if you wanted
to add some more, you could add another
one and maybe bring this one down to
show some movement. And then instead of doing them directly across from each
other like I did here, you could do that little step up and you could put
another one here. Then maybe on this side, move my paper around
a little bit. I bring another one over
this way and arch it down. And see how we're
creating movement by shaping our leaves and having them face
different directions. Give that a try because we're
going to be doing that in our final project in our class. You could make a
fern and you could put it on an angle
and then you could put off all these
different leaves really close together and maybe they go
different directions. Then we can put one up here
maybe arch that one down. Out. And see now I'm making
more of a fern look. So using basically
the same brushstroke, you can make all
different kinds of leaves using those
same brush strokes. You could make a eucalyptus by creating that rounder look and then another rounder look. You can even leave a little
white space in there. That's a fun way to do it. And it just adds a
little highlight. Maybe you don't add
it to all of them, but you just put
on some of them. So creating a little rounder bob on the end and you've
created a eucalyptus. So many different options and I really want you to practice and see what you can create and see what different
options you have. If you run into one
that you're like, oh, I really struggle on that one, then practice that leaf over
and over and over again. If your leaf color isn't
looking organic and natural, you might want to create a new color by
mixing a couple of different colors together and that will always help
creating a better color. If you take a color
of green right out of a tin can like this
out of your palate. These greens are not
necessarily going to have the most organic
natural colors in them. You probably need to mix them. If you need help with
that, you can let me know and I can direct you to the right
class for that later. I more of what I call
a squiggly leaf. I make almost always
start with a little stem, and then I'm going
to lay my paintbrush down and instead of dragging it, I'm going to move it side to
side in a squiggle motion. Squiggle, squiggle,
squiggle, squiggle, and then slowly bring it up. That creates more of
a jagged edge. So I can squiggle it like that to create a little bit of a
jagged edge of a leaf. You can put them into
a little cluster. I do like to make that a lot. You'll see that
quite frequently. Other leaves, you can You if you're looking
for other leaf shapes, you can just make
a really long one. Maybe it's like a grass and you're needing to
have a tall, long grass. That's a fun one to add into art pieces where you
maybe have some flowers here, but you need something
that adds some height. You can always add a
long tall grass and just drag it out as long as you want to and then slowly
bring it up to a tip. You can even give
that one some motion by giving it a little
bend when you're here, and then just slowly bring
your paintbrush around. And just arch it. Then it's created a little branch,
a little bend to it. We can bring it up and
then make it a harder turn so that it's a little
bit more drastic of a turn. Another way to create a leaf is to create something that has
little branches off of it. Let's see, maybe we
have a leaf and a leaf. We do something like this. But then this one is also
a little leaf branch. Then you can create as many little branches as you want to. If you feel like you need to have extras and you need to have another one that's
coming up here to create some movement out to the
right, you could do that. If you wanted to create another one that comes
down this direction, you could add another
branch that way. That's a good one to
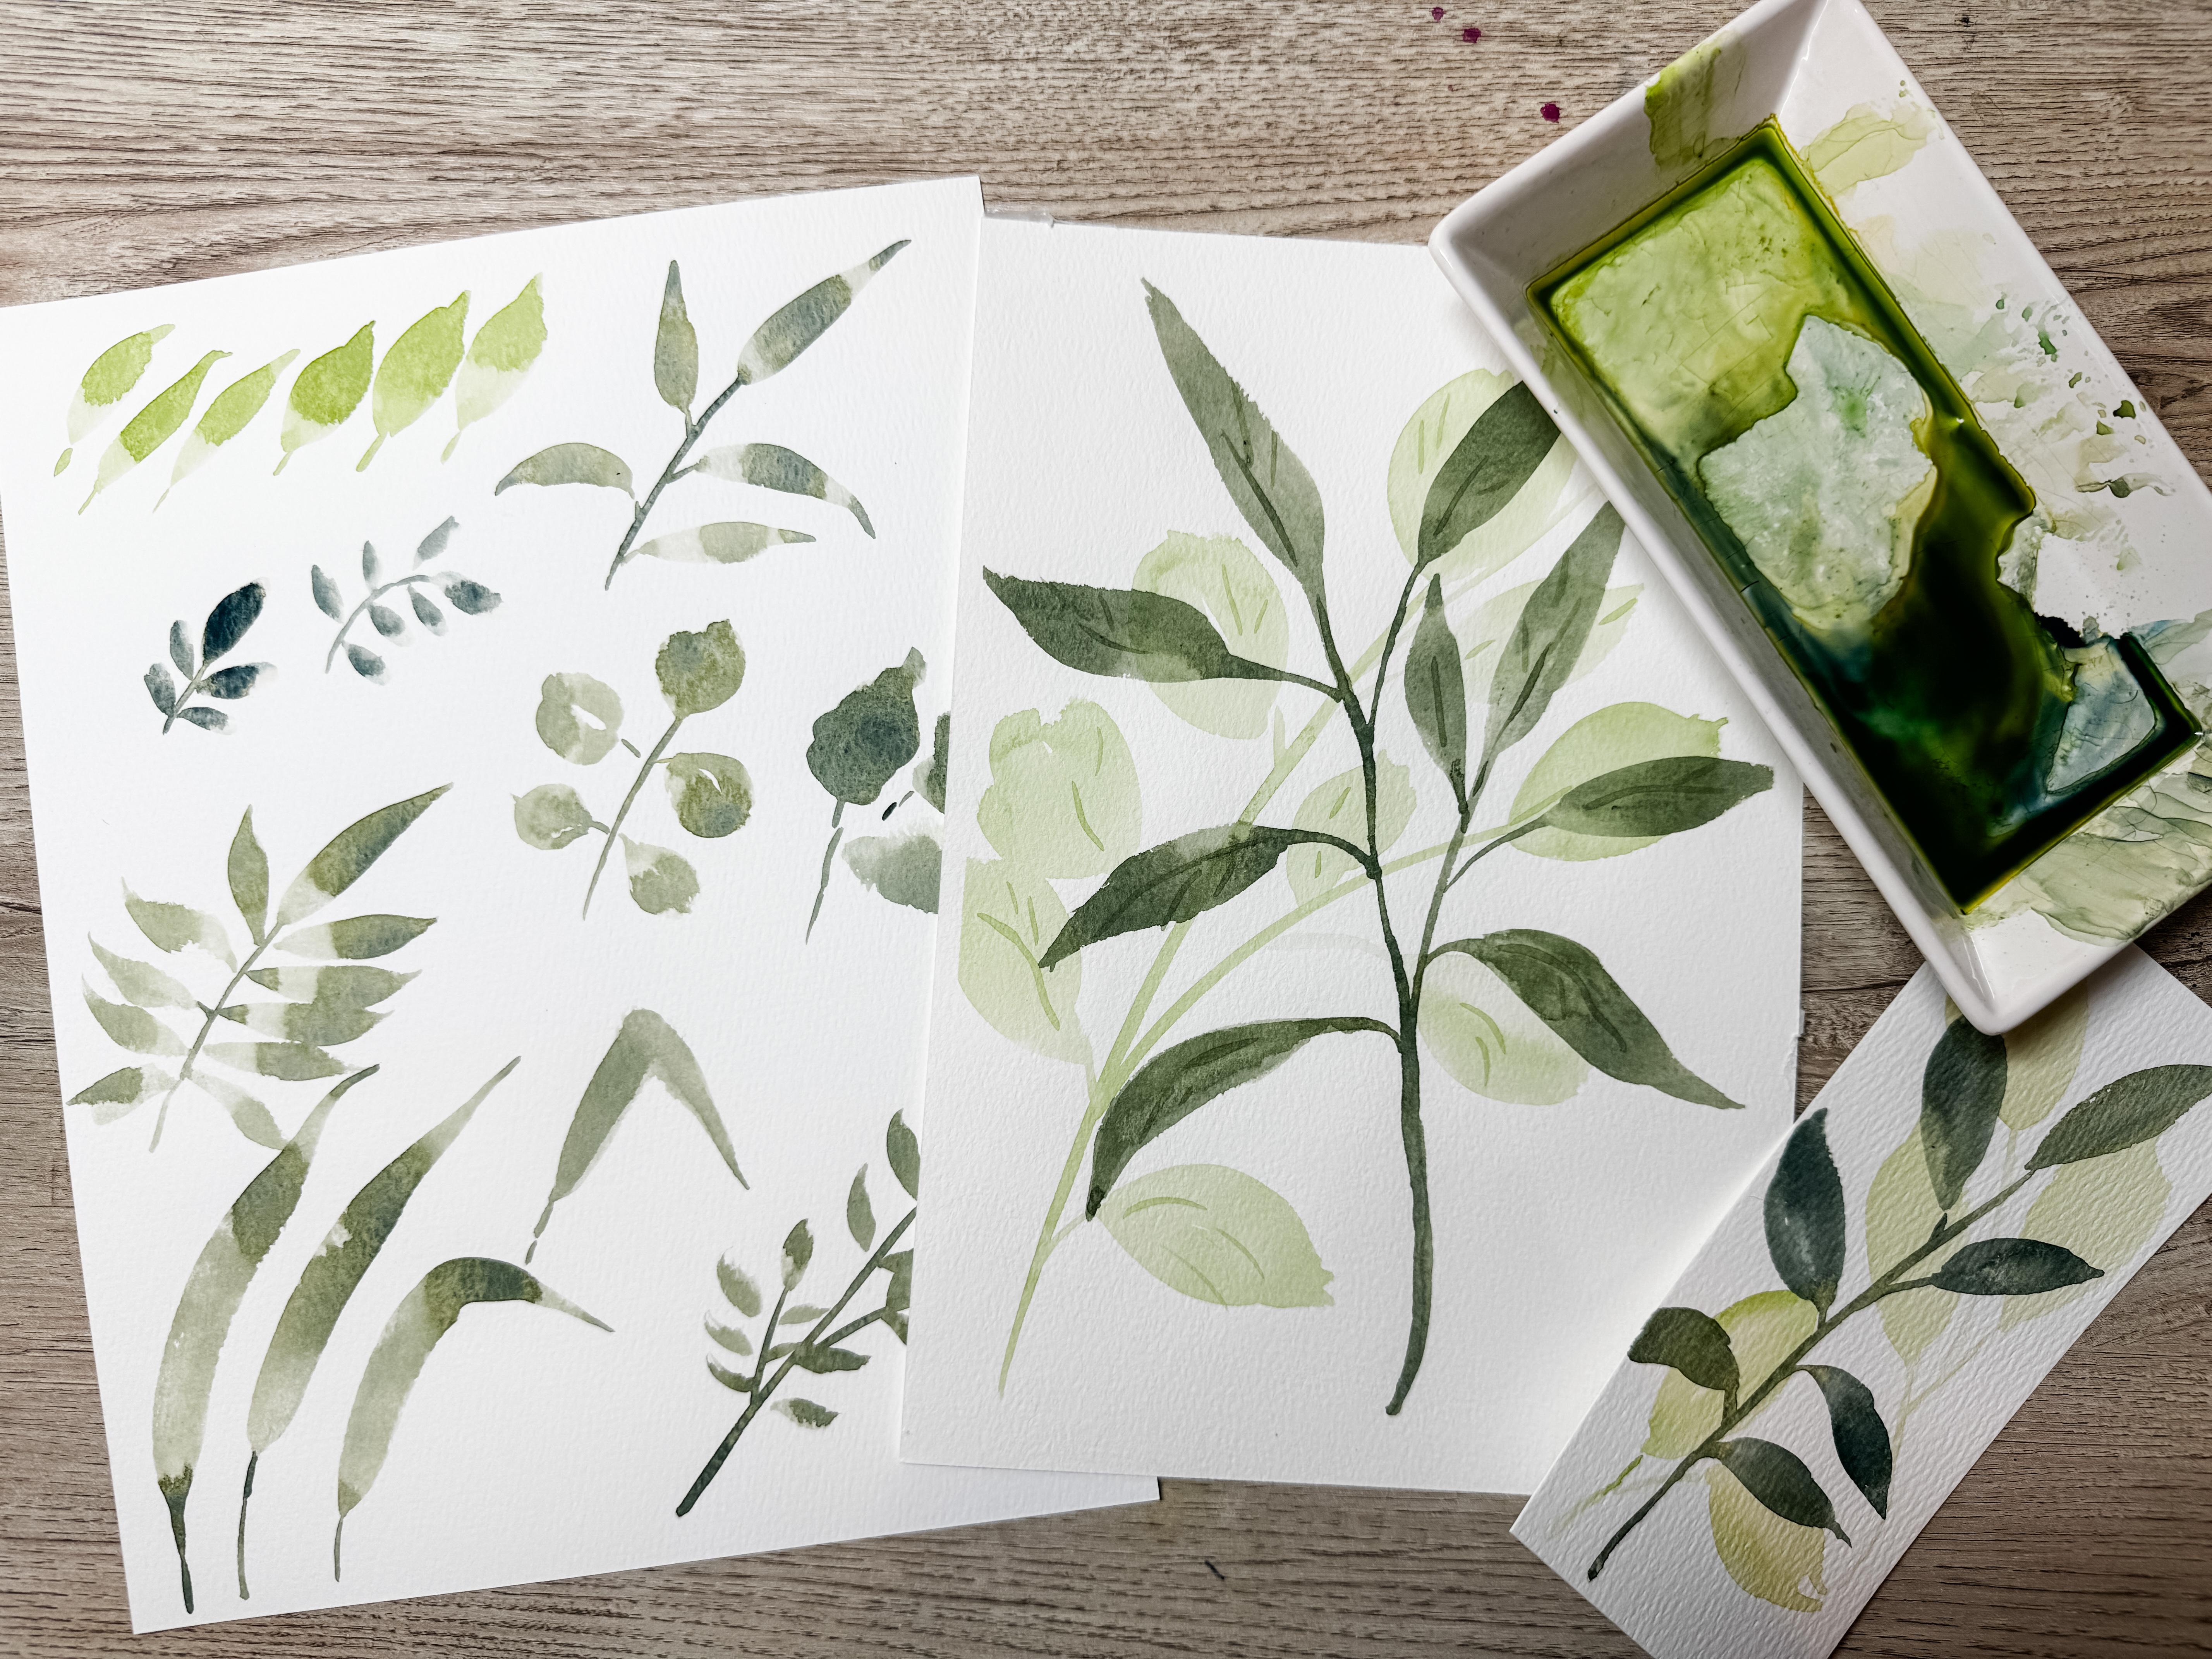
remember to use as well. One other thing that I really like to do and
I'm going to pull a different piece of paper
for that is layering. I'm going to use a lot of water with just a
little bit of paint, and I'm going to create maybe a background color where
it is a bold leaf here, and maybe we put
another bold leaf, adding a little bit of
ink, bold leaf there. See, we're just
creating some very, very faint leaves
in the background. If you do this, grab
a little bit more, mainly filling up my
paintbrush with water and then dipping it in ever little just to get a little
bit of color onto my paint brush so that I have just a little
bit of pigment there. So we're going to let that dry, and this is going
to be important for when we go to do
our class project. I think we're going to
do layers like that. I'm going to let that
dry and actually, I'm going to use I
have a heat tool here, just a heat gun. I'm going to dry this
off and then we're going to put a flower
or a leaf on top of it. As you're drying
something and this wasn't taped down and you can see
how that paper is warping. If I stop here, it's not completely
dry and I flip my paper over and then
dry the backside, it's going to actually
lay back down. It's going to
flatten. Watch this. Just like that is flat and it's dry because I flipped
it over a couple of different times to get
that backside to get dry as well because the water does seep through a little
bit to the backside, but if you're drying the
backside at the same time you're drying the front
side, it seems to work out. That's a little tip for you. We're going to paint on top
of this one and I'm going to put a stem with a darker
value leaf on top. There's another one here. Arching it down, bringing it up and I'm just going right on top of
the other leaves. Perfectly fine to do that. Choosing where I
want that leaf to be displayed and just adding
a leaf right on top. Let's see. I think I want
this one to go this way. It's okay for it
to go off paper. This is just going
to be a bookmark. But because I layered them with a lighter color on the bottom and then a darker
color up on top, that creates a pretty
little look there. We're going to be
doing something like this in our class project. Come on back to that
next lesson where we're going to dive right in
and create our next project.
3. Adding Subtle Vein Details Without Overworking: As you begin placing
your first stem, try not to overthink
the direction, Let it travel across the page in a way that feels
natural in your hand. Art doesn't have to begin
with a perfect plan. It can begin with motion. This week, we've been
exploring green, but not just any green. We've been softening it, muting it, adjusting it, so it feels more alive. Nature rarely gives us a single flat color.
There are shifts. There are variations.
There's warmth in one area and
coolness in another. As you paint your leaves, notice how that subtle change in your green brings
depth without effort. Every leaf stroke
is an experiment. If it curves too much,
that's information. If it feels too straight,
that's also information. Nothing is wasted. Leaves often carry movement in a composition. Flowers draw attention,
but as they create flow. They guide the eye,
they create pathways. They make the painting
feel like it's breathing. Let your stems cross. Let them overlap. Allow one to sit
behind the other. Resist the urge to correct
every irregularity. Irregularity is what makes
everything feel more organic. When you mixed your
greens earlier this week, you stepped away from relying on single tube color or pan
colors that come pre mixed. You made the choice to
participate in the process. That same mindset applies here. Instead of forcing
a perfect shape, let your brush describe that leaf in one
confident motion. If it's imperfect, it's human. If it varies, that's natural. Art is not a test that
you pass or fail. It's a conversation
between your hand, your eye, and the page. Try adjusting pressure slightly
as you form each leaf. Press down, lift up gently, see how the width changes. That variation creates
interest without detail. Pause occasionally and look at the direction your
stems are moving. Are they all traveling
the same way? If so, gently introduce
a counter direction. Movement can sometimes
come from contrast. There's something calming
about painting leaves. They don't demand perfection. They allow softness.
As you paint, remind yourself that this is
practice, not performance. You're building
something familiar. You're building muscle memory. You're training your
eye to see balance and your hand to
respond fluidly. If one area feels heavy, add a lighter wash nearby. If a stem feels isolated, allow another to cross it. Think of your greenery as a small ecosystem.
Everything relates. The natural greens you mixed give you freedom because
they are softer, they layer more gracefully, and they sit beside each
other without shouting. That's the beauty
of color mixing. You gain control
without tightening up. Continue building slowly. Leave space between some leaves, allow air in the composition. Movement needs room. And if something doesn't quite
go the way you imagined, let it just be
part of the story. Every painting teaches
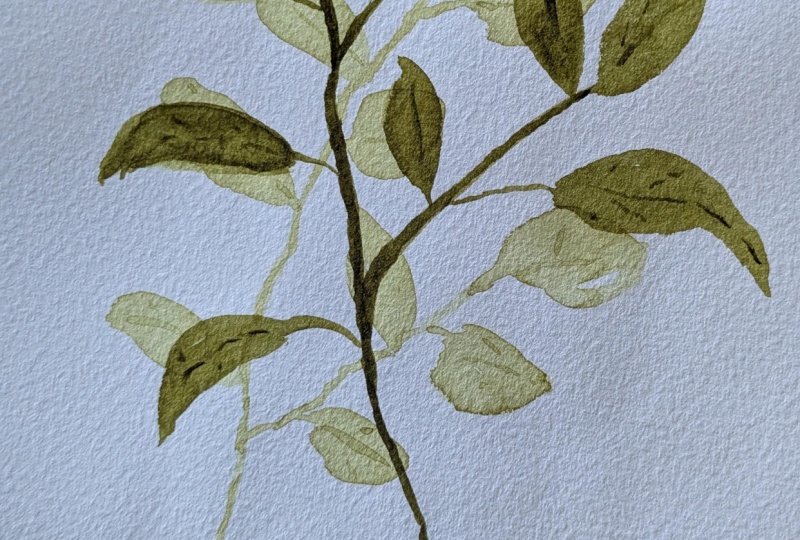
you something, even the quiet ones. As my leaves dry, you'll notice they already
have movement and softness. The details we're adding now are not to outline or
define everything. They're just suggestions. I'm using a slightly darker
mix of the same green, which just means less water. Not a brand new color, just a shift in value, and I'm not putting
veins in every leaf. That would feel too
stiff and repetitive. Instead, I'm
choosing just a few, letting some remain simple. That contrast keeps
the painting relaxed. Details should feel like a
whisper, not instructions. When you add just
a few thin lines, you create depth without
tightening the entire piece. It's easy to overwork
at this stage, so stay light with your hand. One or two strokes is
enough. And don't forget. Sometimes stopping early is
what keeps painting alive.
4. Building Toward Friday’s Wildflower Cluster: Today, we focused on how
leaves and stems create movement and how
your mixed greens support that softness and depth. This lesson builds directly on our natural green mixing
class from earlier this week. If you haven't
taken that one yet, I encourage you to go
back and explore it. The color control we practice there makes a big
difference here. Our next class we'll bring
everything together into a loose wildflower cluster
where your greens, stems, and movement will
support the full composition. I would love to see
your leaf studies in a project gallery, upload a photo of your
work so that we can all see your movement and
how that's developing. Watching progress over time is one of the most rewarding
parts of learning. If you're enjoying
this March Series, please follow me
here on Skillshare so you don't miss the
upcoming classes, and if this lesson
helped you feel more relaxed and confident
with your greenery, leaving a review helps other students find
this class too. I'll see you in the next class.
 Brenda Jones, Watercolor Artist & Teacher