Transcripts
1. Intro: In this class you
will learn how to pen a sunflower loosely
with watercolors. And I'm going to get
you every steps on a special technique
to make part of it blurry in hazy with
a soft effect, which gives an atmospheric loop. My name is Zane in emma, self-taught artists learning
from books and videos, I lived idea of painting
freely without boundaries and what the color gives me
the freedom to express that. This class is for
beginners and all you need to get started
are the very best. Explore watercolor,
paper or sketchbook. Some brushes, a set
of what the colors. The rest are things you probably have in
your home like empty just pallet or place a
paper towel racks in water. With these atmospheric
style of painting, you can apply it to any other subjects other than
flowers like still-life, animals or even landscape
plays sea and sky. At the end of this class, I will let you to pan any flower of your choice for
your class project. And remember to apply that special technique
that you have learned from the class to
achieve your atmospheric look. I'm excited to see you in
class or see you there.
2. Atmospheric Watercolor: Atmospheric watercolor. Before we go into atmospheric
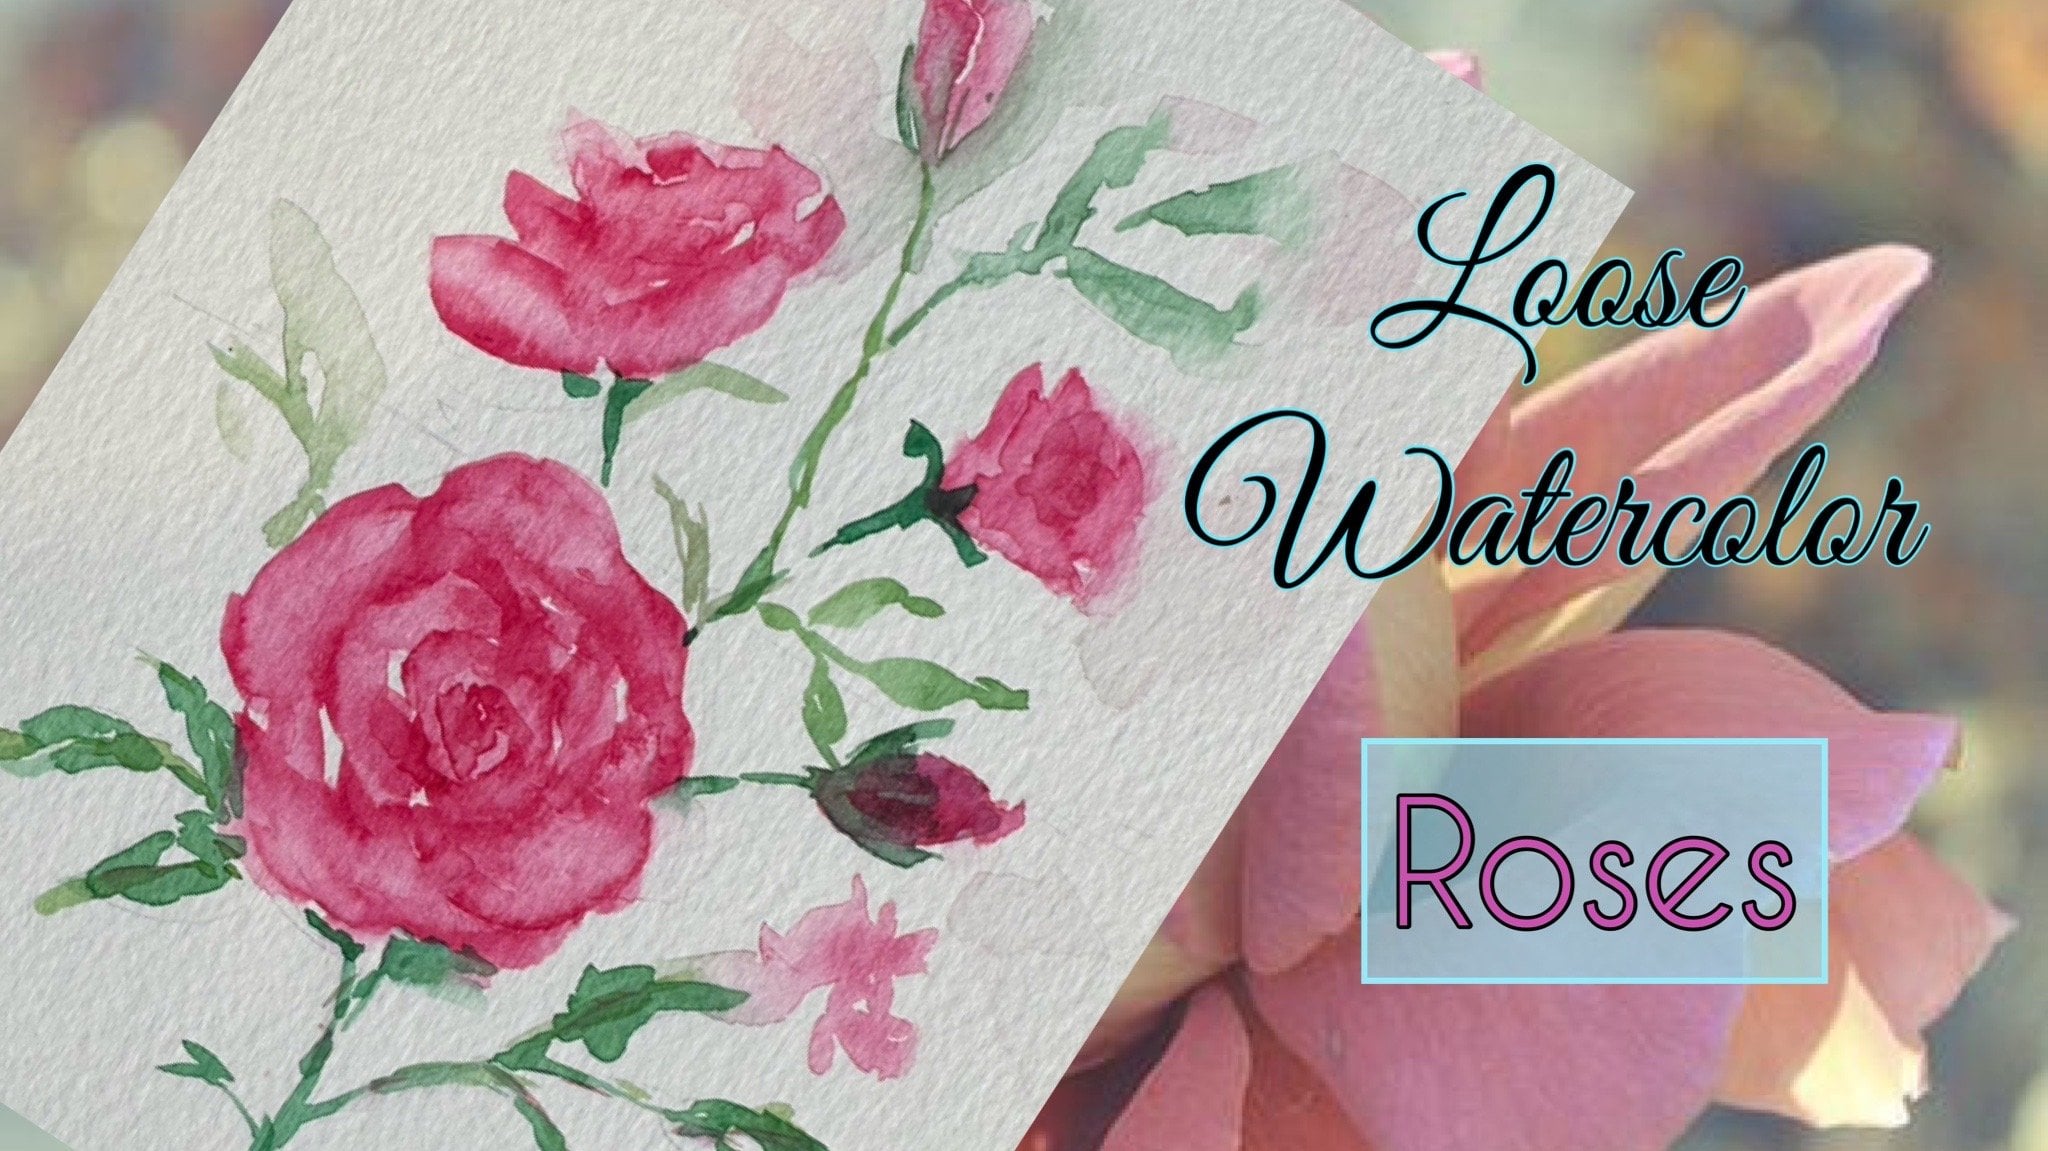
watercolor painting, Let's look into loose
watercolor painting first. In my own words, a loose
watercolor painting is a painting where UPenn loosely or painterly with
less or simple brush strokes. Not a realism painting with
full details of your subject, but rather a suggestion. Occasionally, you can add some
details, but not too much. Like the saying
goes less is small. Here's an example. This Ross was spent it loosely, but you can still see that
these are rows because I have added some minor details
suggesting the petals. It was very watercolor painting, is still painting loosely, but with exception
of a soft feel. Waste certain places or part of your subject has a
blurry or hazy effect, which gives the,
it was very low. Let me show you some examples. At least two roses bought them. Ross has details
defining the petals. The top Ross is blocked, but it still see the petals because of the depths
of the shadows, this gift, the rows
and atmospheric loop. The main focus of the
spending is to draw the viewer to the
rows at the bottom. Let's look at this, Barney. The main focus is the face. From the nose to the
eyes, into the ears. The body and the
background is blurry. Goals with this puppy, the main focus is the face, focusing on the first-world. The body below the
chin is blurry. In this class, I'm
going to get you the steps in achieving
all these effects. Here you see the blurry
atmospheric loop. The next video, I will show you all the tools and
materials that we need to get ready and
see you in class.
3. Tools and Materials: The tools and materials that we are going to use in this class. Brushes. The size of brushes used in each painting depends on
the size of your subject. I'm using three sizes here. A number it has big number for medium and above
to the smallest. My paper size is around
six by eight inches. So the sizes of my
brushes workable. You can just use
synthetic brush as this painting is small and
don't need lots of water. My last brush, the
blue one is on all one with stiff
nylon bristles. This brush is for
doing splintering. If you don't have one, just use an old toothbrush. For highlights. I had three options for you. White gel pens. Here I have the
uni-ball signal in Sakura Gelly Roll. Dr. Ph. Martin's bleed proof white, which is a thick
white pest light pen. Lastly, white gouache. Any brand can do in
mine here is from Winsor and Newton, Palette, plastic or ceramic, to just one for
cleaning your brushes and another for
clean water usage. Piece of kitchen towel, or on all the colors. I always make a color chart
full set for easy reference. Here are the Winsor and
Newton half pen set. These are from Daniel Smith asked squeezed into
pens from tubes. Whether it's in pens
are fresh from tubes, is up to personal preferences. For papers. It doesn't matter which
brand or types you have mixture is
watercolor paper. The width of the paper must
at least be 300 gram or £140. Here I have a Fabriano, a 100% cotton cold press. You can use cold pressed or hot press cotton or
cellulose paper. Sketchbook with
watercolor paper. This one is from
Missouri with cellulose, what the color paper
of 300 gram or £140. Lastly, this is mod
valve from Canson, which is also cellulose
300 grams or a £140. I always use most
cited papers for practicing painting
or teaching in class. Now we are ready for our lesson. See you in class.
4. Color Preparation: This prepare some
colors for this class. We begin by dropping a couple of droplets of water onto the
colors that we are using. If you are using colors
directly from the tube, then you don't have to do this. Using an old brush, mix the water into the dry
pens to activate them. The colors I'm using are
from Winsor and Newton. First is raw, umber,
burnt sienna. Mmm, yellow, some violet, ultramarine blue,
alizarin crimson. The last two colors
are from Daniel Smith, Berlin read, and
perylene violet. You can write down
the colors that you have put on your palette so you wouldn't get confused. I did it. My last color, which is lemon
yellow from Daniel Smith. Let's begin our class
in the next lesson.
5. 1st Layering: Let's start with the first
layering of your painting. We are going to append the
center of the sunflower first. Roughly estimate the
center of your paper. The size of the object
that you use will be roughly 1 third of the
whole width of your paper. I'm using this tape measure
which fits perfectly. Then make markings on the
outer edge of your objects. Do not draw a full circle. The width of my paper is six inch and this is
two inch in diameter, which is just perfect. Now we mix cadmium yellow, raw umber in a little burnt
sienna to get a gold color. Start painting by using a dabbing motion with your
brush on the paper as shown. With a little water. Not too much. We still want the golden
color to be seen. Now with the light shining
from the right side. It just water on this
side where the light is. The left side will be darker. So let's add some burnt sienna to enhance the golden color. Then lift the right
side as it is. The light is shining
from the right side. Now mixed raw sienna, violet, Alizarin crimson and ultramarine blue to get a
brownish red color. Not to worry if it is too dark because it will be
lighter once it's dried. This step mostly on
the left-hand side. Now it a little more
ultramarine blue to your mix. A little perylene violet. This will give a more
intense darker color. Then wash your brush
and use clean water to split the dark colors are
lethal to the lighter area. Move the water outside of the center and let
it bleed outwards. Now clean your brush and prepare some cadmium yellow
with just water. Then pen along the outside
of the center only on the left side without touching the center yet because we do not want the color to be mixed yet. No pen the petals with PFAS, brushstrokes are shown
brushing outwards, leaving the right side empty. First. Asked for the right side, the light area don't
take any more color, just brush with whatever
is on your brush. Then you add some
water to lighten it. Some more petals on the left
side using more colors. Now we can start
joining some petals to the center color and let the
color runs into the petals. But sometimes if the
center is too dry, wash your brush and
tech some more of the center color
from your parallel. Then dip it onto the
connecting parts and let the color flows
into the petals. Now wash your brush and
bring out the color more towards the petals
just with clean water. What your smaller brush
and drop a few droplets of clean water to create
some texture on the center. You can't see it now but
we need dried and you will be able to see now is done for the moment and
let it dry completely before we go to the second
layer in the next video.
6. 2nd Layering: Second layering. Our first layer is
completely dry now, you can feel with your
hand to see if it is dry. Look at the textures that we
met by the water droplets. And the right side
remains slighter where the light source
is coming from. Now we are going to apply
our second layer of colors, starting with the center
part of the flower. Again. We are still using
the same palette for the first layering. Wet your brush as the pens here have already
dried on the palette. Activate the alizarin crimson. Wash your brush and
get some burnt sienna and mix it into the
alizarin crimson. We are still using our
bigger brush here. Which number it? Wash your brush again and
now take some violet color. Edit some more from the pen. Then blend it into the mix of the alizarin crimson
and the burnt sienna. Here we will get a maroon color. Depth the colors onto the left side of the
center of the flower. Depth it randomly or
around the left side. Wash your brush and pick
up just a little of the same color with
your wet brush. Onto the right side. This time the color is a
bit diluted with water. The activate your
cadmium yellow. And now we can pend a second
layering of the petals. Sunlight before pen
the left side first. Rigging your brush on
an outward motion. With some pencil on your brush, pick up some water and
pen onto the right side. You will get a much
lighter yellow color. Then just go around the
rest of the petals, bringing strokes
outward of the flower. The wash your brush and with clean water depth the part
where the colors meet. Let them maroon color, floss through and
go into the petal. Just step on all the white
color of the paper around a center at more water onto the right side
to blur it out. Leave it to dry completely
before we proceed to the next step in
the next lesson.
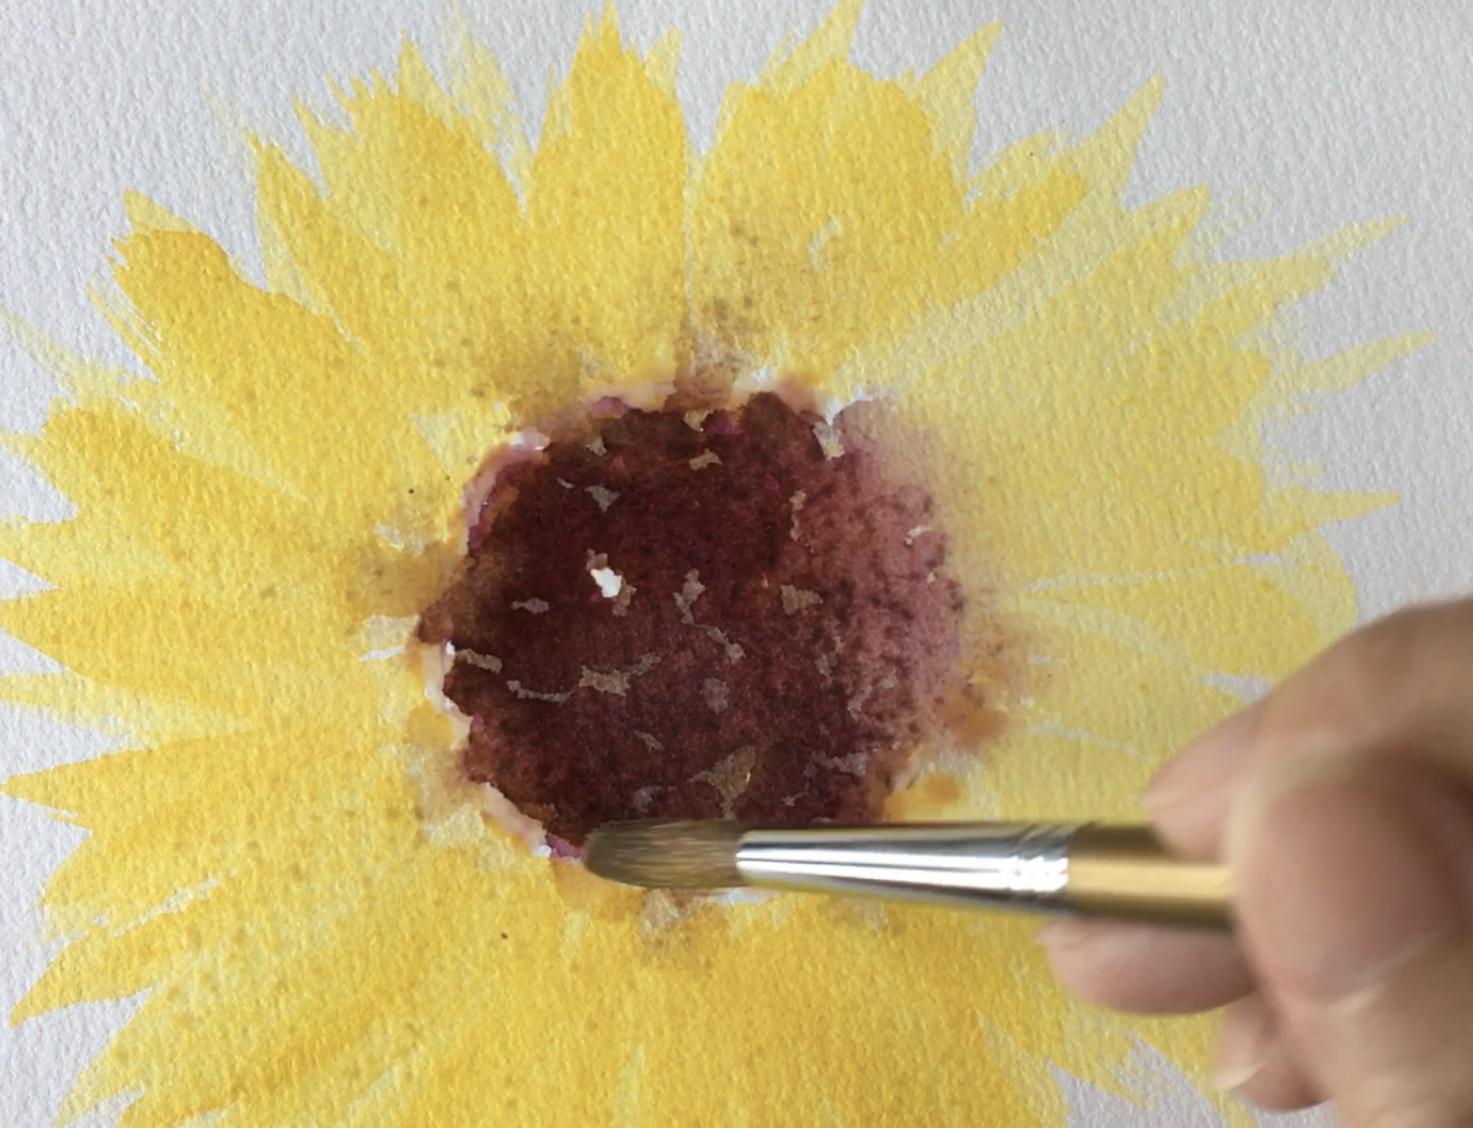
7. Petal Details: Let Bill details. I will sunflower
is completely dry now and ready to proceed
to the next stage. If you see closely, you can see the
textures that are formed from the water droplets. Now it's time to give
the petals some details. Let's mix some burnt
sienna together with raw umber to get
Irish golden color. Something like this one. Now we're going to start
with a smaller brush first, then followed by the beak one. Lot your small brush who has the number two with the goal Mix and medium brush number
four with clean water only. Then look for hints
of petals. Outline. Start drawing what
I'm doing here. Then quickly use your
wet number four brush to blur out the gold color
that you have drawn. Continue doing
these for the rest of the petals around the flower. You don't have to follow
exactly like mine, as your petals might not
be the same as mine. Concentrate doing only
on the left side first. There. Check through your petals and
see if you like it or not, but don't overdo it. Adding one more here. Because the color is darker. I'm good with my now. Now we go to the right side. A little water to your goal, to lighten it a bit. Let's do the right side now. Draw only a few
petals for this site, like what I did here. If the goal is to dark
wet your brush more. I'm adding a couple
more petals here and remember not to overdo it. Now I'm drawing lines on the petals with the same gold
color and blur them out. Just a few on the lighter
petals, not too much. Blue it out. Now that will later go color
around the center. Let it dry completely again
before the next step. We'll see you in
the next lesson.
8. Highlights and Details: Let's do the final
parts of our Penn team, the highlights and the details. Now it's time to let
your flower shines. Cadmium yellow will look a
little Dao when it's dry. To brighten it up, we will pin lemon yellow on both pathos in the
center of the flower. Let's activate our lemon yellow in the pan
with water first. Start painting only on the front petals and leaves
the petals behind us. They are, the petals behind will be in
shadows so they don't have to be as
bright as the front ones. Photo right side and just brush a few strokes with more
water on your brush. Well to the center
of the flower depth, some lemon yellow also. I will paint over this
part cause it looks like there's light shining out from
the center of the flower. I just use burnt sienna. Now, leave it to dry. Now it's dry and
I'm going to create some textures for our sunflower. Drop some water onto your dry pellet to activate
all the colors on it. Start mixing with
your stiff brush. Let's test on a scrap
of paper first. Lot you're stiff brush with
the colors that you mix. Then flip the brush
on your finger with quick movements
to create splintering. Hold your finger lower
to create final spots. Also not too near or else the brush is going
to touch the paper. Practice a few times
if you knit tool. There we have a very nice split. Our sunflower lot, our brush, and let's do some
splintering spectrum more on the center and
sparingly onto the petals. In here goes. Let's hold up our
painting and see. The center is quite dark, so it's easier to see it an
angle. Let's add the lip. The most petals here should be enough now
and leave it to dry. Using your white jelly roll, Let's draw some lines
for highlights. Alternatively, you
can also pin with this your small brush with clean water and dip the brush into the jar and
pick up the white pen. Start painting broken lines
here in the, onto the petals. For the right side, dilute the pen with more water. It will be lighter. Now for the center pump. This pen a few tiny spots. Pen sparingly or around. Smear them a bit with your finger when
they are still wet. But sometimes if
it is drying up, just depth some water onto
the spots with your brush, then you smear
with your fingers. Notice done, I hope
you give it a try. Lastly, always remember to sign your painting
once it's finished.
9. Recap and Class Project: Before doing the class project, Let's do a recap. We printed the first
layer ray starting with the center,
then the petals. Once it's totally dry, we did the second layer. Then we edit details
for the petals. Left or right side was just
a little hint of details. Blurry lines for aided on
the petals to lay you off. Lemon yellow was painted on top to enhance the brightness
of the flower. Then split, edit for textures. Lastly, Whites were
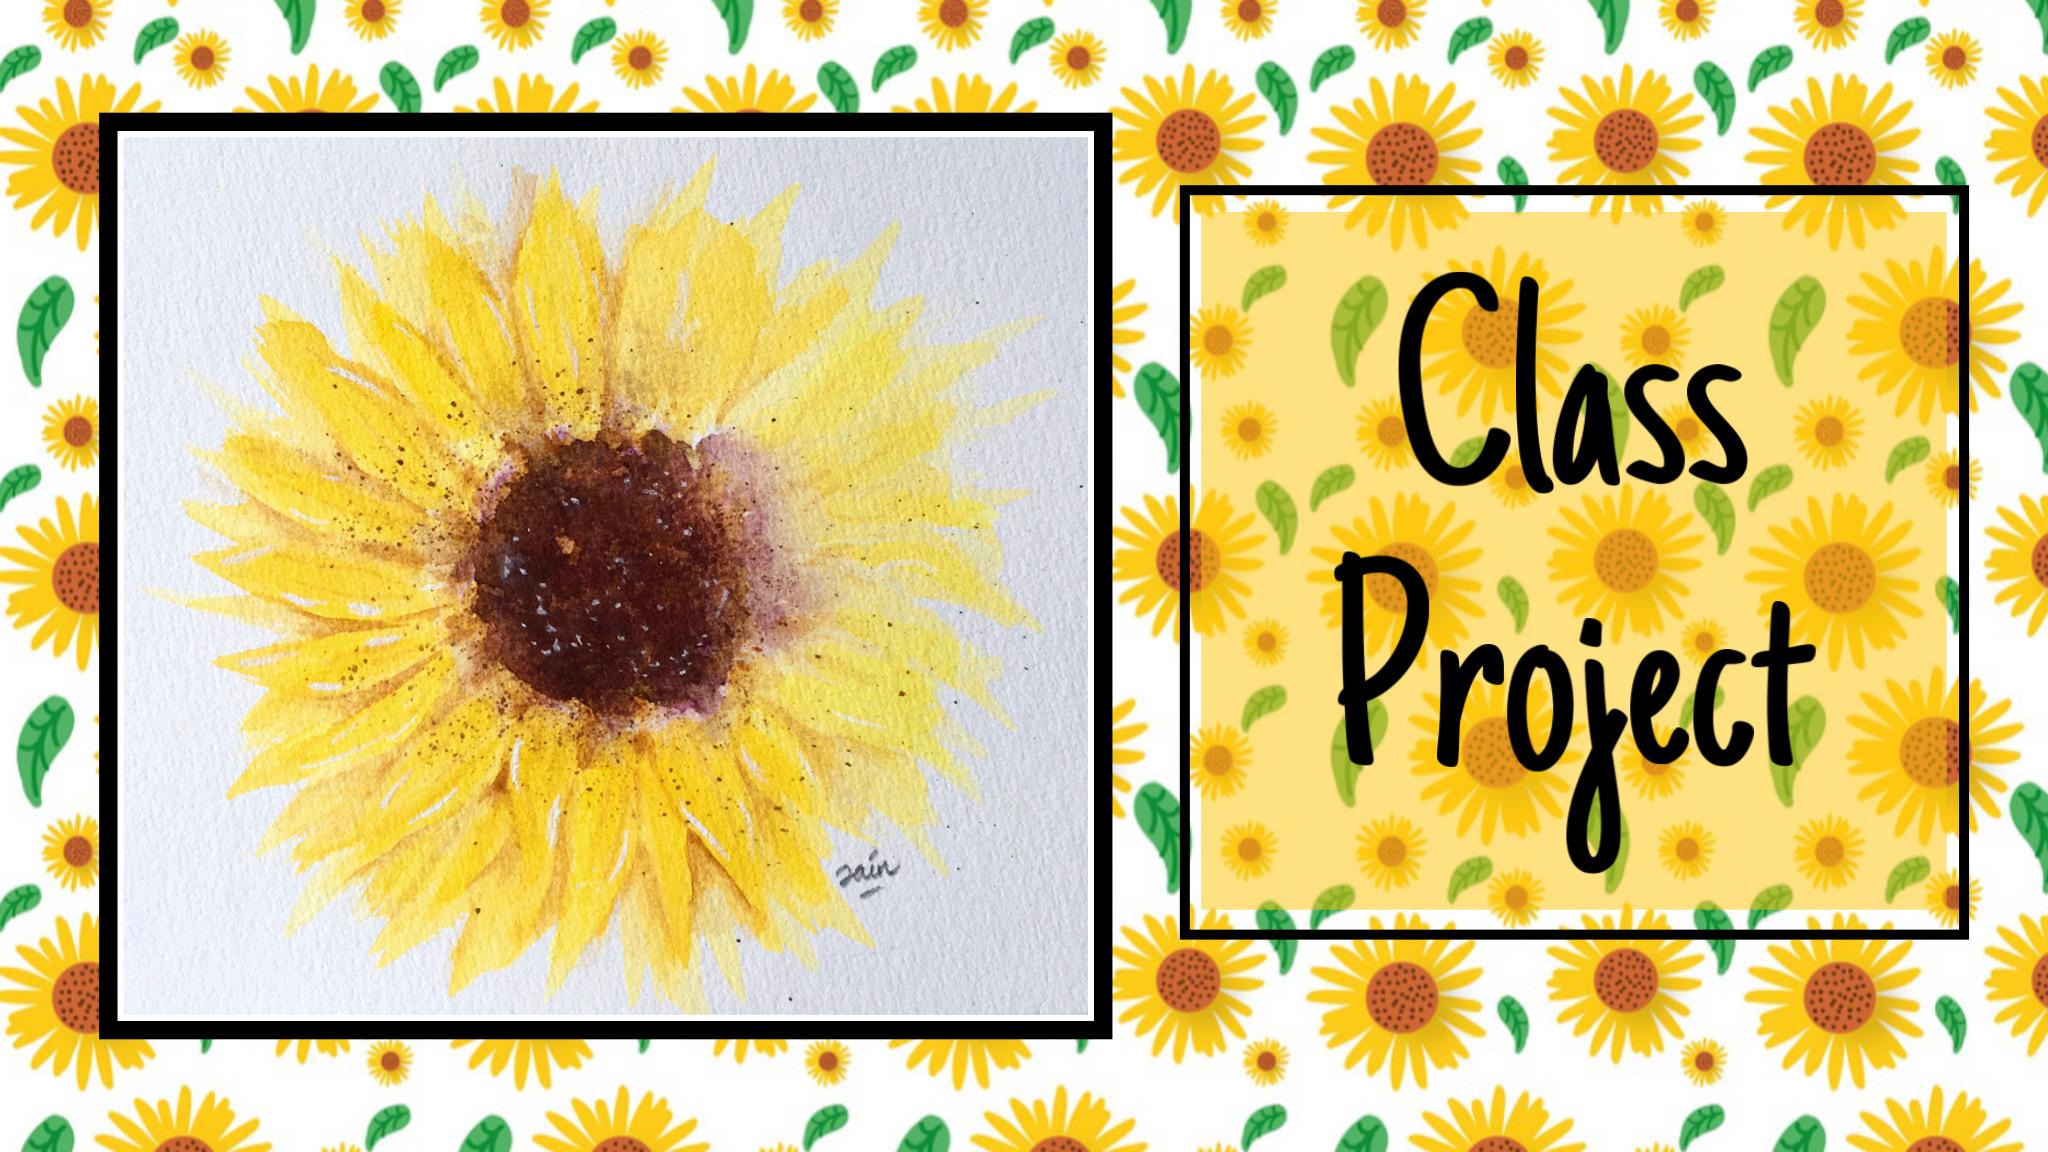
aided for highlights. Now I would like you to paint any flower of your choice
for your class project. Remember to apply what
you have learned to achieve the atmospheric loop. Do post it in the
project section. If you post it on Instagram
to me it only watercolor.
 Zainab Mohamad Ali, Artist and animal lover