Transcripts
1. Introduction: Want to paint a lavender field in
a super simple and easy way? Then you've come to
the right place. Hi, my name is Devika and
welcome to my Skillshare class. I'm an artist, illustrator and surface pattern
designer from India. I've been painting my whole
life and a few years ago I decided to commercialise
my artwork and started the
brand The Artsychoke In addition to selling
original paintings, I also license my
art on print on demand websites like Society6,
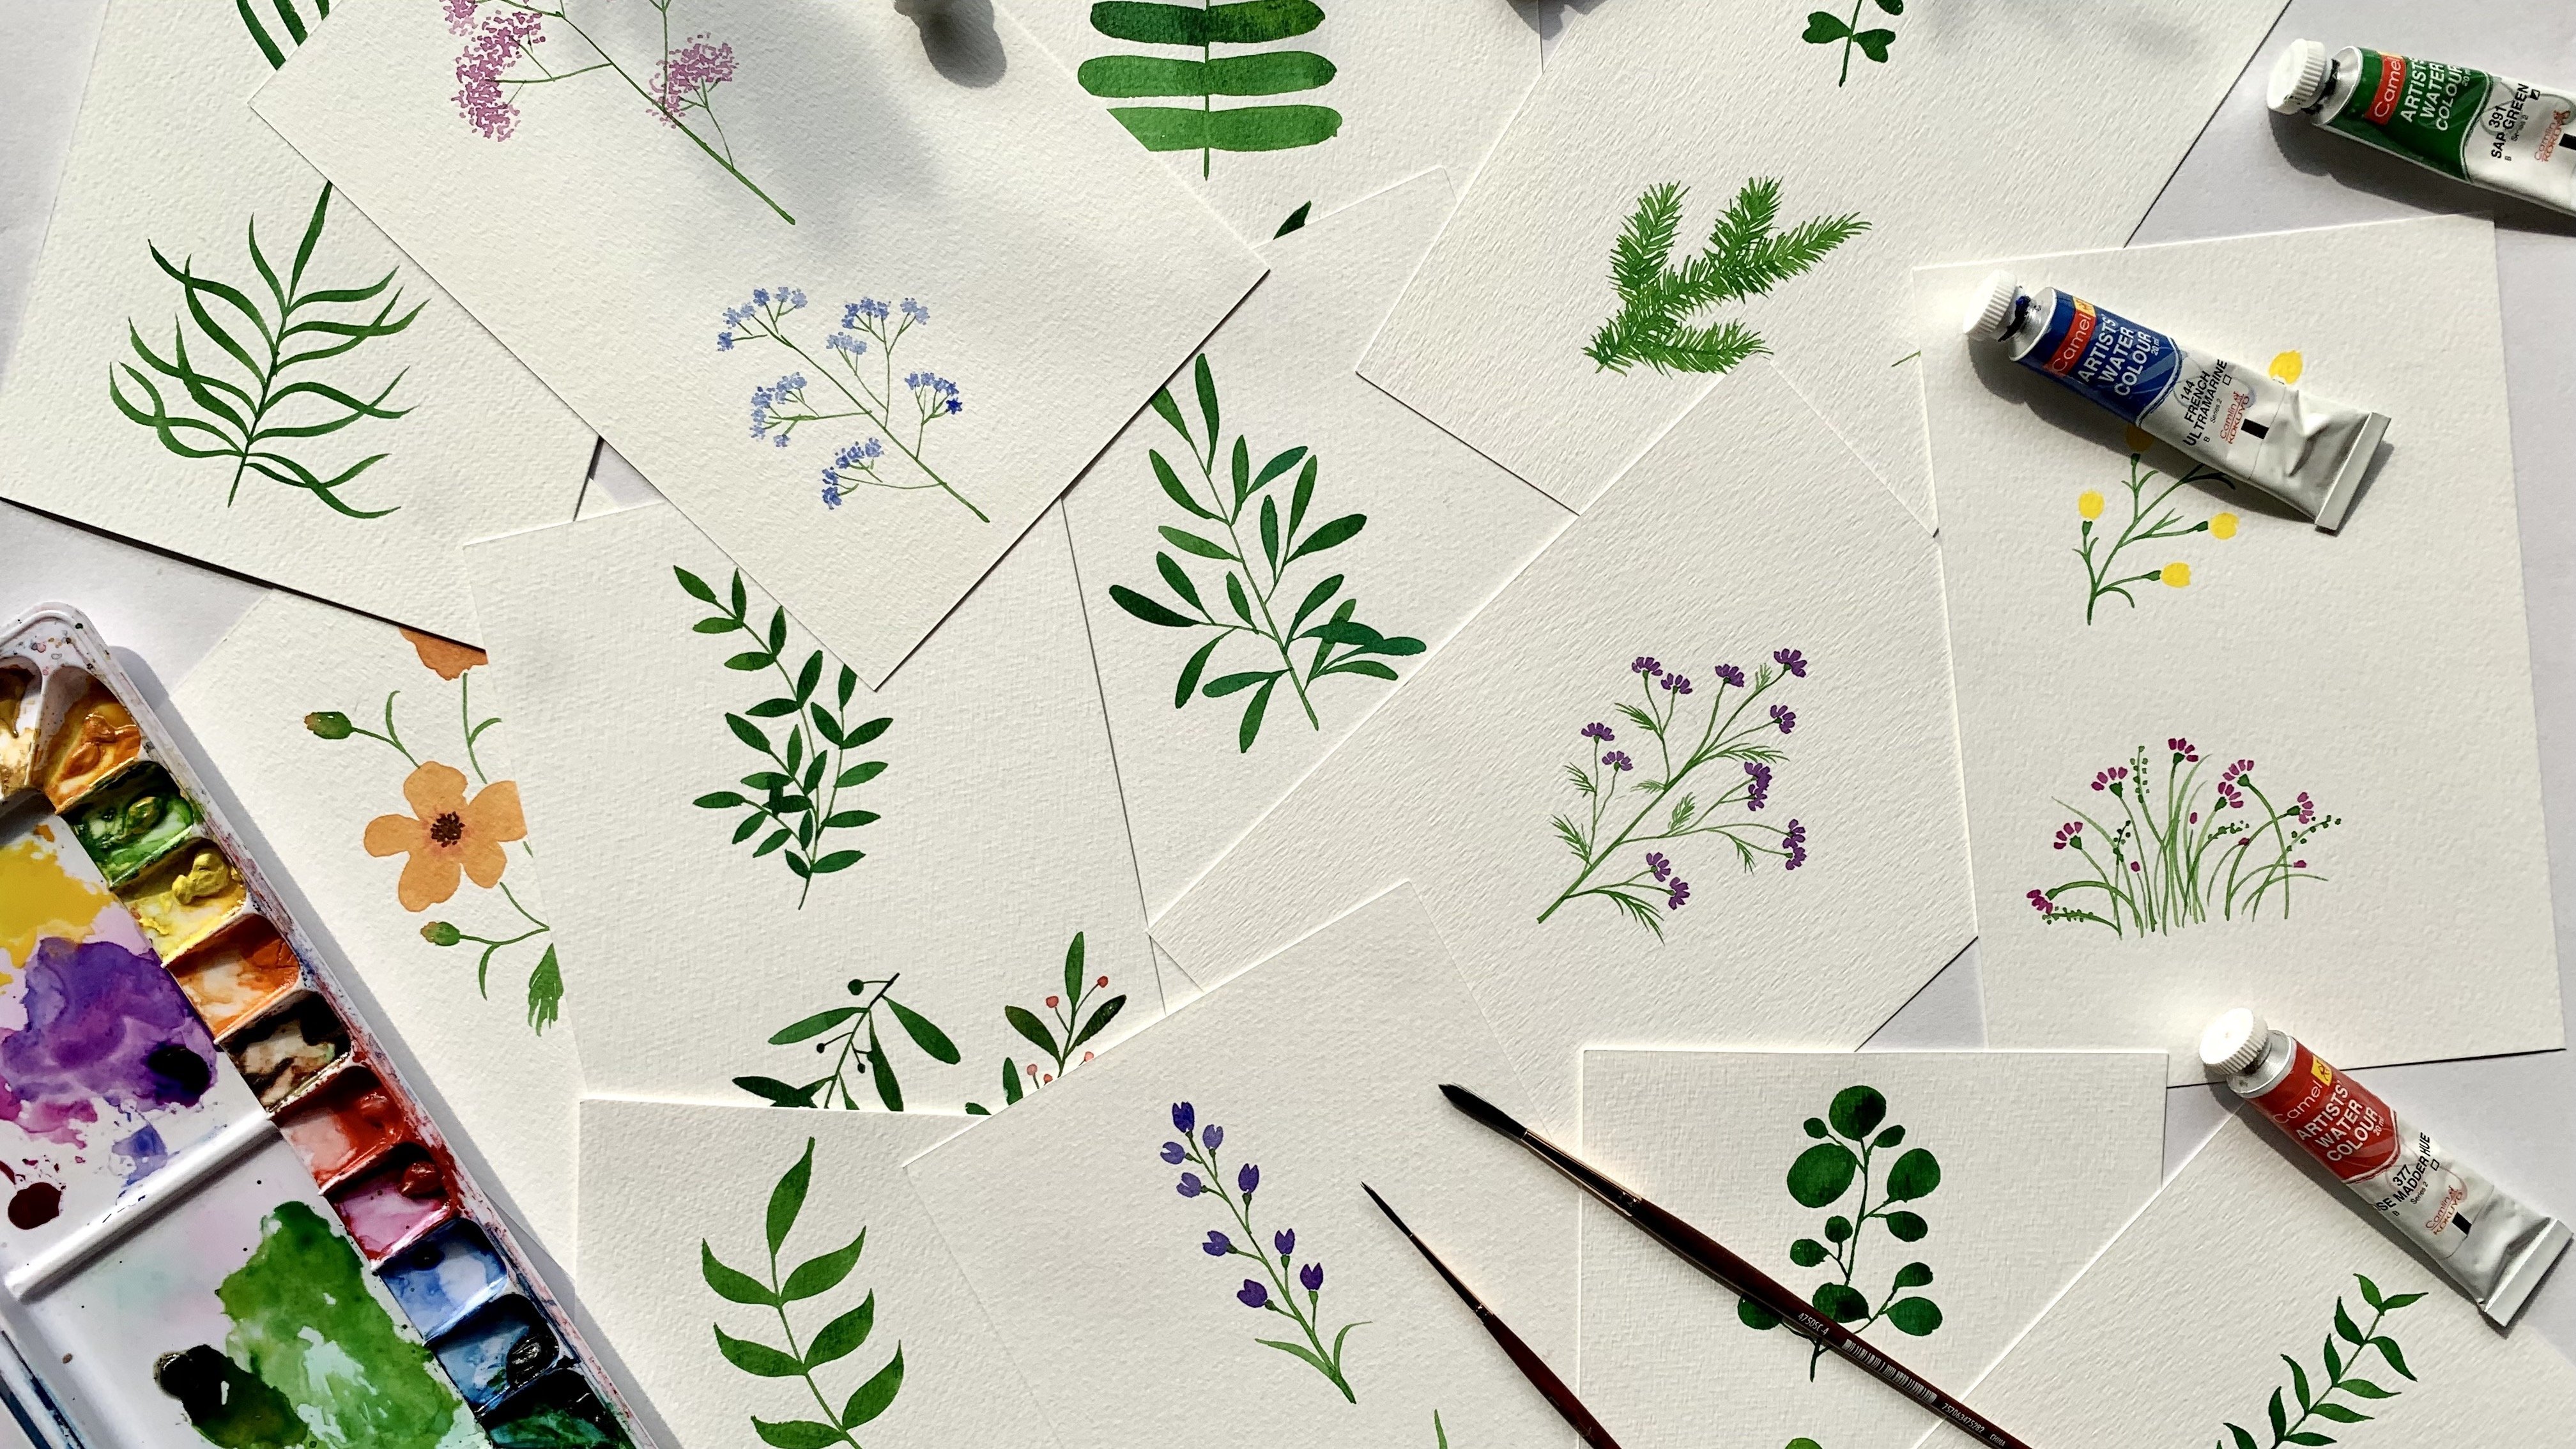
Redbubble, and Teepublic. My art portfolio
covers a variety of themes like
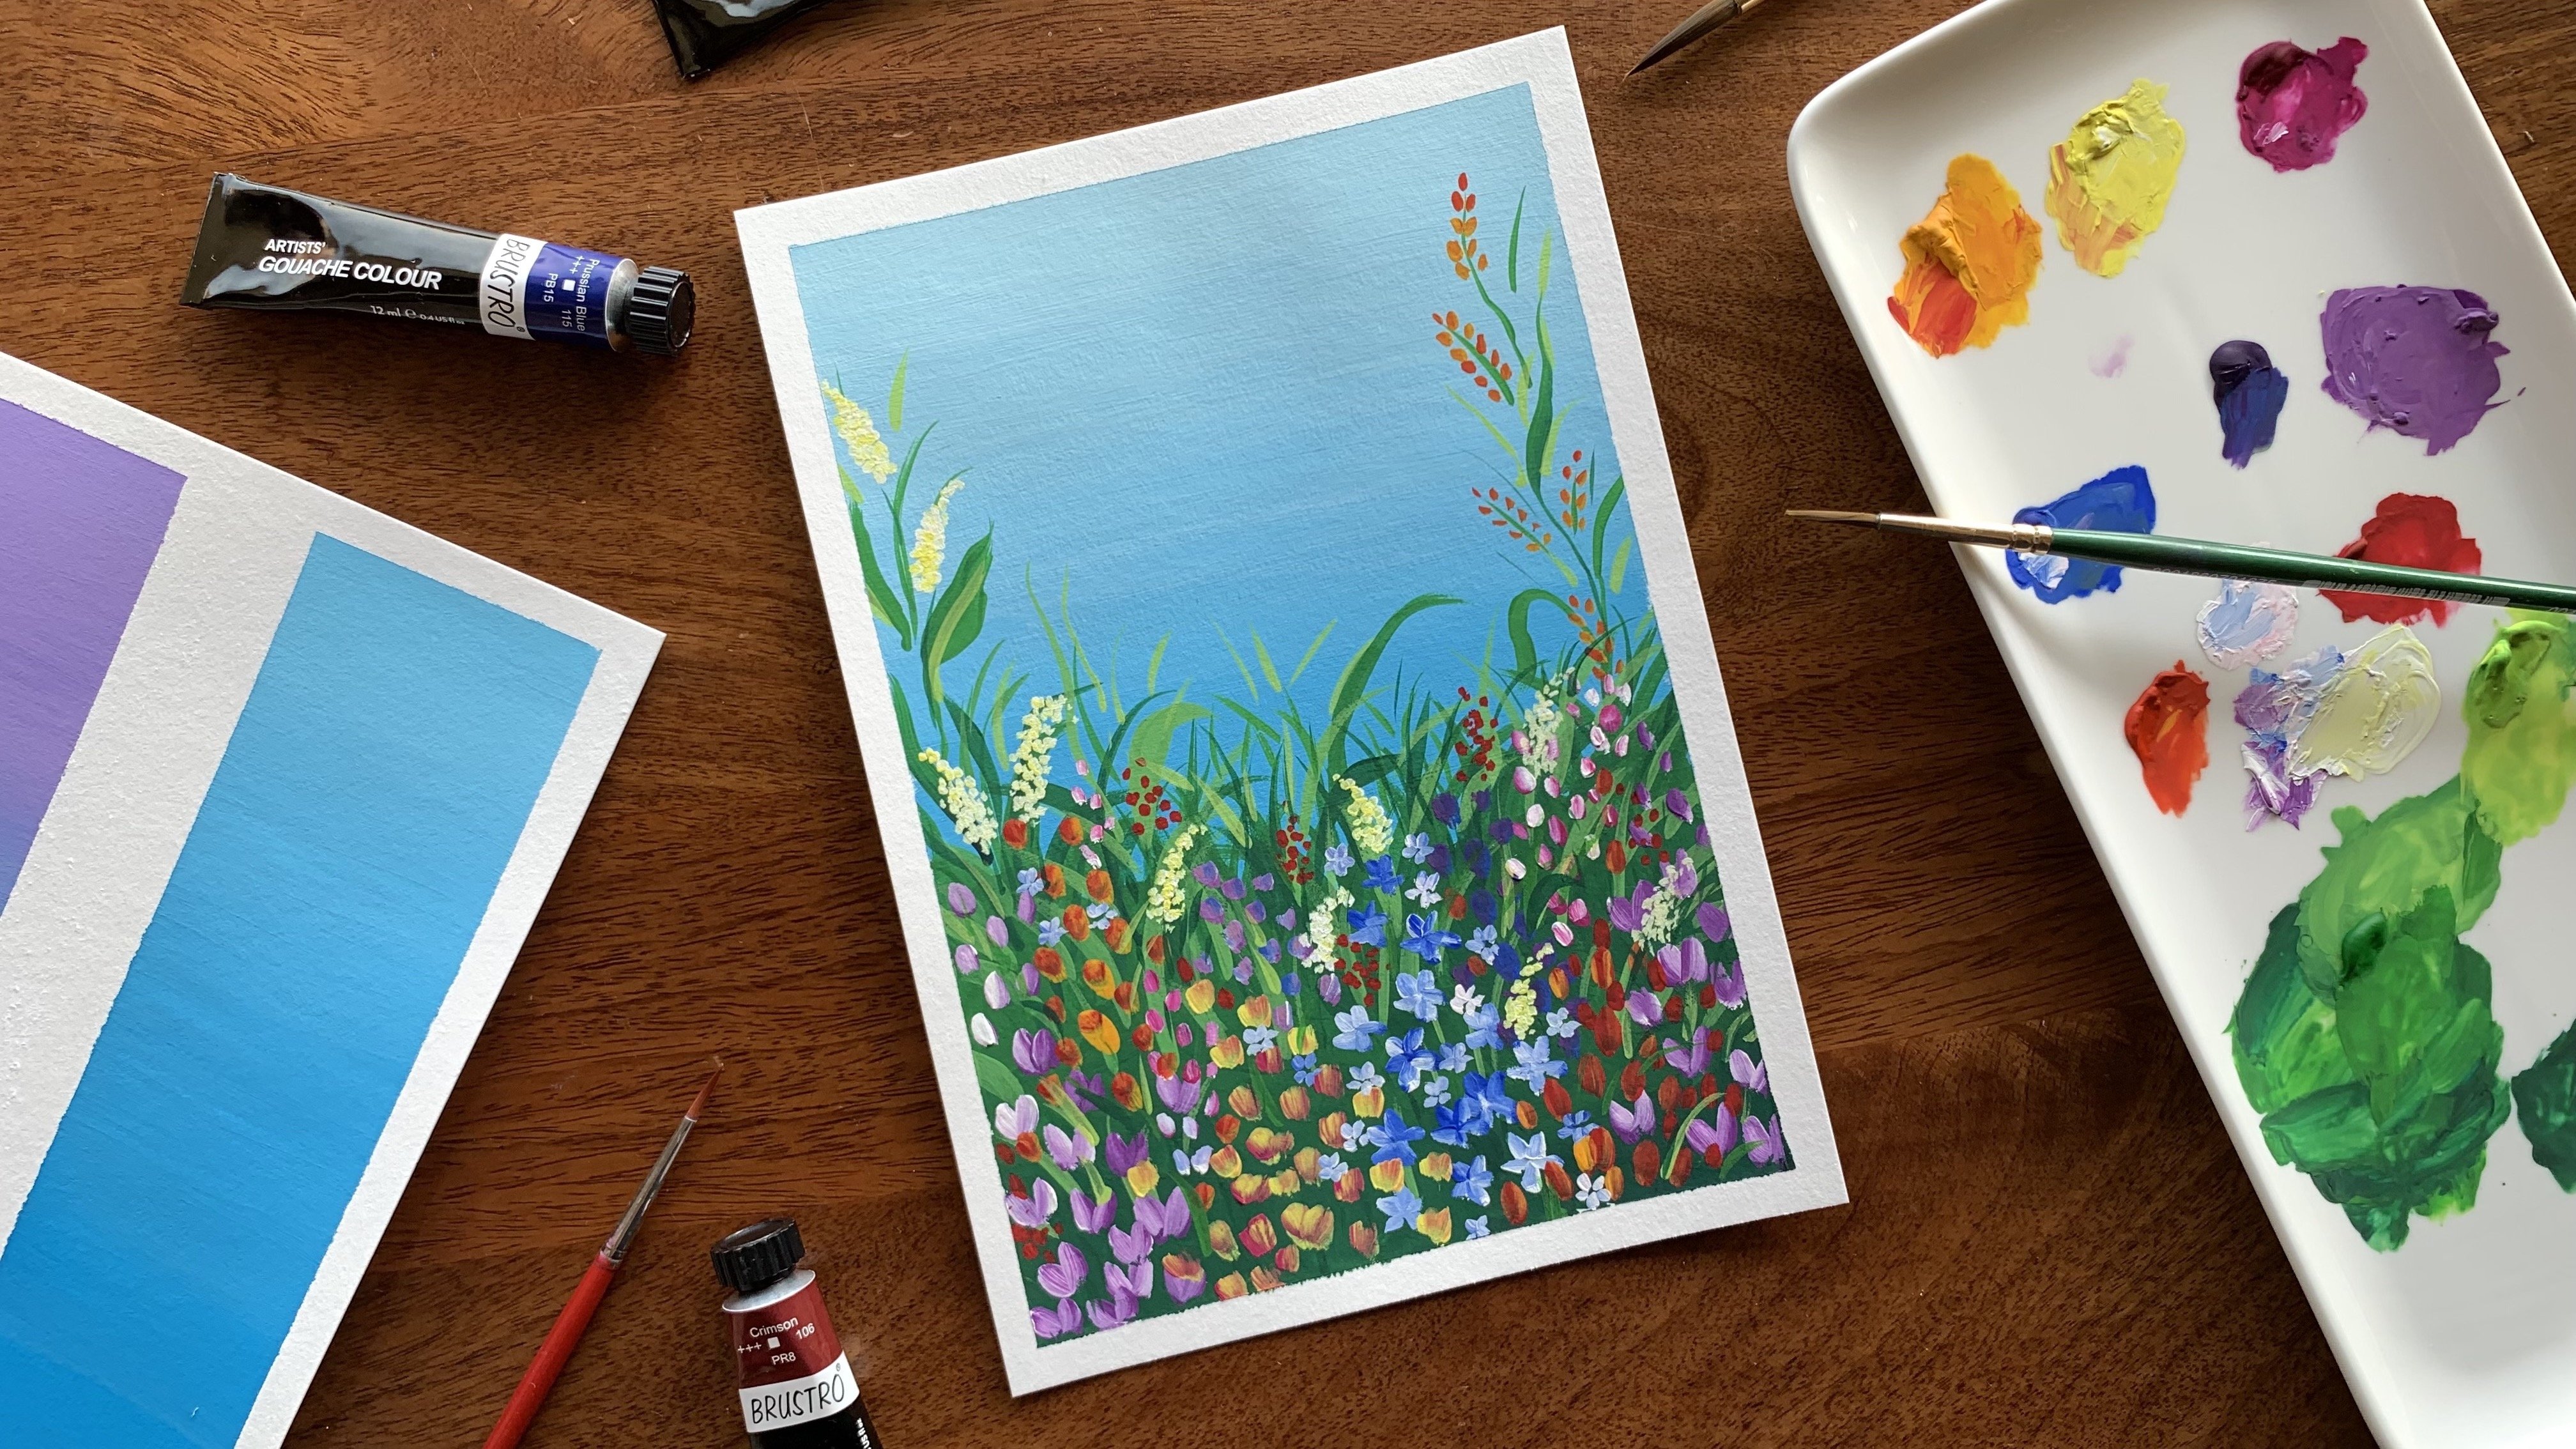
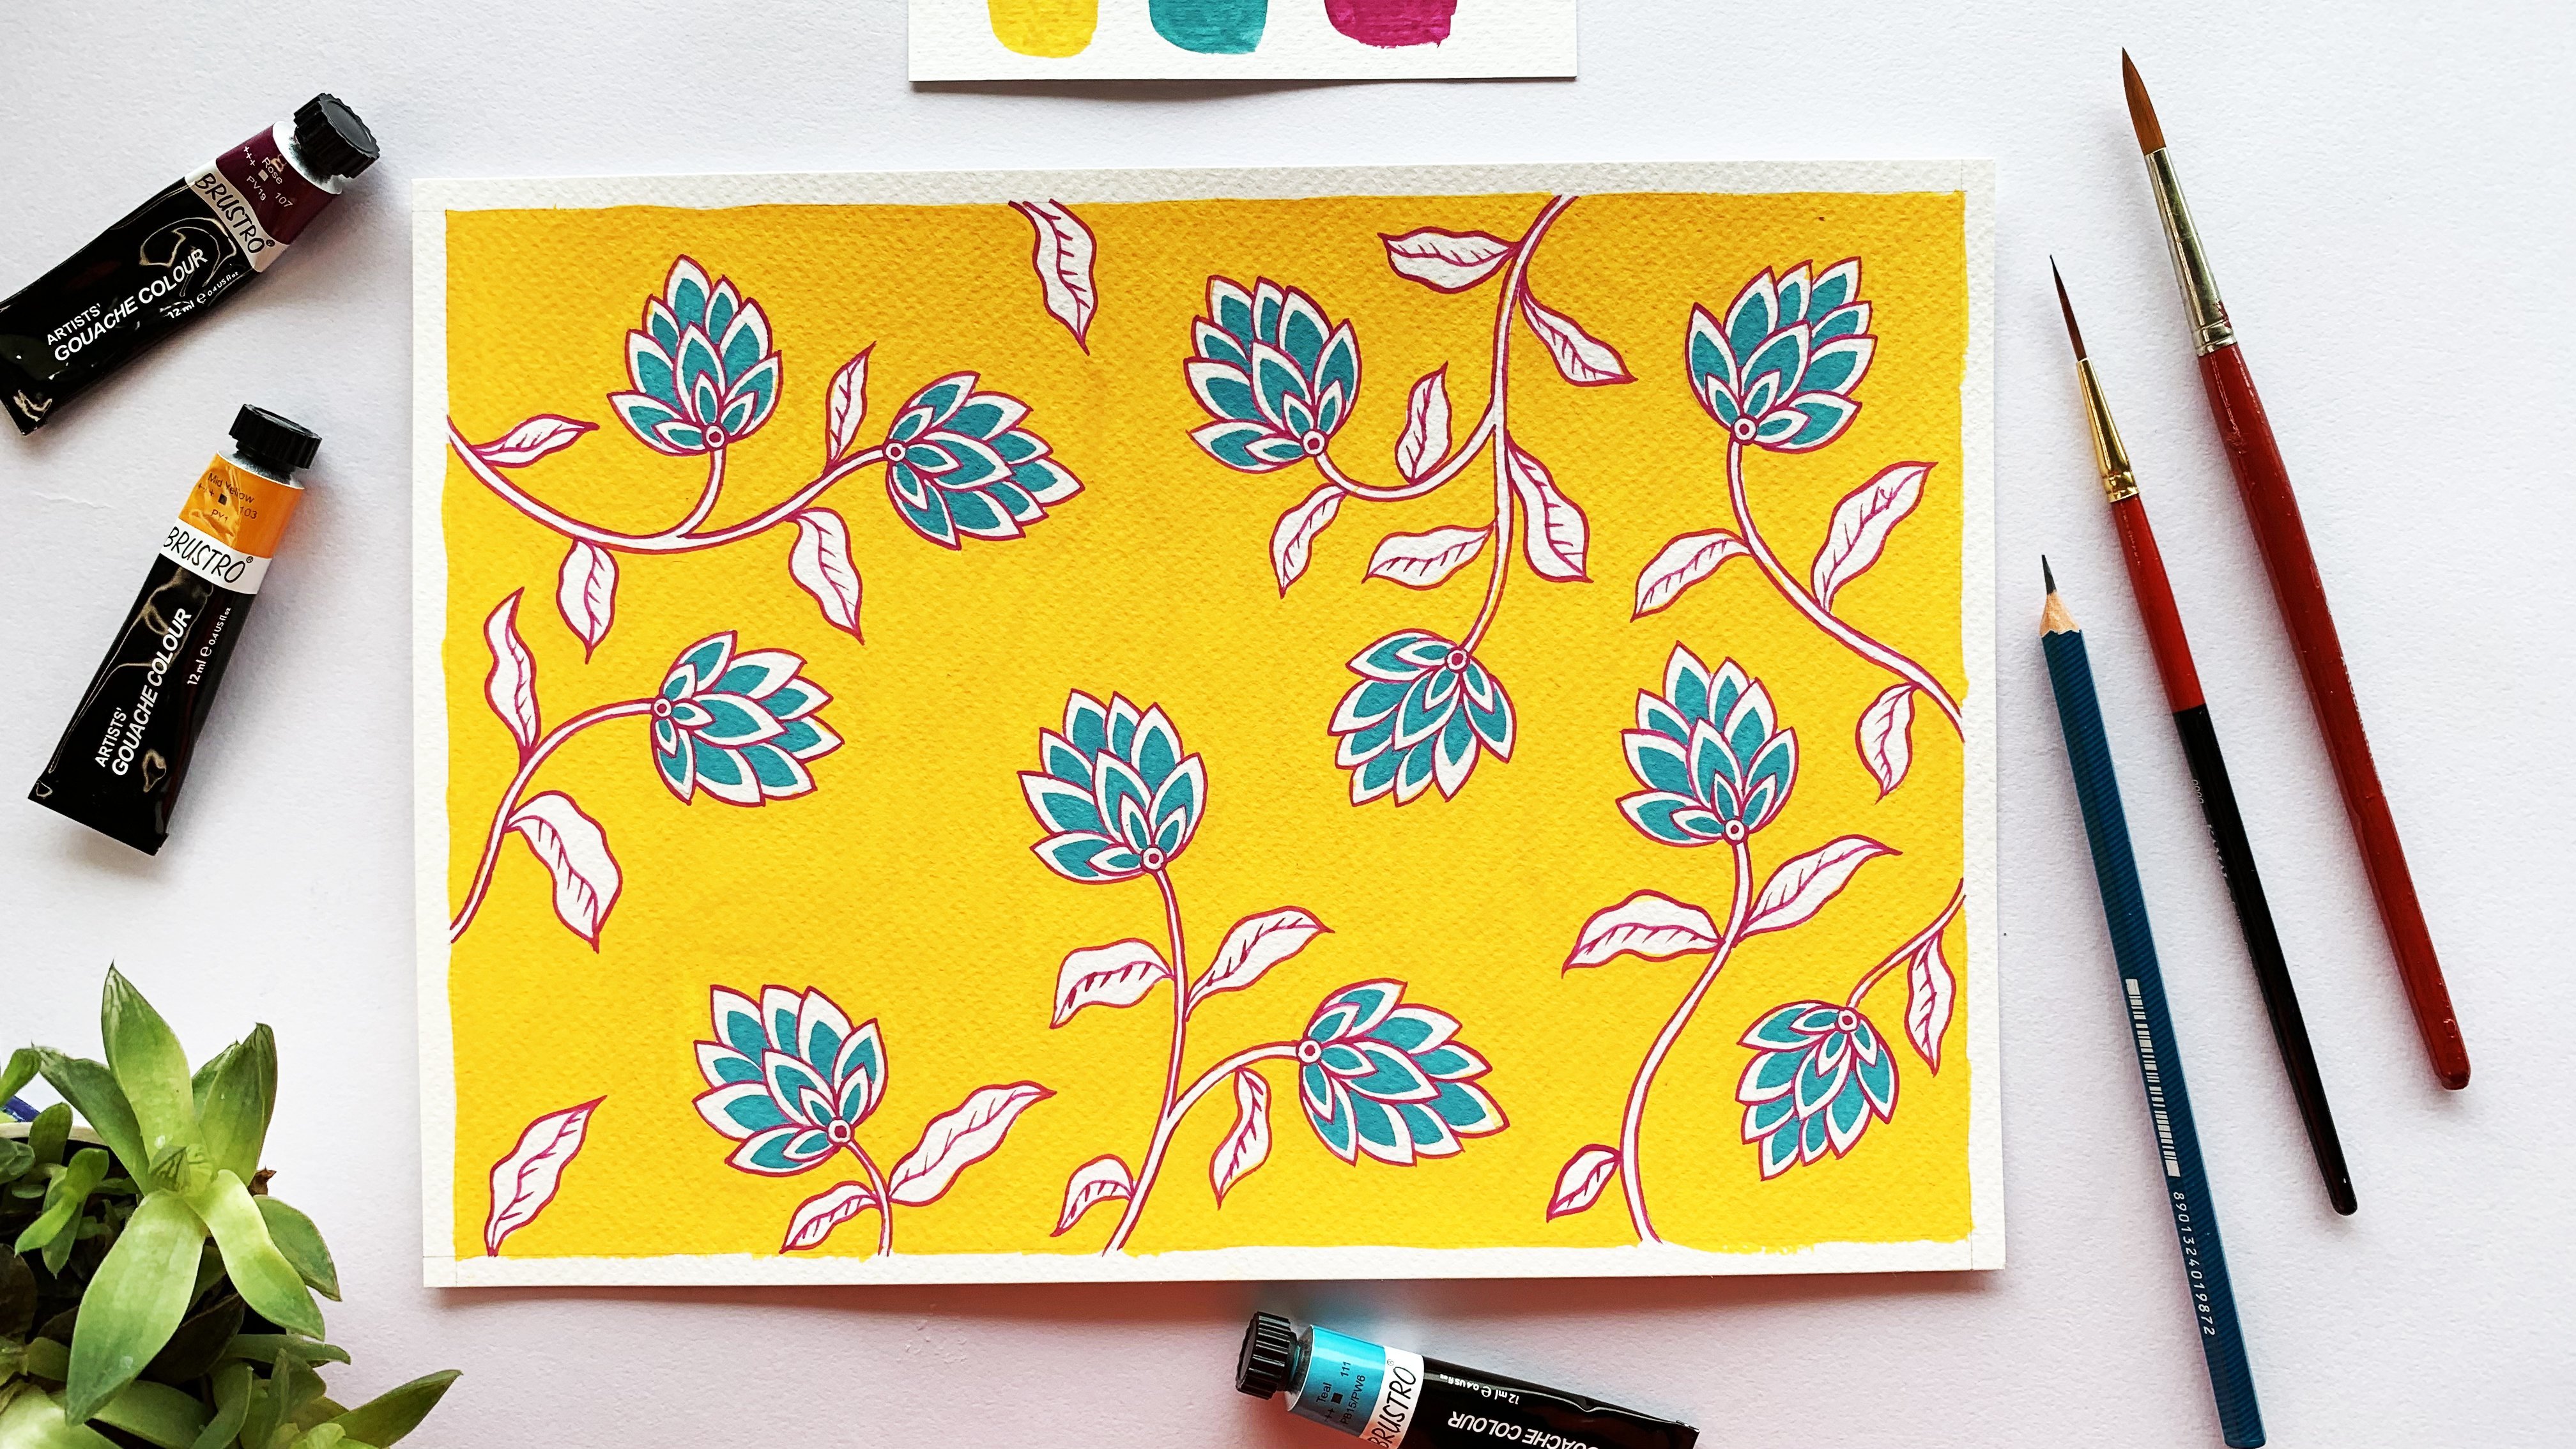
architectural drawings, abstract acrylics, botanical
illustrations like these floral patterns and
watercolor landscapes. In this class, I will
teach you how to sketch and paint a lavender
field in watercolors. The painting composition
itself is very minimal. We just have three
main elements, the lavender bushes, some
distant mountains, and the sky. We will start the class by talking about the list of supplies
you'll need. Then I will teach you
a little bit about one-point perspective and how to sketch objects in one-point perspective. Then we will move on to make our
final lavender field sketch. I will also show
you how to paint the individual elements
like the sky and the lavender field
bushes before we move on to make our
final painting. This is a beginner level class, but it's suitable
for all levels. Whether you're an established artist or a hobbyist looking for a
quick weekend project, or someone who's just
starting to explode watercolors and need a
quick and easy project. By the end of this class, you will have a fairly
good understanding of how to sketch a landscape in one-point perspective, and super pretty lavender
field painting. So let's get started. I'll meet you in the next video to talk about your
class project.
2. Class Project: Your project for
this class is to sketch and paint
a lavender field in one-point perspective. You can definitely paint
along with me through the class. Or if you'd like
to change things up and experiment a
little, here's an idea: change the location of
the vanishing point on the horizon line
and you will get a much more interesting
perspective. And when you're
finished painting, click a picture and upload it in the student projects gallery. You can do this by clicking the Create Project button. I'm really looking forward to
seeing your lavender fields. So happy painting.
3. Art Supplies: We will be using some pretty basic art supplies
for this class. We will of course need paper. The ideal paper for
this painting is 300 GSM watercolor paper. Gsm stands for grams
per square meter, and it indicates the
thickness of the paper. The higher the GSM number, the thicker, and heavier
the paper will be. This is great for watercolors
and especially paintings like this one which require
water washes for the sky. If the paper is too thin, it will buckle when we apply
a lot of paint or water. So I'm using 300 GSM cold
press watercolor paper from my favorite Indian
brand called Brustro. Then we will need watercolors. I'm not usually very particular on the brand of the paint, as long as they're
artists grade in quality. And for this painting, we will just need three colors. Cobalt blue, a light violet or
mauve shade and sap green. Now, violet or mauve
is not a color that typically comes with
many watercolor sets. So if you don't have this color
with you, don't worry. You can just mix cobalt
blue and crimson lake or any blue and red shades you have to get this shade. You'll need a palette
to mix your paint. And if you don't have one, just use an old plate
or a shallow dish. Pencil comes next on the list, I use a 3H pencil, which has a harder graphite tip, and hence smudges
less on the paper. But more than avoiding the smudges, the real reason I prefer
to use a 3H pencil is because I have this
habit of doing the same stroke over and
over again on a sketch. And my sketch always
ends up being too dark. With a 3H pencil it does not happen unless I really press it down
hard on the paper. But really, you can use any grade you have
available to you. Even the most
common HB would do. You'll need an eraser as well. Let's talk about brushes. I will be using three
brushes for this painting. A regular round
brush in size eight for the lavender bushes
and the distant mountains. A one-inch flat brush to
give a wash of water on the sky area and a mop
brush in size four, for painting the sky. You don't have to use these
specific brush types or sizes of course. If you don't have a one inch flat brush or a mop brush, just use the largest
one you have. It's good to have
a ruler handy to draw the borders and
also the horizon line. Next on the list
is artist tape, also called masking tape. You're going to have
to tape our paper onto a hard flat surface
before we start painting. This is necessary because
when we do the sky we're going to glaze
the paper with water. And no matter how
thick the paper is it will tend to bend a little when it absorbs
all that water. So best to have our
paper stretched out flat and stuck
on all sides with a tape. We will also need a roll of clean tissue
paper or paper napkin. You could also use a
clean cotton cloth. And last on our list of supplies
is a jar or cup for water. So we've covered the
supplies that we'll need. Now, let's move on to
the next video where I will teach you a little bit
about one-point perspective.
4. Sketching in 1 -Point Perspective: Let's talk about perspective. If this is a new term for you let me give you a
quick definition. Perspective is a technique
that uses a set of rules to create
an illusion of depth. Simply put, it is a
way of representing three-dimensional objects on
a two-dimensional surface in a realistic way. Say for example, we
want to draw a box. The box is a
three-dimensional object. And to draw that on a flat paper surface which is two-dimensional in
a realistic way, we use rules of perspective. Now, every perspective drawing or image has three major elements. The first one is
the horizon line. This is the viewer's eye level
in the drawing or picture. The second one is
the vanishing point. This is a particular point in the picture where all the
things seem to disappear. Vanishing point is always
on the horizon line. The third element is
converging lines. These are imaginary lines
that are projected from the sides of an object back
towards the vanishing point. All of these imaginary
lines appear to come together or converge
at the vanishing point. So now we've covered the three
elements of perspective, let's talk a little bit about
the types of perspective. There are mainly three
types of perspectives. One-point perspective, two-point perspective, and
three-point perspective. In this class, we will focus
just on one-point perspective. So basically an image is in one-point perspective if it has only one vanishing point
on the horizon line. If you look at our
lavender field painting, everything appears
to converge at this one point on the horizon line. Hence, our painting is in
one-point perspective. Now how do you draw something
in one-point perspective? Let me show you here on a paper. I'm going to draw
inside this frame. And the first thing I draw is a horizontal line
across the frame. I'm drawing this line a little below the middle of the frame, but it can be drawn anywhere. Now this horizontal line is the horizon line
for this drawing. Next, I will mark a small point
here on the horizon line, and that is my vanishing point. Now, I want to draw a square box in one-point perspective. For that, I will first draw
the facing side of the box, which is of course a square. Then I will draw these
very light lines joining every corner of the square to the
vanishing point. Feel free to use a
ruler for these lines. Now, these lines are the
converging lines. So now we have the horizon line, the vanishing point, and the converging
lines for the box. Next, to complete the box, all I need to do is
project the sides of the square on the
converging lines. So I'm drawing a vertical
line parallel to this side and a horizontal
line parallel to this side. And then I'm
darkening these lines that connect the first
side with the second. So there we have a box
in one-point perspective. Now two things to note here. Where you draw these parallel
lines will determine the depth of the box or
anything that you draw. You can draw them
further away from initial edges or closer
to the initial edges. The second point is that you can actually draw or
project all the edges. I just drew two
here because we are drawing an opaque box
and those further edges would not be visible. But if the box were transparent, then I would project
all of the edges, even the ones at the back so as to give the impression
of transparency. Now let's draw another box on this side. I'm making
it a tall vertical box. So I'll draw a vertical rectangle. Now let's repeat
the same process. I'm drawing lines
connecting the corners of the rectangle to
the vanishing point. And then I'm drawing
lines parallel to the sides of the rectangle
on the converging lines. One line parallel to this side, another one parallel to
this side, third to this side, and the last line
parallel to this side. And there I have
my vertical box. Now I want to draw a row of these boxes which repeat
towards the vanishing point. For that, all I have
to do is repeat these parallel lines on the
converging line, like this. I'm drawing another one here. So I repeat one
more set of lines. And we have three boxes in a row drawn in
one-point perspective. So this is how you draw
something in one-point perspective. Now, let's apply
what we've learned in this lesson and draw our lavender field. For that I will meet you
in the next video.
5. Lavender Field Sketch: Let's start with our sketch. I'm drawing on an A4
size watercolor paper. And I'm using my 3H pencil. And like always, the first thing I do is draw a
border with a ruler. This is more of a habitual process and it's not
a necessary step. it's just something that I always do when I start a new painting. Plus this border will also help me mark where to stick
the masking tape. Alright, my border is done. Now I'm starting my sketch
by drawing the horizon line. And I'm using a
ruler here because I want a neat straight line, but if you prefer to do it
free hand, go ahead and do it. Next step is to mark
the vanishing point. And I'm marking it here, somewhere close to the
middle of the horizon line. But you don't have to place the vanishing point in the
middle of the horizon line. You can place it anywhere. It just has to be on
the horizon line. Now I'm just drawing
a very light vertical line down from the
vanishing point just to sort of project it to the bottom. I just want to
mark where to place the center of the
first lavender bush. So this is where I'm sketching
the first lavender bush. Now the shape of the
lavender bush is kind of a vague semicircle. So I lightly sketch that. And I'm sketching more bushes
on either side of this one. And they don't have to be
perfect shapes by the way. Alright! Time to draw
the converging lines And you might be wondering
where to draw them from because a semicircle
doesn't have any corners. What we'll do here is take the two end points and the top mid point on
the curve and draw lines from these towards the
vanishing point, like this. I'm not actually connecting
them to the point, I'm ending the lines very close to the point on either side of it. This is because I want to
give some width to the bushes. And like that, I'm drawing the converging lines
for all the bushes. Now, for these
bushes on the sides, it makes more sense to
start the converging lines from the end points of that
portion of the bushes, which will be visible rather
than both the corners. So I'm just drawing lines from one corner and the top
of the curve here. All these lines will look
like little tunnels at the end of the sketch. So I've drawn the lines for all the rows of bushes
that are visible. Now for the ones that aren't visible and are
further away from the central bush,
or in technical terms, further away from
the center of vision, the rows will appear to get thinner and closer
to each other. So that's how I'll draw
the converging lines as well. Imagine the tunnels
getting thinner and thinner. And as I get further away, I'm just drawing single lines just to mark the
position of the rows. Now I'm doing the same thing
on the right side as well. Alright, we have our
converging lines. Next step is to draw the bushes. And just like we drew the row of boxes in our previous lesson, we just have to project
the outline of the bushes, that is, the semi-circles. I will start with
the central row and just keep drawing
semi-circles. And these semi-circles don't
have to be perfect or strictly stay within
the converging lines. We're just sketching them
to get a very rough idea of the shape of the lavender
bushes to paint over them. In fact, the
lavender bush itself does not have a very rigid form, so don't stress about getting
your semicircles perfect. They can also go a little in or out of the converging lines. Remember the converging
lines that also imaginary. So just relax and do
easy light strokes. And I want to emphasize
on that light strokes. Make sure to give very light pencil strokes because watercolors are
transparent when dry. And if the sketch is too dark, it will see through
the paint and the pencil marks can not
be erased off either. I'm making my strokes darker here so that you can
see them properly. But when you do it, make
sure you get them very light. Now another thing to note here, in addition to
appearing smaller, the lavender bushes also appear to be closer
to each other, nearer to the horizon line. So we have to decrease the
gap between the outlines. This really gives a feeling of depth to the whole painting. Now these faraway bushes
will be so small and vague I'm not going to
sketch them at all. I plan to fill them in
with paint directly. So you only need to sketch the bushes that are
big and appear close. Alright, so my lavender
bushes are done. Now onto the distant mountains. You just have to sketch these very fluid curvy
lines like this. I'm sketching taller mountains
on either side and make them kind of shorter and
softer in the center. And that's it. Our lavender field
sketch is done.
6. Colouring Basics: Before we paint our main sketch, I will show
you some coloring basics like how to paint the
sky and lavender bushes, so you get some practice
or preparation. In this video, I
will show you how to paint the sky and
then a lavender bush. It's always a good idea to
try out your paints or do a practice session on a piece of paper before you paint
your main sketch. And preferably a piece of
the same type of paper. In addition to warming up, it will also help you get a better understanding
of your colors and how they will merge into each
other and behave on paper. For our painting, we
will need three colors, cobalt blue, sap green, and violet or mauve. And like I mentioned earlier, if you don't have mauve
color with you, you can just mix cobalt blue, and crimson lake to
get the similar shade. So here I'm mixing
a little bit of crimson lake and cobalt
blue on my palette. And I get a violet shade that's
very similar to the mauve. Keep trying different
proportions of both the colors till you get a violet that's close
enough to the one you want. And this one is
pretty close enough. Now, let's see how
to paint the sky. I'm painting on
this small piece of the same 300 GSM
watercolor paper. And we will use two
colors for the sky - cobalt blue and mauve. I already have the
colors on my palette. So the first step for painting
the sky is water wash. I'm using my one-inch
flat brush for this. And make sure it's
washed and clean before I dip it in
clean water and just give a light coat of water
all over the sky area. Be careful not to use too
much or too little water. It should be kind of a
glaze over the paper. The paper should be just
wet enough to look shiny. You can see how my paper is already bending a little
with all that water. And this is why we need to tape it down when
we do the painting. Now, I take my number
four mop brush, take a little bit of
cobalt blue mixed with a lot of water and give a light, easy slightly curvy stroke from this corner towards the
middle of the horizon line, or where we placed the vanishing
point in our sketch. I'm giving a couple of strokes there to sort of
make a thick band. And I repeat the same from
the other corner. These bands don't have
to be the same width. In fact, make them different to make it look more organic. And I also make sure
I leave plenty of paper white and don't
fill up the whole sky. Next, I take mauve on
my brush and give the same brush strokes in
between the blue bands. And like the cobalt blue, mauve also has to be very light. It's okay if they touch
the blue bands and mix and in fact, that's
what we want. Note that I'm not giving these strokes all the way
till the vanishing point. Now the next step is
very interesting. What I'll do is take a
tissue paper, scrunch it up, and lightly dab it in the central area where
my brushstrokes end. I'm doing this to
take off the paint from there and make
white patches, and these white patches are
going to look like clouds. Now, don't overdo it. Just give a few dabs here and there. Concentrate
on the central area and give a few ones
scattered here and there, outside to give
the whole patch and more organic and
cloud-like form. Something else to keep
in mind here is that you have to work fast
while painting the sky, especially the
tissue dabbing step. This is because if
the paint is dry, then they won't come onto
the tissue paper and you won't be able to get
those white patches. And that's all you have
to do for the sky! Just a water wash, a few brush strokes,
and some dabbing. All right. Let's move on
to the lavender bushes. Now I'm going to show you how to paint a single lavender sprig. We don't really need
this for our painting, but I thought it's an
interesting add-on. For the lavender sprig, we will use all three colors, sap green, cobalt
blue and mauve Now if you take a close
look at the lavender sprig, you'll be able to see the
blue tints more towards the inside and the mauve tints on the outer
edges of the flower. So let's try painting that. I'm using my size eight
round brush for this. And I'm loading it
with some sap green and then I lightly draw a
thin stem like this. To get this thin a line with
the size eight brush, you just have to touch the
tip of the brush on paper with very light pressure
as you move it. Then I take cobalt
blue on my brush and give small little strokes
like this to make a cluster. Then I give another
cluster above that and a couple more
along the length of the stem till the top. And I make these clusters
smaller as I move up. Now I take mauve on my brush
and give tiny little strokes again, above the blue strokes. I give them sort of
on the outer edges of the blue strokes, just about touching them so that the two colors do touch
and merge here and there. Again, these clusters also gets smaller as I
move up the stem. And that's it. You
have a lavender sprig. Now let's paint a
whole lavender bush. Very similar to
the single sprig, we paint the bush
also in three steps. I first take the sap
green in my brush and paint a bunch of stems
on the inside like this. Just give short, easy strokes. Then I load my brush
with cobalt blue and give these in and out
strokes around the green. Don't restrict your strokes
to a rigid semicircle. Give a few shorter or
longer than the others. Basically quick, easy strokes. You can move your brush up- down or down- up. There is no rule here. And as I mentioned earlier, don't worry about
the colors mixing. Now I take mauve on
my brush and do the same thing above
the blue strokes. I'm giving these strokes
mostly around the blue paint, but I'm also giving some on
top of the blue as well, because I don't want a definite boundary
between the two colors. You can see that the blue
and mauve are mixing together, and that's exactly
what I'm going for. So that is all, we have
painted a lavender bush.
7. Final Painting: So we've got a fairly
good understanding of how to paint the sky and
the lavender bushes. And now it's time to
paint the main sketch. I have my sketch here
and the first step is to tape it down on all
sides with masking tape. I'm sticking the
tape till the borders. You saw how our practice paper bent when we were
painting the sky. The paints won't spread on paper in the way
we want it to if the paper is bent and that is
why this step is important. It wasn't a concern while doing
a rough practice session, but when we do the
main painting, it's best to take precautions to make sure
everything turns out well. So the paper is securely
stuck on the board below. Now we can start painting And the first part we
will paint is the sky. Now you know how to do this. I take my flat brush, make sure again
that it's clean, dip it in clean water and give
a light water wash. I try to work quickly
because this step needs to be completed
before the paper dries up. Now I'm taking my mop brush and mixing very diluted cobalt blue and giving those
curvy strokes from the corner towards
the vanishing point, just like I did in
the previous lesson. This might be obvious
to you by now, but we kind of
apply the rules of perspective while
painting the sky as well. These brushstrokes
are to be directed towards the vanishing
point on the horizon line. Basically give them like how you would draw the
converging lines. So if your vanishing point is not in the center of
the horizon line, the brushstrokes
have to be painted towards wherever the
vanishing point is. Now I'm giving
strokes with mauve. And I try to make the
bands over the whole sky asymmetrical so that it looks more natural and interesting. All right, now time to do some
dabbing to make our clouds. Some quick little dabs
with a clean tissue paper. And try to get a
cloud-like form with the dabbing. I'm re- applying some paint there again, because I'm not very happy with the cloud shape and
I want to redo it. Some more quick dabbing. And the sky is ready. Next, let's paint
the lavender field. I'm mixing sap green on
my size eight brush. And starting with
the central row. I'm giving quick short strokes inside the semicircle
for the stems. Cobalt blue strokes come
around the stem after that. And then finally,
mauve on the outside. Remember, don't stick to a rigid semi circular
form for the bush. Makes sure your
strokes go a little in and out of the semicircle. All right, the first
lavender bush is done. Now I'm starting with
the one behind it. And I don't really worry about the colors of the first and this bush mixing because I
kind of like that effect. and like that, I'm painting
the whole row of bushes. Now we only need
to paint the stem for the first four
or five bushes in all rows because
they won't really be seen on the bushes
further beyond that. So as I get to these bushes, I directly start with cobalt blue and
then give mauve. To make my job a little easier I'm giving the cobalt
blue on all the bushes first and then going back and
giving mauve on all of them. I just make sure to
work fast enough to apply the mauve before
the blue dries up because I want both the
colors to merge. You can do this if you
feel you can work fast. But if you'd like to
take your time and paint slowly then I recommend finishing the bushes
one at a time. And as we move further away, we don't need to give so much
definition to the bushes. My strokes get
smaller and smaller. And as I get closer to
the horizon line, I'm just dabbing the
paints with my brush tip. I'm finishing up the
rows on the right first just because it's
convenient for me. There is no such
rule as you should do one side first
before the other. The only thing to keep in mind, whichever direction you work towards is to make
sure you don't touch the wet area with your hand and end up
smudging the paint. Now I'm doing the bushes
that are very far away and just like the bushes right at the back of the first row we don't need to give
defined shape for them. I'm just dabbing
the colors there. and as we get further away, these rows get
thinner and thinner so I'm just dabbing my
brush over the whole line instead of defining
individual bushes. For the rows even further away, it's easier to draw light
lines first with a brush and then go in and give them more thickness by
dabbing in the paints. I'm applying little
blobs of cobalt blue on the line and then
giving mauve it. Don't make them rigid,
straight lines, make them sort of
bumpy and uneven. And like that, I'm just finishing
the other lines behind as well. And now I'm painting the
bushes on the left side. And because I work
from left to right, I'm starting with
those far away rows of bushes and then moving on towards
the central row. All right. The lavender
field is painted. Now, I like to
leave these gaps in-between the bushes white because I like the idea of this painting using a
small color palette. And I don't want to bring
in another color here. But more than that,
I feel this gives a stronger emphasis to the three important elements
in the composition. The sky, the lavender
field and the mountains. Now just one last bit left
to be painted - the mountains. So I'm painting the mountains
green using the same brush. I'm mixing up some sap green and just filling in the
whole mountain area. And just to give a little
bit of depth to them, I'm giving a darker
shade on top of that. For this I've mixed a little
bit of blue to the sap green. I want it to look even darker so I'm painting with
a darker shade. And there- the mountains
are done as well. And with that, our lavender
field painting is complete. So just to recap,
in this lesson, we painted the sky
first after giving a water wash. Then we
painted the lavender bushes, and then the distant mountains. We use different brush strokes
for all three - relaxed, long, curvy strokes for the sky, quick, short strokes for the lavender bushes
and some dabbing for the smaller bushes and a regular brush fill for
the distant mountains. All right, now that we've
finished up painting, I will meet you in the next
video to wrap up this class.
8. Conclusion: Congratulations on
finishing the class. We learned a little
bit about perspective and how to sketch in
one-point perspective. You can use this technique, to sketch any landscape
in this perspective, it doesn't just have
to be lavender field. We also learned how to paint the individual elements like the lavender bushes and the sky, and to put everything
together to make our final
watercolor painting. I hope you enjoyed the class and had fun through the lessons. Feel free to ask me anything by posting a comment in the
discussion panel and below. I am so excited to
see your paintings, so please upload them to the student project gallery
once you're done. And if you decide to share
it on Instagram, don't forget to tag
me @the_artsychoke so I can re-share it
and show off your work. And of course, don't forget to tag Skillshare @skillshare. And I would really
appreciate it if you can take a moment to leave a review. Your feedback is
extremely important and will help me make
better classes for you. Follow me here on Skillshare
so you get a notification every time I release a new
class or make an announcement. And if you would like to try out some architectural
illustrations or botanical patterns, check
out my previous classes. Thank you for taking
this class and I really look forward to
seeing your paintings. Take care and see you next time.
9. Quick Update!: Hi again. I just wanted to update you guys on
a new development. I am now offering
1-on-1 sessions. 1-on-1 sessions are great
because they let you have a more focused, responsive and personalized
learning experience. Pre-recorded classes are great, but sometimes they lack that personalized touch which can make all the difference
in your learning journey. In a 1-on-1 one session, the focus is entirely on you, your strengths, your goals, and your areas of improvement. Every minute of the session is dedicated to your unique needs, and I'll be able to give you immediate guidance and
feedback as and when required. I offer two different sessions. One is a 15 minute
feedback session for any of my classes
on Skillshare. So if you enjoyed this
class and need a personalized feedback or need a little bit more help
somewhere along the class, you can book a 1-on-1
session with me. You can show me your
progress or ask me questions regarding the
class and I'll help you out. The second session is
a 30 minute session on finding inspiration for
drawing botanicals. Over the 30 minutes, I will list and explain eight places to look
for inspiration while drawing botanicals for your illustrations or patterns. Unlike pre- recorded classes or other online courses which follow a one size
fits all approach, 1-on-1 sessions can
be personalized to your specific needs
and learning pace. To book a 1-on-1
session with me, just go to my Skillshare
profile page. It's really an investment
in your creative journey and I hope I can help you
and guide you through that.
 Devika Mahajan, Artist and Founder of The Artsychoke