Transcripts
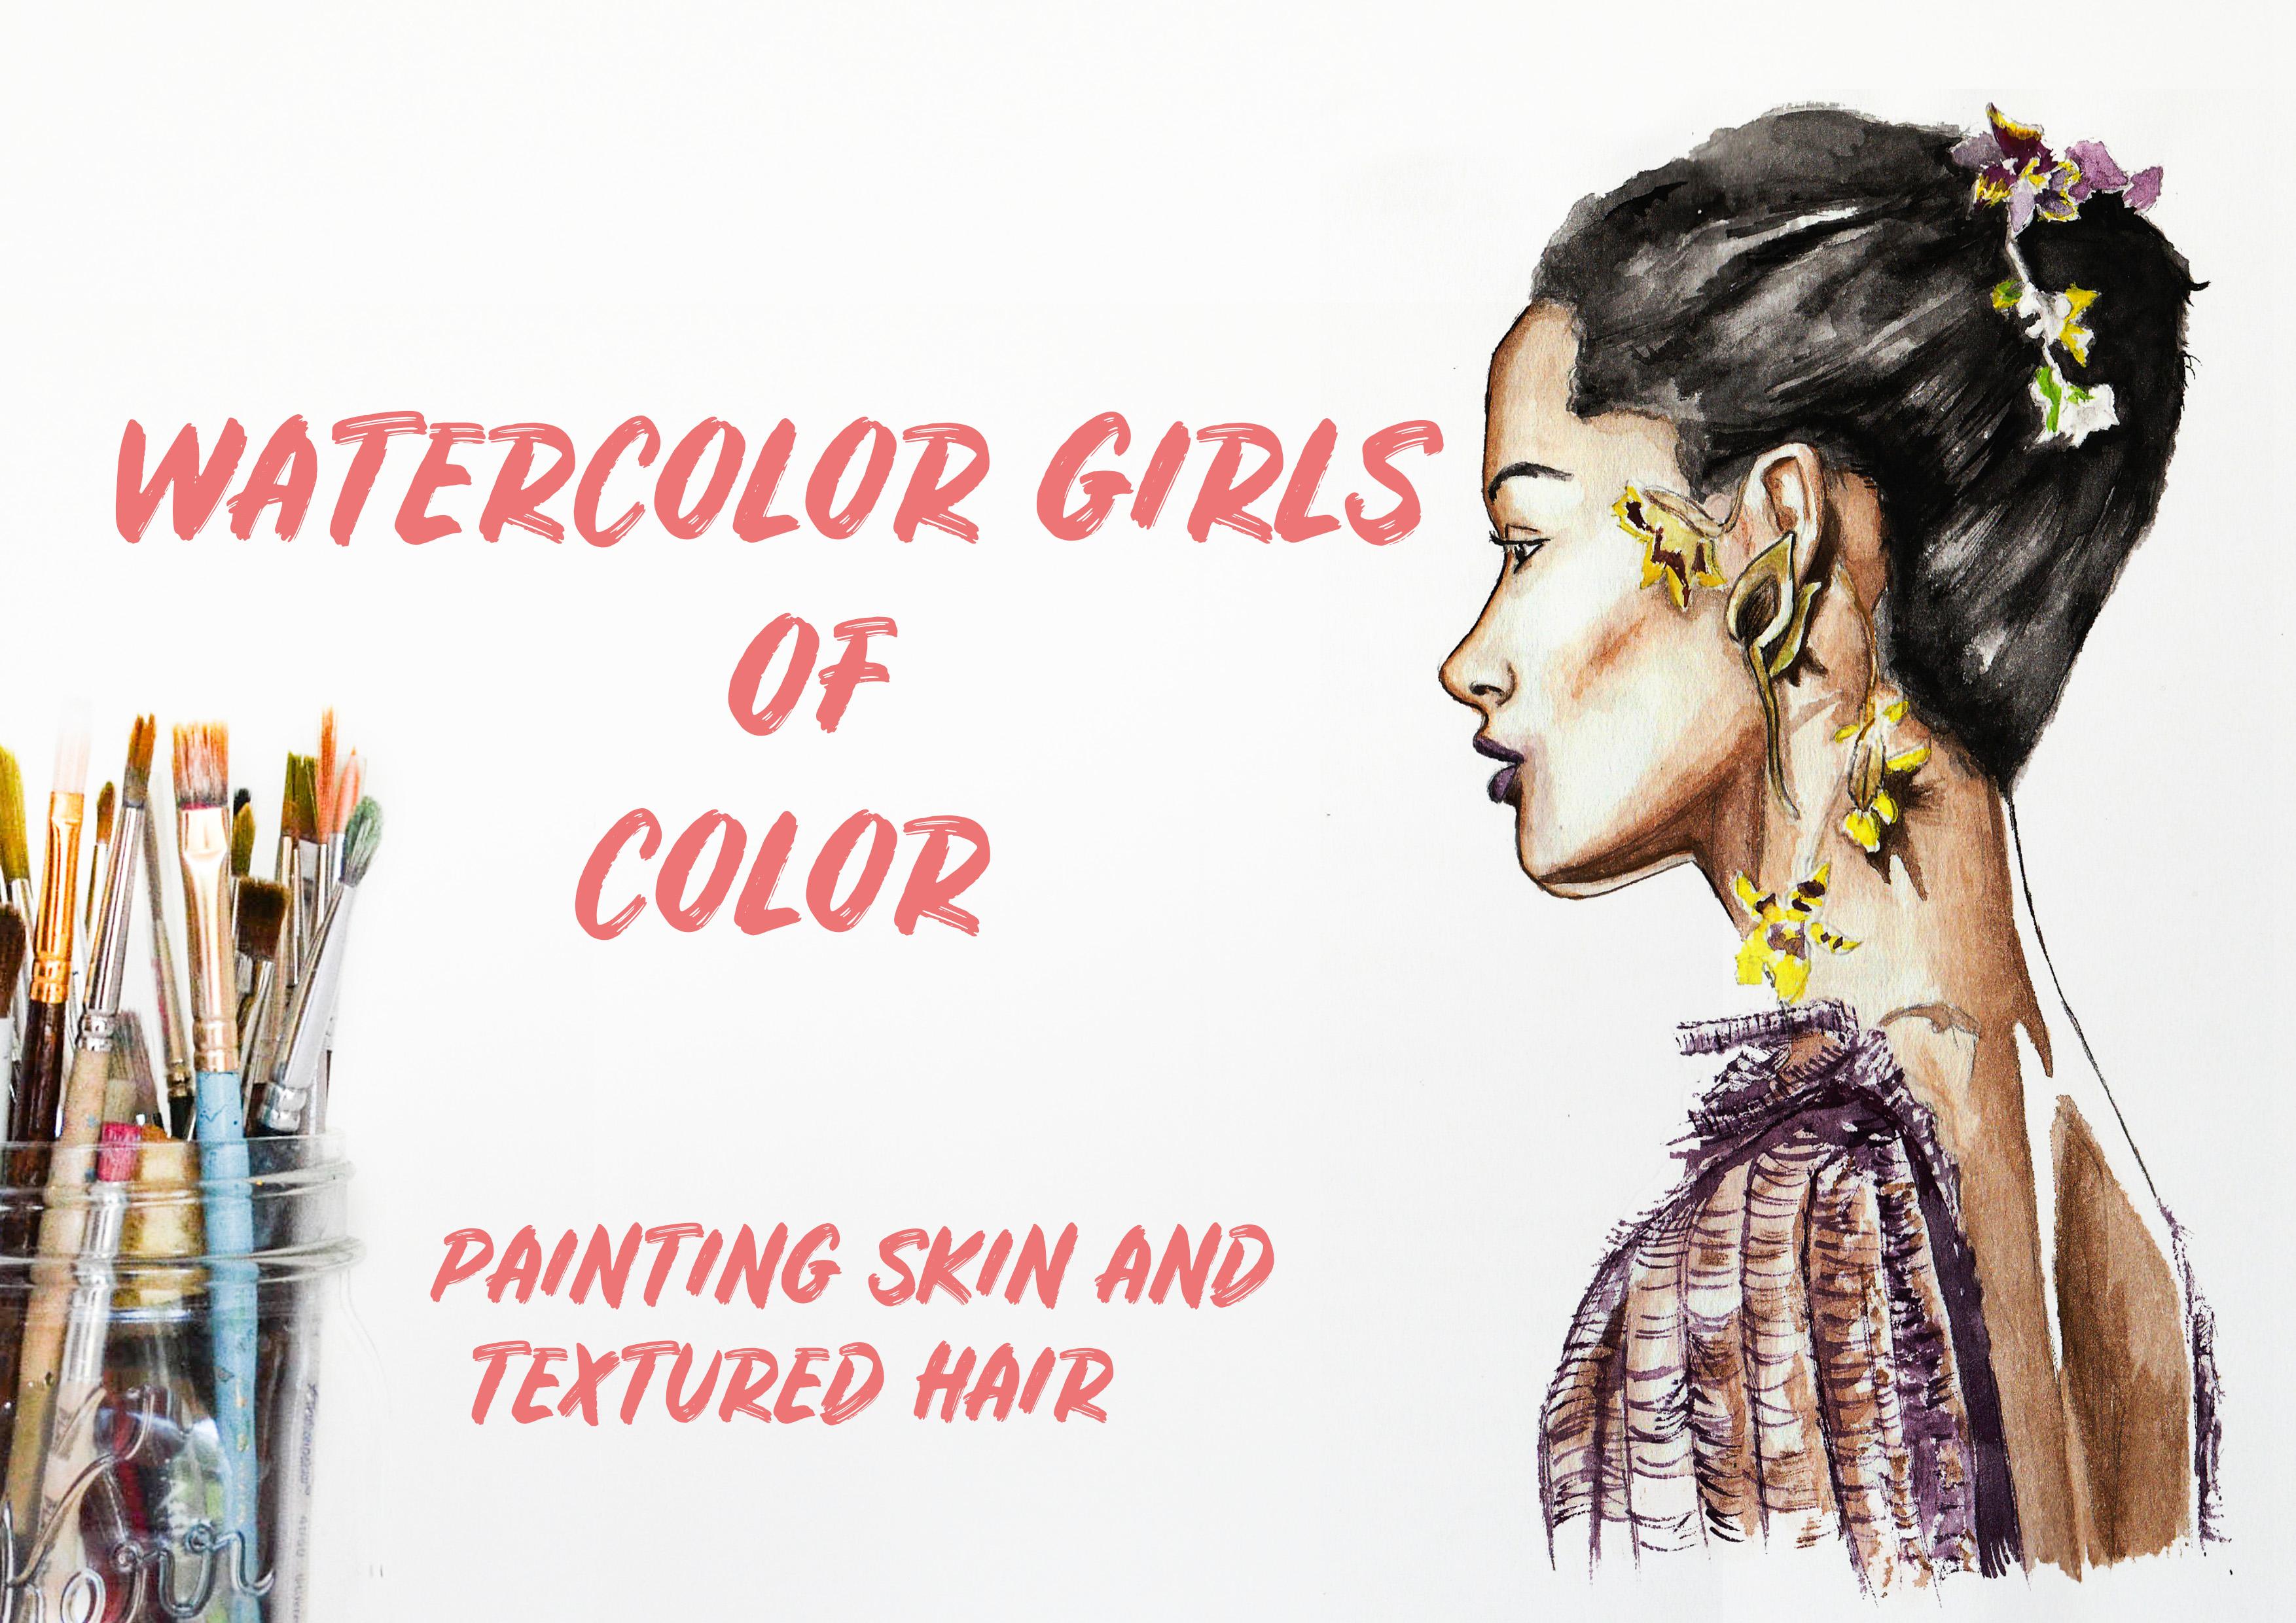
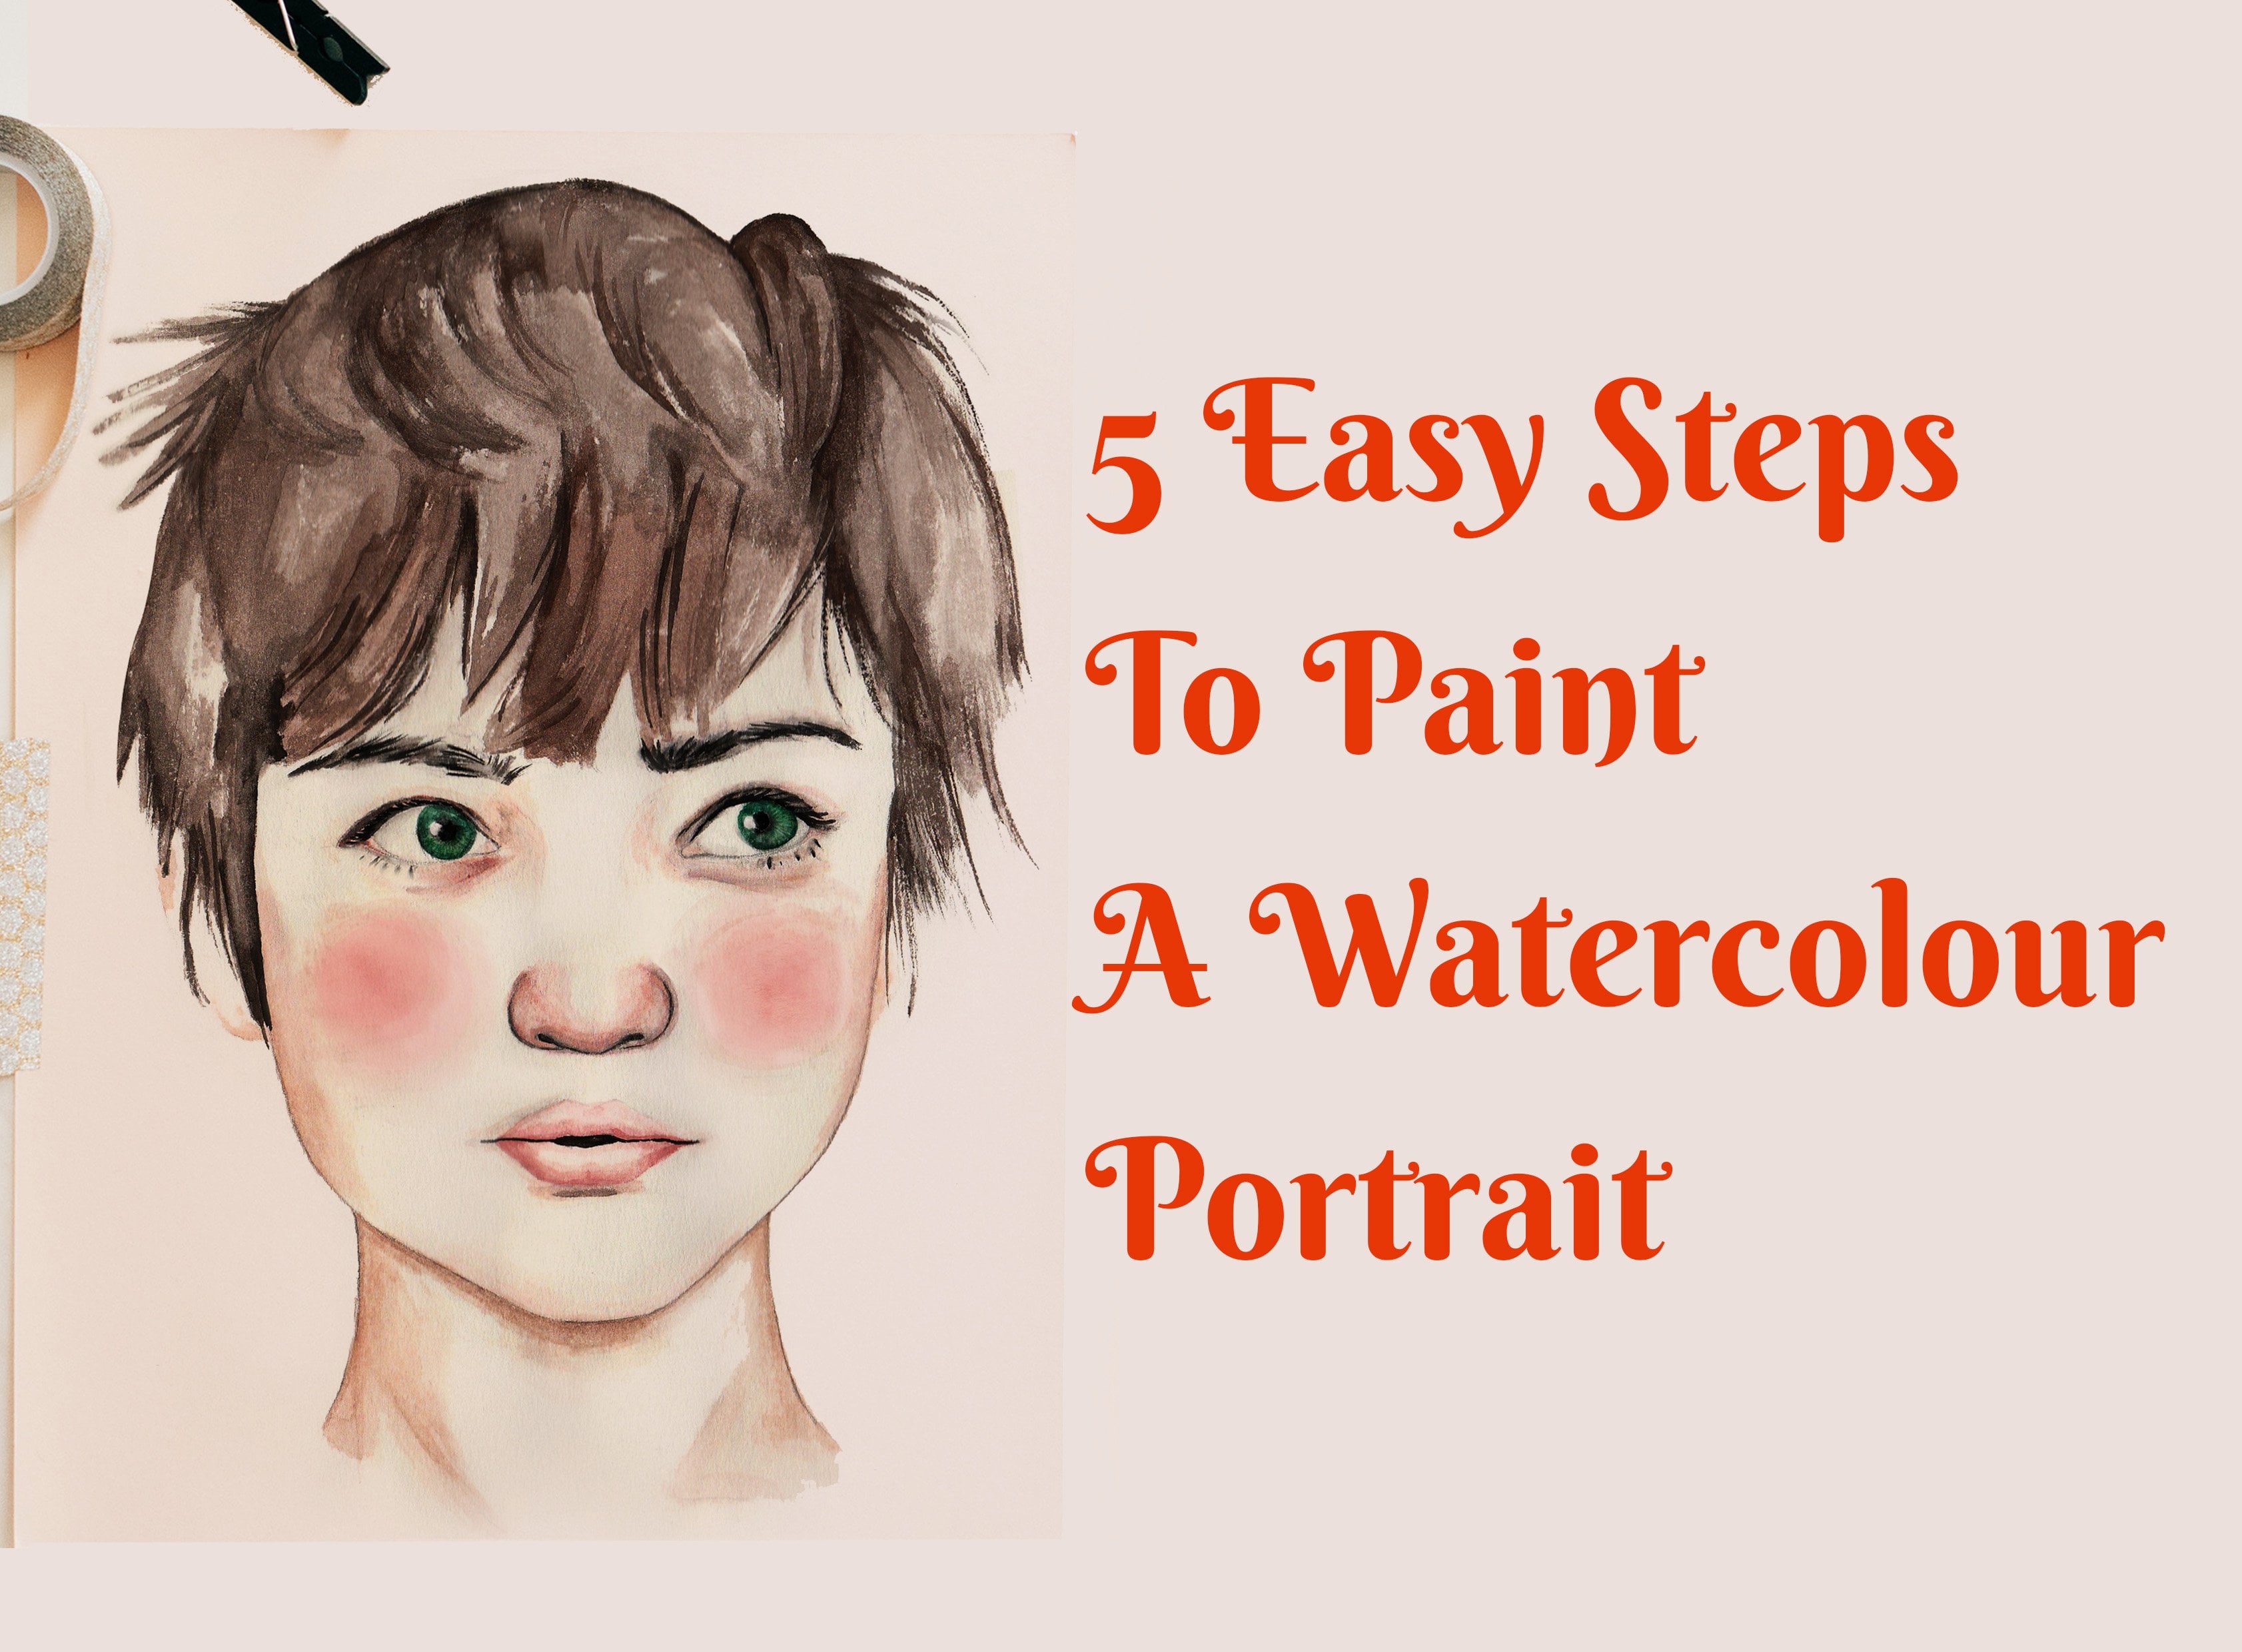
1. Intro: Hello. My name is Sharon. And in this class, I'm gonna teach you how to paint an easy side profile portrait. I'm gonna be focusing on painting a girl of color. Someone gonna teach you how to get the tone writes how to place your shadows and blend them out. Which brushstrokes to use and how to paint that textured hair, but still have a little bit of movement showing through it or you're gonna need to brush is a watercolor set out some clean water.
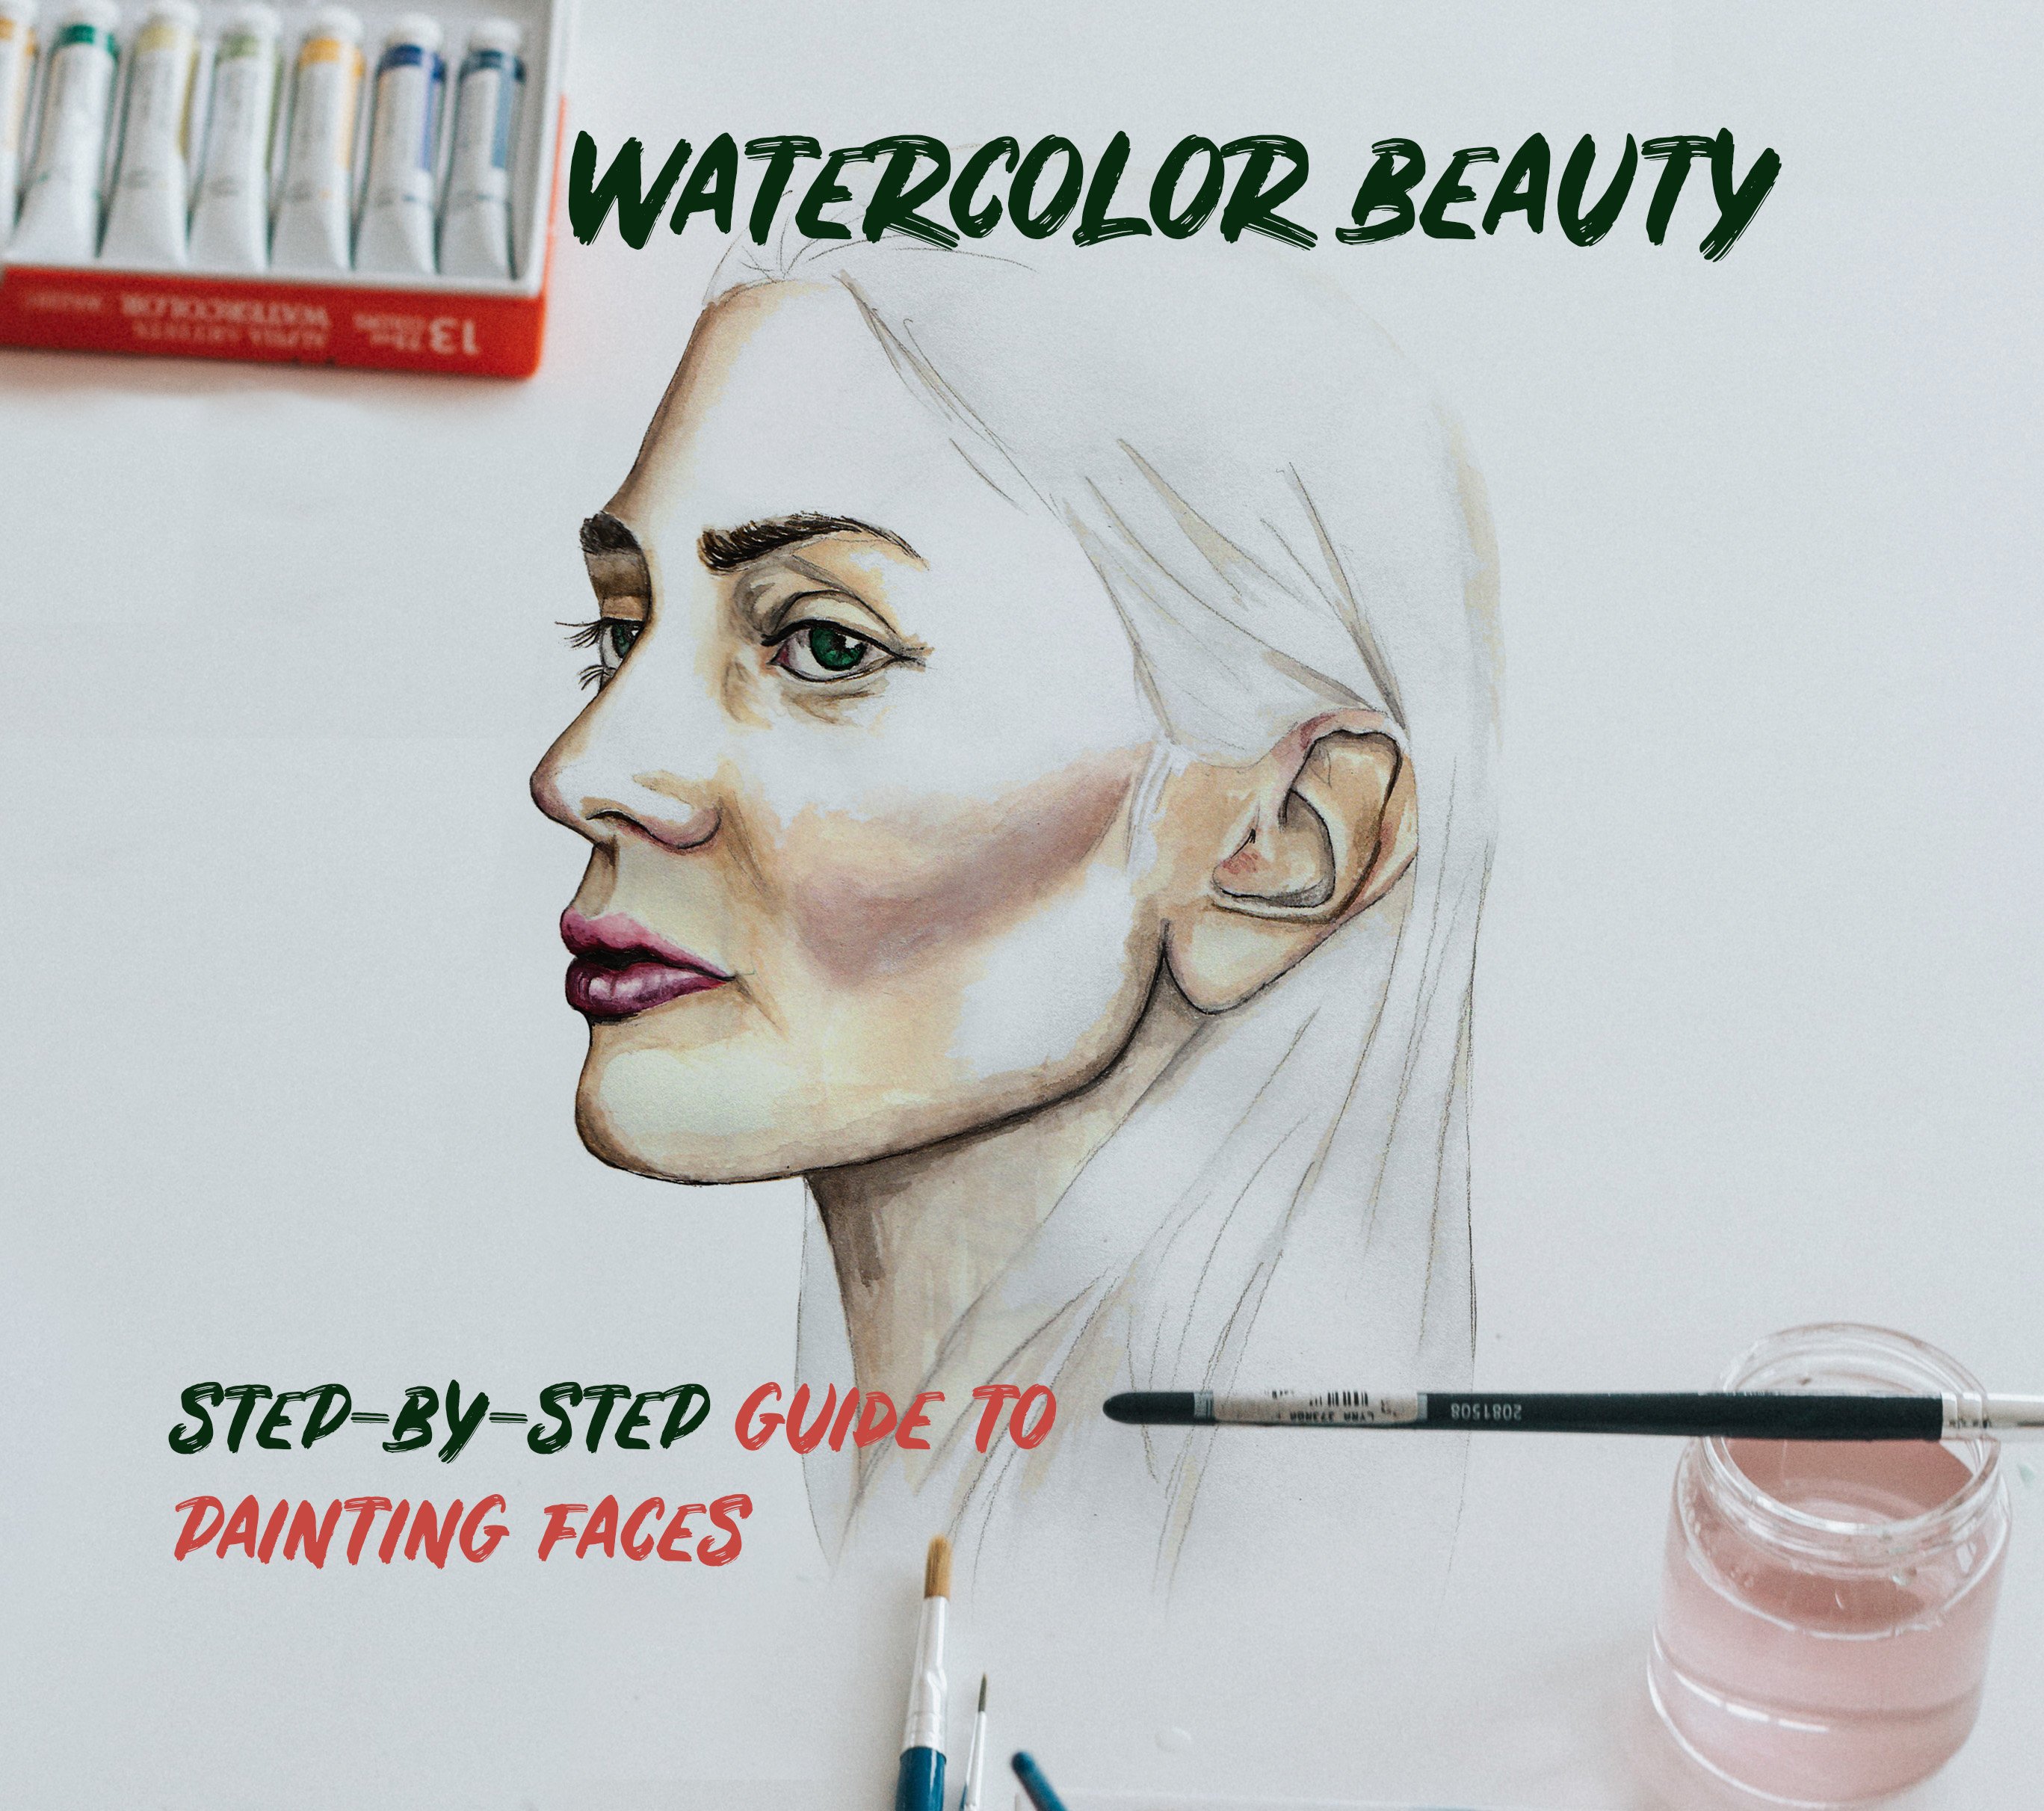
2. Layering a Foundation: you need clean water and to brush is a size four and a size two, and they set off. What a color paints tubes or what it takes work perfectly fine Piece of swatches of the colors I'm gonna be using duct brown light brown poker and a brick red and speaking. I'm gonna start using Doc Brown to lying the edge off my face. If you want to learn how to drawer faces, I have tutorials, quick tutorials for just a really easy way off drawing portrait's side. Portrait's are definitely much easier because you just getting half of the face. Cem's gonna lying top to the bottom all the way around underneath the chin, and then I'm gonna start to blend with a little bit of water on the edge. My face is gonna have a lot of light hitting it. So I'm not gonna use a lot of color in the middle If you want to follow with me. If you want toe draw the same facing picture, you can download it below. I have placed a link off where you can download this picture because I'm paying from a picture and I'm gonna play some shadow underneath the chin using the same Doc Brown. But just adding more paint when you're painting shadows, don't paint strong lines. Always remember to blend it out. Don't pain sharp lines like If you look at my picture where the joy ends going down as the shadow goes down right below her head. I'm going to blend that line so that it will seem as if the shadow is moving up towards towards her face. If you draw your shadows with a very harsh line, it will give the effect that the person that you're drawing isn't riel. It makes it seem like you're drawing a statue. Always keep that in mind when you are painting your shadows. And, of course, the shadow rides from the tip of the chin all the way across the face all the way up to the job. Do you want to just mix implant with water just a little bit, and I would suggest you when you're doing watercolor portrait. It's trying to do them with, like your smallest brush, because a small brush is a really advantageous when it comes to creating control. And then I blended the shadows. It moved. It moved slightly up the face in order to maintain control. Always start with very little paint and then billed as you go on. It makes things so much easier. It helps you constantly be able to see in which direction you're moving in as you paint. I am using a pretty heavy paper that's absorbs water pretty well. You can use your standard watercolor paper that's really up to you. But if you use paper, that isn't what a color, the standard watercolor paper. Just be attentive to the amount of water that you're adding. I have added more paint thio chin and just a little bit around the nostril, and I we're gonna move on to the neck.
3. Painting the Back: Okay, so I'm just gonna continue blending and layering on the neck and further down on the back. And over here, this is just the shadow that is going to be cast by the flowers away at later on. I'm just filling in, and then I ads with my larger brush, some paint on the back, and I'm using a sweeping brush technique. If you really look at how moving my brushes in the sweeping motion, and this helps to evenly distribute the paint in any starts an area that you want toe, make sure that it is covered with a base of the same color. Same tone. Just use a sweeping technique, and it's well blend everything pretty nicely and pretty evenly at that reddish brown and sunlight. Abrons said the duck Braun had a lighter brown with letter. Braun has a little bit off for a tone, and then I just wanna ads some shadow that is cast by these flowers that I will paint in later on que Now I'm gonna just add more paint on the back with my larger brush here at a little bit of Okkert to my dark brown Oakar is a yellow as a mustard toned color bit of yellow that you mixed in with light brown. And you have to keep in mind that worth people of color. They're not just one brown that brown, if you really look at it, will have different tones in it sometimes will have, like a yellow tone underneath or red tone underneath. So you just have to keep that in mind. You can if you just use one. Told of Brown, your picture will come out looking flats. Always be thinking about Where is your light hitting on your figure? It's really important, because that helps the overall picture to look more realistic. So a lot of my light is coming from the left side, so the face will have a lot of flights and then it moves into darkness. Is we or a darker shadow as you move towards the back off the neck on bond the back side and here in the middle in the middle, feel back. You always have like a dip. We will have a lot of shadow and darker color rights here, and then we just wash it all across. And now, though we have pretty much a base in the foundation, we can continue to start to add a little bit off detail
4. Painting Textured Hair: before I start to my here, I'm just going to finish off the back off my ear and the year itself, it's gonna blended. I'm just using a light of brown right on the hairline when I just blend that. Okay, so that's moved to the hair. And I start by painting these thick strokes, and I leave a gap between the hairline on and the paint so that I will blend into the hairline. So don't define the hairline by painting on it, because it would look really strong. He wants the hair to look as if it's growing out of the skin. To do so, just leave a gap between the hairline and where your painting. And then I start to paint these quick, thin lines or strokes moving upwards, because I want to create the impression of movements. So that's the hair looks as if it's been pulled into a bun and black hair. African hair is pretty textured seeing I'm gonna be drawing any long, smooth strand's so those thick strokes create the texture. And then these wispy strokes create motion or movement, and I'm going to be blending and adding a little bit of more water in certain areas off the care, said the whole area is not painted in one black. You have certain areas that a dark certain areas that a lighter to create texture. It's just blending. It's just a bit more Ted there. Go back to those six strokes and then I blend in between. And as I moved towards the hairline, I add a little bit of more water so that the hairline won't be incredibly dark. It will be slightly watery to make to give the impression to give the impression that the here is growing out of the skin. It's pretty eight. Simple. It's not very defined. Brush. We could fix strokes than you blend in between. You just keep going back where you feel you want to add a little bit more black and around the hairline blend. Just blend around right on the hairline to not draw defined lines on the hairline. And if you wanna add little Carl's, you can. I would suggest you add little calls, probably on the edge off the hair, like on the top and the bottom from the side, and that would give the impression that it's just a bit more textured
5. Accessorize: No, I'm just gonna paint the flowers in. And as I mentioned, I am following an emergent. If you wanna pink to the same image, the link is below. And the flower is violet Oh, purple. And I am also adding a bit of yellow for the site flower and a little bit of detail with a burgundy and with flowers. And you doing what? Color flowers you want toe. You wanna add a little bit more color, more water? Excuse me when I add a little bit more ward. So when you're painting flowers, it gives us what color effects you don't wanna paint them incredibly detailed to where they look three d and solid. Just keep it really blended and slightly watery, and it's well come out looking great. The whole goal is really to just create an impression off a flower, so use very little detail and add quite a lot of water. And as you can see where added the second color, of course, you wait for the first layer of paint that you replace, which is a yellow to dry and then add just second color because if you just added on, it will all just mixing together and you would just have to start a fresh. So you start off with new base color and then adds detail on top, just great for it to dry and then paint on top. And over here I have the sort of breasts accessory that hangs around the year and appearing , so I'm not going to define that too much because of the end of the When I'm old done, I want all of the focus to not beyond accessories, but to be on the girl herself when thinking about accessories. If you want to add your own version of accessories, think about the skin tone color that you have and try and pick colors that would complement those skin tone colors will make the figure that you're painting standouts even more instead off having her be overwhelmed by the choice of colors that you would have picked for accessories. Once you're done with your accessories, it always helps to just go back and see where on your skin you could add a little bit more color, a little bit more shadow because once accessories added, it will definitely change the picture. You can go back and redefine certain areas. If you're painting something metallic, believe certain areas and painted or just lighter to give the effect of flight hitting be objects. And now I'm defining more and I'm adding the shadow so it looks a bit hollow. I'm just following my image. It's looking okay, pretty good. So let's move on to the lips, the eyes and the eyebrows.
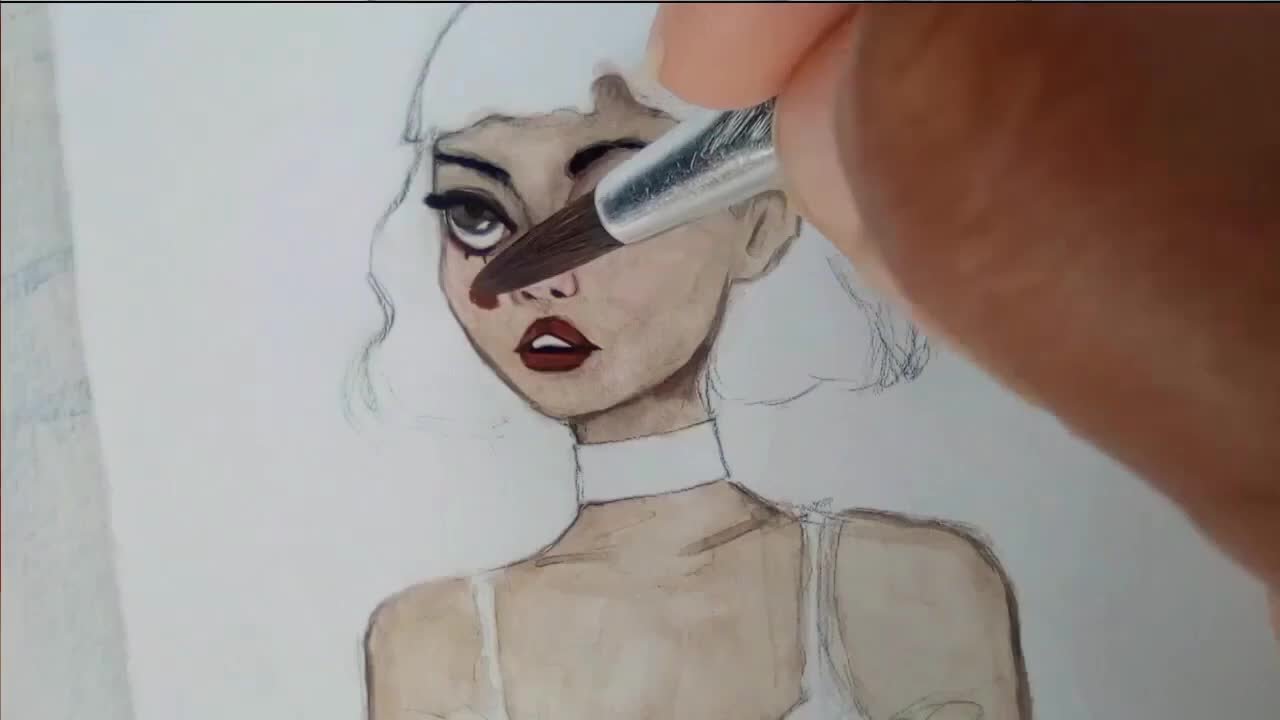
6. Painting Lips: So I'm painting my lips with a dark purple and I'm lining the bottom of the top lip at the bottom of the bottom lip. And then I'm gonna blend, moving upwards, moving up each tulip like so so they won't be very strong. So during the lips to take over the whole picture, I use my really fine brush just blended. But more insides sequence. He's stuck in the bottom and then light on top. And I'm not putting a lot of detail. And I moved to the eyelashes and I'm just doing a lying leaving A pretty simple with the I . It's too late across and then I'll pick pupil and the eyebrow. It was really, really simple. I just want to add a bit more color around the mouth and the chin and nine, the back off the neck. Great. Now we can move on to her dress, and I'm gonna start by using the same Brana being using for the skin color. And I'm just gonna paint a few areas with this brown because her dress is see through. I'm just gonna blend out with this brown across, and then it was a purple color. It starts to paint in the dress, so the key things to remember when painting a watercolor portrait is to pick specific areas that you want to define. Don't paint the whole portrait pretty detailed because that's where a lot of people get lost. If you keep things pretty general, then you can have you be able to maintain a lot of control as you go along. So you always start with the layer. You blend it out and then you just add on. Add on if you do the process in the technique of adding on, you can always be in control of how you want your portrait to look. Don't add a lot of detail and don't adult lot of shadow. Just pick specific areas of certain areas where you want to place your shadow and then just place the shadows there and everywhere else. You can just blend it out and add more water. Thank you for taking part in this class, and if you're interested in learning how to draw easy pencil portrait, so have a class for that, and I have more classes that teach easy portrait's in watercolors. Thank you again and take care
 Sharon Mapuvire, Anything Is Possible