Transcripts
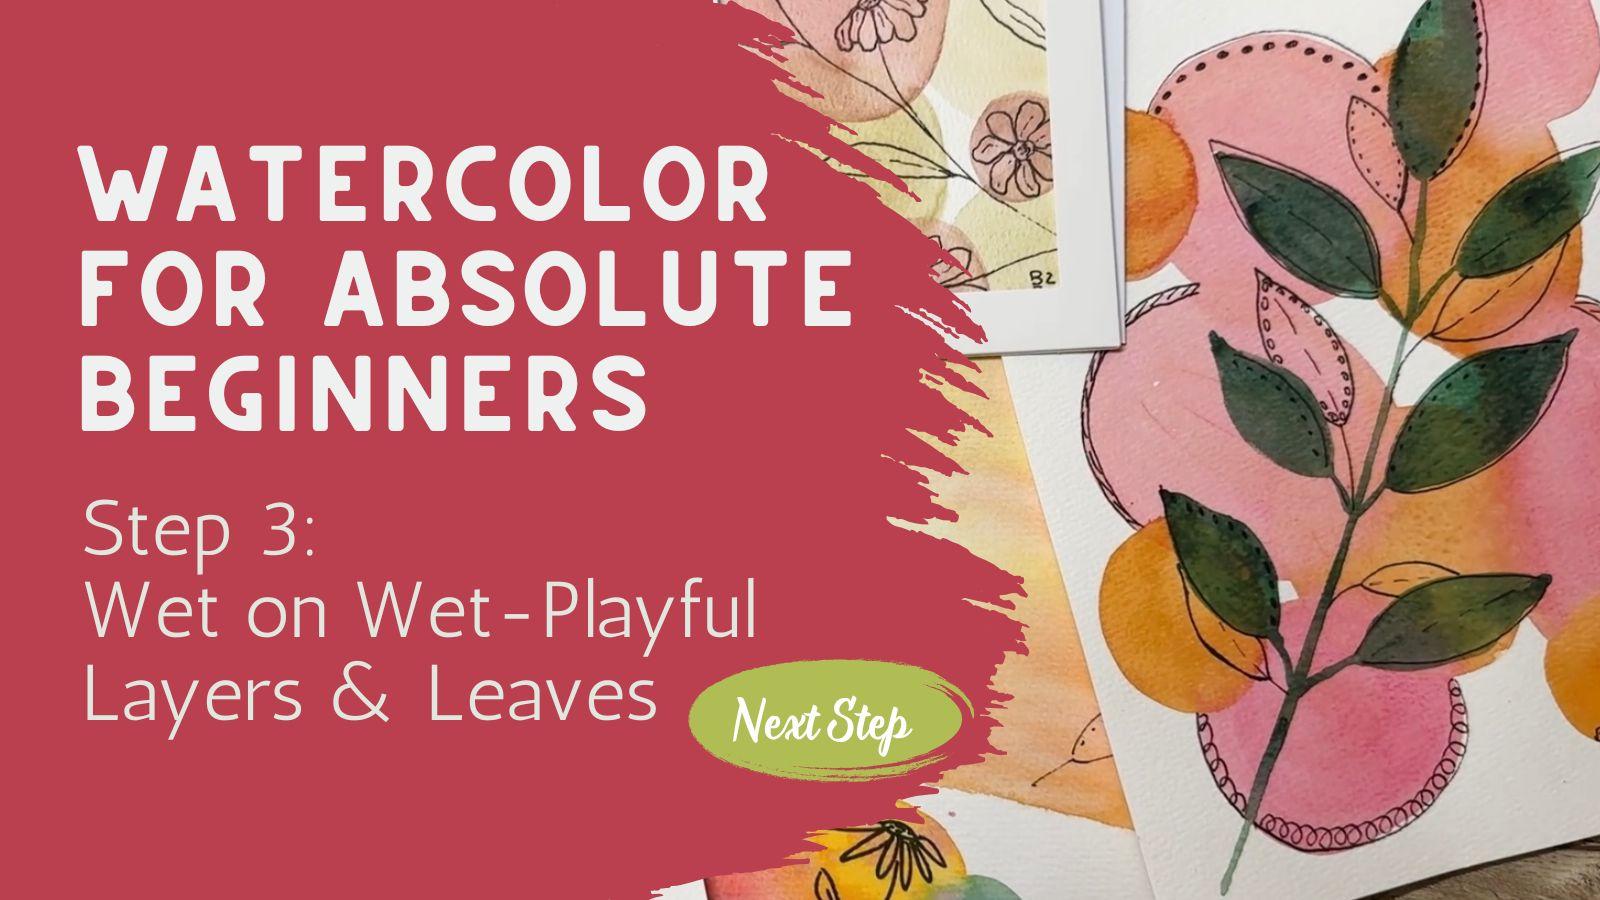
1. Welcome to Step 3 – Watercolor Without the Pressure: Welcome to class number three. I'm so excited that you're here. Hopefully you've already taken class number one and two for the Absolute Beginners where we talk about all the
supplies for watercolor. I go into great detail about all the different
supplies in class number one. In class number two, we talk about the wet-on-dry technique, where we learn a lot about how to make leaves and petals and flowers using a single color
on a dry piece of paper. Go ahead and take that class, class number two, and now you're ready for
class number three. Welcome, and I'm so glad you
decided to join this class. In this class, we're
going to be exploring how water and color interact. The essence of what makes
watercolor magical. I just want to reassure you
it's not about control. It's not about perfect flowers. It's about learning
how to paint and how paint moves and how paint
interacts with water. Of course, all of the
supplies that you're going to be needed are
listed in my Linktree, and you can find that in
the bio of my Skillshare. If you need any
help finding that, just shoot me a message and I'll be sure to get to the link. If you're not sure at any
time what we were doing, feel free to rewind the class, watch it again, pause, practice what we did, try it over and over and over again. I cannot stress enough. The more you practice,
the better you will get. And it is like any other skill, whether you're doing a sport
or musical instrument, the more fun you have,
the better you will get. So take your time and practice. Now that you've
painted your first flower over in class number two, let's now explore the soft
washes, gentle blends, and the magic that happens
when color meets on the page.
2. Wet-on-Wet vs. Wet-on-Dry – What’s the Difference?: You joined me in the
last lesson where we talked about
painting wet-on-dry, where we practiced a bunch
of different leaves and different kinds of petals and flowers and things
that we could design. And today, in this lesson, we are going to be practicing a technique called wet-on-wet. And so we're going to look
at the difference between doing wet-on-dry and wet-on-wet. You can follow along with this getting out your
own piece of paper. If you want to
mark it like this, you can have some paint brushes, one paintbrush would
be totally fine. I think I'm just
going to try the size 12 paintbrush and set
these other ones aside. I like to have some kind
of a rag or paper towel. And then I have premistened
all of this paint, and you can see that
there's water in there, and so that is ready to go. I think I'll just use a blue, and we're going to
paint a wet-on-dry. So it's wet paint on dry paper. There's no water on
here whatsoever. And to paint wet-on-dry, I can just make, like, a swash of paint that
goes across here. Maybe I'm going to even, like, clean off my paint
brush a little bit. And now this is a
paint this is wet, but this is still dry,
considered a dry piece of paper. I'm going to come up into my wet paint and
just drag that down. This is just a
wet-on-dry technique to create a variation
from darker to lighter. I think you should
give that a try, see how that works for you. Another way of doing
wet-on-dry would be to practice what we were doing in the last
lesson in class two. Was she was using a paint brush that is wet with paint in it. Again, this is dry paper, and I can draw a leaf. It's just a wet
paint on dry paper. Now, if we wanted to try now
going on to the wet-on-wet, what we're going to
do is this water, it's blue because I was using
it here, but that's okay. It's close enough
to being clean. I'm going to make a
swash of wet right here. This is just water. I want you to see that it
is shiny. It's not pooling. There's not lots and lots of water running all
over, but it is shiny. Then when I come in
with my paint brush that has a little bit
of that blue on it, I can just drop in little
splashes of the blue and see what happens and
you can see how that is spreading out
because it is wet. This is a wet-on-wet technique that the paper was wet and I'm putting wet
paint on top of it. Now I still have paint in here and I'm going to
make another spot here where I'm going to be
creating a wet paint area. Then let's see. What happens if I come
in with, let's say, a red red and blue is going
to make a purple color, and I can add in little
swashes or little things of red and see how that blends
and what that creates. That's two ways of
doing a wet-on-wet. Let's try another thing. Again, this is just
plain old water that's on my paintbrush. I'm going to create just a
little wet spot right here. And maybe this one has
a little bit more. You can see how it's like
it's not quite pulling, but almost it's got a lot more moisture in it than the way I had
done that one over there. Still going with the blue. And you can see how that just really bleeds out because I have so much more
water on there. This is really important that you practice these
kinds of things and experiment with it and see
what happens when you're using less water on your paper or more
water on your paper. So that you can
get a feeling for how paint moves on your page. You can even see how this
one is starting to really dry and create some
interesting effects. Let's try it again. This time we're going to let
it dry a little bit more. Because it all has
to do with timing. How wet is your paper, how wet is your paint brush. That's a technique that is only going to come
with practice. The more you practice, the better you're going to be
at it because you're going to start to really
understand your paper and your paint and your water and how much is
needed for each one. So here we're going to just
drop in some of that blue again into this and
watch that bleed. But then I'm going to
wait for a little bit and see if some of this dries. Down in here, I can tell. Let's see if I can get that
a little closer for you. I can tell that this is a
little bit drier down here. It's shiny but not quite as shiny as it up on that section. I'm going to put some down in here and see how
it still bleeds, but it's not bleeding
quite as much. By bleeding, I mean spreading. See how it's spreading up? I can even splash some here. You can see what some splatter
looks like on that or you could pick it up
and you could tilt it and you can see how it runs. There's all different kinds of techniques for doing wet-on-wet. In this class, we
are going to be practicing some of those
in a practical sense. This one is red. I'm going to splatter some red into this. Spread around a little bit. Again, I can pick it up and
manipulate it by rolling it. See if that blue is rolling. That's a fun thing to do. I want you to get out
a piece of paper, try a little wet-on-dry, doing it different ways, see if you can create this
little variegation. See if you can
create a leaf again. If you need more help with
this kind of technique, go back to my other class class two for the Absolute
beginners and then practice a couple of
different wet-on-wet techniques and see how that goes. Then join me in the next lesson where we are going to start
putting this to practice.
3. Let It Dry – What to Expect When the Water Settles: So here this is all dry. I waited until this
was completely dry so that I could show you what
it looks like up close. And I just want to encourage
you to experiment and play. It's so important with watercolor
that you just have fun. It's just don't take
it so seriously. There's so much that can
happen with watercolor. Sometimes I get to the very
end of a watercolor painting, and I really enjoy
what I painted, and other times, I'm
like, you know what? I think I could have
done that differently. And then I just start over. It's totally fine to just feel like maybe that wasn't the best one and you could try again. I find that watercolor is very forgiving and you can
experiment and play, and sometimes you can
even be like, Well, you know, that's kind of
what I meant to have happen. So for example, if
your paint splashes and it goes somewhere where you didn't want it,
that's totally fine. You either can just ignore it, you could possibly
try to lift it up, or you could be
like, you know what? I meant to do that. It's
exactly what I wanted it to do. Don't take this too seriously. Just have fun with watercolor. Consider it a way of relaxing. It's fun to just
let your mind go blank and just to see what happens to have a lot
of fun experimenting. I wanted you to have a chance to see all these
different ones and see how this pink and the blue blended together
to create that fun color. But here over here,
we did a little bit differently and it created
a different effect. This one we really
let fade down and you can see how
faded out this gets. There's so many
different things that you can do with a
wet-on-wet technique. I hope you join me
in the next lesson where we're going to go into the great details about blending two colors
into one shape.
4. Color Flow – How to Blend Watercolors on the Page: In this lesson, we're
going to be talking about blending two
different colors together. So if I pick up this
yellow here and I make a little swash
of this yellow, and then rins off my brush. Now, if I come into this it's
almost an orangey red color and I add a little bit of orangey red color to it and I let them just
blend together. That just is going to create such a beautiful little
transition here in the middle. We're going to let that dry off a little bit and
play around with that a little bit and
see how that goes. So my paintbrush is more on
the dry side at this point, and I'm just going to
blend those together. You can really create a nice
little transition here. Now, if you were to take that same orangy color and create a little
orangy spot here, but then you go in with, let's say, a green. Now, let's see. What
happens when we mix this orange and this green? You can see that we're
actually creating almost a brown because orange and green are on the opposite
sides of the color wheel. And so they are not
going to create a beautiful color like this
is crown to create a sunset, but there's nothing wrong
with doing this because this sometimes is exactly
what we're looking for. So remember, there's
nothing wrong with watercolor and
how you watercolor. It's just, was it intentional
or not intentional. So make sure that you play
around and see what colors look really nicely together and which ones maybe you wish
you hadn't put together. So let's try that
again. I'm going to put in a green here. Really pretty, almost like
I don't know, spring green. And then we're going
to try a little blue. And I'm going to put a
little blue in there and blend that together
and blend that down. And that has really created a beautiful green in the middle. Here's my green. This is that
same blue that I was using. You see how that has
created quite a little it composition there of
different colors, little gradient colors. And even on this
one, see how that's fading out and actually,
it doesn't look terrible. It's kind of an
interesting combination, especially if you are
doing something for fall. I'm going to go back
into my yellow, and I'm just going to bring
a little bit of yellow down in here, see
how that works. See how fun that is? So just because it made
something a little muddy doesn't mean that
it's wrong because maybe this is exactly
what I needed for fall. Was this is maybe a winter
and a summer transition. So there's all different
colors and combinations, and you should play around with seeing what colors
you like together, which ones you maybe
want to avoid. And you'll probably find some
that are your favorites. I would like for you to decide
on a couple of colors that you're going to want to use for later on when we do
our class project.
5. Practice Time – Playful Ovals & Overlapping Layers: Going to be making
a sunset feel, and we're just going
to use the top half of this page and then I'll use the bottom half for
something else. But what I'm going to
use is just my water and a paintbrush in the same
brown that we've been using. But actually, first, I'm going to use just a flat brush and just my water and wet down
the top half of this page. I have taped this down onto my desk because
I was going to be getting this paper
fairly wet and I didn't want it to be
curling too much, so I did tape it down. If you don't have tape, you could use a masking tape or you could just hold it down with your hand that
would also work. So I used a flat
brush because it's nice and wide and
easy to be used, but you could absolutely
use a round brush as well. Whatever you have
is going to work. So now that that is wet and
you can see that it's shiny, but it's not pulling,
it's not too wet. I don't want puddles
forming on here. I can use my other brush
and put some brown on it, and then add this
brown across and let that just blend
across this whole page. We're just going
to fill that up. We're going to make
like a sunset. So I added that color in, and now I'm going to go
while it's still wet, I'm going to add in a
little bit of my yellow. Maybe put a couple streaks
in here, rinse off my brush. And because it's wet on
wet, I get to, like, really blend it
together and just add that yellow in to
add into my sunset. Yeah. Okay. And I think what I want to do to
make it even more sunset like is use this orange and
add in little streaks of this orange rinse off my brush. Again, just kind of
lightly blend that in. This is a really great wet on wet technique that you can
be learning and practice. And, the more you practice, the better you're
going to be getting at creating a nice
faded effect here. Now, as this dries,
it will dry lighter. Watercolor always dries
to a lighter shade. So we're going to let that dry. And while that's drying,
we're going to move over here and work on another
kind of a concept, and this is what we're
going to be doing more in our class project. So I want to get
started on that, which is to be
creating some circles, some little bubbles, and
we're going to make this into an abstract when we
do our class project. So I'm just adding
in some of this that orangey red color
straight onto it, so it's wet on dry
paper, wet on dry. A little bit of yellow,
and I'm going to go right into the paint that
I have already painted, which will make it a
wet on wet technique. Here I'm going to blend
it right in there. Make a second circle. Maybe this one's going to
be more of an oval shape. Think of that. We're just going to let them
blend together there. And then maybe I'll
pull up some blue, and we'll make another
one over here. It's totally fine
for those to touch, and they're going to
just start bleeding and you're going
to see how these two bleed together this
blue into the red. Now, if I came over and use
this blue on this yellow, again, we'd be making
green, which is fine. Let's just go ahead
and do it and experiment and create a
really fun green color. Same blue, but because
it touched the yellow, you're going to see
how it's blending in here next to each other. See how they're all kind
melding and blending in. So let's try a little purple. I'm gonna make a big one here and see if I can
touch all of them. So we can see the effect. It's really fun. You can
make any designs you want, any shapes you want
to make and let them just touch and see what happens when they
blend in together. Now, if I wanted
to, I could even do a little splatter on this
because this is still wet. Let's go with a
red, a bold color. I get my paintbrush wet enough, and we're just going to
splatter into splatter. I'm going to hit my
paintbrush onto my hand. I could also hit it onto
another paintbrush. So because my hands right here, I'm just going to use that
and I just lightly splatter. And then we can watch that
wet on wet check meek blend. Because I got it
up into my sunset, I'm just going to go
up here and blend it out because this is still
wet. I can still do that. It'll just become
part of my sunset. So this is a really fun exercise where you're not trying
to design something, you're not trying
to make something. It's just abstract. And when you're learning, sometimes it's really
fun to work in the abstract because you
don't have to feel like, Oh, I didn't create a horse. You know, I didn't create
a beautiful flower. You've created circles
that have come together and have
created this nice look. You can even make an entire
page of this and then write happy birthday across it
in one of your markers, using a marker like this
after this dries and make a card out of it
because it's just abstract and fun and
bright and happy. So, have fun working with
something like this. I'm going to dry this off so that you can see
what it looks like. So now that this is
dry or mostly dry, I could come in with a marker and draw something
on top of this. You could also use a paint brush and paint something on top. Or you can just
make this into an abstract and draw
some unique like, just some shapes, maybe outline the outside edge and then make some circles
and little dots. Use this as your doodle page. And you could make all
different kinds of things in here to just make it a
fun way of doodling. So as you play, there's no right or wrong. There's nothing that
really matters about this. This is just for fun. So what kind of fun things
can you come up with? What kind of things could you do that make a fun
little pattern? So I'm just having fun here just making some little shapes. But you go ahead and do whatever it is
that you like to do. Maybe what you want to do
is create a little flower. Maybe we make a daisy type of a thing where we just create a very simple daisy and
a stem with some leaves. So you could do something
like that on top of it and add a second one in here, or maybe it's just a sprig and you just want to
add some leaves on it. We're going to be practicing a bunch of different
concepts like this in our class project that I hope you join along with, and we can see what kind of
fun things we can do with that and what you could do with this is up to you,
your imagination. Let it go wild. Don't
waste this paper. Make something out of it. Make it into something fun, even if it's just to practice
and see what happens. What happens when you
paint something on top of this and this
color shines through? You need to understand
how your paper and your paint works and how new
paint on top of this works. Use these things as a
way of experimenting. Come back to the
next class when we start our class project.
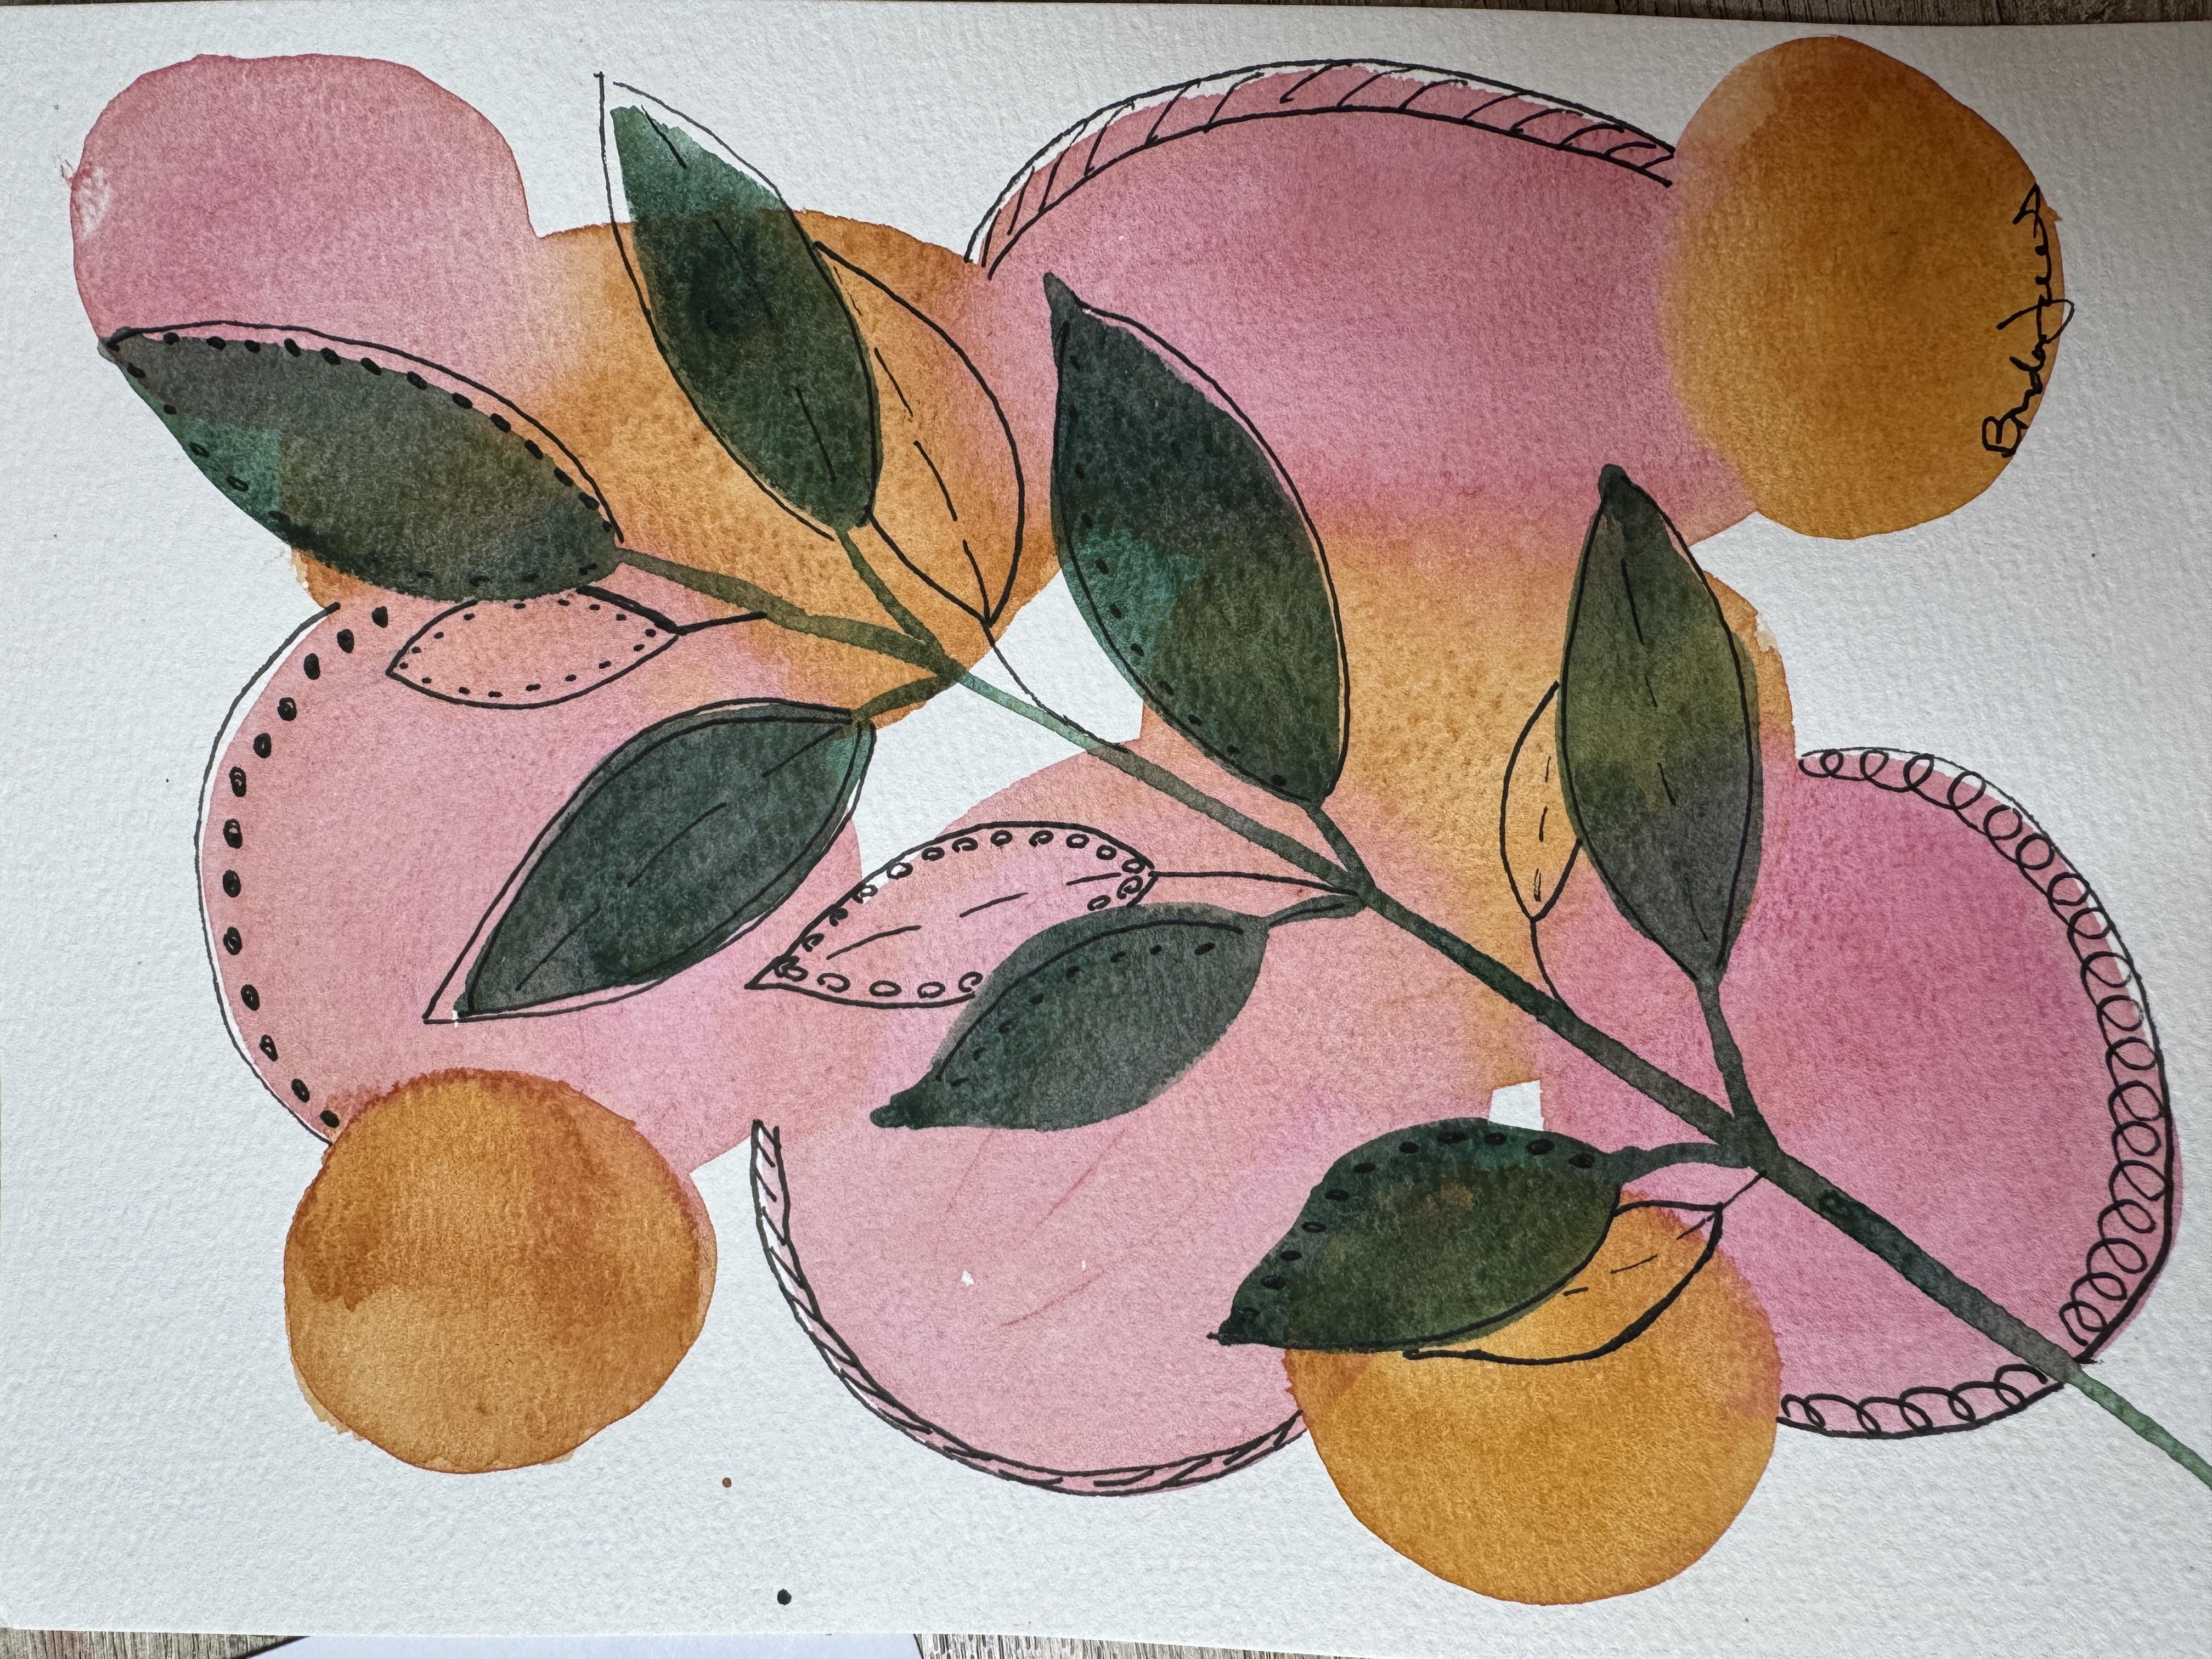
6. Class Project Part A – Paint a Soft Background & Leaf: Okay, so we just made
this little example here and we're going to move on from that and work on
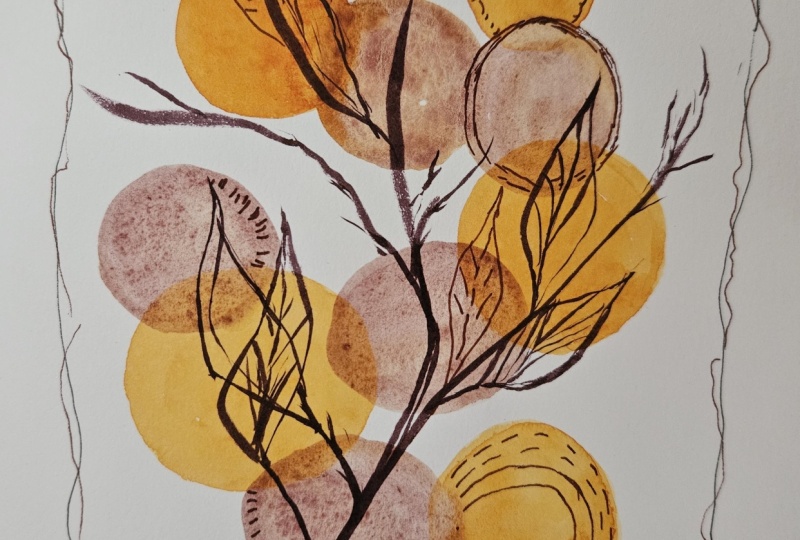
our class project. Here are two things
that I have made. These are little cards that I put together that I
like to have on hand, and this is the concept of what we're going to be
working towards where it's something very abstract
on the back and then we can create a little picture
or a painting on top. I'm just going to be
using a marker and then I might even end up
filling in some of it, or you can just leave it with a little sketch
using your marker. These are your inspirations
and let's get started with the wet-on-wet
techniques so that you have something
to work on. Okay. I am going to be using the
colors that are in this one, which is just a yellow brown
and maybe a pink on top. But this time when I
had made this card, I let that brown dry
completely and then I put the oval of pink on top and it was a dry
on dry technique. For today's class, I'm
going to be doing a wet-on-wet and while
this is still wet, I'm going to be adding
this pink on top of it. We're going to go
ahead and get started. I've got some this brown color. I'm not going to make
it really thick. It's mostly water with just a little bit of
pigment in there, and I'm going to make
a couple circles. Let's see. I want to do this
quickly because I don't want my paint to dry because I do want to
do a wet-on-wet technique. I'm going to go ahead
and just put this down. It doesn't have to
be a perfect circle. Obviously, it's this odd
shape which is totally fine. I'm going to make
another one over here, grab some more water and some paint and make it
just a different shape. It doesn't matter where
you put them on the page, put them wherever you want to. Maybe I'm just going to do
a little small one up here. Really no idea. I don't
have a plan for this. I haven't thought this through as to what it's
going to look like. We're going to see together
what it ends up looking like. Then I'm going to
go with this pink. Again, just adding some water, it's mostly just water with just a little bit
of pigment in there. While these are still wet, I am going to make a
bigger oval and overlap. We're going to just let
that overlap there. An overlap like that. Make it whatever
shape you want it. I got to do another
one that goes over this way and overlapping both. There we go. Maybe I'll
do another one over here. You can see I didn't tape down my paper this time.
You certainly could. If you prefer to tape it
down, that would be fine. I like the way they're
bray blending together. I think I'm going to
add one more over here, maybe this direction. Maybe you're going to always change the
shape as you make it. If it gets a little jagged,
just straighten it out. Okay. Kind of fun. I do like odd numbers
and so I have four of the red
ones, the pink ones. I think I'm just going to
add one more pink one, maybe something
small down in here. Again, this is not pre planned. This is just
abstract, having fun, seeing what happens,
playing around, playing with my paints. Maybe I'll add two more
of the brown circles. I'm going to add one more here. 'cause I really want
to fill out my page. I think run right up here
where I can connect those two. Now, this one's already starting
to dry, but that's okay. I'm just going to go
ahead and put it in here and let them
blend if they can. Okay. So I'm going to go ahead
and just let that dry. I'll probably let that dry fairly naturally
before I get out my heat tool because I don't want to push that
water around too much. I'm going to just let that dry naturally for a
couple of minutes. I don't know if
you can see this, but this is almost
dry and you can see that the paper is really
starting to get warped. It hasn't completely dried yet. And so what I'm
going to do this is just a little expert tip here. I'm going to flip it over and while this is still wet a
little bit on the backside, and I'm going to
go ahead and use my heat tool and dry
the back side of it, which is going to
help flatten it. Let's take a look and
see if that works. And just like that, it is
almost perfectly flat. So that's just a little
extra tip there. If you are drying it
and it starts to warp, just flip it over and
dry the backside. A little extra layer for you. So as you can see on this, that this has dried and you can see where
it has overlapped. And because we did a wet-on-wet, you're going to get this all
this different variegation. It's going to bleed out. You're not getting
perfect circles. And then on the areas
where we did it on top of something that was
almost completely dry, you almost get a complete
circle where it's not bleeding because this couldn't bleed into this because this
was almost completely dry. You just get a little bit of
a different technique there, which is totally fine
and beautiful as it is. Now what I will do is look at this from
different angles and see which is my up and which is my down and which direction
do I like to do it? Then I'm going to be painting
something on top of this. Or maybe I'll use a marker. I'm not sure yet.
Let's take a look. I think I'm going to
do it that direction. I think what I'm
going to do is use my paint and get
some green going. We're going to just make
like this but using paint. I'm going to go ahead
and make a long line. Start down here in the
white and work my way up. And then I'm going to create my first leaf up
here at the top. Just to make it a
little bit darker. I'm going to go ahead
and make a second leaf. Right up on top of everything else that
I've already painted. I can make it just a
little darker so that it shows another one. If you need help
with your leaves, go back to the other
class that I just did, the Absolute beginners
for class number two, we do discuss making leaves like this and hope that you
would take that lesson. As you do your
projects like this, I'm hoping that you
take time to take a photograph of it and upload it so that the other students in the class can celebrate you
and what you're working on. I would love to see
it. If you have any questions or need
help with anything, please don't hesitate to ask because I do want
to be able to help. You'll notice that
I'm turning my page. One of the reasons why
I didn't want to anchor this down with tape is because I like to be able to
move and manipulate my page around depending on which direction
these leaves are going. It just sometimes is
more comfortable for my hand to actually
paint this direction. It's up to you. Some people
like to put it on a board. That also works. If you'd
rather put it on a board so that you can tape it
down and then move it around, that would also work. Here I painted my little leaf
on my abstract painting. And I think what I'm going to do is let that dry and then I'm going to come in and
add some finishing touches.
7. Class Project Part B – Add Pen Details & Finish Your Piece: Okay. So here is my painting that I've
started, my abstract. But I do want to be able to add in some of this pen
workk and everything. I'm going to go ahead and grab my marker and give this a try. So I'm going to use this micron. I find these to be
really helpful. They come in all
different brands. Then when they come to you, there's all these
different sizes. So you're going to have probably ten different sizes in it, and I like to just
play around with them, maybe use a piece of paper on my scratch paper to see what
size marker I want to use. But I think I'm going
to use this one. And I really like
the outlining that I had on here and maybe even adding in some
little extra leaves. I think I'm going to add in maybe some little
extras and just showing where these
leaves might have been and making some outlines for the leaves that we just did. This is just fun. I mean, I just love
the flexibility of what I can do here. And, you know, sometimes
I just want to add some little dots like I had
shown you on that other page. You know, it doesn't have to be realistic because this
is just an abstract. You can go outside the lines. You can bring them
all the way up. Um, and then I think I'm going to just make
some dots around this one. And all the way. Maybe I'll put in
an extra leaf up here. With some dots. Just play and have fun. Let your imagination go and see what kind of fun
experiments you can have. If you're not sure, grab a
separate piece of paper. Grab a piece of paper
that you had done your project on earlier
and play around with it. See what happens when you make little your leaf and then
you put your dots on it. Give this as your example
as your way of practicing. Play with your different
things over on something like this before you work on your final project. See, I'm going to come outside the lines a
little bit on this one. Maybe add another line
inside, like a double line. It's just so fun and freeing. When I do this and I'm by myself and I don't
have to concentrate, I can just really get relaxed, lose track of time
altogether just doodling. So many times in my life, there's been good reasons
that I have to be perfect, and then I had to make things
that didn't have mistakes. Being able to work
like this just really frees me up to be
able to just play and have fun with doing something and not really having
to worry about what other people think or if I made a mistake or if
it was good enough. I find this kind
of work to just be really relaxing and freeing. And then I like to just
come back through and say, is there something
that's missing? Do I add anything? Do I want to put anything out here around the outside edges? Sometimes you add
it and then you go, maybe I wished I hadn't done it. But it's okay.
It's just for fun. So it doesn't really
matter. I like that. I like this extra. So I'm going to go
ahead and do it. If you don't like
it, don't do it. If you want to do
something else, go for it. Maybe I'll put a
double line here. This is certainly
not preplanned. I don't go through here and go, Oh, what shall I make for you? I just am working and
having fun as I do it. I hope that that's
what you're doing too. I think I'll flip this around. A another one over here. See how it doesn't even matter. You don't have to
follow the line. You can go in and out.
It's actually better if you do go in and
out of the line. You can think about all the different things you could make. I'll do one more over here. Okay. What are some extra shapes
that you can think of? Which colors did you choose? Did you go with the browns and pinks and greens that I did? Did you go with blues and
purples, yellows and greens? What options did you find
that I didn't think about? Can't wait to see
what you've designed. So there we go. You could just keep on going. You could fill the
whole page with a little scribbles and
doodles all over it. It's just so much fun
to work like this. I hope you had a good time. Please take a moment to share your project with
us in the class. Take a photo and upload it
so that we can enjoy it. I think I'm going to
go ahead and just sign it down here in
this bottom half. And that's it's hard for me to stop because I keep seeing things that I could do. But I think you get the point. It's just really fun to
play with your wet-on-wet, adding things on top, playing with markers because
there's so many options. I hope you enjoyed this project and I hope to see you
in the last lesson.
8. Final Thoughts – Keep Going, You’re Doing Great! - Please Follow Me: Wow, we had a lot of fun in the last little bit while we practiced our little
wet-on-wet techniques. We went everywhere from learning what wet-on-dry to wet-on-wet, different techniques for that, how to play around with color, how to make the different
colors blend together. Then we even moved
over into trying to make a sunset and to practice what
we were going to be working on for
our class project. Then hopefully you joined us
and did the Kart project, the whole class project,
something like this. I can't wait to see
what you created. You have come such
a long way from being your absolute beginner
that you can probably not even call
yourself that anymore because now you know so
many different techniques. Now all that is
needed is for you to put all these things that
you've learned into practice. I'm really proud of you
and I cannot wait to see your project that
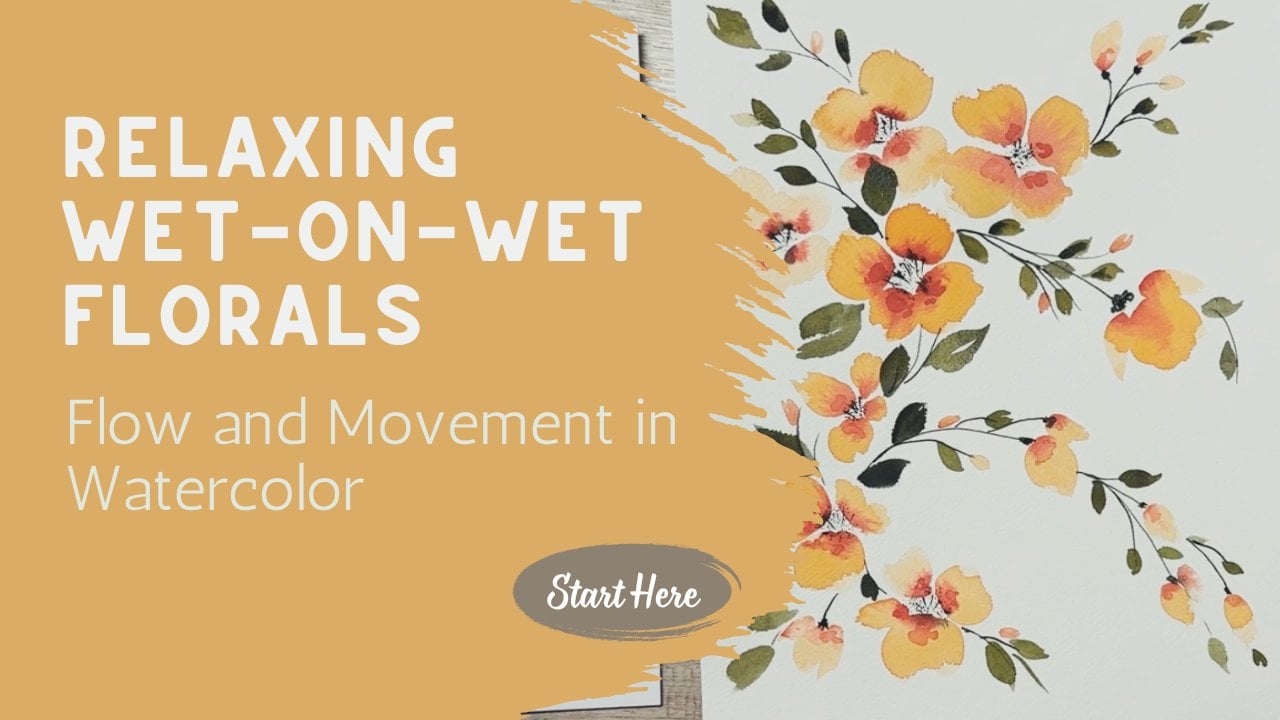
you're going to upload into the class area. I hope that you come back
for class number four, where we're going to explore
how to arrange flowers and make a balanced bouquet and start thinking
about composition. Because I know that one of
the things that's really hard it is deciding where
to put leaves, where to put flowers. Why did you choose to put
it there instead of there? And that would be something
that is probably one of the hardest things regarding art and regarding watercolor. I hope you come back
for class number four, where we're going to
be discussing that in detail and we're going to
be doing a lot of practice. I'm really excited
that you've been joining us in this class, and I cannot wait to see your different projects
that you've created. Have a wonderful day.
 Brenda Jones, Watercolor Artist & Teacher