Transcripts
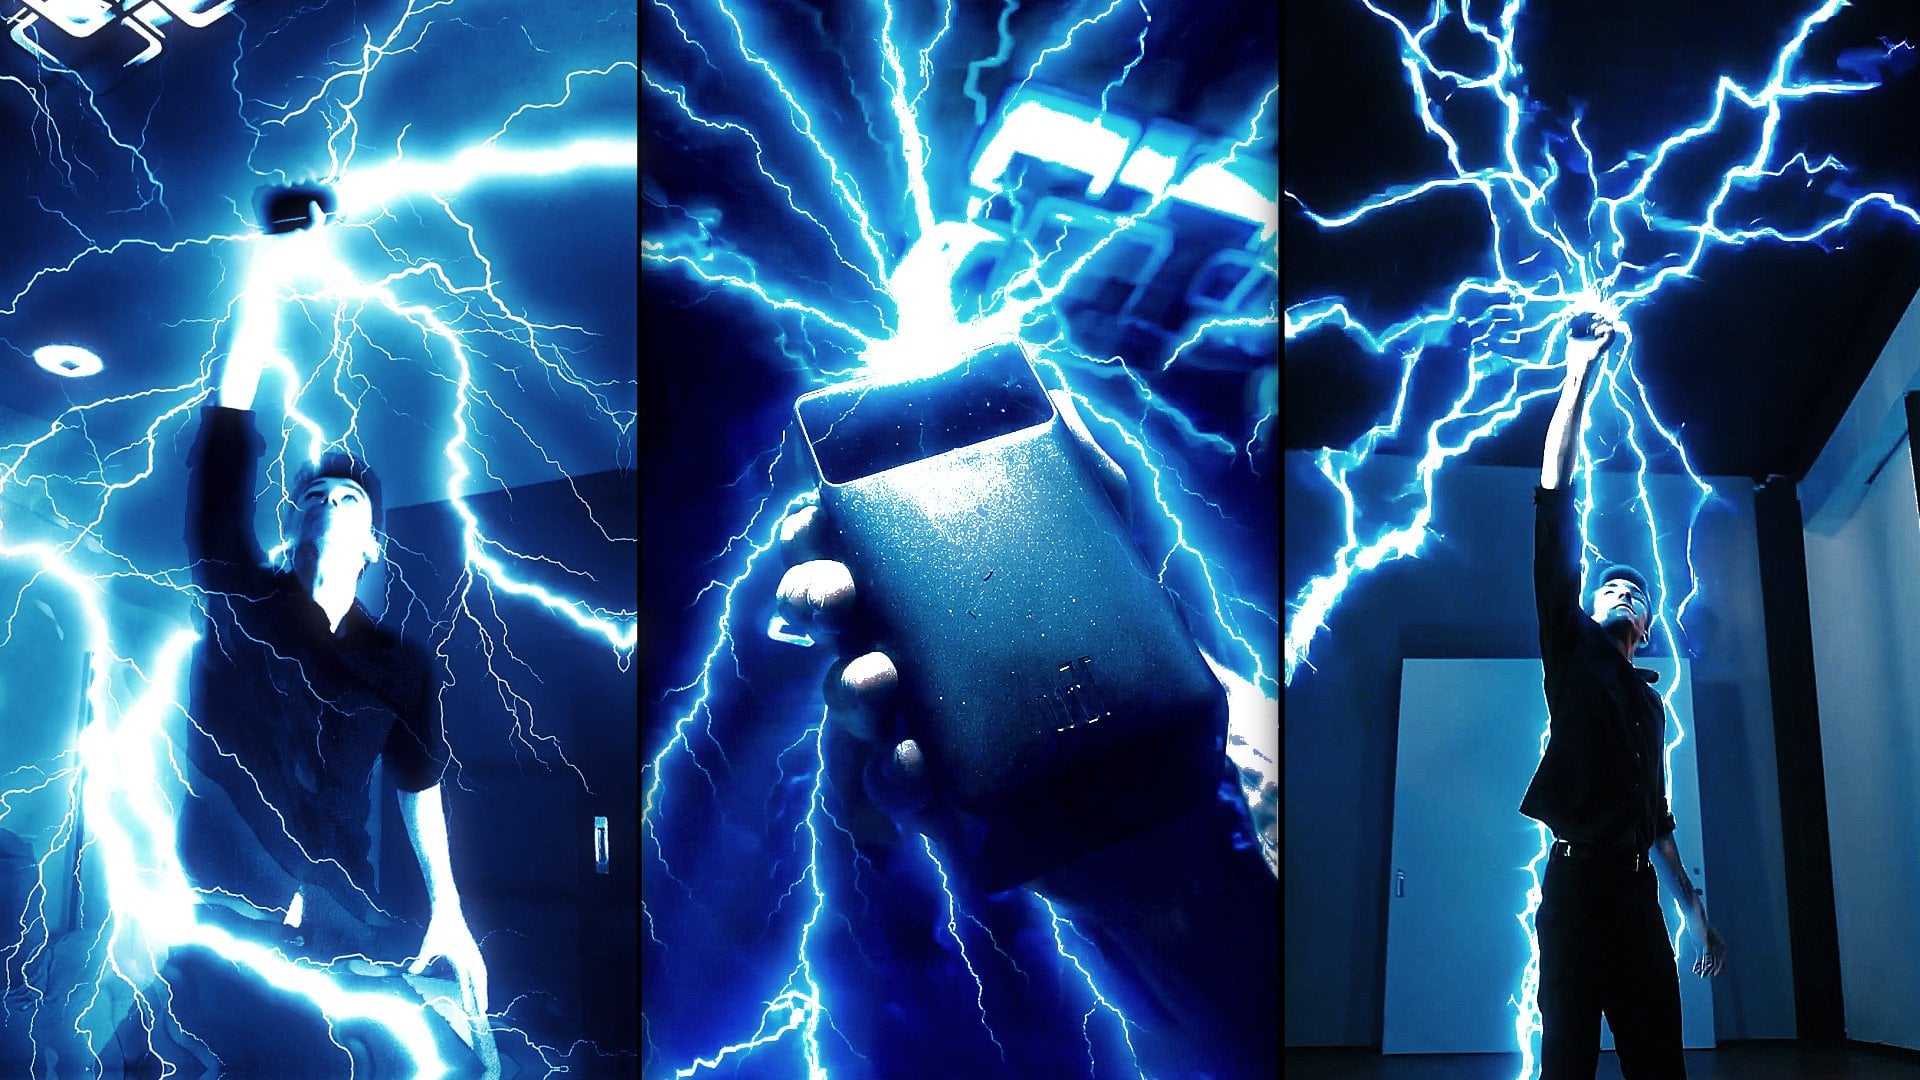
1. Introduction: Hi, I'm Jake. And in
this class I'll show you a free AA tool which allows you to change your
voice in real time. And use it in any application or messenger pressing
here to record my voice message in
any messenger which I want to record my voice message in any messenger which I want, it will resemble girl
voice even better. It will resemble girl
voice even better. You can even make yourself sing. I see the crystal raindrops
and the beauty of it all. I see the crystal raindrops
and the beauty of it all. When the sun comes
shining through. Though, I wish I
was special though. I wish I was special you. So very special. Just come running
home to you all too. It's come running home to you, It's come running home to you. Come running home to you. I'll show you how to
install and work with this tool to get the
best possible results. It is super easy
to use even if you didn't work with any
AI tools before. Best part of it is that it's completely free and
you'll be able to train your own voice model
to make yourself sing popular songs or
train voice models of your friends and celebrities
to convert your voice into their voice in real time
or record it if you want. I'll walk you through
its super easy and give you pro tips on how
to get great results. It's super fun to work with this free AI tool while creating entertaining music or
voice recordings for your social media and
use it in any app. I think it's the
best way to learn new tools while creating
interesting things for fun. And to complete this class, our goal is to change your
voice or make yourself think. Using this free AI tool. I'll be happy to see
you in my class as also your result after
following all the steps. So let's get started.
2. Important Tips and Installation: Best results from this class. It's good to have a good mic. You don't need to have
a professional mic to get the best results
from this class, But make sure to not use
the mics from your laptop. It's better to use even
microphone on your phone or just simple headset
or even cheap mic. There's nothing wrong to use a mic from your
computer or laptop, but the quality could
be not that great. Keep in mind that any
kind of microphone, which you can get closer to
your mouth would be great. In resource step to this class, you'll find this
notepad with the links. We are going to use
them one by one. Each of them will
get you the tools which will allow you to
train your voice model, to change your voice
to any other voice, including to make yourself sing. Also, we will see some
voice enhancers in case if you don't have a pretty good quality
voice recording. In those cases, if
you have some noise in background or some wind,
which you need to remove. Also, we are going to use these links to
remove vocals from music and also remove only instrumental part
and get some vocals. Finally, I'm going to
show you how you can use voice changer in real
time, prank your friends, or even to use in
Discord, Instagram, or any other app to change
your voice in real time. You simply will be able to send voice messages,
record yourself, and even play video games with this voice changer in
real time enabled. First of all, we want
to use this link. Just copy this link
and go to any browser which you have installed and just paste it and press Enter. As you can see, this
first link will get you to the
site hugging face. You need to download
this RVC archive. I'm going to download this one
which said upload RVC new. Just lick here, left most
click in it and just save it wherever you want on your computer and click Save. Let me skip to the moment
where it will be downloaded. So we will not waste any time of this class and
continue from there. If you have any questions
about this class, feel free to ask them in the comment section
to this class. You can just click here
on Discussions and ask any questions you might
have on any of my classes. As you can see, I'm trying to answer them as fast as I can. Okay, my files are downloaded. Let's open in the polter
in which we've decided to save our file and just zip it in any software
which you like. In my case it's Win
R. I'm going to just double click on it and
click and click. Okay. And just wait for this
process to complete. I also will speed
up this process. It will not take too much time. In my case, it took
about 2 minutes. Now, we can just delete this downloaded pile and we will left with
this folder which we, I'm going to delete this one. Selected and delete it. Let's open it. I
have two folders, so I can just cut it to press control X to cut it and
place it in this folder, while we'll not have too much of the same folder
and just open it, you don't have to do this, it's just my preference. Let's open it here. You need to scroll
down until you find this go Web but file. Just select it and left
most double click in it. It will run the software. Keep in mind that it could take some time to run
for the first time. You can click here, Allow. All the features of the
software will work fine. Finally, you'll see that it
will open in your browser. In case, if you'll see this
window in any other language, you can just simply
select any text, write, mouse click
in it and just translate it to
your own language. I'm going to choose English
and we'll click Translate. And also it will allow us
to translate all page. This feature is available
in Chrome browser. If you want to see the same
features which I have, you can just simply install
Chrome browser from the web. And it will allow
you to translate this page in any
language you want. In my case, I want to
translate to English, and I'm going to press
Translate the whole page. Okay, now we have
the page in English. This tab here will allow
us to change our voice. But first of all, we will
need to train our model. The second tab will be
for training our model. To train our own voice model, we will need to have
some audio files with our voice or the
voice of our friend. Or any celebrity. Just keep in mind that you
don't need to have any other voice
noises or any sounds. If you want to use
some voice and train this AI to some celebrity, it's better to use some
podcast where you have this crisp and clean voice
of your actor or singer, or whoever you want to
train this model on. In my case, I've used
my own voice and voices of my friends in
respect to this class. You'll also find
this sample voice, basically it's the example for you how your recordings
should sound like. Basically, it
doesn't have to have the noise or echo the
cleaner voice you'll get. The better model will impersonate the voice of the library which
you want to use. Let me open one of these files, which you can download from
Resource Step to this class. But it would be even
more fun if you will use your own voice or
voices of your friends. Just make sure to use one
person's voice at a time. Let me open one of these files. Hi everyone, It's me again now. I'm walking in the
Atom Safiski Park. As you can see, it's clear voice and we don't have any noises and background which is perfect to train our model on
these audio files. Basically, it's good
to have around from 3 minutes to 10 minutes
of audio recordings. The more expressions
and emotions you're going to have in your
voice recordings, the better model will sound. Make sure to have the
variety of difference in sounds of the person which you want to
train this model on. Because if you'll
have the variety of emotions like anger
or happy voice, or singing voice, it will
do great with this AA tool. And make sure to not use less than 3 minutes
of voice recording. Around 10 minutes will be great. By the way, in case if you
don't have a clear voice, you can always check the
second link which I provided, which is voice enhancer. You can just simply copy this link from source
to this class. You'll find in this
Notepad with the links. The second link, just copy
paste in your browser. It will get you to the website
here, if you will log in, you'll have this free
enhanced tool which allow you to upload
your audio files. And it basically will remove
some sounds from background. If you'll hear this example, the conference room
with the window open and it's pretty
echoy in here too. Not the best place
to record audio yet. With enhanced speech, all of the background noise
and echo is gone. You can see as I'm disabling, enabling this enhanced speech, you can clearly hear how
audio sounds a lot better. Keep in mind that
you have this link in case if you don't have a great mic to get the better quality of voice
for our model to train on. In case if you don't
want to record and take your time to collect these files with only
one voice of one person, you can just simply use
this sample voice which I provided to this class and
continue with this video. Once again, we will
jump in to this web Y. By the way, you don't need to close this window because this is basically where all
processes will be done. So make sure to not
close this window. And if you for some
reason close this, you just need to
go once again to your folder where you upload
it to your file zip it. Just run it again from
this go web file. By the way, you can
just write most. Click on it and click here. Sort options, just simply
click on Send to your desktop. It will create a shortcut
and it would be easier to find this file to open
it once you'll need it. Okay, once you open it, it will open this software. The next video, I'm going
to show you how to use this train model, see
in the next video.
3. Train Voice Model: Now let's train our
model once again, you'll need to open not this
first step but second one. Just select any text, write mostly in it, and translate to English
or any other language. Here you need just to
enter the model name. In my case, I can type
just girl voice, this one. As you can see, we
have only one option. Just leave it at
40 K, basically. If you find this overwhelming, just don't be afraid because in the main settings
will work fine. You just need to change only this model name and
then jump here to CPU. It will allow you to choose as many course of
your CPU as you want. In my case, I've left at eight, but you can go to more
if it allows you, but basically as
many you'll use, the faster process will be. I'm going to leave it at eight. Here you are showing to the software where to
find your audio files. In our case, you just need to download the files
which I provided, basically this sample voice, or use your own voice. By the way, if you just saved your voice in any other format, not wave format or MP three, you can always go
to Google and just type whatever format you had. For example, you just use
some format from Messenger, it's pretty popular now. Opus, you can just type
any format in which you have your audio recording and type two MP three converter. Basically you can online or your audio files in
case if you don't have MP three or just convert them into MP
three files here, set this route, for example. In my case, this route
is to my sample voices. I just left mostly here and
press control C to copy it. Then just simply select here
and press control to pass. Now software knows where to find all your sample voices
to train this model. Once you'll set your path, just make sure to click
on recycled data. Once lad up orange,
it means it working. And once it will stop lading up orange,
it means it's done. Now it's done. And you can see this pre process message
which means it's done. We can just move on to step two. Here we can choose wherever GPU you might have in case if
you have a bunch of GPU's, you can just simply use
any of these numbers, which will be
according to your GPU. In my case, it's zero because
I have just one GPU here. We need to use one
of these algorithms. You can see I'm using our
MVPEcuse. It's the best. And it's up a bit
of CPU and GPU, which means it will
work a bit faster. If you have pretty powerful GPU, you can just add a bunch
of zeros just like this. I've set it to five
zeros and it's important to set between
them these dashes. In case if you have slower GPU, just leave it as
default like this. Then just click on
pulling out the features, just let most lick it. As you can see, this
process also started. You can just stroll it down. Basically, it will
cut your voices, which you provided
to smaller pieces. It would be easier for
this model to work. As you can see, it doesn't
light up orange anymore. If you'll scroll down, you'll see this
all feature done, which means this
process is complete. You can also verify here. Now we can go to final
step, which is step three. Here we can set
how often it will save the progress which will
take to train this model. In our case, we
want to set it to something 200 to 300 epochs, which basically means the steps. How much steps this
I will take to train itself and becoming better at impressions of the
voice of your person. Something 200-300 will
be great in my case. In preview to this class, I've used a model which
was trained on 300 epochs. But to save the
time of this class, I'm going to say it to ten. But make sure to
choose value something 200-300 to get a good model. In my case, I've set it here to 100 because this software
doesn't really crash that much. But keep in mind
if it will crash, you can just adjust how often it will save the progress here. You can just select
how many gigabytes of your GPU it will use
to train this model. In my case, I have
8 gigabytes of GPU. I've used something like 6 gigabytes because
I want to leave two to 3 gigabytes for this video recording and
other processes on my PC. It's a good idea to
use something like 50 to 70% of your GPU. I'm going to set to five for now because I'm also
recording this video. We need to leave some
gigabytes for this here. The default settings works well, just leave it as this. Next button which
you want to press is Train Trade Index
left, mostly here. And after this message
will be complete, you'll be able to find this index which will
be important later. Next step will be to click
on this train, the model. This step will take some time. In my case, it took
me 2 hours on my GPU. Keep in mind that once
you'll press this button, you can just leave
your PC for a while. It will go through all these
parks which you'll set, just left most licking it. And the process will begin
here in this command panel, you're going to see some
processes has been started, you'll see a bunch
of these messages. It's perfectly fine
at this point. You can just leave
your PC and just check back on it to
see the progress. Basically, you'll
see these epochs. If you'll set to
300, just wait it. So it will get to 300. As you can see, it
started first epoch. In my case, it will take about
20 seconds on each epoch. Basically, for my laptop, it takes about 2 hours to train one model once this
process will be complete. You'll find here in
your RVC folder, you can go to weights and
find your model here. I'm going to skip
this process and get back to you once these
epochs will be complete. Once you 200 or 300
epochs will be complete, you'll get this success message here in your RVC new folder. Just open it, go to weights, here you'll find girl voice. In case, if you'll set this
safe frecuancy to five, you might find a
bunch of these files. Basically what you
want to do is to find the file with the
name of your model, it's basically the final
one with the best quality. Or just simply find the model
with the highest number. For example, E 300, which means it got
to 300 epochs. This file, which you're going to get with the name of your model, will be imported to the next
video in which we are going to actually use this model
to change our voice. To the next video, I'm going to show you how to
use this processing model to actually change our voice to our trained model.
See in the next video.
4. Convert Your Voice: Okay, now we want to use
this processing models. So let's click on this tab. Here we can actually choose our model
which we want to use. Basically, you can just
left Most Lick here. It will update the list. Here you'll find
your voice model, which basically it takes from this weights folder which I've shown you in
previous video. You can just simply
select from this list, your model just
left mostly on it, and it will load up so you
could work with this tab and convert your actual voice
to your voice model. I've decided to run all 300 Epacs to get
the better model, So I'm going to click
here on Update the List. I'm going to find our model which run 300 Epax to
get the better quality. Here we can just leave it as is. And here we can just select
the octave of our voice. Basically, if you are changing your voice to female voice, it's good to set this to positive value to
about 12 as maximum. If you are feeling like your
voice is still too basic, it has too much base in it, you can just raise up
to six or nine or 12. You're changing your
voice to female voice. In case if you are female and you're changing your
voice to male voice, it's a good idea to go
below zero, minus six, minus nine or -12 Keep in mind that you can change it to get the best possible result. By the way, you're
going to see that this part works super fast. It would be a lot more
fun to use it because it basically takes less than
1 minute to convert it. And you'll be able to play around with the
species to change the octave and get really
great results from this list, you can also choose the index which we've
created in previous video, just like this girl voice or any other voice model which
you created and set it here. By the way, if you
will leave this blank, it will still work. Finally, what you want to
use is different algorithms. And this one which I've used the most because it gets
you the better quality. But you can play around
with these ones. If you want to see which one works better
with your computer, feel free to use
any of those and see what works best
with your model. Once again, you can
just read this text because it's pretty
much self explanatory. For my preview, I've
used this MVP model. Finally, what you
left to do is to specify the route to
your MP three file, or a file with your own voice. Also, in resource to this class, you're going to find this
wave format of my voice. This is basically the
sample voice which you can use to check your model on. Basically, this is the
voice which you can record yourself and change it to any other voice using our model which we've
trained from previous video. Let's hear it how it
sounds originally. This effect we will
create right now. Basically what we want to do is to copy this route to this file. Let's just selected Empress
control C to copy just here most and then control C. Once you've selected
all control C, let's select empress
control V. Also, you need to type and copy the name of this file
which you want to convert. Let's copy it also. Press control El
to paste it here. Just type that in any format in which
you have your voice. In my case it's a format, I'm going to type it here. Finally, we can just
simply click convert. By the way, if you've
got any errors during this process
or in previous video, you can always just
simply refresh this page. Once again, just make
sure to translate it to your language and choose
your voice model. Just update this list
and choose your model. Sometimes it's better just to leave these settings just blank. Once again, let's
specify our path, in my case is valve, but it could be
MP three as well. I'm going to change this
algorithm to our MVP. Finally, just convert.
As you can see, now we are not
getting any errors. We can finally hear our result. This effect we will
create right now. As you can guess, my
voice is pretty deep. I would need to change the
pitch to higher level. Let's set to six
and click convert, and let's hear the result. This effect we will
create right now. As you can see, it's
much more girl like, so you can just play around with this number to get
the better result. Let's click convert
once again at four. This effect we will create
right now, as you can see, we can get a much better
result as you can guess. The closer voice to
your actual voice, the better result
you're going to get. In our case, we've used the model training just
on these three files, which are about 3 minutes. Keep in mind the more examples of the voice you're going
to train your model on, the better, not robotic voice you're going
to get as a result, this effect we will
create right now. In the next video, I'm going
to show you how you can use your trained model to
actually make it sing. In the final video,
I'm going to show you how to use it in real time. See next video.
5. Make Your Voice Sing Any Song: Video. I want to show
you how you can just remove any vocals
from any songs, place yourself into any
songs which you might have. It's pretty fun tool,
let's try it out. In our notepad, you can find
these two links basically. First link will
allow you to remove vocals or only take
instruments from the music, but it allows you to do this
task only one song a day. On the second link, you'll be able to make
more than one song. Basically, you'll
have this choice on which side you want to use, but results are pretty similar. Let's copy this link and go
to your browser past it. And just browse
your favorite song, which you want to place
your voice into the song. In my case, I'm going to
use this Bill Irish song. Just select any song
which you like. Lets click and open. Just wait to load up. It will take some time. It will process your audio the same you can do
on this other link. Just copy it and paste
it on your browser. Once again, you
can just translate the site to your language,
which you might like. Click here and select your file, basically, you can just
select any songuage you like. It also will process it. As you can see, the site
already processed it. And here you can just hear
the music without vocals. And here you can just
hear only vocals. If I'm going to
lower this volume, and up this volume you can
hear the vocals from bed. Might have been a nightmare
to anyone who might care. Basically, this is
how you can separate any songs, vocals, and music. Here you can just save vocal a separate folder and also save the
instrumental part only. Music Exactly the same you
can do on this side as well. As you can see, you can download the music or
download the vocals. What we can do with the music
and vocals at this point, you can just jump into our RVC, A tool, and basically specify
the route to our vocal. In my case it would
be this route. I'm going to select it and
press control C to copy it. Go here and paste
it. Type slash. Also we need to find the
song with only vocals. This one, Select it, copy the name of it,
and paste it here. Let's also find out in which
format it is recorded. Let's write most. Click in it and
go to Properties. As you can see, it's
MP three format. Let's also type here
MP three format. Just like this, Select
any model which you have which
you've trained here. Let's choose this mail one
because it would be more noticeable that we've
changed the Irish song to mail one and just
simply click convert. As you can see, the bigger
file you're going to feed, the more time it will take. In my case, it took
about 10 seconds. Let's just click ply to hear it. Everything. As you can see it is too high. Maybe let's set it to
-12 and click convert. Now as you can see, it
sounds a lot better. Now you have this male sound. Basically. Now you can use any editing software
which you have. In my case, I'm going
to use Premier Pro. But basically any
software will work because at this point
we want to select our music and combined
with this convert version of our voice to mix our
vocals and music together. To save this final result, you can just click here on
these dots and click Download. Download it to any folder from which you will import to
your editing software. In my case, I'm going to
download it here and college, just voice In my case, I'm going to use Prempro
to mix it together. But you can pretty much
use any software which you are using to edit
your videos or audio. I'm left most double click
here to import my piles. Basically, I want to upload our converted voice as well as our instrumental
part of the music. Let's just left click in
it and drag and drop on our timeline and also our
voice. Now let's hear it. I got everything might happen when you say
as long as you, this is how you can
basically train I to use your voice
and make it sing. By the way, keep in mind
that if you're going to set this to minus six, if you will want to lower
the pitch of your voice, it might not go well
with the music. In this case, you just
want to go to -12 or plus 12 if you want to
get your pitch higher. Because another case
you can just miss the tone and it will not
go well with the music. Just make sure to
lower it or keep it as is at zero or lower it just to -12 if you'll need
to sound it a lot lower. It's pretty fun tool to play
around with and make sure to share with me and create a project to show what
you got as a result. Also, you can always
ask questions and discussion section
to this class. Finally, in the next video, I'm going to show you how you can use this model which we've trained to change our voice in real time. See
the next video.
6. Voice Changer in Real Time: Finally, we can open our Notepad
and see these two links. First link is to actual
software which we are going to use to change
our voice in real time. Second link will be to this driver which will allow
us to change the voice, use it as input. So we would be able to talk in real time using
any Messenger, Discord, Instagram, whichever
app you have in real time. Basically, it will
have a little delay. But I'm going to show you how to use it to get the
best possible result. Just simply select
this first link, copy it, go to your
browser and paste it here. You'll get to this site. Make sure to click here
on Files and Versions. In my case, I want to find this Windows version because
I'm on Windows and also I'm going to use Da
version because I have any video video
card at this point, you want to use the latest one. This update was shortest for me, it's only two months ago. I'm going to click
here to download this version and
save wherever you want on your computer
and click Save. Once you downloaded your file, it will look like
this, a Z file. You can just open it, basically, you can just copy it to any other location which
you want on your computer. I just copy it here
into this folder. Then just open it. We can go to the second link which we also need to download. Just copy this link. Go to browser, press control V to paste it and just
download the file. I'm going to download
this Windows one because I'm on Windows
and once again, save wherever you want on
your computer and click Safe. Here is my driver which
will allow us to use our real time voice changer with any other app and
then just write most. Click in it and click Extract. All it will extract and same folder just like this
and just open it, find this VB cable set up x 64. It's really important to
right mouse click in it and run as administrator
because it's drivers. And you can install it only
with administrator Xs. As you can see, I've
already installed it. Mine shows removed driver, but in your case it will
say install driver. Just left most click
in it and close it. Okay. Let's open
our voice changer. Just locate this, Start HTTP, not HTTPS and just left
mo double click in it. This process will take some
time because it will need to load up any files
which you don't have. Once it will download, it may take up to 10 minutes. It will start the software. As you can see, the
second time opening of this software will
take a lot less time. Just keep in mind that
only first opening will take a bit more time. Then just click Start. Here we have a bunch of presets. This software is
great because you can actually use your
own train models, which we got from previous
videos of this class. Just use it inside
of the software. As you can see here, we have some examples. But in our case, we want to use something which we
created by ourselves. To upload it, we can
just click here on Edit, Then scroll down to
see this blank space. We can upload our own models. Let's let most here we need
to select the model itself. Click here on Select File. Now we need to go to this RVC, which we've downloaded from
first video of this class. Find this folder
weights. Let's open it. Let's use this PTH file with our model,
which we've trained. Click open here in index. We need to select file
also in this RVC folder, which we've downloaded from
first video of this last. We need now to go to this log folder in here in girl voice,
which we've trained. We need to select this index, this which called added, as you can see it has
this format index. Just select it and press open. Finally, click upload.
Let's close it here. In here in this list, you can find last one which
we've added, just selected. As you can see, it
just slowed up. Here we have a bunch of
settings which we can adjust. First settings which you need
to know that you can use any algorithms which we sit
before impivious AI tool. But the main thing which
we need to remember that the first one is faster, but it will get you
the worst quality. If you'll go down step by step, it will get the better quality. But it will have some delay. Mike, I like to use this. The best one which
it has, this one. Here, you can set it to 192. As you can see, it will have
a second of delay here. At extra, you can set it to 16,000 which is medium quality. Here it will set to your GPU. As you can see, you
can use CPU as well. As higher you go here, the better quality you'll get. But it will have much
more delay maybe. Let's go to 320 here. You want to change
to your input. In my case, it's microphone, which I'm using to record
this video output. Let's set it to my
speakers of my laptop. We could hear the
output once again. Here you can just
select your input, your microphone,
which you are using. It's better to not use just your built in microphones
of your laptop. If you're on laptop, any external mic will
work better output. Let's add it to your speakers. Finally, you can just
click here on Start. It will start changing
your voice in real time. I'm going to click Start now. If I'm going to speak,
it will have some delay. It's better to wait a bit. It will low up better. Better. As you can see, we have a bit more basic
voice here in tune. Once again, we can crank
up like maybe a 26. Our voice will be softer. It's good to keep in
mind that if you are changing your male
to female voice, it's better to talk subtly. It would be more resemble
to female voice. For example, I'm going to
speak like this and more like this because we want to have more resemblance
with the female voice. Let's click, Start here now
I'm going to tackle this. I'm going to tackle like this. As you can see, now
it's even higher, maybe, let's set it to, maybe, let's set it for, let's talk a bit more softly,
a bit more soft. Simply by changing these values, you can get a better result. A better result. Now you can basically hear
yourself almost in real time. I'm going to press
on the Stop button. We will not duplicating
the voice, but next step, which we are going to use, is to change it to cable input. If you cannot see
the cable input, it means that drivers which we installed doesn't work yet. And it's a good idea to
restart your computer. Once you'll restart
your computer and open this voice changer, you'll be able to choose
this cable input. Basically what it means that we are going to speak
to our microphone and it will be outputed to
this virtual microphone. Why we need to have this
basically because if you are going to use Discord or any
other messenger or app, we can just simply
write mostly here on our inputs and outputs, controls of our operating
system case it's Windows. Let's write one click
in it and let's open sound settings here in input, we can change it
to cable output. What it does,
basically it will take our voice from our
microphone and we'll plug it to this
cable virtual driver. With our settings
of our microphone, we are telling to our
windows that it should take our voice only
through this software. Basically, if I'm going
to open any messenger, in my case it will be telegram. But any other messages will work fine if I'm going to press
here to record my voice, voice message like you
could do in any other app. It will take voice from my microphone and plug
it in into the supper. And we'll change
it. Just keep in mind that you'll
have some delay. Basically if I'm
going to click Start, it will start to
transform our voice. Basically, if you want to record the voice
message to someone, you can just simply
start talking and clicking on this
record voice message. Let's try it out. Now I
started talking and pressing here to record my voice message in any messenger which I
want if I'm going to attack. So it will resemble
girl voice even better. Let's click here to send it. Now let's check the result. Now I started taking and
pressing here to record my message in any messenger which I want, if
I'm going to at. So it will resemble
girl voice, bet. It basically changes our voice. And you can use it in
any voices even if you are recording your voice for the stream or any
other platform. If you'll get the
set up in which your microphone is output
into this virtual cable, in your sound settings, your input set to cable, it basically will change
your voice in real time, but with short delay of half a second or
maybe even 1 second. This is basically
how you can use your model in real time. Once you want to stop using it, you can just click here on Stop and just close the
software here. You can open these
sound settings and switch back to
your microphone, which you used to have. Now everything comes
back to normal. Let's test it. I'm
going to record myself. I'm going to record myself. And as you can see,
it works well now. You can just submit your
project or ask any questions in discussions to this class if you have any questions or you
need some tips for me. And also here in
projects and resources, just make sure to submit your project and share
what you got as a result. I'm really excited to see
what you come up with. Also, feel free to follow
me here on Skill Share. I post classes every week. As you can see, I have
a bunch of classes on VFX using Adobe after Effects. If you're going to
click here on More, you're going to see that I have a bunch of a variety on VFX. Also here I have
this new classes this month tab in which
you can see the latest. As you can see, a
bunch of these are on pre AI tools as well as I have fundamentals to
Adobe after effects, complex VFX log animation, even venture resolve
classes, and much more. Feel free to follow me here
on skill share and I'll be happy to see you
in my next class. Thank you for watching.
 M Jake, Lets Create VFX & Cool Stuff Together