Transcripts
1. Introduction: Hi, I'm Jake and in this
class I'll show you how you can easily swap faces
using a free AI tool. You'll be able to install
this tool in just one click. It is super easy
to use even if you never worked with
any AI tools before. Best part of it is that
it's completely free. You'll have three modes to swap faces on images,
gifts, and videos. Also, I'll show you the way
to control the software to swap faces if your video has
more than one face in it. I'll walk you through,
it's super easy. I'll share tips on how
to get the best results, and I'll show you
examples and mistakes which you should avoid to get
the best possible outcome. It's super fun to work with
this free AA tool while creating fun videos for your social media
and effects work. I think it's the
best way to learn new tools while creating
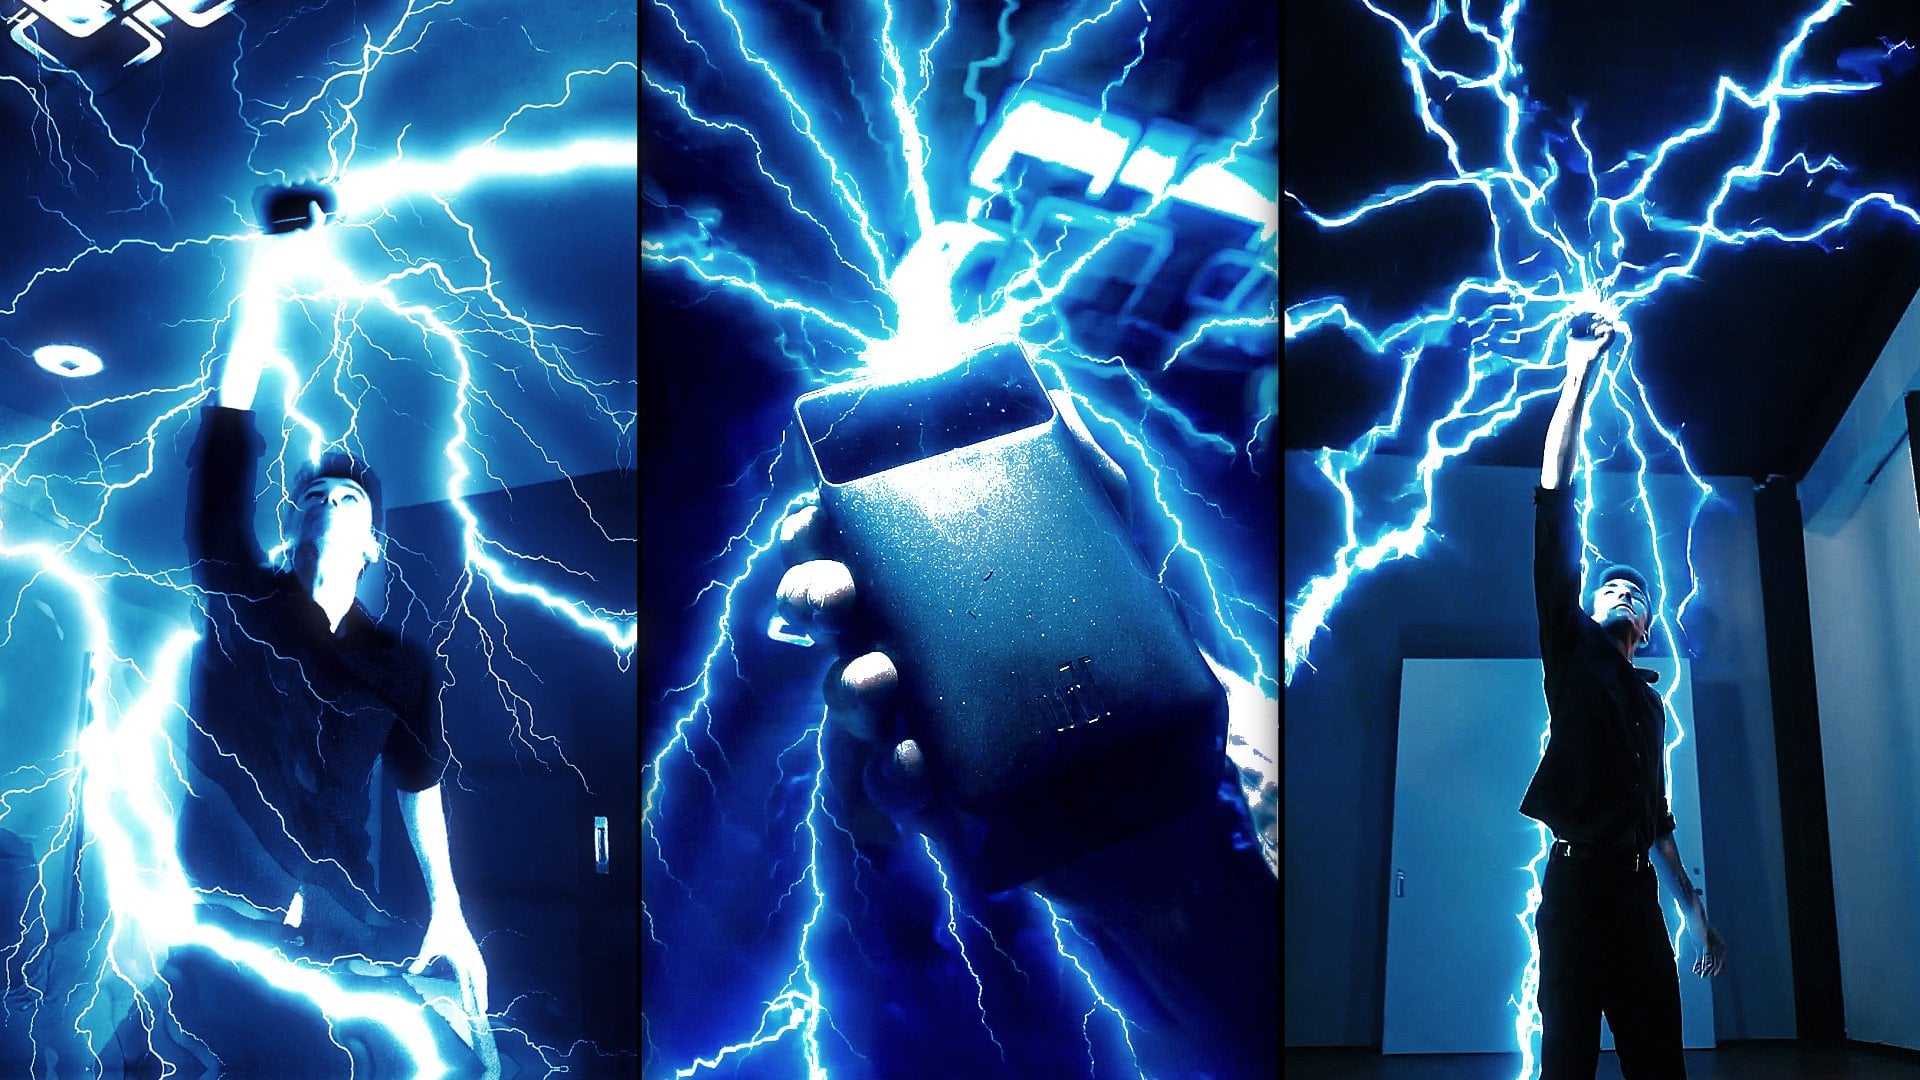
interesting videos for fun. And to complete this class, our goal is to create these swapping faces
visual effects shots. I'll be happy to see you in
my class as also your result, after following all the steps. So let's get started.
2. Downloading Software: Okay, first of all, you
need to download zip file, which is available in
resource step to this class. Inside of it, you'll
find these images with which we are going
to work with and also this notepad
with the links. Just open this notepad and here you need to
follow this link. Let's copy it here. Below are just literal
instructions in case if you will forget
something from this class. Let's copy this link and just select it and
press control C. Then open any browser of your choice and paste
it here. Press Enter. As you can see, it will send
you to this cloud storage where you can just
download this software. The best part that you don't
even have to install it, you just need to download it and just unzip the folder
and just run it. Let's click download. Simply
save it wherever you want. As you can see, I
already saved it, so I'm just going to close it. Also, it will take 3.5
gigabyte of memory. After zipping, it will take
seven to eight gigabyte. This is something to have
in mind that you need about eight gigabyte of
memory to use the software. Here's some commercial pop up, so you can just close it and
close this site as well. This is how would look
your downloaded pile, You can just open
with any software. In my case it's R, but you can also
use seven zip or any other unzipping
software you have. Just simply select
it and drag it out in any folder in which you want to
have your software. Let's just open it. After
you zip your folder, you'll find already working app. Basically, you don't
need to install it. This is why it's called portable because it doesn't
require you to install. You can even store it on a flash drive basically
to run the software, you just need to find this file. Start Portable Invidia. As you can guess
by the name of it, it will work the best on
Nvidia graphics card, but you can also
use it with CPU. Let's run it and
I'm going to show you how you can
switch it to CPU. Just left most double click on this start Portable invidia. It will start this
command window after it. It will run the software
in your web browser. Basically the interface of this software here
in performance, you can switch it to CPU. If it didn't work for you, just leave in comment
so we would know if the software works on just CPU. But in case if you have
Vida graphics card, you should stay on Uda here, which basically means
it will render from your GPU and it will give
you the fastest result. The next video I'm going
to show you all the Y of the software and we will start swapping pass. See
you next video.
3. Image to Image: Now we already
have our software. Let's go to this first step. It will run it as
is when you double click on this Start
Portable Vida Shortcut. This is basically super
simple interface. To understand
better, we are going to generate first swapping. You could see how
the software works. For example here
in source space, just let most click here. You can go to the resource
step to this class to find all the images
which I provided. As you can see, we
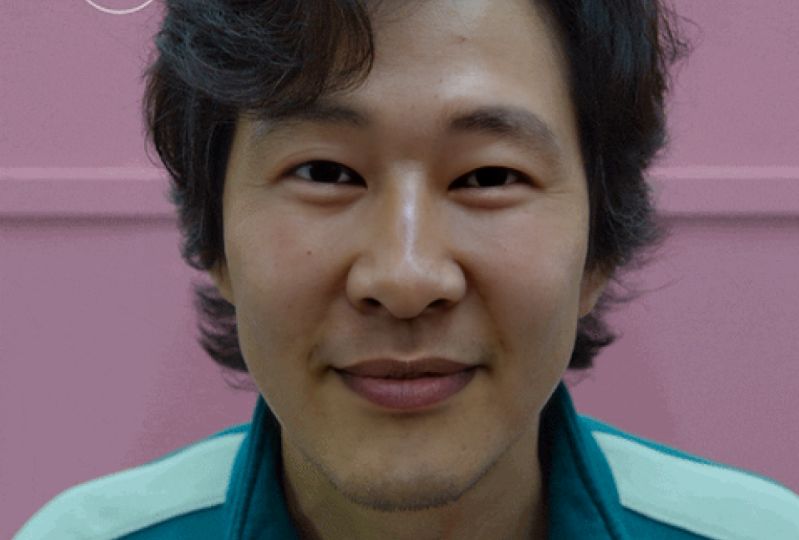
have this test image. But keep in mind that you can just take a photo of yourself. Just make sure that you have
it entirely in your frame. And by the way, the second
link in resource step to this class will get you to
the free online crop in site. In case if you don't want to take new pictures of yourself, you can just use old
ones and just scrap it. You would have similar
picture to this, basically just good
shot of your face. It's much more fun to use your
own face than to use mine. Just take a moment and
take a photo of yourself. Then go back to our
software once again. Here, an input here, source space, click here
and just select your face. Or if you want, you can just choose mine to learn
how the software works. By the way, this picture
can be a smaller size. It's not have to
be super perfect. Even camera on your phone
should give enough quality. Let's let double mouse
click on it to it. As you can see we've
imported here. By the way, if
you'll get an error here where we are going
to swap our faces, sometimes you can get the error. In this case, you need to
use different source phase. Basically, you just need to take a photo of yourself in
different lighting. Because sometimes lighting on your face can confuse
the software. If you'll get an error, just take another shot of your face in different lighting. Next thing which you can
use is image swapping, video swapping, and directory. What these types means
is you can guess, it takes this phase
which we are provided, and here we can just
click and choose other phase on which we
want to map ourselves. For example, here
are gifts or Fs, wherever you want to color them. But we can also open it. As you can see, it's a gift. But if you're going to
click here on Swap, you can see that we
already have results. As you can guess, it's really
easy to use the software, maybe at this point
you want to ask yourself why this class
is taking so long, basically because
I want to show you all the properties of the software to get
the better results. This first one is
image to image, which is super basic one. But here we can also talk
about the main things which you need to remember
to get a good result. First of all, it's
great when shape of your face is similar to
what you want to change it. Because as you can
see, it works great when shape of the
face is similar. Unlike if you are going
to use different face. For example, I'm going
to use girl face. And let's see what results we're going to get. Just click swap. As you can see, it
doesn't work as good if the shape of
the face is different. Because it's trying
to stretch and shrink the face on top of this face and it doesn't work this well. First thing which you
need to remember to get the best possible outcome, you need just to have a similar shapes of the heads
of people you want to swap. But don't be discouraged because
sometimes it works well. Feel free to try,
and by the way, if you want to know where
it saves our progress, it always saves in this output
folder, basically here, you can change it to any place
which you want to save on your computer or just simply
copy and open your computer, Paste it here, and press Enter, and you'll find where
these results are saved. As you can see at
this time it just saves these images
in this folder, but you can use
this result folder. As you can see, I
have a bunch of examples which I've
tried and you just can copy this route
and paste it here. You would know where
this output will go. The next video I'm going to
show you how you can swap your face on a video or give like this, see
in the next video.
4. Better Quality: Okay, so now we know how to
use this image swapping. We can go to past process and get this result even better. Let's jump to this past process here we can use phase enhancer. Basically, you can use any of these phase
enhancers, basically, you can try all of them, but they all pretty much get you the same kind of
result or very similar. But this one is super fast. I recommend you to use this one. With this opacity, you
can manipulate how much you want to apply
of this phase enhancer. Let's click swap to
see how it applies at 100% As you can see, it will take a bit more time, but it gets you much
better quality. You can always drop
it to 40% like this, 0.4 and click swap. As you can see, it
applies less of it. In most of the cases
which I've tried. It's better to use it 0.5 It will not ultra
sharp your face. Now as you can see, the quality is pretty much believable. Also, we have here advanced
options like face mask. Basically if you will,
enable this face person. And basically from this list, if you're going to click
here along this cross, you can find all of
these features which you can enable to show
better how it works. Let's just remove this left eye and right eye and click swap. As you can guess, just by removing some of the
parts of the image, you can just leave original eyes and swap the rest of the
phase, which is pretty fun. And you can basically
play around this and basically control
even to the eyebrows, what exactly you want to
swap, which is pretty cool. But for this class
we are not going to use this phase
parsing because basically we want to have all of our face on another subject. Let's disable this and let's
move to next useful thing. In this tap of P process, you can just simply dielected
here and just close it. The next thing which you
want to use is mask blower, Let's swap once again. And in some cases you can see the transition between
your face which was generated to original face on which we are
swapping our face. In this case, it's a good idea to increase this mask blur, maybe even to 50%
and click swap. And just take a look here at this transition point
because it will blur out even more.
So click swap. As you can see, this transition
is even less visible. Next video, we are going to
place our face on the video. A lot more exciting than just
using pictures text video.
5. Image to GIF: In this video we are going
to swap our face to a video. Let's switch to video tab. Basically, here you can
just let most leak and choose from videos which
I provided to resource. Tab is less, but
basically you can just use any video
from Internet. So you can even go to
Youtube for example. You can once again type
Metrixme, which I've done it, and just simply open any of the scenes of your
favorite movie or video. You can just simply click
here and delete all of this. Even the dot here and
press S on keyboard. Basically it will
transfer you to site. Just make sure to delete
all of it even with the.it should state
Youtube and so on. Once you press Enter, it will take you to
the site where you can just download the
video which you want to use and just lick download or right
mouse licking it and saves. In any other editing app, you can just simply cut the
part which you want to use. This is why in my examples,
if you will open it, you can see that it's
pretty short videos because this software is pretty fast and it works well with
any video GPU. With the CPU, it will
work a lot slower. The longer video you'll feed it, the longer process will
be of swapping pass. It's a good idea to use
not more than 15 seconds. If you need more, just make more short videos and swap pass. In this case you'll get faster
results for this example. Let's use example one. As you can see, I've marked
good, bad and medium. Basically here I'm going to show you the best possible scenario, the bad one, and also
the mediocre one. By the way, if you will
change here to all files, you can find even gift files. You can just find any gift which you like and also use it. It's not have to be video
gifts. Works as well. If you want to find some gifts, you can use some sites like Gifs can see this first
one come up here. You can just type any superhero like Iron
Man or any person, and find some gifts to
replace yourself to. But in my experience, it's much easier to
find scenes from Youtube because you'll get better quality than from gifts. Once again, you can open video files or
just click here to all files and basically
use gifts if you want. In our case, I'm
going to use video or let me show you how
it works with gifts. Let me open this one
or this example. By the way, on gifts, it will not show up. Here with videos, it
will show up fine. But don't be afraid because if you're going to click
on this test swap, you'll see that it works perfectly fine but just
doesn't show it here. Test swap, which is
pretty handy button, You can see the result
and it works well. If you're going to
click on Set Range, it will allow you to scroll
through your gift like this. Also swap the pace. As you can see, it
works pretty well. Once again, it works
pretty well because the shape of this actor is
pretty much close to my shape. This is why the
swapping works well. Always keep in mind that
you need to swap your face, any face which are similar. In these cases, you'll
get the best result. Once again, specify your output where you want to save it, simply just click swap. It will take some time and
feel free to come back to previous video to remind yourself how to use
this pros process, which will allow you to
get the better result. In this case, it
looks pretty good, but as you can remember
from previous video, you can drop this opacity if this image of your
face is too sharp. Basically you want to match
it with your input video. Let's press play. And as you can see, the
swapping work perfectly well. If you will drop this opacity, you can click swap once again. Once again, it will
take some time. As you can see,
this time it gave me the error to easily fix it. You can just click here and just scroll through and
delete the last results. Just like this, press
delete selected, and press delete and
try to swap once again. Now as you can see,
it worked perfectly fine with this
lowering of opacity. You can see that image
is not too sharp, but it looks a lot more believable because it matches
the quality of this gift.
6. Image to Video Easy: Now let's go to input folder and choose not a gift but a video. Let's use this example
video, which is good one. Let's open it and as
you can see with video, it shows us this
preview even here. Once again, you can
click this set range and click Test Swap. Now as you can see, we can
just simply jump through this video just like this and make sure that
the swap goes well. This is basically the easiest
way to check if your face swapping good on your video in case if it does look weird. It means that you need to choose either kind of video or actor. Because it means that your
face doesn't really match with the face of the actor and you'll get less satisfying results. In this case, it worked well. I'm going to click swap and I'm going to skip this process, so it will not take too
much time of this class. Let's see the result. We can get pretty convincing result, but let's recap why
this worked so well. Basically because our actor doesn't rotate his head as much, which is perfect for
this swapping AI tool. Next video, I'm going to
show you hard examples. If our actor will turn his face like 90 degrees to the
site how it will look. But this is basically the
best possible scenario is when your actor is looking
almost straight to the camera. In these cases it will work
pretty cool as you can see, you see in the next video.
7. Important Tips: Now we saw the best
possible example in which this software shines and
gives you pretty cool result. Even if you will open
it on full screen, you can see that this result
is pretty convincing. This is the best possible
result only because the perspective of the actor
in your photo is matching. Let's try a bit harder example. I'm just click here to close it. And let's import other videos. Let's import this
example to bad. Basically why this example
can give you bad results. First of all because
if something will be on top of
the face hand here, it will warp our swapping. If your actor is turned to the side and we
will see his profile, it will assume how
your face will look at this perspective. In these cases it may
work not as great. Let's not just talk about it and click swap to see
how it would look. You can also set range
as we did before. Choose any frame to
give it a test swap. Click here, as you can see, we already have a
bunch of issues. It did pretty good job here. As you can see, even if our
actor is turned to the side, but once again the
shape of head of this woman is not quite as mine. So this is why it
worked a lot worse. And we will have some issues here which I want to show you. Let's press swap to
see the whole video. I'm going to skip this process, so we will not take too
much time of this class. Okay, now we have our result. As you can see, we set
it here as default, all phases, this is all phases in the shot were
swapped with this phase. Which is pretty funny result. In some cases maybe
you want to get this kind of result once
again in post process. You can increase this enhancer, which you can choose here to get more sharper
face or decrease it. But let's take a
look at what kind of issues we have. I'm
going to press play. As you see, it worked
pretty good on the face, but when you have something
on top of your face, fingers, it will not work as convincing because
as you can see here, you can see some
warping on this face. I'm going to press play and you can clearly see
warping on this face. This is a problem. This is what you need to
keep in mind that this swapping software
will not work great if something is
on top of your face, it works mediocre if your
actor is turned away. As you can see, this
quality is not the great. Once again, you can go to
past process and increase the capacity to 50%
and swap it again. But as you can guess, it
will not make the problem go away with the warping pace if
something is on top of it. Once again, if you are
getting the error, you can just click
here and delete less renders or just move
these files into other folder. In my case, I just want to
delete the last renders, close it, and click swap. By the way, it's a good time
to say that this model we will not change because it
works the best possible way. So basically this type of model, you just don't want to
change from time to time. It can give you an error. It doesn't mean that
it doesn't work, it just gave you an
error to preview it. But if you're going
to click here, you can still see that work
is being done. And open it. Now as you can see, we did much sharper face just by changing this past
process to 50% My advice is to use it
about 30% and don't go over 50% 0.5
should be the max. Also about this model, you can change the phase scale. If I'm going to click test swap, you can see that our
faces are decent size. But if you're going to change this phase scale to bigger one, it will be more visible. If I'm going to crank
up and click test swap, you can see that it makes
faces enormously big. The same goes if you're
going to set it to lowest possible way
and click test swap. Basically it will
not work because it will create super small phase. This is why you want to set
it to one is default value. Basically, in this model tab, you don't want to change
anything because with these default values it
will work perfectly fine. The next video, we
are going to explore functions of this tab.
See you next video.
8. Advanced Features: Explore specific pace feature. Basically, it's the main
feature which you want to use because other ones
is not that handy. You can change your
face to a face which is less than 25 years old, greater than 25 year old. All male, female. Best detection, most left. In this case, this one
would be a female, basically only she would be changed right, bottom, middle, biggest and smallest space be changed to a specific phase which you will get
in most cases. You don't want to use
all of these only if you want to change females
or only males. But in my experience, you'll get more
control if you will use this specific phase button. Let's select this
specific phase. I'll show you how it
works on other video. Let's close it this one
and open other video. This one which is give
you the medium result because once again these
phases are turned around. But in this case
at least nothing is in front of the face
like we had with this hand. Let's use this example to play around with this
specific phase function. Once again, in source space, we want to use our own
phase, specific phase. You want to tell to
the software which one of these phases
which you imported. You want to change how it works. Basically, you've
imported your video. Click on Set Range. Just move this frame to pick wherever you
see all your faces. Just like this, Sometimes
it doesn't refresh, so well just click
on Collect Pass. Once you click it, just wait for this process to finish and
just go to Collect Pass. As you can see here, you have a bunch of
pass which it detected. For example, we want to
change only to this phase, our face only to this phase. It's pretty easy to do. You can just simply drag and
drop here to specific phase. Now if I'm going
to go to Preview, click here on Preview
and click test swap. You can see that it
will only change this phase which we provided. As you can see it
changed it here. As you can guess, this is pretty handy and
super powerful tool is to use specific phase. If you're going
to click swap it, only swap this face with your
face, it could be woman. If you will check woman, basically any kind of face you
can swap it with your own. It's maybe the perfect
time to tell you that if your specific face has like
body art on it or a beard, it will not work so great. It works with the glasses, but with the beard, it
has some problems also. It has some problems
if your person has some drawing on the face, let me show you how it looks. You can see it really
doesn't look right. Loses where to place your eyes and your nose
on top of the face. But in other cases, it will work fine, even if you'll place
yourself on a female. Here is pretty fun software
to play around with. Make sure to not use some alien faces because
it will not work great. You can try it, but
just keep in mind that it will not give you
the best results. Basically, main rule
is the shape of the heads should be
similar and nothing should be on top of the face
because it will make this swapping wobbly and it
will not look that great. By the way, if you've
noticed that your software starts to swap face
a bit too slow, slower than it used to
work like 15 minutes ago. It's a good idea to
just cancel it and leave your computer to
15 minutes to cool down. It's a good idea just to leave your PC for a while,
for 15 minutes, and then just start using
again and you'll see that it will swap pass once
again pretty fast. By the way, the last
thing which I want to say before it will swap
only one phase, you can also open
here, here, and here. As you can see, we
have up to ten phases which you can swap
at the same time. Basically, you can
just set to one here, then go to two and
use different phase. For example, I'm going
to use girl phase. And you can go to
collected phases and pick whichever phase
you want to change it. This way you can swap up to
ten pass at the same time, which is really handy and speed up your
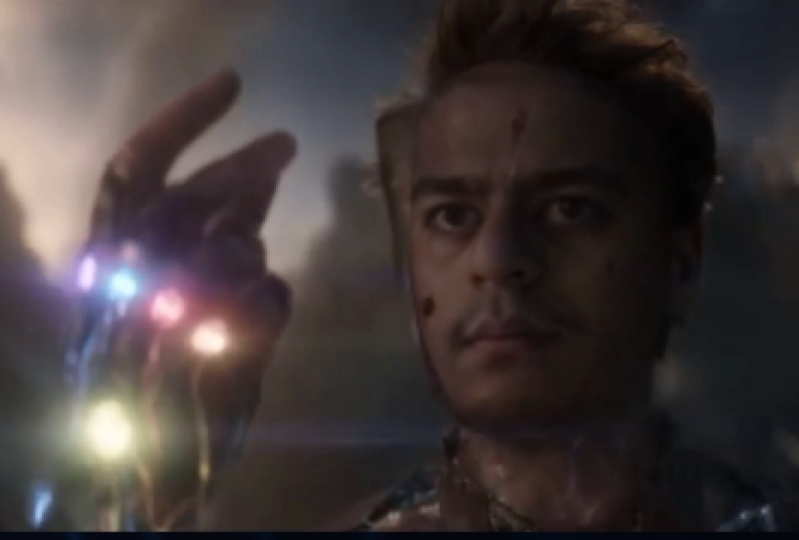
workflow in this way. I've got this result
just in one render. I set my face to change to Dr. Strange and girl face
to change. Chase them. As you can see in just one go. You can swap two pass
at the same time. It's not perfect but
for memes and for some cases it's pretty
usable and fun tool to try. Basically, you can just play around as much as you want
to get pretty fun results. It doesn't really
work with the mimic. Sometimes it works pretty good. And you can see that the
speaking is translated, but from time to time, it just ignores the actor's
mouth movements. Basically, it depends on how your actor articulates
his words. If software sees
the articulation, it will move the mouth. In these cases, you'll
get this mumbling thing. This tool for sure, doesn't work in
100% of the time, but when it does work, it works pretty great. This is why I just wanted
to share with you, with this free and cool
tool to play around with. Once again, as you can
see, I've got an error. But as you remember, you can just open it here, you can see that work
being done for the means, the results work great. But for best possible results, you just need to make sure that your actor looking
straight to the camera. In these cases, you can get pretty much Hollywood
quality of the swapping. For last, let's click
on Test Swap to see how it changes two faces
at the same time. My face and girl face
on top of this face, which looks creepy and
funny at the same time. But as you can see, it works
at the same time we've replaced two faces and if
you're going to click swap, it will swap entire video. As you can guess for end
project of this class, you'll need to swap your face on any of the videos which I provided or you can
be creative with it and pick any other
movie and swap your face. Just make sure to create a
project and share it with me. I'm excited to see
your projects. Feel free to follow me
here on skill share. I have a bunch of glasses on V Effects using
Adobe After Effects. As also, I post new
classes every week. By the way, if you're going
to click here on More, you can see that I have
a bunch of glasses on. Any kind of effects which
you may be interested in. Also, I have a fundamentals of do effects if
you are a beginner. And by the way, all
of these classes are great for beginners as well. Because I go step by
step to walk through, log animation, even
complex effects. Vince resolve classes.
And by the way, if you didn't even try
Doba effects before, this class is only 12 minutes. But you'll get really
powerful results at the end. Even if you're a beginner,
just feel free to scroll down and submit
your own project. Leave a review to my classes so I could improve
and make them better. In discussions, you can ask any questions which
you might have. As you can see, I'm
answering all of the questions which I'm getting. And also if you're going
to click on About here, you can just click on Follow and Follow here on Skillshare to see more exciting classes which I post for you each week. See you on my next class.
Thank you for watching.
 M Jake, Lets Create VFX & Cool Stuff Together