Transcripts
1. Introduction: Power Bank. Hi, I'm Jake. This class will teach you how to create a lightning effect for social media using
Adobe After Effects and without using any plugins. This class is interesting because you can choose
your own adventure. So what I mean is that
this class has videos labeled using AI and
videos labeled no AI. So basically, you can
learn how to create a lightning effects
shot in two ways. First way, using AI tools
such as CHA GPT and SRA. And the second way is just by using only Adobe
After effects. You don't need any experience working with Adobe
After effects. You can even download
the free child version to learn this effect
and it will work fine. You can always write
your questions in discussion section under any of my classes to get help from me while creating
cool effects. I think it's the best way
to learn the software, while creating interesting
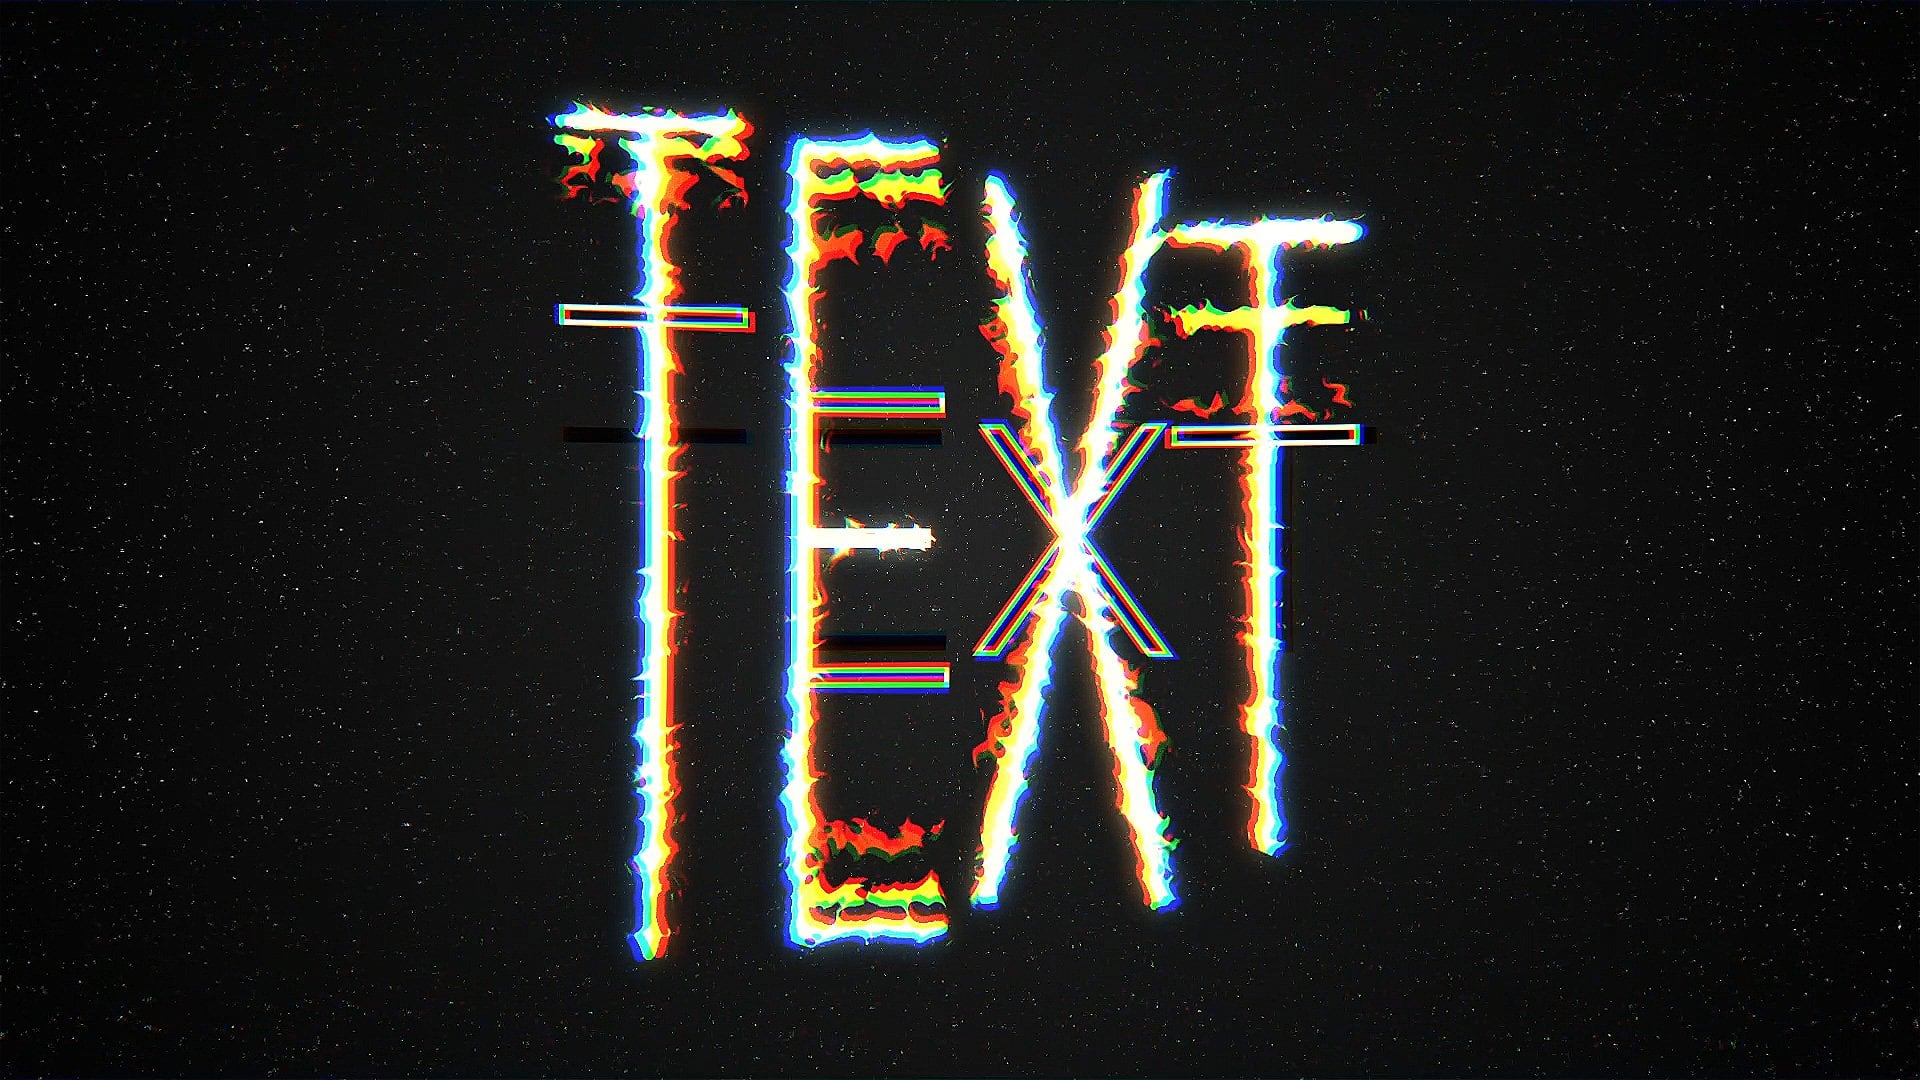
effects for fun. And to complete this class, our goal is to create this cool lighting effect for your social media using
Adobe After Effects. I'll be happy to
see in my class as also your result after
following all the steps. So, let's get started.
2. Preparing Footage: Hi, I'm Jake, and I'm using
Adobe After Effects 2024, but you can pretty much
use any version of Adobe After Effects
and it will work fine. If you cannot see
some of the panels, which you can see on my screen, you can always go to Window
and enable it from here. For example,
character character. So first thing which
we need to do is to go to File Import File. And let's import all files which is available
to this class. These files you can find and
resource step to this class. So let's download them and
just select them and Import. So basically, you
have two videos is footage using AI and
footage without AI.
3. Using AI (Sora+ChatGPT): Okay, just keep in mind
that on free version, you cannot use the SRA for free. So if you have a HAGPT plus the minimum
subscription base, you'll be able to use this SOR. So for the rest of this video, I'm going to show
you how you can use and what you
need to prompt to create a kind of animation which I've got in my video example, which you can see in
preview to this class. If you don't have access to
HAGPTPlus or any other AI, which can create a video
from the image and prompts. Skip to next video
of this class. You'll see what you can
get without using any AI. Let's start with the
footage with AI because it's the most easiest way
to create this effect. I'm going to select it
and drag and drop here on timeline or on this
new composition button. Now we have our video. Basically, it's almost
the entire video. As you can see here,
I'm just feeling myself putting up my Power bank, then I making this kind of move, let's take a look
how you can create this kind of video
and which tools I've used to exact this effect. Thing which I did, let me
open this footage with no AI. I did this kind of move to have a reference point what
I want to see from AI. So basically, I've just rendered this frame,
just one frame. You can just simply
take your video. If you shut yourself
on the video, you can just simply take one frame from the video where you're holding
something up, then make sure to
have just one frame and go to composition,
add to render Q. In few seconds, it
will open up and you can just change to JPEG
sequence and click Okay. Then specify where
you want it to save. Let me save here to the
folder which you will be able to download and I'm going
to save to no AI folder. So here will be a screenshot
and save and click Random. This way, you can just render one frame of your video
and use it as a reference. Next thing you can do
is to go to chagpt.com, just like this and
just log in with your Google account
or any other account. It will be free and then just
drop here and add a file. You need to click
on this plus sign and then go to add
photos and files. Then let's locate
our screenshot, which we just rendered
and click Open. Then we need to set up a prompt. Basically, you can just type a really small prompt and in simple English or in
your native language. It pretty much understands
you very good. So in my case, I wrote
something like keep my original everything
should stay the same and generate a
lot of lightning that comes from power bank that I'm holding in the air
with my right arm. The room should be lit from a lighting as well
or something like this. It will be a great
starting point. And let me copy this
prompt and also add here. So I'm going to create
a text file where you can just copy these prompts. So this would be first
prompt. I'm going to save. You'll be able to
download it and let's send it and see what
HGPT will generate. It will take a few
seconds and these parts I'll cut out
from the class, so we will not waste any time. Now I've got my results and I've tried two times
because first time it did really save my original
example of the image. It doesn't really looks
like a great composition. I've tried one more time. And this one looks much better because it lighting
myself with the lights, and it did a black
and white version because I provided a
black and white image. Just keep in mind
if you will use a normal colors of
your image in my case, it was blue and red. I will result in something
like this where you have your skin tones and
these kind results. So keep in mind if you will use not black and white footage, you're going to get a colorful image, something like this. It also I've got from Cha JBT. Also keep in mind that sometimes
these image generations can take a lot of time if
you will use a free version, as you can see, I'm
using free version. Just keep in mind that
sometimes it takes a while. As I can see, on
the free version, you'll get a two
tries, and basically, then you'll need to wait 24
hours to get another image. But even with these two tries, I've got this image, which I think it
will work great. I'm going to save this
one, save image S. I'm going to create
a GPD folder. Where I'm going to save it. If you would want to use, you
can use this one as well. So I'm going to call
black and white GPT. The next thing which I've done, I just went to the S link. So basically on your
chgpt.com website, you can just left most lick, and it will lead you
to this website. So basically how you
can use this website, you can just click here on
image and change to video, then set this resolution
to nine by 16. And here you can
choose the quality and increase up to 10
seconds long videos, then you'll be able
to upload your image. Et's agree with these
things and click Accept. And then I just dropped
my image into here. And basically, I didn't
describe anything. I just prompted as it is, and click and create a video. But this time, I want to
write a prompt because I want this lightning to
be colored in blue. So color the light inks and blue cyan colors, add skin tone, and leave black and white
feel or a little movement of the camera and lightning
flashes a bunch of time. Something like this
could work great. I'm going to copy
this into our runs, which I'm going to
share with you, resource step to this class, and four versions will be great because you'll get
pre random results. Going to show you which
results I've got earlier. But for now, let's
create this video. Okay, so I've added to Q, and let me show you which
results I've got earlier. So as you can see here, I went with two versions because I went with
higher quality. But as you can see, it
sometimes can generate just some mess unusable because I didn't really
specify my scene. And sometimes I just
tried to upload my image and see what
GPT will come up. In most cases, it will
randomly apply some of the prompts itself to itself
and try to generate from it. This is a pretty funny one. This is actually looks great, but the lighting doesn't go
from the Power bank itself. I didn't use this one, so radio it generated
a few versions. This looks actually pretty
cool. I like this one. It doesn't have any
colors, but once again, if you will use a
original video, if you will use not
black and white version, you'll get a nice
and original colors. As you can see here, we can
get some colors as well. It's a good learning
point that it's way better to use not just a
black and white image. In most cases, if you will
run through once again, just like this, I'm
going to send it again. It may do a better job, so just keep in mind that
you can just send it a few times if you have once
again HIGPDPlus version. In my case, I can
just simply select this one and click
here to Download and download it as well to show you how you can use even
this kind of result. I'm going to call
it new version. You can guess when you
use something like AI, you can always create a new results because
it is pretty random. Let me save it and until this will generate
another few options, let me import this
video which we already got and let me show
you how we can try to use it. What I want to do is
to go to AI folder. Here's new version.
And basically, what would I do? I can just simply open this footage with AI
which we created. And instead of this video, we can just simply drag and
drop our video which we got. We can also resize it to fill
the screen or just simply press Control A F. I
will fit to screen. Let's set this
resolution to fall, so it would be much better. And let's find the moment
where it looks pretty good. So I like this small movement
from this point in time. So I'm going to cut
it to this moment, so we will get this kind of
transition to this moment. You can guess we
don't need actually this much of the video
because the next frame, I've created in the same way. I just took my screenshot
just like this. I've asked Cha GPT to create an image,
something like this, and then I've
prompted Tsura and it created basically the same
workflow as we did here. So what we can do if we get only a black and white version. So first thing which
I would want to do is to go to Effects
and Presets panel. Just left mostly here. If you cannot see the
effects and press panel, you can just enable it here, Window effects and presets. Basically, I would use
something like tritone, select it and drag it here, and here we can just
change this color to a bluish one and just
increase it a bunch and maybe let's add
a bit of saturation and play around to see what
color you like the most, then you can just
apply something like curves and increase
it a bit maybe at some contrast or
decrease it even to see what kind of dramatic
look you would want to get. You can even play around with the placement of this and guess, you can get a bit
different results if you will take a look at the face you can see that it gets a bit
different results. I think this version looks
pretty good, and by the way, if you would want to colorize in a bit more professional way, it's a good idea to
go to Video coopilot. We can just type video copilot
and type VC color vibrant. This is basically
a free plugin from Video coopilot that
you can download. You can just click
here to download the plugin and follow the
instructions how to install it. And basically, if I'm going to type here VC color vibrant, I can just remove these
effects. And apply this one. As you can see, you can get a much more variety of colors and the effect,
which is pretty cool. And by play around
with these settings, you can get a bit more
professional and more cooler look, and as you can see, if
you will reduce it, it may give you a better option. You can see with this
color of the Gamma, you can even add a
bit of flickering, which provides you a
more dramatic look. Basically, if I'm going to hold old key on keyboard and
left mostly on Gamma, I can just type wiggle
expression set to six, its amount of frequency, how often it will wiggle. And how much it will legal, I'm going to set to 0.5%
because as you can see, these values is 0.8 value, so I don't want to go overboard because it may results
even worse example. So as you can see, now I've
added this flickering, which looks also
pretty nice and cool. And if you change this
to something like 15, flickering will be a lot. It will happen a lot more often. And final thing which I would do is press selecting this layer. Press P on keyboard
to see the position, create a keyframe, hold shift, and press S on keyboard
to see the scale. And here at the
beginning of this clip, I would scale into Power bank. So we would have this
kind of animation for nice little transition. And then I would select these keyframes and maybe one by one. Let's
select position. This one, drag it
down by this handle, then select scale, select it. Ragging down, dragging up to this line orange line to get
this smooth kind of motion. Basically, what it does,
it goes really fast to the beginning and
slower till the end. And if you will drag
this point to the left and also this point to the left, it will start really
fast and then slower. And once again, you can just click here to add a motion blur, tag and switches on this button, you can click and then set
this motion blur as well here. So now we have
even a motion blur for this transition,
which looks pretty cool. And here I would add
also a little motion, so it will transition
even better. So basically, I would
also press Peon keyboard, press S, hold shift, and press S to see
position at scale. And here, I would scale it up and drag it
down, and this time, I would select these
keyframes and go to Graph Editor and drag
to this floor line, then select scale, also select the ski frame and drag
it to the floor line, and this way, I would get
this kind of camera movement. As you can see, I've added
Zoom here and zoom out here. So it's not a great idea, so it would be more logical if I would make it a lot smaller,
something like this. So this Zoom will
continue just like this. So now as you can see the motion looks a lot smoother and cooler. So basically what you
do is to scale up here. Here, you need to scale down your footage and then scale
up to fill the screen. And as you can see, now we have these parts which
are not filled. Basically, you can
go to effects and presets and type here, motion. Tile, select this motion tile
and drop it on our video. And let's make sure
to see if it works. As you can see, we're
expanding the edges. And if you will click on
this mirror edge checkbox, it will mirror the edges, and it would look
like it's expanded. So as you can see now we have this really nice transition
and nice flickering. If you don't want to use this, we see color vibrant. You can just disable it
and use these effects. And to get a flickering, you can just simply go to
effects and presets and type here exposure effect here under color correction exposure, you can just drop it this effect and animate this
Gamma correction. Basically, once again, you can just hold Alt key on keyboard, left mostly on stopwatch
and type wiggle, set this to 15 and
amount set to one. And now as you can see, we also have this interesting
flickering. In my case, maybe let's set 2.5, so it will not
overblow the colors. And now it looks pretty
interesting as well. And then you can just cut to whatever moment
you would want. So in my case, I'm
going to change this work area to preview
only this moment. So as you can see,
flickering is a bit much. You can always select your
layer and press double time. You on keyboard and adjust how
much of the flickering you would want to use on each
effect on exposure effect, and if you would use VC color
vibrant on vibrance effect. In my case, I would
reduce it and something like this
looks a lot better. So this is how you can use AI
to get interesting results. And as you can see, the
second attempt gave me a better kind of quality because now
we have some colors. Okay, and next video,
I'm going to show you how to create this effect or something similar
to this without using any AI. See
the next video.
4. NO AI Version: So in previous video,
I've showed you how I've created this effect
using AI just by sending this to a SA model from Cha GPT and created
a bunch of options. And in this video, let's try to mimic kind of
this kind of look, and I'm going to hide this layer by clicking
on this stopwatch. Also, you can even go
to footage with no AI. Basically, you can just we've imported our footages
and you can just simply select no AI and dragon drop on this icon to
create a composition. We will try to add
some effects to mimic the results which
we got from AI version, something similar without
using any AI models. What we need to do is to
go to File, Import File. And here you can open this AI folder and you
can find the things which I've generated for my preview and this exact video
I've used for preview, also, I've used AI to create
a bunch of lightings, which we can use for this
video of this class. Basically, we have
these two videos which looks pretty interesting, and I think we can create
something cool with this. Select four and six
video and click Ibart. Let's inward this video four. Press as on keyboard and let's increase it and
change this to add. So now we have this
really nice flash, and let's find what kind of flash we like to use.
Maybe something like this. So you can see we
have here a ground, so we can just simply select
this rectangle tool and cut it or just
size it even more, resize it to like 170%
and drag it down. Next thing which I
would want to use is curse effect and
dragon drop here, just like this and increase
the amount of the contrast. In my case, I would
want to use some of the moments just like here
and cut it this footage. I'm going to hold Alt key and
then open square bracket. It will cut to this moment
where I have my time cursor to have this lightning
just before the next video. Something like this works great, then I hold old key
on keyboard and close square bracket to cut to this moment what I
would want to do, I would want to have
a little Rtoscoping. I just would use my
original footage, skin SLD to duplicate and move it up and then just simply
leftmost double click. On this top one, I can even select it and press
Enter and call it a roto for rata scoping and select this Rota brush tool and
just drag it along my body, so we will rato scap
only ourselves, which will allow us to
place a lighting behind us. Something like this,
let's include the hair. Also the hand, you can spend more time to get a
good rata scoping. But for my case a rough version because
I don't really think that we need so much details for a few frames of this video. Basically we left mostly you adding some things which
you would want to include, and if you will hold old key, you are deselecting things which you don't
want to rats cap. We have our mask and now just simply can go to our preview. If you cannot see this panel, you can just simply go to Window and enable it from
here preview panel. Just go frame by frame
to see the progress. And as you can see,
it looks pretty good because I don't have that
much movement in this shot, and it did pretty good job. Okay, so to save my progress, you need to click on
this freeze button, so let most in it. Okay, so it went a bit more. Basically, what I
really need to do is to cut this video
to this moment. So let's select this moment where I want to use is
basically only this frame. This shot. So I'm going to hold Olski and then open
square bracket to cut. As you can see, I've cut in this layer and cut to
this moment as well. So it will not freeze too much because I don't need this
footage which came before. Okay, so we have
our frozen footage. We can just freeze it again to make sure that we get only
this part just like this. And then we can go to main composition which
we are working in. Then go to selection and here I usually play around
with this feather to feather the edge a bit. But the better thing is
to change this contrast. It also allows us to control
the edge even better. So I'm increasing my feather to, like, 55 and contrast, we can just play around
to see how it looks, and usually I shift
the edge to the left, so it will kind of
cover me a bit. So as you can see it
already covers a bit, and now we can even feather more to get a bit of
light on ourselves, and maybe let's
reduce some contrast. Maybe feather even more. Now we get a little bit of lighting from background
on ourselves, which already looks much better, but we can do a bunch of things which can help to sell
this effect even more. I can just simply go and use simple tritone
effect because with the tritone effect
here under correction, tritone, I can just simply
set one color which I like and use it
just like this. So I'm going to select this one, and as you can see, it provides a complete control over this, and we can just swap the
places and in this way, you can get a bit
more color variation. Also, you can use a glow effect. Let's type glow and jack it
here, increase the radius, and with this threshold, you can manage how much
of this glow you would want to spread and which colors you would
want to include. And if you will
duplicate this glow, going to get even wider glow, something like this to
colorize your sin even more. So as you can see if I would change this glow threshold
to lower number, we can colorize
our sin even more. And with this, we can change the colors and the brightness
to tweak it even more. So next step will
be, as you can see, our rata video here
is not colorized. So it's a good idea to also use something
like tritone effect. So it will match the
light even better. So let's change the highlights to a bluish tone just like this. So now it will fit
our seen better. But if you are used to
use a curse effect, you can just simply diselect the striton effect and use
instead a curse effect. Tone is easier to understand for beginners because here
basically is highlights, mid tones and shadows. So basically, if shadows I would want to have in bluish tones, I would just colorize like
this, then these colors, I would set mid tones to
Yenish kind of color, and white is good for highlights because if you will change to
something like this, it will get unnatural. But if you have some
experience with curves, it's a good idea to
use curves because it provides a bit more
variations in colors. So as you can see,
by just selecting this blue line and create
some kind of this curve, then I would want
to reduce the red, and with the green, I can colorize any color which I want. And as you can see with the
simple curse alignment, I can fit the scene even better. So one of the things
which I can also do is to select our
lighting and set it just here so it will light
up from our power bank. It's a good idea to have
some feather on the edges. What we can do, we can just left most and double click
on this rectangle tool. It will create a mask and
we can just simply set this expansion to lower and
then just feather the edge, something like this
could work fine. As you can see we are getting our first lightning
here at the beginning, which already looks not bad. And we can just
simply select it and press Control D to duplicate and select our other lightning and
select here our duplicate. Then select this
six MP four video, hold ldskey on keyboard, and just make sure
to select here and here and this way while
holding old Skey, left mouse click and hold and drag on top of this
video and let go. It will swap the layers. So why is this important? Because it stays with all of these effects
which we applied earlier. So it's pretty handy to not repeat all the
process once again. And now we can just simply
find the moment of this video, which we like the most, and we can just simply
use for the background. We can even press on keyboard and select this
mask and delete it, and we can press R on keyboard
and rotate it to have this kind of lighting goes from our Power bank,
something like this. And this time, we can
create a mask using pen tool maybe let's cut this so it will not be
that noticeable that these lines are really
straight like this. I'm going to select this
mask and close it here, press a font keyboard and
feather a bit, just like this. And let's see how it looks. Now as you can see here, it's all about timing. Let's select this layer
and cut to this moment. And just like this,
we are getting a really nice look and
we can just duplicate, press Control D to duplicate, press R to rotate, and let's select the
selection tool and move it here and let's rotate even more in place so it would
go from our power bank. It's a good idea to
hide behind the hand because we have a
Rotascopt layer. Even better idea will
be offset this layer, so we would get different kind
lightnings just like this. As you can see, it looks
really fun and interesting. It's a good idea to also,
as you can see here, we can just simply cut our radoscope layer
and left a few frames, it will go behind us
and in front of us, which gives this
really nice look and depth to our effect. Basically, you can just select any of these lightnings effects, press control D to
duplicate and populate your sin as much as you want
to get even more T D look. So some of them you
can make it smaller so to get this kind
of depth to the sin. The last thing which you would want to do, as you can see, we have a completely discolor
on me stays the same, and what we can do is to select our Rutter brush layer and create a keyframe for
the curse effect. Here at the beginning, we
can just simply click Reset. Now as you can see, these curves are applying a bit later, and just simply by
making sure that these lightings appear
at different moments, we can create this effect. And finally, which
I would want to add is maybe one more layer
of this lighting, press con sal D and place it on top because it really sells this three D kind
of look if some of the lightnings will go in
front of me just like this. And also let's offset it a bit. Final thing which I would
want to use is to select this Rata brush layer and
copy this curse effect. Basically, when you
copy this curse effect, it will copy these
keyframes as well, which is colorizing the layer. And it's important because
when we are going to apply this effect and we would want to apply
to this main footage, it will apply these
keyframes as well. Make sure to apply it a bit before like here
Chol V. As you can see, we've pasted our curs effect
by simply selecting here, selecting this curse effect, pressing Control C to copy, then to our background. As you can see, I've selected
this background layer and just press Consol
V to paste our curves. If you press on keyboard, you'll see these keyframes,
this original keyframe, which has the original curves, and then it goes to these curves which
colorize our scene. If I'm unsold this layer, you can see that now colors are basically
filling all of our scene. If you press Yon keyboard and
set to this last keyframe, we can even add another
curves and create a more violent look by increasing the contrast,
something like this. So now, as you can see, we can add a bit more cool effect, and let's make sure that
here at the beginning, it will have original layers
and then the nice effects. I'm going to cut these layers
lt and square bracket, and it will transition to your next exactly the same you
can do with your hand. Basically, you can apply
a bunch of these effects, as I showed you here on your
simple footage of your hand, this exact same technique. Just keep in mind if
you would want to control all of the
layers colors, you can always just go to layer new adjustment layer,
set it on top. Just type tritone effect, for example, to set
it to one color, and then you can just type a curse effect and control this look even more with two
tones of the effect. And as I've showed you before, you can just not use these ones, but rather use tint effect to make it once
again into tones, then apply currese effect. With the curves, the blue
curve at a bit of blue, and then reduce the red and play around with the green to get the colors which you
like and basically get more control of the
tint of this effect. And I would use another
curse effect just for the contrast to get
this kind of look. So as you can see now we have
this kind of colorization, and we can just simply
apply it using opacity. So I'm going to press Ton
keyboard to see the opacity. Here at the beginning,
I would reduce it, then it will apply it and we can just leave it as
it is and swap to the next. In this way, the
colors will stay consistent across
all of your video. Basically here you
can always tweak these colors to get the exact tone of the blue
which you would like. Maybe something like Sayan
would look even better. This is how you can create
this effect without using AI. As you can see, it still
looks pretty cool because the lighting covers our video
and it goes around of me, which looks really cool. A
5. NO AI Finalizing VFX: Final thing which I would
add to this effect, basically, I would
simply split this layer, press Control, Shift D
to split this layer, and then here as well, control, shift D to split
this layer as well. I would cut this adjustment
layer to this moment. Basically, what I want to do is to have all of my effects, all this shot only
in one composition. Now when I split it and cut it, I can just simply go to layer, precompose, and
let's call it first, the effect shot. Click Okay. So this will help me to use something like motion tile
and dragging drop here. And basically, if
I'm going to move this tile center and click
on this mirror edge, you can see that we can
add a bit of camera shake. We can just reset it, quick
click on these mirror edges. What we can do, we
can go to effects and presets and type here slider, apply the slider control. We're going to increase or
decrease the camera movement. So first of all, we need to hold old Keon keyboard
left most click on this tile center and type
here wiggle first value, as you know, is the value
of how much it will wiggle. Basically, you can just
left mostly and hold this pick web and connect it
to the slider, then type. We can just duplicate this second slider and here just before
this last bracket, you can just type and
connect to this slider. Let's set this one to
15 and this to ten. And now, as you can see, we have this wiggle and we
can even animate it, so we can set this to 15 and here at the
beginning to zero, so it will increase
with the time. In my case, from my experience, it's better not have any wiggle and then increase
a bit later, just like this. With this second slider control, we can just control the amount. So if I'm going to set to 55, we'll get a lot of wiggle, so this is how you can control this insane camera movement. So maybe just set
this first value, make sure to set your
time cursor on top this keyframe and change it
maybe to something like nine. So it will not go
so wild and this one to 33 and have
this kind of effect. Last thing which I
would want to add is CC force motion blur, select it and drop
it onto your video. And if you will increase
the shutter angle, you'll see how much of
the blur you are going to get and to increase the
quality of the blur, increase the samples up to 15, and it will get you a much
smoother force motion blur. So let's press numpad
to see how it looks. The exact same
technique I would apply to this to get these kinds of lightnings and it's a
good inspiration to look closely how AI created
this kind of lightnings. So now if I'm looking
close, how it looks, I can see that we have
a main lightnings and I see some
blurred lightnings, which we can also
use to even improve this effect even more
so we can just open. And for example, we can
just precompose all of our lightning layers or
just use some of them. So for example, let's find some interesting which is on
top, just like this one, and press control D and
like this one below, which we just
duplicate it and apply something like gaussian
blur, something like this. It works like glow. But if you will
use something like CC vector blur and
apply it here as well, and decrease it a bunch
and reduce this main glow, we can get a bit
more of variation. So let's try to decrease
to 25 increase this one. We can get a bit
more of variation and distortion of our effect, which could look pretty interesting and we can
tweak it even more. So if you will
sololow this layer, you can see exactly
what we are doing. And as you can
see, we are adding even more kind of
details to this effect. It can elevate our
look even more. Let me disable this
force motion blur. You can see that it
adds a bit more of dimension for our lightning which makes this
effect even cooler. Let's press zero on amp it
to see the final result. As you can imagine,
if you will add this blur to each of
these lightnings, you'll get really nice result, which will be really
close to this AI version. Basically, if we will select
all of these layers and press control shift
to precompose, let's call it all
lightnings and duplicate. Et's also set this
to add just like this and select this and
duplicate this layer. We can also add a
Gaussian blur and just blurt out a bunch to
get a bit more of this blur. Let's set it to screen or
maybe overlay to get more like this look with the fill of this glow, your entire scene. And if you change to screen, it will be even better. So now, as you can see,
we're getting closer and closer to this generation of AI, but using only our human skills. So just don't be
afraid to experiment and keep trying the new stuff
because as you can see, as long as we are
trying new stuff, the better result we can get. And you can always
go back by pressing ContLZ a bunch of times to the moment
which you like the most. So for now, I'm really
happy with this look. As you can see, we're
getting a lot of linings and it wraps around ourselves
which looks really nice. And we did it ourselves
without using any AI. Feel free to follow me
here on Skillshare. I have a lot of classes on Vc. As you can see, here is a section VX using
Adobe After Effects. You can even click on
here on C More to see the more effects using
Adobe After effects, as well as the section
new classes this month, and you can check out
the newest classes which I've created. Here is fundamentals of
Adobe After Effects. You can also click on C More
to See More, Log animation. Free AI tools, which I've
used and also complex VX, D Venture Resolve, and even more classes on
Adobe After effects. Make sure to click
here on projects and resource and click
submit the project. I check all of your projects and give you feedback
if you want. Thank you for taking time
to watch my classes. Make sure to follow me
here on Skillshare, and I'll be happy to see
you in my next class. Thank you for watching.
 M Jake, Lets Create VFX & Cool Stuff Together