Vibrant Aquatic Art: Mastering Wet-on-Wet Watercolors and Colored Pencils | Ekaterina Azeeva | Skillshare

Playback Speed


1.0x


  • 0.5x
  • 0.75x
  • 1x (Normal)
  • 1.25x
  • 1.5x
  • 1.75x
  • 2x

Vibrant Aquatic Art: Mastering Wet-on-Wet Watercolors and Colored Pencils

teacher avatar Ekaterina Azeeva, watercolor artist

Watch this class and thousands more

Get unlimited access to every class
Taught by industry leaders & working professionals
Topics include illustration, design, photography, and more

Watch this class and thousands more

Get unlimited access to every class
Taught by industry leaders & working professionals
Topics include illustration, design, photography, and more

Lessons in This Class

    • 1.

      Intro

      1:30

    • 2.

      Step 1: Pencil Drawing

      2:21

    • 3.

      Step 2: Wet on Wet

      3:03

    • 4.

      Step 3: Wet on Dry

      5:47

    • 5.

      Step 4: Details

      4:10

  • --
  • Beginner level
  • Intermediate level
  • Advanced level
  • All levels

Community Generated

The level is determined by a majority opinion of students who have reviewed this class. The teacher's recommendation is shown until at least 5 student responses are collected.

178

Students

14

Projects

About This Class

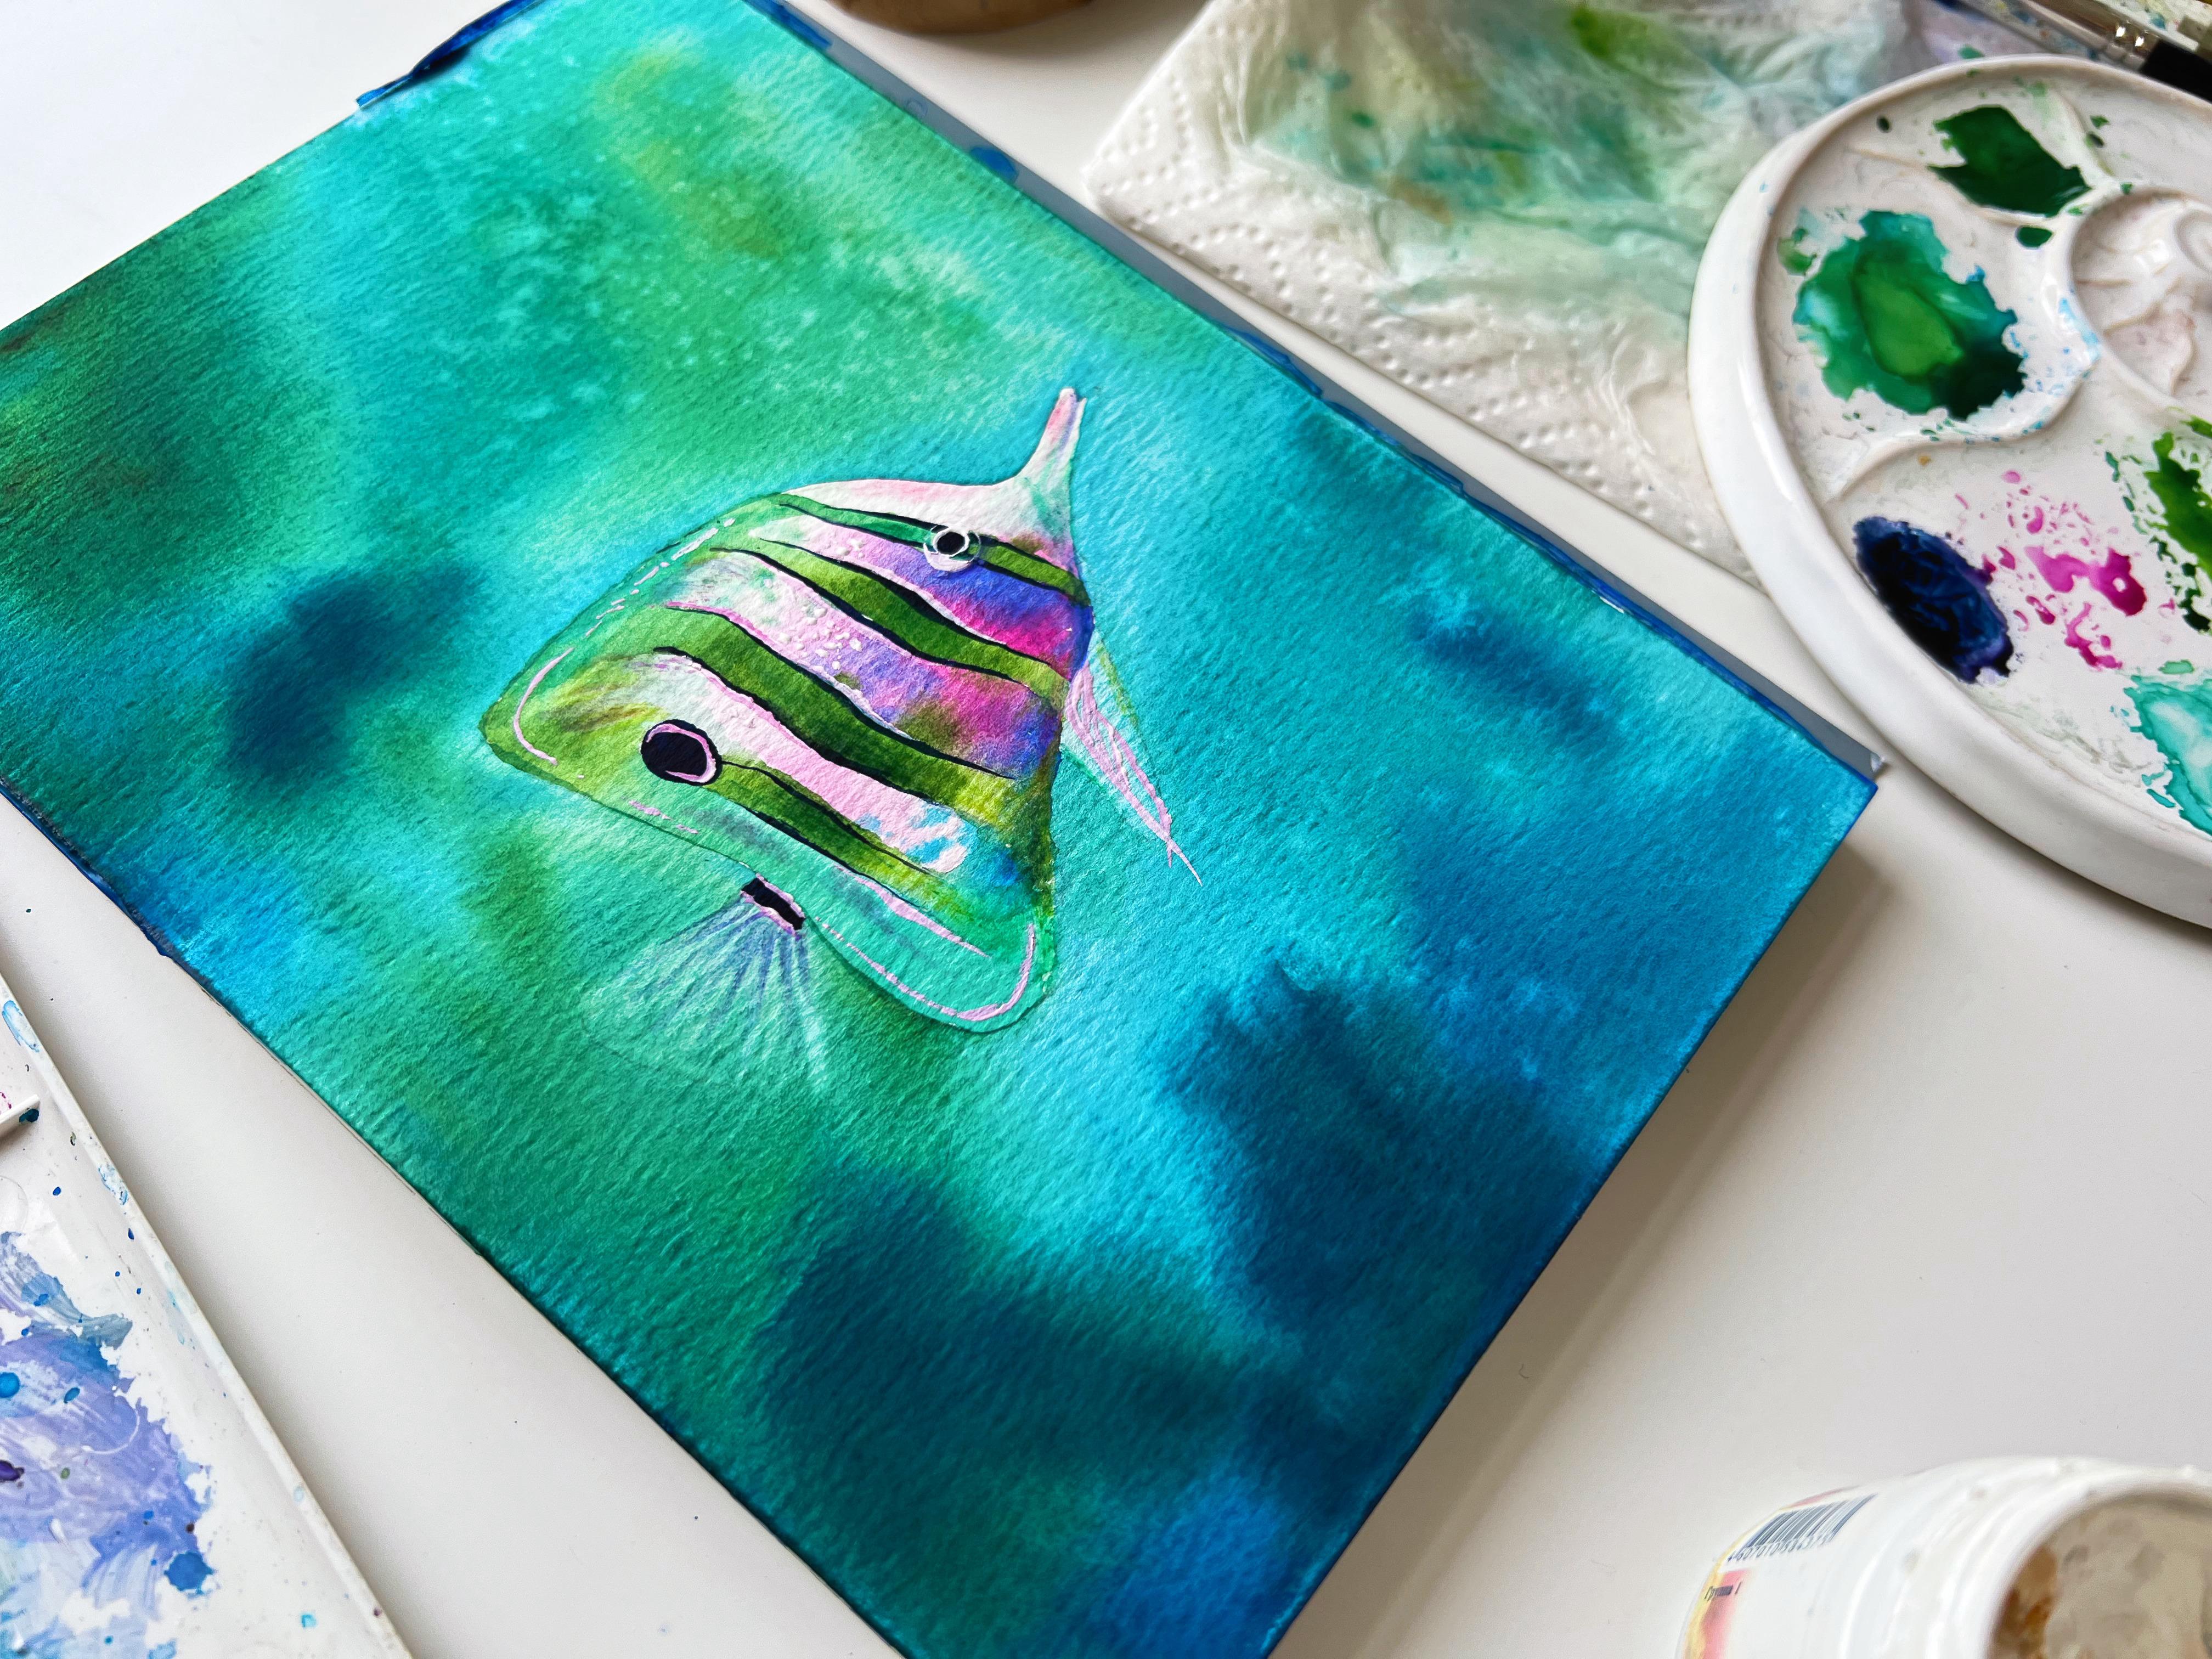
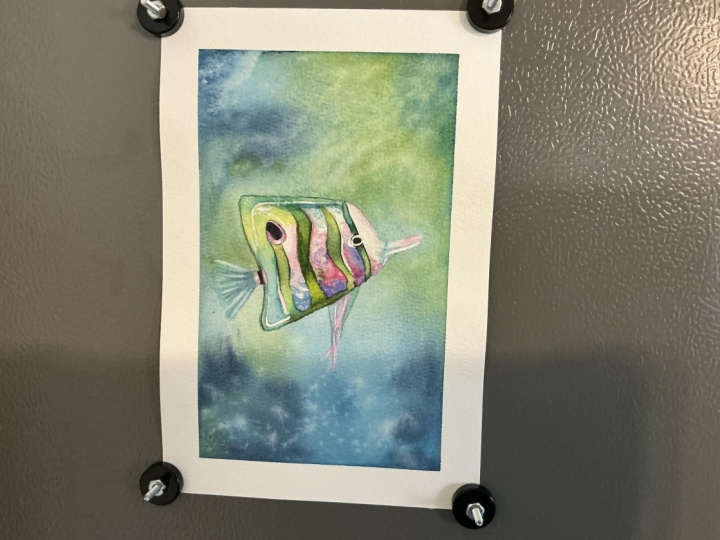
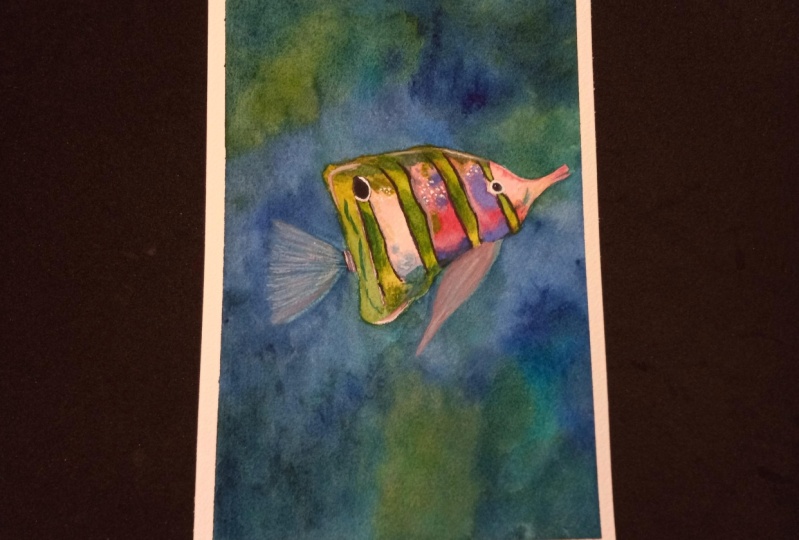
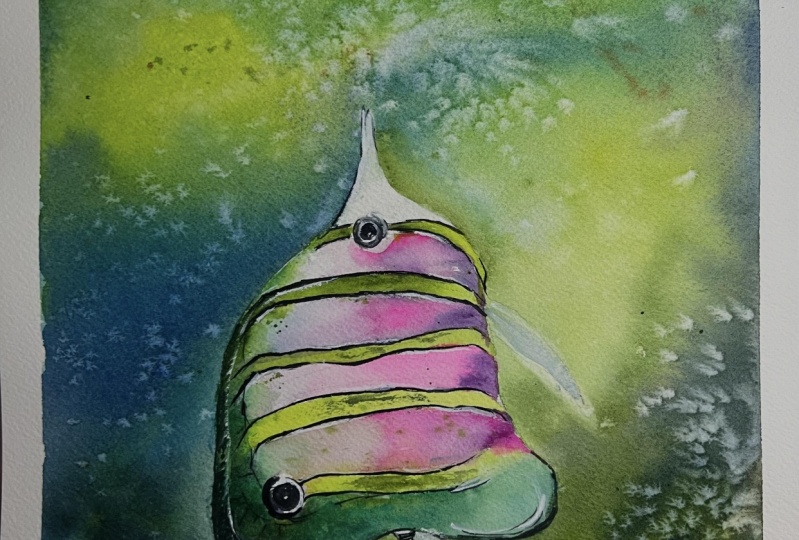
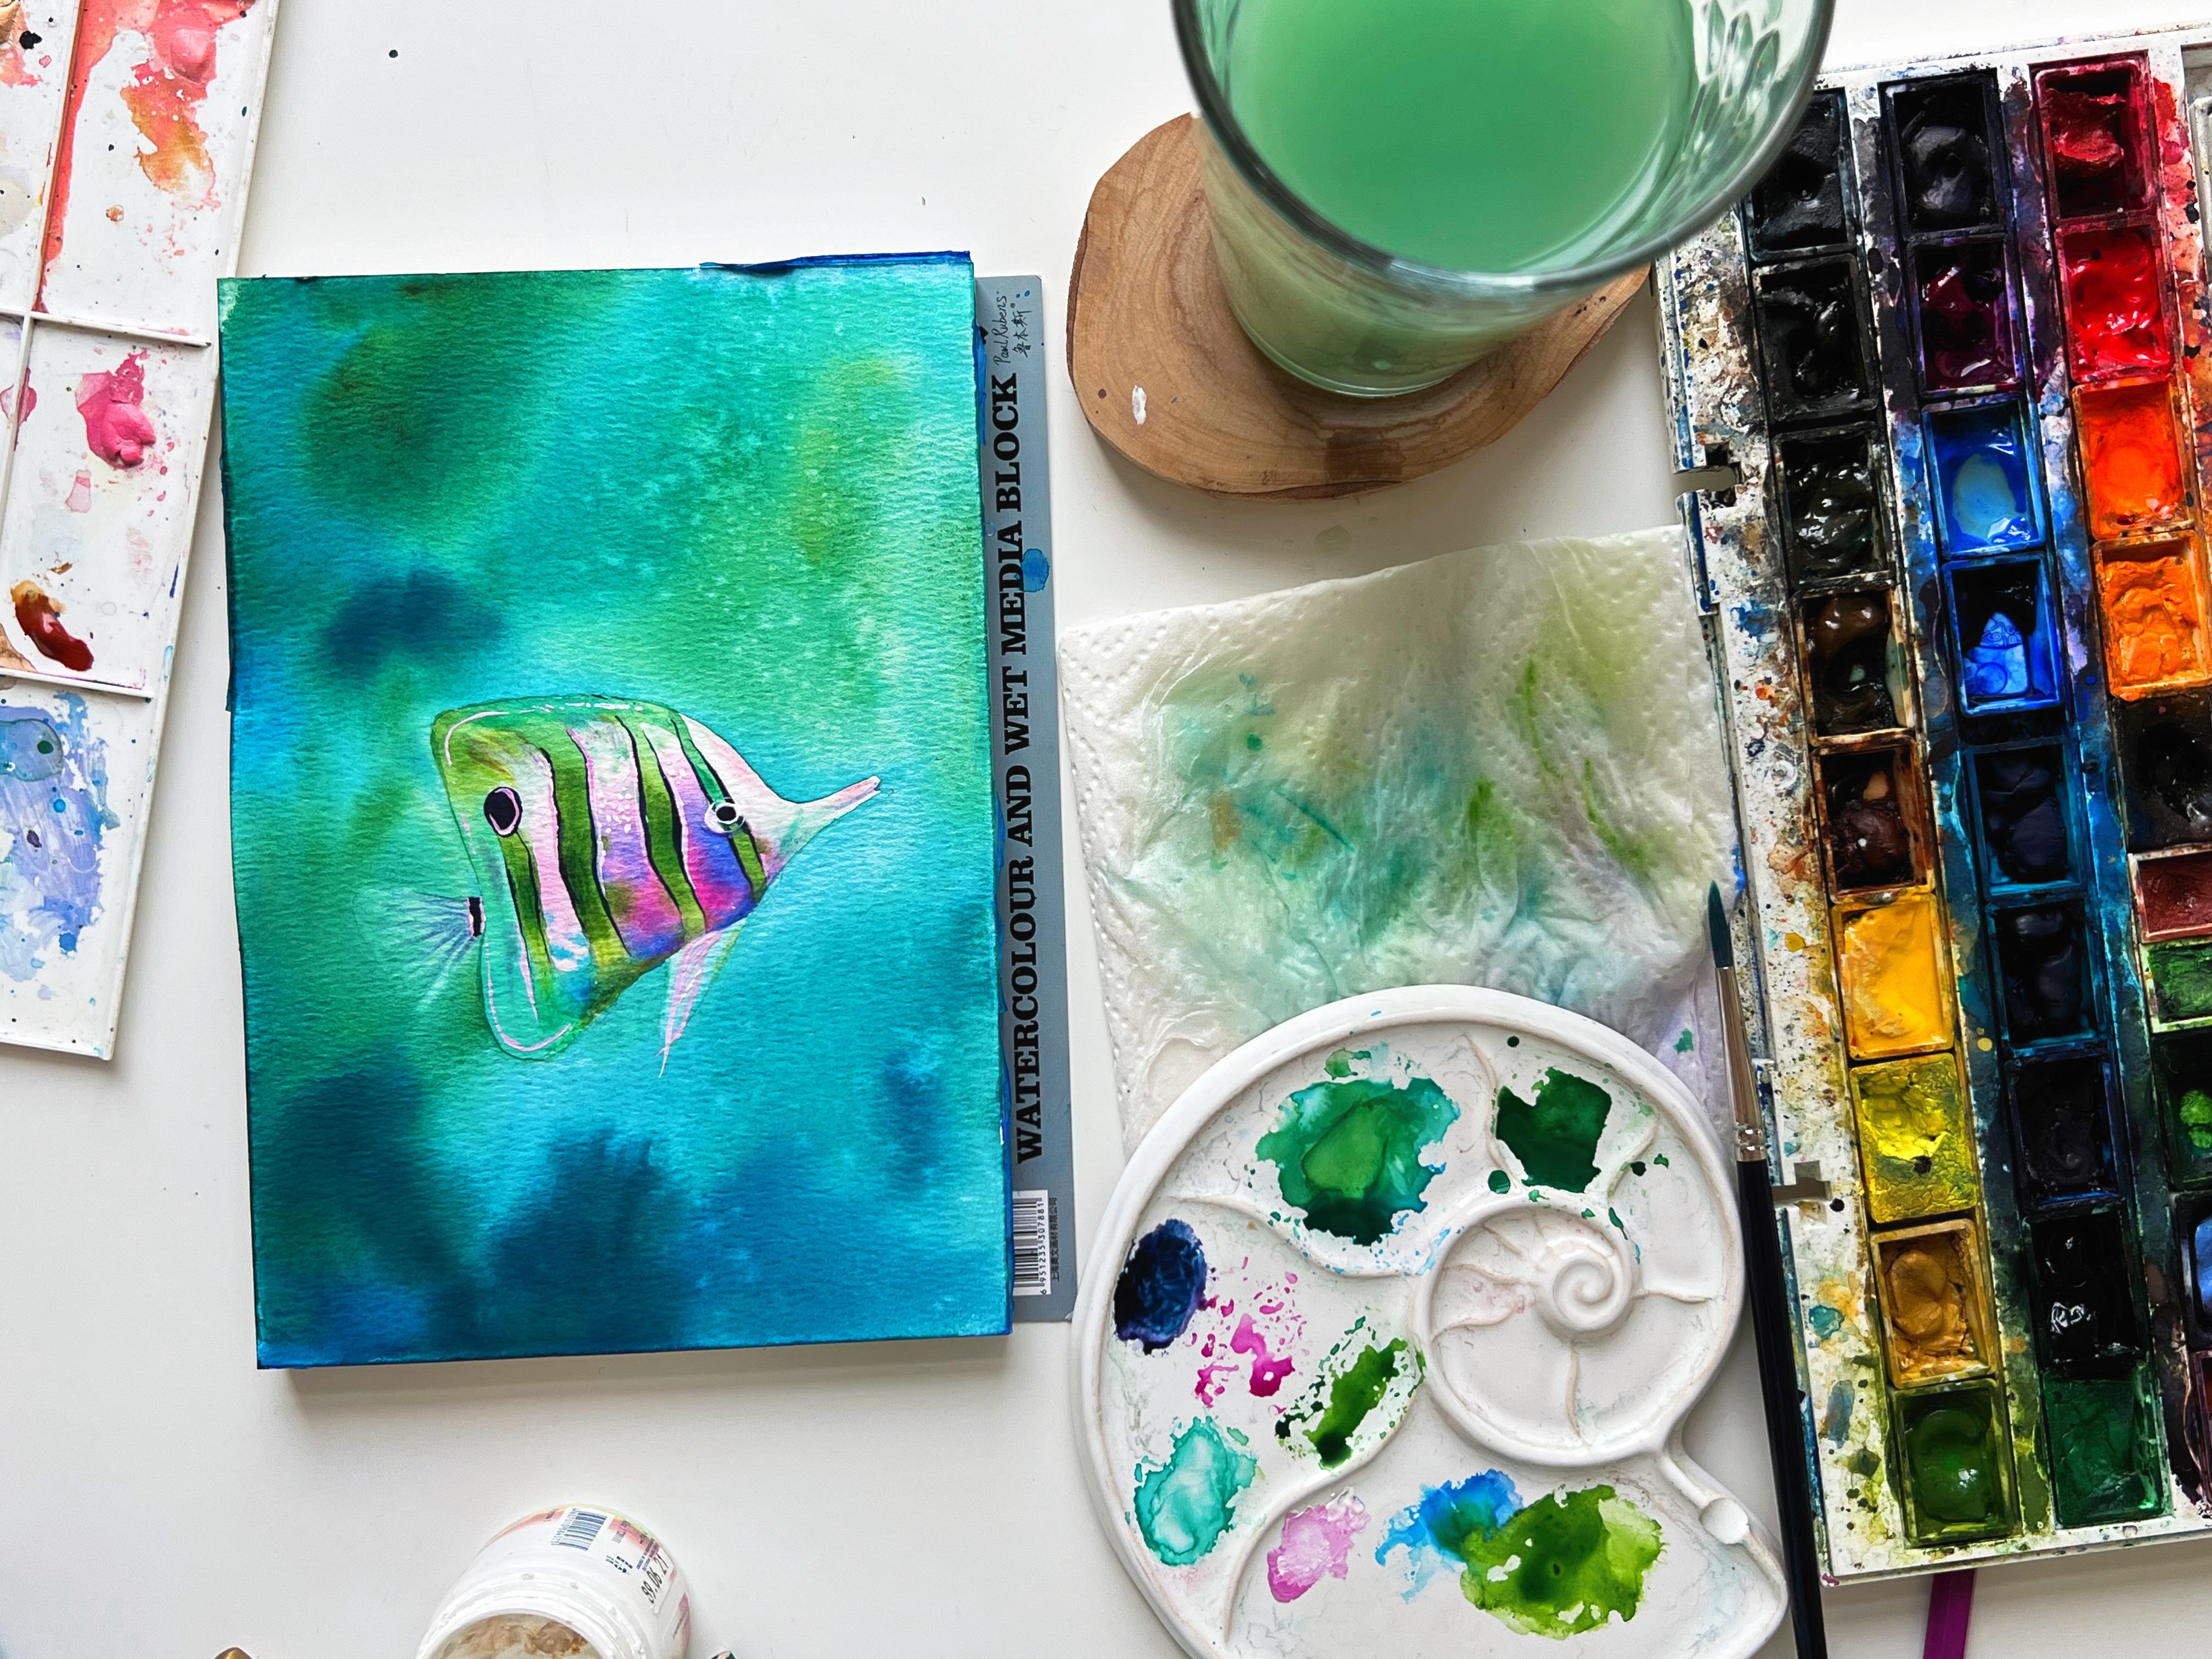
Dive into a world of creativity and color as you join this immersive watercolor class focused on painting stunning fish using the wet-on-wet technique, bright colors, and colored pencils. Whether you're a seasoned artist or a beginner seeking to explore the captivating art of watercolors, this class offers an exciting opportunity to elevate your skills and create captivating aquatic masterpieces.

In this step-by-step Skillshare course, acclaimed watercolor artist Ekaterina Azeeva (@katyastrog) will guide you through the entire creative process. From setting up your workspace and choosing the right materials to mastering the wet-on-wet technique, you'll gain valuable insights into creating dynamic and expressive fish paintings.


Key Highlights:

  • Mastering wet-on-wet watercolor: Learn the secrets of blending and layering watercolors effortlessly to achieve stunning fluid effects on your fish illustrations.

  • Exploring bright color palettes: Unleash your imagination with a spectrum of vibrant hues and discover how to bring life and energy to your fish subjects.

  • Enhancing with colored pencils: Elevate your artwork to the next level by adding intricate details and textures with colored pencils, creating a unique mixed-media approach.

  • Capturing realistic fish anatomy: Understand the fundamental aspects of fish anatomy and explore techniques to portray their scales, fins, and facial features with accuracy and finesse.

  • Crafting dynamic water environments: Delve into the art of depicting realistic underwater scenes, adding depth and dimension to your fish illustrations.


By the end of this watercolor class, you'll have gained the confidence to paint breathtaking fish illustrations using the wet-on-wet technique, bright colors, and colored pencils. Join us in this artistic journey, and let your creativity flow like water! Enroll now to start creating your own aquatic masterpieces.
 

Meet Your Teacher

Teacher Profile Image

Ekaterina Azeeva

watercolor artist

Teacher

Hello! My name is Katya.

And I have been painting with watercolor for almost 7 years. During this time, I made more than 60 offline workshops. And now I want to share my knowledge with more people. I believe that everyone can paint and I want you to believe in this too!


I lived in Saint-Petersburg and now I am based in Berlin.


See full profile

Level: All Levels

Class Ratings

Expectations Met?
    Exceeded!
  • 0%
  • Yes
  • 0%
  • Somewhat
  • 0%
  • Not really
  • 0%

Why Join Skillshare?

Take award-winning Skillshare Original Classes

Each class has short lessons, hands-on projects

Your membership supports Skillshare teachers

Learn From Anywhere

Take classes on the go with the Skillshare app. Stream or download to watch on the plane, the subway, or wherever you learn best.

Transcripts

1. Intro: Hi, watercolor lovers. I'm Kate and I love to paint with watercolor. Been painting with watercolor for eight years and today, I would like to paint ocean life with you. If you would like to learn more about me as an artist, please check my Instagram page. This is my nickname. They're ashamed my daily life as an artist and also post watercolor tweaks that I use in my pictures. But let's get back to our today's lesson. In this lesson, you will learn how to prepare pencil drawing for watercolor painting. How to work in wet-on-wet technique. How to paint a blurry background. How to add interesting effects with clean water. How to keep the brightness of the color on the sheet. Why you shouldn't use black color in watercolor painting. How to add details with white gouache and colored pencils. So let's get started. 2. Step 1: Pencil Drawing: I start with a pencil drawing. Here. It is simple. Most of the work will be with the correct proportions. I start from the very beginning to copy this silhouette of the fish from the reference. After the first line, I correct the parts that confused me. For example, I make them smaller. I add a tail in a form of triangle. And also draw the front fin, which represents the shape of a curved triangle. Entered the end, I add an eye. These are two circles. Now we turn to drawing a geometric pattern on the fish. I draw the border of the black spot on the top-right and draw the lines. Pay attention to the waviness and an events of departure and it's important for us to preserve it. Now, I draw horizontal lines that separate the upper and lower. Before I start painting with watercolor, I saw often the Pencil Drawing with an eraser. This is an important step. The thing is that watercolor is a semi-transparent material and it easy skips a Pencil Drawing. If we don't fade it now, we want to be able to raise it a band of the drawing process 3. Step 2: Wet on Wet: We start painting from the background. I will paint in wet-on-wet technique. This technique allows you to quickly and juicy paint a blurred background. First, I wet the entire area around the fish with clean water. We careful around the ages, the watercolor will only spread on Wet paper. So if you Wet the fish to, the paint will run there as well. I'm going to use this property when painting the fish style. If you look at the reference, the tail is semi-transparent, so it's beneficial for me to wet the area with the tail with clean water and let the paint flow here. Now, let's move on to the colors. I advise you to use bright, pure blue, green shades, such a sap green surrealism or bright blue. Put a few drops of paint on paper and see how smoothly the paint spreads over this whole face. You can tilt the clipboard and thus direct the color of sport in the direction you need. Remember to constantly change the shade of paint you add to the sheet thanks to the changing shades, their background will look livelier and more interesting. Now it's important for us to have time to bend the translucent tail of the fish. To do this, I take a small synthetic brush, moisten it a little with clean water and begin to remove excess paint in straight lines. When the brush is slightly damp and clean, it picks up the paint with water that is on the paper right now. Form a tail while the paper is still wet. I repeat the same with the frontal, our field. Now the paper is almost dry. This is a great time to further diversify our background. I take a Bristol brush, dip it in water, and add drops of clean water onto the painting. The water push the pigment out of the paper and leaves interesting sparkling stars. We finished with the background, and now we should let it completely dry 4. Step 3: Wet on Dry: Before moving on to painting the fish, don't forget to refresh the water in the glass. We start painting with a pink shade. For this, I use raw skin, agree, don, and vary its saturation with the amount of pure water on the palette. Here we will work in the wet on dry technique. We use a wet brush on dry paper. I begin to paint vertical stripes of pink. Now it's important to look carefully at the reference and notice where the pink stripes become almost white and where they'd been color starts to gain intensity again. Thus, we will be able to convert the volume of the fish for that in order to keep the colors on the sheet as bright as possible, It's important to monitor the purity of the water in the glass, the purity of the brush, and the purity of the paper. We can get the brightest color only if we apply paint on the white paper. This is the main property of watercolor. It seems to glow on paper due to the reflection of sunlight from the surface of paper. In pink stripes where there should be a shadow. I add cobalt. I also add green specs to the top of the fish. This is the same green that are used for the background. I continue to work with color and gradually move to different parts of the fish. I add a translucent green color to the top. If we are working with the fish as a whole, we will be better able to compose the color and find similar hues in different parts of the fish. The back of the fish is the brightest one. Here I'm using more saturated colors like sap green. Gradually, I move on to painting rich green horizontal stripes. Note that I changed the intensity of the color depending on the position. The most saturated green color is found in the center of this trip. And the intensity gradually decreases as it approaches the upper and lower fins. Now, I'm moving on to working with black. It's important not to use black here. It's better to mix in digger and Europa. Such a dark shade will look much brighter on the sheet. Use a sharp tip brush when working with dark color and constantly change the pressure on the brush to get smoother and more pictures thick lines at black color wherever you saved in the reference 5. Step 4: Details: I will add the last details with white gouache and colored pencils. Layer of white PayPal will help to add volume to the fish and bring the desired areas to the foreground. I add a bright white stripe to the top fin to depict the glare of light on the body of the fish. I add quinacridone to white gouache. With the resulting light pink color, I draw highlights in the center of the tail and lower feel. Also don't forget about the eye and depicted with white gouache. I add small specks of white and pink paint to the top of the fish to represent the sparkle of the scales. If you want to deepen the color of the fish even more than you can use colored pencils. For example, I make slightly brighter green tint at the bottom of the fish and also add a purple shadow. That's all. Thank you for watching my lesson. I really appreciate that. To trust me, as a teacher, don't forget to subscribe to my Skillshare count to be the cost for knows about new watercolor lessons. Also, I would like to see your work in students project section. If you had any difficulties during this lesson or would like to ask me anything, please do it and leave the comment. In this lesson. I will answer you as soon as possible. So thanks again. And they help to see you soon. Bye