Transcripts
1. Introduction: Hi guys. I'm Kate, and I have been painting with water color for a lot of years. To be honest, if
you want to learn more about me as an
artist and about my life, about my creativity, you can always check my Instagram page. This is my nickname. I would be really glad
if you subscribe, but today I would like
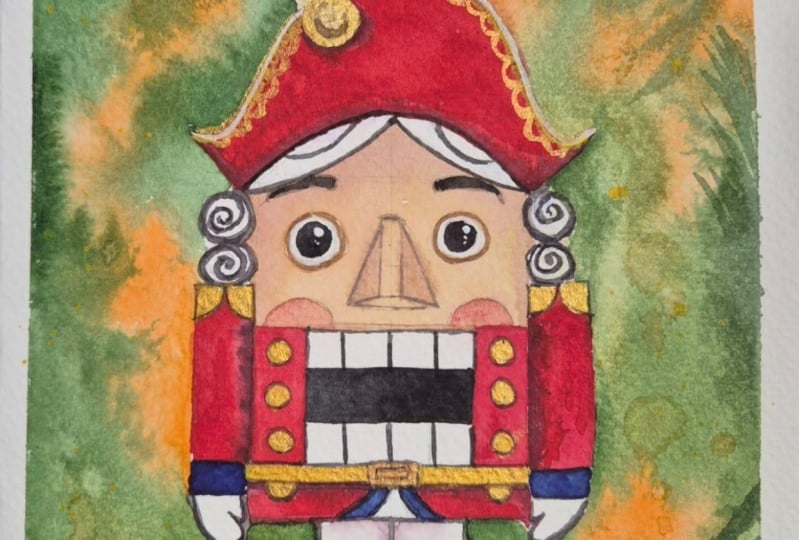
to paint with you Christmas postcard
to cheer you up a little bit in this December and enjoy Christmas and
New Year wood together. In this lesson, you will learn how to draw
complex objects. How to prepare pencil drawing
for watercolor painting. How to choose correct
technique for your painting. How to work in wet
and white technique. How to achieve the desired
color for face painting. How to use dry, dry technique. How to add small details. How to use white gah for
watercolor painting. How Bristol brush
could help you to create some magic
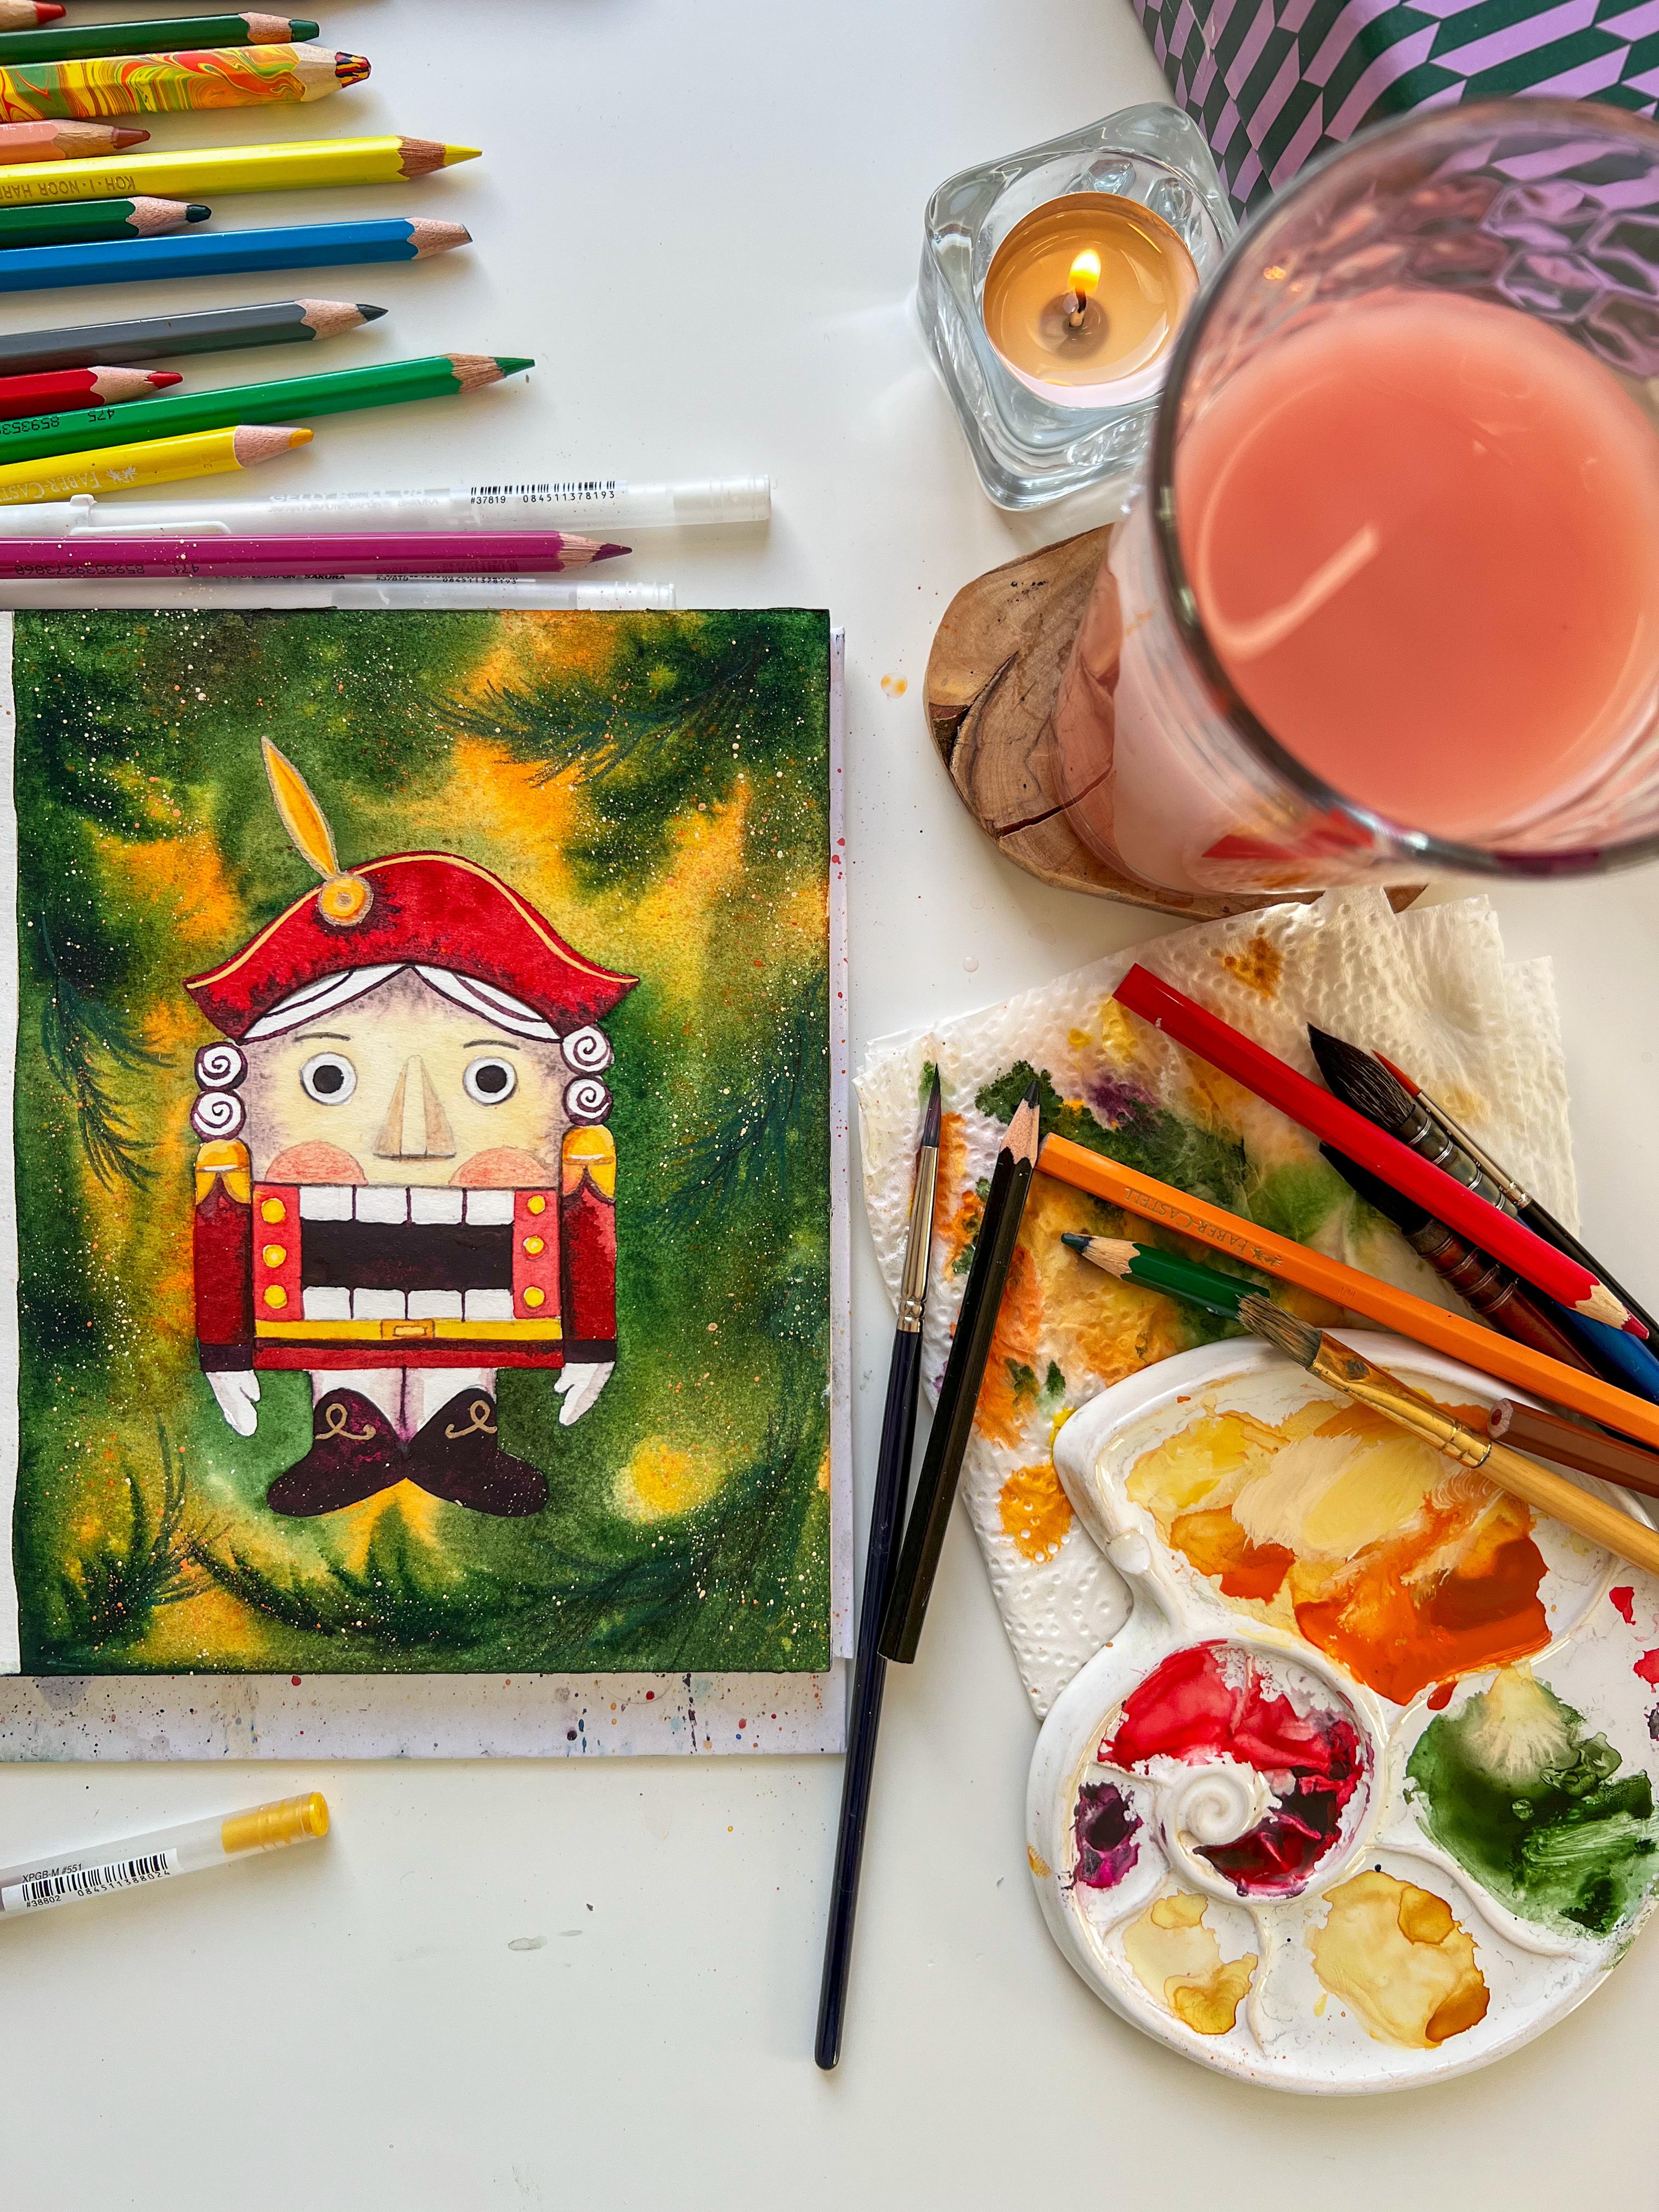
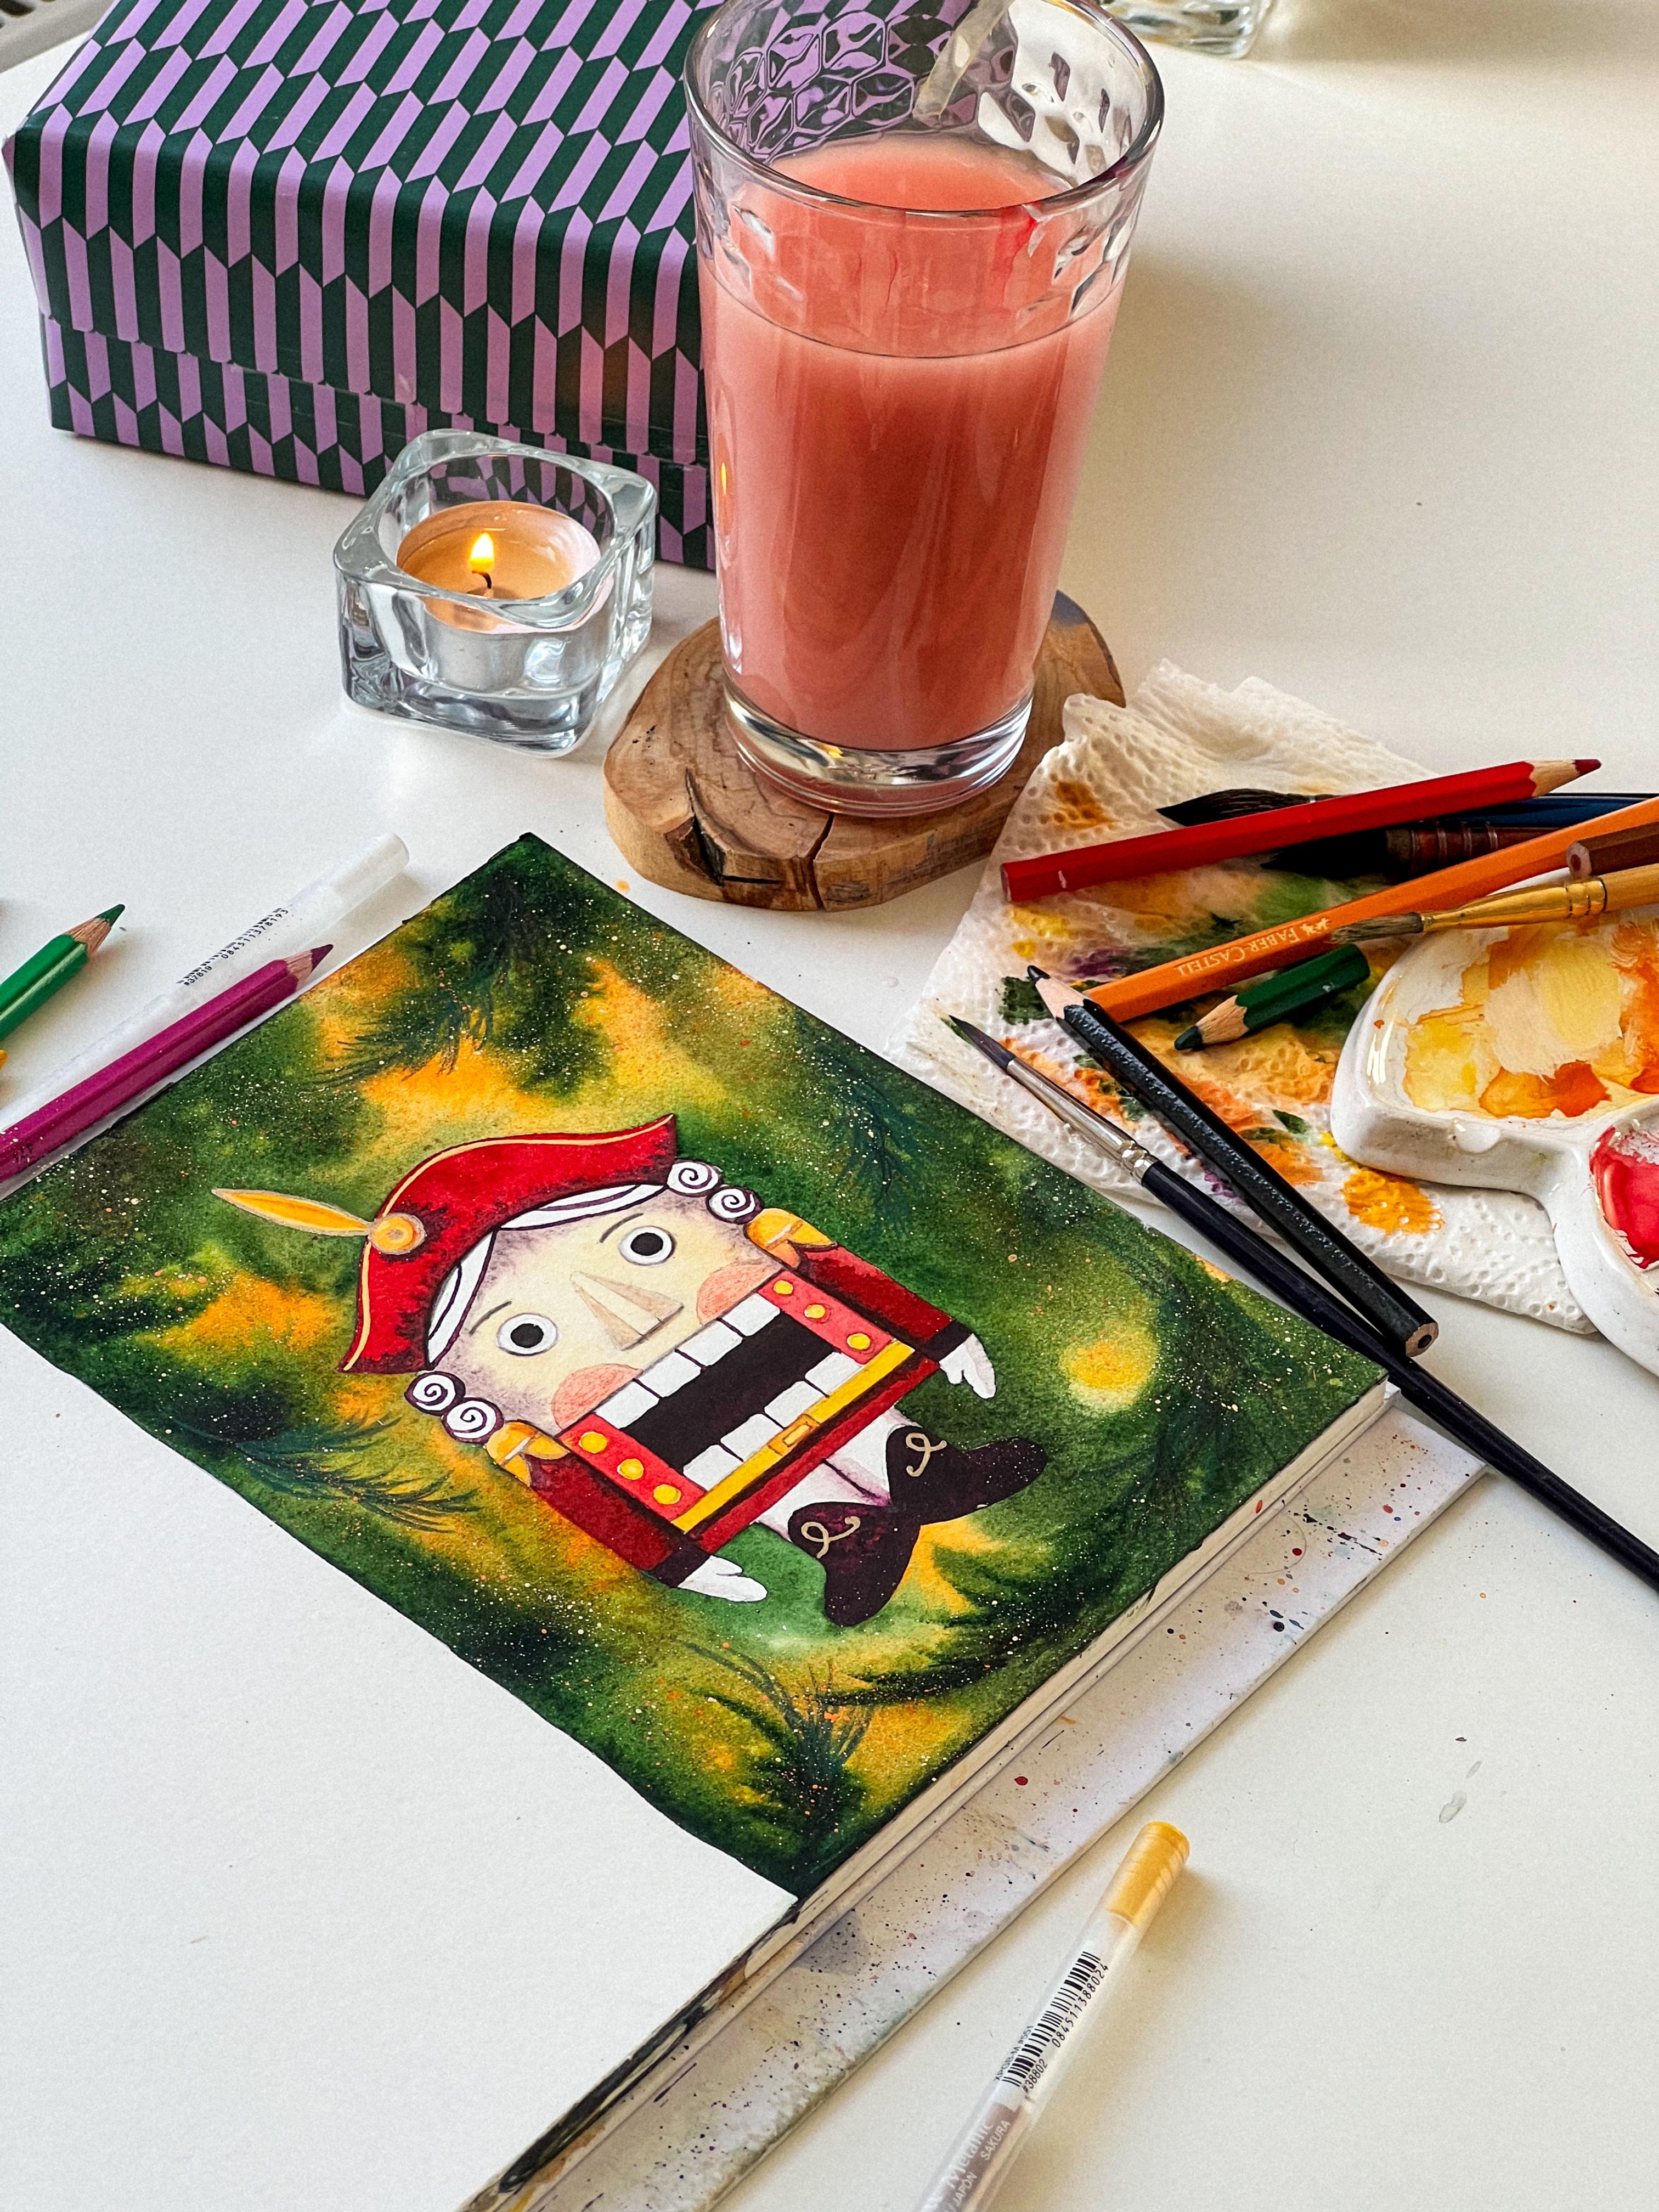
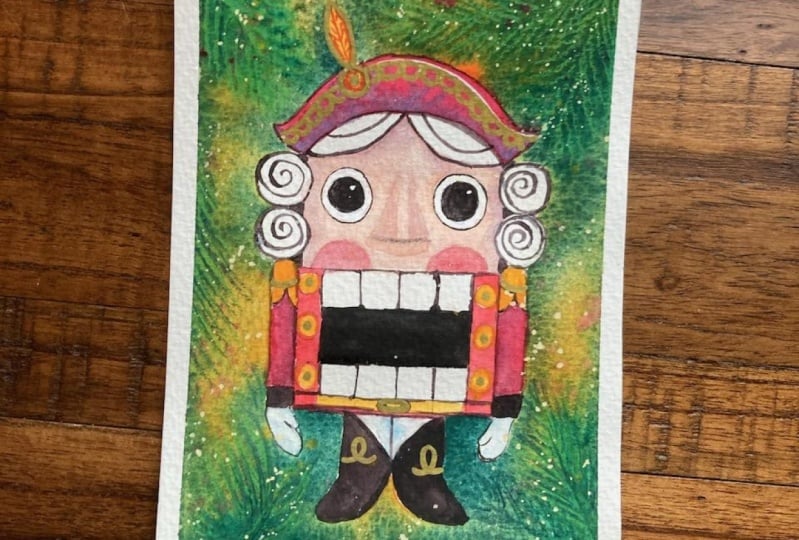
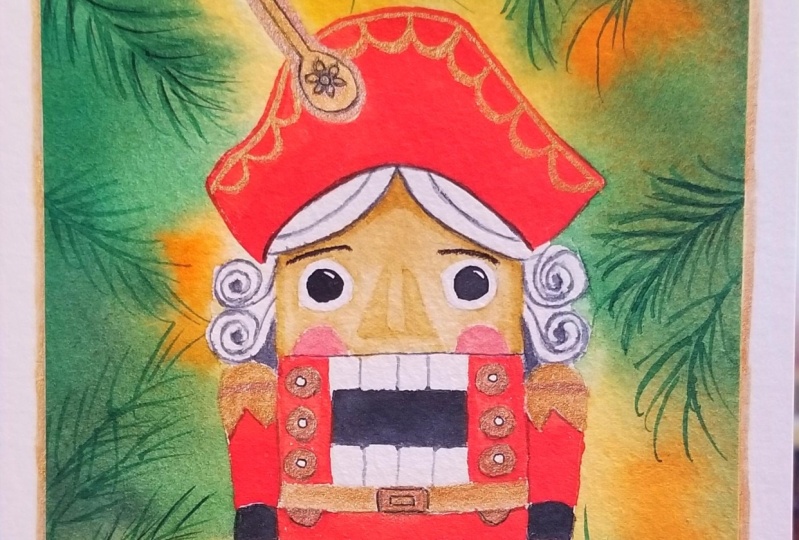
on your postcard. In the end of this lesson, you will get such a painting, so let's get started.
2. Step 1: pencil drawing: I start with the pencil drawing. In order to depict
such a complex figure as a nut cracker, we need to break it down into
simple geometric shapes, such as rectangles,
circles, and semicircles. From the very beginning, let's arrange the sheet and outline the boundaries
of our figure. In order for the drawing
to be symmetrical, I draw a strike vertical line. This is our axis of symmetry, relative to which we will
reflect all the lines. Now I outline the body. The nutcraer, This is the main large rectangle
in the center. I leave about a quarter of the height of the
entire Nutcraer. On the top for the head, and another quarter at
the bottom for the boots. I draw a horizontal line in
the upper part of the body. This is the border where
the brim of the head ends. Now I draw a
semicircle on the top. This is the main
part of the head, and the two triangles
on the right and left are the
borders of the head. Don't forget to
bend at the edge of the triangle slightly to
make our head elegant. Another semicircle helps me draw the bottom
border of the head. Symmetrically, I draw
two curved lines to get two sharp ovals. Now I draw twicocles
on the left and right. This is the he right under the hair I
outline two rectangles. These are hands, two more
semicocles are palms. Now I move on to the legs. I draw two vertical lines to the bottom mark and again
draw two semi ovals. Below these are the feet. I erase the extra lines so
that they don't bother us. Add decorations to the head in the form of a circle
and a sharp oval. I draw ice, these icecles and the nose in the
form of a triangle. I draw a horizontal
line that limits the uniform and draw the blush in the shape
of two semicocles. I draw the pupils, these are two more circles with a slightly
smaller diameter. I limit the mouth with two vertical lines on
the left and right, and also draw two
horizontal lines inside. These are the teeth. I divide the rectangle in half. Draw a small vertical line, and then divide the smaller
rectangles in half. Again, this is how we draw
the teeth symmetrically. I draw cuffs on the sleeves and buttons in
the form of small circles. How a pencil drawing is ready. I hope it wasn't too
difficult for you. Before moving onto watercolor, it's important to tone down the intensity of
the pencil drawing. Watercolor is a
transluent paint that will easily show the
entire pencil drawing, so I make the pencil less
intense with an eraser.
3. Step 2: wet on wet: Before you start painting
with watercolor, you need to prepare
your paints for work. I put a drop of clean water into each cuvette
that I will use. Today, we will be
working with yellow, oranges, browns,
greens, and red shades. I will make the background on the cart using the wet
and wet technique. This technique is
so called because the paints are applied to
a wet sheet of the paper. This means that
the first step is to moisten the sheet
with clean water. Please note that I carefully wet the sheet without going
beyond the nut breaker. This is a very important detail. Watercolor spreads
only on wet paper. Which means that where
we leave the paper dry, no paint will get in. This is exactly what we need, because the color for
the background and for nut creer is
completely different. I start with clean, bright
colors, yellow and orange. Due to the fact that the water in the
glass is still clean, we will be able to convey
a very bright shade. On paper, I put strokes of yellow
and orange paint where I see them
on the reference. Now it's time for green. Using the same brush, I begin to add a
green tint in spots. Thanks to the wet technique, our colors blend smoothly
and leave no strays. To make the colors
blend even nicer, I take that board in
different directions. Consider the amount
of water that accumulates at the border
with the nut cracker. If there is a lot of water, then under the influence of gravity the paint may
flow to the nut cracker, which is best to try to avoid while the
paper is still wet. I add the silhouette
of spruce branches to the background and fill in
the remaining white spaces. Make the background
more interesting. I splatter yellow and orange
paint using a Bristol brush. I do not recommend splashing clean water onto the background here as we can easily lose the situation and
depth of the picture. In this case, it's better to
do the splashes with pain. It's important to completely dry the whole painting before
moving on the next step.
4. Step 3: nutcracker: Don't forget to refresh
the water in the glass. Clean water is a guarantee of bright and pleasant
colors on the paper. I will start painting
from the face. To do this, I need
to get a flesh tone. I mix three colors, yellow, red, and brown, and then heavily dilute this mixture
with clean water. But to give the
nutcracker volume, it's important to paint shadows. For the shadows, I use one
go dusty purple shade, which I think works well here. Our shadows is usually
located along the borders in general. Now, it
doesn't matter in what order and what colors
you paint the nutcracker. Treat this stage like coloring
and go with the flow. Experimenting with colors, I decide to paint
the uniform red, to carefully paint the edges. A thin, synthetic brush, It will give you
maximum control over the water and at the same
time, very rich pigment. I also paint blush with red
but diluted with water. It's better to apply after
your face has dried. In general, we are now
working in a dry technique in order to carefully observe all the boundaries
between small elements. I move on to coloring the
head and filling it with red. Also, don't forget about
the purple shadow here. It's best to add the shadow while the red color
is still wet. In this way, he will achieve the smoothest color blending. Since I have already put a
dark purple shade on my brush, I will paint over
their mouth with it. Here the paint needs to be
applied tightly so that the shade on the paper
appears almost black. Paint the boots with
the same color. I prefer to avoid using the
black from watercolor set, as it usually looks much less saturated and dull on the paper. I paint the cuffs
with the same color. I paint all the gold elements
on my hands with yellow. Then I move on to
the uniform and use a slightly lighter red to create more volume and highlight the
front of the nut cracker. I returned to the
yellow orange shade again and paint over
the head and buttons. I use purple to draw
spirals inside the hair. I used the same color to pend the boundaries
between the teeth, and I'm modifying the belt.
5. Step 4: small details: Now I'm starting to draw
with colored pencils. At this stage, we will
draw small details. I start with drawing the pupils. I fill them in with black pencil and then I pen them in with dark
purple water color. Then using a gold pen, I draw the decoration
on the shoes in order for the gold pen
to give off the pigment. Richly try to hold it almost vertically and slowly
draw the desired pattern. Then I add gold to the head and draw some
lines on the border. I also add the golden
line to the sleeves. Again, I take the black pencil and lightly highlight the eyes and draw a shadow
under the nose. I take a pitch pencil and
draw in the nostrils, lightly filling in the space. Then I use a red pencil to enhance the blush using
circular strokes. And I draw a dividing line
along their clothes and mouth. Now I take white gouache, mix it with a yellow, orange
shade of water color. I draw light elements
on the head here. It's important to take
your time and maintain even pressure on the
brush to get an even line if you made a mistake somewhere. I don't worry, you
can easily correct it with colored pencils
as I do right now. With the red pencil, I use an erasor to remove pencil in the eyes
of nut cracker, I draw the eyebrows
with a black pencil. I take a green pencil and
draw the spruce branches. Use semicircle strokes to convey the fluffiness
of the spruce. Next, to add bright
yellow lights, I take a Bristol brush and gas mixed with
yellow water color. I add splashes on
the background. Our postcard is radio. Thank you for
watching my lesson. I really appreciate that
you trust me as a teacher. Don't forget to subscribe
to my skillshare account to be who knows about new
watercolor lessons. Feel free to leave the comment if you like
this lesson or not. I would be also
very interested in your work in students
project sections. I really like to see your
progress and learn more about what was difficult
for you during this lesson and what was
easy and interesting. Happy Holiday season. Enjoy your Christmas time. See you soon by.