Transcripts
1. Use Light and Dark Without Guessing or Overthinking : If you have ever tried to shade a drawing and felt
unsure where to start, this will feel very familiar. You might have looked at a simple shape and wondered
where the dark should go or worried that you were doing it wrong before
you even began. That hesitation can quietly stop you from adding any
shading at all. If you feel a little tense about light and dark,
that makes sense. Many beginners were never shown how simple this part
of drawing can be. You are not behind. You are right where many people start. While you are here, you will
take one calm step together, nothing fancy, a gentle way to see light and dark clearly. So your hand knows
what to do next. Even trying this once
is already a small win. I and Paul, I help beginners
learn creative skills in a clear and simple way so they can feel safe trying
something new. When I first started drawing, light and dark confused me
more than anything else. I could draw shapes,
but the moment I tried to shade,
everything felt messy. I pressed too hard,
erased too much, and told myself I
wasn't good at it. Over time, I realized
something important. Light and dark are
not about talent. They are about noticing. Once I learned how to notice in a calm way shading
stopped feeling scary. That is why I enjoy
teaching this topic. It gives beginners
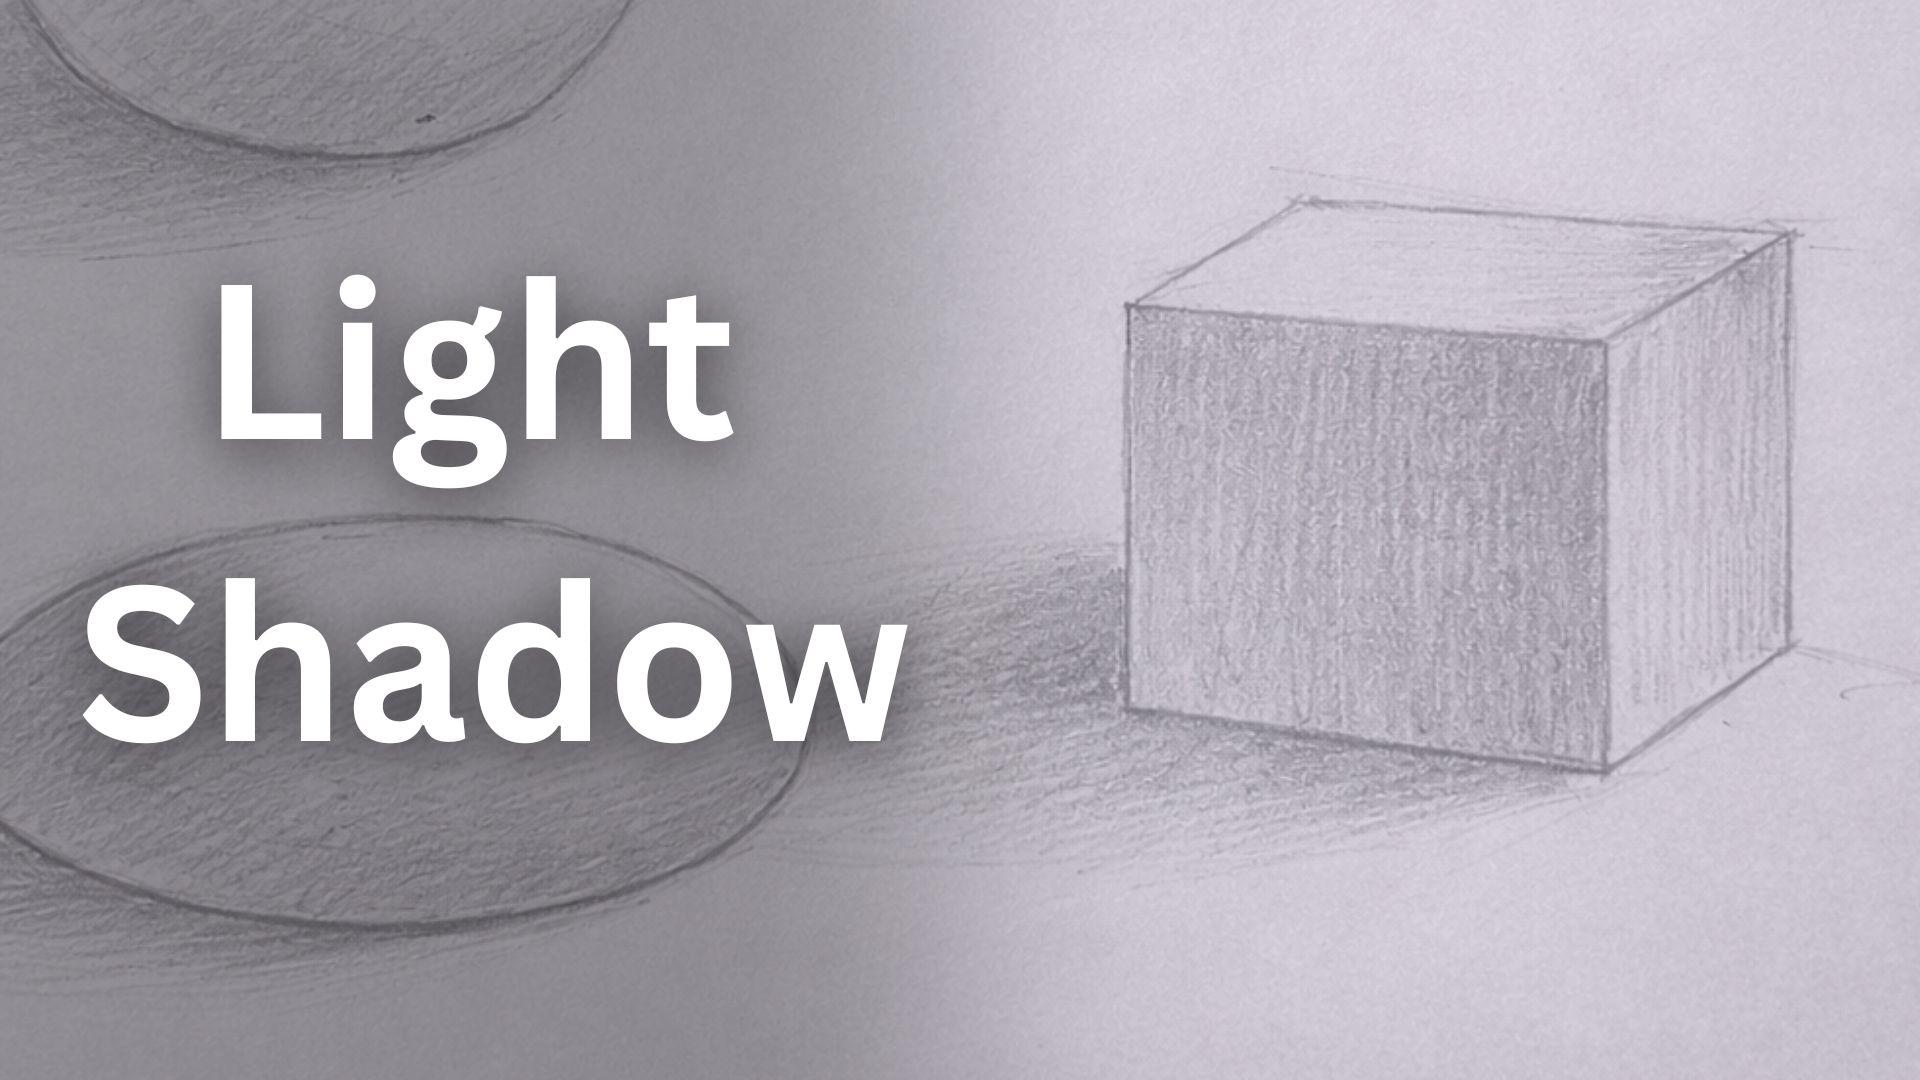
relief quickly. Here, we will focus
on one simple idea. You will use light and dark on very basic shapes using
only paper and a pencil. This is not about realism
or perfect drawings. It is about building awareness in your
hand and your eyes. This is for true
beginners who want drawing to feel calmer
and more doable. If you already
shade confidently, this can still be a
gentle refresher. If you are brand new, you're
exactly in the right place. You do not need special tools. Paper and a pencil are enough. As we go, we will build one small project together
slowly and kindly. By the end, you
will have something simple you can look at and say, I understand this a
little better now. Take a breath.
There's no rush here. Let's ease into it together.
2. Create Simple Light and Dark Shapes on Paper : It is very common to feel unsure when starting
something new, especially when it
involves shading. You might worry
that you will ruin the page or that your
shape will look flat. That worry is normal. The good news is that the
project here is very simple. You will create
light and dark on a few basic shapes using
a pencil. That is it. No perfection needed. We will build this
project slowly as we go. You will not finish
it all at once. Each lesson adds
one small piece. You are welcome to work along, pause, rewind, or
just watch first. Anyway you choose is fine. The project is called
light and dark shapes. You will draw simple
shapes on paper and gently add light
and dark to them. The final result
will be a page with a few shaded shapes that show
clear light and dark areas. You only need one main material. Paper and a pencil. Use whatever pencil
you already have. Regular printer paper is fine. This is about practice,
not supplies. As we move forward,
we will first notice where light
and dark appears. Then we will explore
pressing lightly and firmly. Finally, we will learn
how to keep it simple so shading feels calm
instead of stressful. Your finished page does not
need to look impressive. It only needs to show that you tried adding light and dark. That alone is enough. You are already doing the
right thing by being here. Let's move gently
into the main idea.
3. See Light and Dark Before You Shade : I shading has ever
felt confusing, it often comes from
trying to draw light and dark before
really seeing it. That can feel frustrating. You are not doing
anything wrong. Light and dark simply mean where light touches something
and where it does not. Light areas are where
light hits directly. Dark areas are where light
is blocked or fades away. The simple idea here is
noticing before shading. When you notice first,
your hand relaxes. You are no longer guessing. One helpful way to think
about this is that light usually comes
from one direction. If light comes from the top, the top of a shape
will be lighter. The bottom or side away from
the light will be darker. Another part of
this idea is that light and dark do not
need many layers. Even one gentle light area and one darker area can
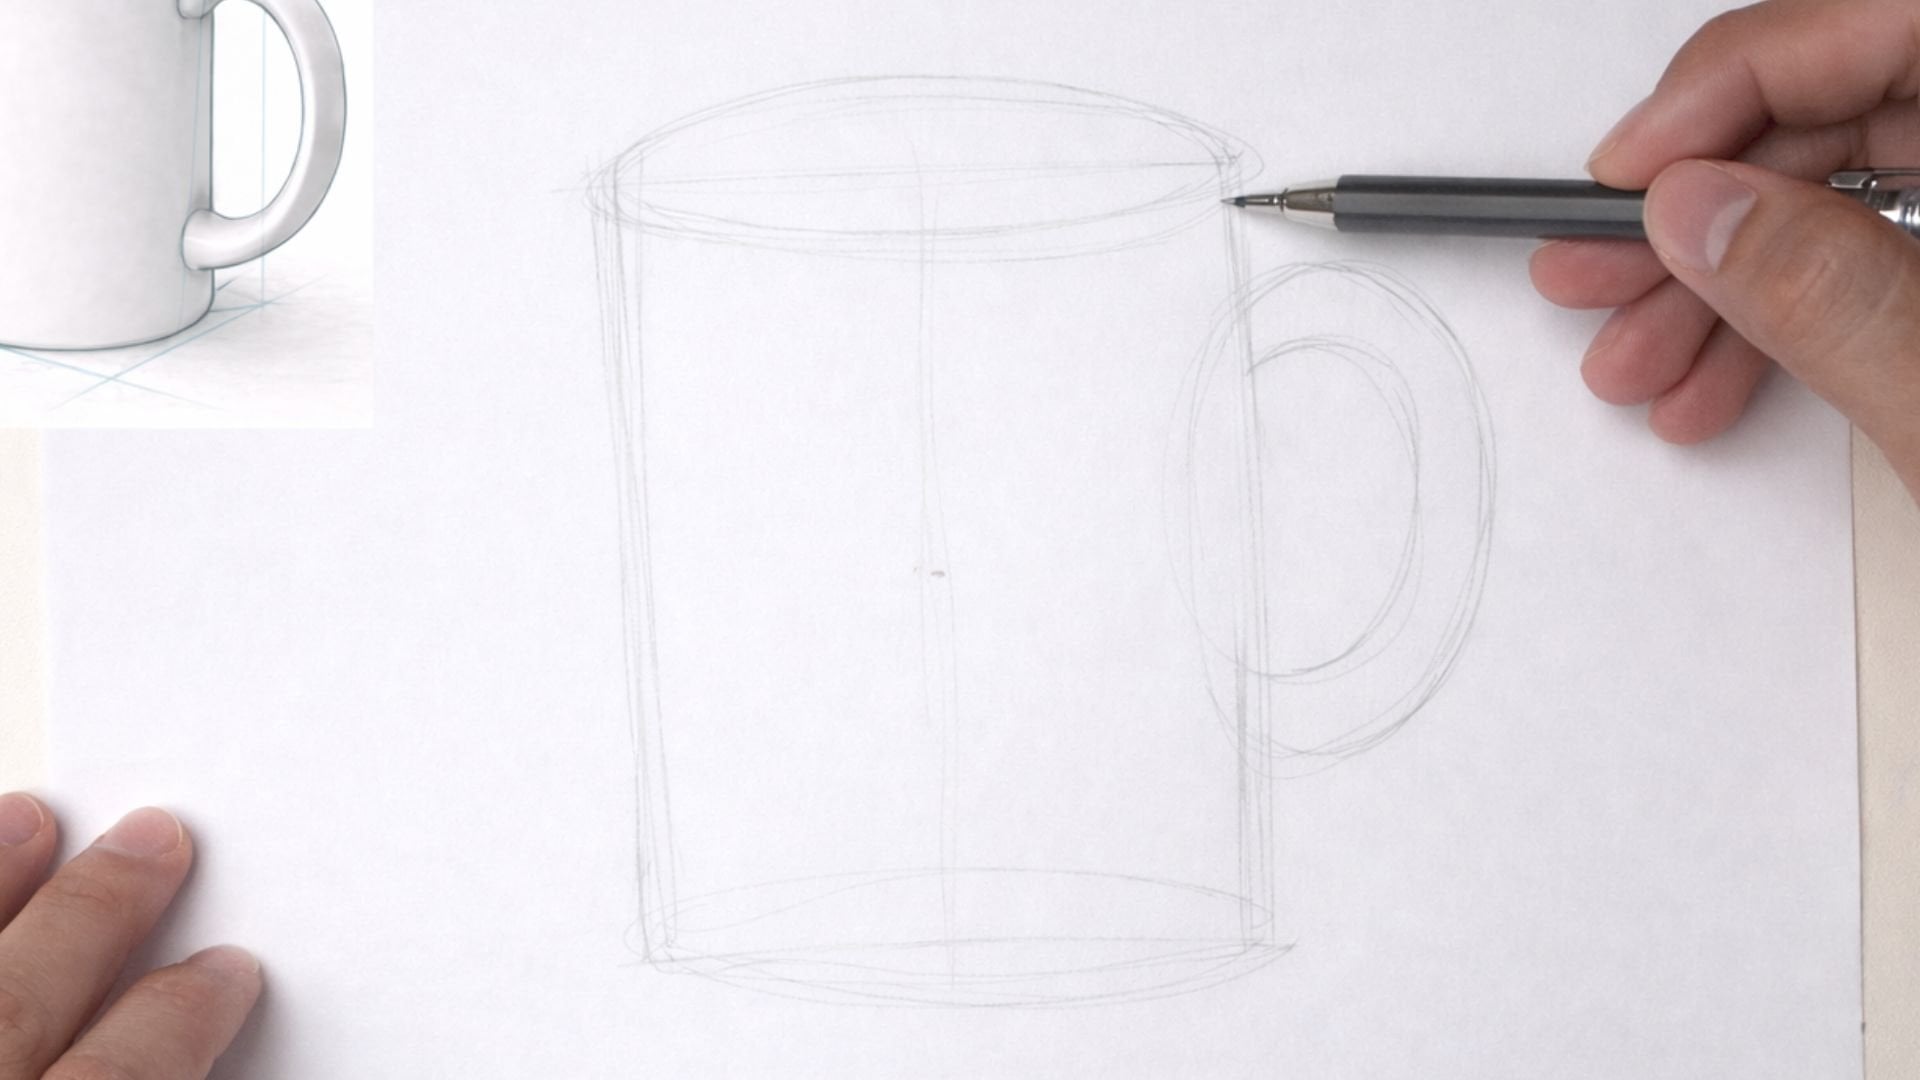
already show form. A simple everyday example is a cup on a table near a window. The side facing the
window looks brighter. The opposite side looks darker. You do not need to measure it. You just notice it. When you understand
this, shading becomes less about drawing and
more about observing. As we go, you will use this noticing in
three gentle phases. First, you will identify
light and dark areas. Then you will explore how lightly or firmly to
press the pencil. Finally, you will
keep everything simple so it does not
feel overwhelming. This flow works because it builds awareness before action. That is what helps
beginners feel steady. Let's start with the
first calm step.
4. Find Light and Dark on Simple Shapes : If you have ever stared
at the blank page and felt unsure where to
shade, you are not alone. That pause happens
to many beginners. It does not mean you lack skill, for now we will
take a small step. We will simply find light
and dark on simple shapes. All you need is
paper and a pencil. If you do not have a sketchbook, loose paper works just fine. When I started, I used
whatever paper was nearby. Begin by placing your
paper on a flat surface. Hold your pencil
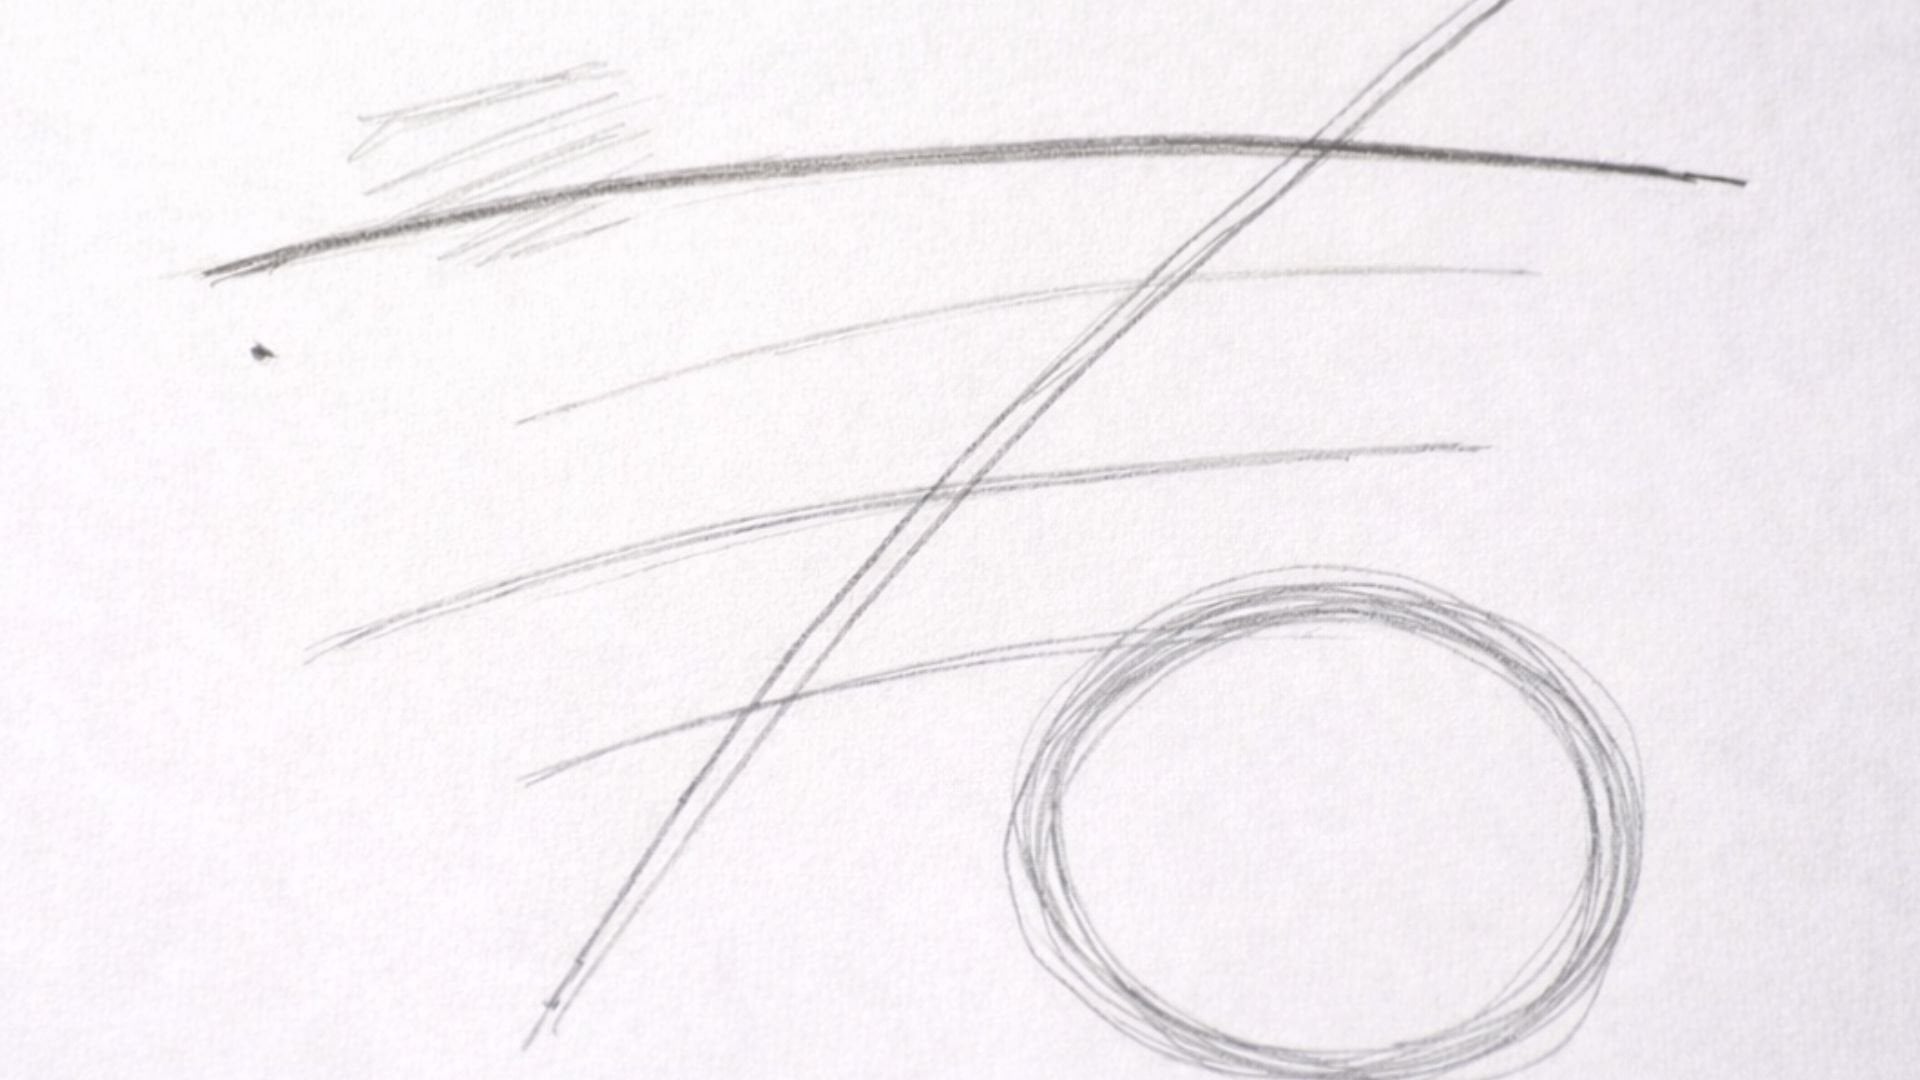
in a relaxed way. There's no need to grip tightly. First, draw a simple shape. You might choose a circle. Draw it lightly. It does
not need to be perfect. Next, imagine light coming
from one direction. You can imagine it coming
from the top right. So the lighter area
is on the top right, and the darker area
is on the lower left. You do not need to draw the
light source, imagine it. Then look at your circle and quietly decide which
side would be lighter. That side faces the
imagined light. After that, look at
the opposite side. That side would be darker
because it is turned away. Now, lightly shade only the
darker side. Keep it gentle. You are not feeling
it completely. You are just showing that
this side is darker. Pause for a moment and
look at what you made. Even this small change already gives the shape a sense of form. You can repeat this with
another shape like a box. Again, imagine the light
from the same direction. Shade the side away from it. This is enough for now. You are training your eyes
to notice light and dark. That is a big stem. If it feels uneven or
messy, that is okay. This is practice. When
I first did this, my shading was patchy. It still helped me understand. Notice how you are no
longer guessing randomly. You are responding to something
you can see in your mind. That awareness is
what we are building. Let's gently add the next layer.
5. Press Lightly and Firmly with the Pencil : Sometimes shading feels hard because the pencil pressure
feels out of control. You might press too hard or
too soft without meaning to. That can feel discouraging. We will take a calm step here. You will explore pressing lightly and firmly
in a simple way. Keep the same paper and shapes you started. Do not erase them. We are building on
what you already made. Hold your pencil again
in a relaxed way. Now, return to one
of your shapes. Look at the darker side
you shaded before. First, add a very light
layer over that area. Use soft pressure. This creates a gentle base. Next, e a smaller area within that same side and press
slightly more firmly. This adds a deeper dark. You are not trying to
smooth it perfectly. You are simply showing that some parts are
darker than others. Pause and look again. The shape now feels
more rounded. Even though you only
use two pressures, you can try this
on another shape. Start light, then
add a firmer press, where the light is weakest. When I learned this, it
changed how I shaded. I stopped scrubbing the page
and started layering gently. That made drawing feel calmer. If your hands feel tense,
take a short break. Shake it out. There is no rush. You are learning
control, not speed. Even a small difference
in pressure is progress. Let's bring everything
together in a simple way.
6. Keep Light and Dark Simple and Calm : At this point, some beginners
start to overthink. You might feel tempted to
add more and more shading. That can create stress. Here, we will slow
down even more. This final part is about
keeping things simple. Look at your shapes again. They already show light
and dark. That is enough. Just one shape to focus on. Decide where the
light is strongest. Leave that area
mostly untouched. Then look at the darkest area. Add just a little more
firm shading there. Not much, just enough
to deepen it slightly. After that, stop.
This is important. Resist the urge to fix
or smooth everything. Take a breath and look
at the whole shape. It shows light. It shows dark. That means it worked. When I first learned to stop
early, my drawings improved. Overwing often hides the light and dark instead of helping it. This comes stopping point
helps you trust your eye. It also keeps drawing enjoyable. You have now done
all the key actions. You notice light and dark. You use gentle and
firmer pressure. You kept it simple.
That combination is powerful for beginners. You might feel a quiet sense of relief right now.
That is a good sign. It means you are understanding
without forcing it. You are capable of seeing
and showing light and dark. That is worth acknowledging. Let's look at the finished
project together.
7. Show Light and Dark Shapes Clearly: The project you created is
called light and dark shapes. You use paper and a pencil to add light and dark
to simple shapes. From the beginning, you drew basic shapes and imagine
a light direction. Then you shade
darker side gently. After that, you explored light
and firm pencil pressure. Finally, you kept everything simple and stopped
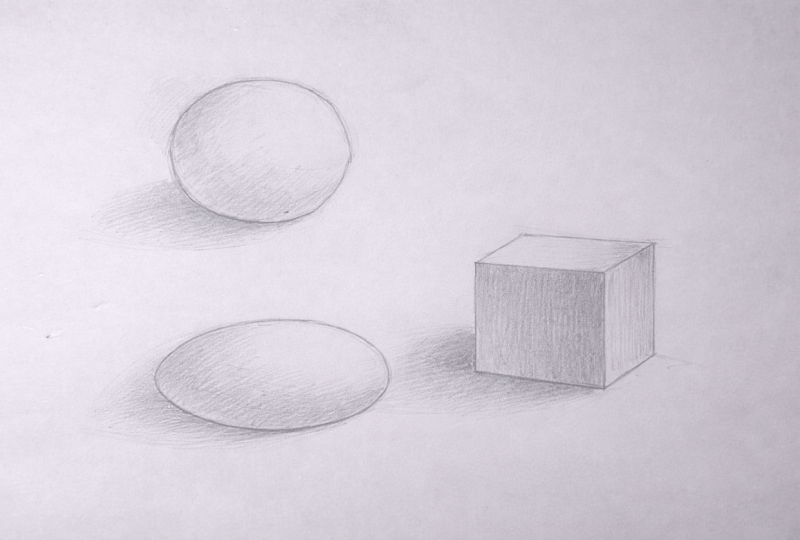
before overworking. Here is one example of a finished project,
light and dark shapes, a circle shaded lightly on the lower left side with a slightly darker
area near the edge, a box with the right
side left mostly light and the left
side shaded gently. With a firmer dark
near the corner, a simple oval showing the light, top right area, and the
darker bottom left area. This is what your
page might show. It does not need to
look exactly the same. The structure is what matters. This project works because it trains your eyes and
hand at the same time. You are not memorizing rules. You are practicing, noticing. To share your project,
take one clear photo of the page showing
your shaded shapes. Upload that single photo. If you want, add the
project title and a short sentence describing
what you practiced. It is often easiest
to upload right after finishing
while it is fresh. Keep it simple. Many students upload quick, imperfect pages. That is expected and welcome. This space is for
practice not performance. Once you upload, you are done. Let's answer a few common
questions before we wrap up.
8. Simple Answers for Common Beginner Questions : You made it through
all the steps. It is normal to still
have few questions. First question. What if my
shading looks messy or uneven? Well, that is completely okay. If your shading shows a lighter area and a darker
area, it already works. Messy marks often
smooth out with time because your hand
gets used to the pressure. Second question. What if I do not know where
the light should be? If you feel unsure, choose one direction and stick with it. Even an imagined
light source works. Consistency matters more
than accuracy here. Third question, can I add
more details or shapes? You can, but it's helpful to
keep this project simple. If you add more, use the same light direction
and gentle pressure. This keep the practice focused. One helpful tip is to step back and squint slightly
at your drawing. This makes light and
dark easier to see. Another helpful mindset is to stop earlier than you think. Simpler shading
often looks clearer. You're building awareness,
not a finished artwork. That is enough. Let's
gently close this out.
9. Feel Calm Using Light and Dark : Congratulations. You
stayed with this from start to finish.
That matters. You learn how to
see light and dark, how to use gentle and
firmer pencil pressure, and how to stop
before overworking. If there is one thing I
hope you take with you, it is that light and dark are about noticing, not forcing. You showed up and
practice in a simple way. That builds confidence quietly. I believe that small calm
steps lead to steady progress. You do not need to rush
or compare yourself. A simple way to remember this
process is the word see. See where the light
is is into shading. And early. Many beginners smile when they realize what
they were doing all along. Sometimes the simplest
drawing feel the most satisfying because
they are clear. Thank you for being here today. When you are ready, upload
your project photo. Doing it soon helps lock
in what you learned. If this help you, leaving
a review means a lot. It helps me grow
as a teacher and helps other beginners
find these lessons. If questions come up later, that is normal,
feel free to ask. You started feeling unsure
about light and dark, and now you have a clear, calm way to approach it. That is a real progress. I'll see you in the next lesson.
 Paul Nene, Helping beginners take action