Transcripts
1. Intro to Class: Hi everyone. I'm Cali from County Mac design and today we are going to be doing some candle making together. This is an introductory class, beginner's level four candle making. We're gonna be learning about how to melt the wax, what materials you're gonna need. We're gonna do pouring of the candle. We're going to let the candle set and then we're going to be doing a couple of decorating things to it. So this is just a basics class if you've never done Kindle making before, this is a good class for you. And I'm really excited to see what everyone does. So let's get started. Ooh.
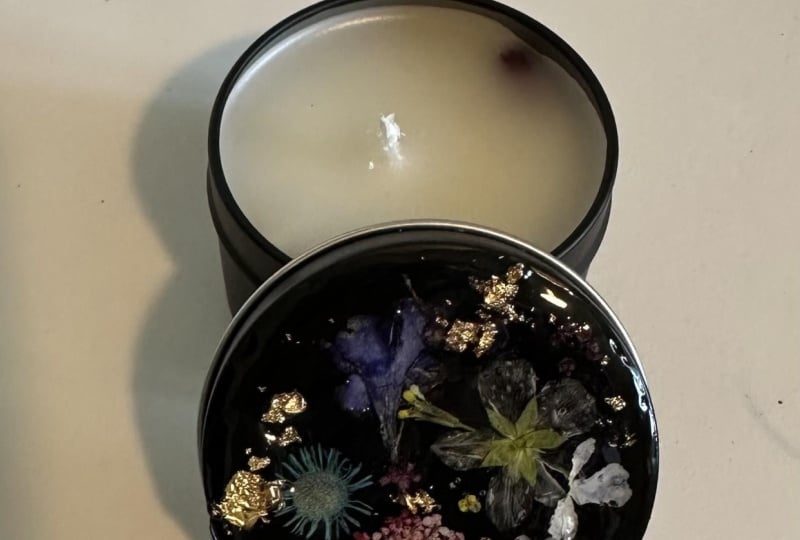
2. Materials: So let me start by going over all of our materials. Just for the candle making part, we're going to need a pot to melt and wax in. And it's helpful to have a stirring tool. And this is just a spin that I won't be eating out of. In order to make sure that the wax melts uniformly. You want another pot because you're gonna be using kinda like a double boiler system. So you need another pot of water. Once the water heats up, it will then melt the wax in here that way you don't get wax all over your pots. So this is what you'll use for the candle making and for wax. I'm using SOI flakes. You could use old candles, you could use gel, you could use just regular wax. You can use the blocks of wax, whatever you want. The flakes just melt faster. So I'm using SOI wax. And then I'll have some recycled jars. You'll need just something to put your candles and you can use a candle tans, you can use whatever you want. These are just recycled jars that I have. For the width of the candle. You have these Wix at then come with little kinda just sticky dots. And this is what helps stick it to the bottom of the jar. The wicks, you can just put superglue or hot glue on the bottom and stick it to the jar if you don't have any of these. But the wicks are really important so that you can burn them. And then these are not super necessary, but they hold the wick up straight so that your wick doesn't go like this as It's drawing. This really helps it stay straight, so it's right in the middle of the candle. Finally, some sense, I'm using fresh linen. You could have unscented candle is you could use essential oils. You could really use whatever your heart desires in terms of scent. So those are all of our candle making supplies. And then for our finishing touches, I have some twine. And then I'm gonna be putting around the edges of the jars and some glitter to accent that top. So those are all the materials that you're going to need to get going. And we will start with starting to melt that wax and make those candles.
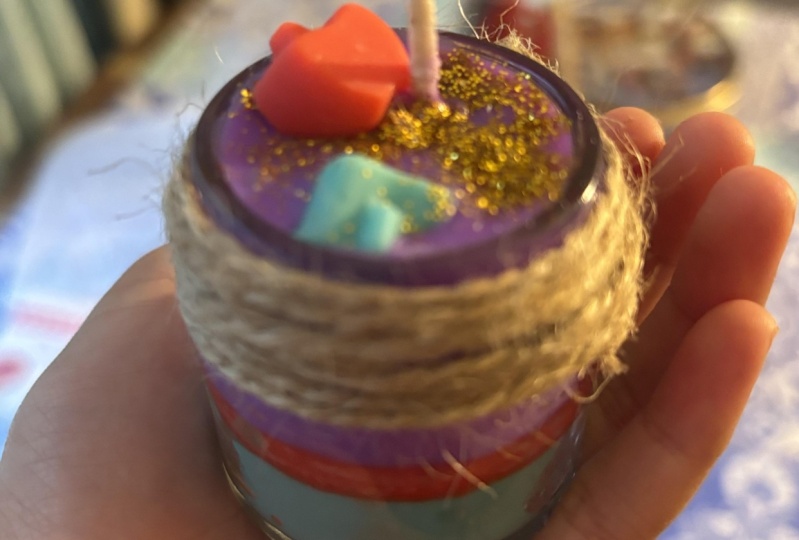
3. Making the Candles: Here we go. My water is starting to warm up, so I'm going to let that warm for now and I'm going to be putting the wicks into the jar. So I'm going to attach this metal piece to one of those little sticky things. Or like I said before, just put some hot glue or other type of glue on the bottom there. Take off the little piece of paper, and then stick it straight into the middle of the jar and just kinda press down. You don't want to put too much pressure on these are like fiddle with them a lot because they can break and then it gets really hard, especially if you've already pouring the wax. So just make sure you're being careful with those. There's one of them. And I'll do my second one. I'll be making two candles today, but you can make as many as you want. It just depends on how much wax you have. So into the middle of the jar, kind of press around. Right? And we're ready. Just hold the wick straight and you can kind of move it around. If you have small enough wakes, you can put it into this little slide here just to have a nice tight grip on them. But I just tend to just kind of lean them against this so that they don't flop over. When a flax as port in, it will get hard to pour glittering if you put these on immediately. So I recommend that you pour the wax and then pour the glitter and then put them on so that they can drive. Here we got though, my water is starting to warm up, so I'm going to put this in here and then I start scooping some wax. Now, you can't be perfect about measuring or you just kind of go for it. You can make candles in batches. So if you run out of wax, just heat up a little bit more immediately imported straight on. They don't drive that fast, so you can do that. I'm just using a little cup to put it. Right? I'm going to stir it until that wax is pretty clear. And you're going to know that it's ready because you only see a couple small flakes in there when you see total liquid. And it's pretty clear that there's only a couple of flakes, then you are ready to add your set. Ok. So I'll show you the kind of what I meant by it being pretty clear without many flakes in there. Hopefully you can see that. And since it's pretty much ready, it's pretty much all melted. I'm going to put in my fragrance and I've got about 250 milliliters here. So I'm gonna do about maybe 78 shakes of that, stir it in. And then I'm ready to h4. So I got to know swiped off that bottom so that it doesn't get anywhere. I'm gonna pour just stream into the jar all the way up to the top and do the next one as well. Okay, and you can see that that work has kind of fallen over. That's why we use the wake holders. So before I put those on, I'm just going to shake some glitter on here that you are going to notice that some of the glitter falls. But some of the good are also stays on top. You don't need to put a lot on, you just want to cover the top because you'll notice that after a while it will start falling. So I'll add these on. And you're ready to drawing. I'm just going to leave these B for about 20 to 30 minutes and then double-check and see where we're at.
4. Wrapping twine: Okay, so our candles are pretty much dry and look how spectrally They are. So what we wanna do with this extra weight, because we're just going to cut this off. And I just normally cut this right? Kind of where the jar hits, you might be kinda long or it might be kind of short. You can always adjust it as needed, but you're just going to shorten those down. Then we are going to accented with a little bit of twine. So here's one that I finished. You can see the clutter on top. And then I finished it with some twine here. So I'm going to be using this thin twine. I've got some other, so it's some thicker twine. And I'm gonna start by creating a loop, which I'm going to hook on right here to the front. And then I'm going to hold that in place as I start wrapping. That loop is going to be important because that is how we are going to fold in our last end. So once you're here, I'm going to cut off this end. And this n that I just finished with goes through that loop. And then I'm going to take my end from that loop that I originally had. I'm going to pull it through so that the NADH is on the inside of both of these, of all of these wraps thing cut off each end. So it's nice and neat. And there you go.
5. Final Project: Alright, so I have my final candle, and here's one of them with that nice copper glitter in it. One small one. And then I have another larger jar again with that copper. So hopefully you liked this project. Hopefully you can use this as a gift or even in your own house. Feel free to decorate as you want. You can put glitter on the outsides. You can put fake flowers or any sort of berries or anything else that fits the decor or holiday that you're going for. And if you finish this project, feel free to post a picture of them below in the class project area because I'd love to see how they turn out. So have fun. Good luck with your candle making in the future, and thanks for watching. See you next time.
 Callie Mac Design, Handmade in Portland, OR