Transcripts
1. 1 Introduction: Hey, everyone. My
name is Olivia, and I'm an artist here
in San Jose, California. In today's watercolor class, we are going to be painting
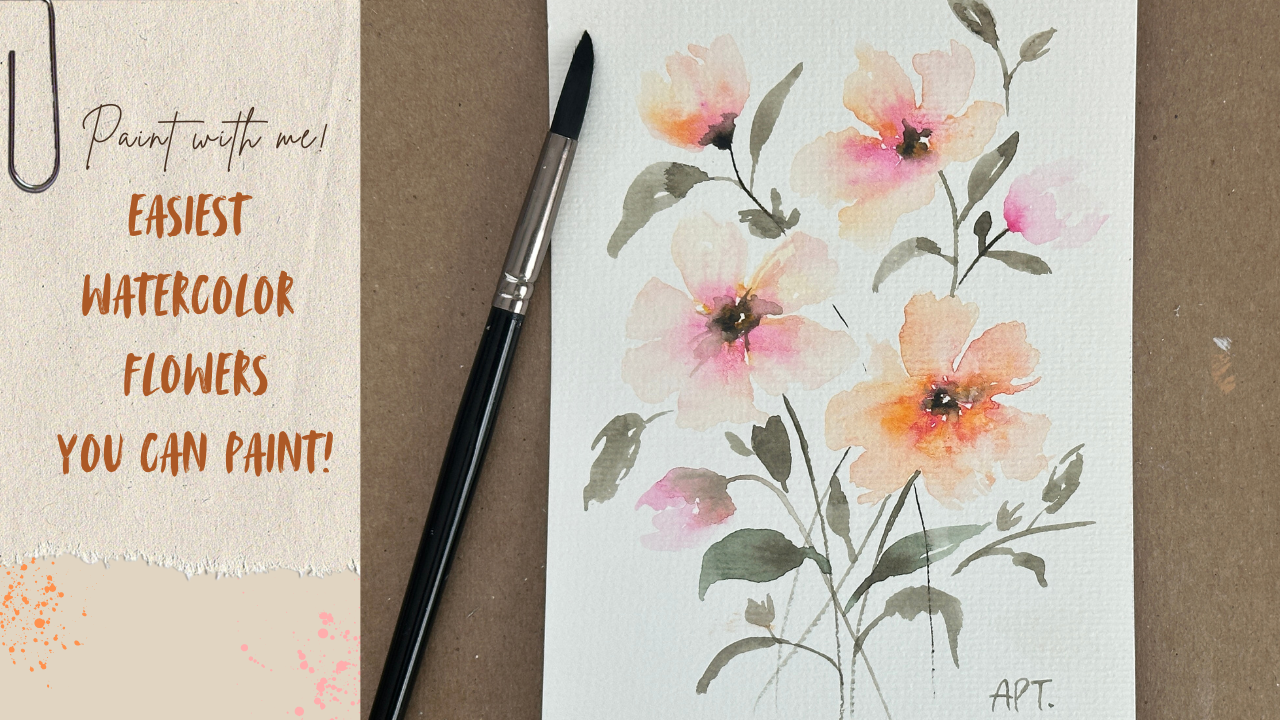
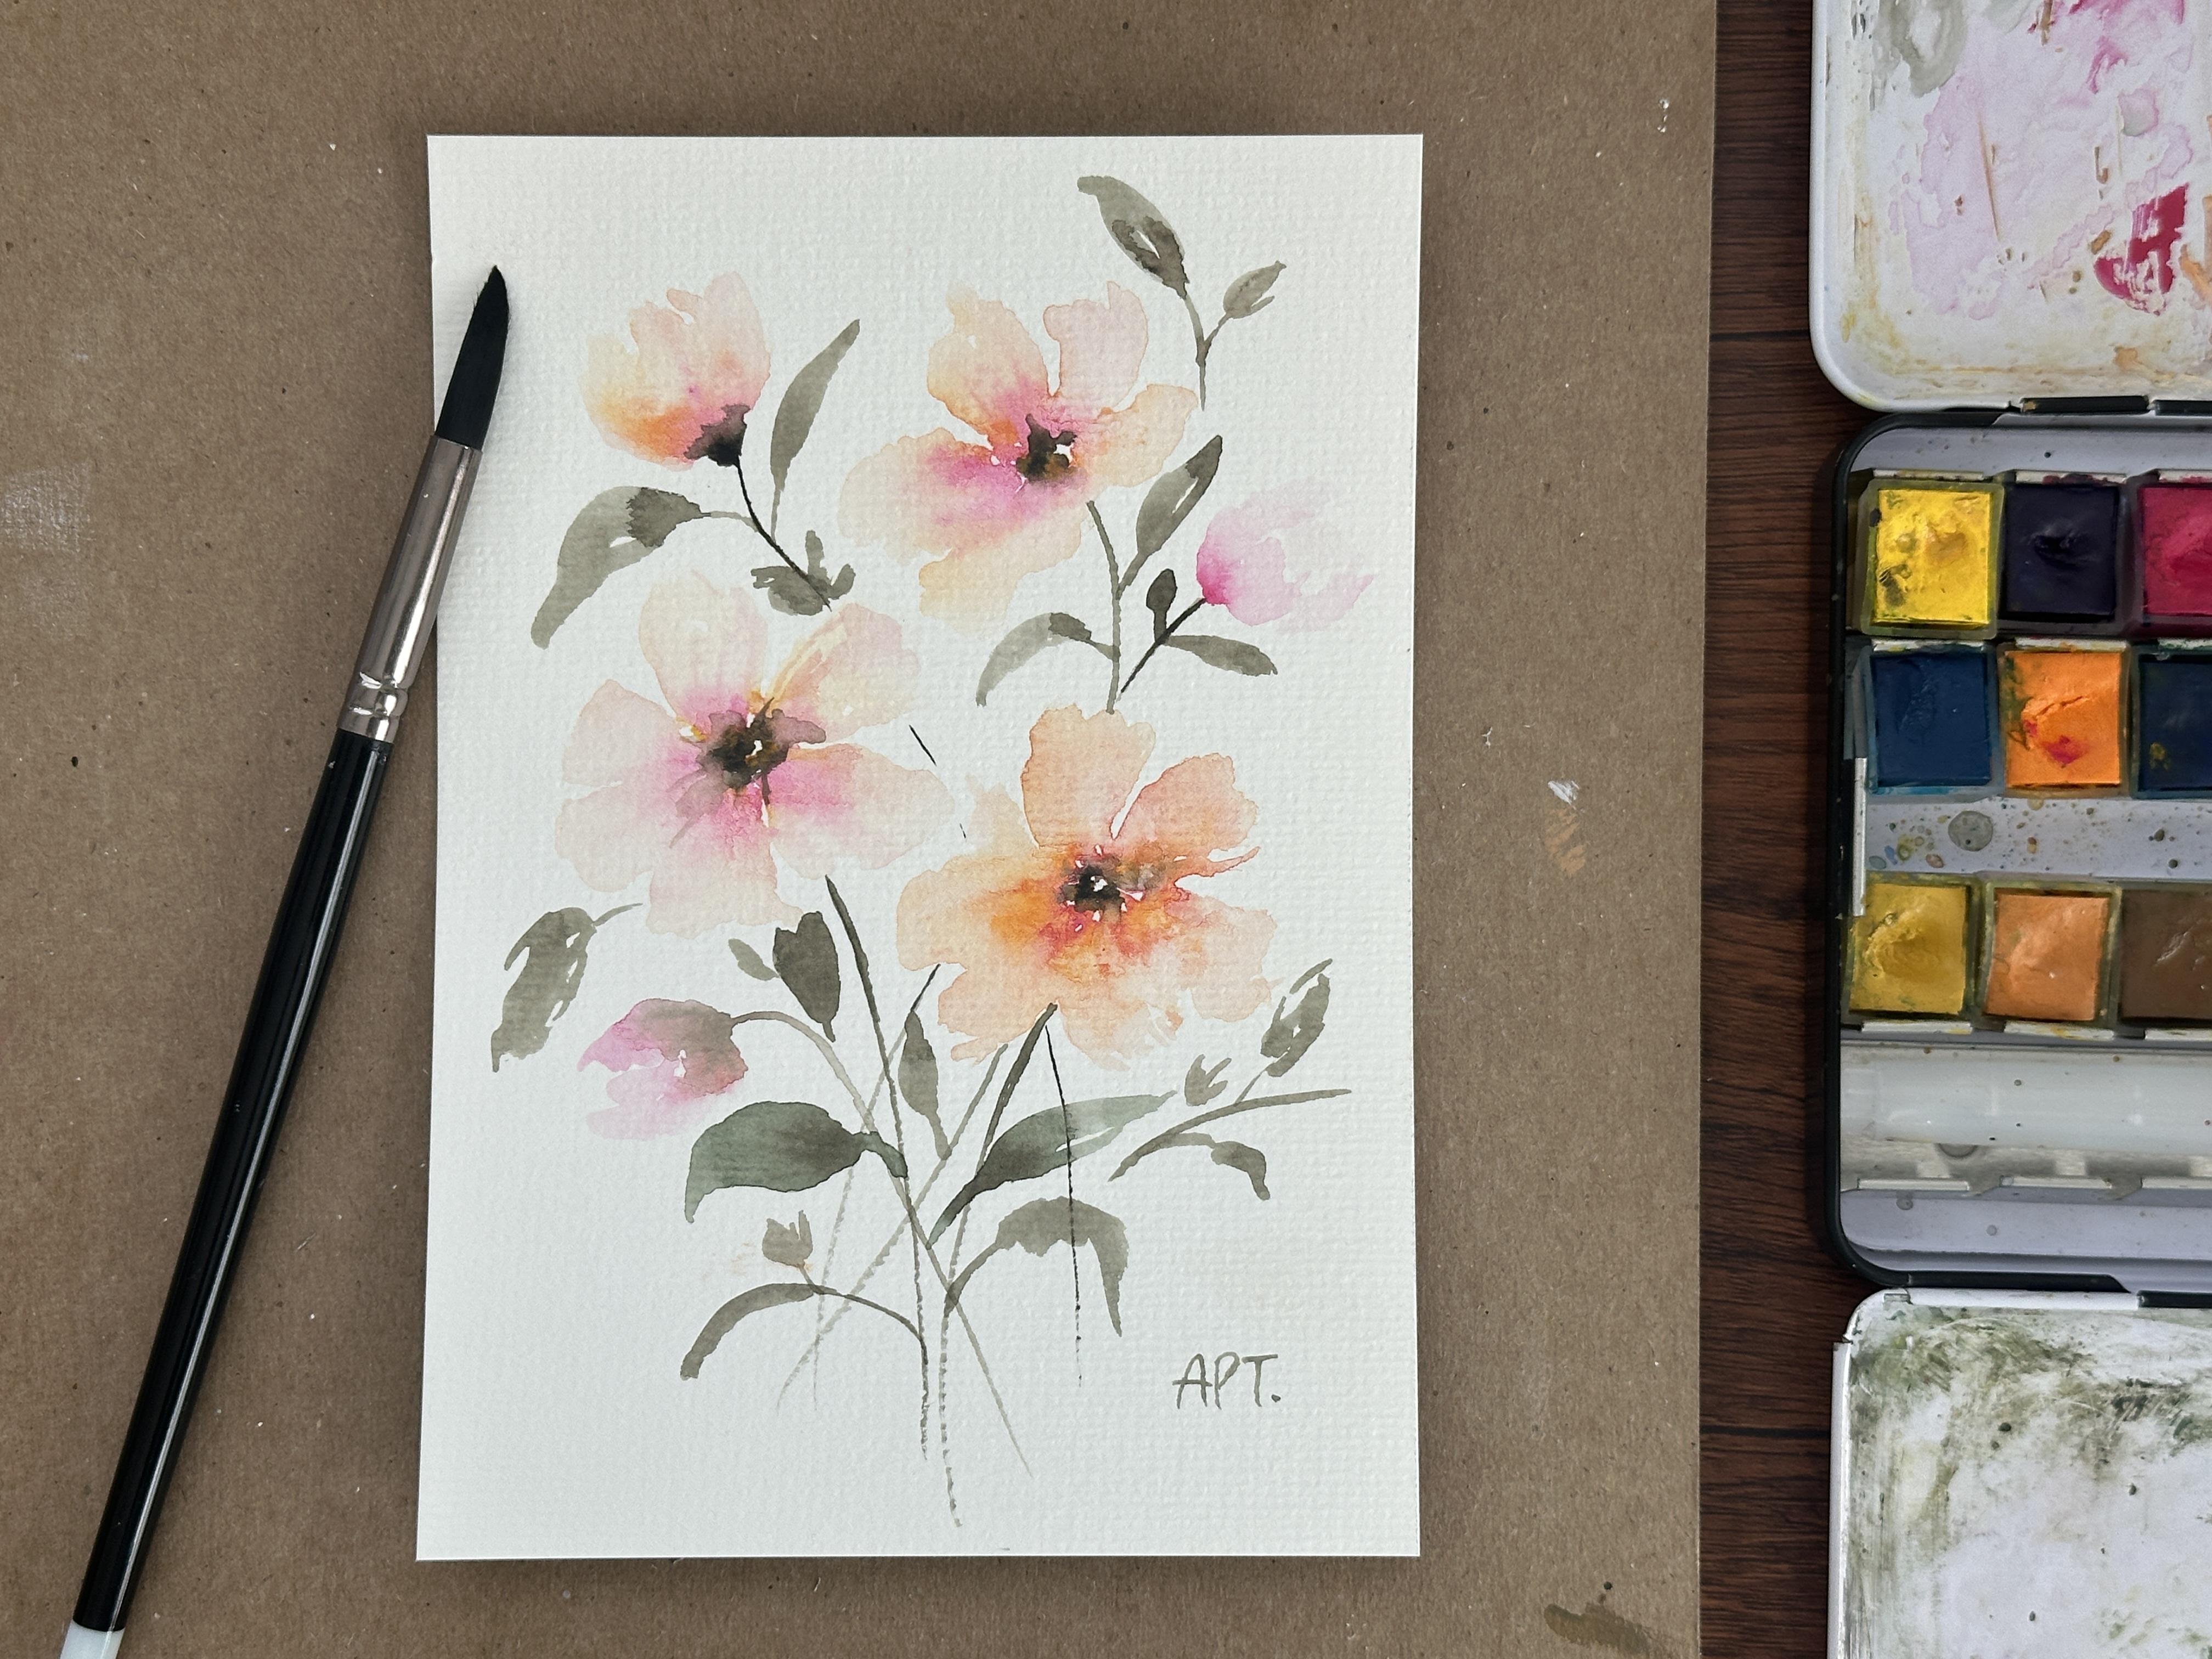
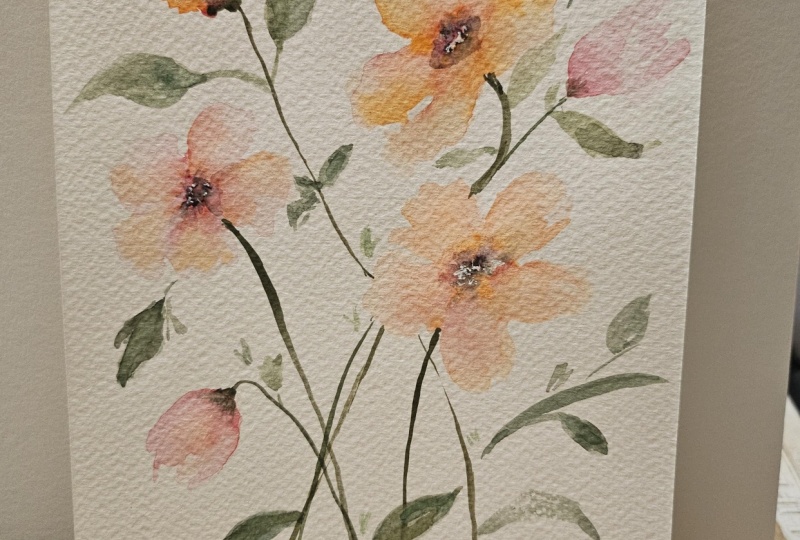
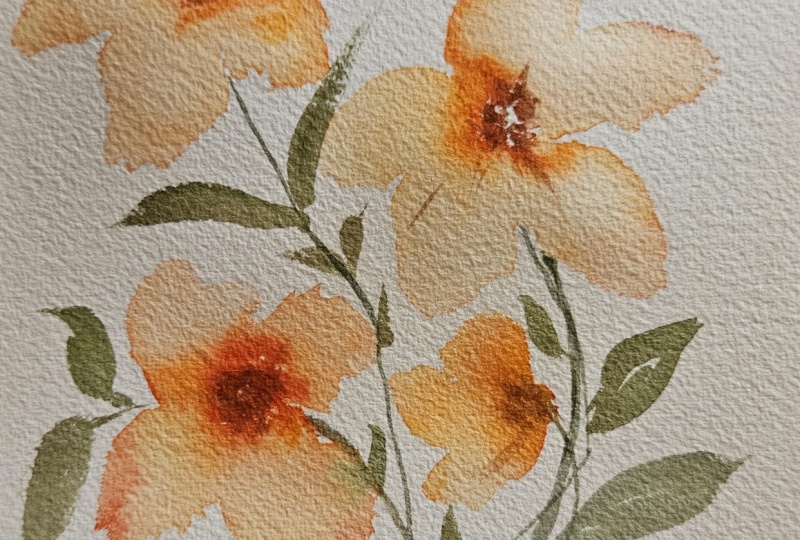
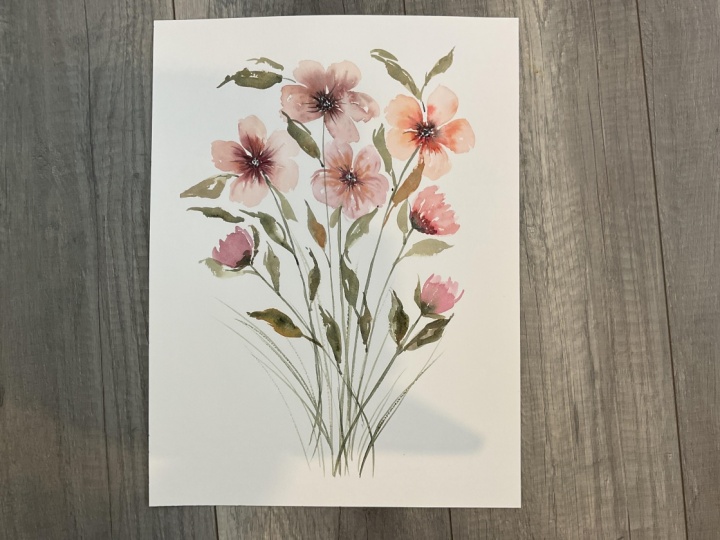
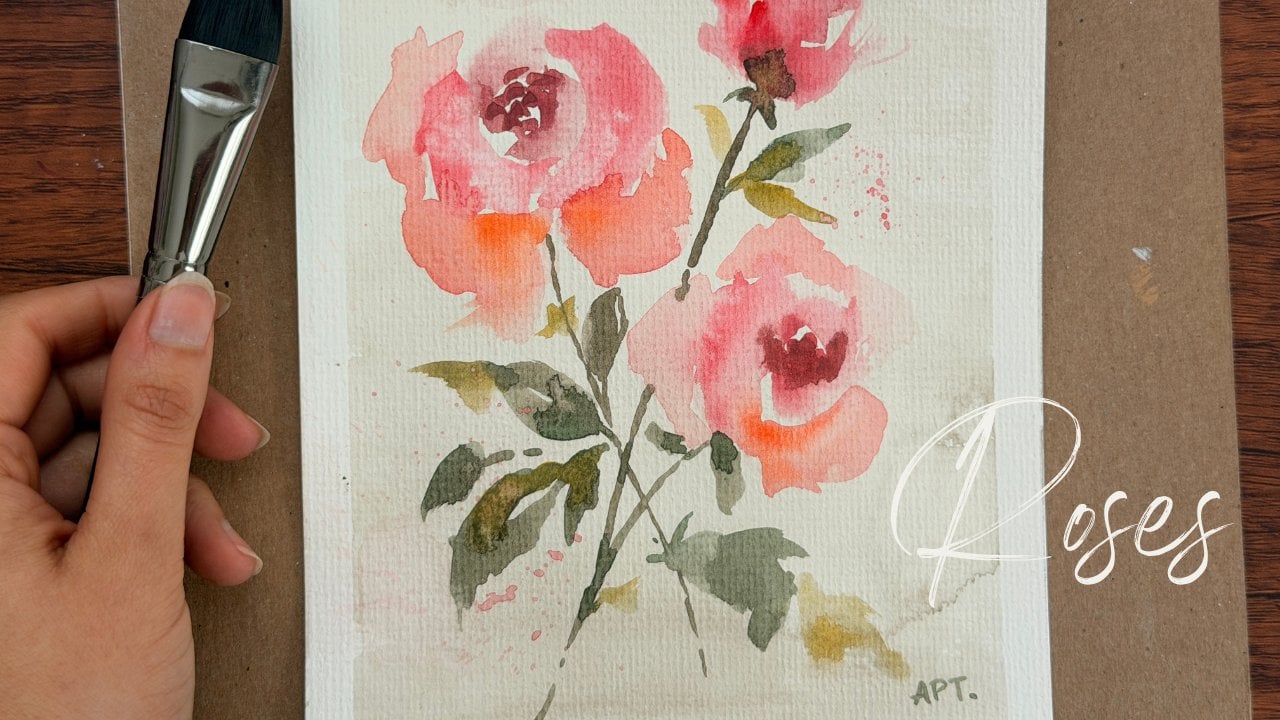
this beautiful and very simple watercolor florals. It's going to surprise
you how easy it can truly be with only
a little practice. You will go through all the materials that
you will need and some basic watercolor techniques
that are very useful. And then we will
walk you through this painting step by
step. So let's begin.
2. 2 Materials: So these are all the materials
that you will need for today's class, a watercolor pad. I've been using this
Artisa watercolor pad, and then you can cut it to
whatever size you'd like. I cut mine into a five by seven, and then I also have my
watercolor Artisa pan. It comes with 36 colors. Again, feel free to use
whatever you have handy. You will need some
sort of tissue roll. I just have a Q
tip just in case. And then I also
have three brushes. So you'll need, like
one bigger medium and a really small
thinner brush. And, of course, a
bowl for water.
3. 3 Exercise - Watercolor Techniques: Alright, so you want to
learn how to watercolor. Let's break down and
simplify these techniques. I'm not going to
overwhelm you with a ton because I understand how daunting
watercolors can be. I'm just going to make
this simple and show you the most used
techniques in general. So the wet on wet technique
and the wet on dry technique. Let's begin with the
wet on wet technique. So on the first watch, here I'm simply going to wet the entire surface
with plain water, and then we're going to dip paint and apply it
directly onto the paper. This is called a flat wash. So I'm using a round brush, and I'm going in with
horizontal strokes like so. If you feel like you need
to intensify the color, you can redo the whole thing, start from top and
apply more paint while the paper is still wet. So here we've got
a clean, simple, basic flat wash. All right, it's enough for
my second swatch. I'm again, wetting the
surface with plain water to begin and then adding
paint to the top, but gradually moving my brush downwards with
reloading more paint. This gives me a simple,
natural gradient effect, also known as the
graded wash. Again, if you feel like you need
more paint or it's too light, you can load your brush
with paint and start over. This next one that I'm
going to show you is very similar in that it
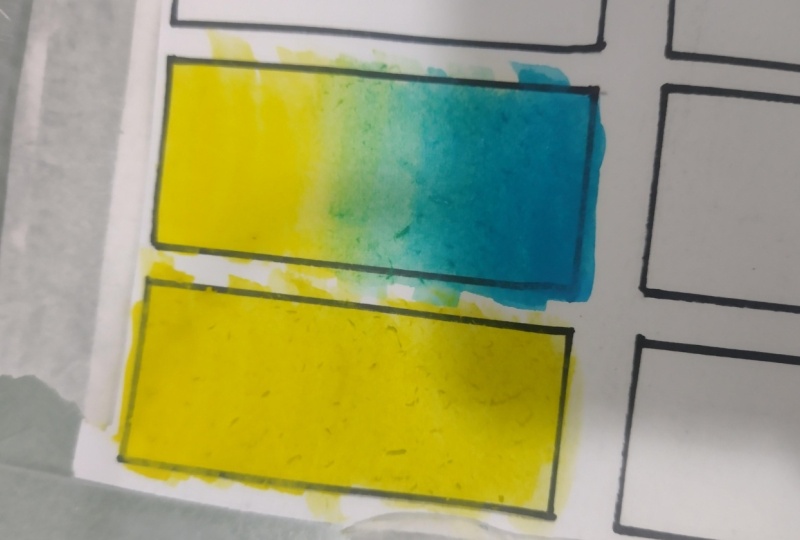
is a graded wash, but using two different colors. So this wash is referred
to a graded wash, but a variegated
transition of two colors. So after wetting my
paper with plain water, I'm going with one color from the top and ending it
somewhere in the middle. And then I'm going in
with a different color, but starting from
the bottom until the two colors meet
in the center. Going over the two
colors lightly in the center softens
any harsh lines. As you can see,
this wash could be great for sunsets,
et cetera, in fact, all these three washes that I demonstrated are
great for background, such as skies or just
any object in general. Here, I'm just going
over the colors one more time while the
paper is still damp, so still consider the
wet on wet technique. Now, while we are still
on the wet Oma technique, I wanted to show you how we can lift color by using
either a brush or a tip. Here I'm just making a circle and then I'm
also making in some dots. So the stronger your
color underneath, the better the
color will lift up. As you can see, my blue wasn't
as strong to begin with, so it wasn't lifting
as strongly. But obviously, the
darker your colors, the stronger it's going to lift. Here I'm also adding in some horizontal and watercol
strokes with my brush. So markmking and
lifting of paint can add rural interest to
your painting overall, and it's just a nice technique to apply in your
paintings in general. And in this last watch, I wanted to show you how you can apply blooms using the
wet on wet technique. Again, I'm starting by wetting the paper with plain water, and then I'm dipping
my brush in paint. So you will notice
how your dots bloom out to wherever water
has been applied. You can play around
with different dots and brush line marks to experiment
with this technique. I love this technique,
especially when I paint flowers. You can most definitely add in a variety of colors here to get various bloom effects that can be really
fun to play with. So now that you've learned some basic wet on
wet techniques, let's move on to wet
on dry techniques. So I'm taking my
paint directly and applying it on the
paper, dry, right? So I'm not wetting the paper. This is just my dry paper and applying paint
on it directly. So this is referred to
an opaque flat wash, a strong, vibrant
one tonal color. You can, of course, go over
it multiple times as needed, depending on how saturated
you want your color to be. This next one is a
transparent flat wash, same technique as
the previous one, but just using less paint
and more water at this time, but I'm still painting
on this wet on dry as my paper is still
dry to begin with. All right, next one is a
gradient wash using two colors, dipping my paint and
starting upwards. And then I'm taking a
different color and starting that downwards while blending
the color in between. You may have noticed
that these are all the same techniques
as the wet on wet. Only difference is
that we just don't wet the paper before we apply paint, and that's the only
main difference. But both of these techniques can give you very different
outcomes. All right. So in this watch right here, I'm going to show you some
dry brush techniques. I'm using a flat
brush and working upwards in vertical strokes. This is great for grass or definition or just
adding texture. So the dry brush techniques
are pretty much endless depending on the type and
size of brush you use. So highly recommend
experimenting with those. Another technique I love
using is this flatter paint. So I'm just using a flat brush and I dip my brush and paint, and then I simply tap on my brush to where I want
this platter effect. This can really add a cool and fun detail
to your paintings. Alright, and now before
I end this lesson, I also wanted to take a brief moment to
talk about layering, a very essential technique
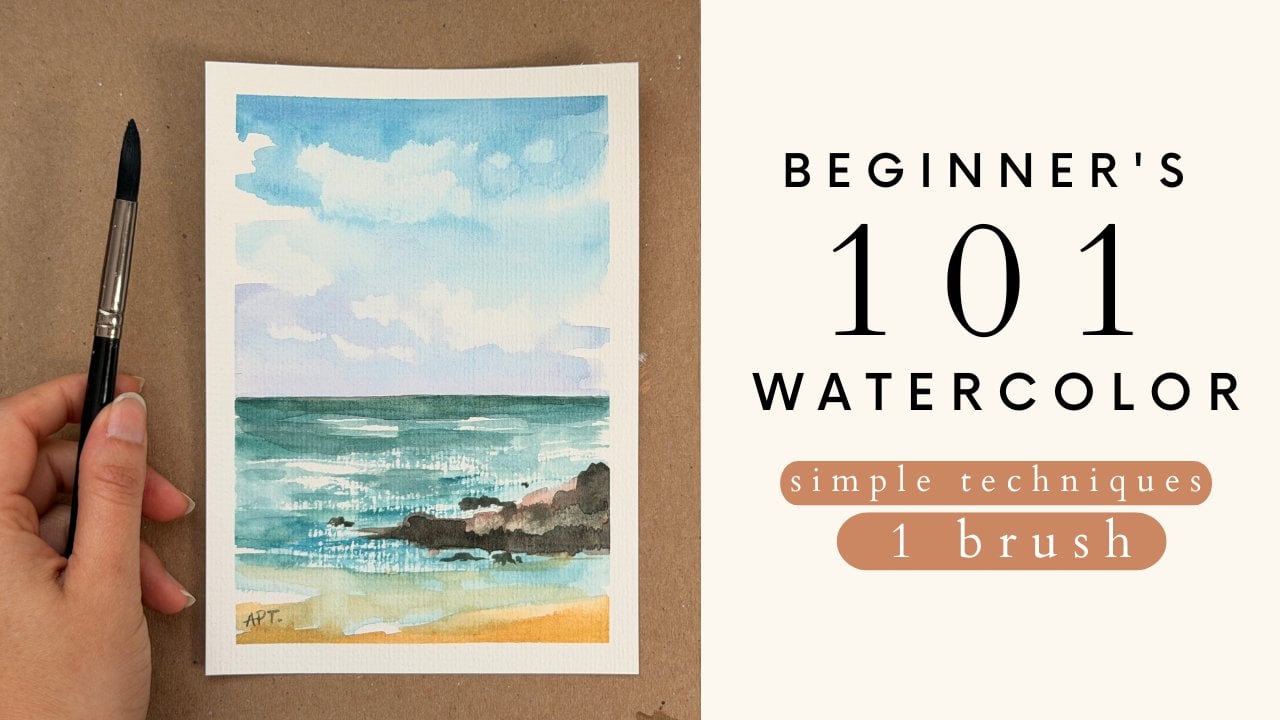
to the wet on dry technique. So the transparent wash I did earlier has
completely dried, so I decided to work on that directly to demonstrate
some mountains. Now, I highly recommend
each layer to completely dry before
layering on top. As you can see, I was a little impatient and my colors
were slightly bleeding, so please wait for your pains to dry completely in
between your layers. This requires a
lot of patience or a blow dryer to speed up the
process if you are like me. But here I'm working light to dark and layering each
mountain in the front. Continuing with the wet on
dry technique by adding some trees to the front to
close this off. There you go. I hope you learn some basics and some quick watercolor tips that I guarantee can be used in every single painting.
Hope you enjoyed.
4. 4 Painting - Flowers: Alright, so I'm using a
number six round brush, and let's get right into
painting these flowers. Now, I don't have a
reference to follow. I'm simply just kind of going with my intuition
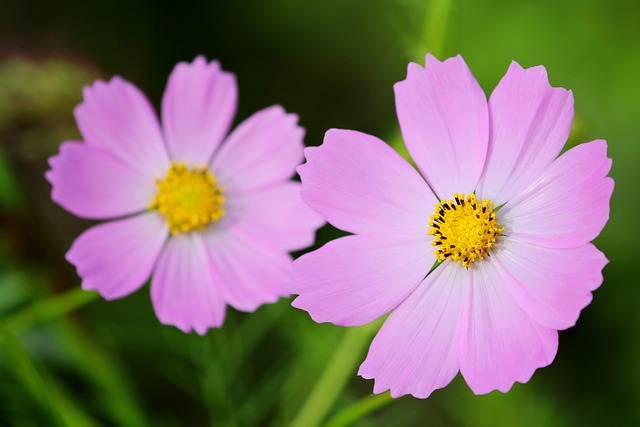
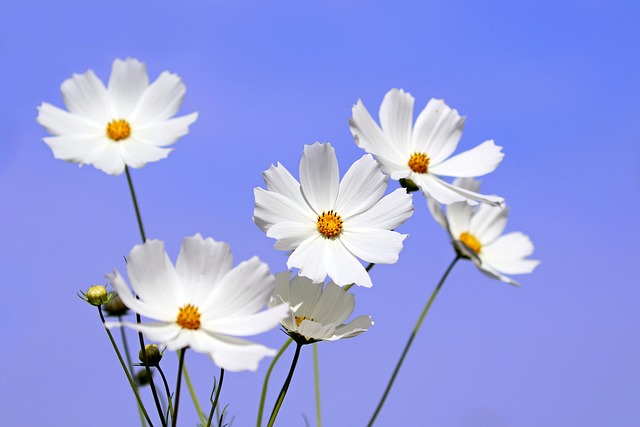
and with the flow, but I will leave some
reference of flowers I can find below in
the projects and resources tab just
for inspiration. Alright, so now I'm going to
break this down real simple, and you will truly be
surprised how easy these flowers can be with
just a little practice. So here I'm taking a pink color, and I'm making little
specs like this in a circle that will make up
the center of the flower. Now, this will help
create the entire flower petal and you'll see it'll
help shape everything. I'm adding a
different color here, just putting in some orange. Feel free to add
in whatever color you wish for this project. Okay, so this is the first
step, and that's it. Now let's move on to the second step of making these flowers. So I'm switching to a
slightly thicker round brush, and I'm wetting the brush
and then simply dragging this paint we already have to
make a single flower petal. So you can see how this
technique will give you super soft colors and just that beautiful watercolor
texture that we all like. So you will basically repeat this step following the
circle, and that's it. Like I said, surprisingly easy to do with just
a little practice. Now, you will get the hang
of it, the more you do it. Just make sure to add
some variety of shapes. You don't want all your flower petals to look exactly the same. This is where maybe looking at some flower pick
references can help. While the paint is still wet, I'm going to take my
smaller brush and just add in some paint
to the center here. This technique is
referred to the wet on wet technique where you add
paint to already wet paper. So this method creates soft diffused edges and
seamless color blends, making it ideal for backgrounds
skies or creating depth. So the success really
lies on managing the ratio of water on
the brush and paper, which determines how freely the colors will
spread and blend. And this does take
some practice, so don't know, don't
get discouraged. If it's just it becomes
a complete mess and you just kind of have
paint all over the place. That's okay. Just keep
trying and you'll get there. And that is it, guys. I'm
basically just going to be repeating these steps for all the flowers
for this project. I'm only using two brushes
and two techniques, essentially, to create these
soft watercolor florals. So for this flower, I'm
making my bud a elongated oval shape slightly
because I wanted it to be a little left tilted. So based on how you
do your center bud, you can then form and mold
your flower accordingly. Either you tilt it towards
the left or your right and or you can face it upwards,
that's totally up to you. Just a reminder to
make all your flower petals slightly different
from each other so that it seems more natural
and not repetitive shapes. Also, I'm not putting a lot of pressure on my brush
while painting. I'm gently scraping it against the paper with very
less pressure. I'm just mainly using
the tip of the brush or the belly of the brush
while I make the flower petal. I'm rushing a dog on the chain. I'm running up stones only
to the Bank rally the troops for another Friday I sing
the softly to myself. I sing the softly to myself. I'm buried beneath the sand. There's no way to
speak or reach out my watching the
paper slowly unfold. Bracing for notes that
I can't bear to hold. While I'm singing
this song to myself. I sing this softly myself. Toe up my cheek on the fence. Besi I cannot bend my
walking is lighter. When I walk with a friend I
sing the softly to myself. I sing the softly to myself. I'm waking up early again
sitting on listening and there is no separation. Sing. Alright so now my first two
flowers are completely dry. So now whatever
paint we add on top, we'll be using the
wet on dry technique. So this method provides
more control and allows for sharp crisp details and
just hard edged marks, unlike, you know, the
soft or diffused effects of the wet on wet technique. So it is ideal for
creating layers, precise details like
veins on the leaf or for subjects where you want to maintain a distinct separation
between the colors. So I'm simply just dotting
the center with, like, a grayish black and using the smaller brush to pull out the color into the
peal a little bit. As you can see,
this method is very controlled, so take your time.
5. 5 Painting - Buds: Okay, so now for my
remaining flowers, I wanted it to be
a different shape, more like a flower bud. So that's what I'm going
to demonstrate now. The only difference is that
the base of the flower, the circles that we used to add, it's not going to be
a circle anymore, but rather a simple line. I still wanted to keep
this rather simple, but still show you a different flower shape to make
it interesting. So using that bigger brush, I'm just dragging
this color upwards, creating a sea like shape, closing the shape
on the other side. And that's how you create
simple flower buds. So before I added more flowers, I decided to just kind of give these existing flowers
some stems so that we have a better understanding of composition and how things
are turning out so far. So I'm just pulling in my
number two rigor brush that's long and skinny for
the stems of the flowers. So I'm just mixing in some dark green and some grayish black, and I'm pulling in long
strings from each flower. So try and move your hand
quickly, but in control. So as I mentioned earlier, I was not looking at
any reference at all, so I was simply
winging it as I went along based on what
composition I already had. So here, I felt like I was definitely needing a flower
in this right section, so I'm adding a
smaller bud this time, but I'm facing it
towards the right. Also, I felt like this bottom left section could
use the flowers, so I'm giving it some love and adding one more bud
right here as well.
6. 6 Painting - Leaves & Class Project: Okay, so I was satisfied with the composition
of the flowers, so I decided to move
on to the leaves. So for the leaves,
I'm using some dark green and some black mixture
for all the leaves here, again, keeping it really simple. All right, so for the
remaining of this project, I'm going to demonstrate
really simple, easy leaves for this class. So really your basic
standard leaf shape, where it is fatter
at the base and it tapers towards the end, it can be done with one
or two breast strokes. I also like pulling in
some color at the base, so working on this wet on wet. So the key here is to think about adding
variety of shapes. So some small, some fat, some thin, you get the idea. Also, I'm just being very mindful of the
composition of each leaf. So each leaf that you add should work with your overall
finished painting, and it should look appealing.
So keep that in mind. So keep your brush
control really light. Don't press on the paper too
hard for softer brush marks. And there you go, guys.
I really hope you enjoyed today's class and I hope it was fun and easy to follow and that you learned
some quick and simple, soft watercolor
florals that can be very effective with
just a little practice. So I cannot wait to see
what you guys come up with. Cry your projects.
I would love to see them and do not forget to
leave this class a review. Ask me any questions in
the discussions tab below. I invite you to explore the different classes I
have created for you. Classes in watercolors,
as well as acrylics are available if
you want to learn more. So do consider following
me so that you do not miss out on future
painting classes from me. Follow me on Instagram to
keep up with latest updates, giveaways, and all
that fun stuff. Thank you, once again,
and happy painting.
 Alifya Plumber, Artist | Acrylics, Watercolors | Painter