Transcripts
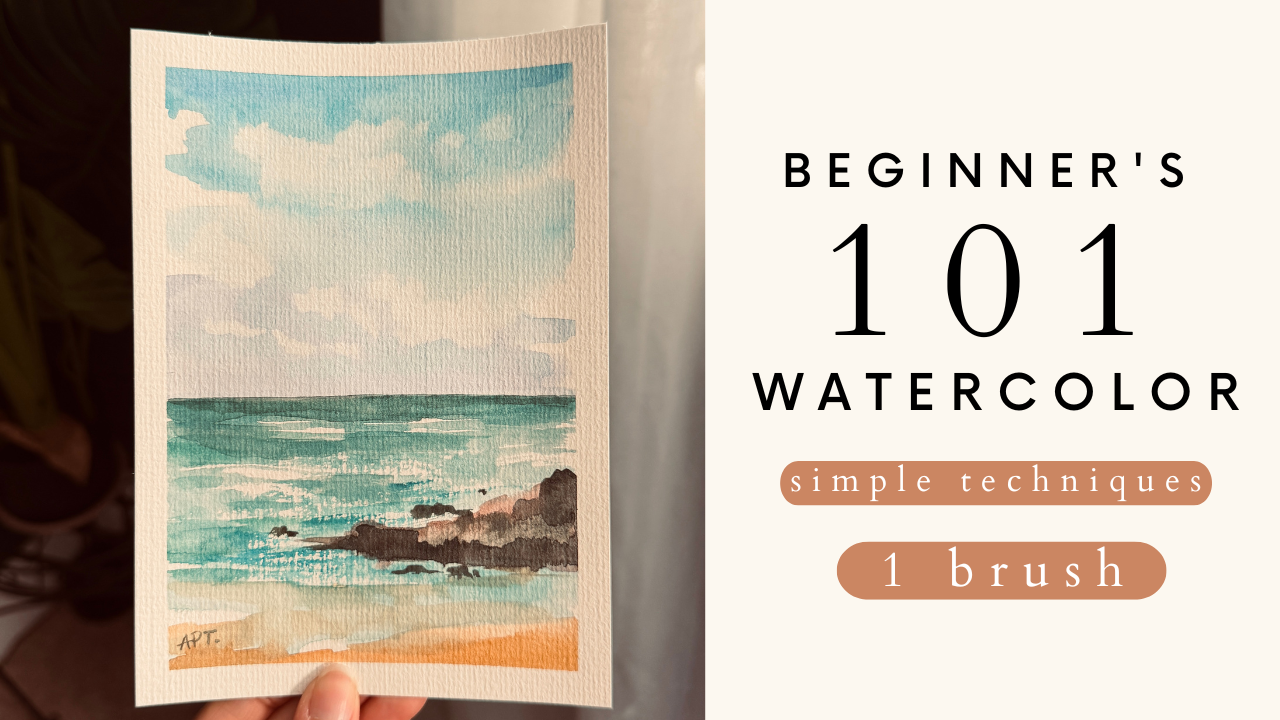
1. 1 Introduction: Hey, everyone. My
name is Olivia, and I'm an artist here
in San Jose, California. Today's class will
be an absolute basic one oh one
for watercolors. Simple techniques
and only one brush used with minimal colors. So if you haven't
ever painted in this medium or you're still
new, this class is for you. But like always, my classes
are beneficial to all levels. Beginner and beyond are welcome. We will go over the materials, basic watercolor techniques,
layering and washes, as well as some
standard brushwork. We will then paint this
watercolor painting step by step. So let's begin.
2. 2 Materials: And this is everything that I've used, Artisa watercolor pad. I cut mine into a five by
seven inch piece of paper. I also use ArtisaPin palette. It comes with 36 colors, and you'll need a bowl of water, a paper napkin, and a washy tape to tape off the edges,
and just one brush. That's right. I've
only used one brush in the entire project for today.
3. 3 Exercise - Watercolor Techniques: Alright, so you want to
learn how to watercolor. Let's break down and
simplify these techniques. I'm not going to
overwhelm you with a ton because I understand how daunting
watercolors can be. I'm just going to make
this simple and show you the most used
techniques in general. So the wet on wet technique
and the wet on dry technique. Let's begin with the
wet on wet technique. So on the first watch, here I'm simply going to wet the entire surface
with plain water, and then we're going to dip paint and apply it
directly onto the paper. This is called a flat wash. So I'm using a round brush, and I'm going in with
horizontal strokes like so. If you feel like you need
to intensify the color, you can redo the whole thing, start from top and
apply more paint while the paper is still wet. So here we've got
a clean, simple, basic flat wash. All right, it's enough for
my second swatch. I'm again, wetting the
surface with plain water to begin and then adding
paint to the top, but gradually moving my brush downwards with
reloading more paint. This gives me a simple,
natural gradient effect, also known as the
graded wash. Again, if you feel like you need
more paint or it's too light, you can load your brush
with paint and start over. This next one that I'm
going to show you is very similar in that it
is a graded wash, but using two different colors. So this wash is referred
to a graded wash, but a variegated
transition of two colors. So after wetting my
paper with plain water, I'm going with one color from the top and ending it
somewhere in the middle. And then I'm going in
with a different color, but starting from
the bottom until the two colors meet
in the center. Going over the two
colors lightly in the center softens
any harsh lines. As you can see,
this wash could be great for sunsets,
et cetera, in fact, all these three washes that I demonstrated are
great for background, such as skies or just
any object in general. Here, I'm just going
over the colors one more time while the
paper is still damp, so still consider the
wet on wet technique. Now, while we are still
on the wet Oma technique, I wanted to show you how we can lift color by using
either a brush or a tip. Here I'm just making a circle and then I'm
also making in some dots. So the stronger your
color underneath, the better the
color will lift up. As you can see, my blue wasn't
as strong to begin with, so it wasn't lifting
as strongly. But obviously, the
darker your colors, the stronger it's going to lift. Here I'm also adding in some horizontal and watercol
strokes with my brush. So markmking and
lifting of paint can add rural interest to
your painting overall, and it's just a nice technique to apply in your
paintings in general. And in this last watch, I wanted to show you how you can apply blooms using the
wet on wet technique. Again, I'm starting by wetting the paper with plain water, and then I'm dipping
my brush in paint. So you will notice
how your dots bloom out to wherever water
has been applied. You can play around
with different dots and brush line marks to experiment
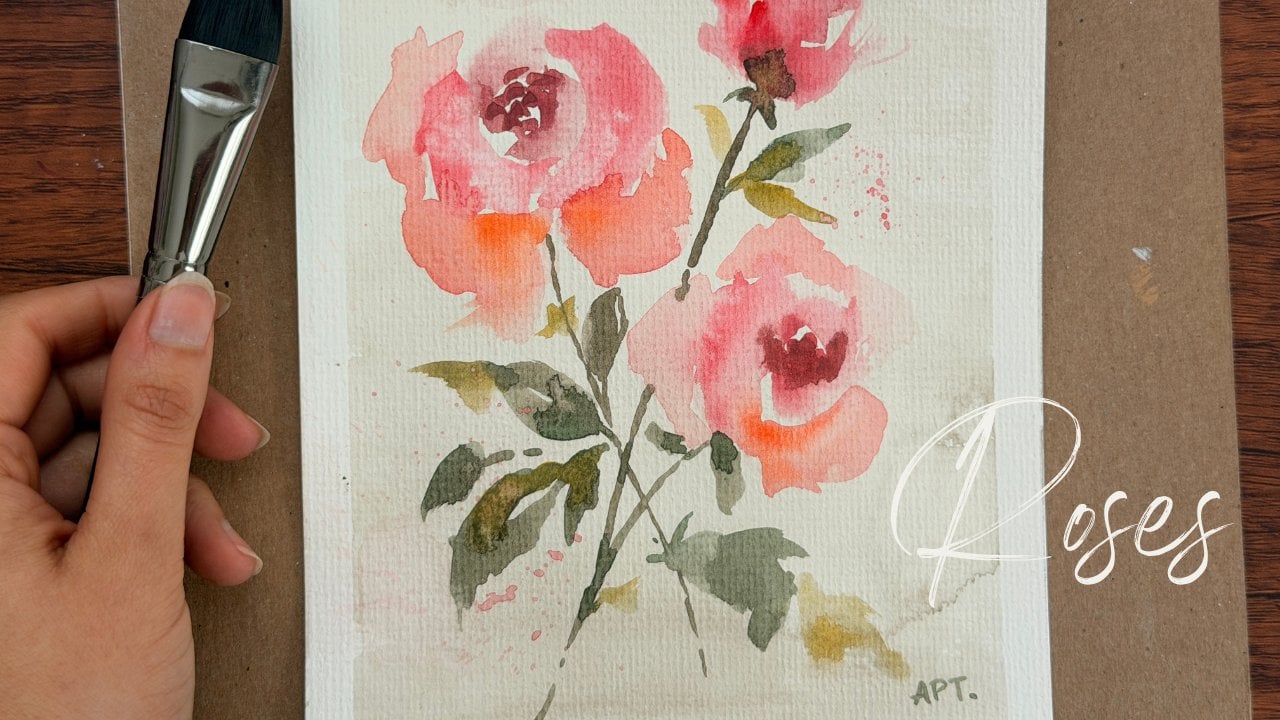
with this technique. I love this technique,
especially when I paint flowers. You can most definitely add in a variety of colors here to get various bloom effects that can be really
fun to play with. So now that you've learned some basic wet on
wet techniques, let's move on to wet
on dry techniques. So I'm taking my
paint directly and applying it on the
paper, dry, right? So I'm not wetting the paper. This is just my dry paper and applying paint
on it directly. So this is referred to
an opaque flat wash, a strong, vibrant
one tonal color. You can, of course, go over
it multiple times as needed, depending on how saturated
you want your color to be. This next one is a
transparent flat wash, same technique as
the previous one, but just using less paint
and more water at this time, but I'm still painting
on this wet on dry as my paper is still
dry to begin with. All right, next one is a
gradient wash using two colors, dipping my paint and
starting upwards. And then I'm taking a
different color and starting that downwards while blending
the color in between. You may have noticed
that these are all the same techniques
as the wet on wet. Only difference is
that we just don't wet the paper before we apply paint, and that's the only
main difference. But both of these techniques can give you very different
outcomes. All right. So in this watch right here, I'm going to show you some
dry brush techniques. I'm using a flat
brush and working upwards in vertical strokes. This is great for grass or definition or just
adding texture. So the dry brush techniques
are pretty much endless depending on the type and
size of brush you use. So highly recommend
experimenting with those. Another technique I love
using is this flatter paint. So I'm just using a flat brush and I dip my brush and paint, and then I simply tap on my brush to where I want
this platter effect. This can really add a cool and fun detail
to your paintings. Alright, and now before
I end this lesson, I also wanted to take a brief moment to
talk about layering, a very essential technique
to the wet on dry technique. So the transparent wash I did earlier has
completely dried, so I decided to work on that directly to demonstrate
some mountains. Now, I highly recommend
each layer to completely dry before
layering on top. As you can see, I was a little impatient and my colors
were slightly bleeding, so please wait for your pains to dry completely in
between your layers. This requires a
lot of patience or a blow dryer to speed up the
process if you are like me. But here I'm working light to dark and layering each
mountain in the front. Continuing with the wet on
dry technique by adding some trees to the front to
close this off. There you go. I hope you learn some basics and some quick watercolor tips that I guarantee can be used in every single painting.
Hope you enjoyed.
4. 4 Exercise - Brushwork: Brush work, I'm only going to be showing you the
strokes we can get from these three brushes that I'm going to be using
for today's project. So I'm going to start with
a nice big round brush. Again, all of these brushes are linked below if you are
interested in them. I literally love this brush. You will see me using this brush for mostly the entire painting. Almost 95% of the time I'm going to be using
this one brush. It is super versatile
because you can get extremely tiny lines with
this as well as big ones. Holding your brush
straight up and using its tip can give
you thin strokes. You can also use the side
of the brush and then, obviously, using its belly
can give you larger strokes. This next brush is
a long thin brush which can give you
extremely fine details. I usually pull this brush out at the very end when I'm
wrapping up just to add last minute final
details to make an impression and to add a few just a few
marks here and there. Okay, so this last brush that I'm going to be using
is the old brush. I like to use this to get some really cool
dry brush effect. You can also make this
brush yourself by taking any small round
brush that you have that you do not really
care much of and twist it on any surface to make
the bristles span out. Like I said, I use
this brush to get some dry brush effect
mainly on my trees. So what this means
is that you want less water and more pigment
for this brush technique. So using this can give you
very natural brush strokes and it's somewhat unpredictable and adds to that loose
painting style effect. I will demonstrate how I will use this brush in today's
painting as well. You can also get a
dry brush effect with your regular round brush. Usually in a good
watercolor painting, you should have all
these techniques we went over to add interest
and make it impactful. As you move on to
today's lesson, you will see me using
all these techniques we went over and I will
show you how you can tone a simple landscape
and make it interesting by adding a variation of
brush marks and details.
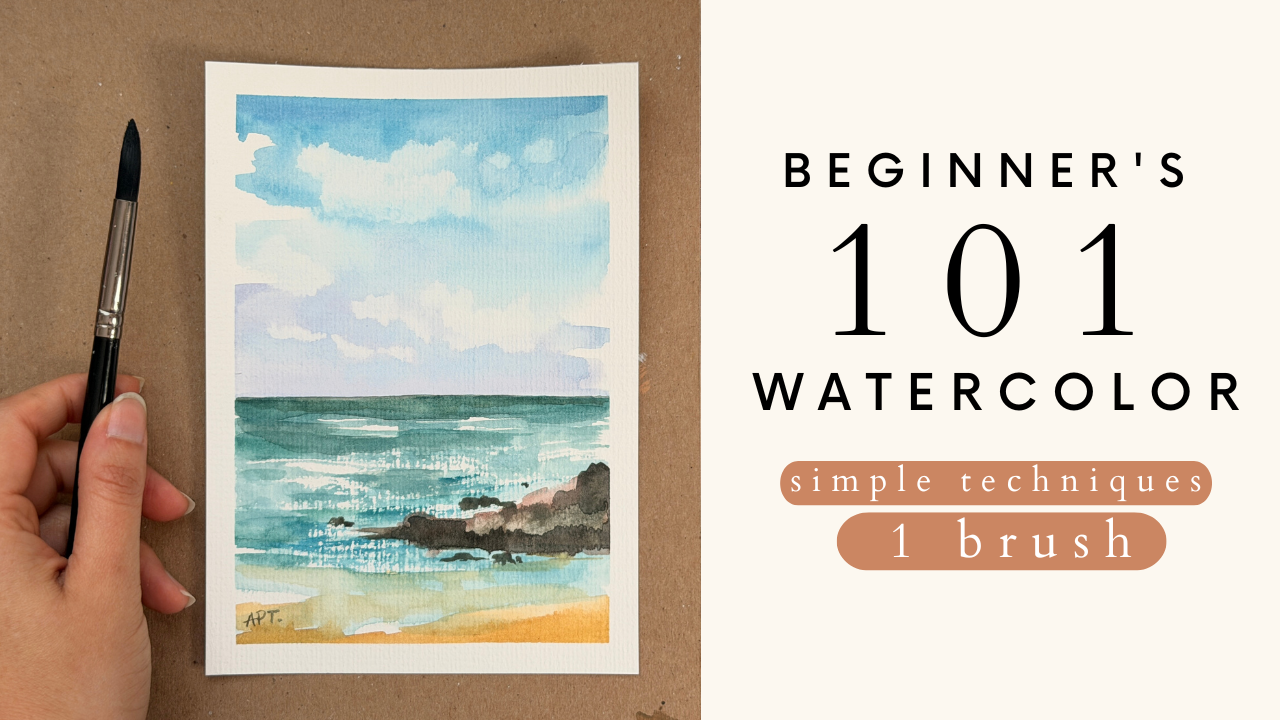
5. 5 Prep and Sketch: So I'm just going
to use a washi tape to tape down my edges here. I've learned that
this works well with watercolors without
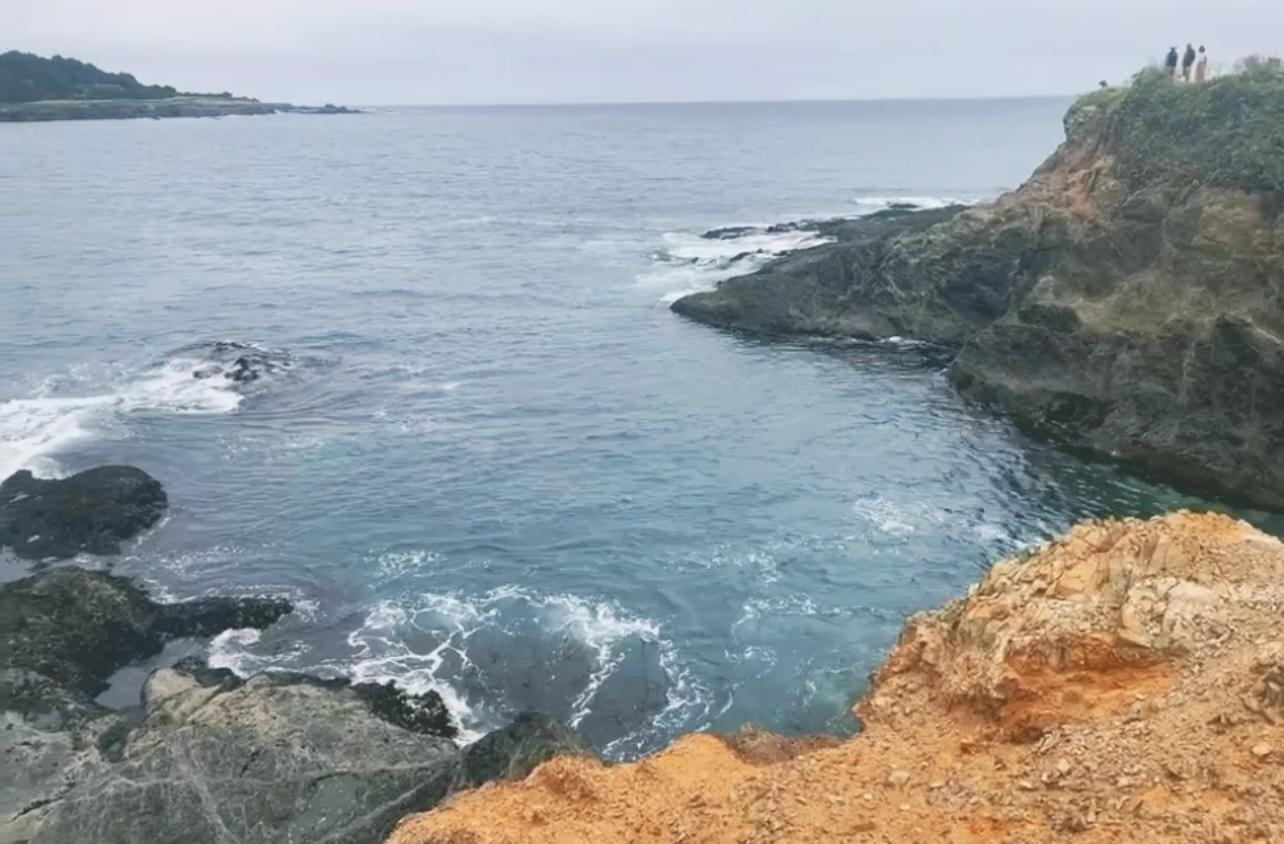
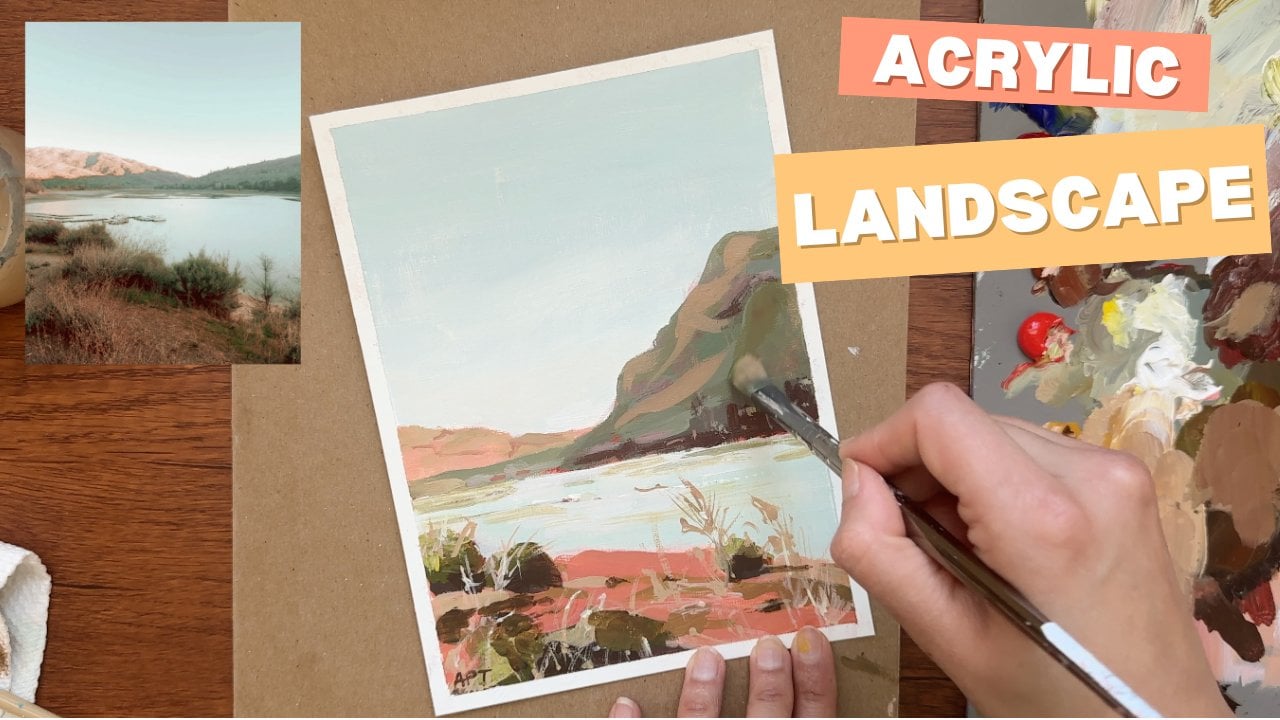
bleeding the edges. I didn't really use any reference for this
particular project, but I did have an idea or, like, a simple
seascape in my head. But I'm just going to pop
a quick reference pick, which is my own for
inspiration right now. I've also linked it down below, so you can reference
that if you need to. But this will just somewhat give you a good idea of where
I was going with this. So I'm using the Washi
tape for my horizon line, which I put a little below the center line to
keep it interesting. I always avoid having my focal point or my horizon
line at dead center. Alright, so I knew that
I wanted a rock at, you know, just down here
somewhere near the ocean. So that's what I'm going to
roughly sketch out right now. Like I said, I'm keeping it very simple and basic
for this project, so that's pretty much all we are going to do as far
as sketching is concerned. And then we can move on to
painting in the next lesson.
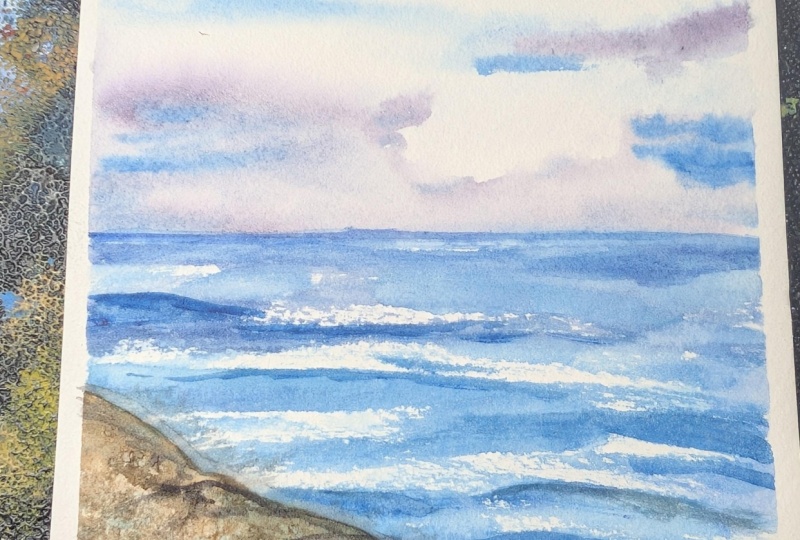
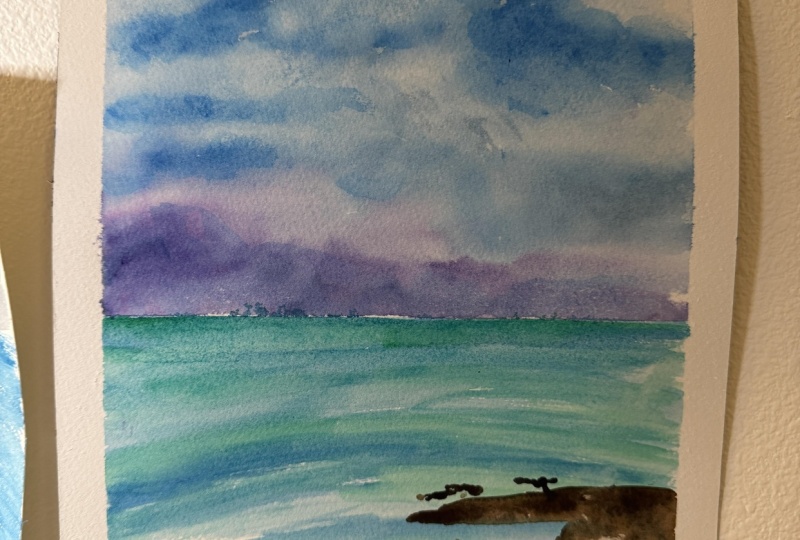
6. 6 Painting - Sky: Alright, so I'm
assuming that you have referenced my exercises
in my previous lessons. If you haven't, please please do so right now
before beginning to paint because it
will really help structure this painting
project for you better. So we are going to
start with the sky, and I'm using the wet on
wet technique for this, which means I will
wet the entire paper. Well, at least the sky portion
first with plain water. So I'm using a medium
sized round brush. Don't pull your paper too much. You don't want too much
water on your paper, but just enough so that
you can see a slight sheen or wash or single wash is
enough to add to your sky here. While your paper is still wet, we will begin painting,
hence the term wet on wet. I'm taking a combination
of blues here. Feel free to use whatever
color you would like. I'm lightly blotching my
paper with this paint. You will notice that the paint will just spread out on its
own with this technique. I will give you a much
softer breezy airy look, which is what I'm going for. I'm leaving some white gaps as I go along to depict
natural clouds. I'm now mixing in
a little bit of this purple blue
combination from the bottom up just to
add some more color. And if you feel like you
need more color on the top, go ahead and add more
layers of color. You can do that
while your paint is still wet or your paper
is still wet, excuse me. But I'm adding in
one more layer of blue to intensify the
color at the top here. Okay, so now for an easy
trick to get clouds, you can just use
your paper towel to dab off some paint while it's still wet in a few places to represent some fluffy clouds. Again, super easy method. You don't have to worry about blending or adding more colour. I feel like it naturally does that with this technique
without doing much. It's a really great
technique for beginners if you're
just getting started with watercolors because I understand how daunting
this medium can be. So I'm just going to
lay this out really simple for you guys so that
if you're just starting out, this will really be helpful. So I just used the corner
of my paper towel and I made sure to get different shapes of clouds.
That's what you want. You want a variety of shapes to make it more natural looking. Another really important
thing to remember is that watercolors will
always dry lighter. So note that your colors will lessen in intensity as it dries. Something to keep in mind
so that you are in control of how much pigment you
lay in each section. So here I'm just
mixing in a little bit blue at the bottom
here. Not too much. I'm just adding it
in a few places, and then I'm just going
to leave it alone, and I'll be done with my sky.
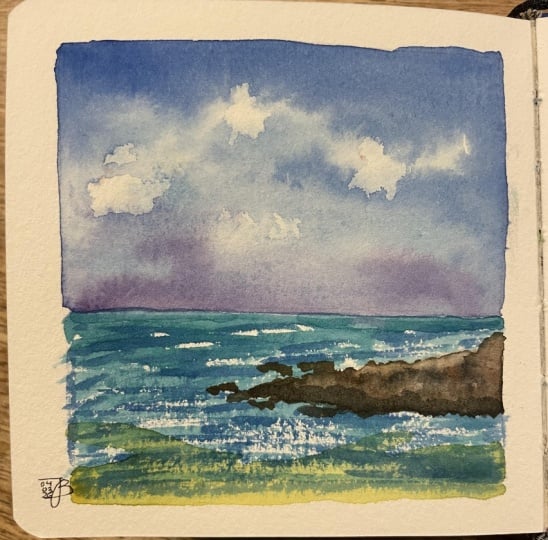
7. 7 Painting - Ocean: Okay, so I peeled off the washy tape and waited
for my paints to fully, fully dry before adding another washi tape
above the horizon line. So doing this will
assure that you get clean lines
for the most part, so you don't have
to fumble around making sure your
lines are straight. Alright, so now let's dive onto the second half of the
painting, which is the ocean. So I'm going to use the wet on dry technique
for this portion, and I'll explain
why in a second. So here, I'm just
going in for like a dark turquoise combination. So you can get this by using and mixing some dark greens
and some dark blues. And I'm still using
the same round brush. So load your brush with paint and start from the
top horizontally. Also intentionally leaving
some thin white spaces as I paint to reference tiny
waves and foam in the ocean. So if you use more
paint and less water, you will get this
dry brush effect where your paint is almost
like scratching the surface, leaving natural white
gaps in between. This wet on dry technique
and this dry brush effect really helps tremendously
when you paint seascapes. It's just an easy way to get that natural wave effect
without adding much. Again, a great technique
for beginners. I'm using this dry
brush technique wherever I want that sparkle or that foam effect
from the ocean waves first and then I'll paint around it once that's established. I'm also going in
slight circular motions in certain areas to give
me the dry brush effect. Go once again at the top here to add in
some more pigment. Pulling in some more paint at the bottom here while keeping the pigment rather translucent or watered down near the beach. Alright, it's time to peel off the tape at the horizon line. I'm going to add just a
tiny bit more pigment to intensify the color here.
8. 8 Painting Rock, Beach & Final Details!: All right, so now it's
time to paint that rock, and I decided to go with the wet on wet
technique for this. So again, I just wet the entire rock with
plain water first, and then I'm going to
go in with my paints. So I'm painting the entire
rock with a brown color first. Also, just make sure you paint the rock while your ocean
has completely dried because once you start
painting the edges of the rock and if it's the paints are wet, it's
going to bleed out. So make sure that the ocean surroundings are dry
before you paint the rock. So while my paint is still wet, I'm going in with
grays and blacks. So I'm mixing some
grays, blacks, blues, greens to kind of
get this dark color, and I'm adding it in certain
sections of the rocks to intensify it in certain areas,
keeping things organic. Feel free to add more pigment
to darken the color more. Adding some smaller rocks
to the ocean as well, just for some added interest. Dabbing off some paint with my napkin here to
add some texture. Alright, and this
completes my rock. We're going to leave that
alone and let that dry. Last but not least, I'm simply adding a peak
of that sand color here. The contrast of
the mustardy tones with the blues adds
on really well, so I decided to give some
more visual interest. So I'm just getting in some of those yellow brown orange tones to add to the beach at
the very bottom here. Blending some of that color to the bottom of the ocean and
the water just to keep, you know, the water
flowing naturally. All right. Once your paints
have completely dried, peel off that tape to reveal our simple and quick
watercolor project for today. Alright, now's the time to tweak any slight changes that you
want to add to the painting. I just wanted to intensify
some of the colors, especially at the Horizon,
and that's what I'm doing. But if you are happy
with where you're at, then well done, you have finished your easy
watercolor project. Don't forget to sign
off your painting to finish off your
accomplishment because you, my friend, deserve it.
Share your projects. I would love to see them and do not forget to leave
this class a review. Ask me any questions in
the discussions tab below. I invite you to explore the different classes I
have created for you. Classes in watercolors,
as well as acrylics are available if
you want to learn more. So do consider following
me so that you do not miss out on future
painting classes from me. Follow me on Instagram to
keep up with latest updates, giveaways, and all
that fun stuff. Thank you, once again,
and happy painting.
 Alifya Plumber, Artist | Acrylics, Watercolors | Painter