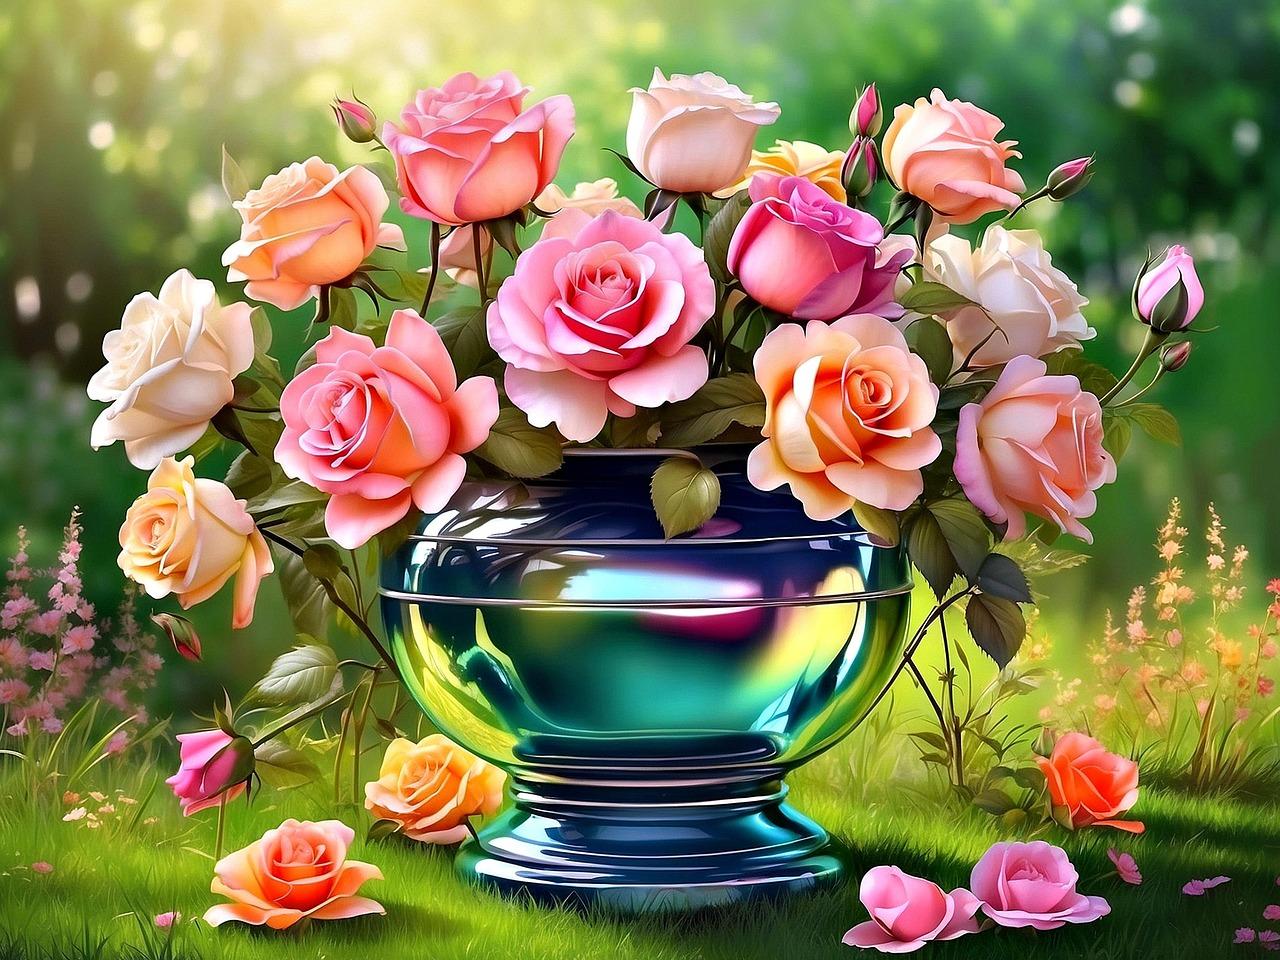
Loose Watercolor Roses - Quick & Easy Practice for Beginners!
 Alifya Plumber, Artist | Acrylics, Watercolors | Painter
Watch this class and thousands more
Watch this class and thousands more
Lessons in This Class
-
-
1.
Introduction
0:42
-
2.
Materials
0:28
-
3.
Exercise - Painting leaves
2:13
-
4.
Exercise - Rose brushstrokes C shape
3:39
-
5.
Painting Background wash
0:58
-
6.
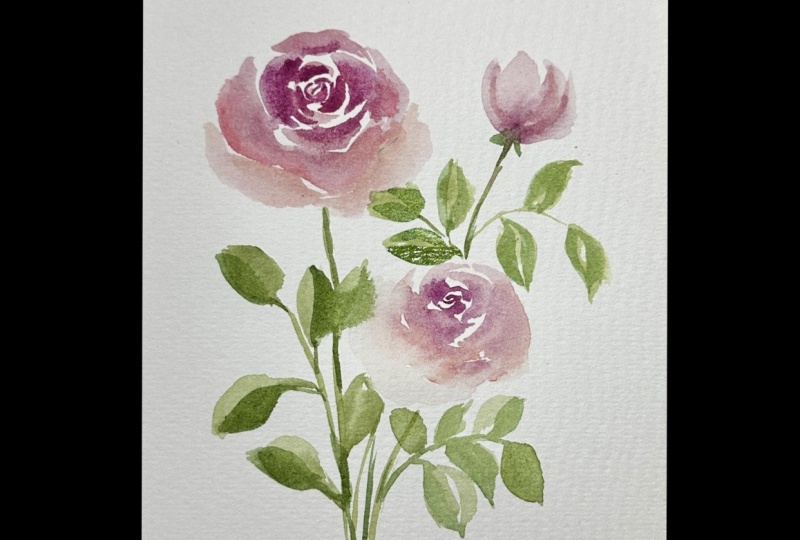
Painting Roses
6:18
-
7.
Painting Leaves & Final Project!
5:31
-
-
- --
- Beginner level
- Intermediate level
- Advanced level
- All levels
Community Generated
The level is determined by a majority opinion of students who have reviewed this class. The teacher's recommendation is shown until at least 5 student responses are collected.
63
Students
5
Projects
About This Class

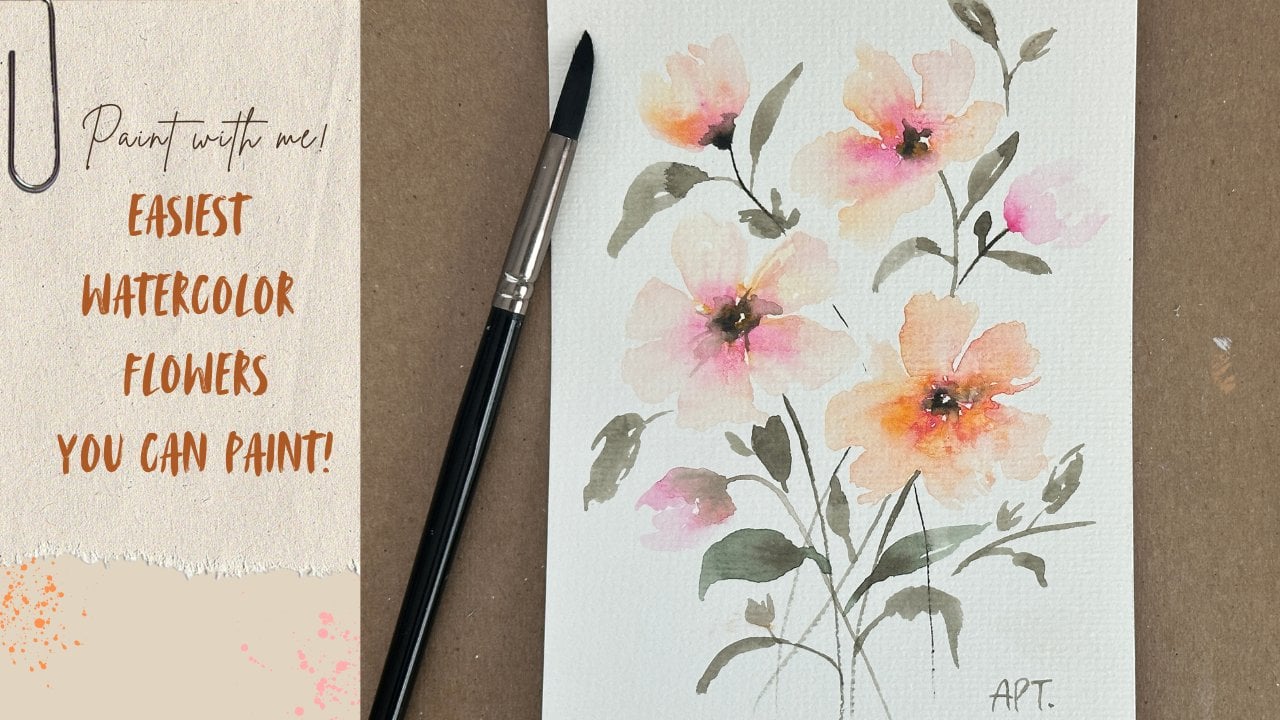
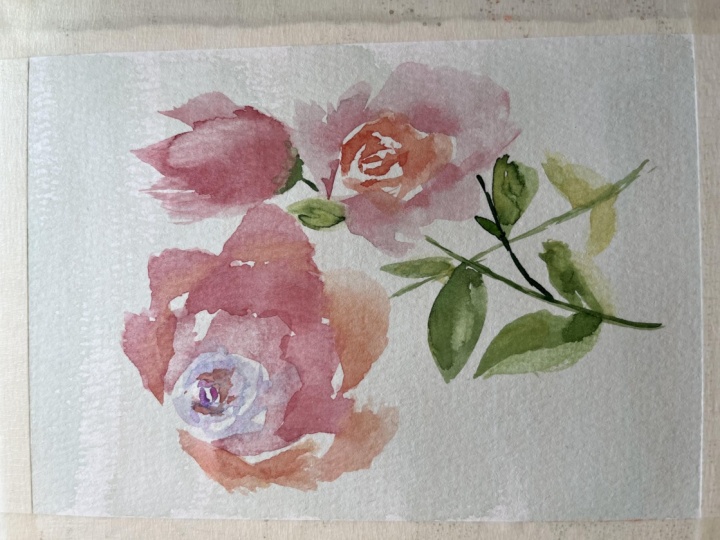
In this class, I will be teaching you absolute basics of painting loose watercolor roses. A quick practice that anyone can follow with easy techniques. This class is great for beginners and beyond.
A former art teacher and now an independent full-time artist, I am so excited to be teaching on Skillshare and I truly hope you find this corner of your space comforting, inspiring, and encouraging! Can't wait to connect with you all!
TOPICS I COVER:
- Materials – I will show you all the brushes and paints you will need for this project.
- Warm up exercise – I will go through basic techniques.
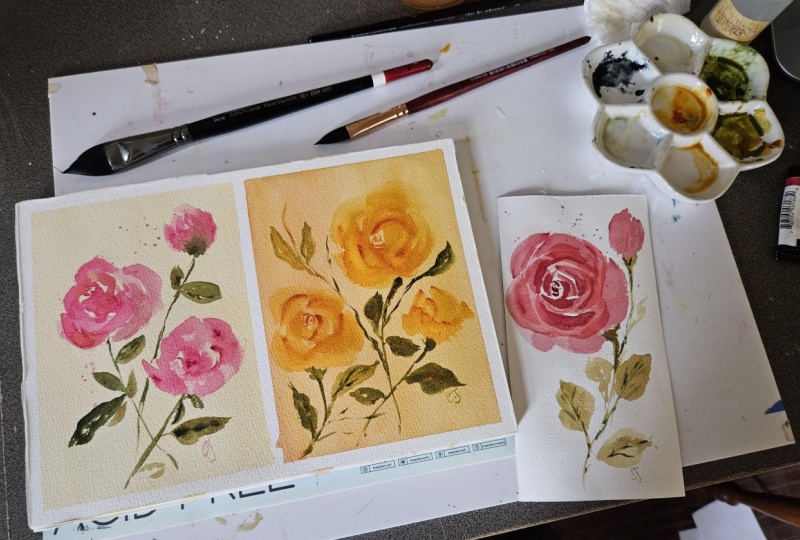
- Painting process and details – Will walk you through this painting step by step by demonstrating easy techniques in painting these flowers.
MATERIALS I USED (but use whatever you have available.)
1) Paints:
- Arteza Watercolor half pans- https://bit.ly/3fFJ5xS
2) Brushes: https://amzn.to/3z4QiUW
3) Arteza Watercolor Paper 140 lbs - https://bit.ly/3egWHzt
4) Bowl for water
5) Paper towel / rag
6) Washi tape
- FOLLOW UP CLASS!
1) Loose watercolor SUNFLOWERS -

2) WATERCOLOR ROSES - https://skl.sh/3XASui2

SOCIALS
Instagram - get latest updates!
Youtube - more art inspo
P.S. SHARING STUDENT PROJECTS - I absolutely love seeing your creations and I often share student projects on Instagram to celebrate your work. If you’d like to be tagged, please feel free to include your Instagram handle when you upload your project so I can tag you to give you credit. 🤍
Meet Your Teacher

Hello, I'm Alifya Plumber Tarwala, a Fine Artist from sunny California. A former art teacher and now an independent full-time artist. My classes here will be focused over Loose Landscapes and Florals in Acrylics and Watercolors. I am so excited to be teaching on Skillshare and I truly hope you find this corner of your space comforting, inspiring, and encouraging! Can't wait to connect with you all!
To keep up with snippets of my artist life, follow along on Instagram. I also have a Youtube channel for more art inspo! :)
Instagram - get latest updates!
Youtube - more art inspo
See full profileHands-on Class Project
Share your work! For your class project, paint along this watercolor ocean seascape with me, keeping the exercise in mind!
(If you are a beginner, experiment with the Exercises we went over!)
When you are done, do not forget to share your process and finished results with us all! You can upload it to “Your Project” tab.
NOTE : Project cannot be sold or reproduced in any way. Any work you create from this class is meant of educational and learning purposes only. All of my work is copyrighted and that is a violation of the copyright.
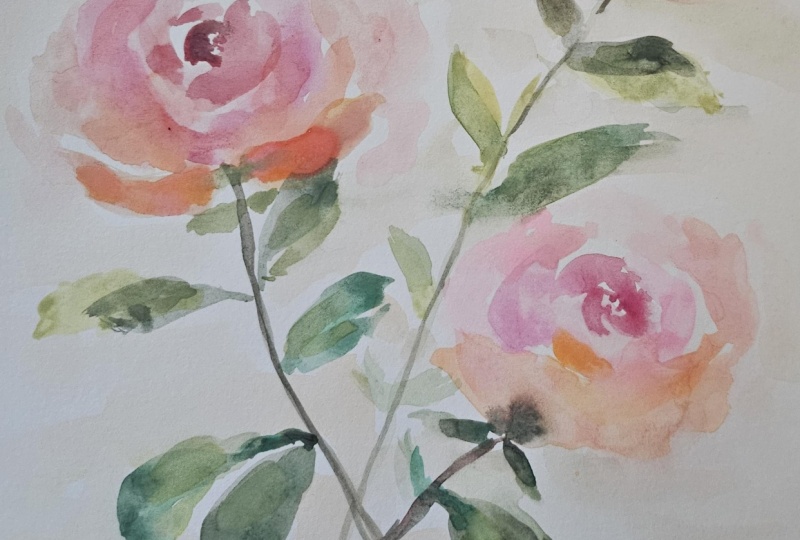
TODAY'S CLASS PROJECT!
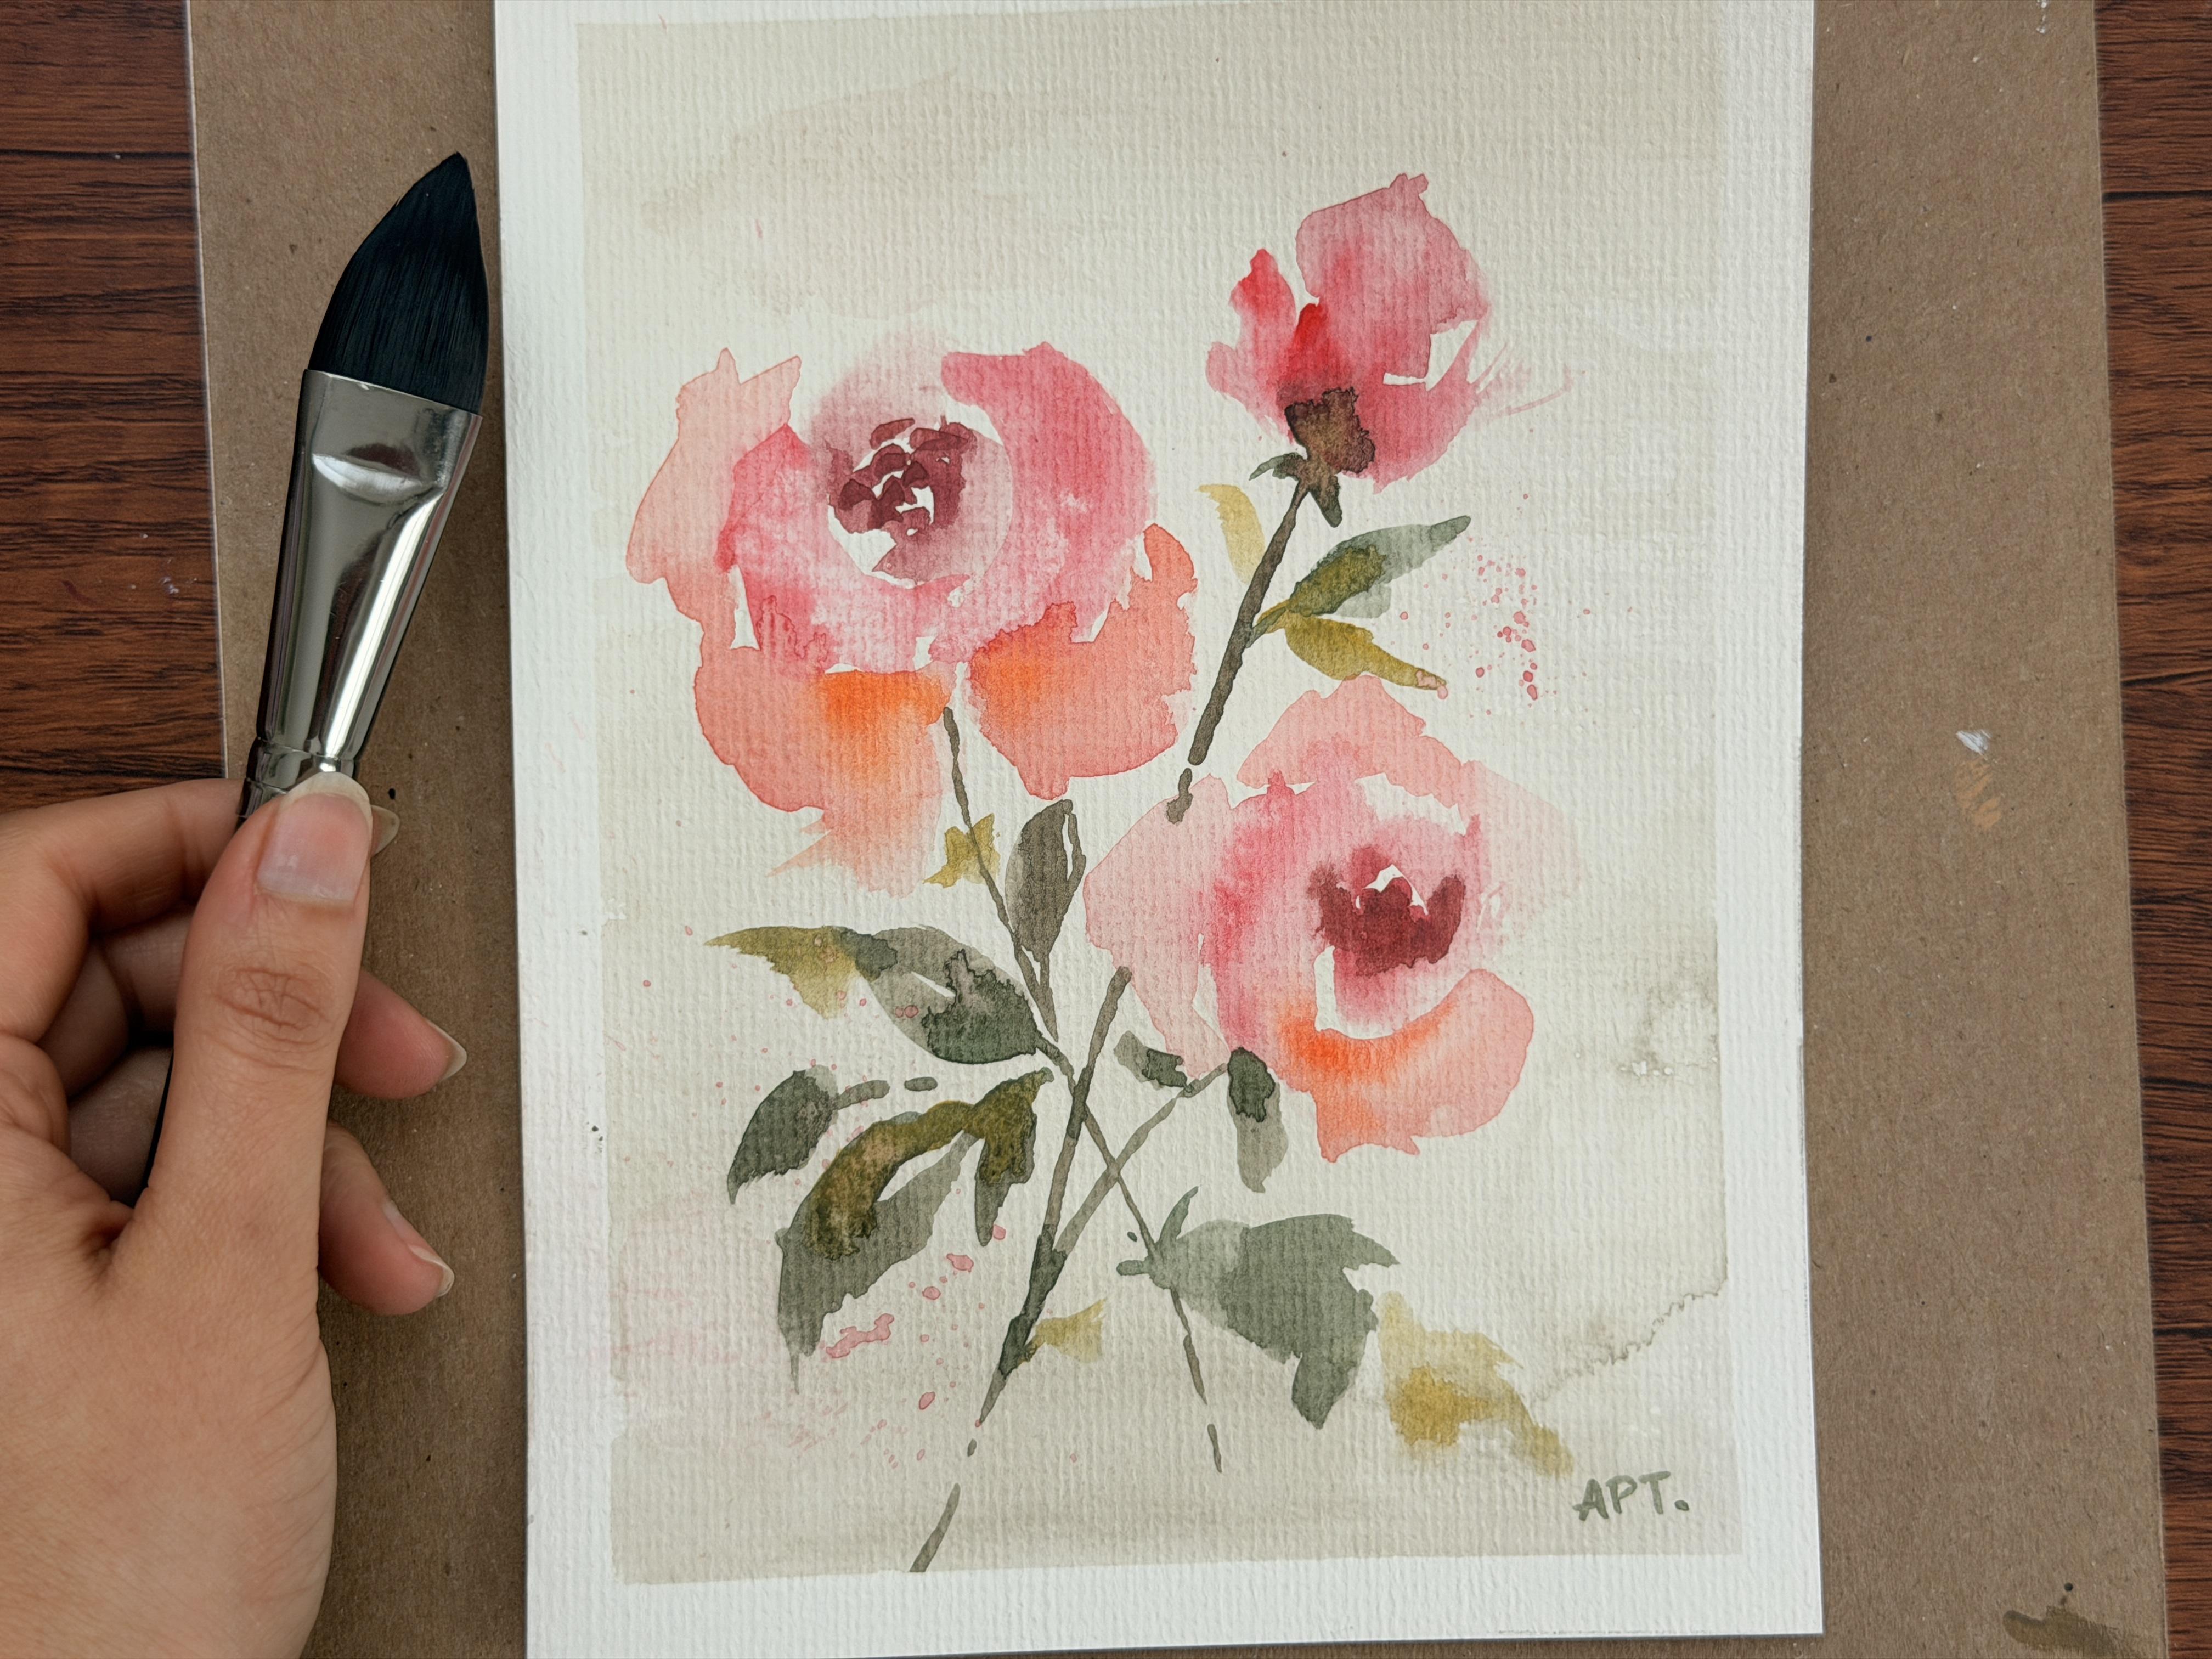
Reference: feel free to download and save
TOPICS I COVER:
- Materials – I will show you all the brushes and paints you will need for this project.
- Warm up exercise – I will go through basic techniques.
- Painting process and details – Will walk you through this painting step by step by demonstrating easy techniques in painting these flowers.
MATERIALS I USED (but use whatever you have available.)
1) Paints:
- Arteza Watercolor half pans- https://bit.ly/3fFJ5xS
2) Brushes: https://amzn.to/3z4QiUW
3) Arteza Watercolor Paper 140 lbs - https://bit.ly/3egWHzt
4) Bowl for water
5) Paper towel / rag
6) Washi tape
- FOLLOW UP CLASS!
1) Loose watercolor SUNFLOWERS - https://skl.sh/3ON9aBY
2) WATERCOLOR ROSES - https://skl.sh/3XASui2
SOCIALS
Instagram - get latest updates!
Youtube - more art inspo
P.S. SHARING STUDENT PROJECTS - I absolutely love seeing your creations and I often share student projects on Instagram to celebrate your work. If you’d like to be tagged, please feel free to include your Instagram handle when you upload your project so I can tag you to give you credit. 🤍
Class Ratings
Why Join Skillshare?
Take award-winning Skillshare Original Classes
Each class has short lessons, hands-on projects
Your membership supports Skillshare teachers
Learn From Anywhere
Take classes on the go with the Skillshare app. Stream or download to watch on the plane, the subway, or wherever you learn best.