Transcripts
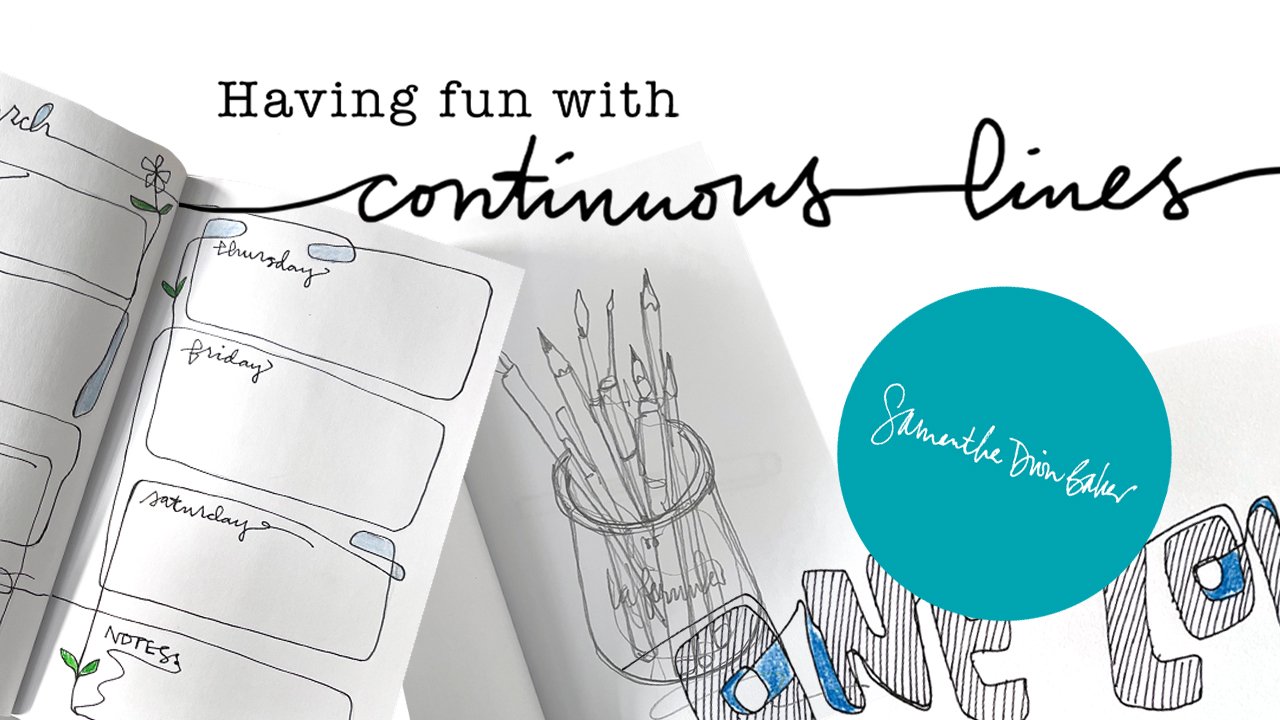
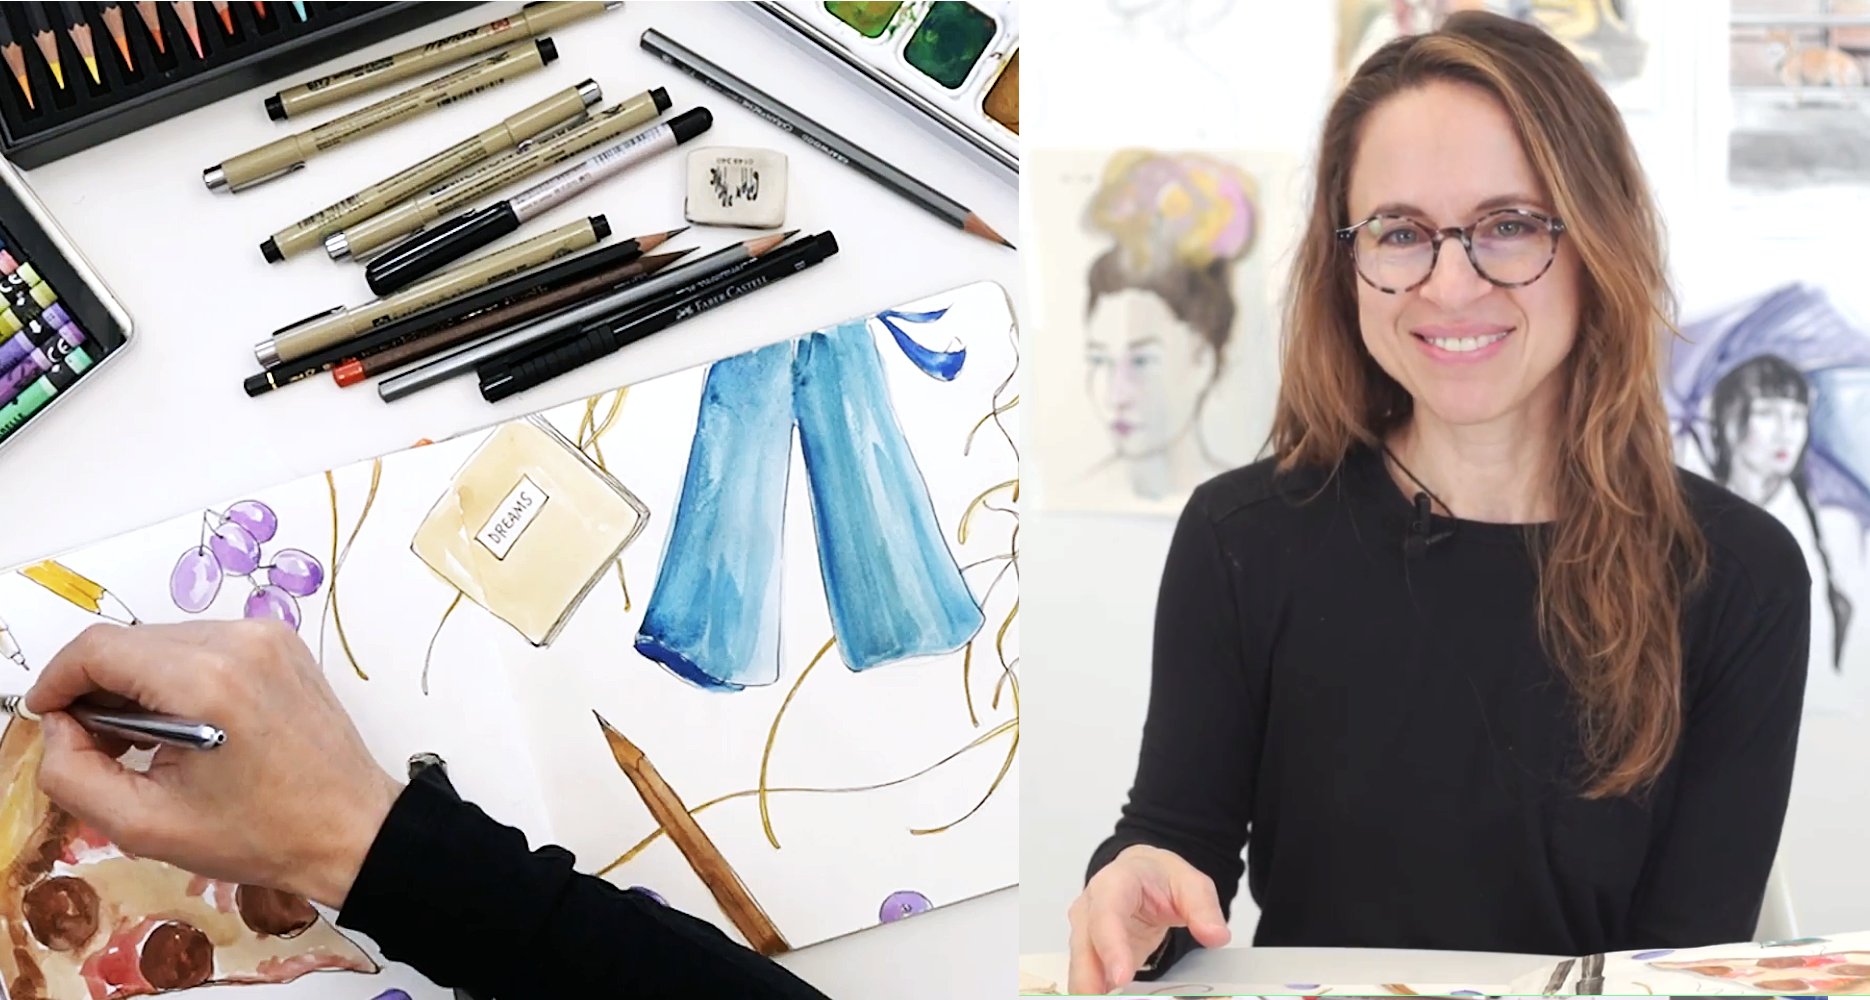
1. Hello and Introduction: Hi. I'm Samantha Deon Baker. Welcome. I'm so
happy you're here. I am an artist, an
author and a teacher, and I live in
Brooklyn, New York, and I'm not in
Brooklyn right now. Um, today, this class is going to be
a little bit different for me because usually I share work about my regular practice
that I'm most known for, which is keeping an
illustrated record of my daily adventures and my
life in a sketch journal. I've written three books about
how I go about doing that. Draw your day, draw your world, draw your day for kids, and I'm working on a fourth book now called Draw your Adventures. And I'm really happy to be
talking a little bit about my career and how certain job opportunities
have come my way. In very unexpected ways
and unexpected times. And I believe that the
reason that good things have come my way is because I have been very consistent
in my practice, and I'm very authentic. The one thing that is
important for all of my work, that has come a little bit more naturally to me
because I worked as a graphic designer
for a long time is that saving my files, scanning my artwork,
saving my files, and making sure they're
ready to go for anything that I need them for. In this class, we're going
to talk about that process. I'm going to talk about some of my projects that I've
worked on in the past, for perfume brands, for
local Brooklyn Companies, for Penguin Random House, and for Gloria Sinham, and black wing pencils and
various other projects. And then I'm also
going to just lead you through my process of scanning and saving my artwork on the computer so
that it's ready to go. So let's move on to
the first lesson, which is just going to be very quick because we don't
need a lot of materials, but we'll move on and I'll share what we'll
need for this class.
2. Materials: Hi. So welcome, again, now we're going to just
talk about what you'll need for this class,
which is not much. Basically, just your listening
ears and an open mind, because I'll share a little
bit in the next lesson. And then after that, you'll need some scans of your artwork, so a flatbed scanner or your artwork scanned from an outside source like
a local print shop. And then you'll need
a computer with Adobe Photoshop
installed. That's it. So the class project, I hope you can share to
the project gallery, maybe before and after
photos, and Yeah. The class project is really
just to do to create those one or two
files and get them ready to go for
anything that you might need them
for. So that's it. That's all you need scanner, computer with Adobe
Photoshop installed and some of your scan some
of your artwork to scan. So let's move on
and thanks so much.
3. Class Project: Hi again. So just quickly for the class
project, it's pretty simple. We're just going to create one, two, five, ten, however
many you want to. Finish and cleaned up files for you to use
for whatever you need. And what I would love
is if you wanted to share your finished artwork
to the project gallery, you can share before and after the edits
that you've made. That's it. So just going to
be working on those files and saving them to
the project gallery, and more importantly, just saving them
for yourself and being really good about creating a system so that your artwork
is all saved and backed up. That's it. That's for
the class project, and let's move on now.
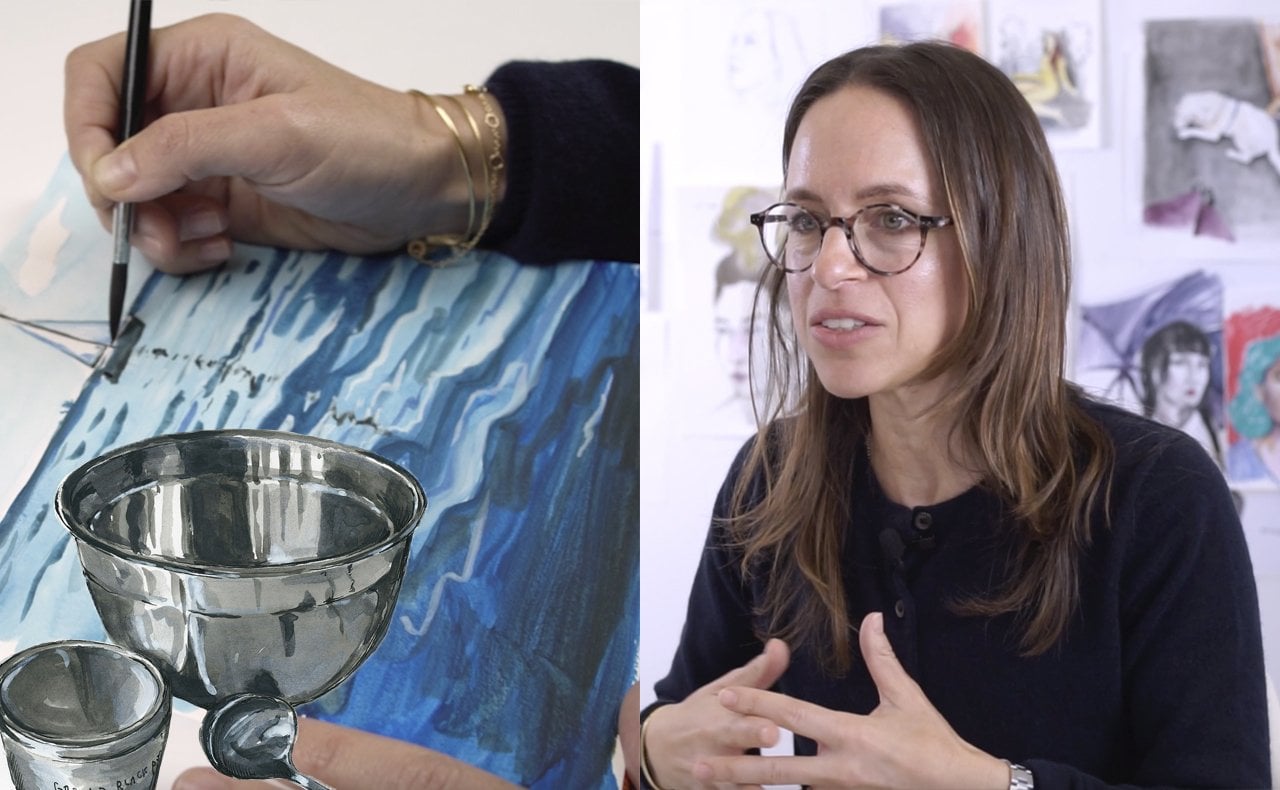
4. Lesson 1: Sharing Stories: Hi, again. So welcome. For this lesson, I'm just going to be
talking and sharing. And so the main focus is
really just for you to keep an open mind and just know
that not all paths are linear, especially in the
creative world. And it definitely wasn't for me. I started as a graphic designer. I got really burnt out by being on the
computer all the time. I wanted to savor
and save and just capture memories of my kids and my life as my kids
reached milestones, and we had different experiences that it was moving so fast,
and I was forgetting. And so I just really
wanted to savor them and put things down on paper. And I had kept a traditional journal for
my whole life, really. And so when my kids were
little, I started drawing. Mostly, I started drawing and doodling letters and playing
with my handwriting. And throughout my design career, the handwriting
was the only thing that I really did analog. I would work my handwriting
into projects that I was working on use my handwriting on book covers and
for a restaurant, menu, and for even signage. And I always loved
the act of, you know, using analog tools and
pens and writing on paper. So I just started drawing more as my kids were growing up. I taught myself
how to draw again. I used to draw when
I was very little, and then I just kept going
and teaching and growing. So the journal itself
became my focus, and therefore, then
as I was sharing it, it then became my career. And The great thing is that sometimes clients who I even had some of my
existing clients then use my work as illustration as they saw that I could do things by hand
and I was drawing so much. So sometimes clients can see your potential
before you do. And so just be willing
to take risks and just, you know, just be, like, really excited by the
unexpected. You just never know. And there are two stories
that I want to share. One is, as I was working on
my sketchbook and sharing it and Instagram featured me and things got a little bit known. I had a little bit
of a following. Then a literary agent
reached out to me and said she had known
that I had made some collections of
my sketchbook pages, and I had self published
some series of my drawings. And I didn't want to keep doing that because
it was so much work, and it wasn't really profitable. So my dream was to, like, have a publisher publish a collection of my
sketchbook pages. And somehow, you know,
just through consistency. I just kept every day, I did what I loved
and just kept going, and I really didn't know
why I was doing it. I just knew that I was
evolving and changing, and it was fun to get the
feedback on Instagram. So then a literary agent
reached out to me and said, I think you need
to write a book. And I was like, Awesome, but I don't write. I thought I'd need,
like, a ghost writer, somebody to write
my story for me. And she, along with the editor at the publisher who we
ended up going with, there was a little bit of
a bidding war for my book, which I was very proud of. But the editor that I went
with and my literary agent, they said, You can
write your story. We believe in you,
you can write. And I just was like,
I do not write. I mean, when I turned in my last art history
paper in college, I was like, I never
have to write again. So I sat down and I
wrote, and I wrote, and I wrote, and I had a good editor who
helped my writing along. And I wrote Draw your Day, and the Draw your Day
is still selling, and now I have my
fourth book deal. And so now with my fourth book, I just turned in 26,000
words, and I'm a writer. And so I just I couldn't
pass up the opportunity. And if they said I could do
it, I just had to step up. And I did it. And now
I write all the time. I have a stub Substack, and I write posts weekly. And anyway, so that's just a really nice
story and was just, like, a very unexpected Really great thing. If you had told me ten years ago that I would be a writer,
I would be like, What? No, you're crazy. I only
draw. I don't write. So that's one story. And then another story is that, again, like, through
consistency, through sharing lettering
and handwriting and drawing letters because that's originally my background. Um I go I got an e mail from Random House saying that Gloria Steinha wanted me to
illustrate her new book. She's a hero of mine, and I was just so excited. And it turns out that they found me because of all my lettering. It was a book on quotes. And so the focus was
drawing letters, and some pictures
along with the quotes, but mostly just lettering. Again, it was just unexpected
and just an amazing thing. And that is something that, like I can't say, Oh, here's how you monetize, here's how you get jobs. Here's how it works, because
it doesn't work that way. You just never know. You never know what's going
to come your way. But if you're consistent and you stay true to yourself and
always stay authentic. Don't make artwork
for algorithms. Don't make artwork that you
think people want you to. It just doesn't work that way, as long as you're true
to yourself and you make the work that
feeds your soul, the opportunities will come. So Yeah, those are two
stories I wanted to share. There's been lots of other
projects that have come my way through sharing my sketchbook.
That's all I share. So I work with I've worked
with perfume companies. I've worked with local shops. I've worked with I've worked on a whole series
of book covers for append Penguin Random House. I've worked with my old clients. I still sometimes
work with galleries, museums, and restaurants,
all sorts of clients. So I don't always
share that work, but what I do share
is my sketchbook. And within the sketchbook
shows so many options, so many things that
I experiment with. I tie all sorts of
things together. And then that's how people see the potential that I
might not even see. One thing, now we're
going to get to the practical lesson
part of this class. One thing that is consistent
is I always save my artwork. I scan it, I save it
at a certain DPI, which is above 300, just in case it needs
to be blown up bigger. And I have a system
of brightening, adding contrast, and correcting any little mistakes without
changing the artwork. So that is what we're
going to get to next. So again, as you know, you just need your computer
with photoshop and some of your scanned
artwork a scanner. And so let's move on to the first practical
lesson where I'll share how I edit my artwork for
anything that I need it for.
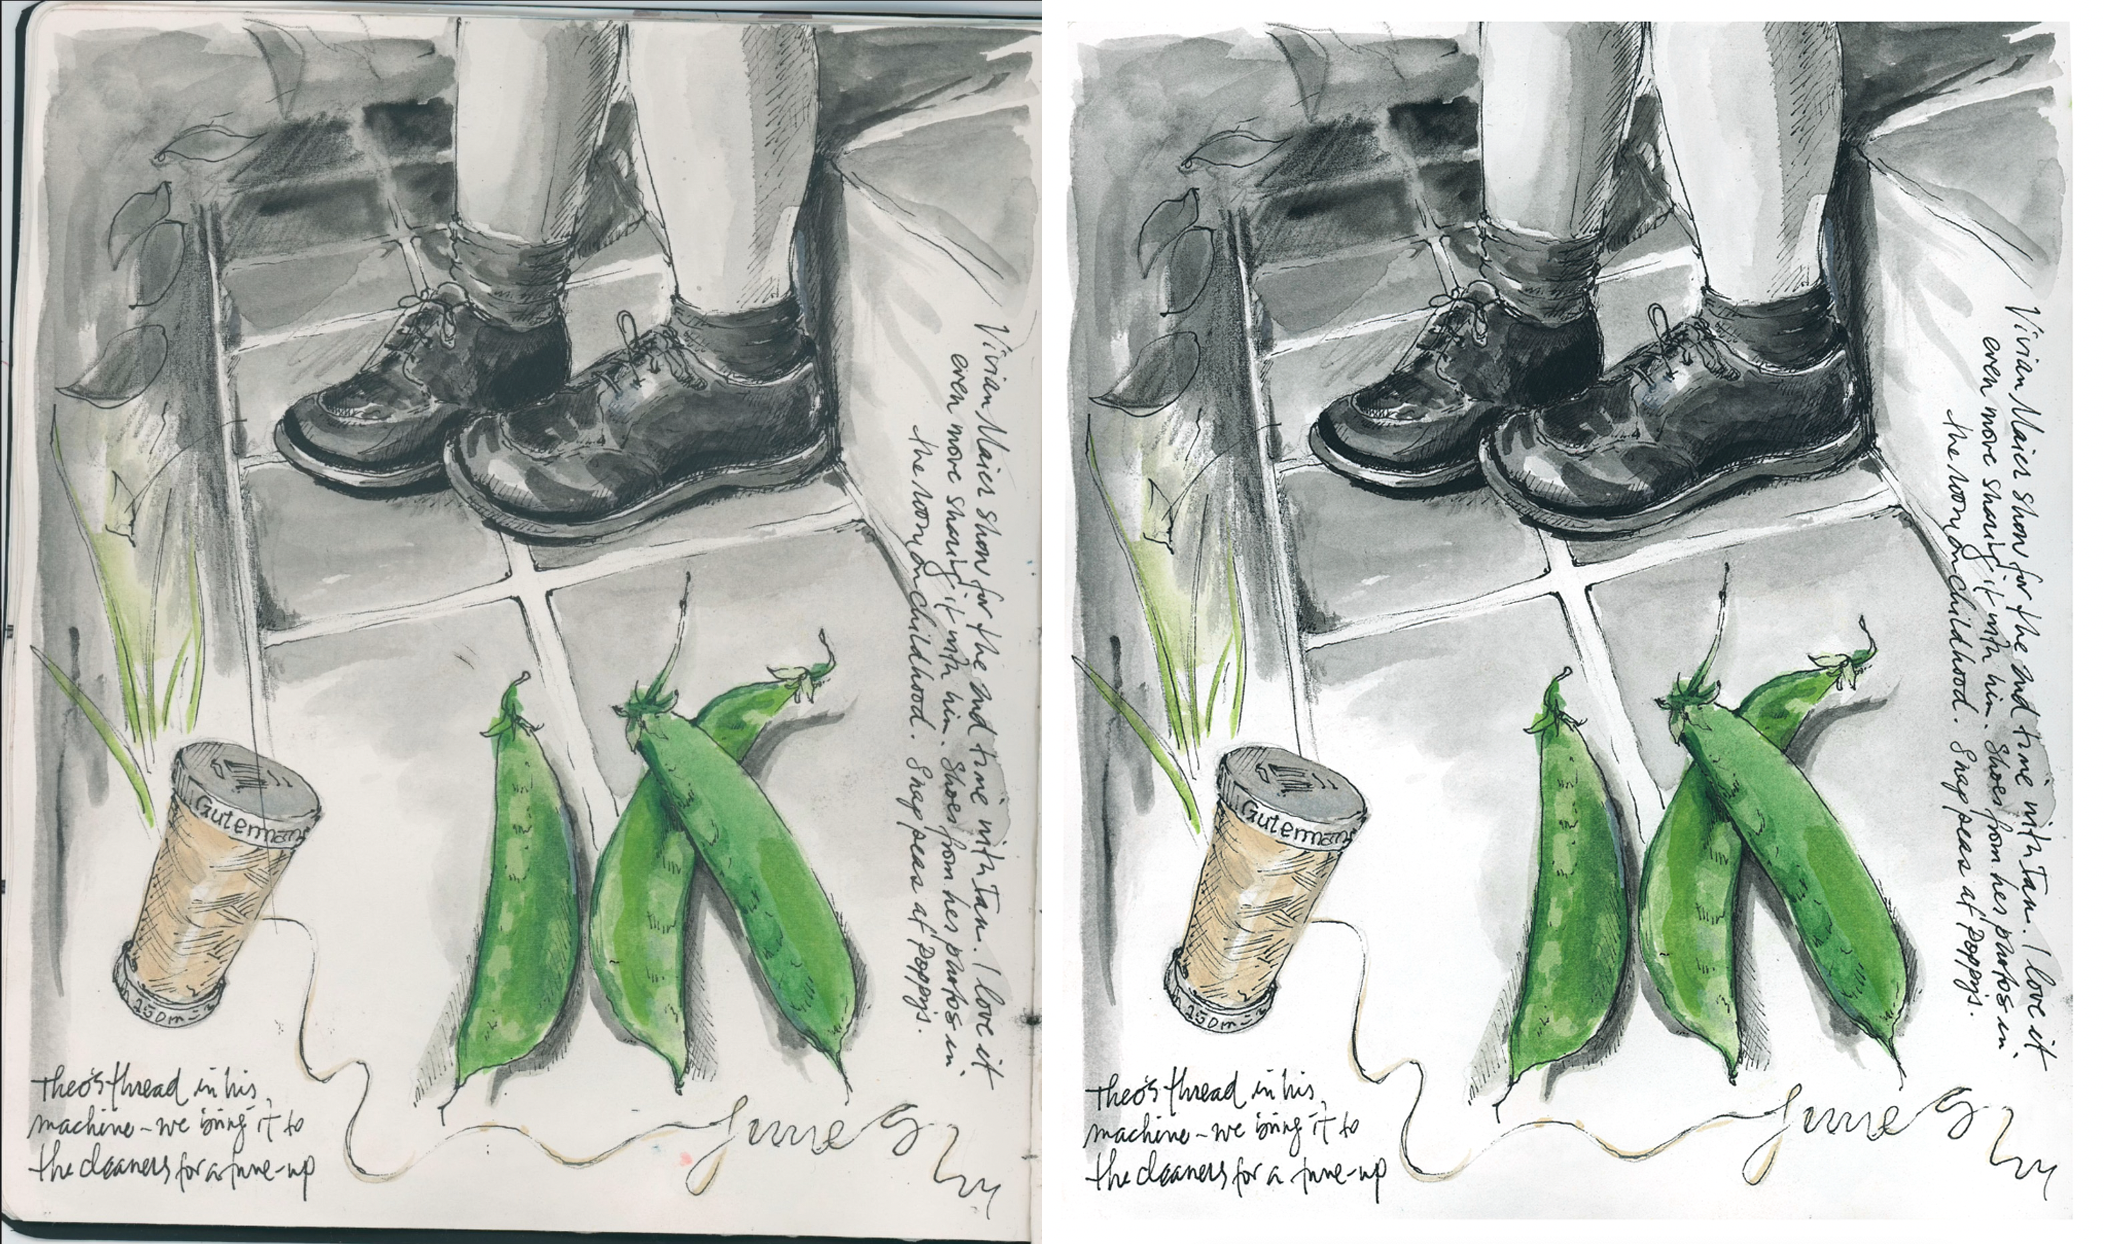
5. Lesson 2: Photoshop: Hi, everyone. So here I
have a brand new scan. And as you can see, I had put
it on the flatbed scanner, and it's not perfectly straight. You can still see the
edges of the page, and I have to straighten it a
little and do a few things. But I'm going to get started, and you'll see the process. It is pretty simple. There's a few tools that
I use all the time. As you can see, there
are some smudges and some pencil lines and some Sometimes this happens in my
sketchbook along the spine, there's some residual,
like ink and things. There's a little smudge here, and this line goes right through the spool of
thread that I had drawn. So I'm going to clean
the whole file up and just show how I
go about doing that. So if I go to file and I look at the Sorry, the image size. There is you can see that it is two actual
size dimensions. I scanned it 100%. The resolution is 500. I like to go a little
bit higher than 300, just so that if by any
chance, at some point, I wanted to blow this up
larger than six by eight. I have enough extra resolution
there so that at 100%, let's say that is I don't know. 12 by 15 or something like that, it would there's still enough there so that
I can make it bigger. Most likely, my work is
not going to be enlarged, and it usually is printed around 100% or if not
even a little bit smaller. But I give myself that
extra room just in case. So I also saved it as a JPEG because then the file sizes are a
little bit smaller. And I don't need to go crazy with my color
accuracy or anything. There's some
different reasons why people will save their files as a tiff or as
another type of file, but I like to just
stick to JPEG. So I I'm so used to using
photoshop and using the few, you know, controls that I love and use the most that I'm
going to be sharing with you, that I know the key commands. So I know that if
I push command L, then levels will pop up. But I can also cancel that and find it right here and if you go under image and
then scroll to adjustments, and then you'll find levels. So you can also find it there. Command L or under this file
and image and adjustments. So what I do is I will first
take the white dropper. There are three droppers here. This will grab the midtone, this will grab the darkest, and this will grab the lightest. I usually start with the
light the highlights, the whitest whitest point. So right here in the middle, it looks like I have not
added anything to my drawing. It's the white of the paper, and I'm going to use
that as my white point. If I click there, you'll see it just brightens
the whole thing. And then I can drag the levels here just a little
bit to dark in the darks and get them to
a place where I'm happy. I drag it sometime around usually it's
around 50 or sorry, 0.5 0.6, you can see here it's around 0.65, and
I'm happy with that. That's that. Now, I'm
happy with the color, and what I can do here is if I go under image image rotation, and then I'll do arbitrary because I don't want to
rotate it a set degree. I can probably do
counterclockwise just about two degrees
or it might even be one. There we go. So that looks
like it's pretty straight, so I'm going to
take the crop tool, and then I'm going to
pull the edges in. Now, if I want to image rotation arbitrary, I
can sort of go back. H clockwise, the other direction and
fix that a little bit. I'm just going to do like 0.3. There. That looks good. So now I'll crop in again. It's a you know, you can there's a multiple
there's a few ways. Now I'm going to zoom in
close because it will snap. If I don't zoom in close, it'll just snap to a point
that I don't want it to. So if I zoom in close, I can get and move move
down to the bottom, I can come in right to the edge and crop off
what I don't want. And then I double click, and then it is cropped. So now I go about
cleaning things up. And you'll see
there's a lot here. I'm pretty messy. I
leave my pencil lines. I leave a lot there. And so we're going to now work on cleaning up some
of this stuff. So now that I've brightened it, gotten enough contrast
and cropped in, we'll now go on to
the next lesson, which is going to
be for cleaning up.
6. Lesson 3: Photoshop: Hi again. So now we are
moving on to the next phase, which is where I sort of
clean up all my mess. And any smudges, just don't worry if you're going
through your process and you're like me and you make a lot of mess with your analog. Tools and materials and just don't stress because once you scan, you can clean up. So along the side here, you'll see this
rubber stamp tool, and I love this tool. This is my favorite
favorite tool. So I click on this,
and then I'm going to set my eyes of the brush. So as you can see, this
size is pretty good. I can kind of go over these
mistakes. It's pretty good. It's not too small,
it's not too big. I'm going to set it to 40. I'll just plug in 40. That seems like a
really good size. So I'm in the rubber stamp tool, my brush just said to 40, the hardness is zero. There's a little bit of
a fuzz around the sides. It's not like a hard hard edge. It's got a I've
selected this one here. So it's not a hard line. That way, it softens the edges. So now, I can push on my keypad from
where I want to copy from. If I want to copy this
and put that tone here to cover up my
mistake, I hold option. And then it's going to pull you can see the
little plus sign. It's pulling from that area, and I'm just copying
what's there in this area, which is all clean, and then I'm cloning it and putting
it over the mistake. All of that is gone. Now,
I can do that everywhere. I make a lot of mess,
as I mentioned. I'm cleaning up, I'm
selecting from this area. There's a little bit of tone
there, but that's okay. I'm going to leave that. I don't want things
to be perfect because that's not my style. And I just keep doing
it back and forth. When I know if I'm cloning
from here and I move around, then I start selecting a line and another area
and that starts to repeat, then I know I have to
relocate my source. So my source now is
going to be here, and I just so it's
like a little game, sort of like you
go back and forth using the selection
of your source, and then copying
that and putting it into the area that
you want to cover up. And I just clean up
a bunch of my mess. Like I said, I make
a lot of mess. I'm going to also looks like the corner of the
sketchbook is showing. I'm just going to
get rid of that. I don't do I just moving
around, moving around, just, making sure I'm
looking at everything. There's a bunch of marks here that I want to get
rid of some red paint. I don't even know
where that came from. My process is very
authentically messy. But I like that. I work with it. It's become part of my style. I'm just going
through and copying from an outside source
and just moving around and cleaning up any of these marks that
I want to get rid of. I'm just going
continuing to clean up. So hopefully, if you're comfortable enough
with photoshop, you know how to zoom in and out. You can use the
little button here on the side tool or the key
commands on your computer, which is usually what I use. I hold down command in the space bar and
then I can zoom in. And then I use the space
bar to move around. You get the little
hand tool and then you can move around. So that's how I get
from area to area. In photoshop, there's usually multiple ways of
doing everything. I am a big fan of this
rubber stamp tool. It is my favorite way
to clean up my files. I also use this.
You get the idea. I might clean it
up a little more. I might not. I will probably work on getting
rid of this line. This pencil line or
probably part of a original version of my planning of the
page. I'm not sure. So I'm just going a. Now, when I get into areas
that are tighter like this, I then need to make the
size of my brush smaller. I'm going to go down to 12 Okay. Now, I have a much smaller
brush so I can get in between these letters and
not mess up the letters. If I had spelled
something wrong, I will also use
the clone tool to clone lines or copy a letter from a different
part of my writing. To correct if I spelled
something wrong. I do write very
quickly in my journal. So I've often forgotten a
letter or made a mistake. And so it's all
done the same way. Using levels to brighten and using the clone tool
to clean up any mistakes. This is how I prepare
all of my files.
7. Lesson 4: Photoshop: Hi again. So now, now that we are in
the phase where it's cleaned up and um, We know that the file
looks pretty good. I can now make decisions about you know,
even more detail. It looks like there is some tone at the sides at the bottom and the
sides that I might want to clean up so that if
this is being put onto a page that is showing the
edges, like here. If I change my crop, you'll see what I mean, just
doing this temporarily. So now there's a little bit
border around the piece. And sometimes it's nice to have a little bit of
tone on the edges. So I might just leave it. I actually I'm actually
okay with this. But sometimes it gets
there's like a bump in the paper because I scan
things from a sketch book, and it doesn't lace flat, so there'll be like
a little bit of a shadow, and I'll
clean that up. But this one scan pretty well, so I'm going to leave
it the way it is. Um, making sure that
I'm happy with. So here's another
thing that I do. So Last minute changes
for this might be, I'm going to use the selection tool and go
around these words tune up. And I'm going to hold down the command button so you get the little scissor tool
showing that I'm moving. And I'm just going to move this over because it was
a little bit tight, and now I'll move the A over. So now it's like I gave a
little bit of a breather. So I'm not really
changing the artwork, I'm just making it a
little bit more readable. I'm going to do that
again here as well because this looks
a little bit tight. And if I just do this carefully, then I'm not really changing the way I've drawn the artwork. I'm just making it a
little bit more readable. This is the dot for this eye, and it looks like I kind of
drew it off to the side, so I just pulled that over. And Now, I've decided that I think
I will delete this line. It's also nice to show
how I would do that, which is, again, the clone tool, and I'm going to
actually keep the small the very small
brush size for this, and I'm just going to go in and clean that up and get rid of any Zoom closer and looks like
I can easily do that here, but I might even need a
smaller to make the brush size even smaller for the
lines in between. I'm going to now change this 28. Again, just pulling from another area and just
getting rid of that line. You can see a lot of
my pencil lines here, but I'm going to leave
them. I really like them. I like to leave them as
showing part of my process. Just trying to get rid of it's a back and forth,
a back and forth. It's good to just practice
doing this on a few files. You don't have to
save the files. You can just play
around with it. It's very tight in here,
so I'm just trying to go back and forth,
back and forth. Now that line, if I zoom
out, That line is gone. And now the spool
of thread is on top of this line coming down rather than
it being behind it. So I'm very happy with
the way this looks, and I'm just going
to save the file. And that's pretty
much my process. I really don't
change the artwork. I just clean it up and correct things a little bit and make things a little
bit more readable. I'm just saving
right over the file, maximum quality, large file. I have this selected
baseline standard. Not exactly sure
what it all means, but I see that the full
file size is 8.5 megabytes, which sounds about right, and I'm going to save it. And that's it. And saving your files is really important, having a system. Even if you don't
think you're going to use an art piece of artwork, it's always good to do this. It takes time, but it's really important to
save your files, clean them up, have them
ready to go just in case, and also it's just a record
of the work that you've done. If anything happens to the actual paper or you
lose your sketchbook or. Anything can happen. It's just nice to have this back up so that you can always look back at the
artwork that you've created. So that's that. I hope that you took away
a little bit from that. My process is very simple. It's really just keeping the artwork true to itself
as much as possible, only enhancing only making things just a
little bit cleaner, and I'm leaving things like this mark right here that
comes into the tiles. I'm leaving these lines that
go outside of the shoe, my sketches, my original lines. I'm leaving them
because I like the way they add to my artwork. And but everyone has
their own style, and my style might be
less precise than yours. Once I have these files, I know that I can do
anything with them. If somebody wanted
to feature a few of my pages in an article, I just can just e
mail over the files. If I wanted to use this
for one of my books, the file is ready to go. If I wanted to use
this for a print, if somebody wanted to order it and they want to
hang it on their wall, the file is ready to
send to the printer. So I prepare all of my artwork in
the same exact way for pretty much everything. Unless it's going to be
blown up to billboard size, which I have never quite done yet. This works for everything. So I hope that that
is helpful to you. Now we'll move on to
the end and we'll sum everything up and
just talk a little bit more about business and just trusting your gut and staying true to yourself.
Thanks so much.
8. Class Reflection and Conclusion: Hi, everyone. So, congrats
on making it this far. I hope that that was helpful. And just know that photoshop, if you're not used to using
it just takes a little time. But once you get to know the tools and get comfortable using
specific tools like I do, like the clone
tool, my favorite. It just becomes second
nature, just takes practice. And the good thing
is, it's already it's on the computer.
You don't have to save. You just can go back and
go back or you know, start over if you mess up. But just be patient and
don't get frustrated. It takes a little bit of time
to get your groove with it. I just wanted to
conclude and say, again, you never really know
what's going to happen, but even the most sort
of analog handmade work. If you want it to be then used and monetize or
used for advertising, used for prints,
used for products, use for editorial, for anything, it has to end up
on the computer. So no matter how handmade it is, you still have to deal with
the digital side of things, and it's sort of like
a necessary thing. Some people might say necessary evil because they don't really want to be dealing with
screens and files, but as soon as you get your groove with it,
it's not a problem. So and also, you'll just have
the security of knowing, like if anything
happens to your work or your sketchbooks or
your pages or you know, there's a flood or
anything random happens, you know that you have a
backup of your artwork. So, that's it. Just have patience
with photoshop, know that clients and your audience might see the potential in your
work before you do, so keep an open mind. There's no there's no, like, rule for success in the creative
world. I wish there was. I wish I could be like, this
is what you have to do. But for me, it's not been about
having huge social media. It's not been about having
reels that go viral. It's not been you know, all these things that we have so much pressure and
we feel we have to do. If you're just true
to yourself and stay consistent and really, have confidence in
your own practice, the work will come, and just know that and
believe in that. And I believe in you. So that's it. And I'll see you next
time. Thanks so much. And make sure also
if it works for you to save your projects
to the project gallery, so we can see the beginning
before and after. Thanks so much. Bye bye.
 Samantha Dion Baker, Artist | Designer | Author