Transcripts
1. Introduction: Hi, everyone. Welcome
to this class on creating stylized
portraits in Procreate. My name is Yasar
and in this class, I will guide you
step by step through designing a unique and expressive
portrait illustration. We will start with basic sketch to build the face structure, then move on to
simplifying features, choosing color
palettes, and adding stylized details that give your portrait personality
and character. Will also learn how
to use lighting, shading and procreate
brushes to create a clean and policied look while keeping your
own artistic style. This class is perfect
for beginners. But even if you already
have some experience, you will discover
new ways to develop your style and improve your
digital painting skills. By the end of this class, you will have your
own stylized portrait ready to share or include
in your portfolio. All you need is procreate an iPad and your creativity.
Let's get started.
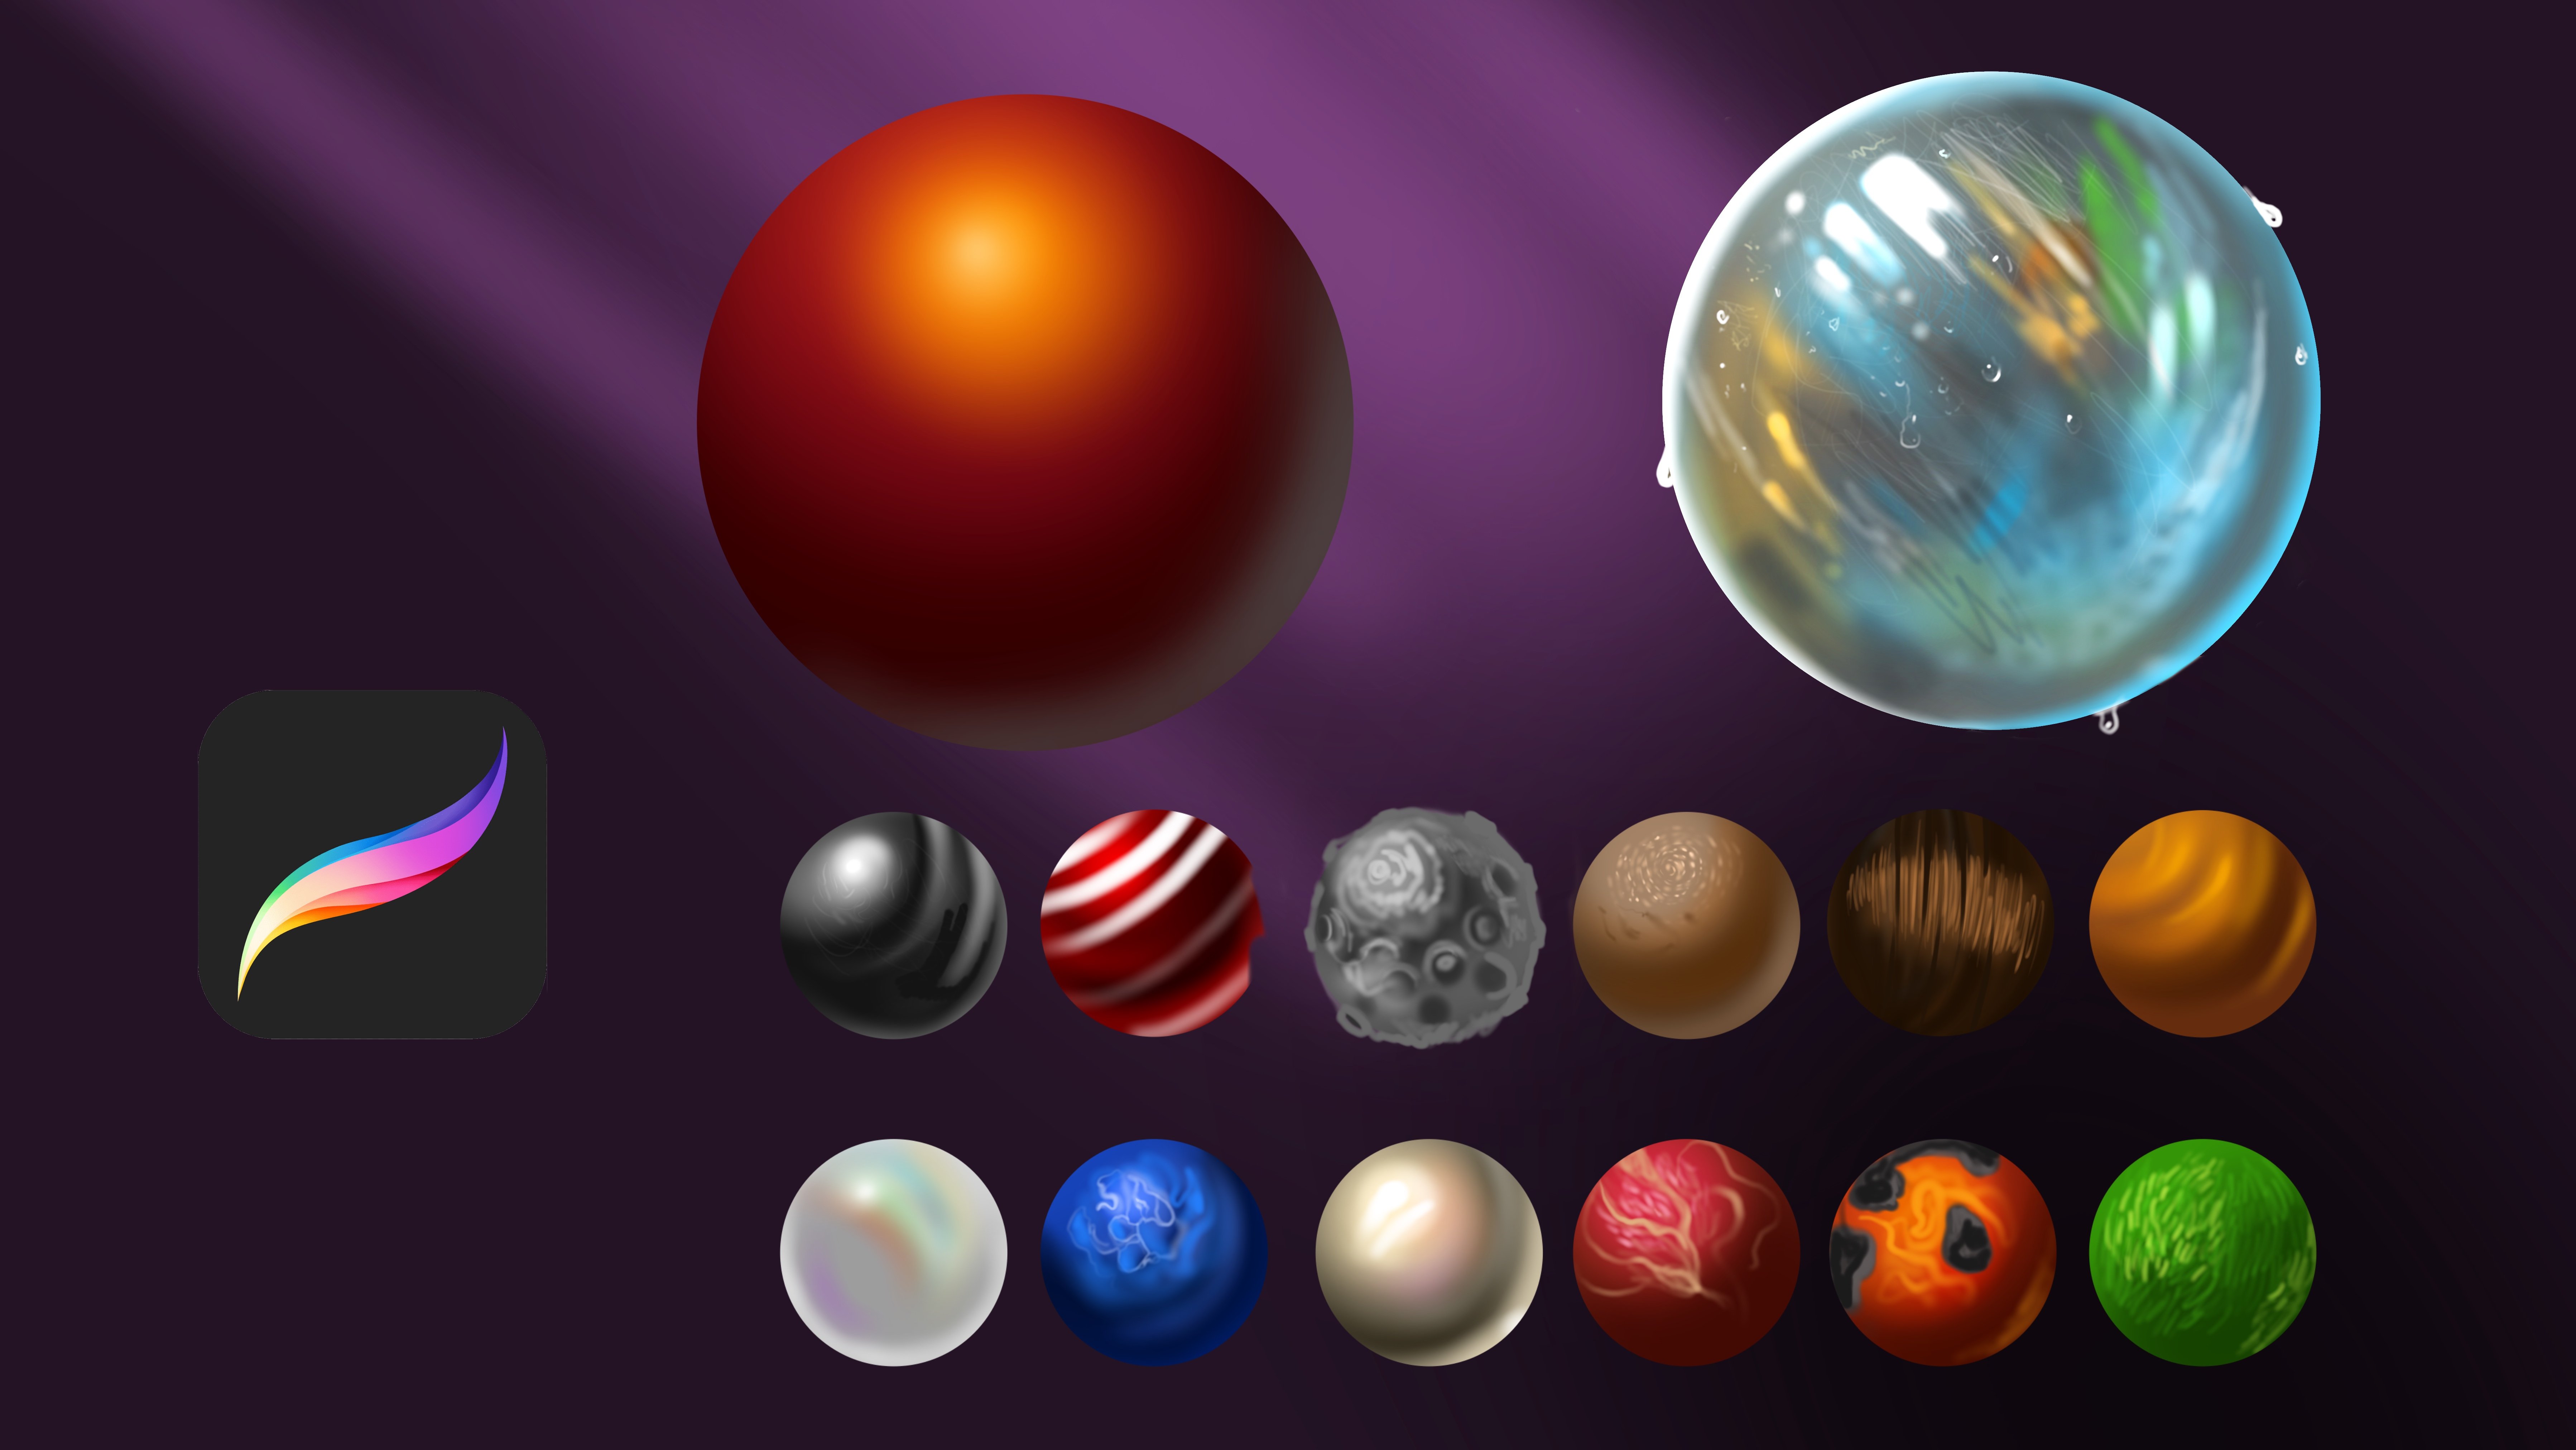
2. Painting Base Colors: Welcome. In this class, we will paint stylized
portrait with procreate. This is my sketch, and I will open another new
layer under this sketch, and it will be some
really human skin tone, but it will be also
sweet tone because it is not realistic
and it is stylized, so you need to put some reddish color near
the cheeks and lip. Because it is a sweet painting, so we need sweet colors. And for hair, for example, I want to make hair really pink or discolors like maybe a
bit much more pink, yeah. It will be pink hair, but it will be much
more like this. And after you describe
these colors, it is your base colors
for the portrait. And for eye socket, use some yellowish
saturated tone because for keep the portrait warm and I will be really dark from this side. I will put the shadows of
the leshes just like this. And this part of the eye
will be in the shadow. And eye color can be
much more saturated, maybe with some
extra color here, and Yeah, look like this. And the other parts
will be like this, and I will put the shadows to the portrait just like this. And this part will be lighter. And eyebrows will be dark, but don't make it really black, pure black because
if you make it soft, your painting with soft colors will look much more interesting. And for the lip, I will
use some dark colors. Then I will open the tone of the lip with the lighter colors. And I will make this
part much more lighter. So after it, select
saturated dark colors and add some lights over the nose just like this and put much more lighter color over the nose and select darker
colors over here and here. And for example, you can put
much more shadows over nose. And for checks, I will also
use some saturated dark color because we need to catch
the volume just like this. Yeah, it's looking
really great right now. And this part of the
painting will be really, really dark,
especially this part. And skin color, we can
add much more lights. But be sure you adding
some saturated lights because otherwise it
will look so fake. For example, I will add
lights over here and here, just like this and zoom in here. And this time, I will put
lashes all over here. Just like this. And I will
do other lushes again. And it is looking really nice so I will increase the
light color here and here. Yeah, it is looking
really great right now. And in the next step, we will deep dive into detailing much more
specific parts such as texture of the face and detail of the dress
and the other details. Maybe have some
pattern like this. Yeah. And put the other
thing here and here. Again, thank you and see
you in the next video.
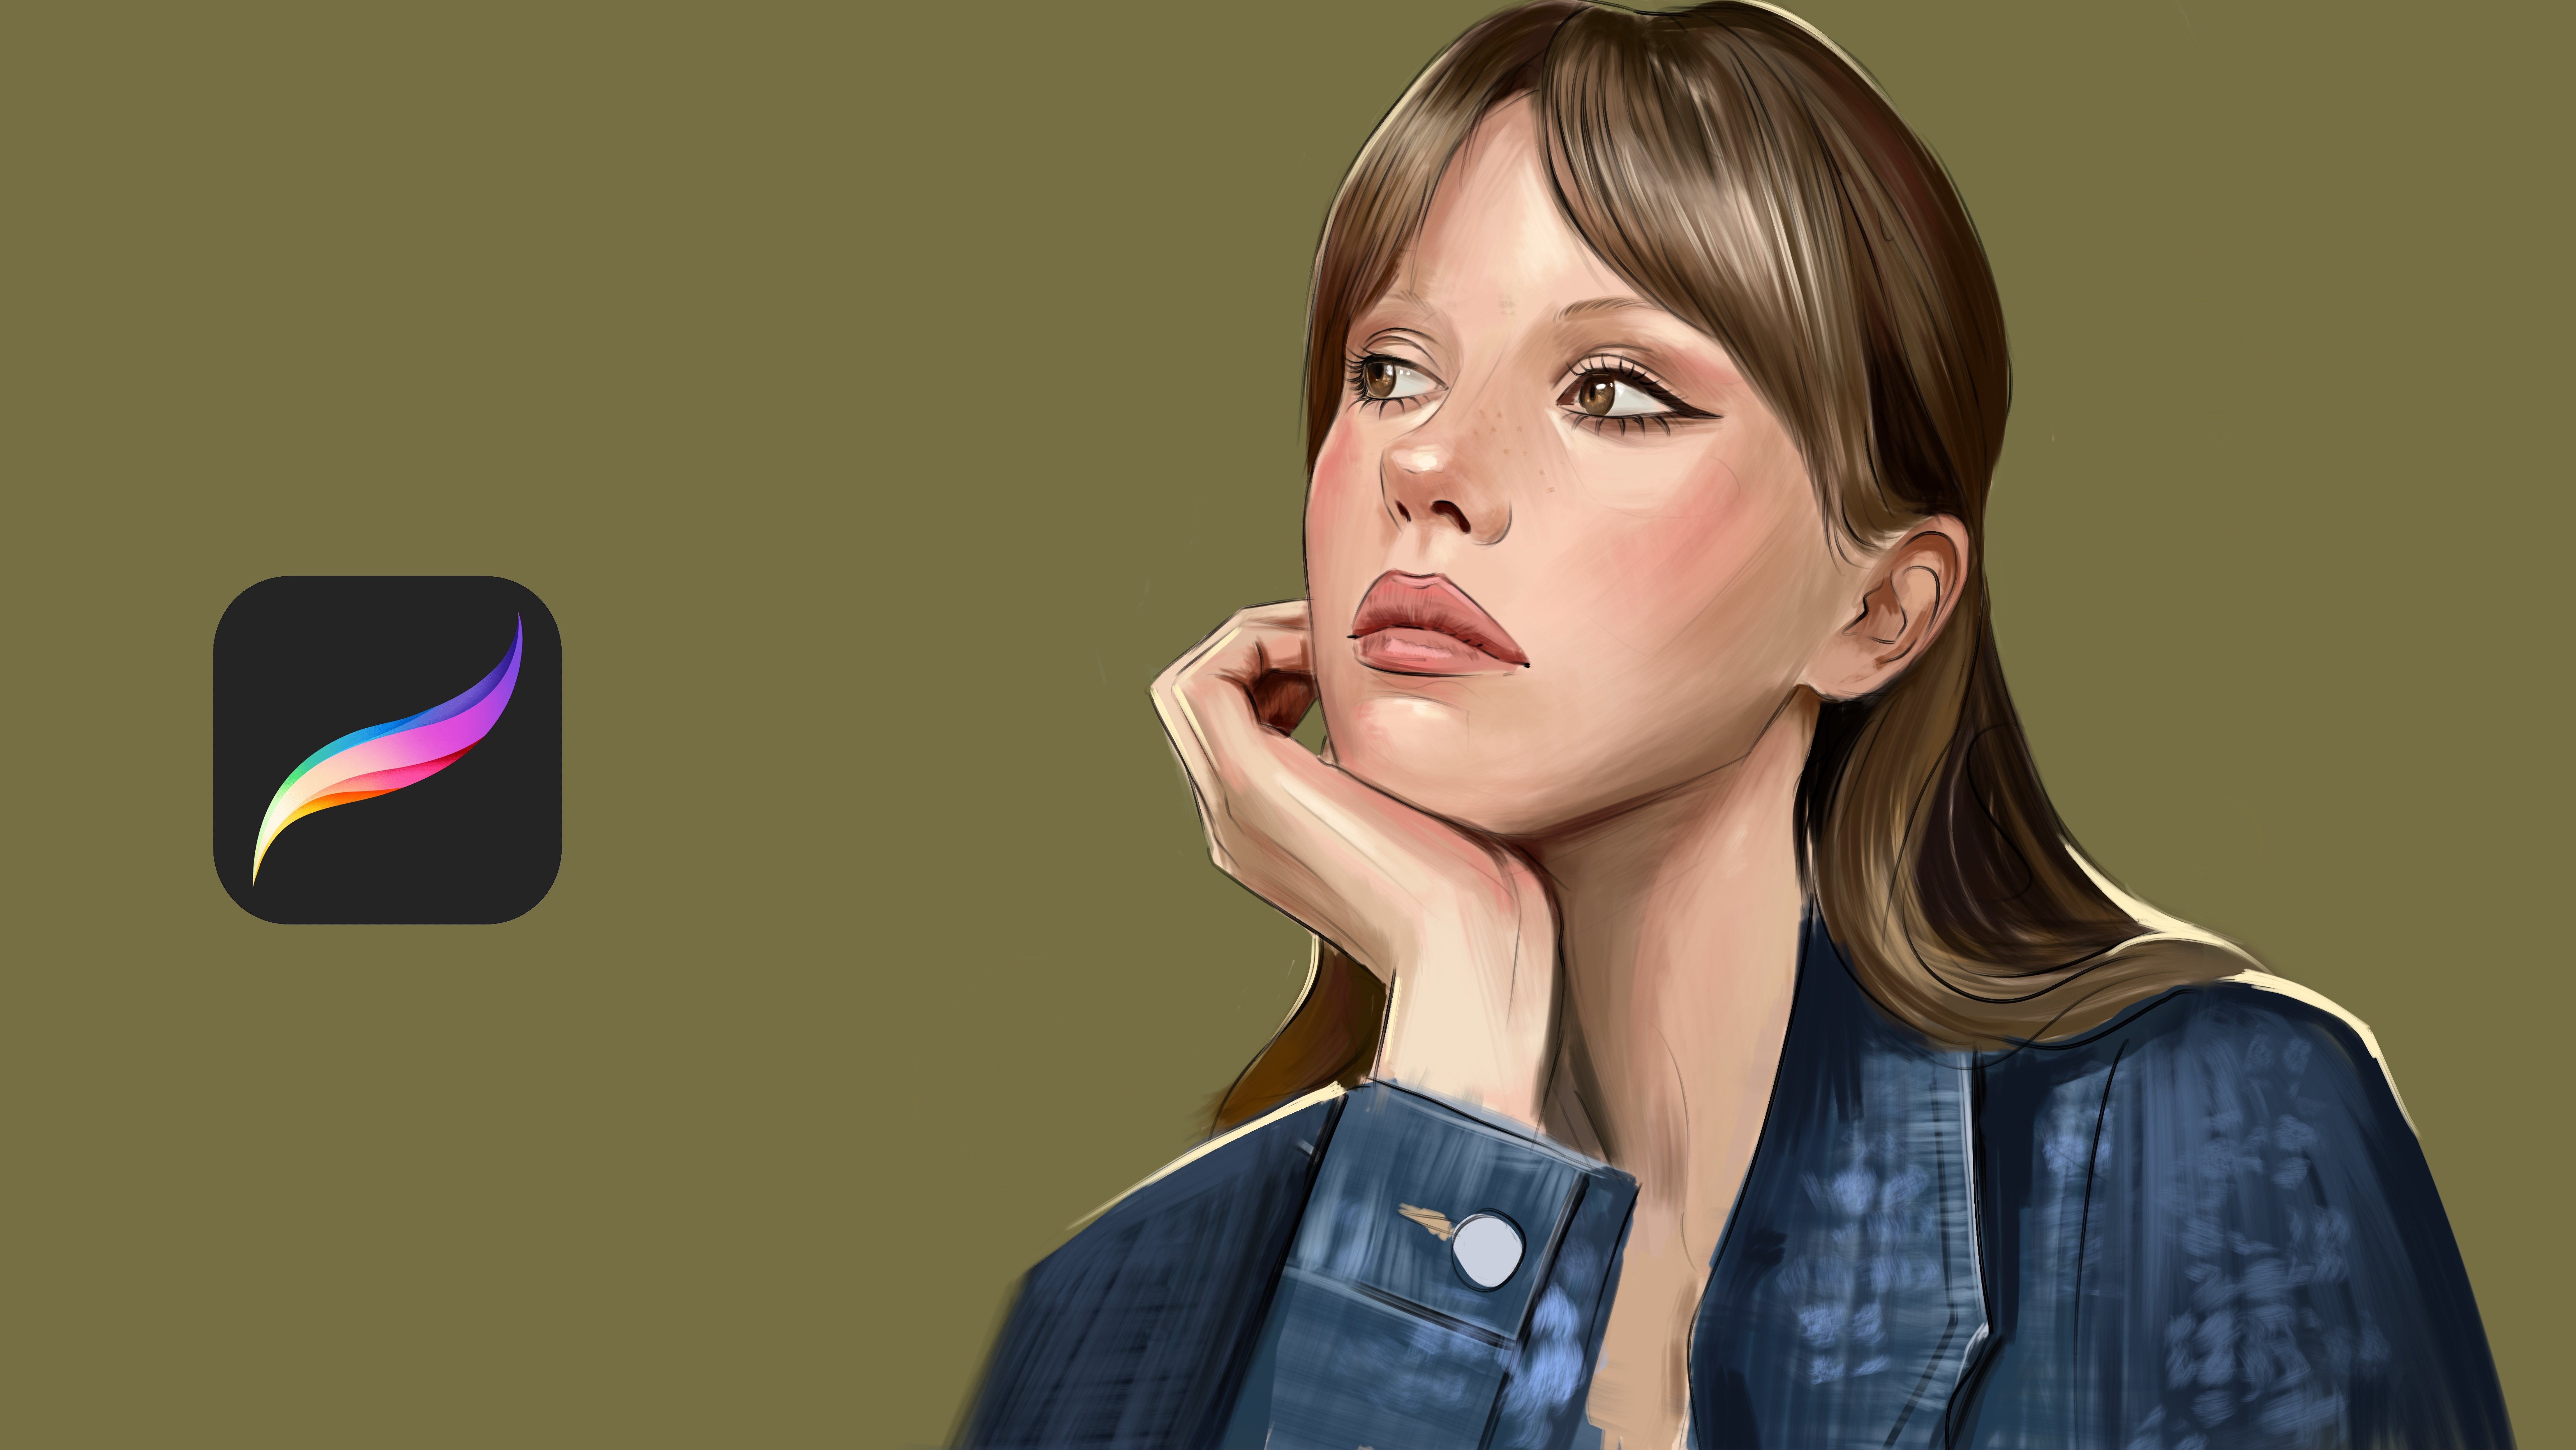
3. Painting Eye Details: Welcome. In this part, we will add
the tail to the eyes. At first, start with creating the corners of the
eye, just like this. And with the lighter color, apply over here for some extra lights and increase the light depending
on your light source. So my highlight is here, and I need to put the light
over here. Just like this. And let's zoom in, and I will select a
much more smooth line, and I will make this
part much more sharp. This is stylized portrait, so we will see less details such as we only see one
line as the eyelashes. It is because it is
stylized portrait. So we are not making really much detail to
keep this style clean. And I will continue to
put details over here. Yeah. I will make the corners much more
defined like this. And I will put some
highlights over the eye. You can add some lidal that stands out the
detail level of the eye, and I will select some much more lighter color and will apply over here to give a texture and realistic
look over the eye. And I will add the extra details over here like this
and here as a detail. And in the next details, we will continue
to render nose and
4. Detailing Face: Welcome. We will continue
to rendering nose and lips. For nose, go to the brushes and select much more lighter
brush and apply over here, and don't forget
to put shadows of the nose just like this. And forelips use really
darker color, but not black, just pure dark color over here and apply over
here just like this. And for this part, I will use really
dark color again. And I will use much more
darker color also for the corners and use some
light brush near this edge, but be sure you're
using lip tone, just like this and
put the highlight. And for nose, you can use really saturated
color just like this. And for cheeks, we
will use darker tones, a bit much more darker
because I want to make it really smooth
and realistic. And for the other part, I will use the same
technique, just like this. And at the neck point, I will use darker
tone, just like this. And we'll apply light over
here a bit much more. And these parts of the eye can be darker also because
they are in the dark. So we need to turn the object like the object and put
some lights over here, and this part will
be really dark. And let's zoom into
the nose again and put some shadows over here and put lights over
here, just like this. And another light
will be over here. But be sure you're using really soft
light, just like this. And yeah, it is looking
really great right now. And shoulders will be much
more darker at this point. And I will add much more light
point over the shoulders. And this ear will be in
the dark, just like this. And I will put really dark tones over
here, just like this. And this part will be
really dark, really dark. And touch shadows
also important. So be sure you're adding some dark colors at the dark points of the
porrd just like this. Yeah, it is looking
really great right now, and I will keep adding
details at this part. And zoom in the face and open another new layer
and select color layer mode. Then use red color and apply over nose and cheeks,
just like this. To make the portrait
much more sweet. We put some sweet colors
around these points. And after this, we will keep adding the tails
over hair in the
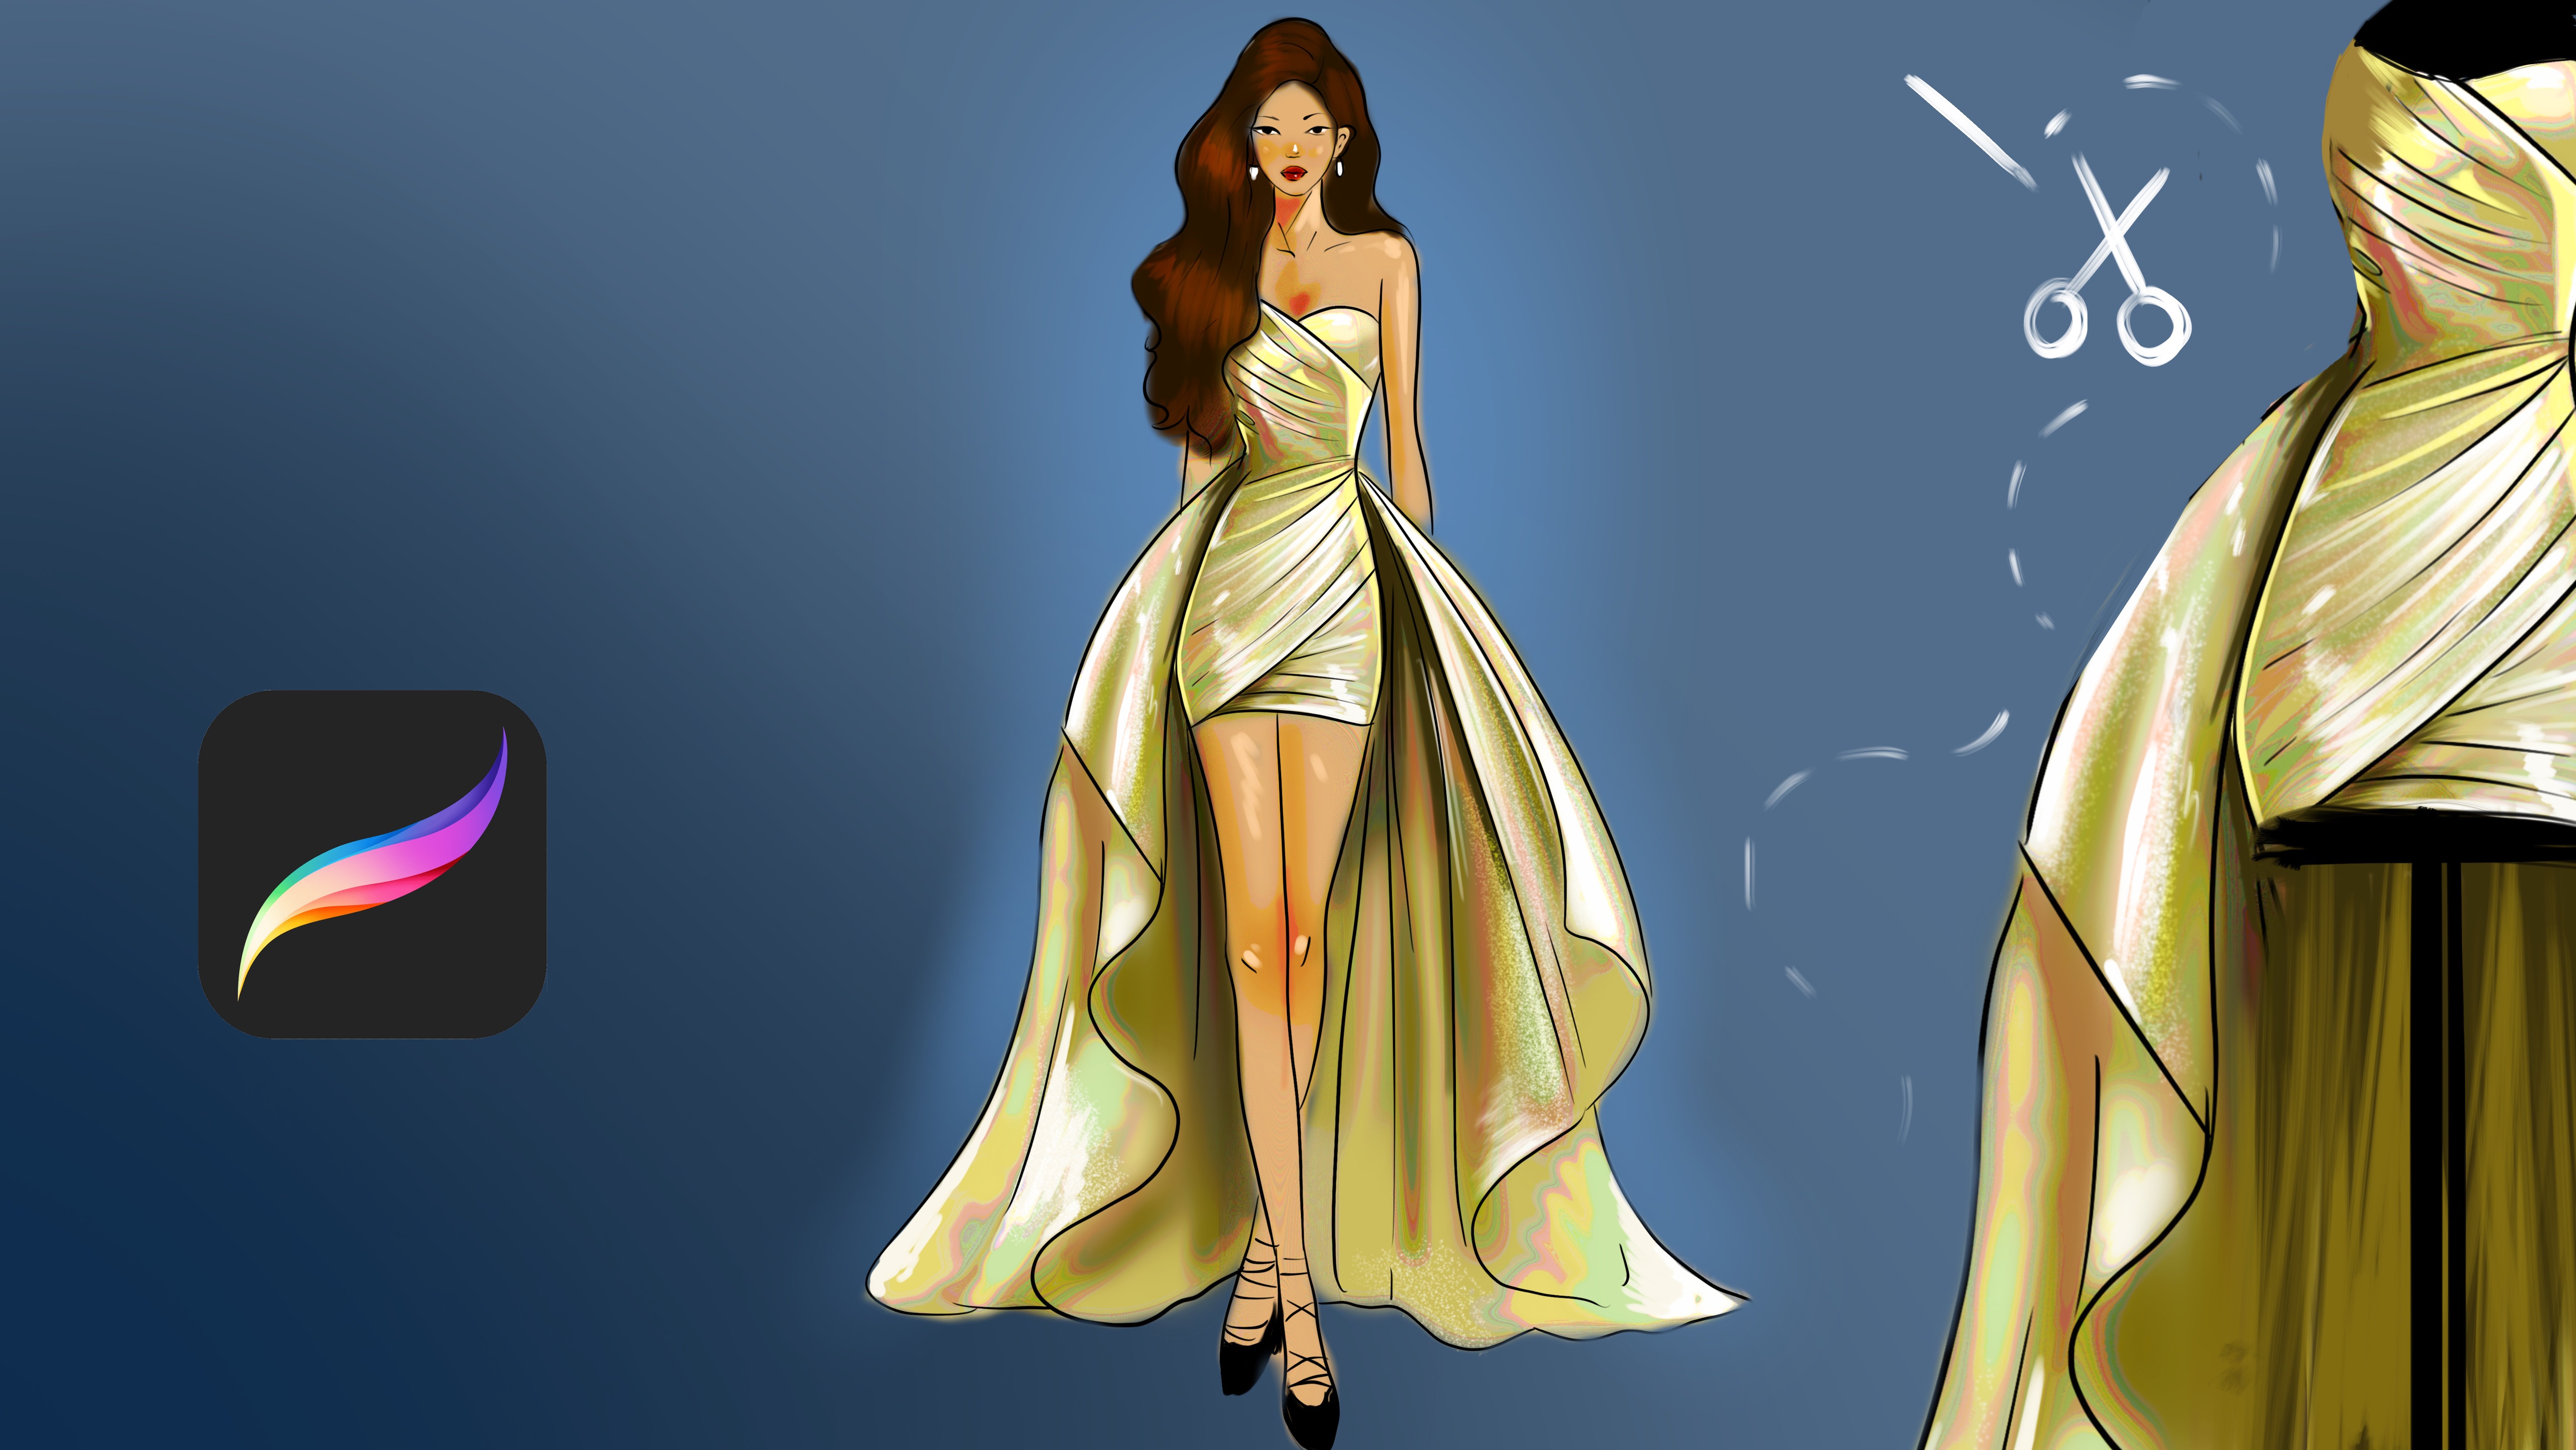
5. Painting Hair: Welcome. In this part, we will add details
over the hair. And with some textured brush, I will select darker
color for portrait, and I will apply
over here for create the base color because my previous color
was really mid tone. We will need some
dark base color, so we can add light over it, much more carefully and
much more effectively. And this is our base colors. So I will put the base color on all areas of the
portrait, just like this. By the way, I will share the base illustration
with you like the lines so you can follow and create your own
version using the lines. And after this, select much more lighter color and apply over here
with a large strokes. Because it is painterly and some have style like the character design
with steilization. So don't over detail it. Just try to see the edge and shadows and highlights and other details and put
details over them. For example, these
parts are darker, so I will put the dark
points here just like this. And this part also
will be really dark. And this is the nose part
will be color it later. I will color it later. And this part also will be dark. You can put or imagine it
the dark point of the ear. And let's put some darks here to pop up the details of the
illustration like this. And it is looking
really great right now. And we can use this same brush for crepe details for the
dress, again, like this. Maybe comes like this. Yeah, it's something
like this and maybe have some details
over here, just like this. Yeah, and details for the dress will be like this
and maybe some checker here, we can make the checker with some darker tones
like maybe created like from the lace and put some textures here randomly and spontaneously to make
it look detailed. And, yeah, it's
looking really great. And for this part, I will use textured brush
for make it detailed. And let's put to details
like shadows at the ear. And here we have a light
color here, just like this. And this part will be lighter. And in the next step, we will polish the render
and finish the illustration. Hope you enjoy and thank you.
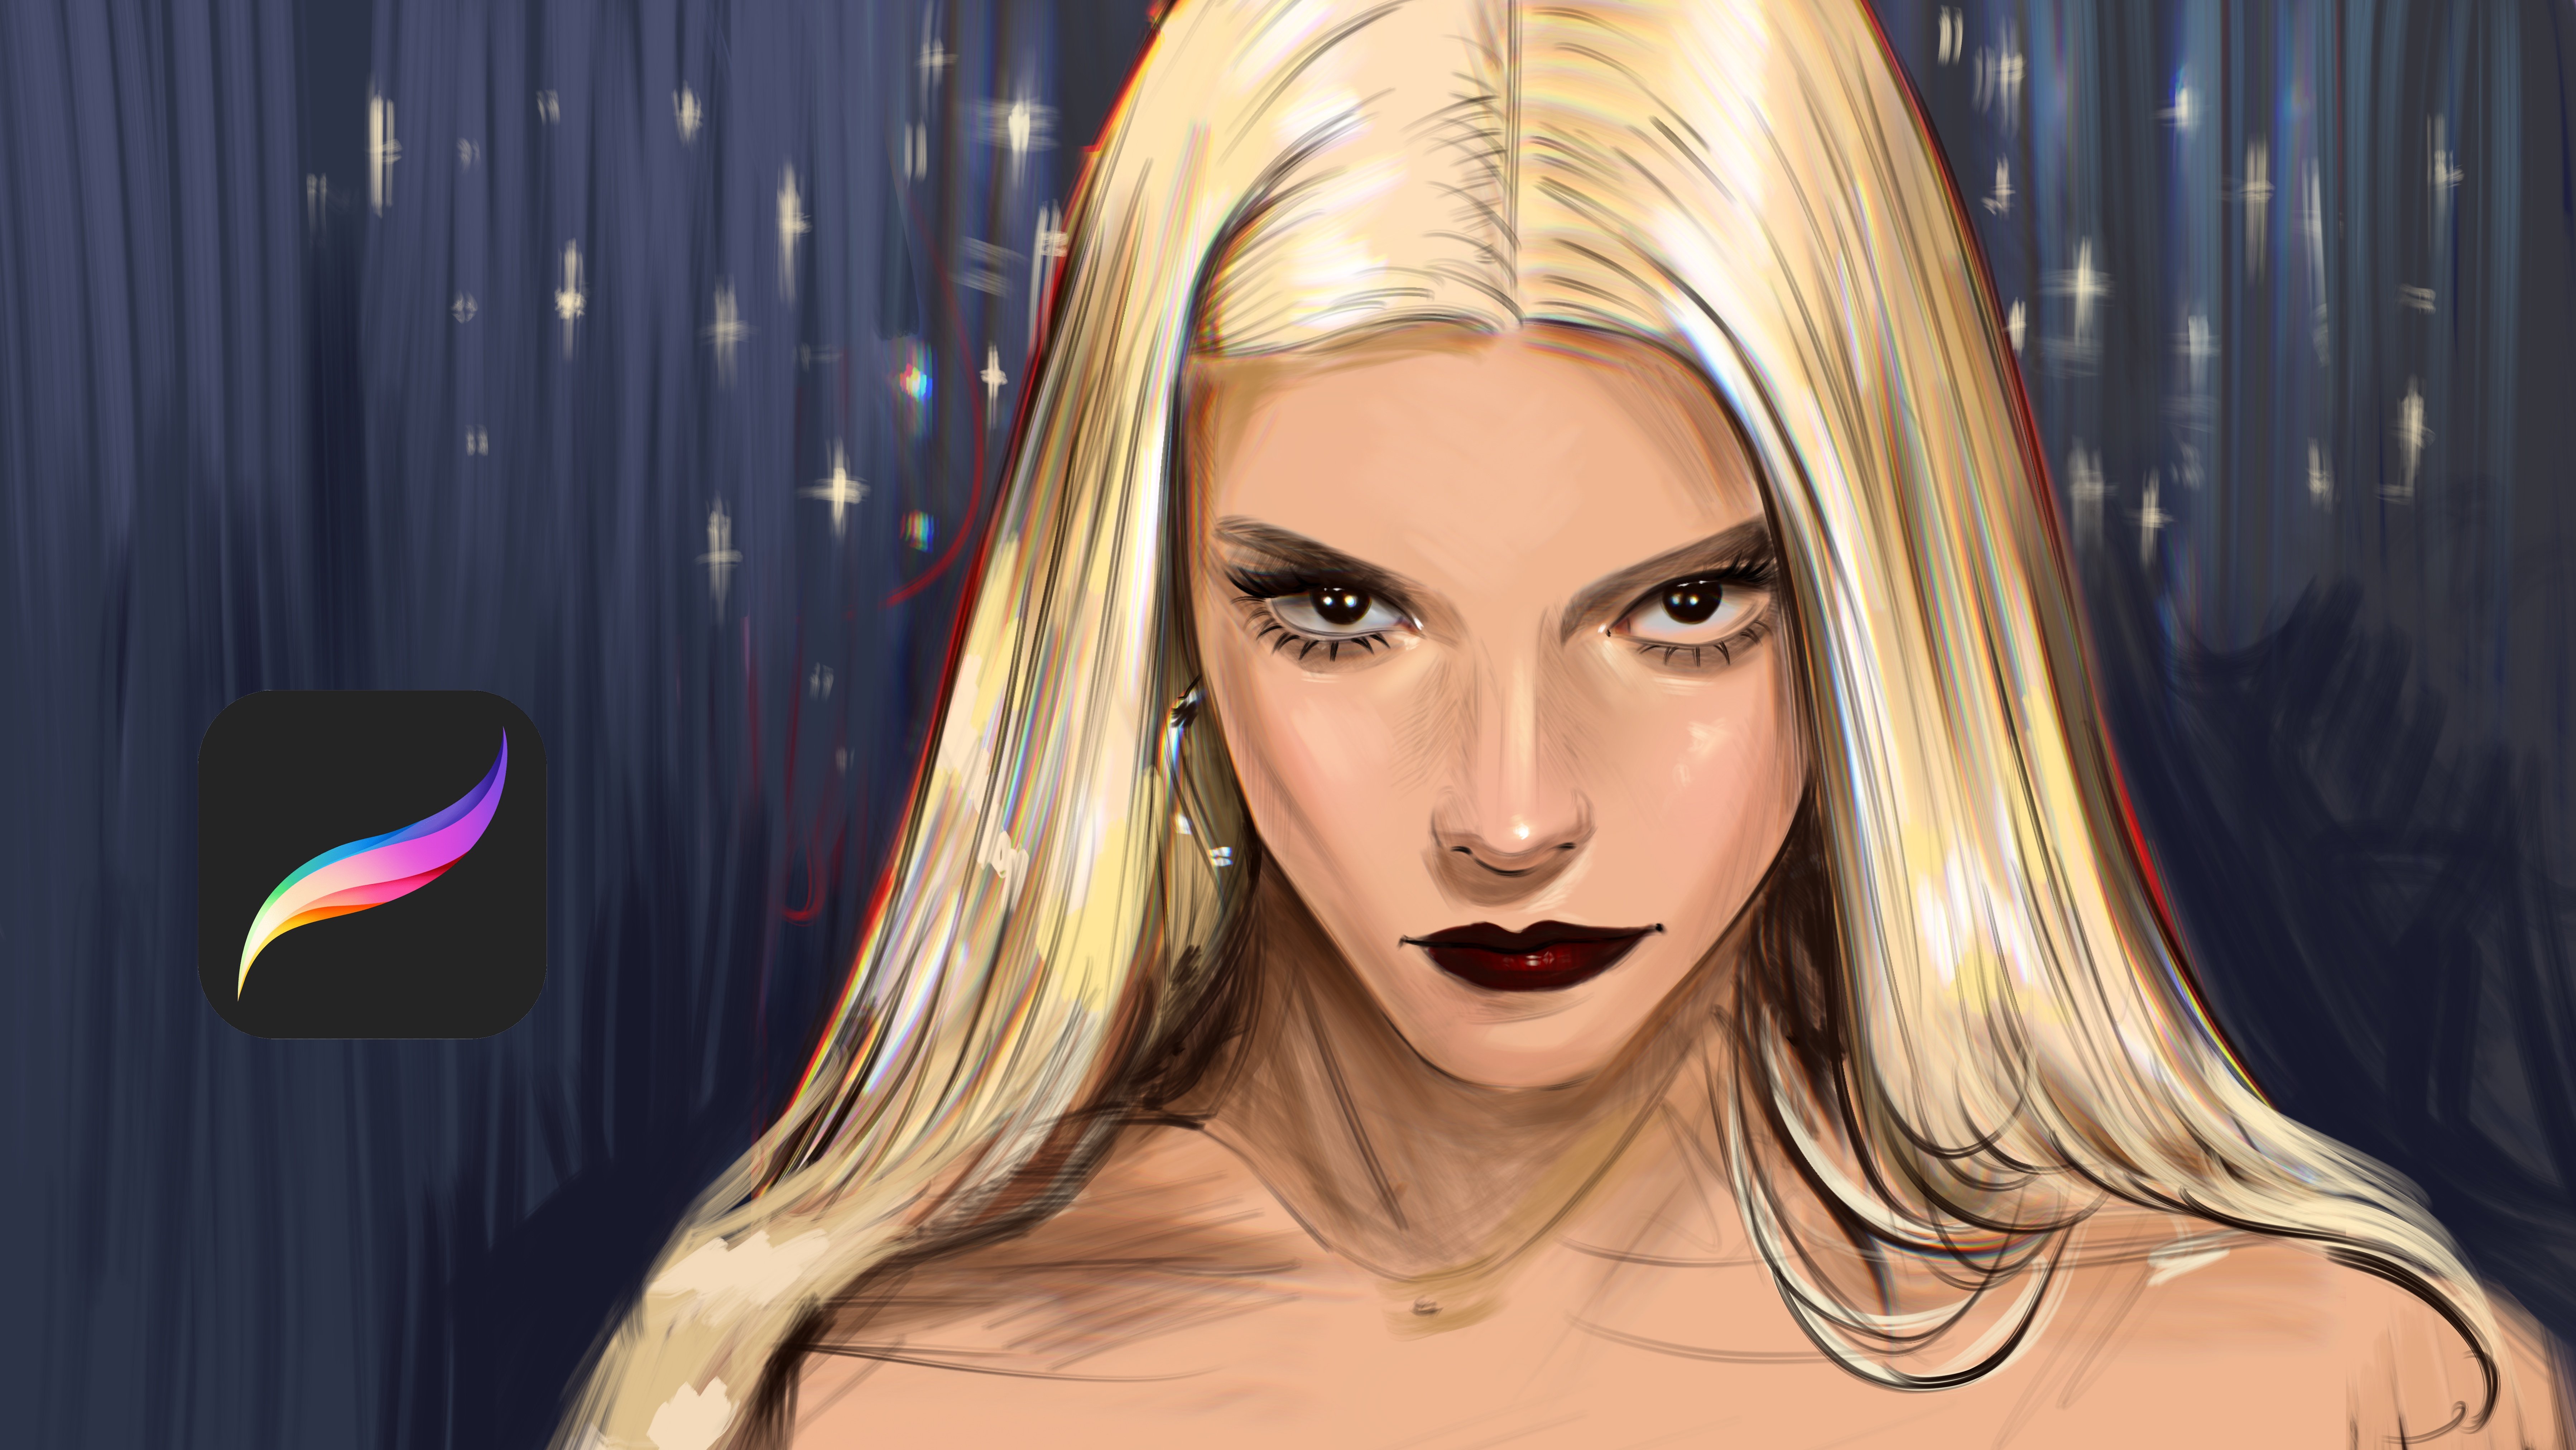
6. Complete Illustration: Welcome again. At this part, we will
render much more. Go to the layers and collect all layers and go to the curves and play with this point and make the shadows
much more even darker. But don't overdo
it a bit much more to make the illustration
much more interesting. Upgrade the saturation
much more and maybe we can give a bit much more noise for it will add the
texture over the portrait, so it will look much
more interesting. And chromatic application will also increase the detail
level of the illustration. So these parts are
really important. So after it, go to
the smooch tool. And with this smuch tool, you can so much to
edge if you want. And let's continue to creating
details over the portrait. For this detail, I will
make it much more like the sale shape or some white
heart shape here like this. And I will add much more
dark colors over here. And you can also use the background color
too for a a bit, much more saturation
over this detail. And look like this. And the other parts
will be here like this. The other detail, and nose detail will be
much more polished. I will add much more
shadows over the nose. And I will select the dark color and make it much
more even darker. And this time with
this dark color, I will define the dark
edge much more deep. So our painting will have much more t d look like
realistic look, but don't overuse it, just for the most darkest place
and don't use pure black. I will add some
shadows over here. And maybe this part is darker, too, just like this. And the corners will much
more lighter just like this. And this light shows how
the portrait is turning. So these details are
really important. And I will put some
anatomic details here that shows the
bomb of the portrait, just like this and maybe have some necklace or
something over here. And the other and of the portrait can be around
somewhere here like this. And here will and much
more maybe larger. I will make it like this. And yeah, it is
looking really great, and I will add much
more shadows over here for create the
texture of the hair, even much more faster. I will add some edge
here, like dark shadows. And maybe let's put
some earring here. And yeah, it is
looking really great. And I will put some dark parts
over here maybe like this. And much more dark
parts around here also. Like this. And this little detail near the portrait will give really good expression
to the portrait. So I will add these
two edge here. And it is looking really great. And I will add some highlights over the here
with holding with my brush, I will add some shiny look like reflection
over the portrait, and hope you enjoy this part, and I will continue to add much more over here with
another reflection point, and other parts will be
here just like this. And here. And I will put some freckles over the portrait with my brush. You can use any textured brush or stamp brush if you wish. And for the dress, I will make the dress much more, even darker to make the portrait much more strong because everything
is red in the portrait, so I need to make the dress
much more a bit black to keep balance like contrast because this area is
really, really saturated. So we need also really dark
places to keep balance. And it will be something
like this and like this. And maybe these details have
lace details over here. And these details also
will be lace again here. And maybe some
texture over here. And I will put some
cute detail here, like heart shape here, and hope you enjoy this class. And if you like this class, please check my
other classes too. I really try my best for create a and I can't wait for
show you much more. And you also can
check my brushes at my Skillshare and
my other videos. And I appreciate your support
 Yasar VURDEM, Creative Art Director