Transcripts
1. Introduction: Hi, I'm Isha Wur Dam, professional artist
and illustrator, who did work with adopt the Elish prime videos Lord of the Rings
strings of Power Series, Stadle, the value of T, Wacom, Logitech, and many more. In this class, you
will learn how to draw a portrait from start
to finish using Procreate. We will begin with
strong construction and correct proportions to
build a solid foundation. You will learn how to simplify facial features and capture
likeness with clean lines. I will show you how to refine the drawing step by step
without overworking the sketch. By the end of the class, you will have a
confident portrait drawing that ready to painting. This class is perfect
for artists who want to improve their portrait
drawing skills in Procreate. Let's tie in.
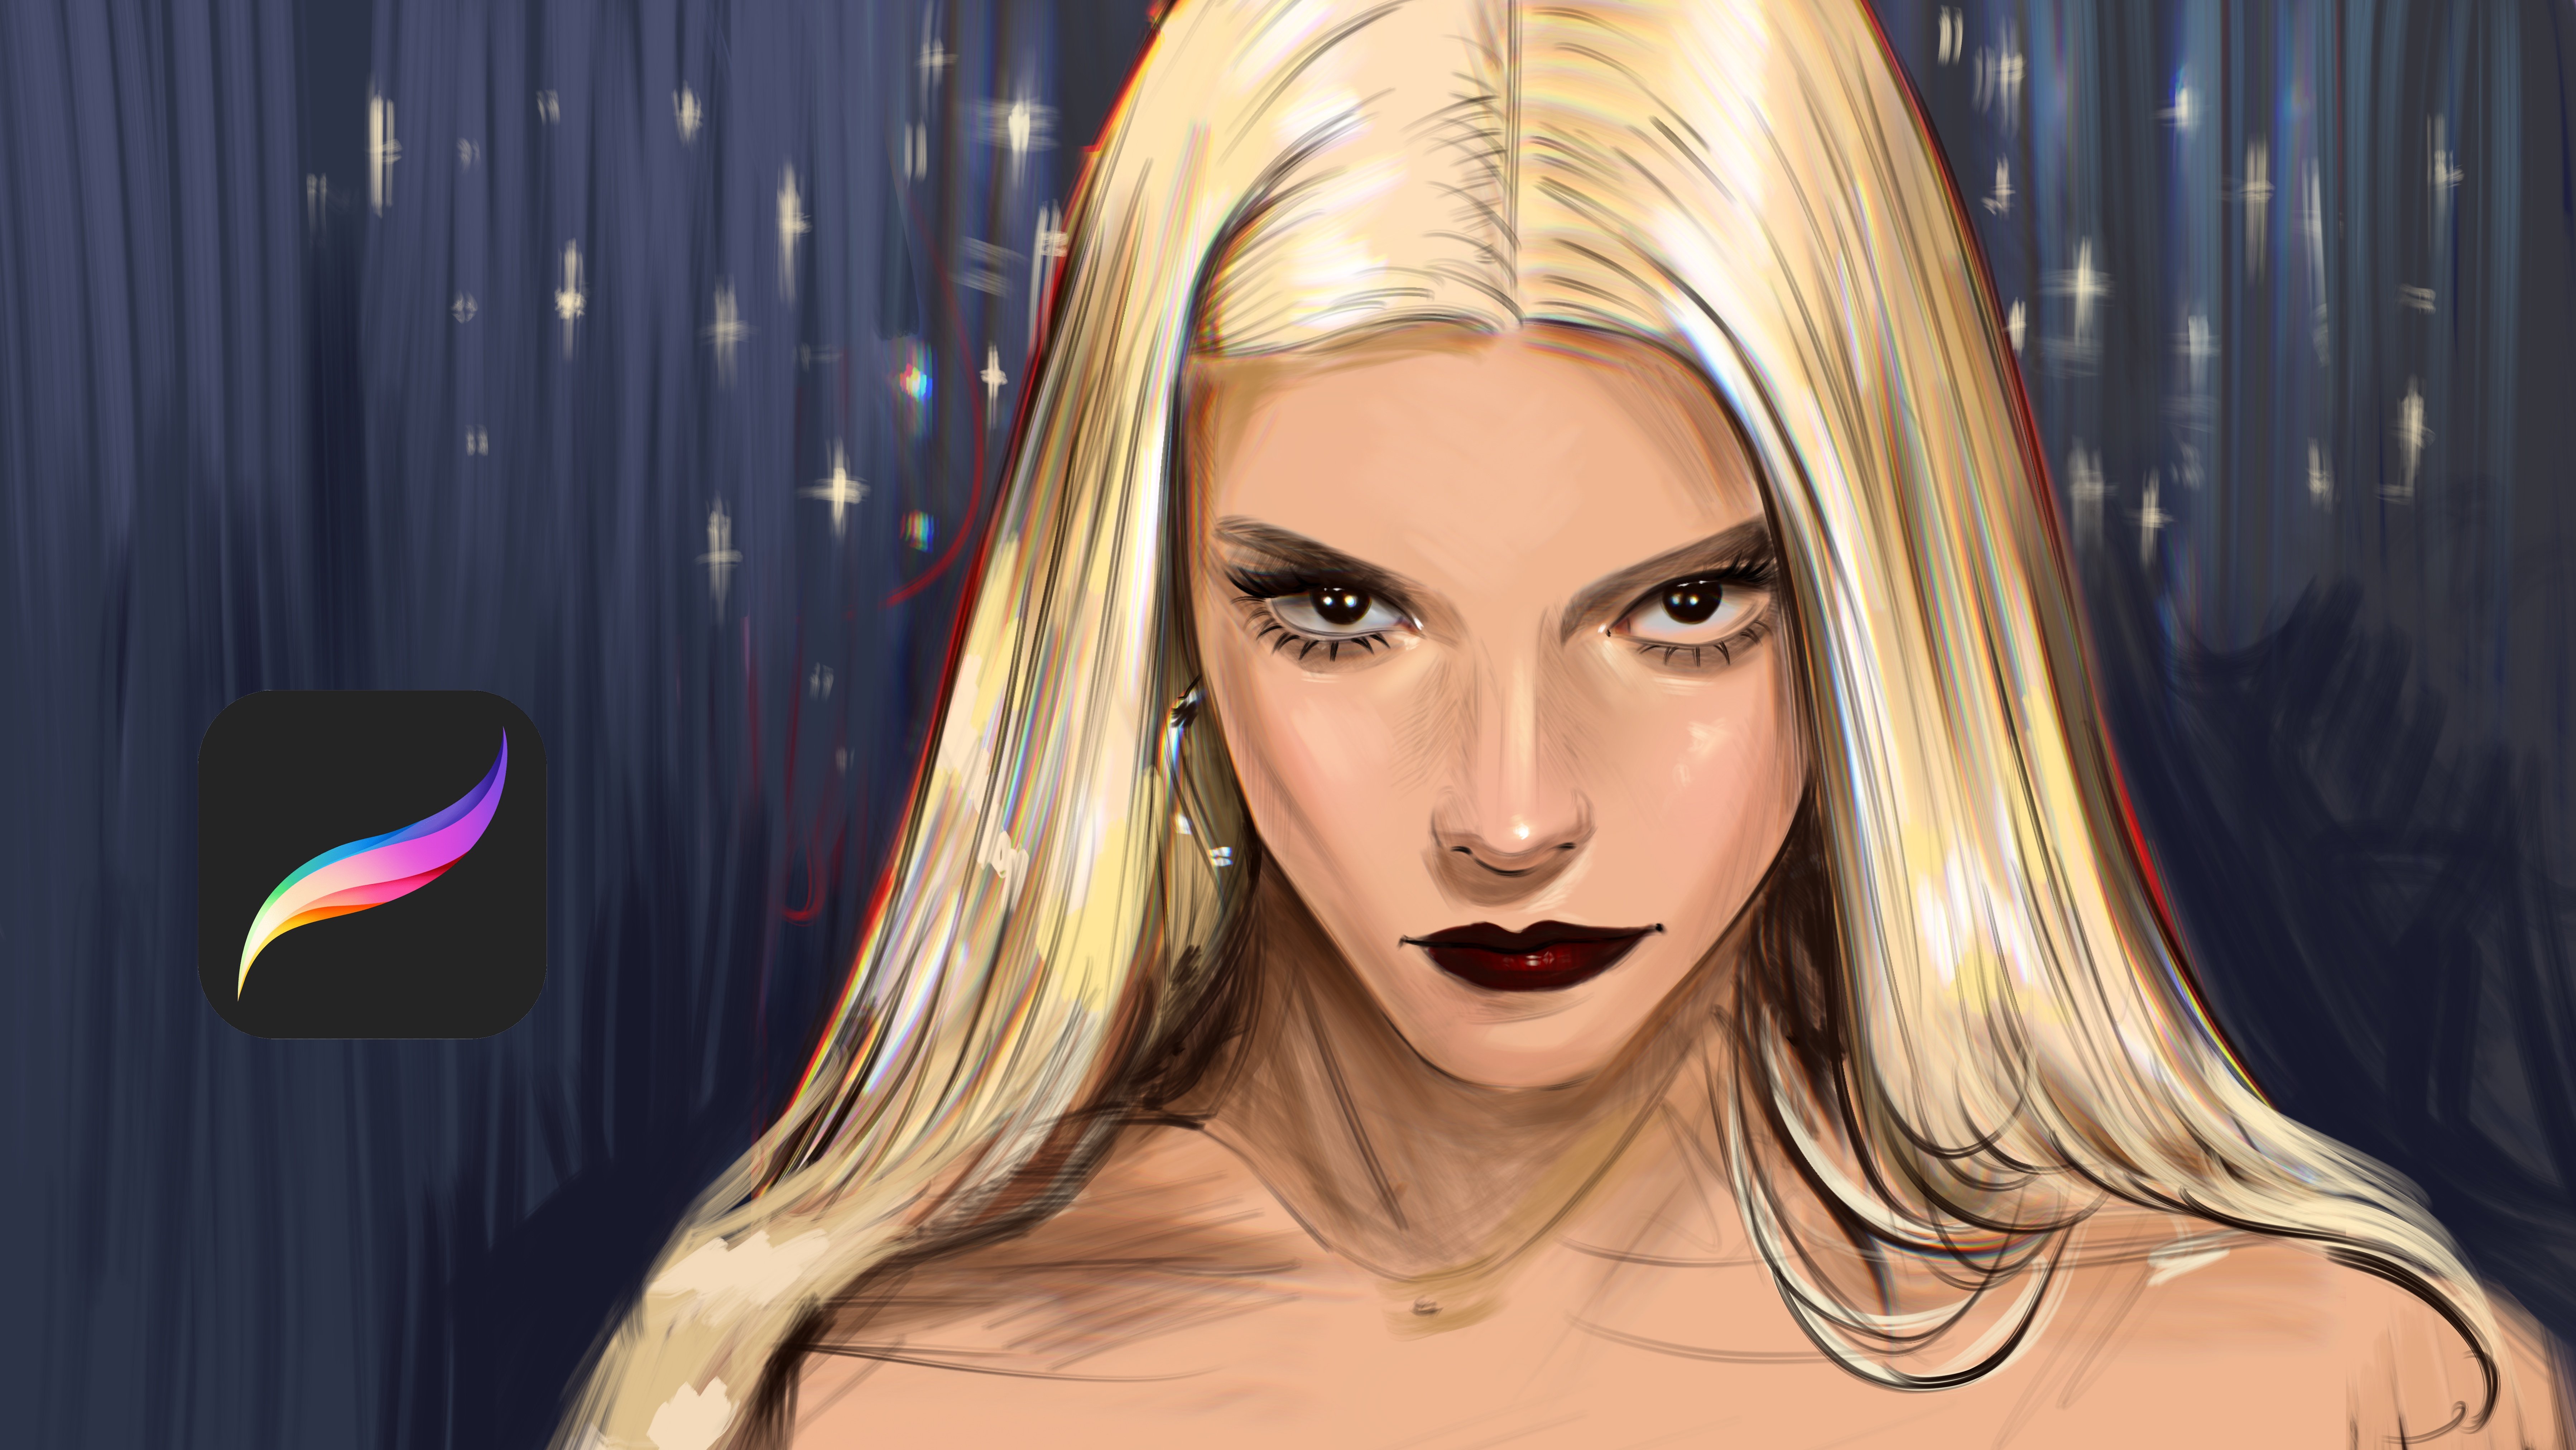
2. Paint Base Color: Welcome. In this tutorial, we will paint this portrait, and it is our sketch layer. At first, we need to paint the background
of it like this. I will start from the head. At first, don't rush and just
try to place the shadows. For example, in eye, I'm making these areas
much more darker. And under eye also will
be much more darker. And cheeks will be
lighter like this, and I will continue to
add shadows over it. For example, these parts
also will be darker. And this part also, at first, I'm just defining
the shadows of the portrait. And after this, we will define the highlights and light parts. For example, these parts also darker and
these parts darker. And this part is darker
and this part is darker. Yeah. And for eye, I will make white part at first. And let's zoom into the eye, and let's paint the eye color. At first, donut add
shadows or highlights, add middle tones of it. Also at the lushes we will make it much more darker,
just like this. Yeah, and like this. And at the top part, we will make it darker. And this part will be darker. And this part will be
darker, just like this. And if you see this, it has light in her eyes
like this, like reflection. And I edit it. And if you see this
end of the eye, there is the darker
tones of the eye. And I will continue
to add the tail from this side and we make
it much more darker, even darker at this
left side of it. Just like this and
just like this. And like this and
like this here, and this part also darker
and this corner is darker. But don't rush, try to
build things slowly and make to for example, if I need to add shadows
on the nose part, and the corners of the
nose is also darker, especially this
part and this part. And this part. Let's add the shadows over the dry. For example, I will just put the background of it
like the left one, and let's zoom in here and build the
darker tones of the eye. And some places of it will be really darker tones
in like this. And if you see it, it has a light or portrait
like I just like it in here. And at the other part
will be here like this. And let's zoom here and
try to put shadows of it. Just like this. And it
is how Katie makeup. I will edit also.
And under the lip, there will be darker tones. Also at this part, it will be darker. And let's paint the lip at the base colors like basic color of it and zoom in and continue to adding
details of it just like this. And at the corner, it will be much more darker. And nose can have some
saturated colors, such as soft pink. Also, checks can
have it like this. And let's switch it like
this and add lights over here and continue to
add shadows just like this.
3. Painting Shadows: And I will add the eyebrow and we'll continue to add it from
here also. Let's continue. Like this. And at this part, it will be much more
lighter, just like this. And I will make it
much more darker. And this part also will be darker because it is light this part and
this part is lighter. And that's why I'm making it darker to pop up the shape of the nose and for
giving it a volume and increasing the detail
level of it, just like this. And and here I will add much more lights
here and here. Maybe I can continue to add lights here
and lights here. And right now, I will
add shadows over here, and I will make this much
more darker over here. And let's zoom into here and add much more shadows
here because it's turning and it needs to be
darker because of the eye of the anatomy and here and zoom into the
moisturiel like this, it will be black, not black, but saturated brown
because it's skin. Yeah. And this part, it will be
much more darker tones. And this place is also
darker, darker, darker. And inside of the eye, it will be dark here,
just like this. And this part will be darker. And especially at this part, it will be darker again
and darker again. These part just like this. And now I'm adding
much more shadows for make the illustration
much more detailed, and this part also will be darker. Yeah. And spot darker this part. I will zoom in here and we make this part
much more lighter. And if you check the eye, it have some saturated color
over here, just like this. I increase it a
bit much more and will apply over it
because sometimes photoeference will not include enough color for create the eye. And it will be like this darker. And and these parts will be really light. And we need to create
the texture of the lip much more
visible from each side. And let's zoom here and build dark tones
here, here and here. And just like this. And these places can
be much more darkish. And I will make this background a bit
visible at this part, especially this
part and this part. And I not boiled it totally, but I will definitely
will increase it after I put all
details of the portrait. This part will be darker. And it can be much more shorter.
4. Painting Lights: And this part will be lighter. And of course,
these parts will be at right place will
be much more darker. But I will increase it in time. I'm just trying to build the general look of the portrait right now with these
small details. Just like this. Yeah. And it's great right now, and I'm continue adding
the tails of the portrait. And this part will be darker, and it will be in the dark
place, just like this. And Okay, it's going really, really nice, and I will add
shadows over here also. And this part And these corners of the hair
will be really dark. Yeah, it is really great. And I'm trying to define the
shadows of the eye detail. It can be darker over here. Just like this. And let's zoom in here and add some minimal portrait details like glowing eyelashes,
just like this. And here it will be like this. And like this like this. And I'm checking it. These parts will be lighter. And a bit saturated
from this point. And checks will be much more
saturated in this place. And it is looking already great, and it will be better
with details later. And thank you for joining me in this part and see
you in the next part.
5. Painting Highlights: Welcome. In this part, we will start to add details. At first, do not
rush and just try to build the neck area of
it, just like this. I'm adding colors with softer tones. And these parts is also darker. So I will make it a bit darker and especially
this part is darker. Yeah, it is pretty
good right now, and I will make this
part much more lighter. And this part is
darker, just like this. And this corner is dark like this. Yeah. And for hand, I will
make it darker. And this part will be lighter. And I will continue to add detail like this
and zoom into face. And let's build the shadows much more deeper,
just like this. And at right part, I will continue
to add this line. It will be much more
darker and also visible and I will
make this part darker also and we add these dark tones over
here and over here. And at this part, I will make it like this. Yeah. And just like this. Yes. And I will paint the general colors of
her dress like this, add the basic colors. Do not put any detail for it. We need to just create the
basic colors of the dress. And later we will add
many details of it. But for now, we don't
need any details of it. And I will continue to add this background color
at the left part, and let's paint it like this. It will be same color
here, just like this. And this place
will be like this. And let's add some
details over the hand. For example, it is darker
here, just like this. And and continue to paint and build the
general look of it. And this part is
background of the hand. And some parts is really
darker and in the shadow. So we need to add
shadows over here, and maybe at this
part, it is darker. And yes, it will
be like this and
6. Adding Details: Like this, I will add the hail here and we'll build the hair from here. And if you look closer at
this part of the hair, we need to make it
wider at some point and increase the lighter
colors of it just like this, like this and like this. I hope you enjoy the process, and I try my best to show
you the whole process. And let's talk about this part. This part of the nose, as you can see, it is darker. So we need to build some dark colors
here, just like this. And Again, at the left part, this left side is really darker and I will
make it darker, really dark colors here, and I will continue
it like this and this right side will be dark and the side will be lighter. And thank you for
joining me in this part, and I will let a bit
much more detail, and I will continue to paint
the portrait at next part. It will be darker at this part. And also, these parts
will be lighter, like reflections of the light. And especially this area
of the face is really vibrant and have really
powerful colors. And these parts will
be shadows, for sure. And let's continue
to add shadows here. And here, yeah, it is
pretty nice right now. And I will make it
this part is darkish. And also, this part is dark. And I will try to make
this part darker, and this part will be darker. And this part will be really, really dark and maybe
we can add shadows and increase the light over here for separate
these two fingers, and we need some lights here to make it
much more visible. Okay, right now,
what I'm going to do is adding shadows at
this part of the nose. And if you look closely, she has some freckles, but I will make
these freckles much more visible like this because you don't need to create the same thing
you see in the reference. You can change a bit and add your own comments
to the porprit. So with this way, it will look much more special. For example, I'm
adding increasing the lights here and here, and here will also add shadows here and
here, just like this. And Okay, let's continue.
Let's continue. Okay. And this part will be darker and this part
will be lighter. Like, maybe we can increase the lights or the Aye. And okay, now I will add this chin line,
much more better. And I will finish this part. See you in the next part.
7. Complete Illustration: Welcome again. Now, I will move the reference
at the left part, and I will continue to paint the portraits
the right side. Now I will use, like, pick brushes and
build the shape of it. And at some parts, it's look much more
lighter, just like this. And at some parts, it is darker, just like this. Yeah. And let's build this
part will be lighter. And this part will be darker. And yeah, just like this. And background, again, will
be same color as this part. Just like this. It
will be darker. Just like this. And this part will be like this and this part darker. And for her, I will use pink colours to
improve the realism. And this one will be
much more shorter. And this part will be like this. I'm connecting it and
giving it the tail. And at this part, it is darker and this
part also darker. And this part Yeah. And this part will be darker. And you can increase the
detail level of the ear with adding extra
details like this. And I'm adding the texture
for her dress. At first, I'm creating
lines horizontally and vertically for create the illustration,
just like this. And at some white textures at
some parts of the portrait, and especially at these corners
will be much more lighter and we can add some textures here and the end of the dress just like
this knitting textures. Yes, just like this. And this part will be darker. Yeah. Okay, thank you for
joining me in this part. And next part, we will
polish the illustration and keep the painterly look
and finish. Thank you again.
 Yasar VURDEM, Creative Art Director