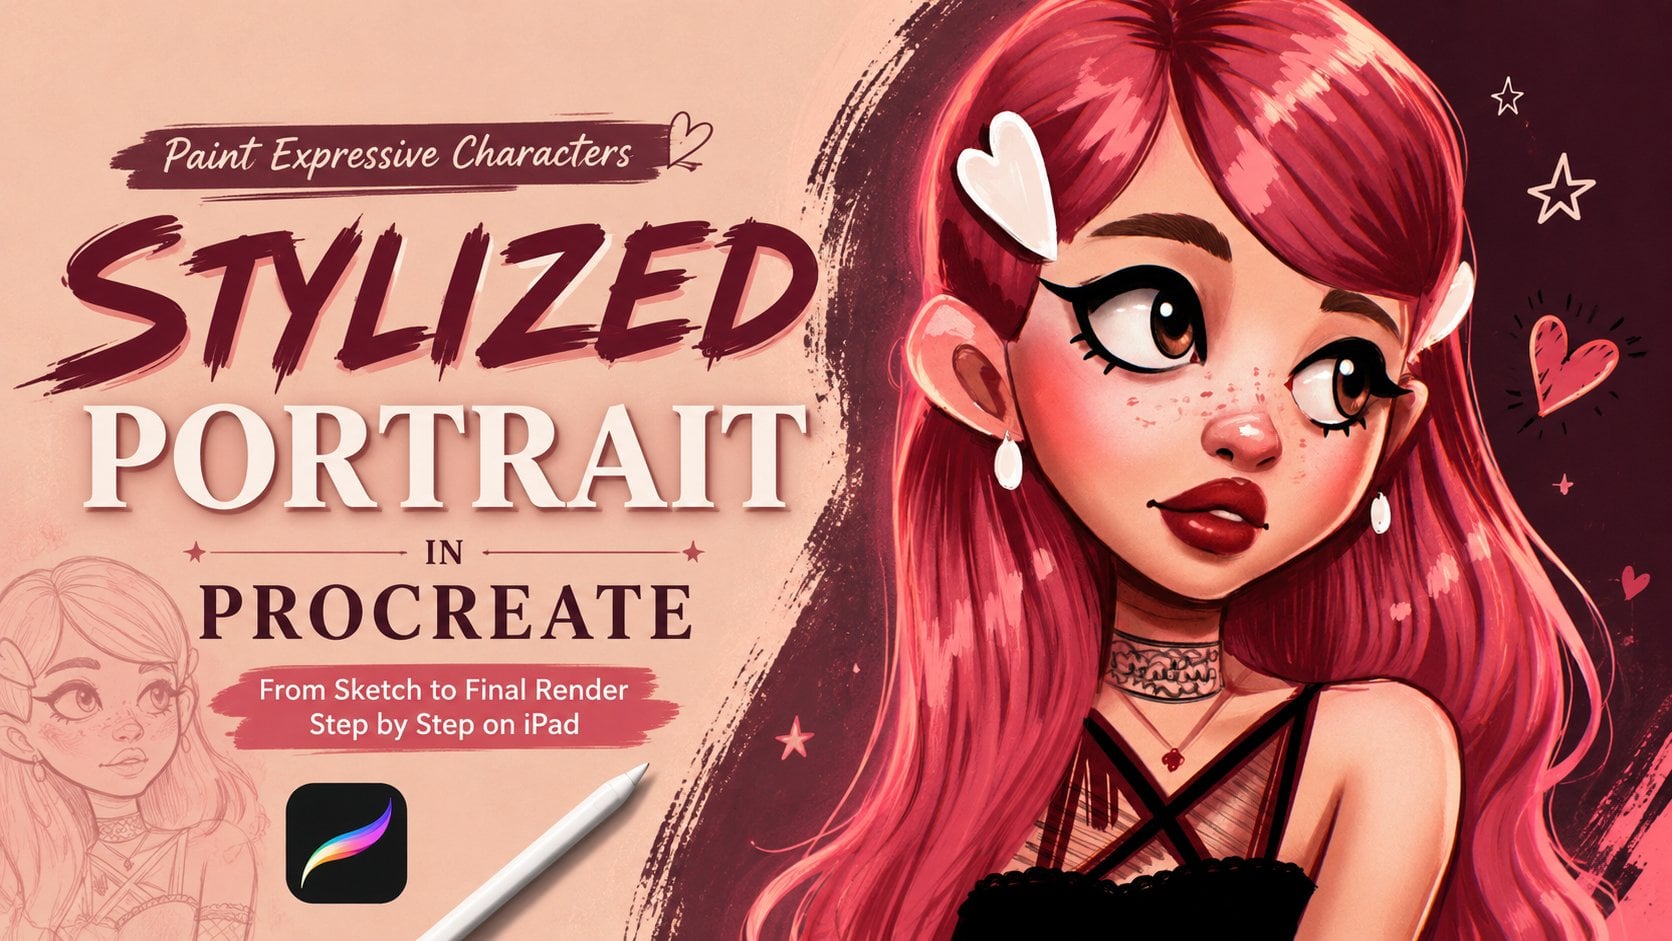
Portrait Coloring in Procreate
 Yasar VURDEM, Creative Art Director
Watch this class and thousands more
Watch this class and thousands more
Lessons in This Class
-
-
1.
Introduction
1:14
-
2.
Painting Base Colors
1:52
-
3.
Painting Base Shadows
3:22
-
4.
Painting Lights
5:54
-
5.
Adding Micro Details
2:39
-
6.
Complete Illustration
2:00
-
-
- --
- Beginner level
- Intermediate level
- Advanced level
- All levels
Community Generated
The level is determined by a majority opinion of students who have reviewed this class. The teacher's recommendation is shown until at least 5 student responses are collected.
3
Students
--
Projects
About This Class
Learn how to create a vibrant, expressive color portrait in Procreate with illustrator Yasar Vurdem an artist whose work has appeared in collaborations with Adobe, global music artists such as Billie Eilish, and creative projects connected to Prime Video’s The Lord of the Rings universe.
In this class, Yasar guides you through his complete portrait workflow, showing you how to build realistic skin tones, create depth with color, and finish your artwork with professional-level polish. The lessons are clear, beginner-friendly, and focused on helping you understand not just what to do, but why each step matters.
You’ll start with choosing a strong reference, understanding facial structure, and building a functional color palette. Then you’ll move into painting the portrait using simple, repeatable techniques that Yasar uses in his own client work.
What You’ll Learn
-
prepare a portrait reference
-
Proportion and facial structure basics
- Creating Sketch with Reference
-
Building a balanced, realistic color palette
-
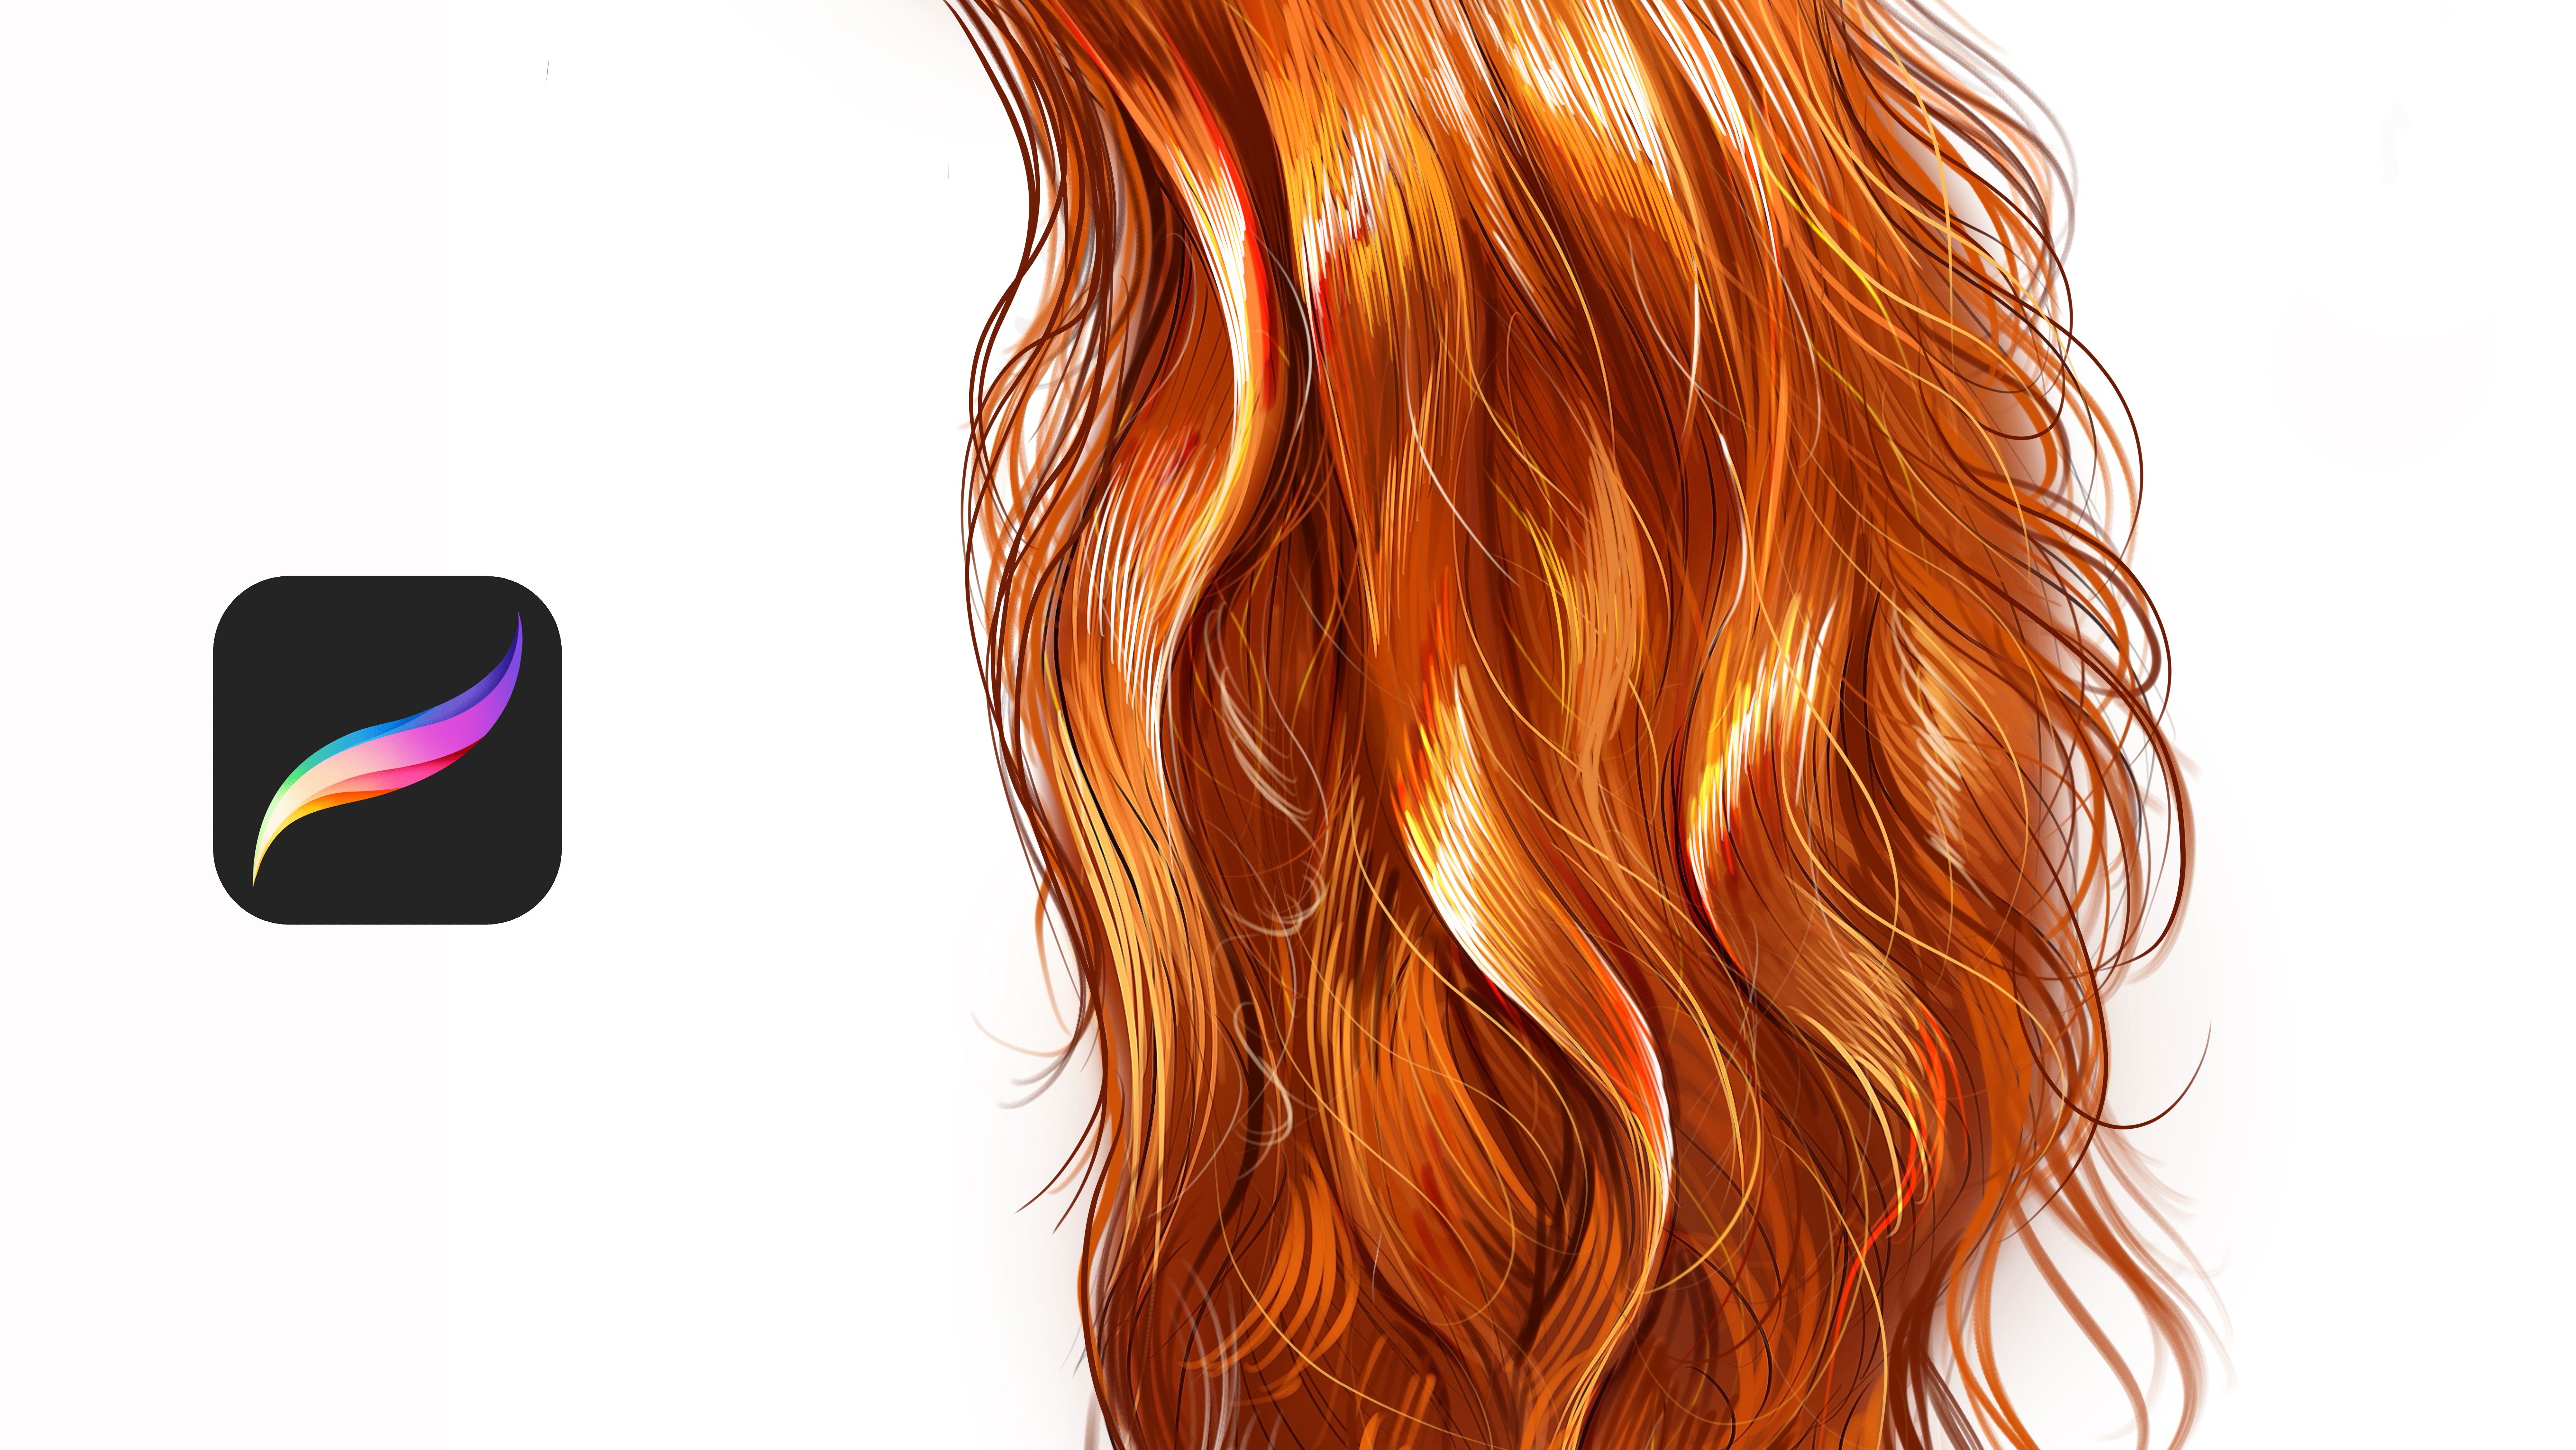
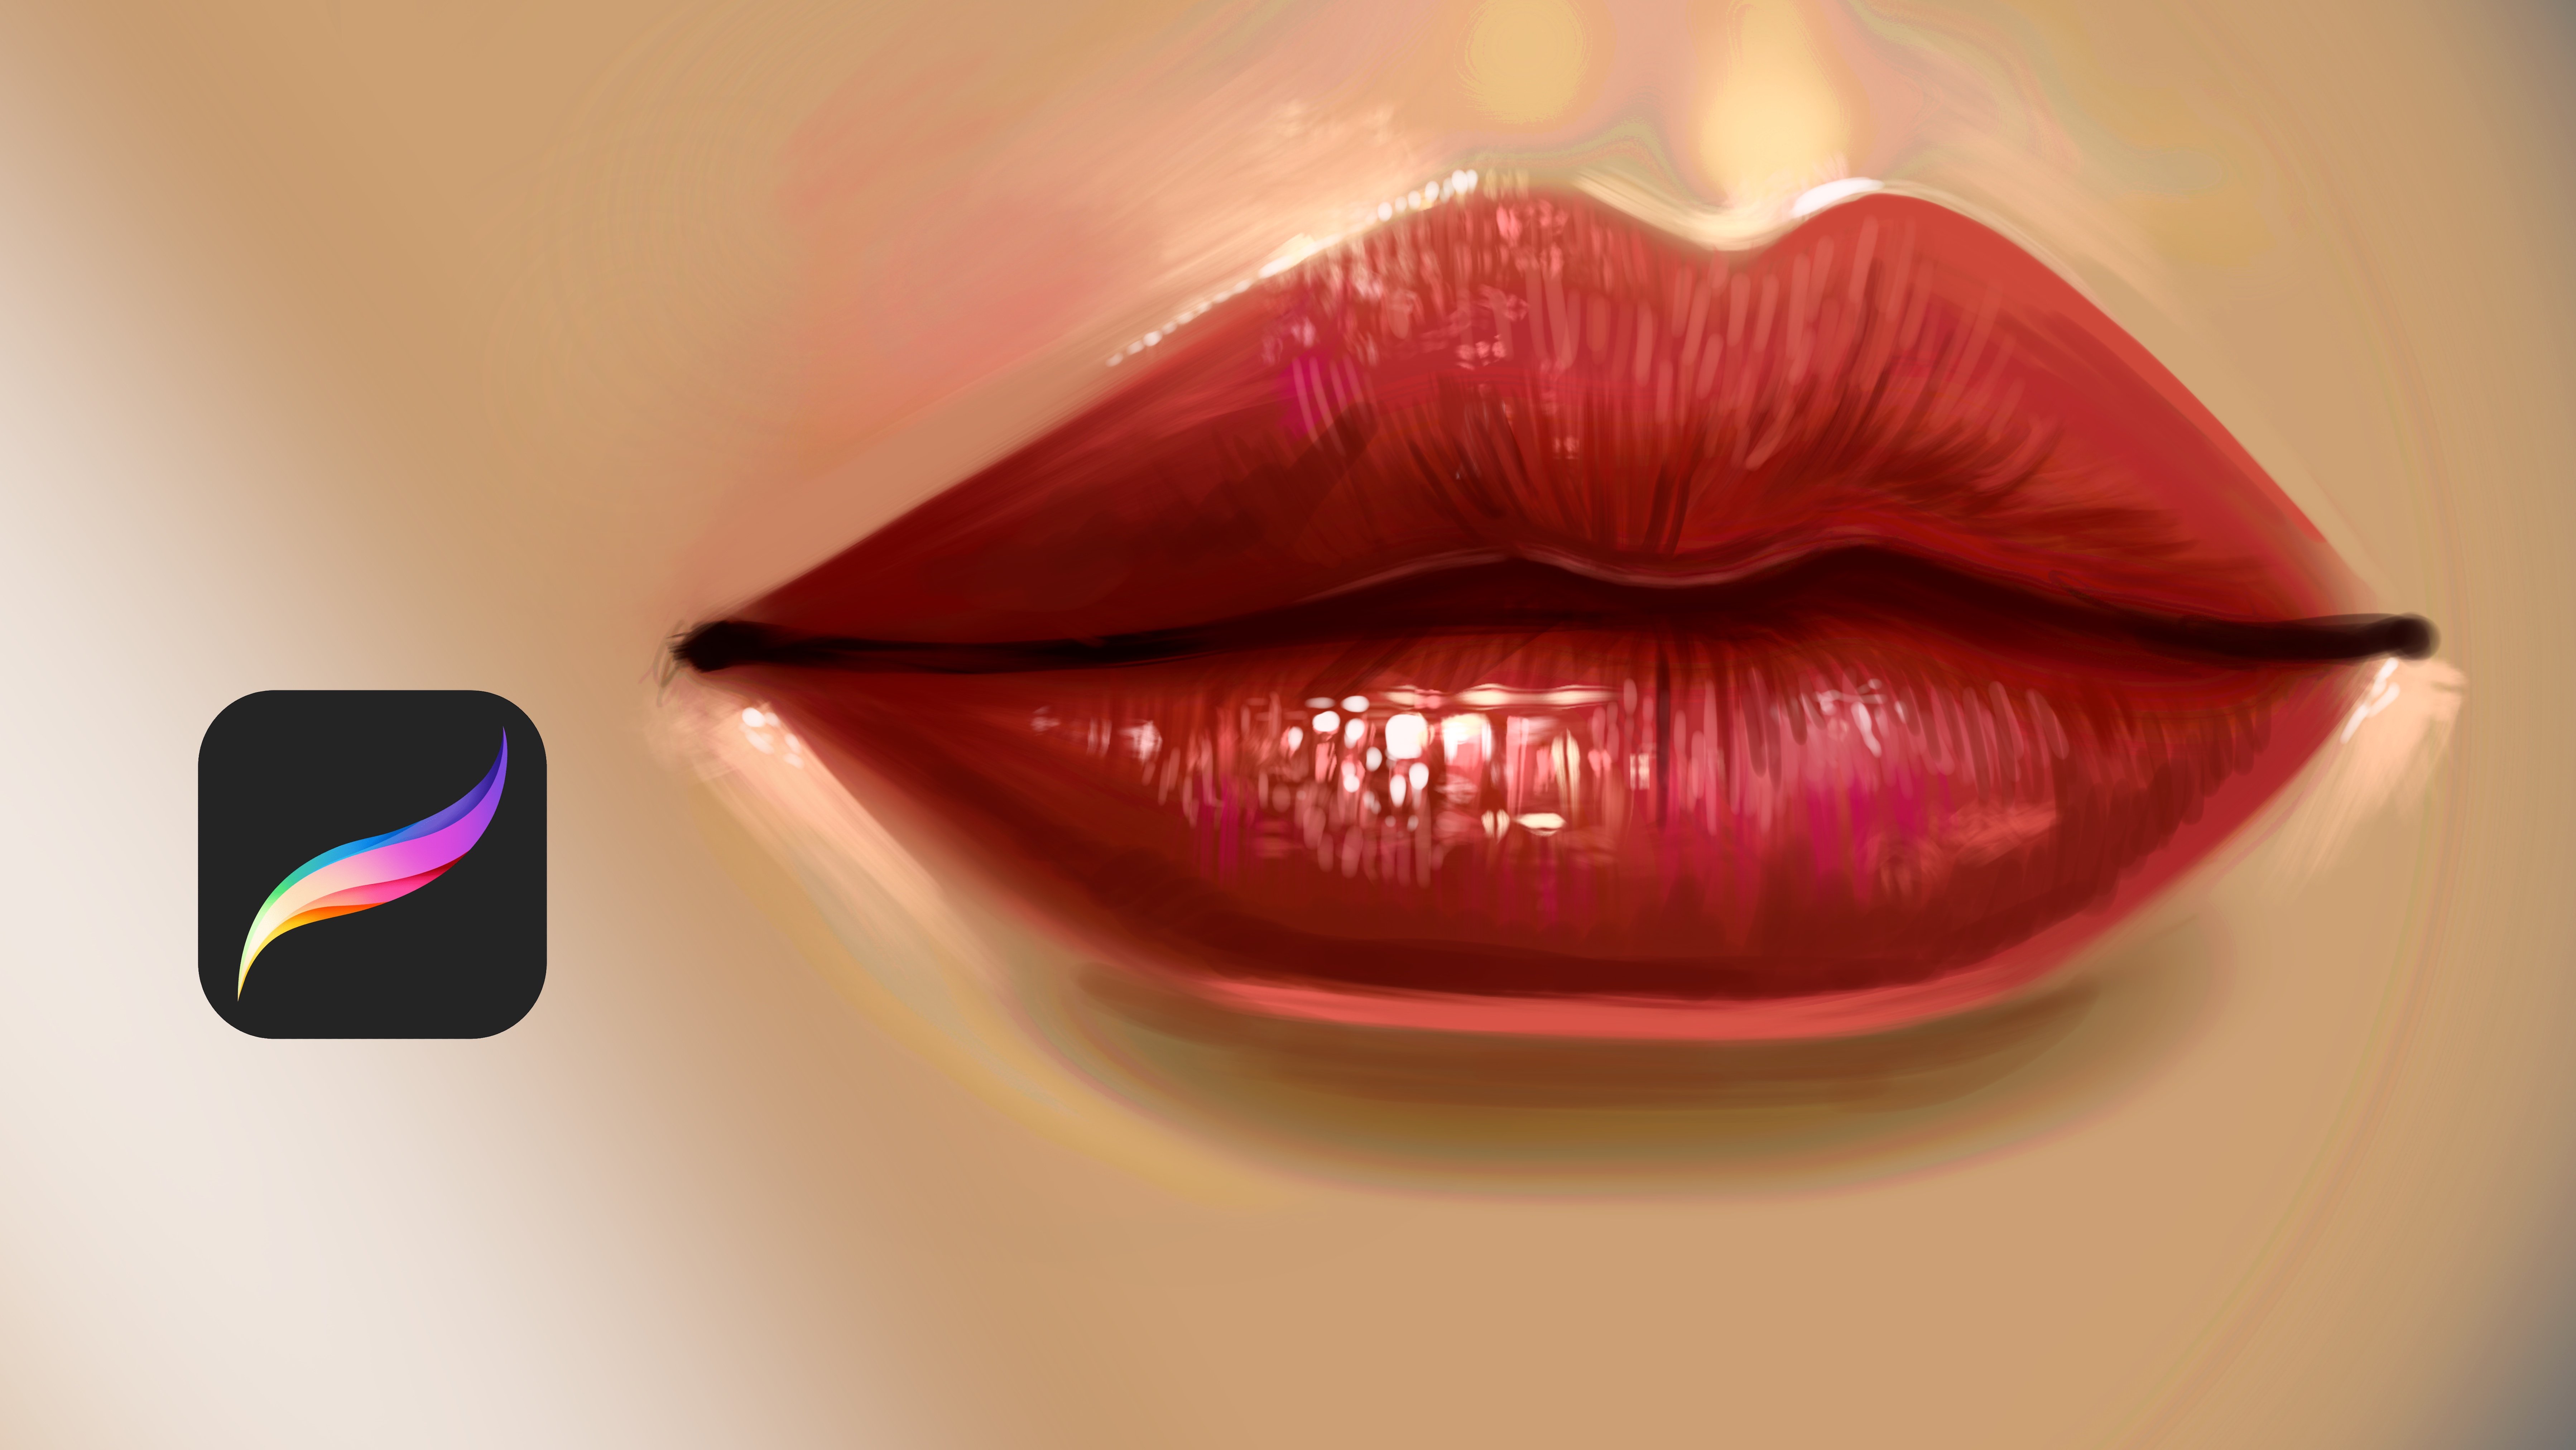
Techniques for painting skin tones and soft transitions
-
Layer organization and essential brushes in Procreate
-
Adding contrast, light, texture, and final details
By the end of the class, you’ll have a fully colored portrait that reflects both strong fundamentals and your personal artistic style. Whether you're just starting your Procreate journey or leveling up your digital painting skills, this course gives you the tools and confidence to create polished, professional-quality portraits.
Meet Your Teacher

Check my Etsy Shop
Welcome! I'm Yasar Vurdem a digital artist, illustrator, and passionate instructor.
I've spent years developing a vibrant, expressive portrait style that blends realism with bold, painterly energy. Over the years, my artwork has been featured in collaborations with global names such as Billie Eilish, Adobe, Prime Video (The Lord of the Rings: The Rings of Power, The Wheel of Time, Citadel), Wacom, Logitech, XPPen, and many more.
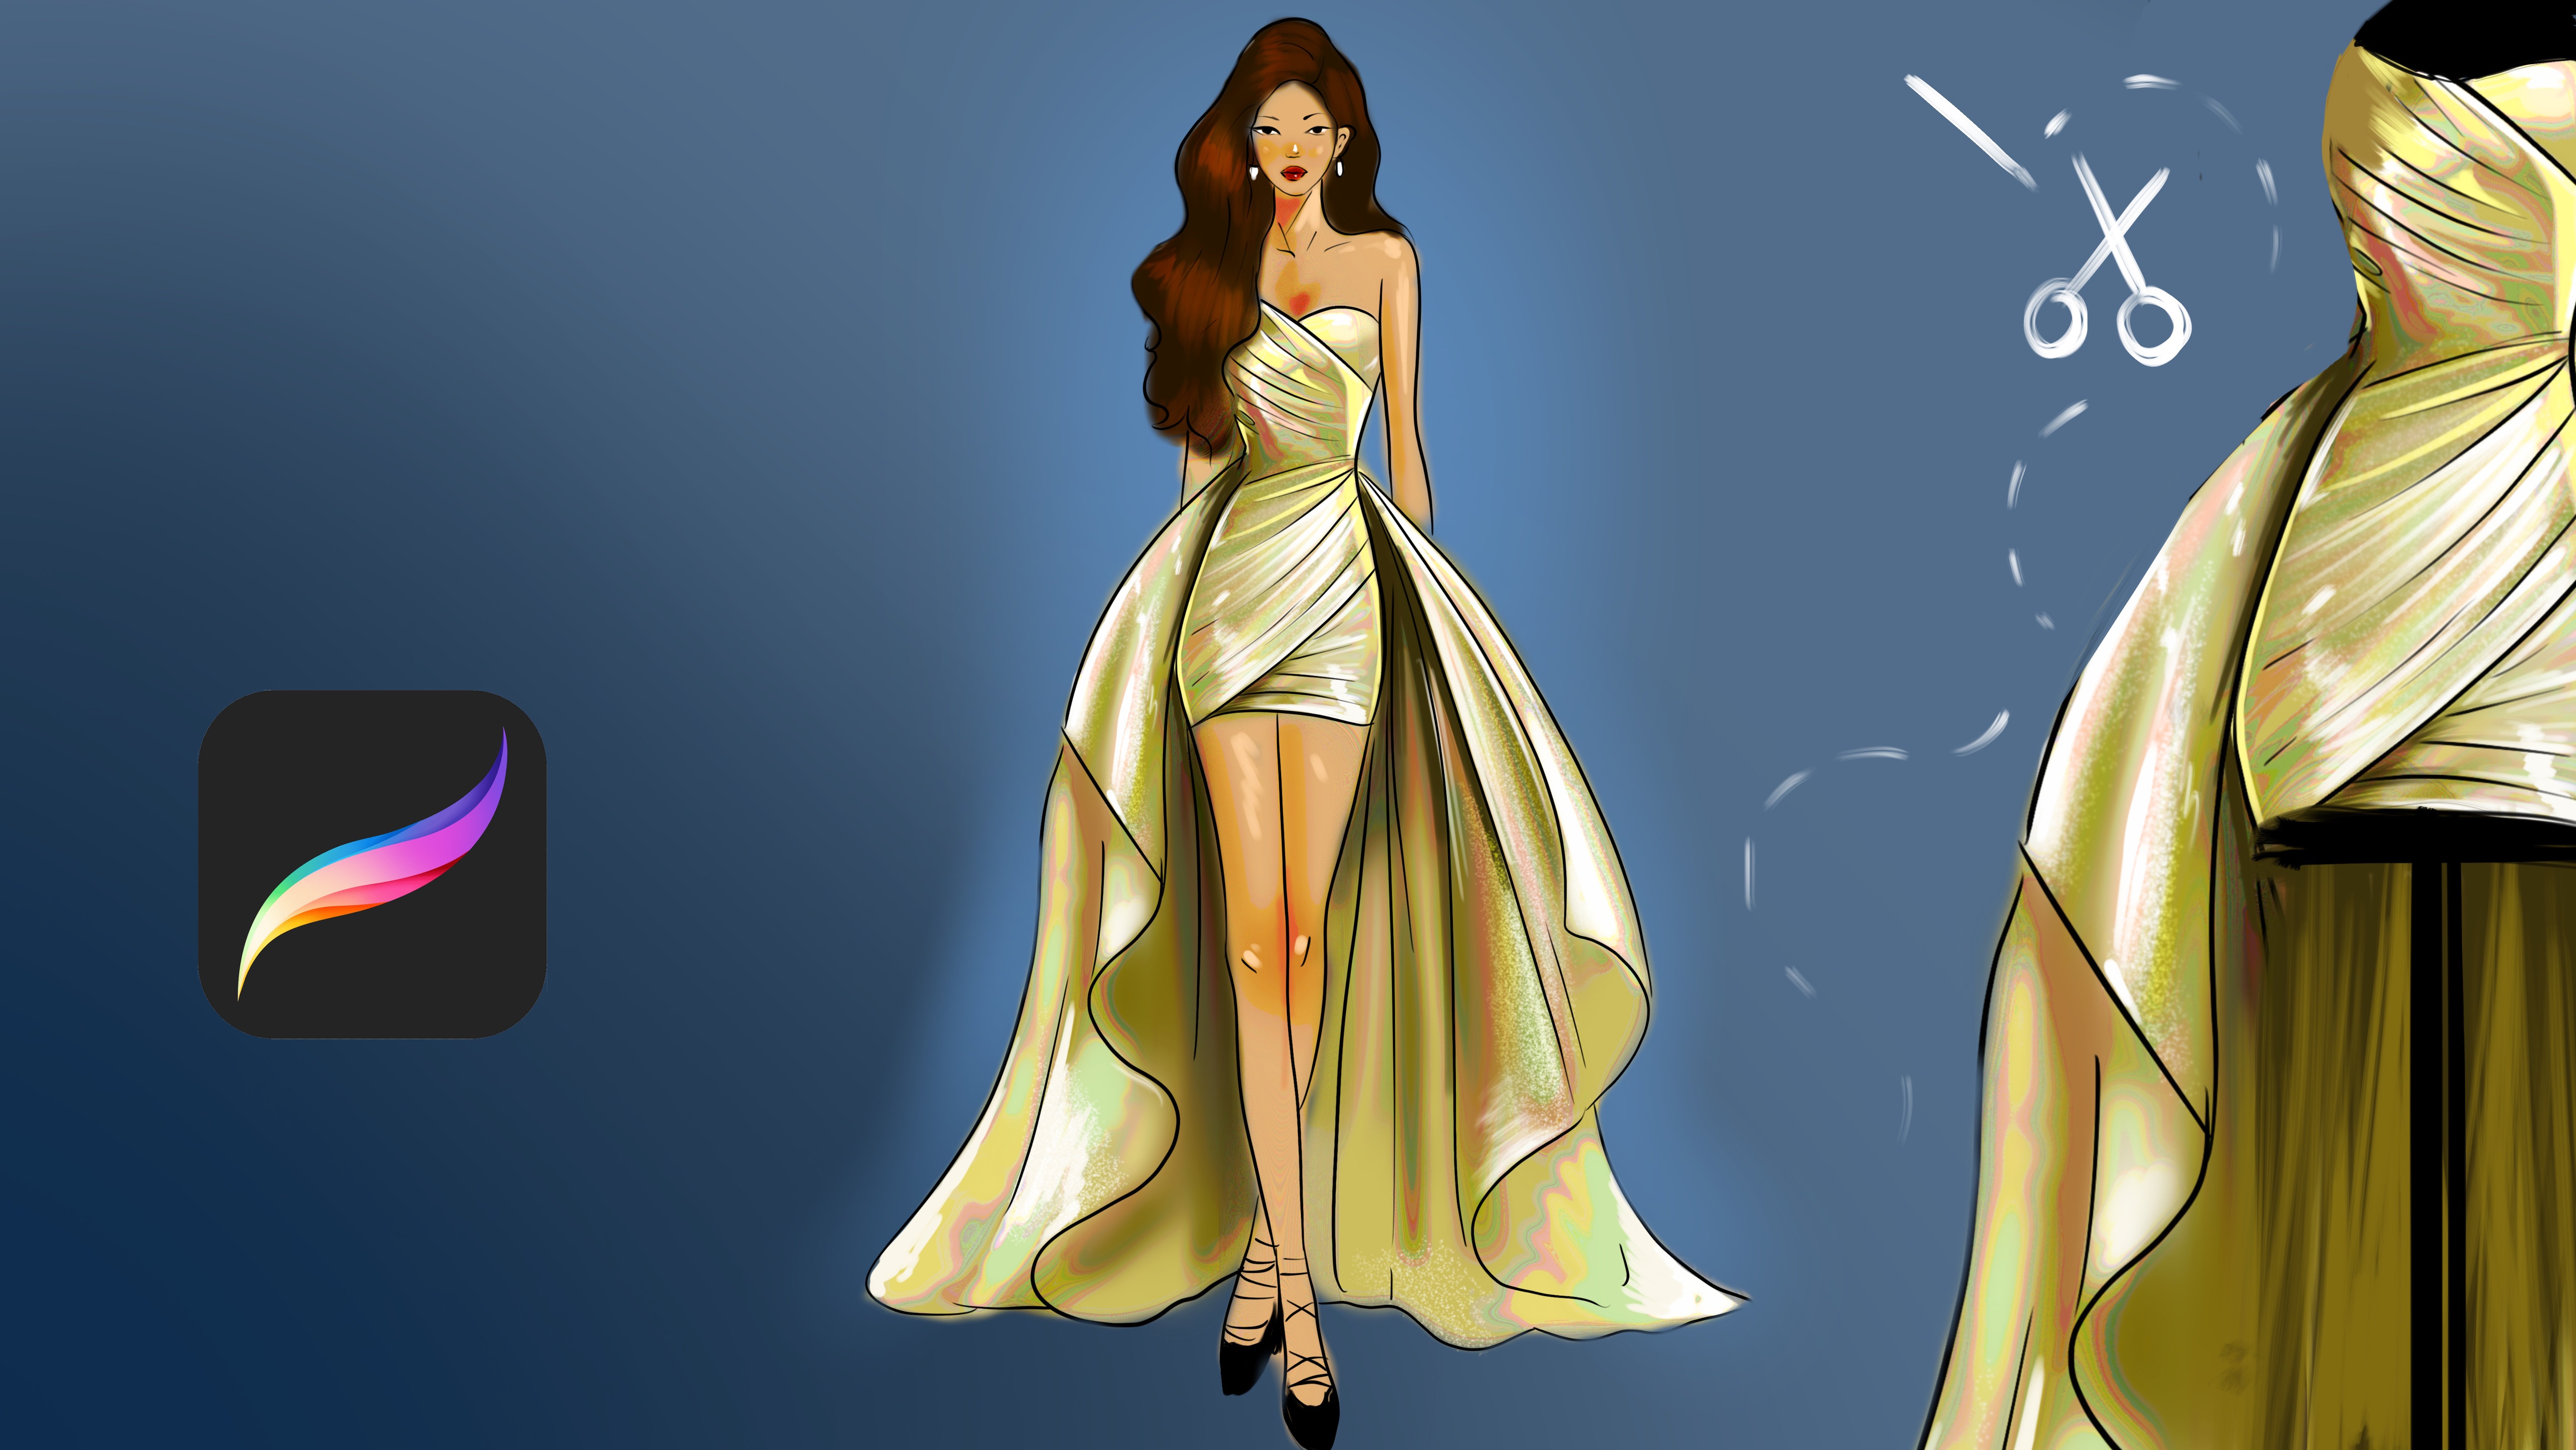
As a professional designer and illustrator, I work across digital painting, character art, concept design, and stylized portraiture. My goal as a teacher is simple: to share the exact techniques, workflows, and artistic mindset that I use in my professional projects in a clear, practical, and inspiring way.
Every ... See full profile
Hands-on Class Project
For your class project, you will create a full-color portrait in Procreate using the techniques demonstrated throughout the lessons. You can use the same reference shown in the class or choose your own portrait photo preferably with clear lighting and visible facial structure.
Your project steps:
-
Use portrait reference.
-
Set up your canvas and create a simple sketch.
-
Build your color palette based on the reference.
-
Paint the main shapes, tones, and transitions.
-
Refine details, add highlights, and complete your final artwork.
Feel free to share your progress images (sketch → color blocking → final portrait). This helps other students learn from your process, and it also allows me to give more focused feedback.
Upload your finished portrait in the Project Gallery. I’m excited to see your colors, style, and interpretation!
Class Ratings
Why Join Skillshare?
Take award-winning Skillshare Original Classes
Each class has short lessons, hands-on projects
Your membership supports Skillshare teachers
Learn From Anywhere
Take classes on the go with the Skillshare app. Stream or download to watch on the plane, the subway, or wherever you learn best.