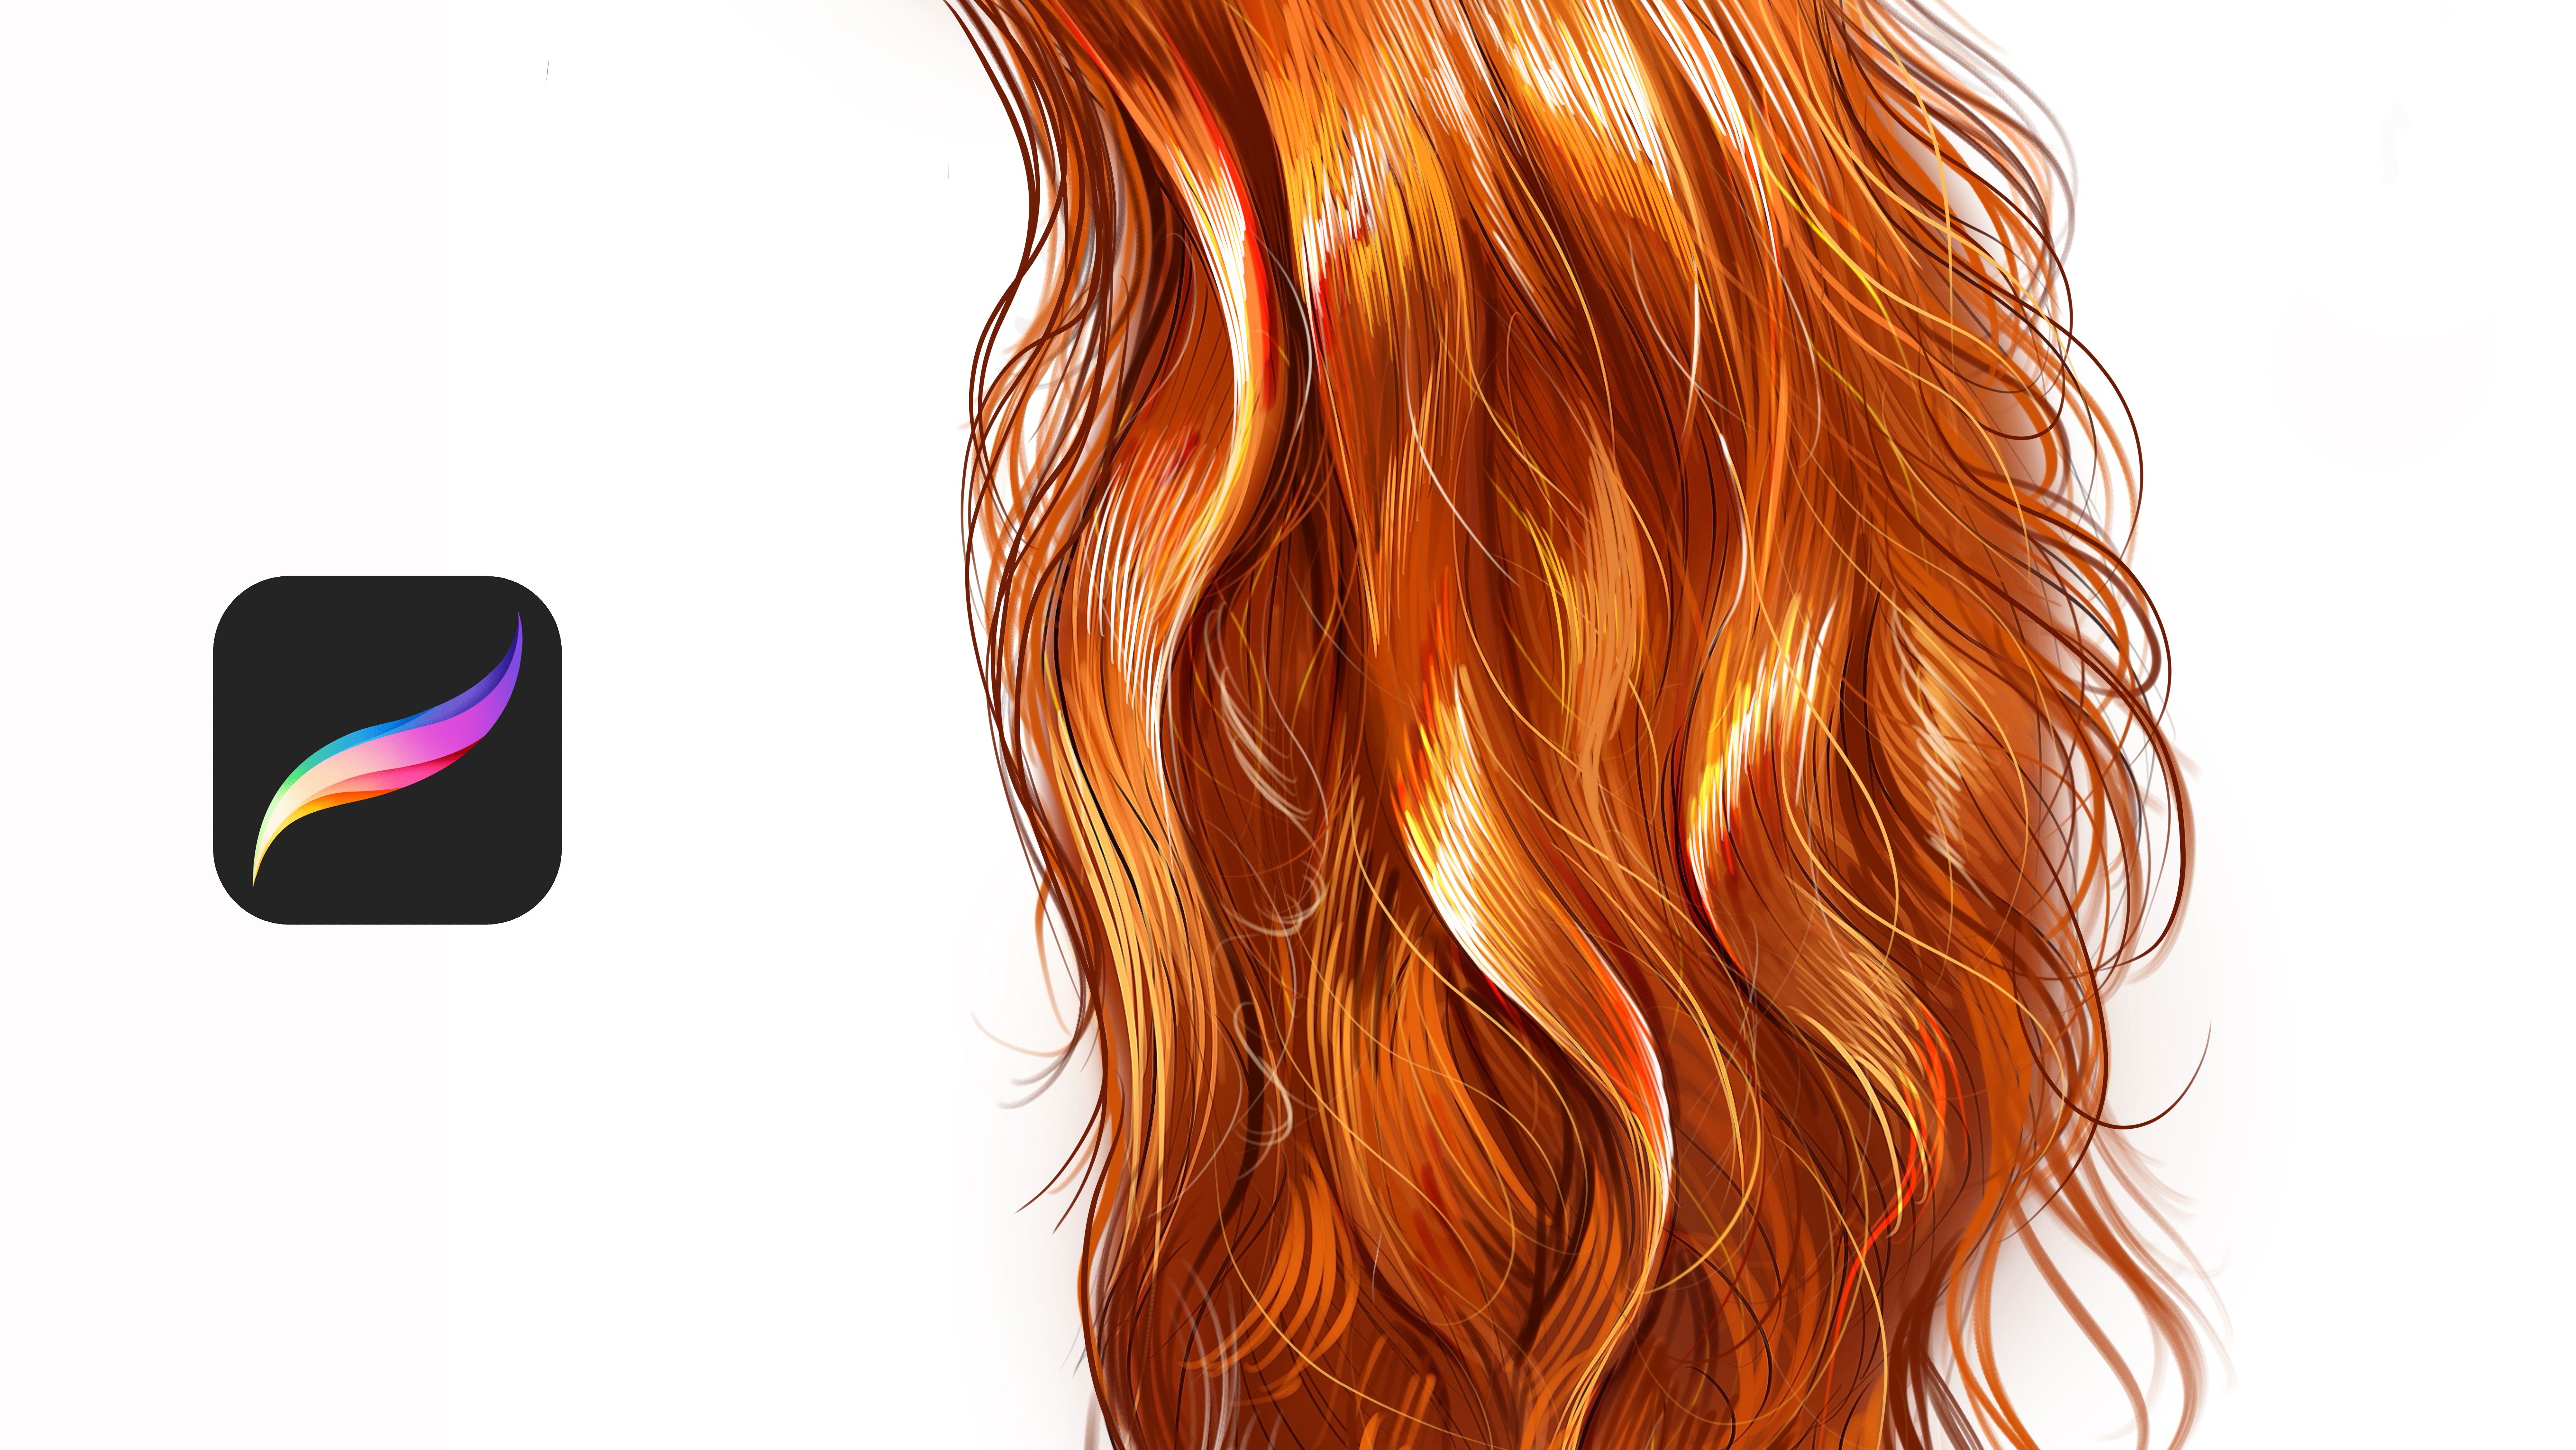
Lip Painting in Procreate
 Yasar VURDEM, Creative Art Director
Watch this class and thousands more
Watch this class and thousands more
Lessons in This Class
-
-
1.
Introduction
1:10
-
2.
Creating Sketch
1:27
-
3.
Paint Base Colors
3:32
-
4.
Painting Lip Shadows
4:28
-
5.
Painting Lights
3:35
-
6.
Adding Micro Details
2:50
-
7.
Complete Illustration
2:26
-
-
- --
- Beginner level
- Intermediate level
- Advanced level
- All levels
Community Generated
The level is determined by a majority opinion of students who have reviewed this class. The teacher's recommendation is shown until at least 5 student responses are collected.
6
Students
--
Projects
About This Class
Learn how to paint realistic lips in Procreate using simple, beginner-friendly techniques that help you achieve smooth shading, natural textures, and professional-quality results. In this class, illustrator Yasar Vurdem walks you through his full workflow starting from a basic sketch and building up to polished, glossy, beautifully rendered lips.
You’ll learn how to understand lip structure, place highlights correctly, and blend colors in a way that creates softness, volume, and realism. Whether you prefer natural tones, bold makeup looks, or stylized glossy lips, this class gives you the tools to bring your artwork to life.
Perfect for digital artists, portrait painters, character designers, and anyone who wants to improve their rendering skills in Procreate.
What You’ll Learn
-
Lip anatomy basics and how to build a clean sketch
-
Choosing the right color palette for natural or stylized lips
-
Painting smooth shadows and highlights
-
Techniques for blending and soft transitions
-
Adding gloss, shine, texture, and final polish
-
Layer management and essential Procreate tools for efficiency
By the end of this class, you’ll complete a fully rendered lip painting and gain confidence in painting facial features with depth and realism.
Meet Your Teacher

Check my Etsy Shop
Welcome! I'm Yasar Vurdem a digital artist, illustrator, and passionate instructor.
I've spent years developing a vibrant, expressive portrait style that blends realism with bold, painterly energy. Over the years, my artwork has been featured in collaborations with global names such as Billie Eilish, Adobe, Prime Video (The Lord of the Rings: The Rings of Power, The Wheel of Time, Citadel), Wacom, Logitech, XPPen, and many more.
As a professional designer and illustrator, I work across digital painting, character art, concept design, and stylized portraiture. My goal as a teacher is simple: to share the exact techniques, workflows, and artistic mindset that I use in my professional projects in a clear, practical, and inspiring way.
Every ... See full profile
Hands-on Class Project
For your class project, you will create a fully rendered lip painting in Procreate using the techniques taught in the lessons. You can follow the class reference or choose your own lip photo with clear lighting.
Your Project Steps
-
Choose your reference
Find the reference with good lighting. -
Create your sketch
Define the lip shape, form, and key lines. -
Apply base colors
Block in the main tones using simple flat colors. -
Add shadows and highlights
Build depth and volume using the class blending techniques. -
Render the details
Add subtle texture, color variation, gloss, and final shine. -
Polish the final artwork
Adjust color balance, soften edges, and finalize the painting.
Upload Your Project
Share your final lip illustration in the Project Gallery.
You’re welcome to upload progress shots (sketch → base colors → final render). These help other students learn from your workflow and make feedback more useful.
Can’t wait to see your lip paintings!
Class Ratings
Why Join Skillshare?
Take award-winning Skillshare Original Classes
Each class has short lessons, hands-on projects
Your membership supports Skillshare teachers
Learn From Anywhere
Take classes on the go with the Skillshare app. Stream or download to watch on the plane, the subway, or wherever you learn best.