Transcripts
1. Introduction: Hi. I'm a ShavurdaPfessional
artist and illustrator. Wood collaborated with Adopt
Bully Elish prime dios, Lord of the Drings
strings of Power, Stadl and the Well of Time, Logitech, acom and many more. In this class, you
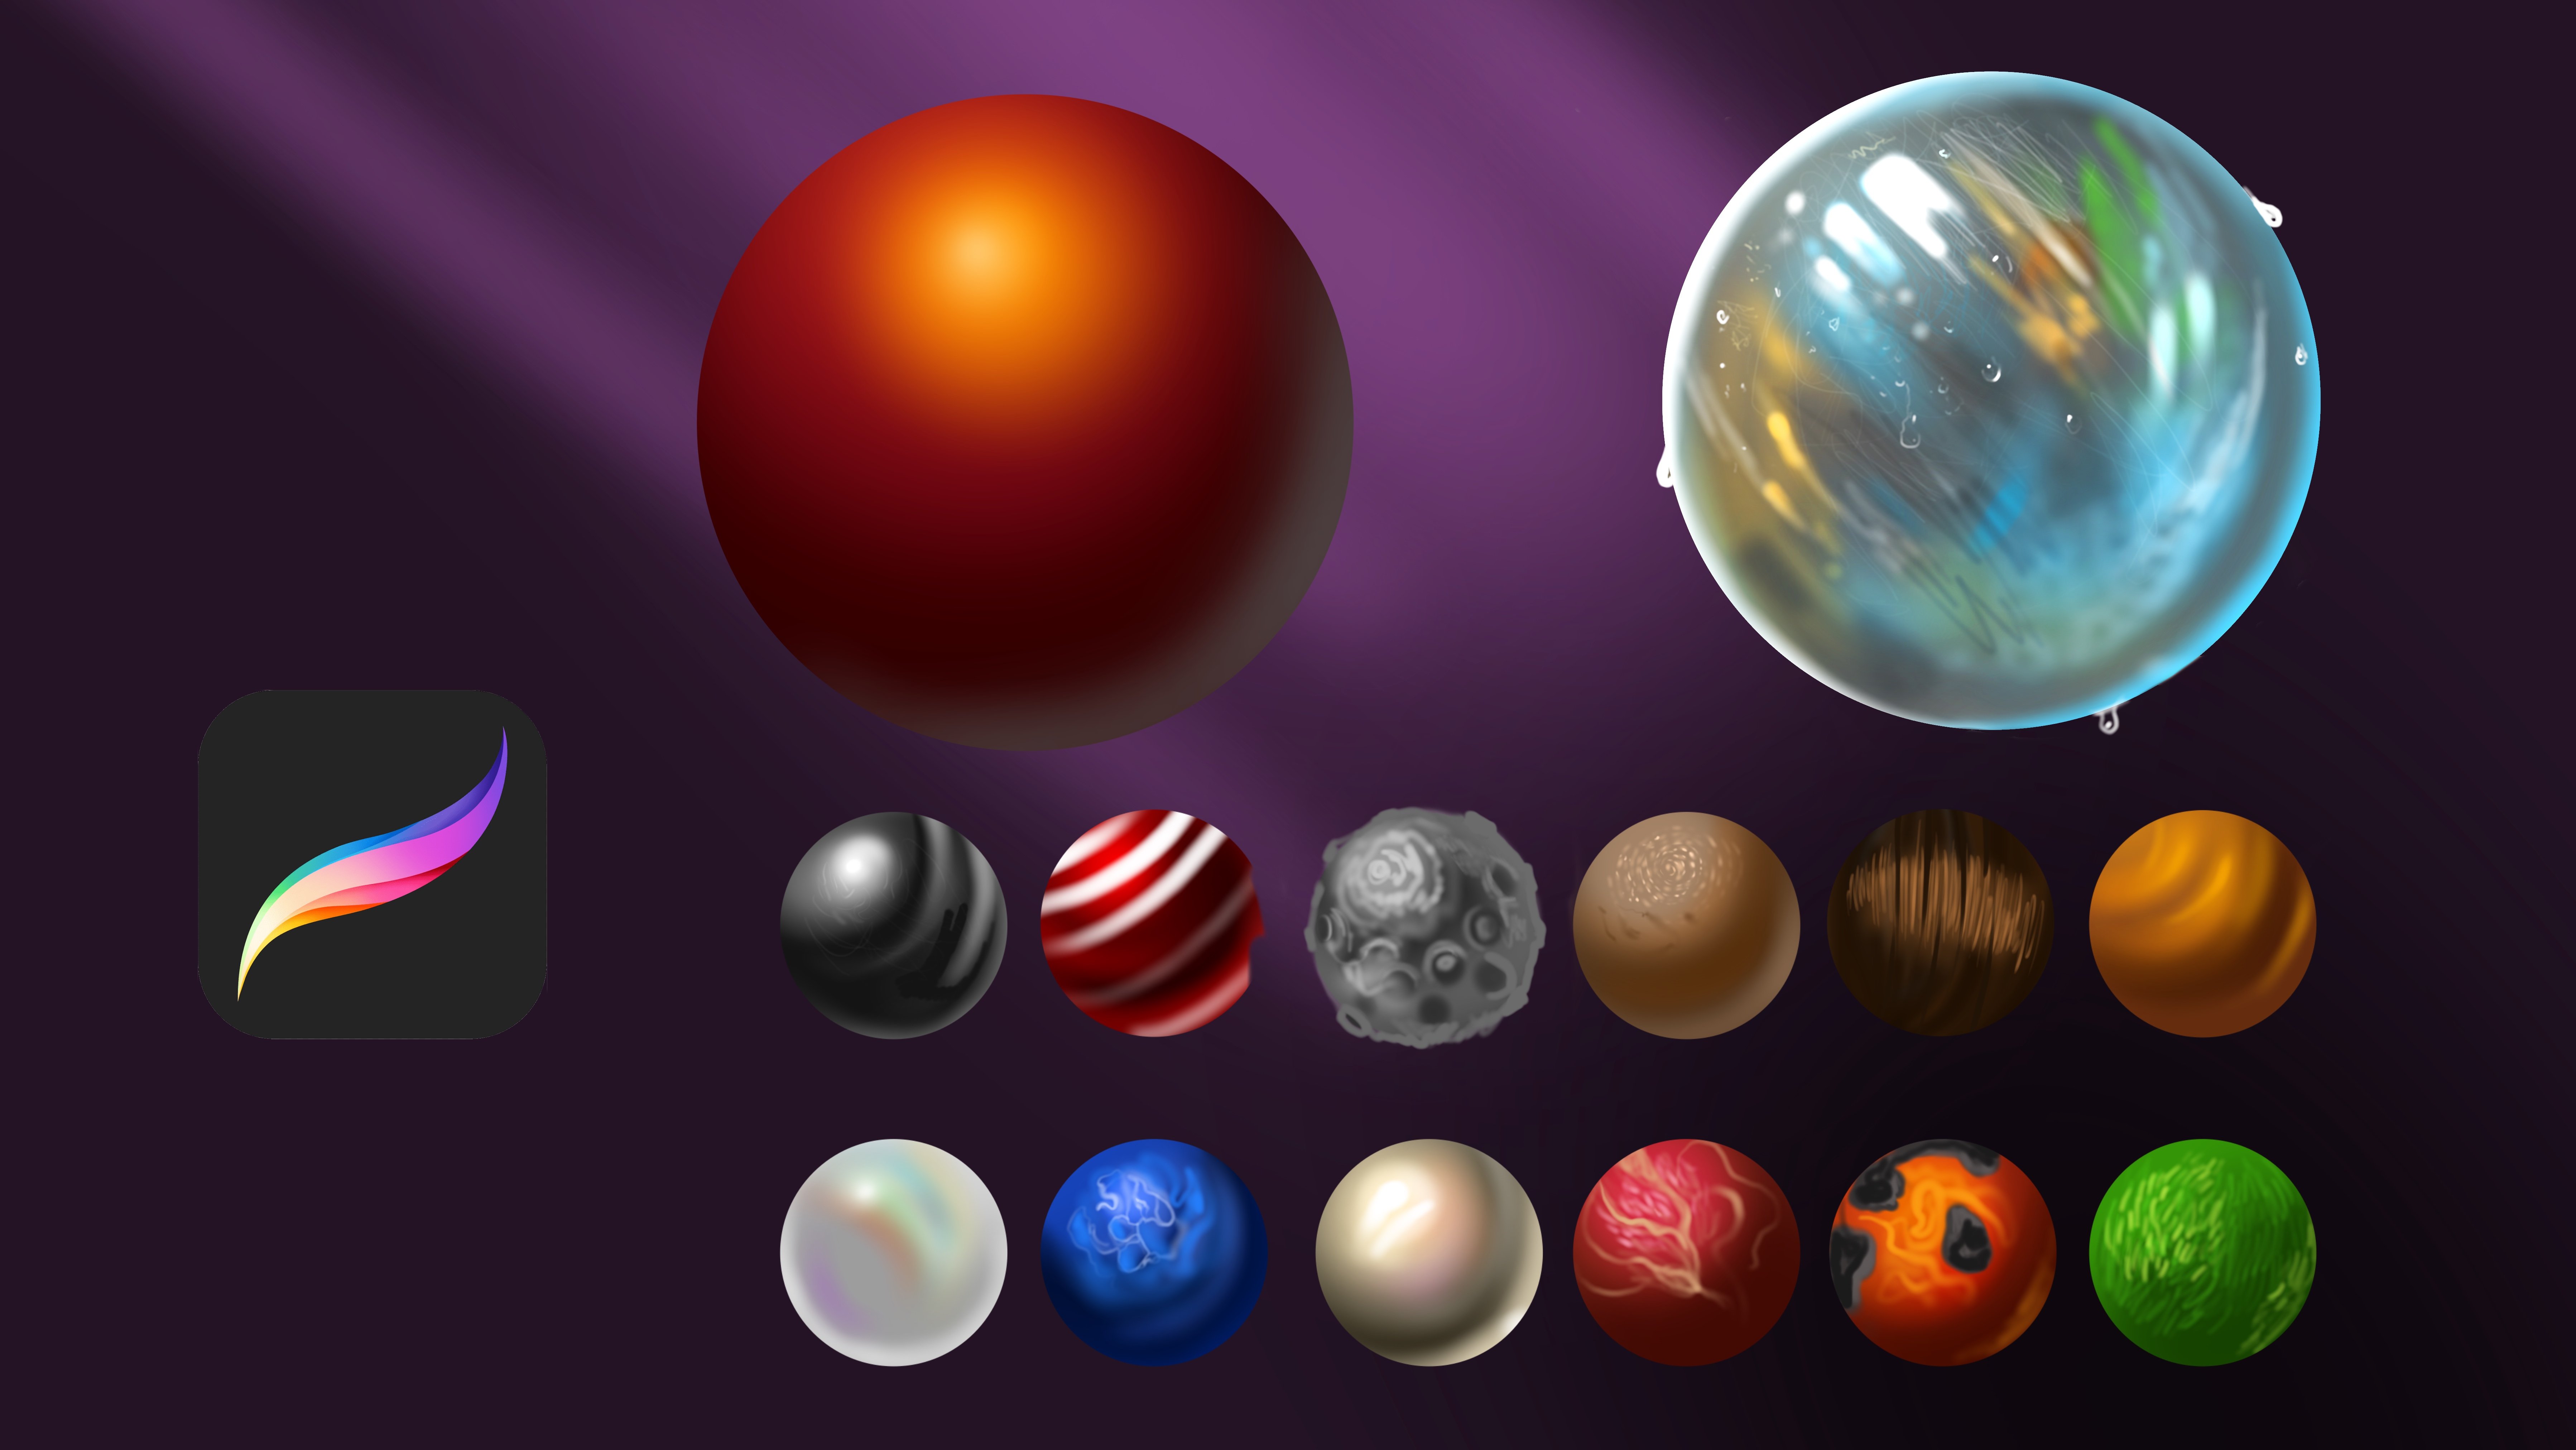
will learn how to paint hair from start to
finish using Procreate. We will focus on shape and
flow before getting into the tails so the hair
feels neutral and dynamic. You will learn how
to build deep with light and shadow instead of
painting in visual strands. I will show you how to
create soft transitions, texture, and
realistic highlights without overworking
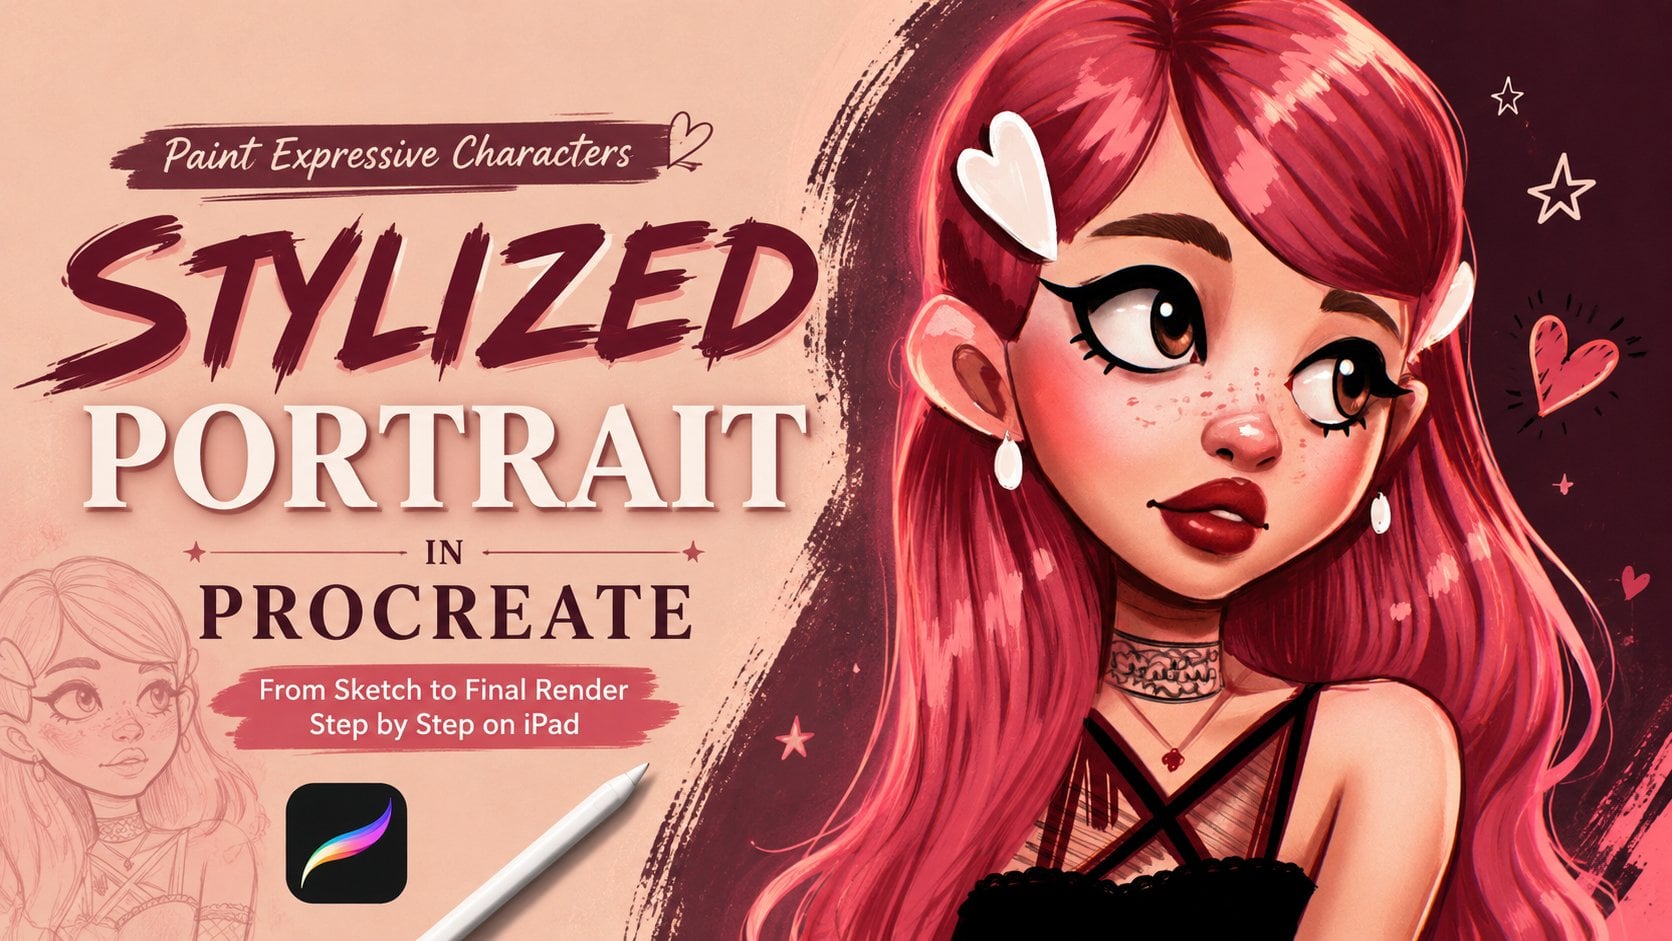
with the painting. By the end of this class, you will be able to paint
hair that looks alive, expressive, and well integrated
with your portraits. This class is perfect for
artists who want to improve their hair painting skills
in procreate. Let's tie in.
2. How to Sketch Hair: Come. In this part, we will talk about
how to sketch hair. Sketching hair is easy, but you need to define
good brush for it. For example, if you
use hair brush, it will end like
these strong corners. You need some brush
with streamline and thin like much more flexible, like lin art brush. You can use any pan brush
or ink brush for it. And for here, for example, if you think geometrically
downs like this one here, you need to define
the shape of it. For example, if it
is two same example, and one will be like this, hair comes down and wavy, it bounces like this at wavy
hairs and another bounce, another bounds, another
bounce and like this. But if it is not wavy, it will end much more directly. And if you render
it, for example, like this with wavy lines
and it is flat lines, it will be curvy
and it is the flat. For creating realistic hairs, you always need to think
basic like how it flows. Imagine it is like a water and how it is all unique shape. You can't paint like ban
way like this, like this. It is wrong. You need to first define
the shape of hair, for example, how it flows. And how we connect
with each other. For example, one hair
shape can be like this. And it is like
water, for example, if we have bunny tail like this and it flows from here and it make them together and
it have bigger area here. You need to find
the general shape of it like how it flows. For example, I'm
painting it like waves. It is irregular. Some parts of it in the top. If you paint it darker, it goes down and it is irregular if you paint some wavy
hair and et cetera. For example, if we have color
here and I will paint hair. You can paint hair, for example, blonde hair like this, and you will paint some
areas of it like glowing. If you give attention
to these tiny details, your painting will look
much more realistic.
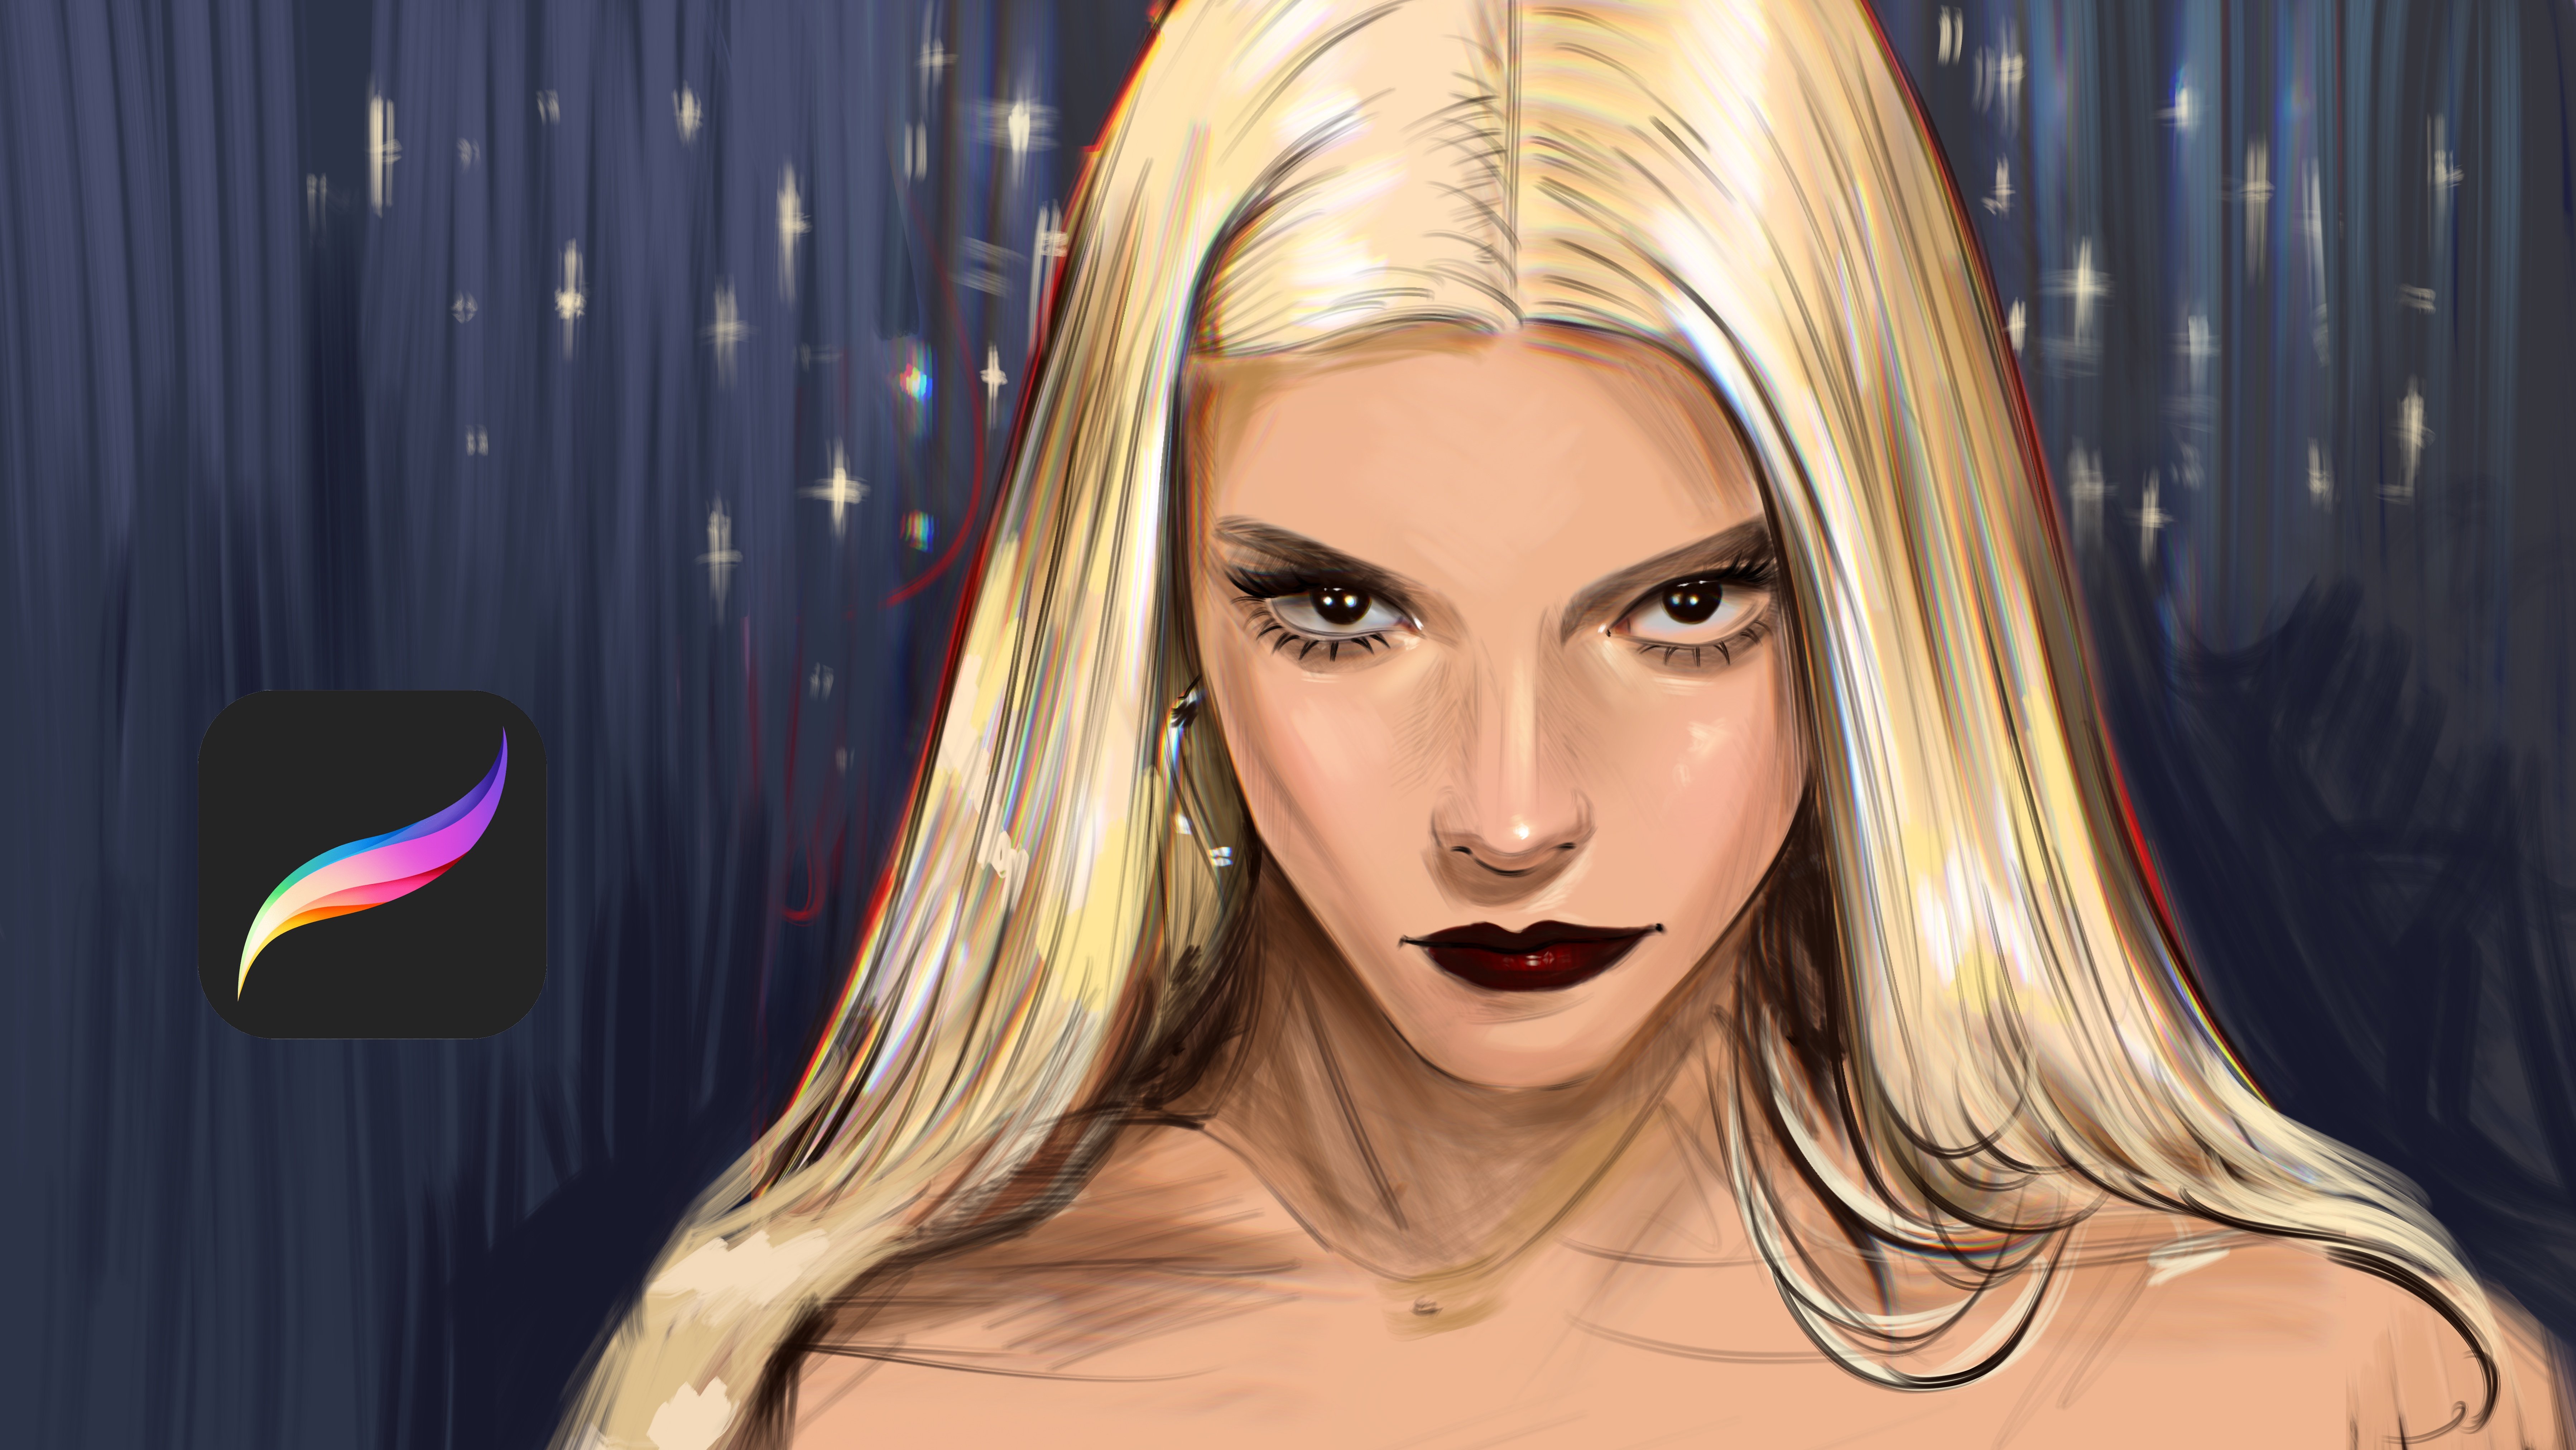
3. Painting Base Color: Hello. In this class, we will paint red
hair in procreate. I sketch it. I like this, and it is my reference. I will open another new layer
under this sketch layer, and I will start
from these parts. At first, do not
rush about the tails and just try to put
the base colors of it. Just like this. And you need to define light parts after it. For example, if you see this illustration at
the right corner, there's certain points
like I will show you. For example, these
parts are lighter, these parts is darker and
this part lighter again, and these parts is darker. We need to simulate
it at the left. For example, if this
part is lighter, I will increase the light and
if these parts is darker, I will again make it dark. I will start from this part. Yeah. And this part and I will start from
adding the middle tones. Um, So part of the illustration is a bit hard because there is many hair
strokes and it is wavy, not stretch, straight like flat. So we need to define
all parts of this hair. For example, if this edge is
lighter, make it lighter. And if this angle is
4. Painting Base Shadow: Darker, I will make
it darker and again lighter and darker again. Yeah. And after you
define these shapes, open another new layer
and select Smooth line. You can use any inuk brush, or you can try to use inking brush
depends on your choice. Yeah, I'm creating the
detailed render of it. At some parts, you can use a lighter brush here,
just like this. This part. Yeah. And this right part
is much more lighter. You can add tiny hair
strokes at the light parts. These tiny strokes are much more visible in
these certain areas. So you can make them much more detailed at
the light parts. Just like this. And
I will start from this part and we continue
to add light parts. Yeah, just like this. And I will increase the detail
level over here and here. And this time, I will use
a bit much bigger brush. The process is same. I'm selecting colors and
trying to select darker tones at certain points and lighter
parts just like this.
5. Painting Base Light: Yeah. And I will continue to
add details from this part. This is orange part. It's not directly
like dark brown. At most part, it
have a orange color These parts are much more tiny. And these parts
much more darker. And maybe I can use some tiny strokes here and here. And you can add much
more lighter color at the right top because
it is just like this, it is much more lighter
at the light side. And I will increase these
light parts of the hair. Yes. And let's continue
to add much more details. And after this part, I will
zoom here just like this, and I will simulate this area with much more sharp
and small p size. Yes. And I will continue
6. Blend Colors: Welcome again. At this part, we will polish our illustration. At first, I will open I
will duplicate it for our course and I will open
new layers over 1 second. I will make it like this. Let's continue to adding
details together. I will start from this
part right now and we'll increase the detail
level and I will paint over this layer
because I want to lose the good lines And I'm adding hair
strokes depending on the details of the hair. And at some parts, it is darker and I will add much more
details at this part. And I will make this
part much more darker. And if you sure
about your lineart, you can make it like this, collect the layer at one layer with pinching
your fingers and apply smuchtol over hair for blend it and make it look much
more like realistic. And after it, you can always turn back to
putting much more detail. Let's continue with these colors and at this left part, I will add some hair
strokes just like this. And I'm simulating this hair, but I'm trying to
make different from it because I can't
copy all hair strokes because it is have on and unique pets like
so many hair stroke. But I'm trying to
catch the wipe of it. For example, the lions comes here like this and smaller,
much more smaller. And just like this. And so, again, And I'm adding much more detail.
7. Increase Colors: And these details gives the hair much more realistic vibe. So I will keep doing it. Yeah, it looks much
more good right now. And I will increase the shadows
and highlights right now. You can put some shiny
highlights over your hair, and it can be
irregular like this And at this part, I will
use just like this. And at this part, it have another
light spike here. Yeah, it's look good right now. And from this part I will
close the reference, and I will go to color balance and make it a bit or
not color balance, maybe hue, a bit, much more really strong hue and a bit curve
here and sharpen. Sharpen makes your
painting much more sharp. And it is really good option
for great realistic shapes. After this, I will deep
dive into details. For example, I will
open new layer with colored Dutch layer mode and I will add burning hair like this. It will add really strong
and realistic light spikes to your hair. Yeah. And this part will be like this and like this. These idle details gives
illustration really good amount of detail and more. I will add much more
idle hair strokes here. At some parts, you can open another new layer
with overlay mode. And you can add this
color change here and here. And here, yeah, it looks realistic
and good right now. At some points of hair, you can zoom and
select directly white, and you can add really strong light and
tiny reflections over it. And and like this, guess like this. And like this. I'm adding light
reflections partly to give the hair much
more value and realism. But don't overuse it, because if you overuse it, it will be boring. Only use it at the light parts. And for example, dark light. This is light,
dark, light, dark. It has its own balance, and it makes it much more
perfect than repeat things. Thank you for joining me in this tutorial and
see you in the next class.
8. Complete Illustration: Welcome again. In this part, we will complete this
illustration, and for it, I will select, again, line brush or create
much more detail. And I will make it like this. And some parts have tiny
details, just like this. I'm adding the details for
the corners of the hair because it is important
as the other parts, we need to make the corners much more
stabilized and detailed. And I'm adding hair strokes. I will share the hairs
outlines for you, and you can use the outlines
for create your own version, or you can directly
use my reference. It depends on your choice. And it will be
darker at this part. Yeah. And let's add tiny details before we
finish the illustration. For example, this is the idle
details over illustration. Gives it a really realistic look with tiny hair
strokes like this. I'm trying to blend and give it a much more complex
look because it is not flat and have millions
of hair strokes. And maybe this part can be bigger and lighter. And these parts also. And these parts yeah.
 Yasar VURDEM, Creative Art Director