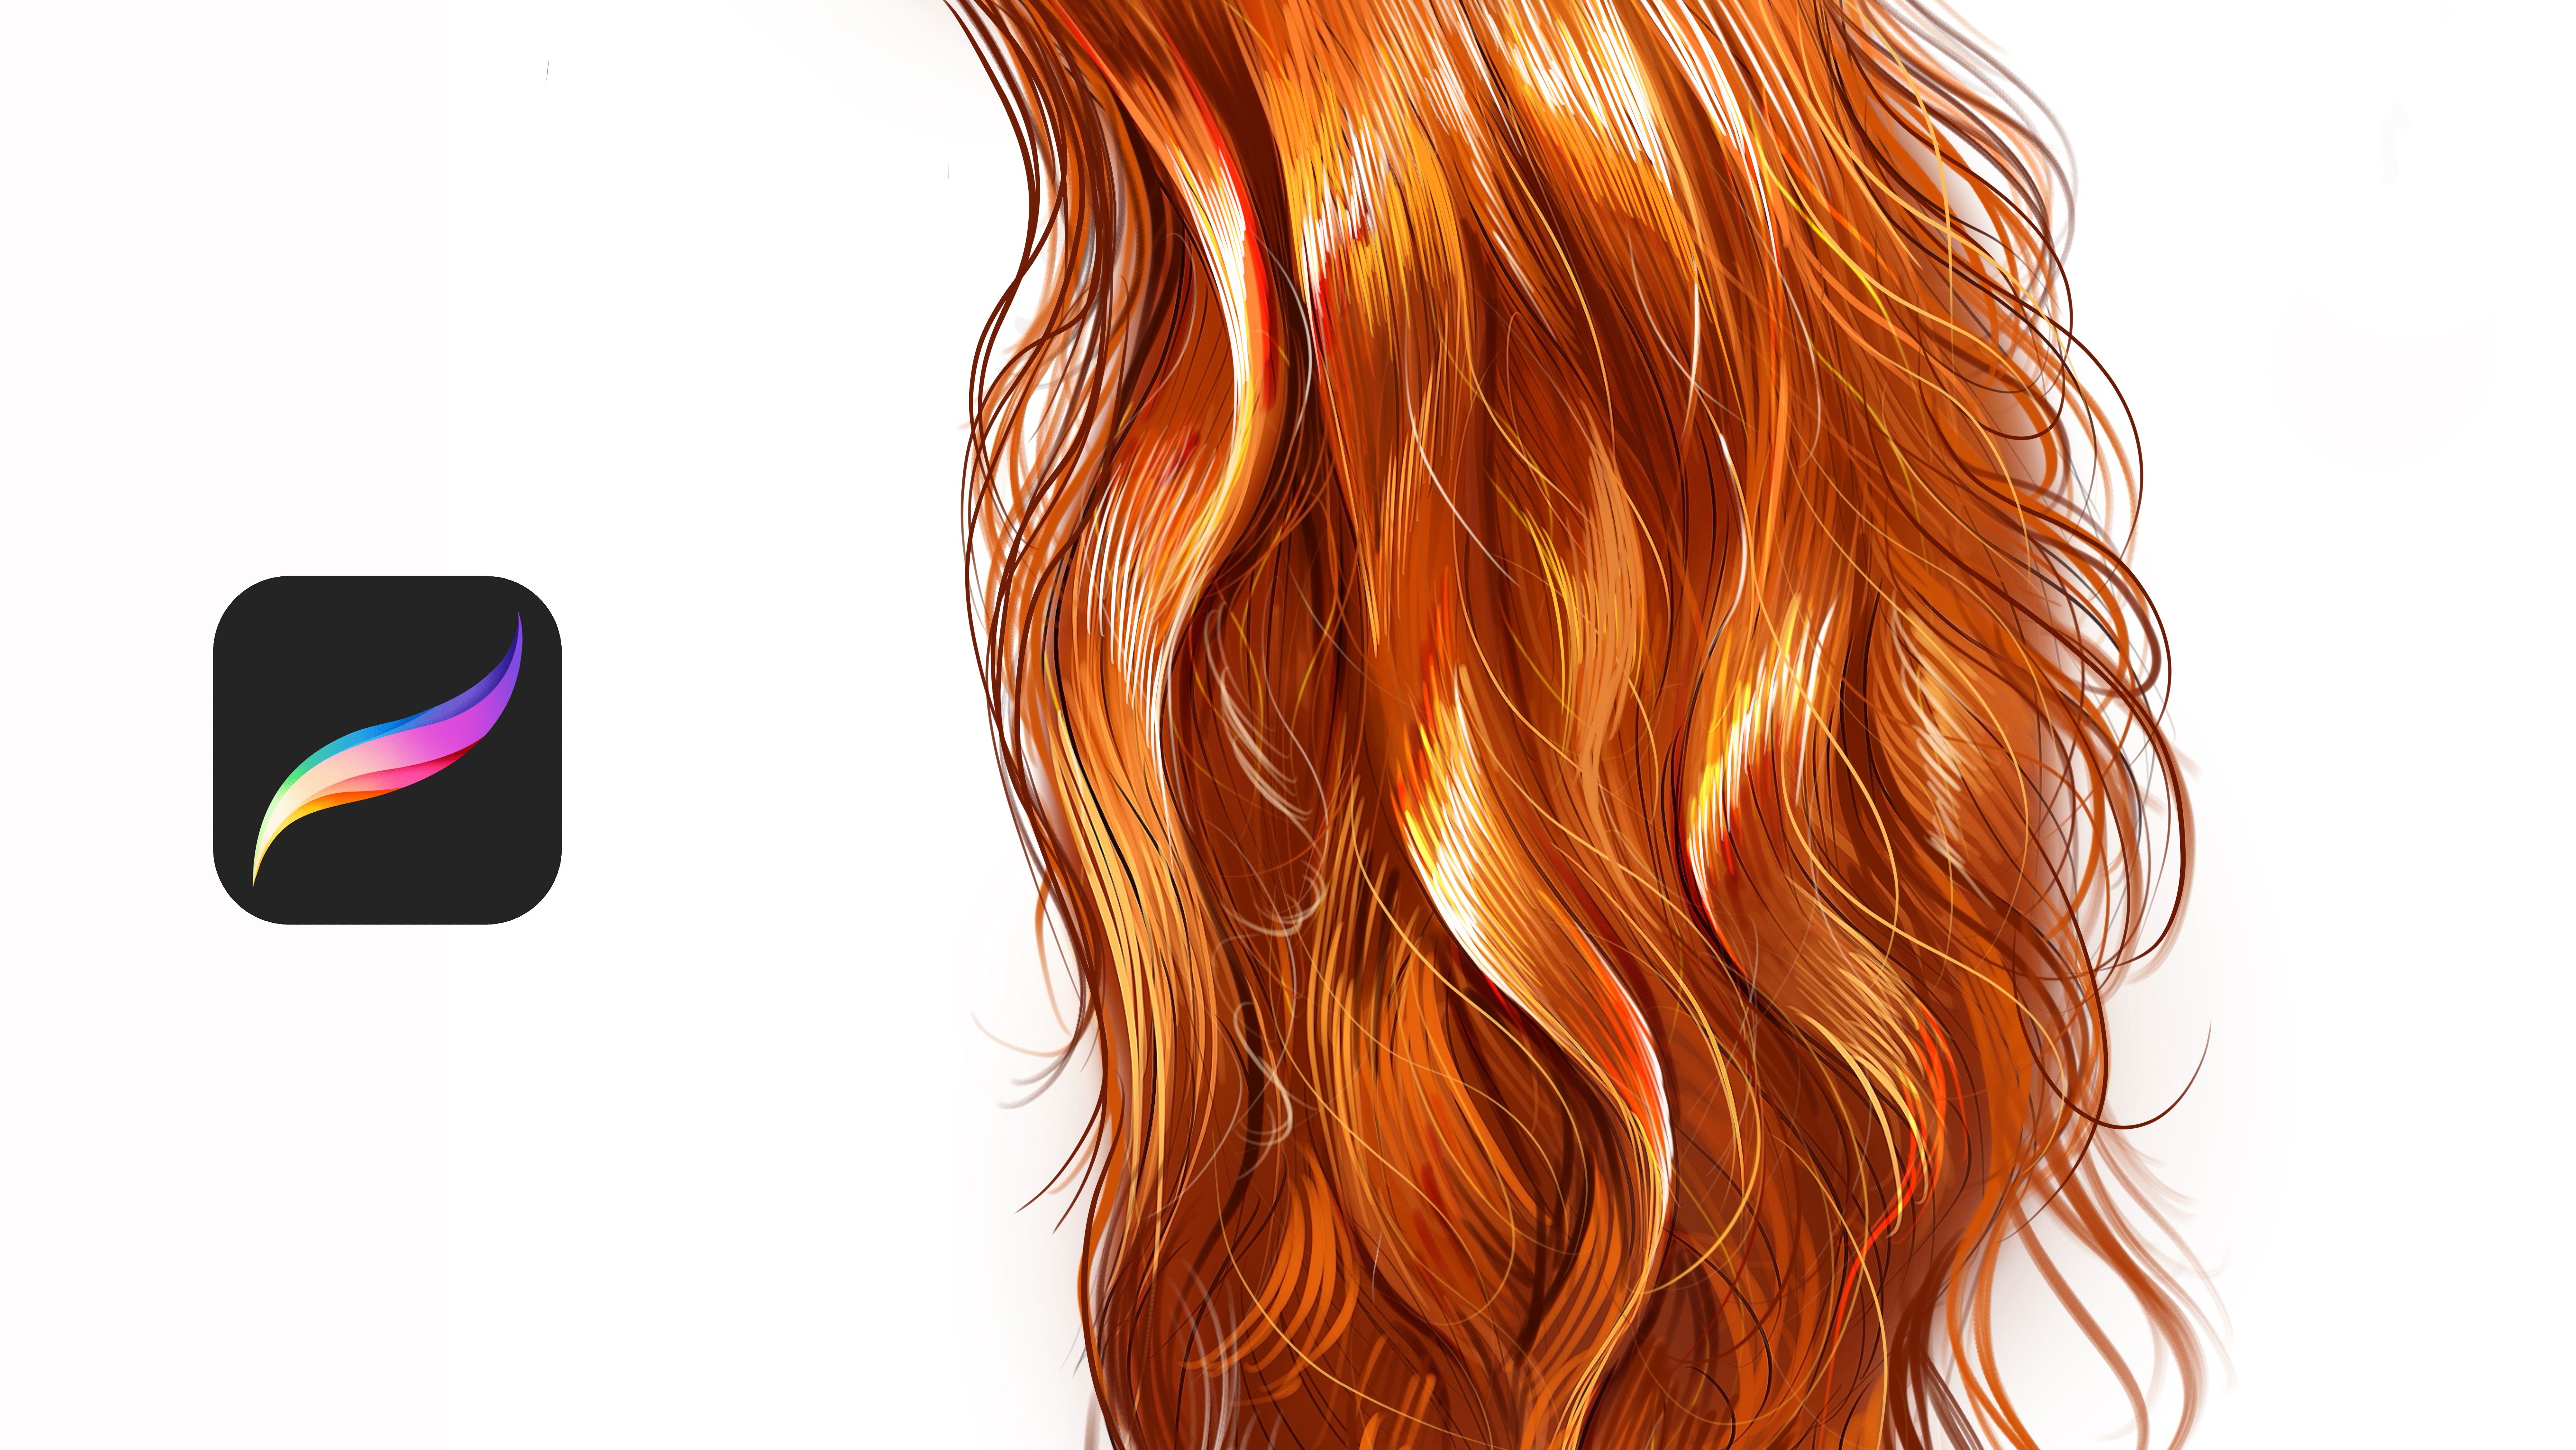
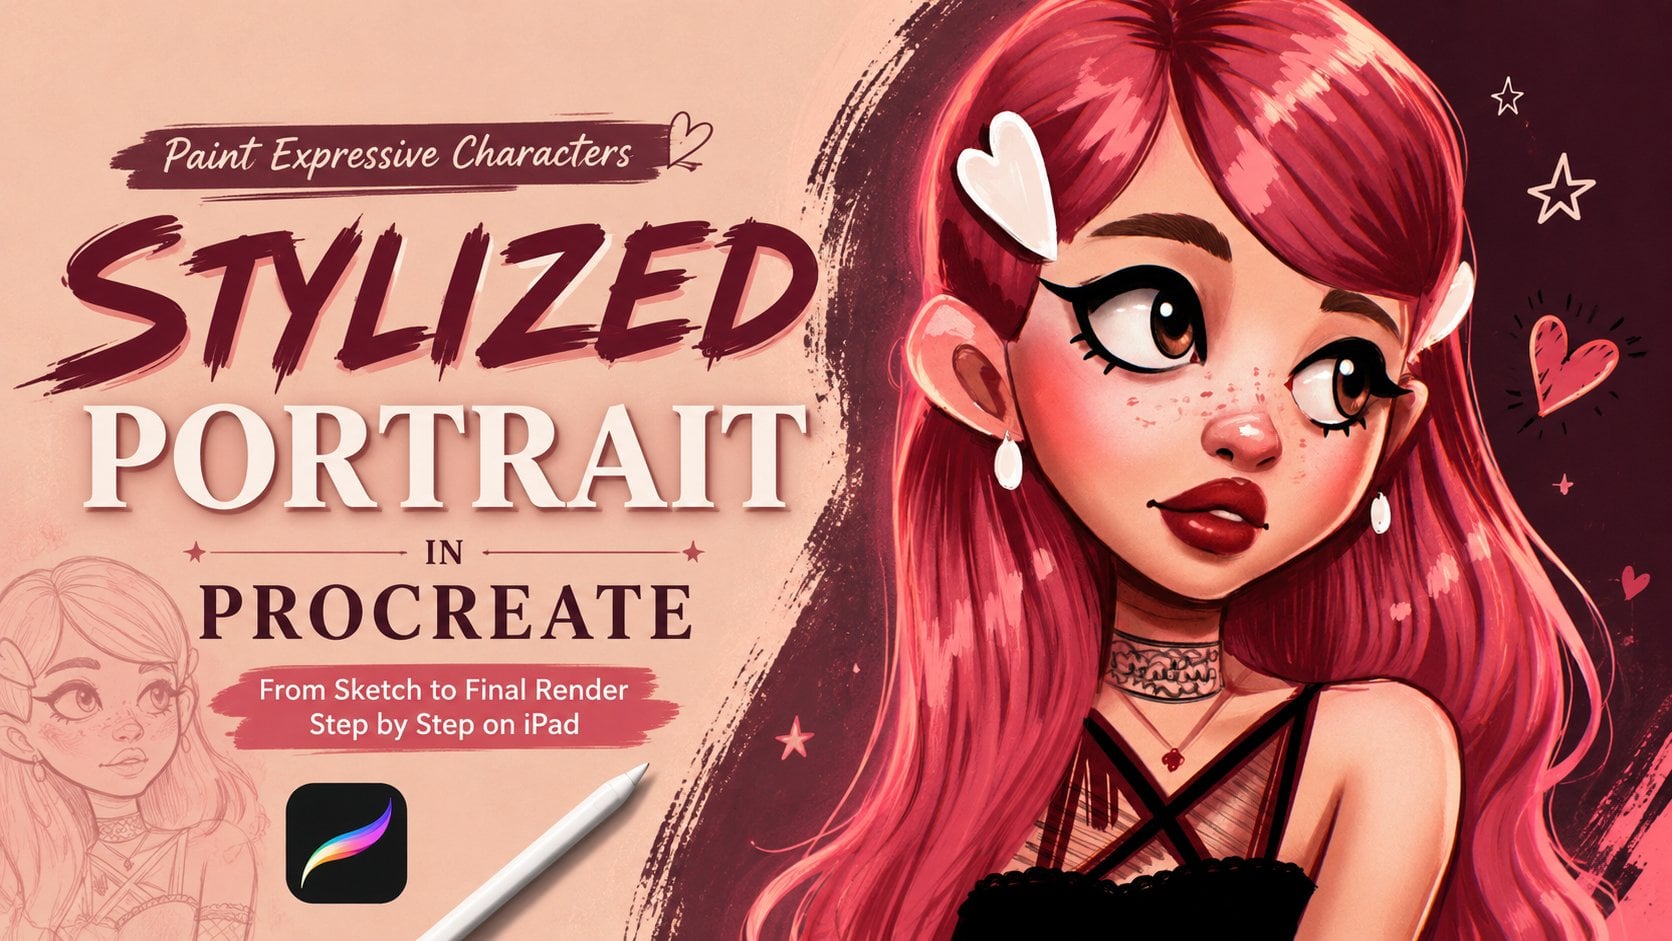
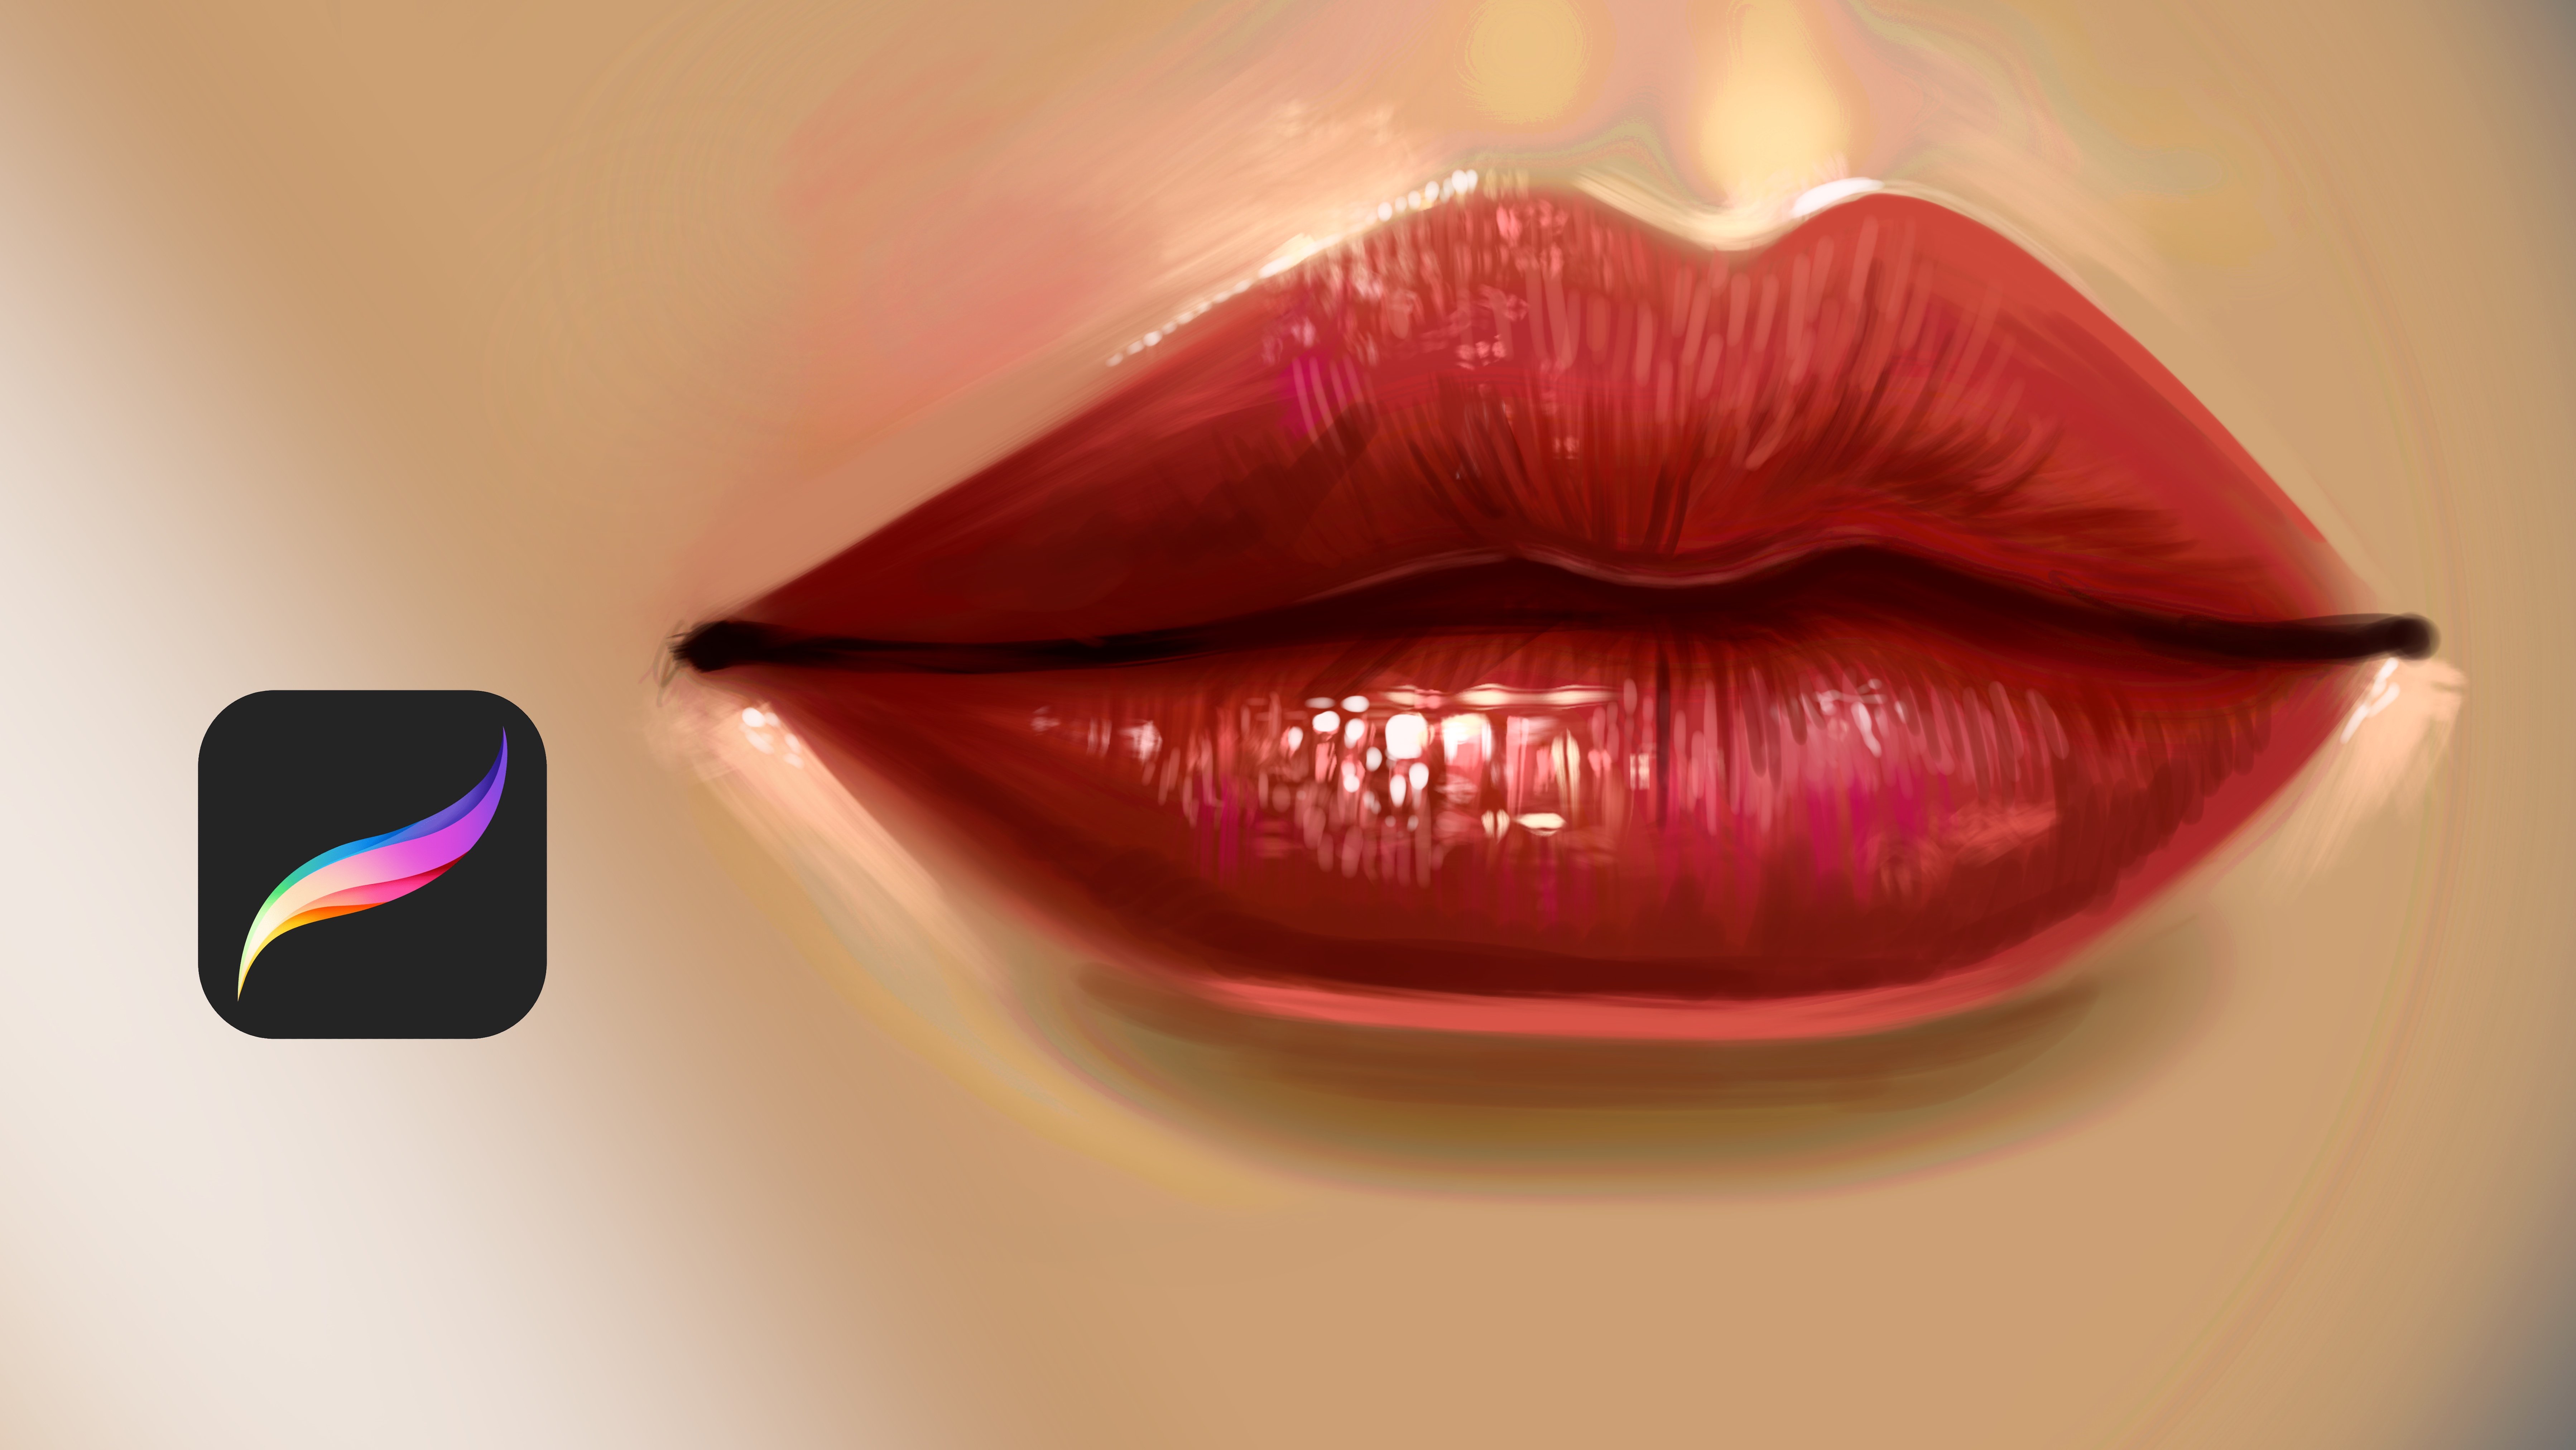
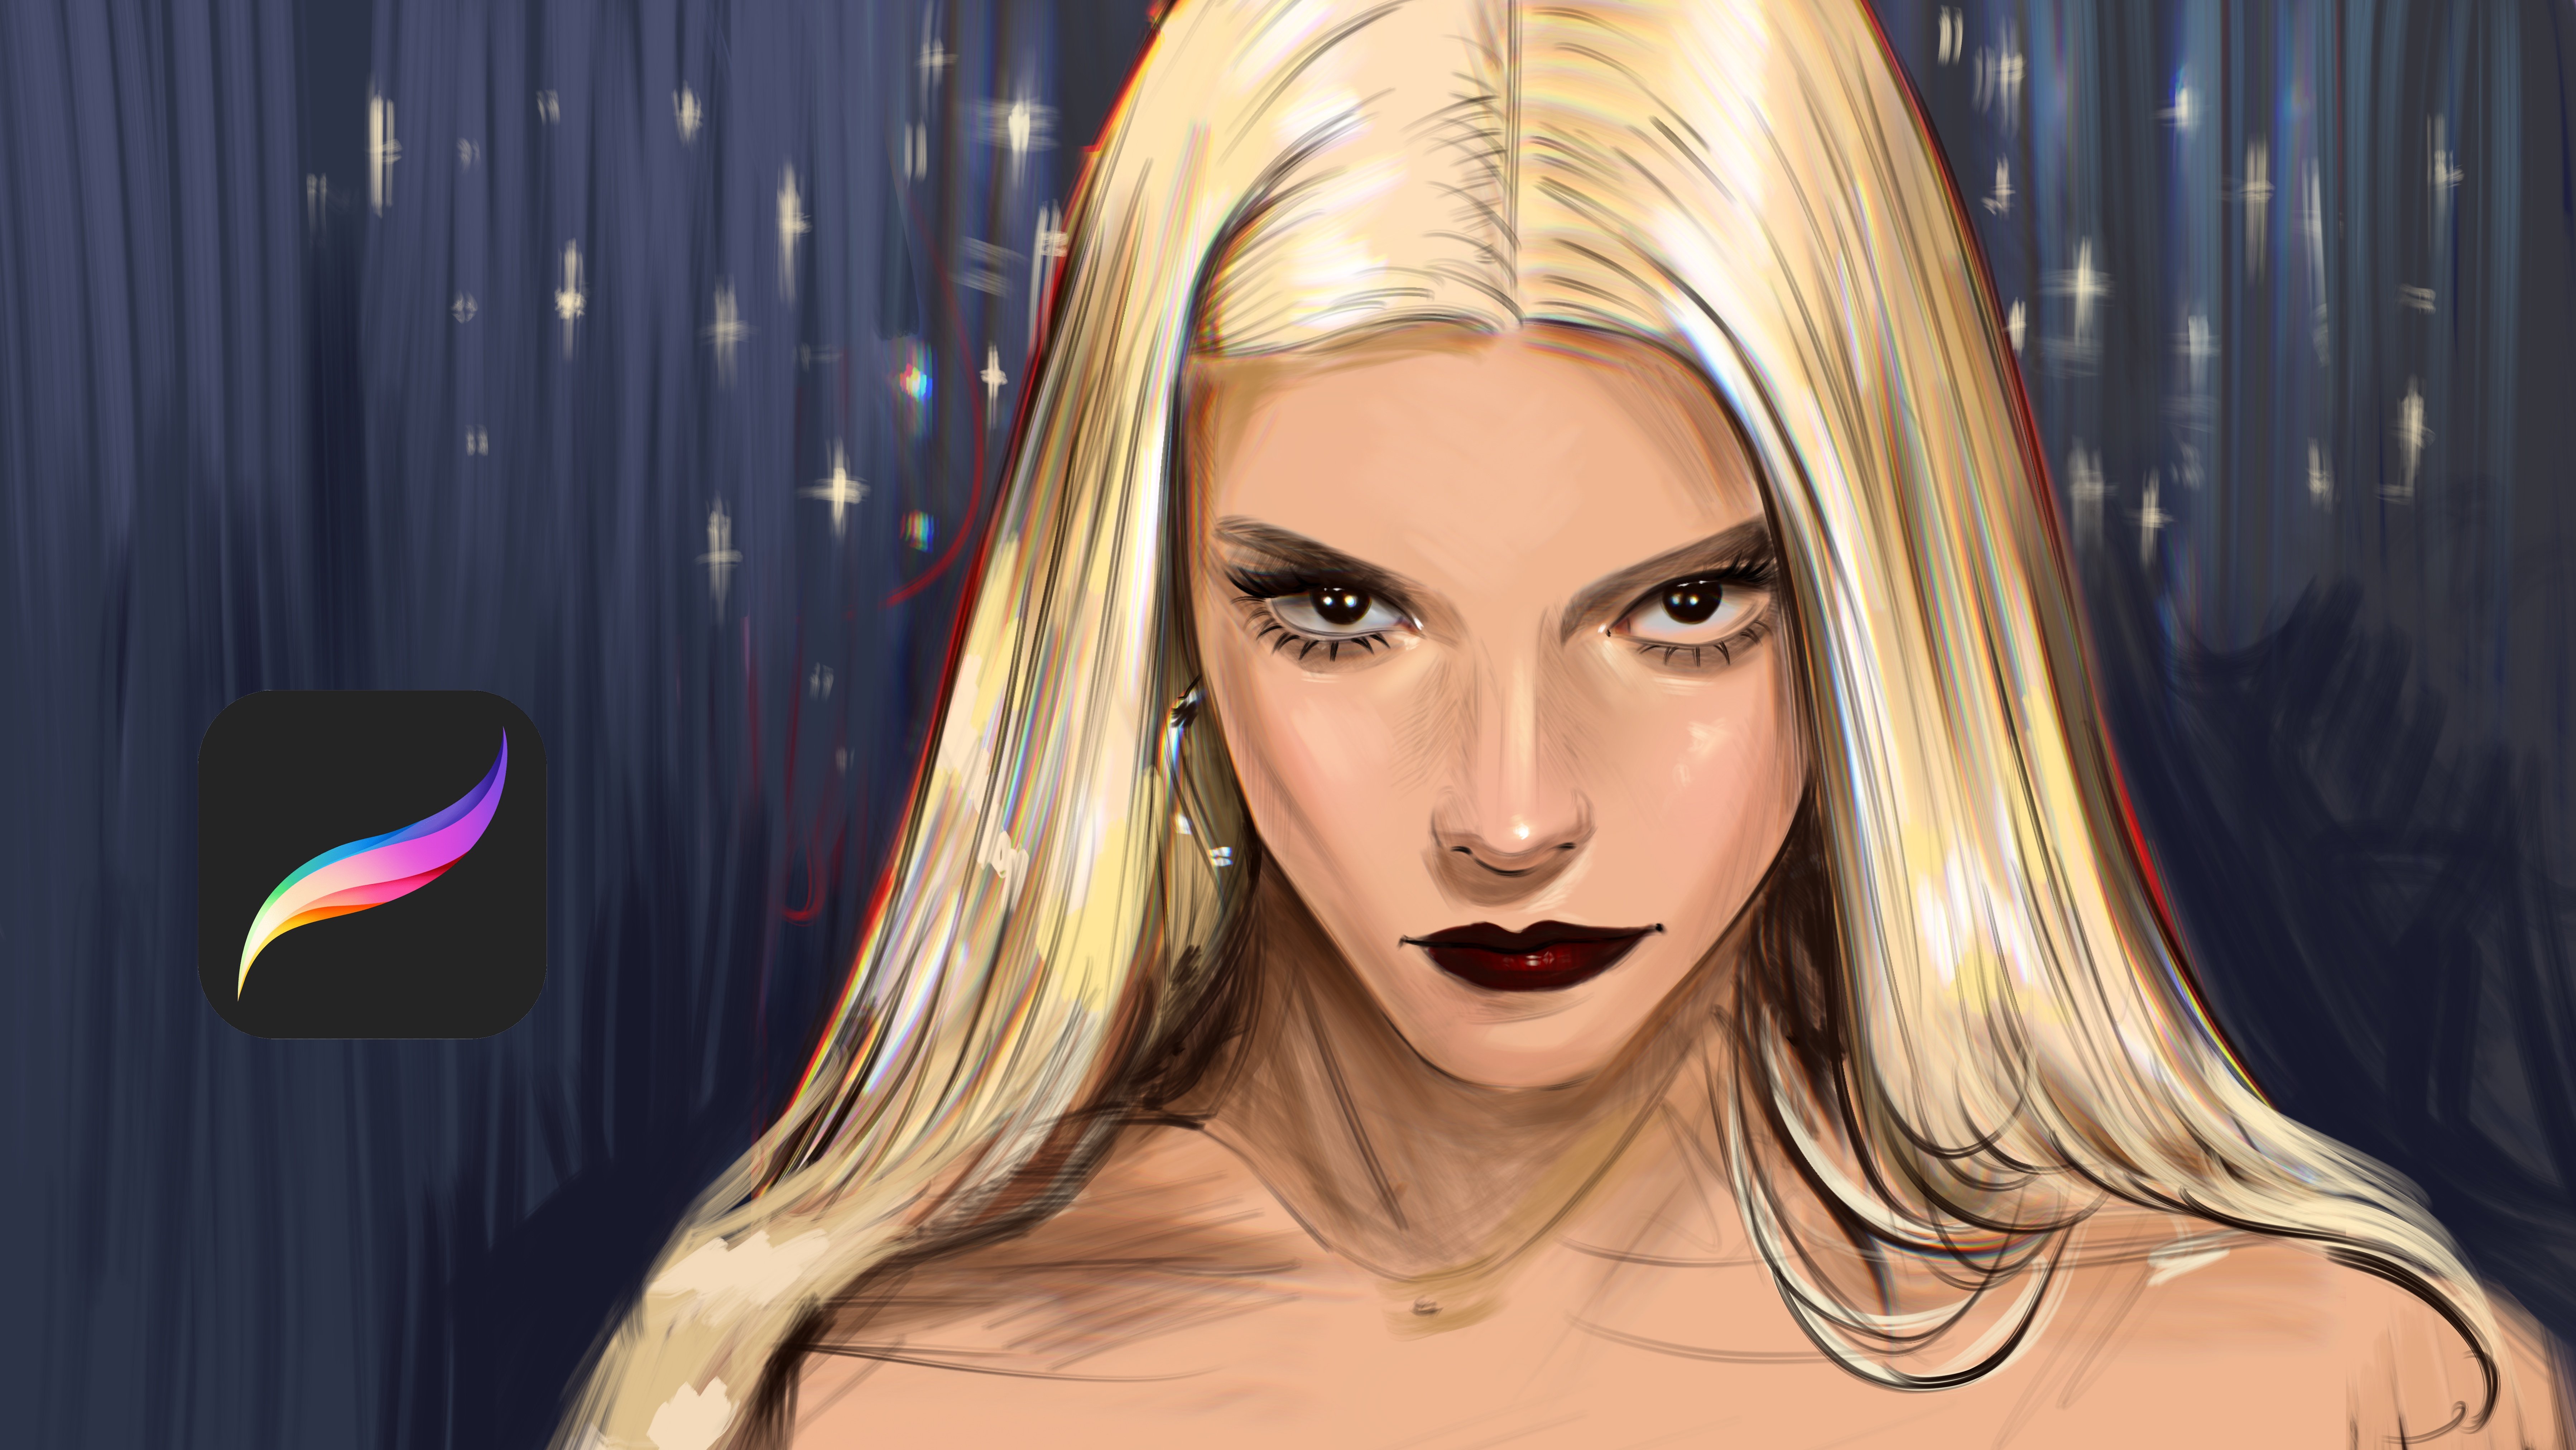
Coloring Dress in Procreate
 Yasar VURDEM, Creative Art Director
Watch this class and thousands more
Watch this class and thousands more
Lessons in This Class
-
-
1.
Introduction
1:25
-
2.
Painting Base Colors
2:05
-
3.
Adding Shadows
1:09
-
4.
Adding Lights
6:05
-
5.
Adding Micro Details
5:05
-
6.
Complete Illustration
4:15
-
-
- --
- Beginner level
- Intermediate level
- Advanced level
- All levels
Community Generated
The level is determined by a majority opinion of students who have reviewed this class. The teacher's recommendation is shown until at least 5 student responses are collected.
10
Students
1
Project
About This Class
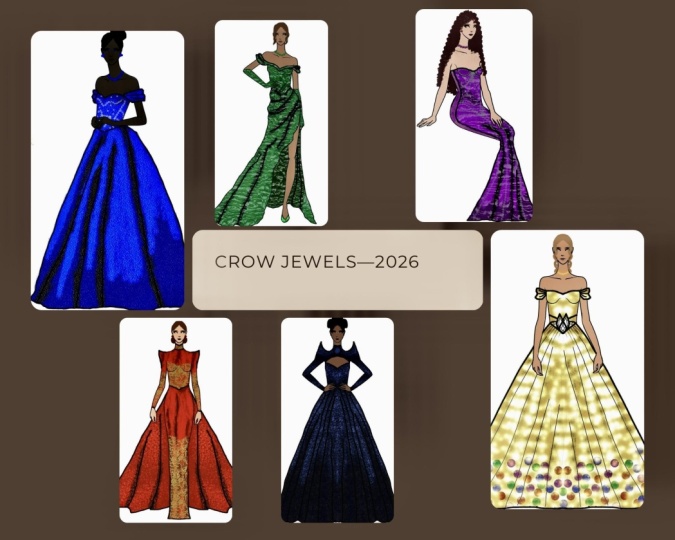
Learn how to color and render dresses in Procreate with clear, beginner-friendly techniques that help you create polished and realistic fabric illustrations. In this class, illustrator Yasar Vurdem guides you through a complete workflow for painting fabric focusing on folds, lighting, color transitions, and texture.
You’ll explore how different fabrics behave, how to paint natural shadows and highlights, and how to bring depth and dimension to your dress designs. Whether you're drawing soft cotton, shiny silk, dramatic satin, or stylized fantasy dresses, this class shows you the exact steps to make your artwork look professional.
This course is perfect for digital artists, fashion illustrators, character designers, and anyone who wants to level up their Procreate painting skills using a simple, structured method.
What You’ll Learn
-
How to color dresses in Procreate confidently
-
Understanding fabric folds, draping, and structure
-
Painting realistic lighting, shadows, and color depth
-
Rendering fabrics
-
Blending techniques for clean, polished results
-
Layer management and essential Procreate tools to speed up your workflow
By the end of this class, you'll complete a fully colored dress illustration with convincing fabric texture and lighting. You'll walk away with new skills you can apply to character art, fashion art, and all your digital illustrations.
Meet Your Teacher

Check my Etsy Shop
Welcome! I'm Yasar Vurdem a digital artist, illustrator, and passionate instructor.
I've spent years developing a vibrant, expressive portrait style that blends realism with bold, painterly energy. Over the years, my artwork has been featured in collaborations with global names such as Billie Eilish, Adobe, Prime Video (The Lord of the Rings: The Rings of Power, The Wheel of Time, Citadel), Wacom, Logitech, XPPen, and many more.
As a professional designer and illustrator, I work across digital painting, character art, concept design, and stylized portraiture. My goal as a teacher is simple: to share the exact techniques, workflows, and artistic mindset that I use in my professional projects in a clear, practical, and inspiring way.
Every ... See full profile
Hands-on Class Project
For your class project, you will create a fully colored dress illustration in Procreate, using the techniques demonstrated in the lessons. You can follow the same sketch shown in the class or use your own character/dress design.
Your Project Steps
-
Choose your dress design
Use the class reference or select your own dress with clear shapes and visible folds. -
Create your base sketch
Define the structure of the dress, the main folds, and the silhouette. -
Build your base colors
Apply flat colors that match the mood and style you want. -
Add shadows and lighting
Follow the class method to create depth, volume, and realistic fabric flow. -
Render the texture
Add highlights, soft transitions, and texture touches—such as silk shine, satin glow, or matte cotton softness. -
Finalize the artwork
Polish edges, adjust color balance, and add atmosphere if desired.
Upload Your Project
Share your final colored dress illustration in the Project Gallery.
You’re encouraged to include process shots (sketch → base colors → final render). These help other students learn from your workflow and allow for more meaningful feedback.
I’m excited to see your dress designs and how you bring fabric to life in Procreate!
Class Ratings
Why Join Skillshare?
Take award-winning Skillshare Original Classes
Each class has short lessons, hands-on projects
Your membership supports Skillshare teachers
Learn From Anywhere
Take classes on the go with the Skillshare app. Stream or download to watch on the plane, the subway, or wherever you learn best.