Transcripts
1. Adsız video ‐ Clipchamp ile yapıldı (15): Hi, everyone. I'm Masha Wurdam. I'm professional artist
and illustrator. Who collaborated with
AdopeElsh Wacom, and many moe. And in this class,
we are going to explore the basics of painting
textures in Procreate. You have ever wondered how
to make metal look shiny, peer look soft and luminous, or leader feel rich
and realistic. This lesson will break
it down step by step. We will start by understanding how light behaves on
different surfaces, then move into texture
specific shading, highlighting, and edge control. I will show you how to
paint reflective metal, smooth and gloving peels, and the tailored leader
using sample brushes, smart techniques and
clear lighting logging. These fundamentals
will help you to add realism and deep
to the characters, fashion illustrations,
objects, and fantasy designs. By end of this class, you will understand how to approach any surface
with confidence. So open your Camas, experiment with
textures, and let's bring your materials
to life together.
2. Painting Metal : Welcome. In this class, we will make realistic
textures in procreate. At first, be sure you're using not directly white
in your background because using directly white makes your mid tones and
highlights a bit weaker. In this part, we will
apply the alpha and zoom in and create the dark
shadows at the right part. Like this. Apply much
more lighter color over it and this part and this part. It is like we see
reflections in the surface. It can be something
like the reflections of some ground or
different things. And the white will be here. Yeah. And at top of it, you can add stretches like this for increase the realism
level of your illustration. Because it is not
flat surface and have some stretches over it.
3. Painting New Year Candy: And let's start from
the other texture. Now, we will try to do
different kind of texture, for example, red at background. Like this and add here, we will put lights here. And it can be some rxmas candy, for example, white lines, like this. But it looks not
well because at dark parts, it needs to show much more
dark and depends the light. And let's start from
the other part.
4. Painting Moon: Duplicate the texture again. In this part, let's paint
it like moon texture. At first, I'm defining the light shape like
the light area of illustration and use
dark colors here. Here, here, here, here, and here, here, here, and delete some parts
of the illustration. Like, these parts will
be lighter inside, and some parts are darker
and some parts are lighter, and it balances the look
of it and creates craters Because Mon has some
big and different kind of textures in it like this. Some is big, some is less, and oh it looks like moon, but we need to make sure
these parts will be like this lighter and textured to give
it much more moon like look. Okay. And let's continue
from the other texture. I will duplicate it here. Yeah.
5. Painting Skin: And I will continue
from this part. And let's look it. At this one, I will make lava texture at first
or second texture. It is better wait. I will paint like this. And much more darker areas, and I'm always
using airbrush for my textures because it
creates realistic look in it. And this place is lighter, and this one is darker, much more darker and
reflected light is here. And at skin, we need to
see pores skin pores like regular or irregular forms over the texture. And these kind of
details is visible on the highlighted area. Yeah, it is better right now. And you can also create freckles and much more
surface detail here. Depends on your second texture. Yeah, like this. And let's continue.
At this part, we will paint a
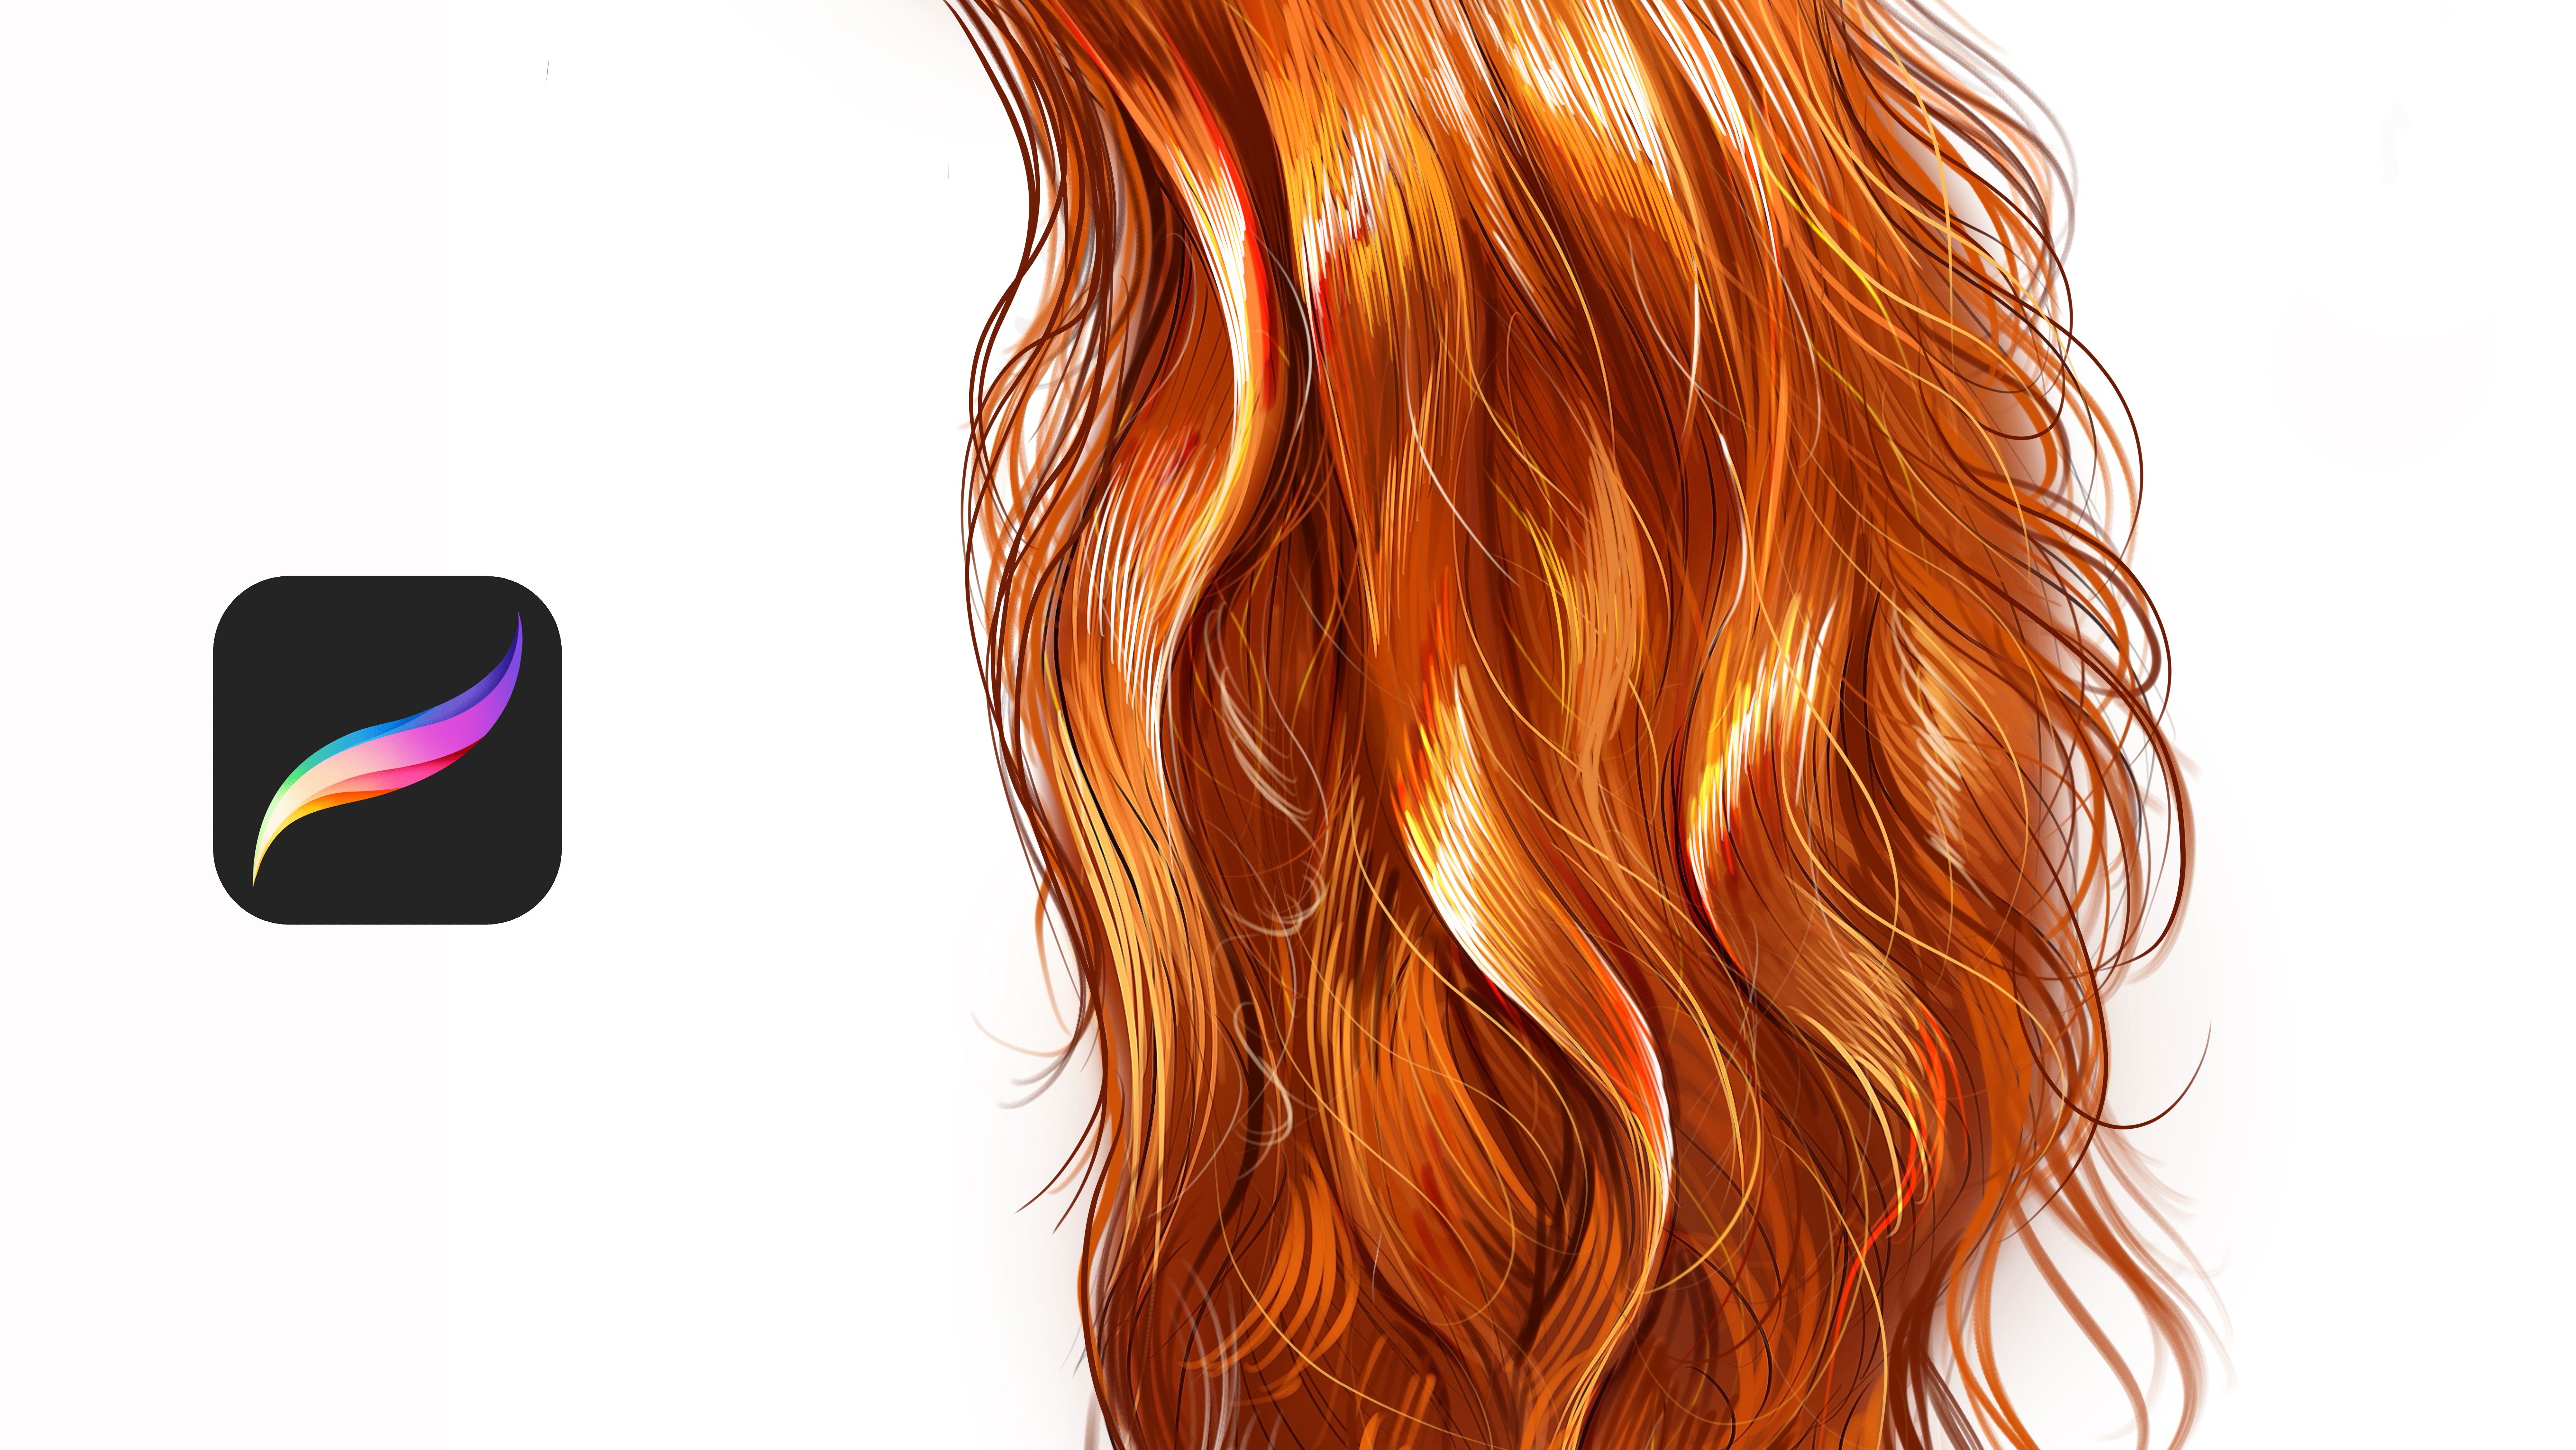
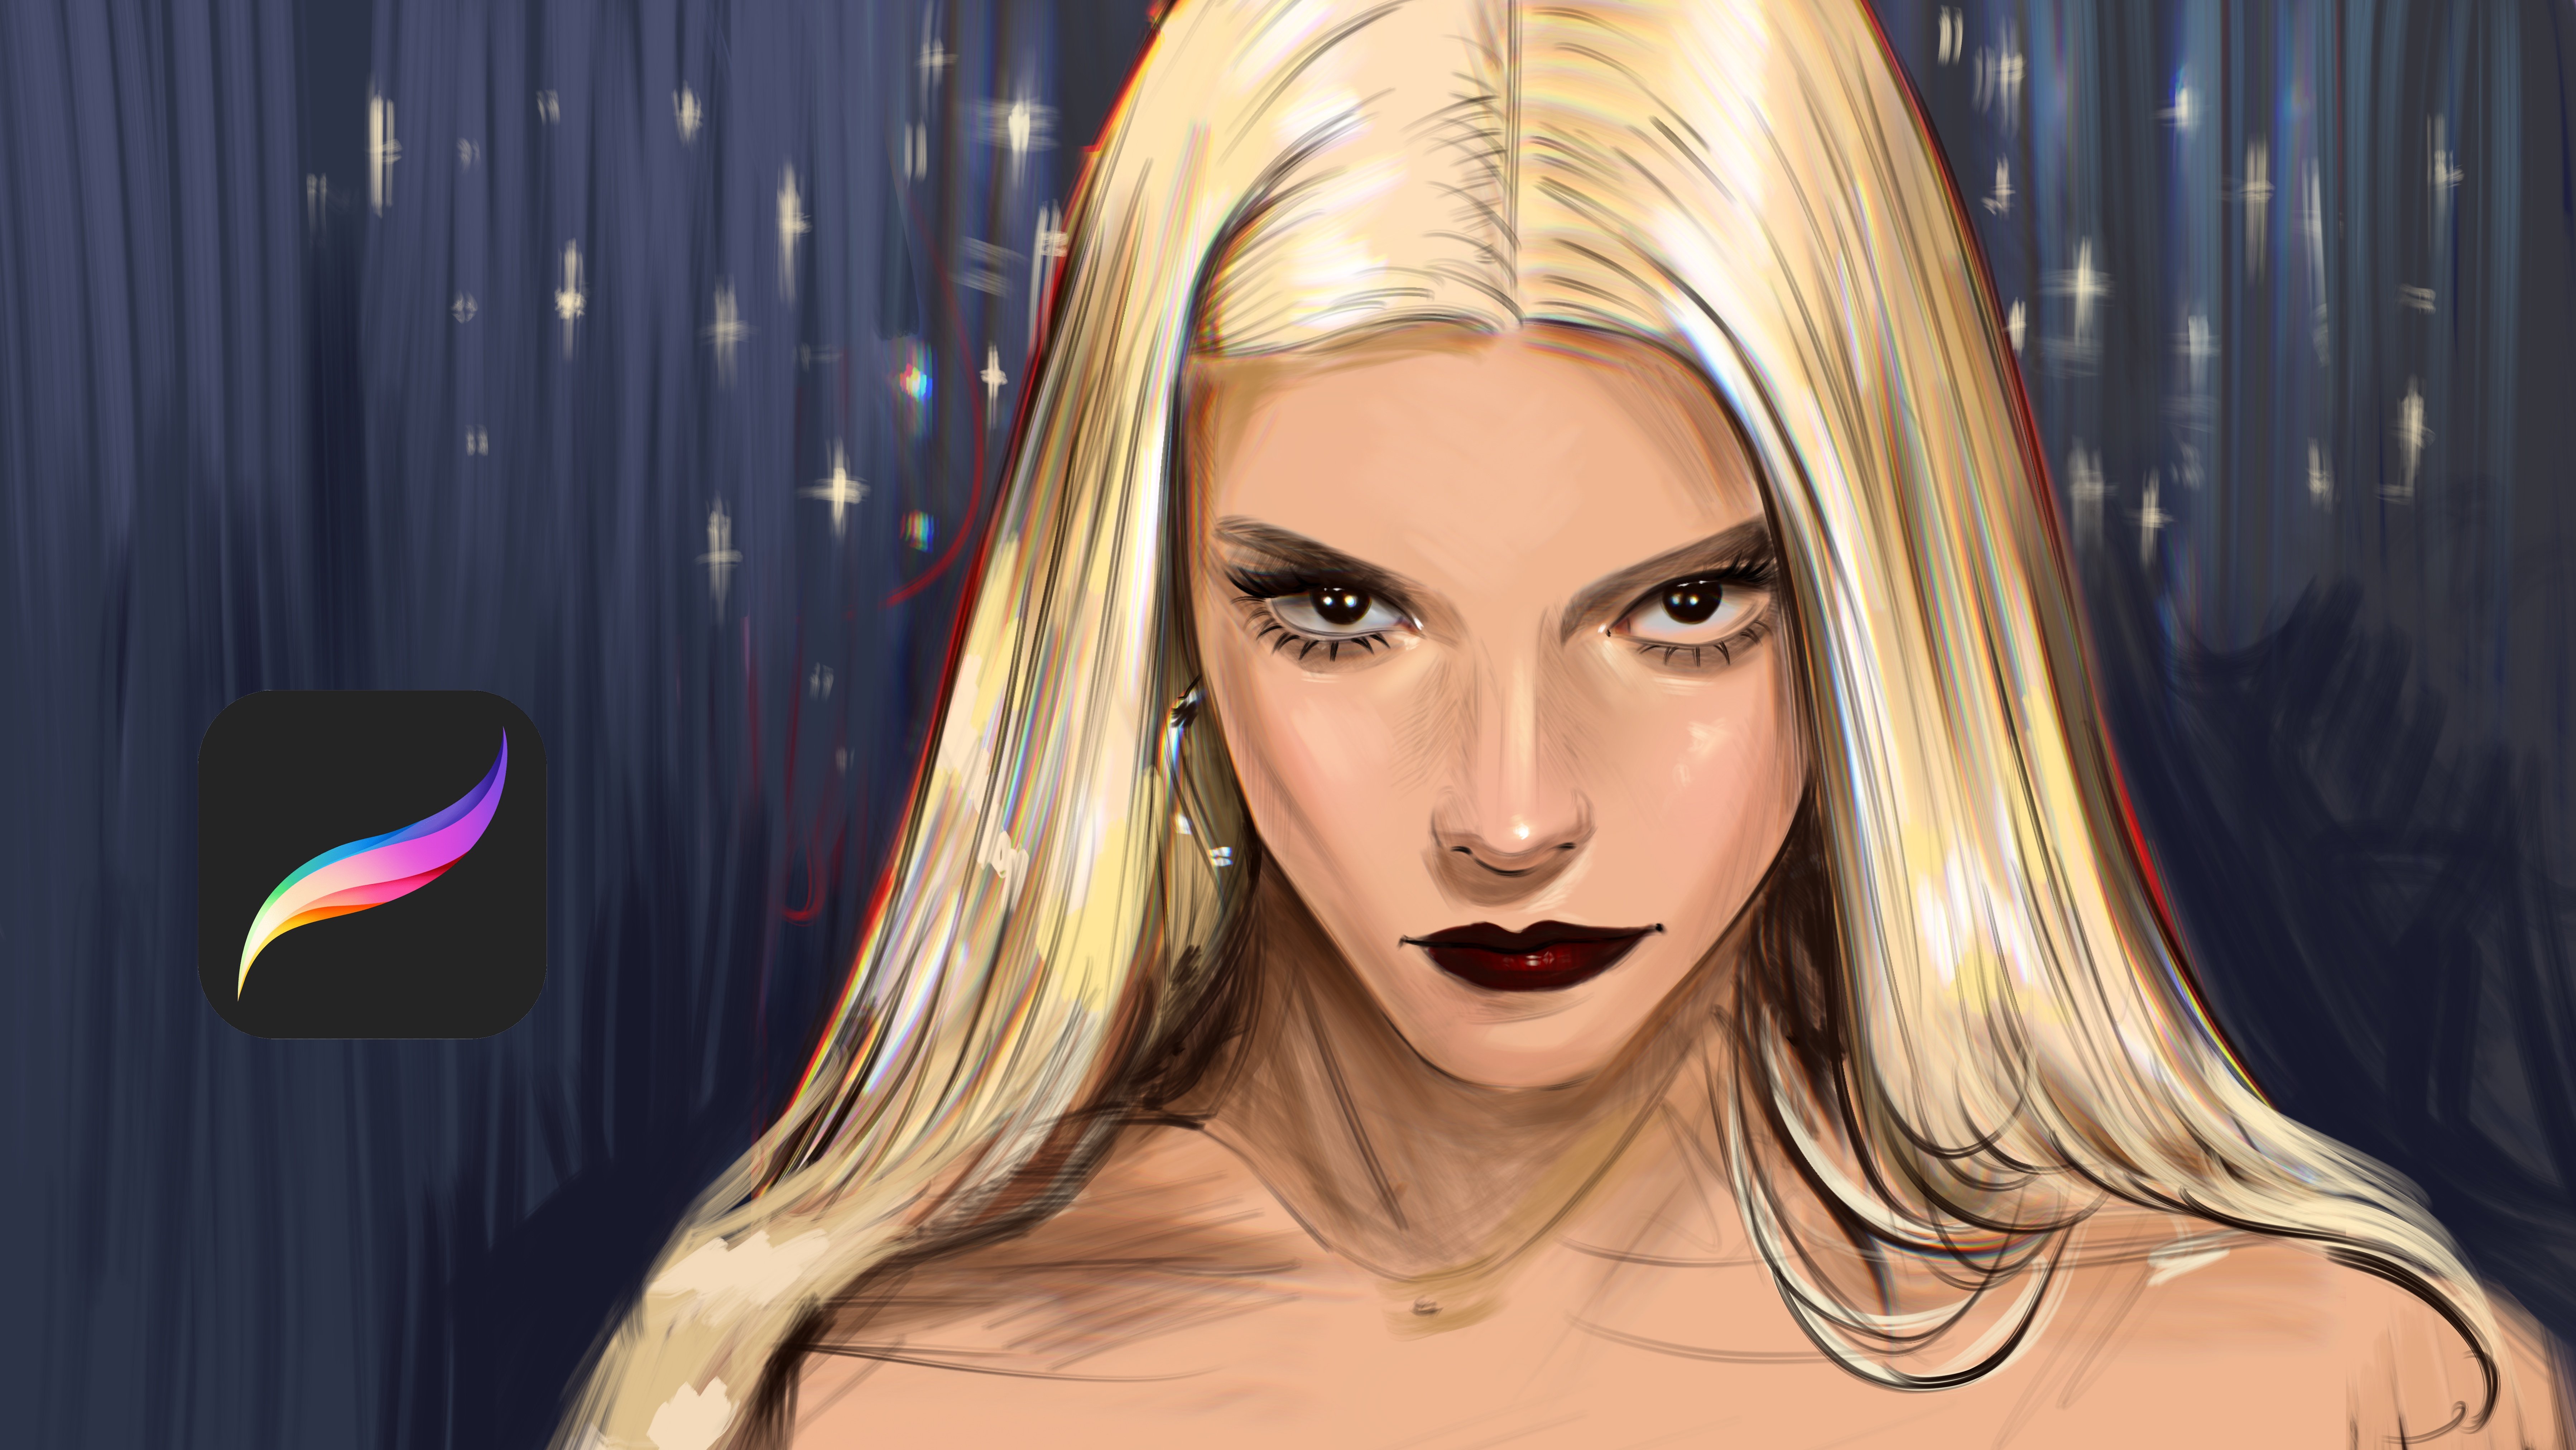
6. Painting Hair: Pictures. And highlights. Yeah. And at light parts, you can create the texture of the hair like
this with blending. And you can make these
parts much more visible. Okay, we will continue
at the next lesson.
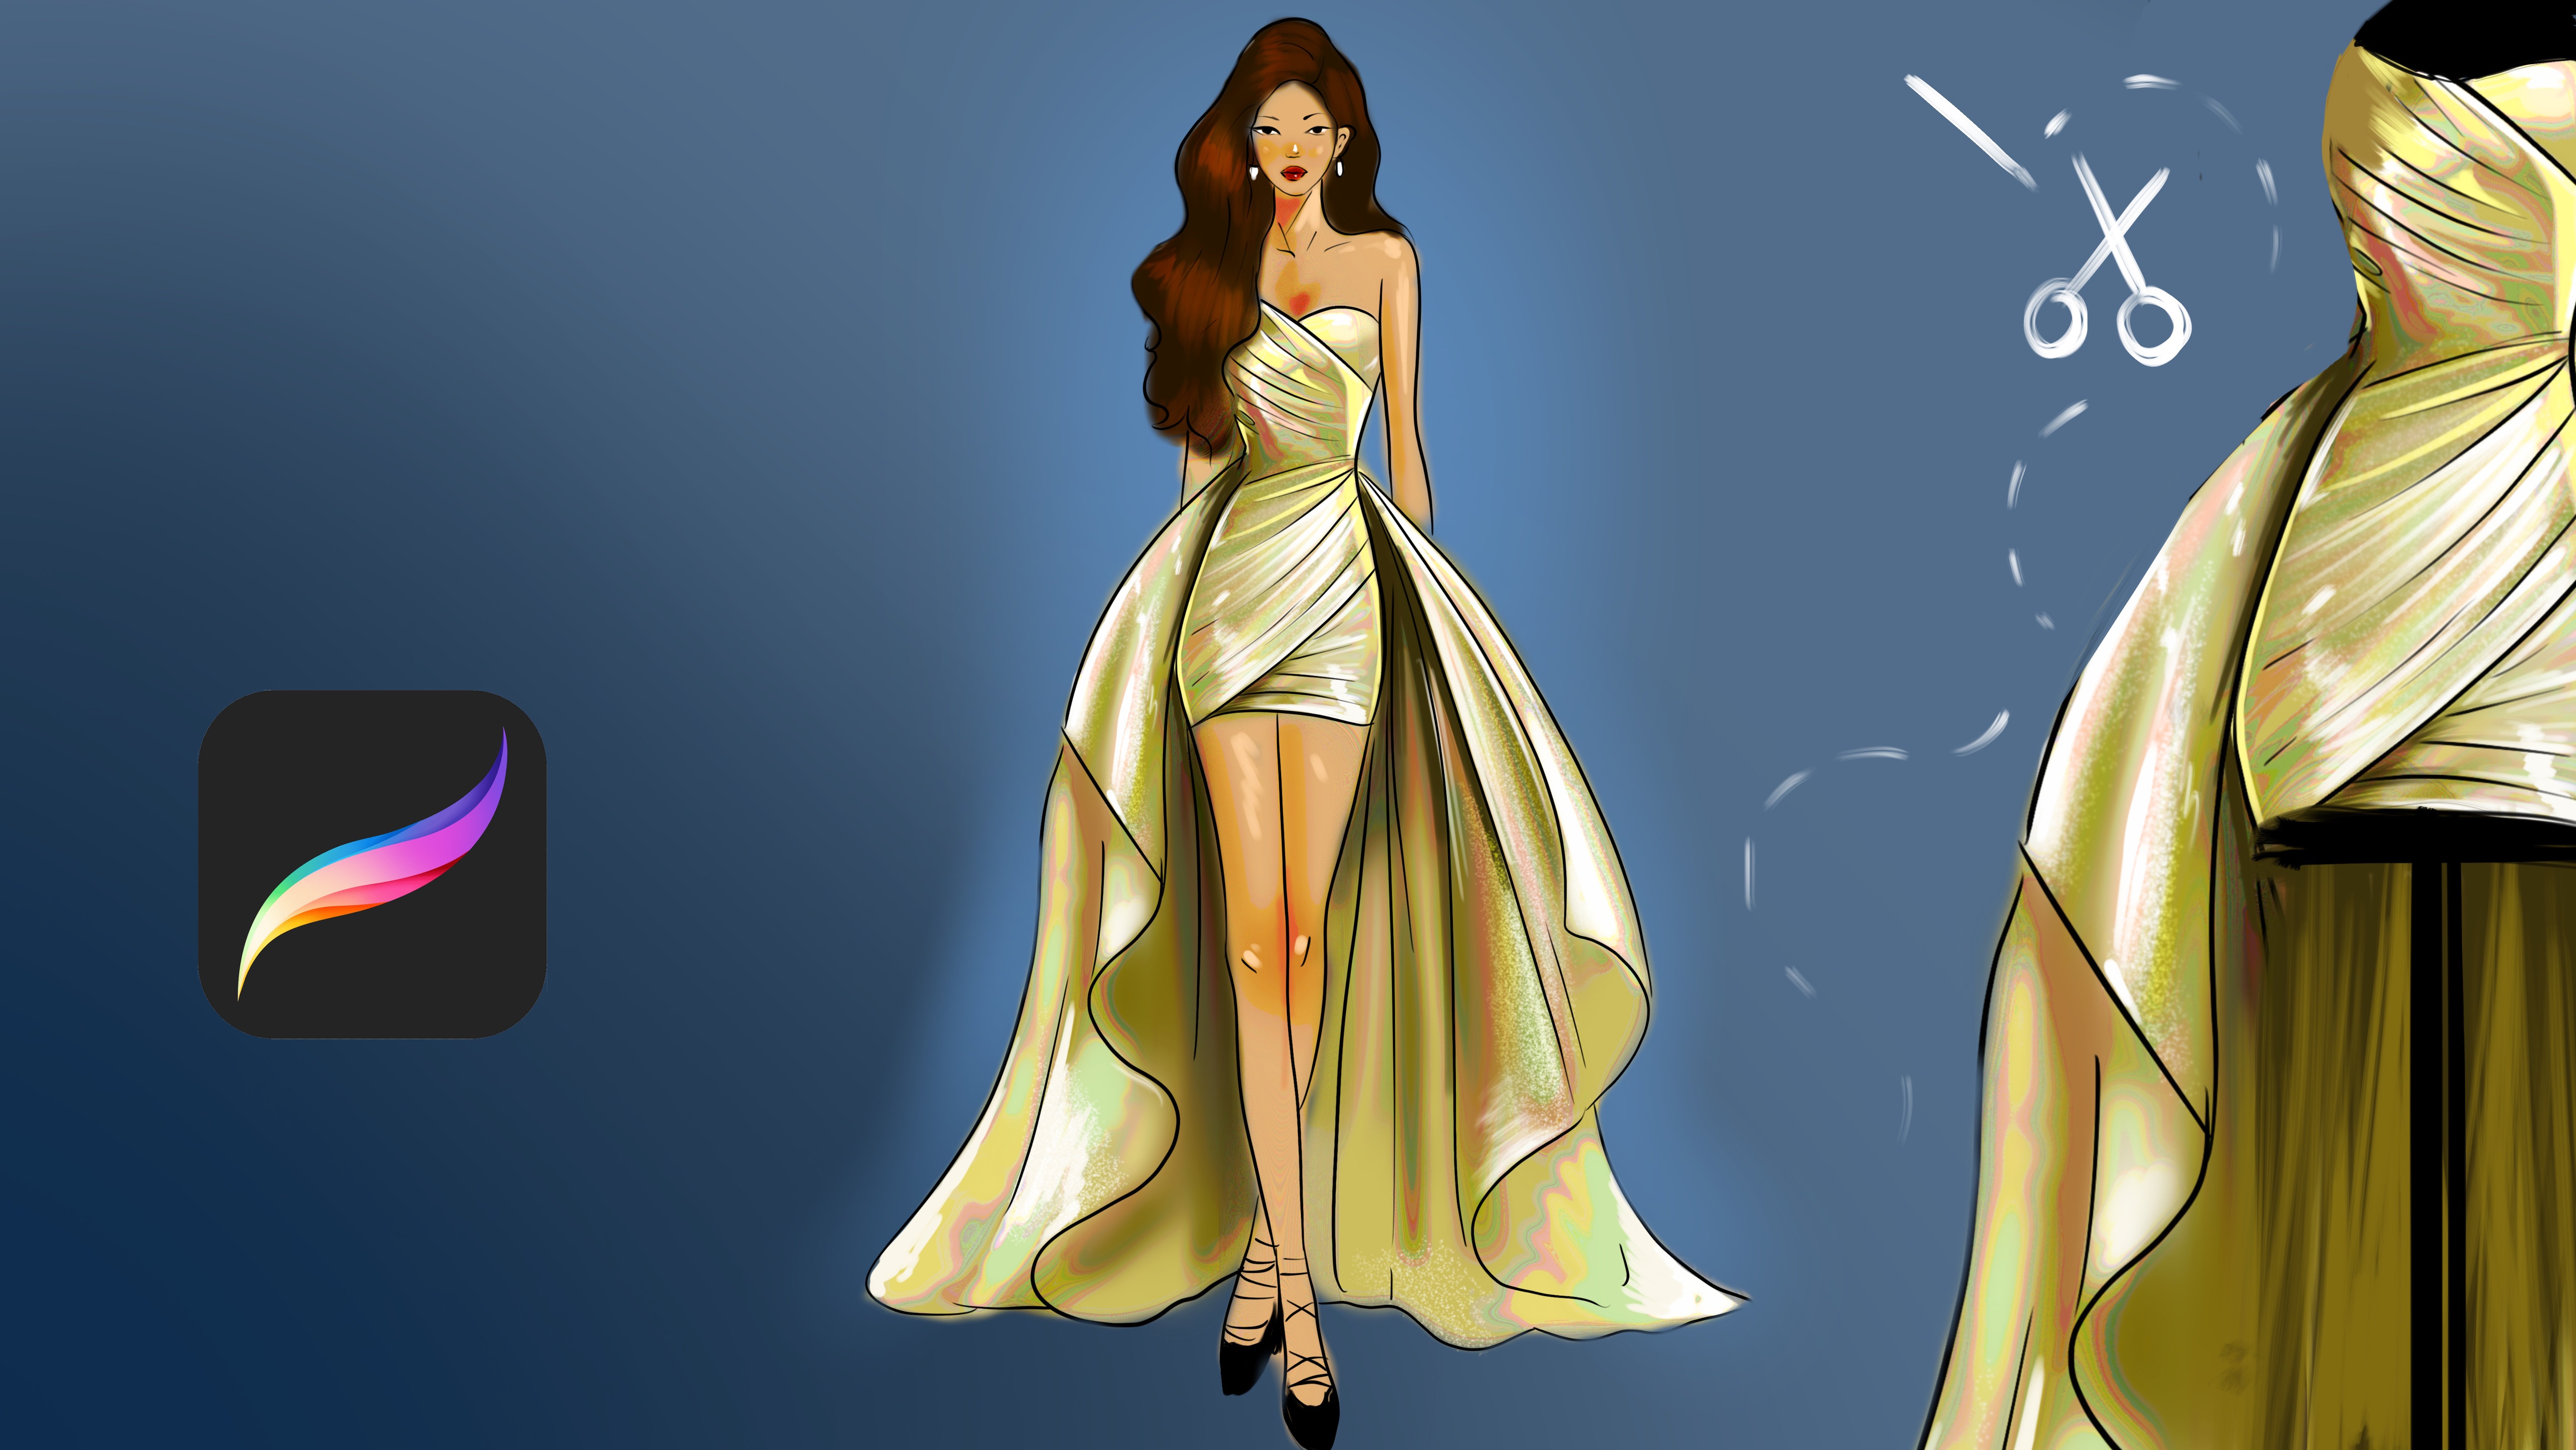
7. Painting Gold: This time, I will. This time, I will
make golden texture. Let's alpha look
the layer again. At background, we will use dark color for our
golden texture. And some yellows here. And much more yellow color. Just like this.
And at this part, again, we will use, it is looking good right now. And
8. Painting Water Bubble: I can use much more. Yeah. And let's duplicate again
here for other texture. This time, we will
paint a bubble texture. Let's look the layer. And it will be
transparent like this. And bubble texture
have some vibrant and like this and like this from this
side this side. Also, maybe at this part, and at this part. And it can be transparent
a bit much more. And some places of it have
highlights like this. Okay. And let's continue to make
9. Painting Pearl: Different kind of textures. Now, we will paint
Water textures. At background will
be much more darker, like shadow parts of it. And at Light part, we will use like this and zoom in, and you can put waves
in it like sea waves. It creates some like
old lace texture. It creates old lace texture. With like soap and zoom in and use much more vibrant color
here and apply here.
10. Painting Meat: This part is darker. Yeah, and much
more yellows here. And we need to paint
white lines for define the textures of the meat, for example, like this, and it will take shape of the meat like this
and like this. Also, some places
can be much more whiter like this because not
all of textures have it. Yeah. And we can even use
like let's Zoom here. And I'm adding texture
over it like this. Yeah. And let's continue by
making much more texture. And I will make lava texture.
11. Painting Lava and Grass: Okay. Like this and much more darker. And this part will be
lighter this part. Yeah, like this. And
at the top of it, I will put some rock and for define the
texture of the lava. Yeah, I like this. And
some part of it will be much more darker
at these parts, especially this
part and this part. Yeah. And much
more yellows here. A. Like this. Hope you enjoy. And at next part, let's open another
new layer here. And we will paint different
kind of texture here. And it will be
maybe let me think about it first. Grass texture. At I will use green color here. And we'll make it like this. Yeah. And I will keep
adding textures. At some parts, you can use
different kind of colors here. You like extra colors. And these textures
will be much more visible at the light
parts, not everywhere. Yeah. And
12. Painting Quick Textures: Let's open another new layer. This time, I will paint
let me think again. Okay, maybe it can
be glass texture. I will start with the
cold color like this, and I will apply eraser
at this part of it, at some parts of the glass. Because glass is because
glass is transparent. Yeah. And open
another new layer for continue to adding,
creating textures. Now I will paint texture
of the let me think again, maybe with purple
texture like diamond. And I will use much
more dark shadows and light shadows here. And this detail will be
much more vibrant here. And at the top of this part, I will put highlights. But highlights should
be much more like this and yeah, like this. And maybe here. And let's open another new layer and
continue to creating textures. Now I will paint rock textures. Let's alpha look and
select dis color and paint irregular forms because Rock is having Rock have irregular forms and it creates some
texture like this, and you need to use much
more textures here like this for give it the dry and strong
look of the rock. Yeah, like this.
And at some parts, you can use darker colors or some rock colors here like this. Yeah. And I will make this
illustration much more D. Yeah, it is right. It
is good right now. And let's open
another new layer. And this time, we will
paint eye textures. Let's the layer and paint
background and shadows here and highlights
and highlights. And let's paint it
a bit brown eye. Yeah, and lights here. Lights here and yellow
and reflections. And put the lights here
and here like this. And maybe different kind
of lights here and here. Yeah. And this time, let's open another new layer, and we will paint
hone textures and fallo flayer and
paint it like this and dark shadows
and light parts. Yeah. Like honey texture here. At some parts, it have
really good amount of the tail like this and Whites. Let's put whites. Yeah, like this. Thank you for joining me in this class and see you
in the next classes.
13. Painting Realistic Glass Ellips, Creating Base Colors : Part, we will paint
realistic glass texture. At first, you need to paint
gray at the background. And after it, select
ellipse and create new layer and place your
ellipse, like this. And after it, you need to select the lighter
color with airbrush. Then apply over the corners and define the reflection area. For example, it is glass and
it reflects light and bones. There will be so
much color bones. So what we definitely do, like what we need to do is
defining the light part. It will have two side light
like this and like this. And most highlighted area
will be this corner. And we need to add some light
effects here like this. With this way, we will make this glass much
more realistic. For example, if there is a detail in it, we
need to show it. Then I'm painting
lines here to define the reflective things
of this glass. For example, if we see forest or different
kind of objects in it, it will be visible
like mirror in this, but it will be like fish
eye and nothing will be same or normal. For example, it is like in
perspective of the glass. And it will have some different
kind of lights in it. For example, if we have
saturated light here, we need to show it like this. And if we have different
kind of lights, we also need to include it here. For now, I will paint
glow here at this part, and at the corners will
be much more visible. Like this. And I will use directly
white at some parts to make the light bounce
much more stronger. And at this part, I will also make it
And it is the glass, so I have a really good
amount of brains in it. Like this, you
need to define how to build the details
of the glass. For example, this
part will be stronger here and much more
detailed here. Yeah. And of course, we need to build much
more colors inside it. Yeah, for deepness. And of course, the
corners will be much more reflective because
it is glass and it reflects light really wrong. And for example, here, too, like this and like this. Okay. Now zoom in and select the lighter brush and open new layer with the overlay mode. And apply over it like the
lines like irregular lines, but it's for defending
the shape of the glass texture because it is not flat and its own
unique texture like this. Maybe stretches
over it like this. Yeah. And these parts
will be like this. And after you put these details, zoom in and try to add much
more light effects in it.
14. Painting Realistic Glass, Complete Illustration: Because it is glass
and it really have good amount of
brains and the tail. Yeah. And maybe we can
even add much more we brains light
reflections here. Depends on the it changes, depends on the shape. But normally, we have so many light source.
It is reflected. I reflects the lights around. So we need to make
it really detailed. And for example, if it is wet, you can make lidel particles here like this or give
it much more glass look. And you see things beyond it. It is just glass, and it is like you see things
in it like this. You can use eraser for give it this ilition to make
it much more deep. And now collect the old layers, but before it, open
new layer under it. Zoom in here and paint lights. Yeah, I like this.
And maybe like this. And you can use eraser to make this illusion
much more smooth. And what we're
going to do is open another nav layer
with a smooth line. Let me find it, this one, and we'll paint it like this directional lights
like laser lights. And after this, go to
the layers and select Gaussian blur and give
it a bit much more blu. And, okay, now I will select the smooth brush and we
increase the lights highlights. Because it reflects the light, and we have colors in it and light reflections
and many more. Just like this. But it
will be like smooth. Yeah. Maybe a bit yellowish colors
to increase the light here. And we can put light here
also, like reflections. But in it, you can put small
particles flaying over it or give it a realistic
look because there's dusts in the painting. It is not flat and it have dusts and different
kind of things in it. Then collect layers and
duplicate the layer and invert the heart mix. Then make it a low, a bit, much more low. And it will give us a really
good amount of detail. But for now, I will not
use it and go to the hue, and I will give a bit
much hue and curves, but not much and
lights and go to the bloom and give it
a bit bloom like this. And maybe not so much, okay, it works like this
and zoom in again. And I will add a bit
much more small details, and I will finish this
illustration and hope you enjoy this process. Yeah. Thank you for joining me. M.
 Yasar VURDEM, Creative Art Director